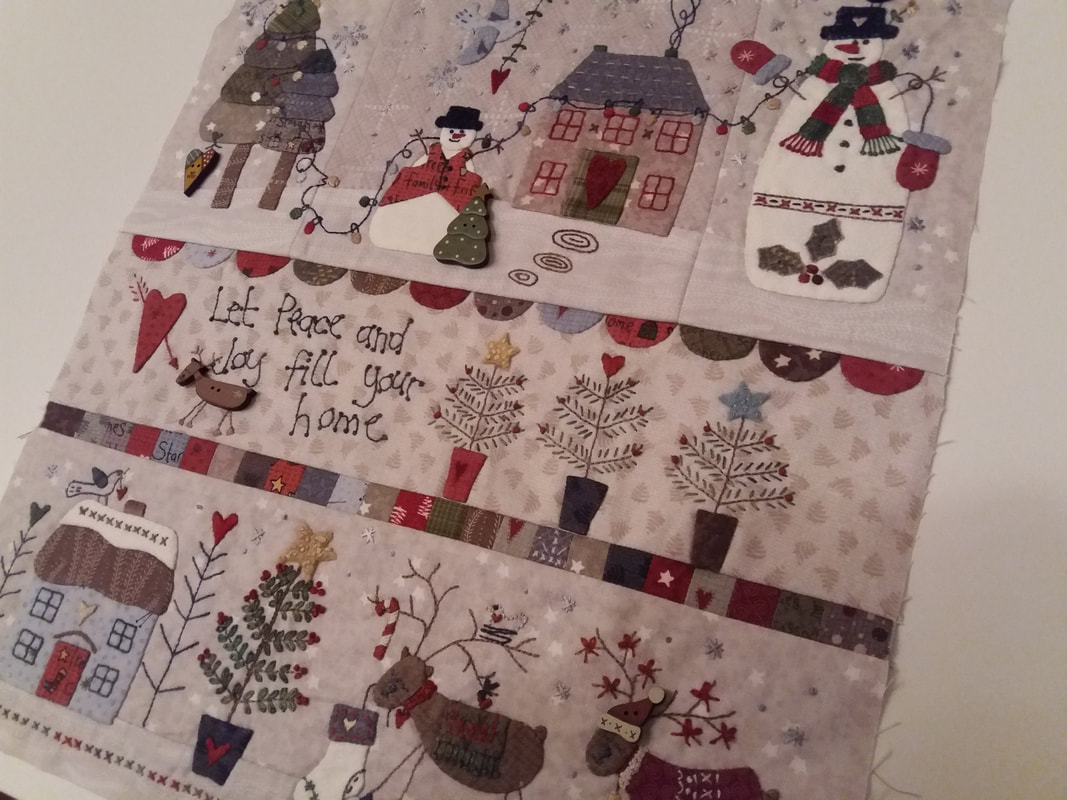
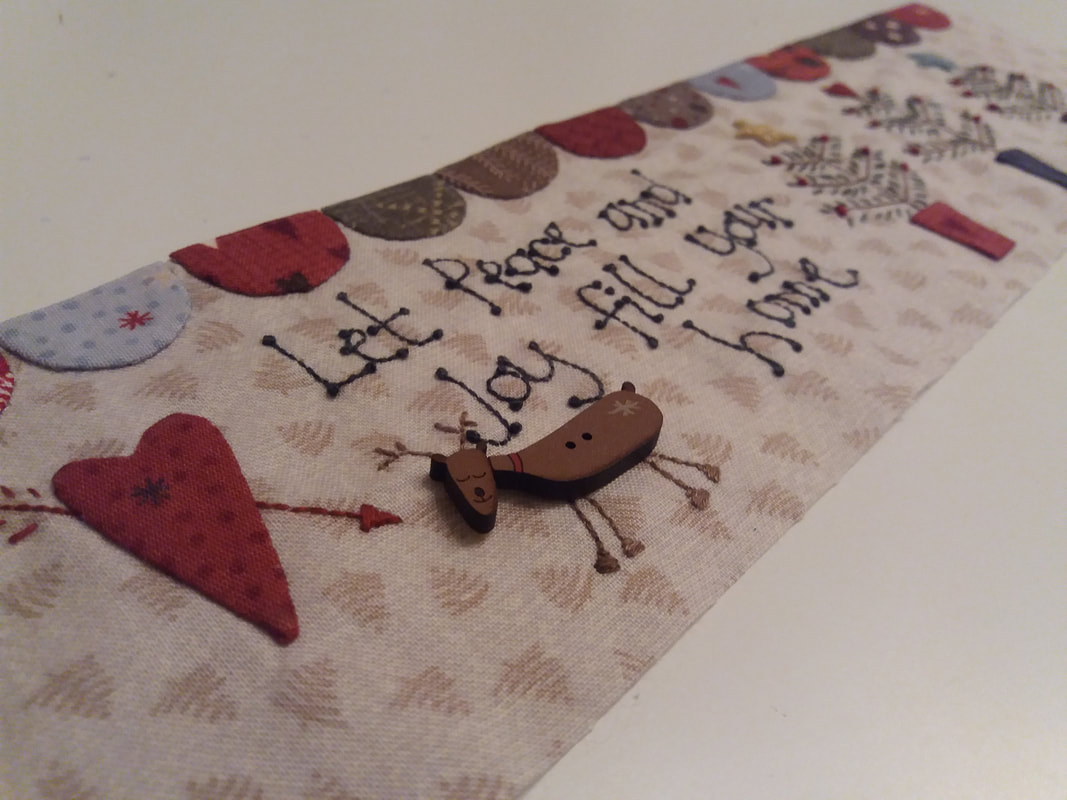
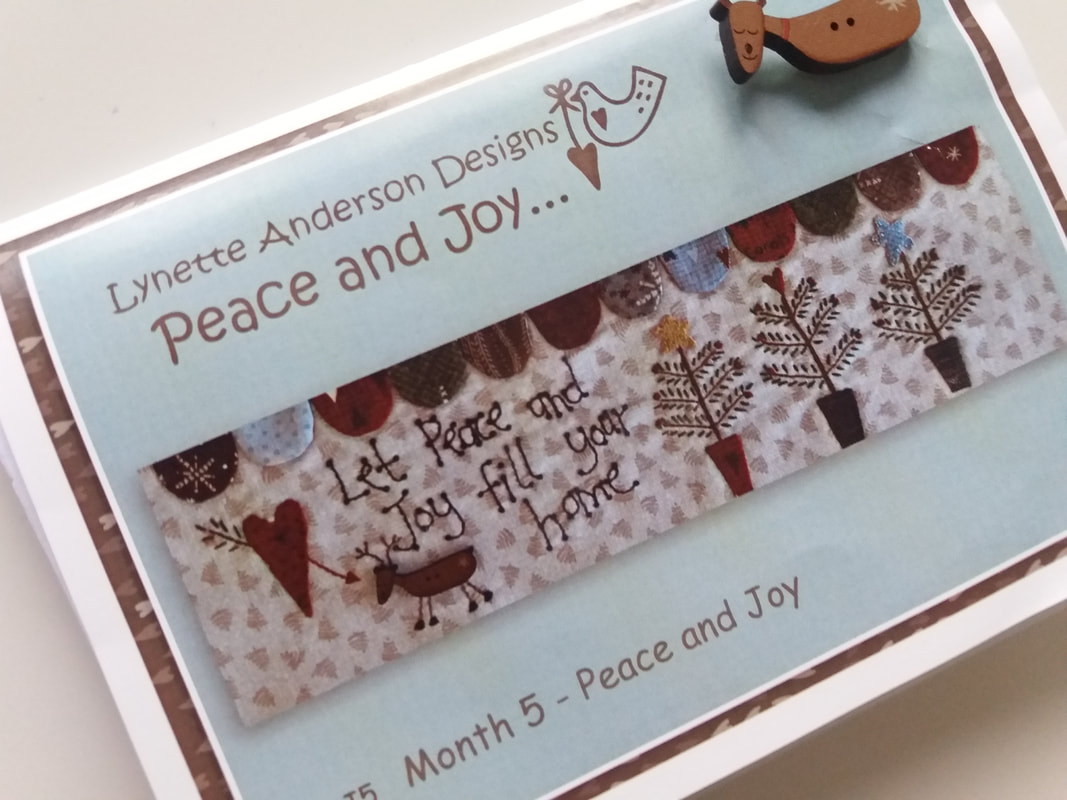
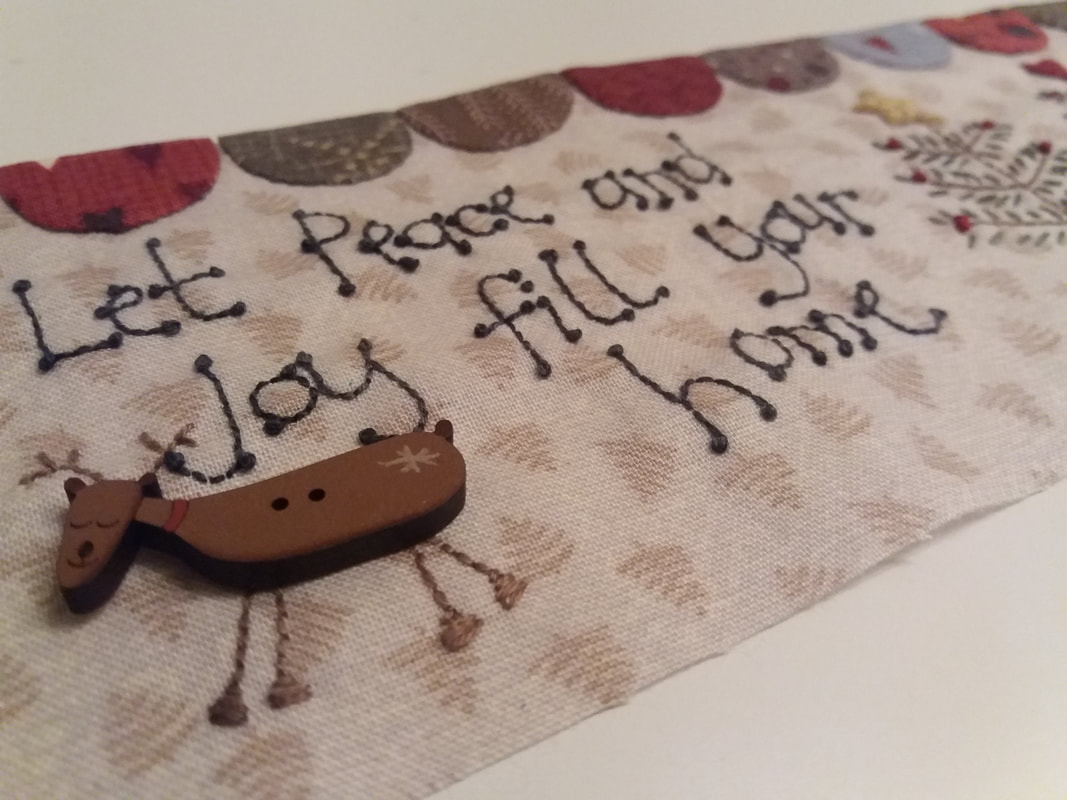
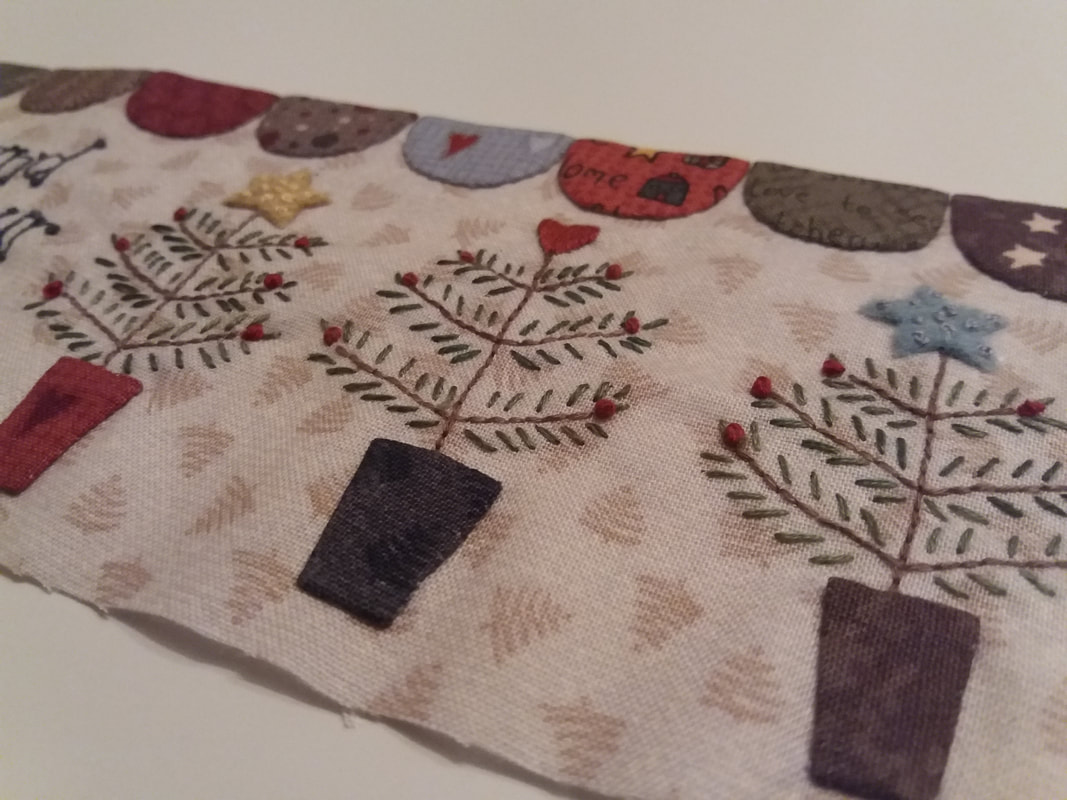
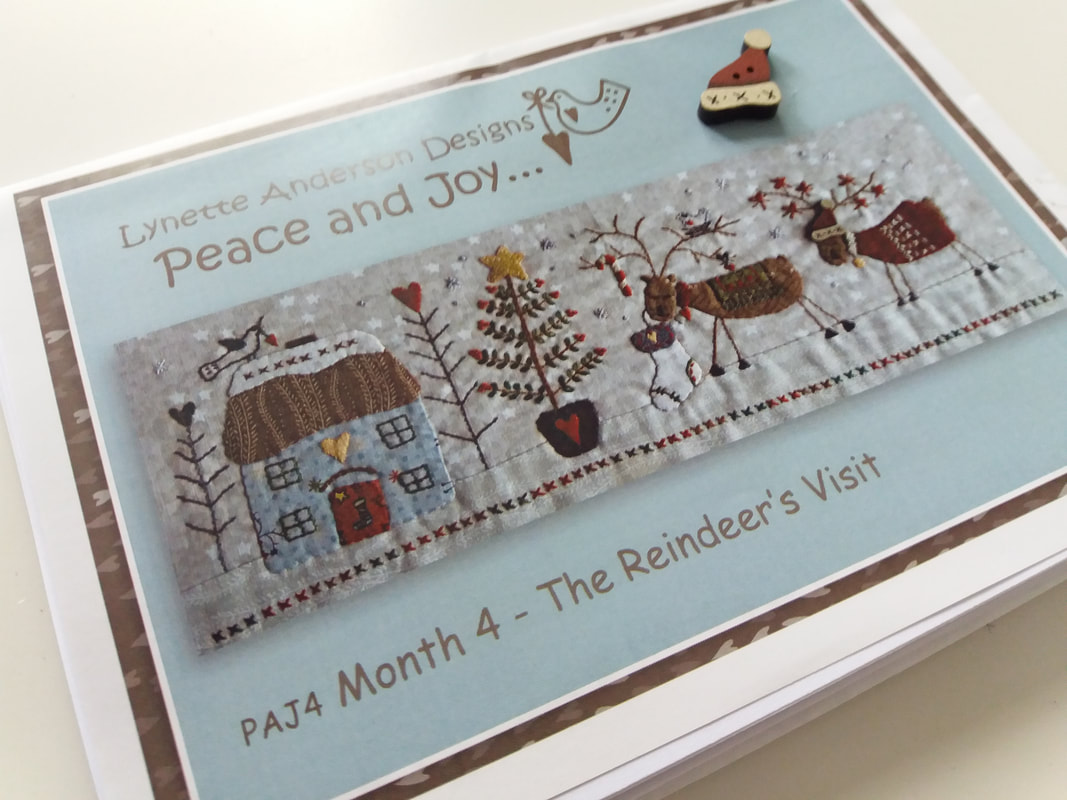
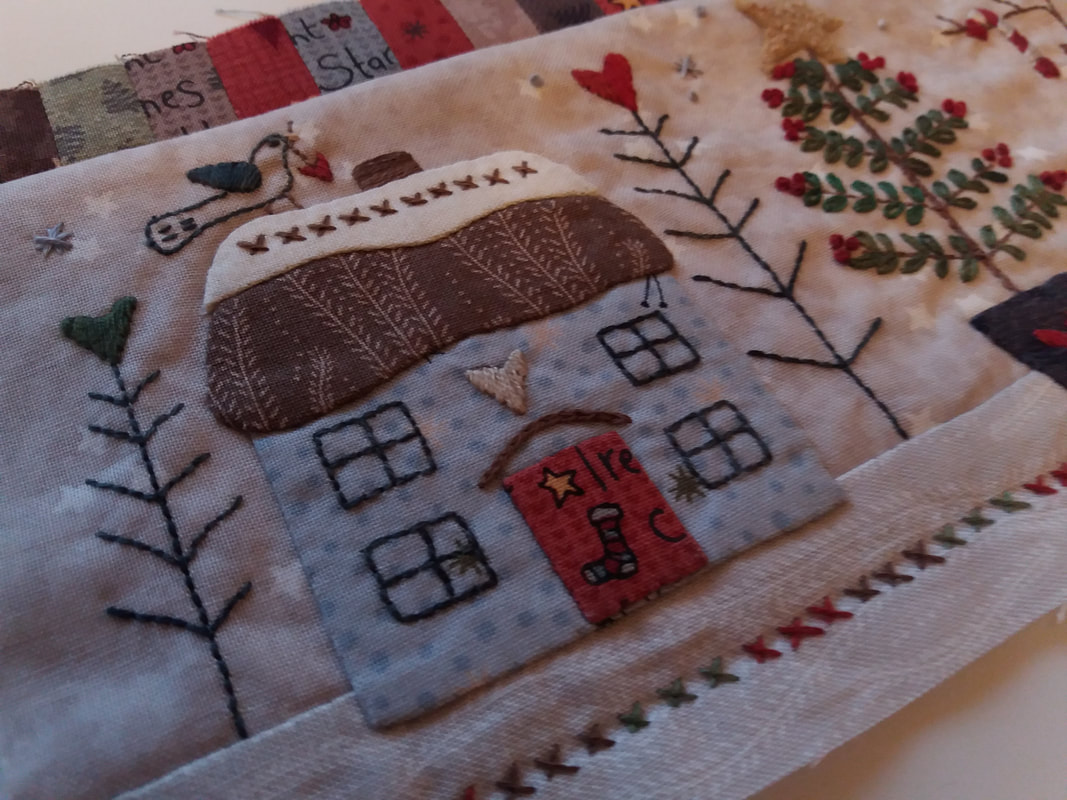
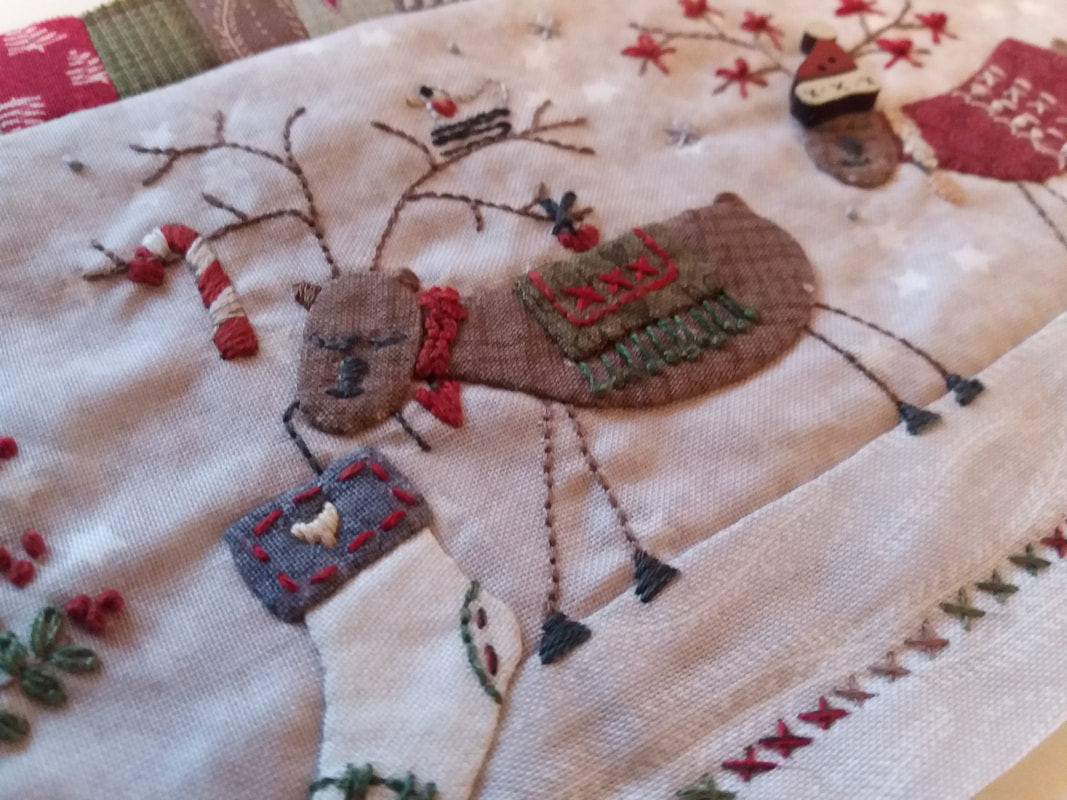
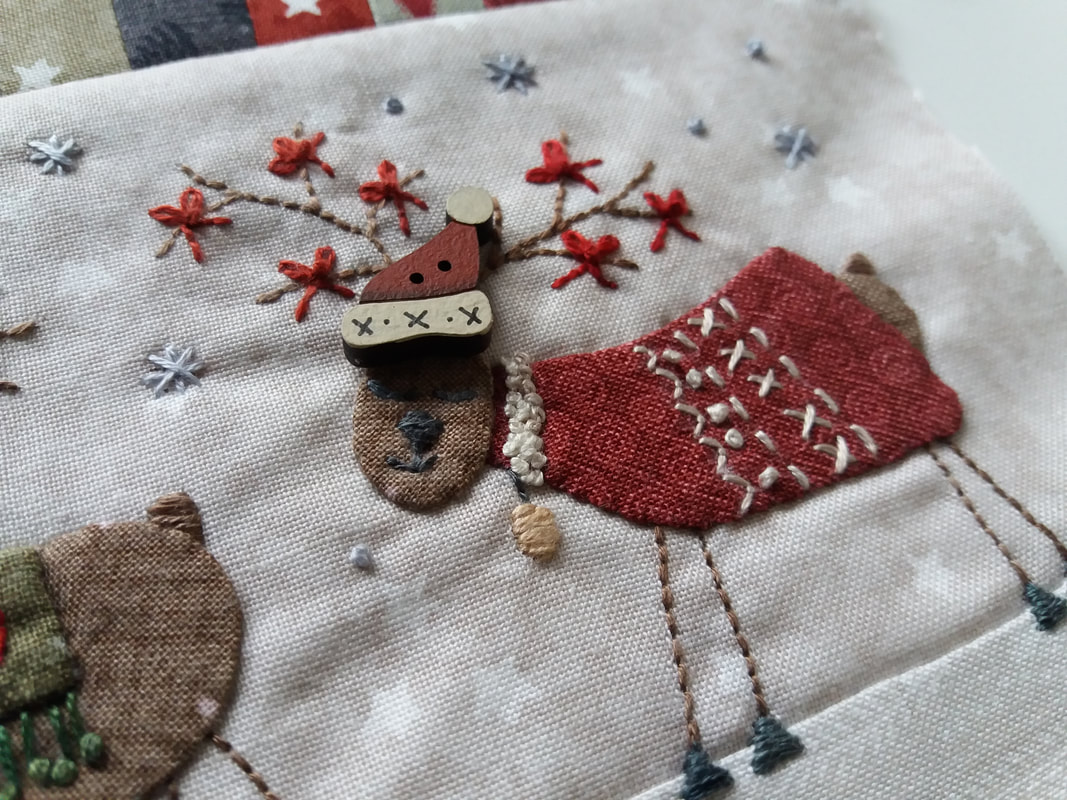
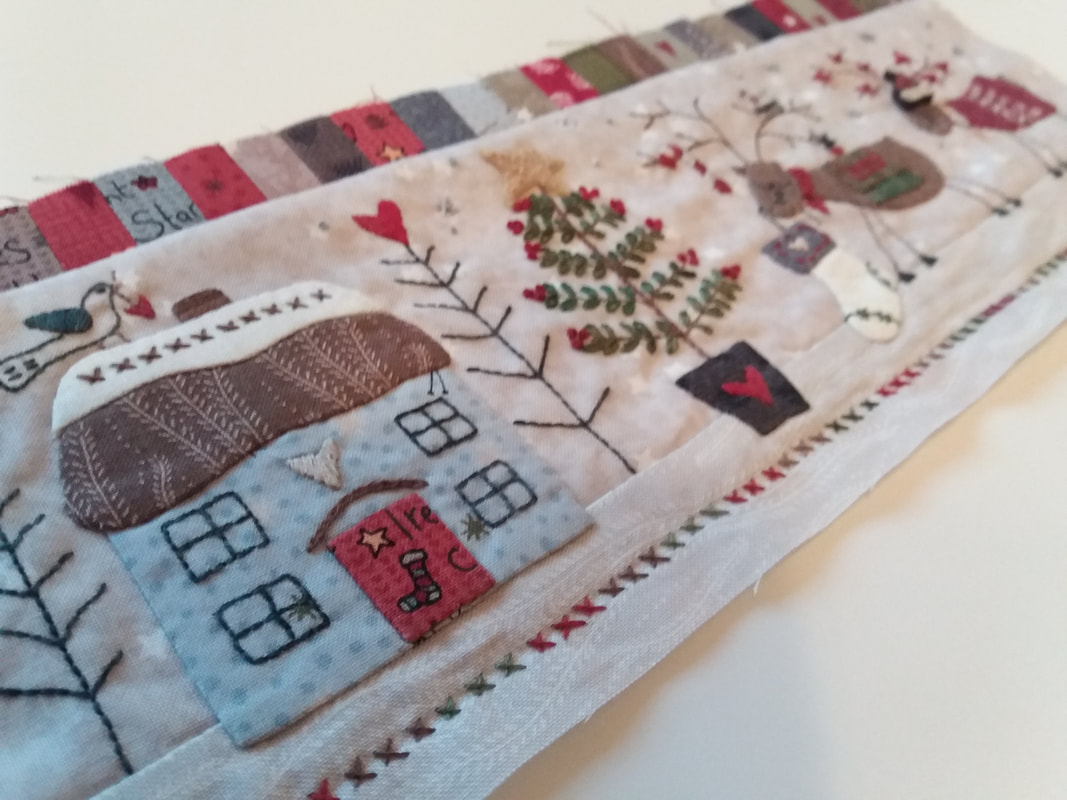
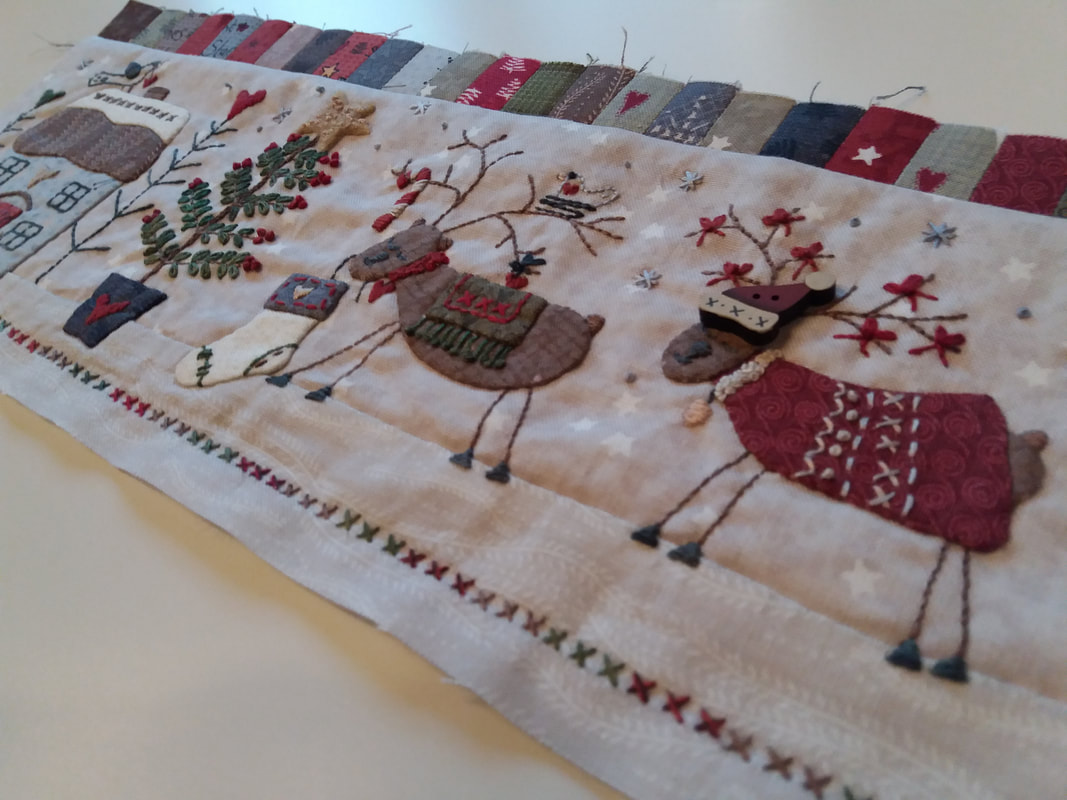
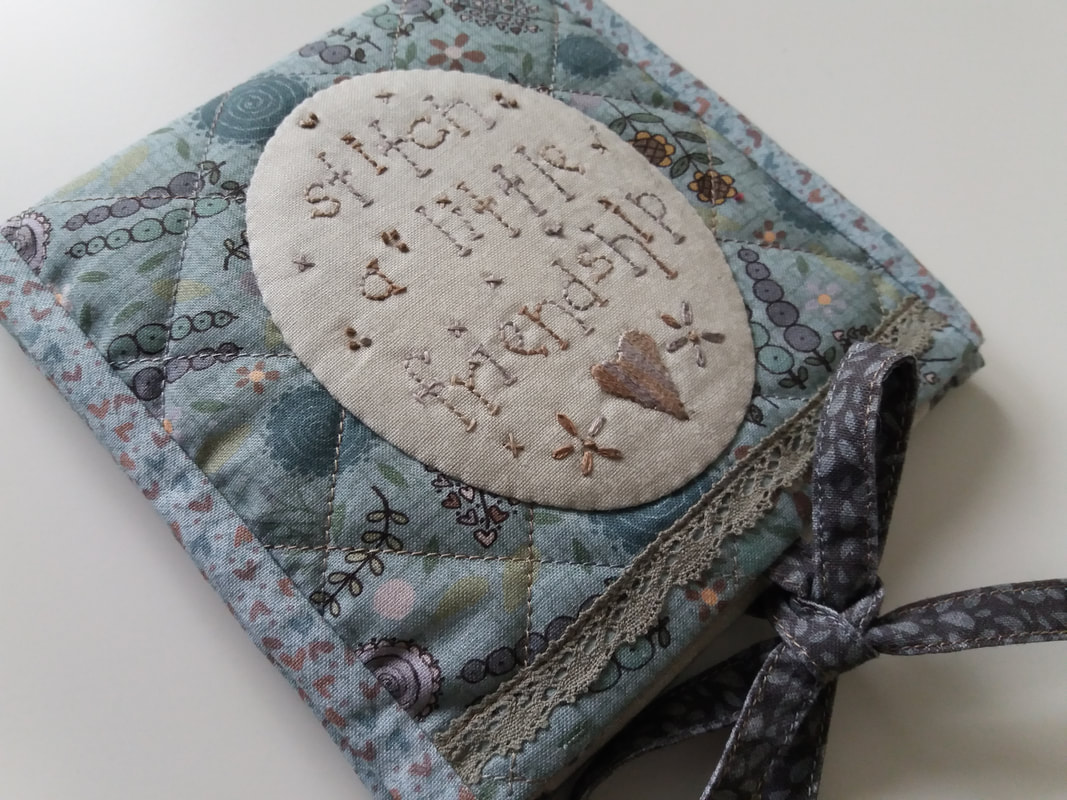
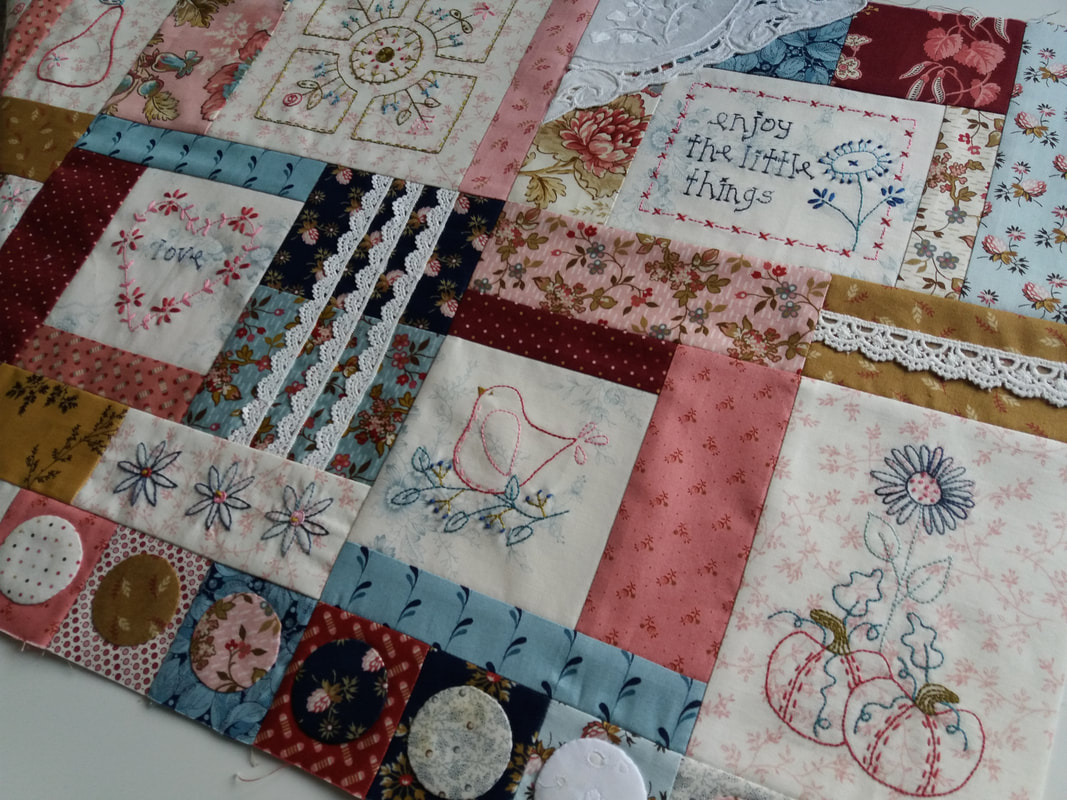
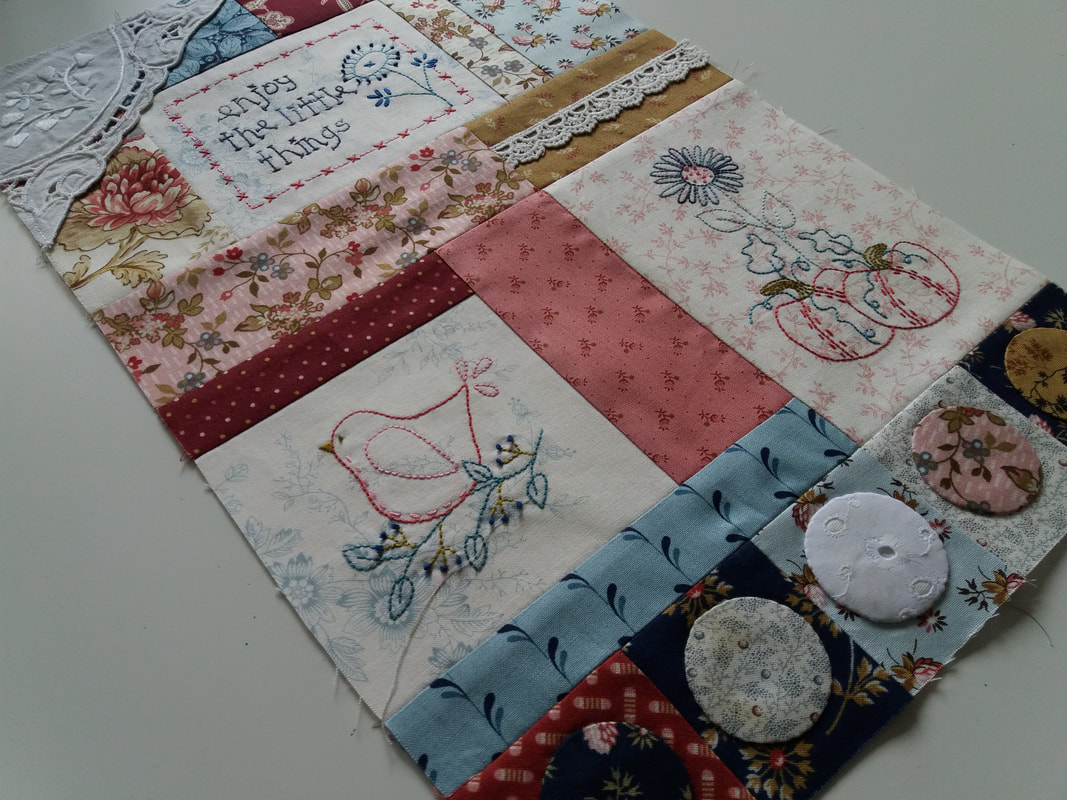
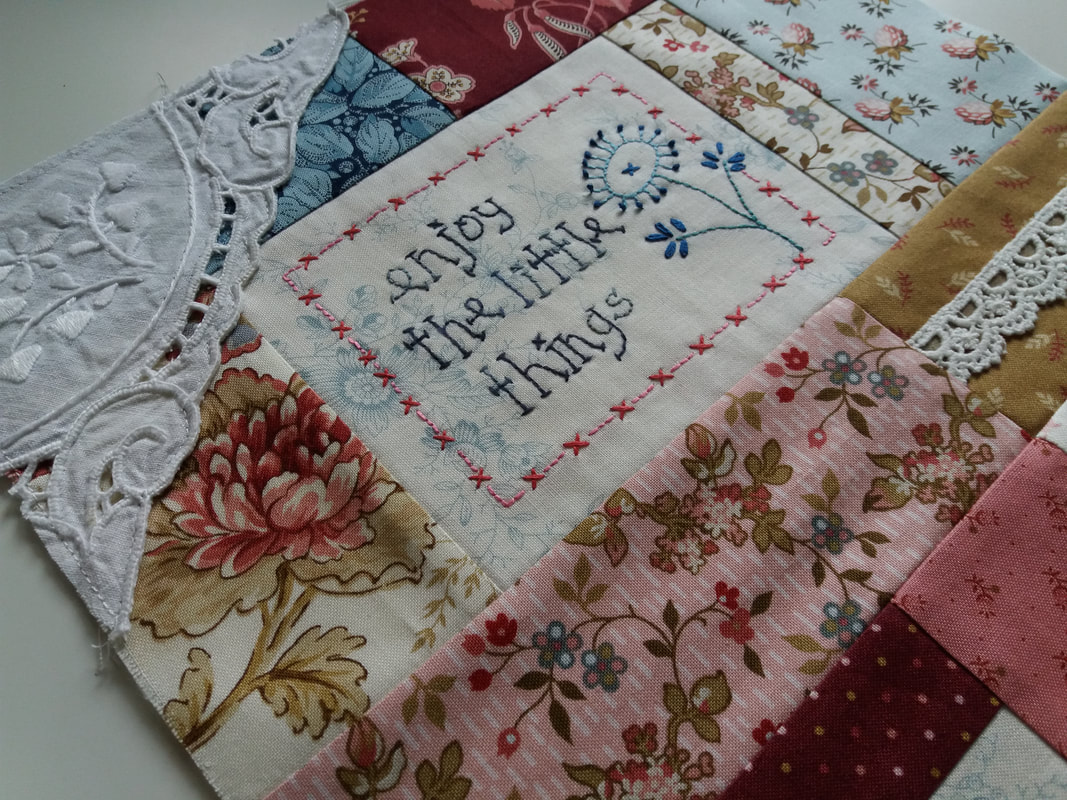
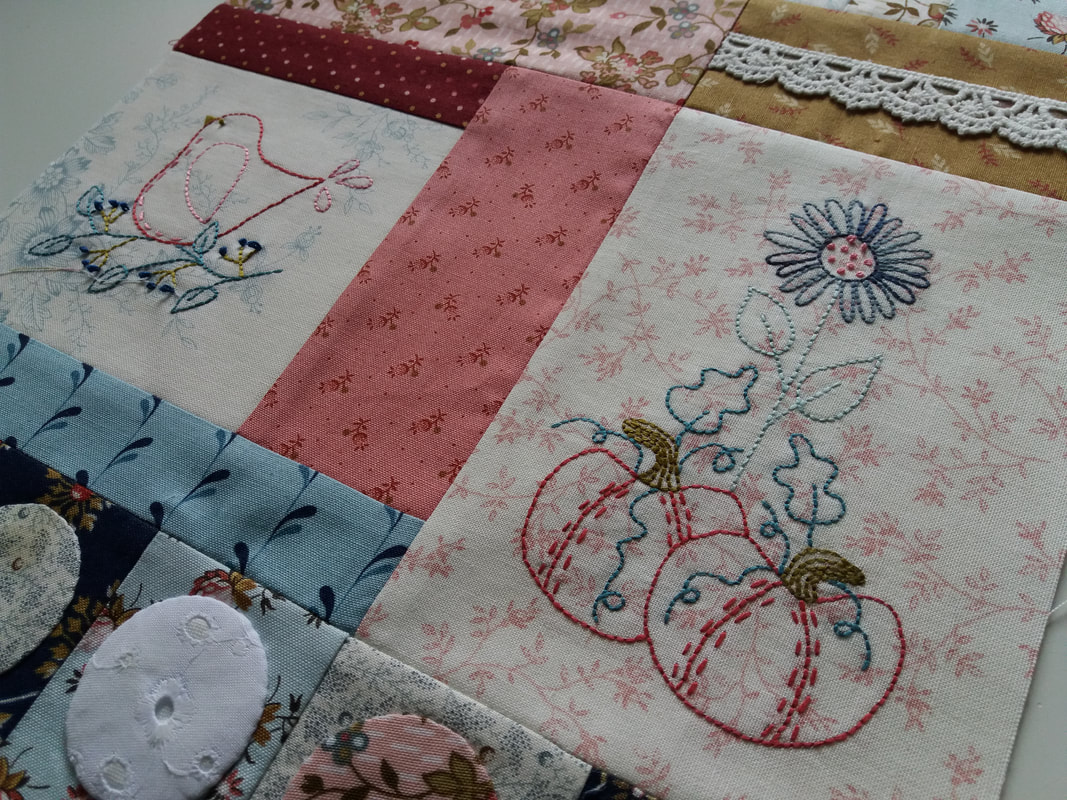
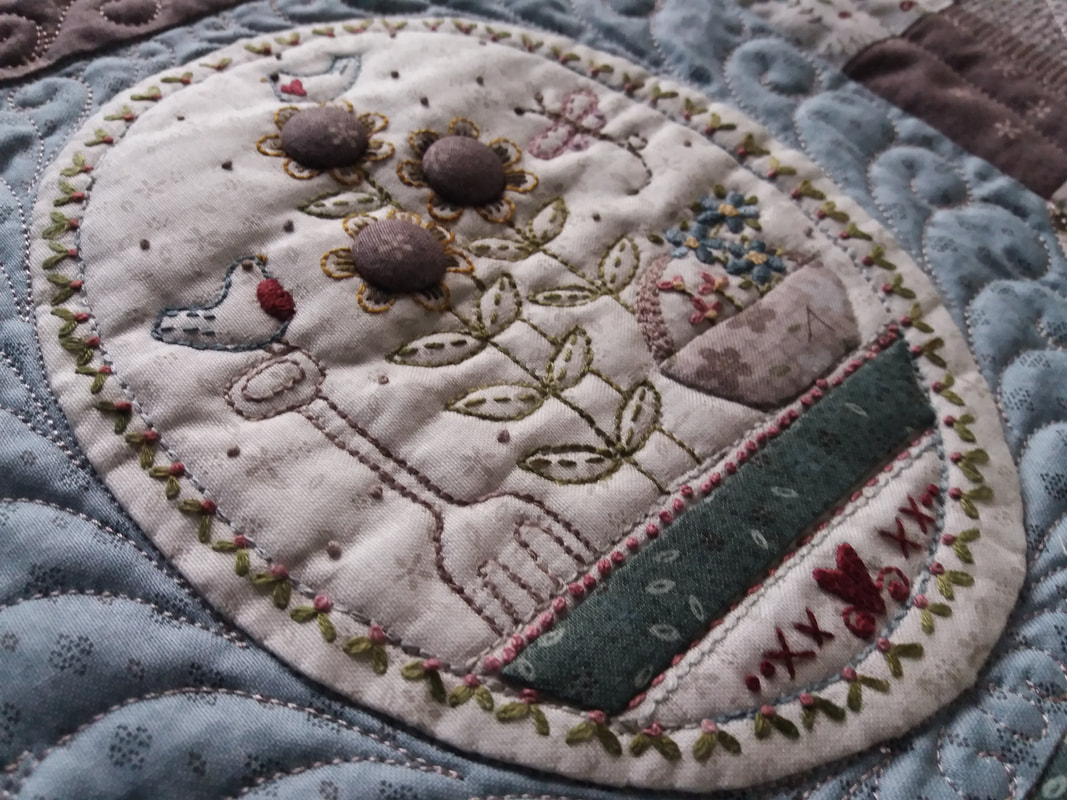
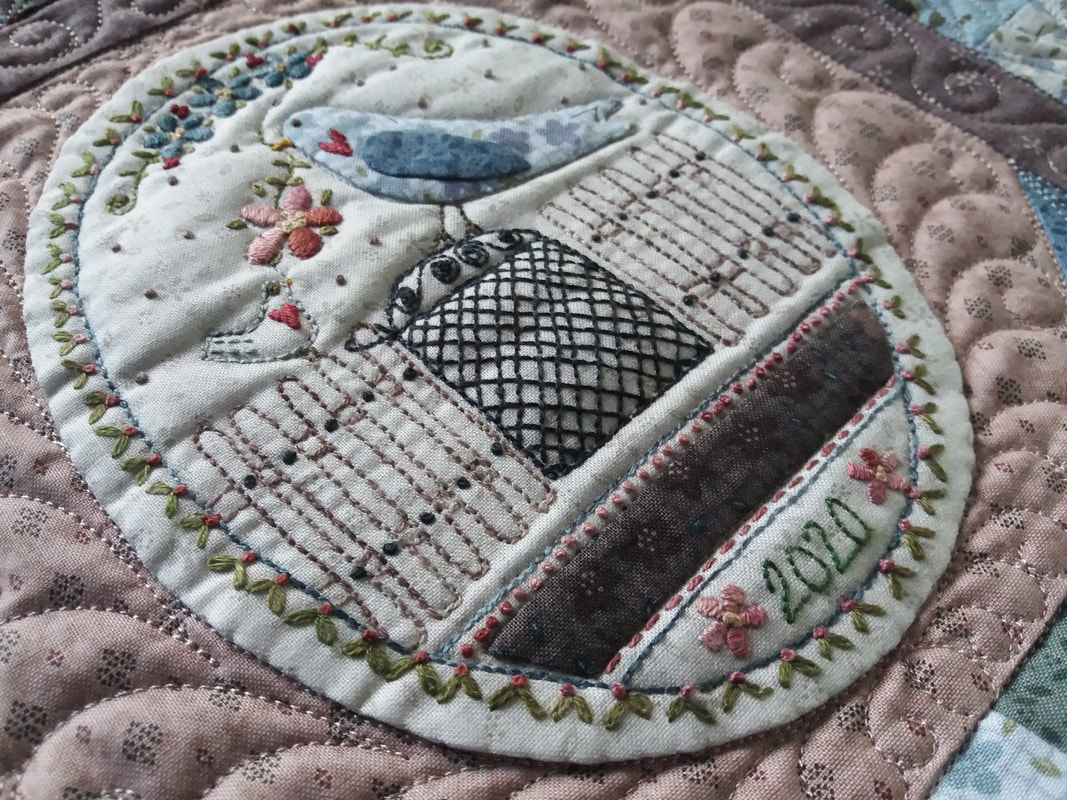
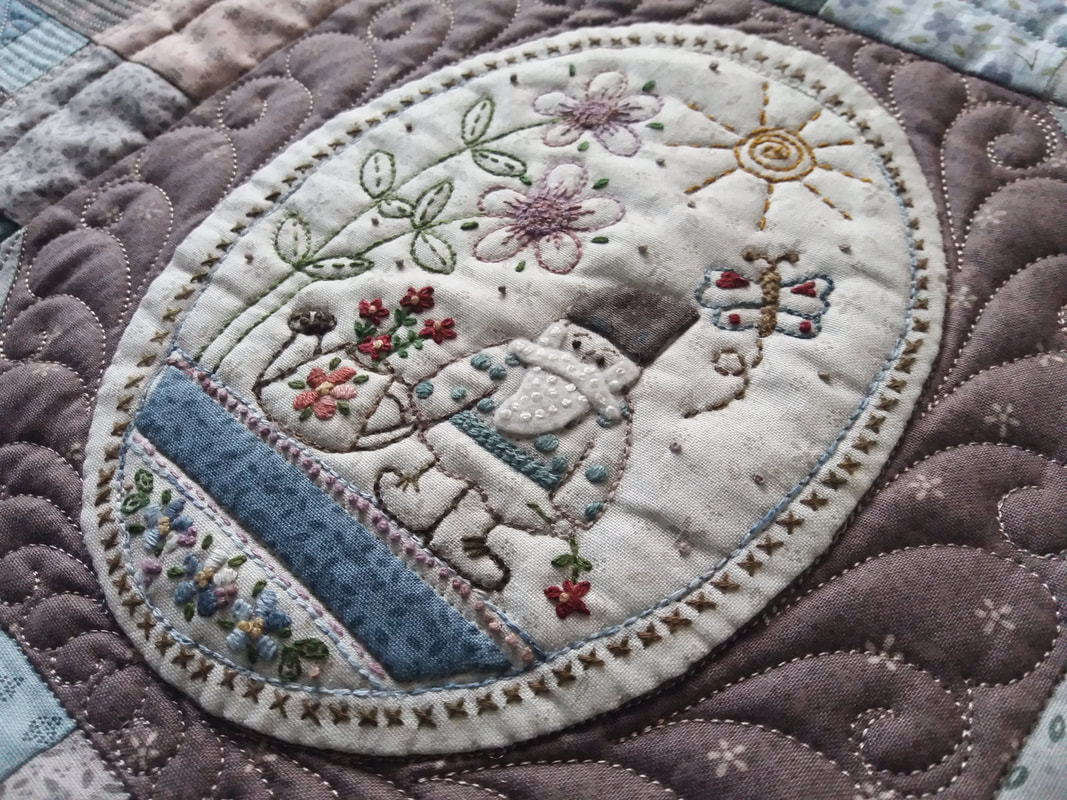
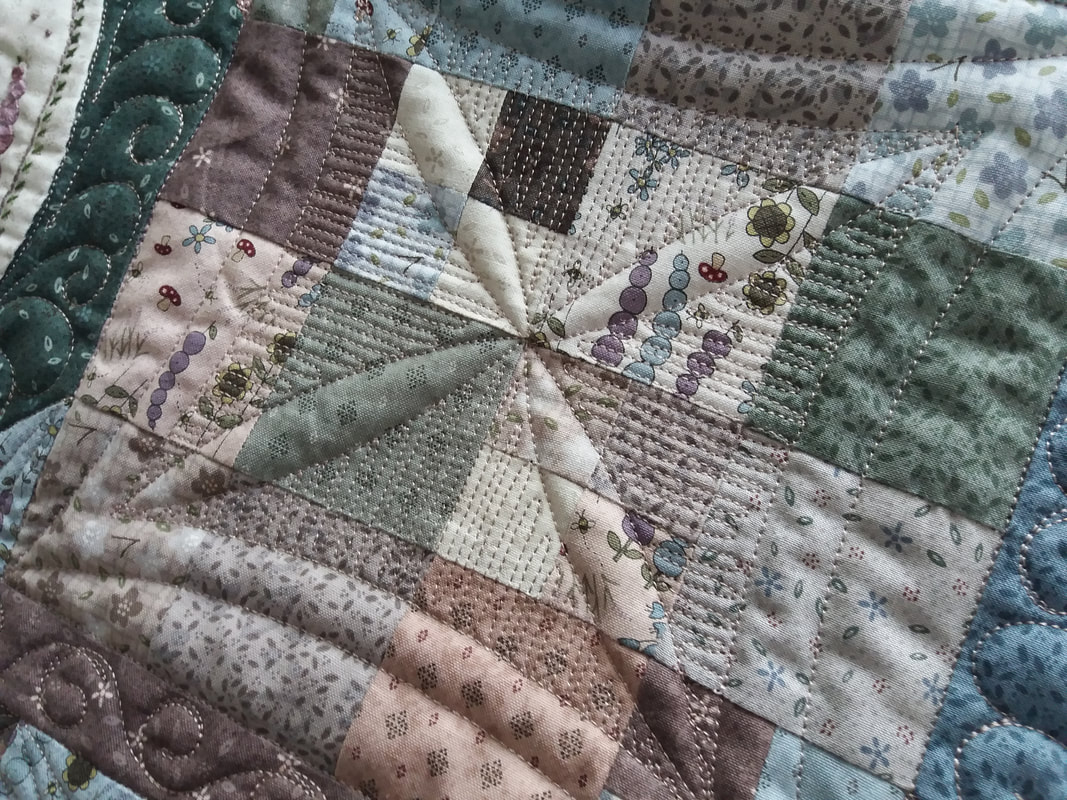
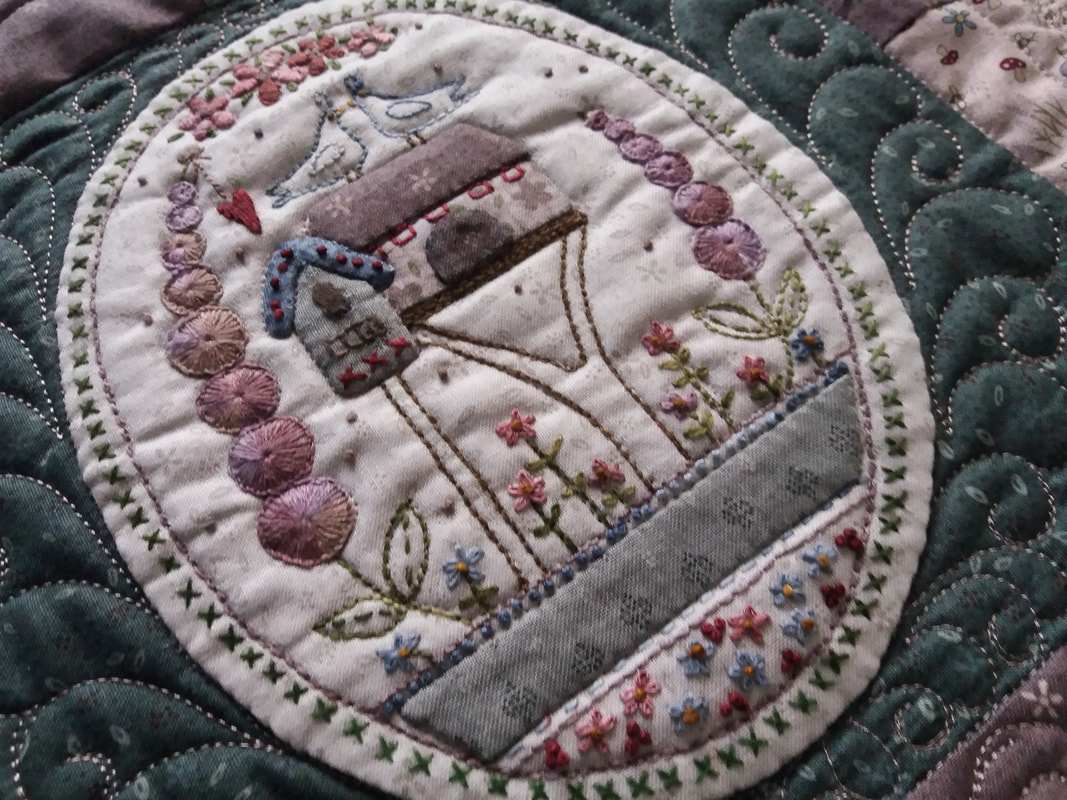
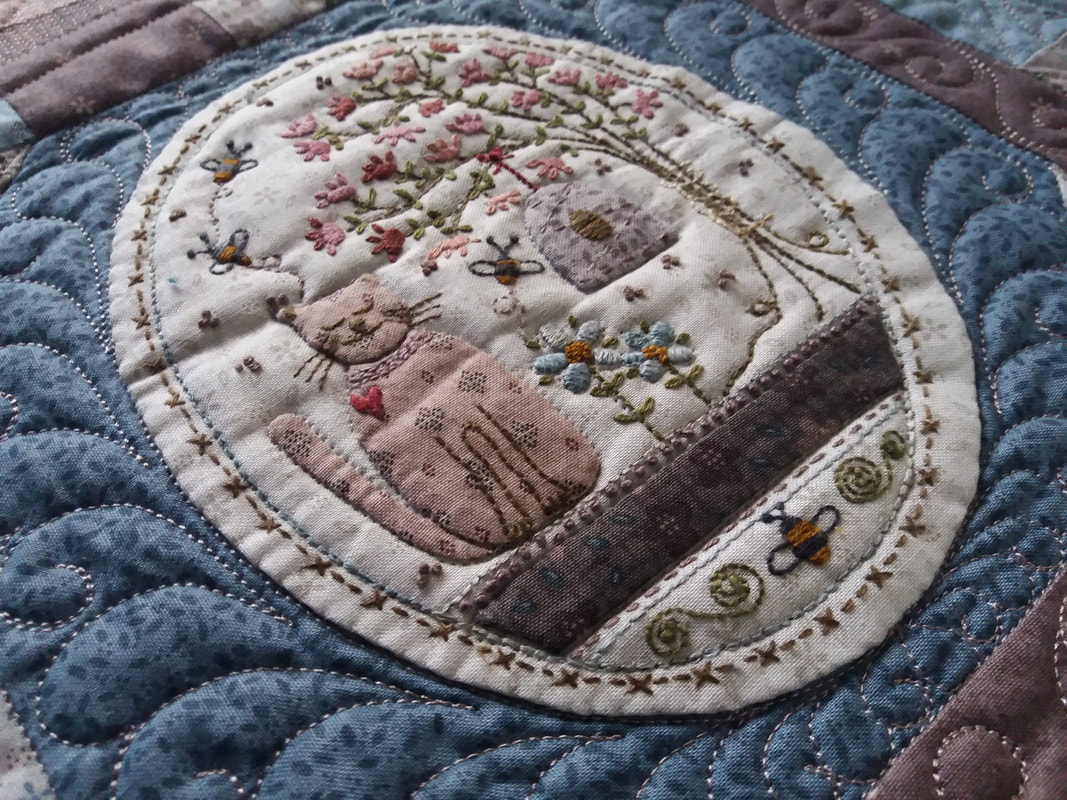
The first 5 blocks of Peace and Joy - this years mystery button club quilt by Lynette Anderson Designs - have been joined together while I'm waiting for the pattern and hand painted wooden button for the final block to arrive from Coast & Country Crafts and Quilts in Cornwall. I'm already doodling some ideas for the label!
0 Comments
Peace and Joy is the 2020 mystery button club by the Australian designer Lynette Anderson. The fifth installment is also called Peace and Joy and the pattern, along with a hand painted wooden button, was supplied from Coast & Country Crafts and Quilts The pattern includes full size stichery design and applique templates to trace. You can use whichever method of applique you prefer, but I'm using the Apliquick method. There are lots of tutorials on YouTube demonstrating this method if you're not familiar with it... ......the hand embroidery has been stitched with a selection of variegated Valdani embroidery threads, but you could substitute these for DMC threads if needed. The hand painted wooden reindeer button will be stitched in place once the quilt is finished... ...a decorative scalloped border has been added to the top edge and hand appliqued in place. I struggled with the blanket stitching on these tiny stars that are on top of 2 Christmas trees. It looked really messy so I re-did the wool applique and secured it in place with colonial knots. This block just needs a final press and then these five blocks can be joined together while I wait for the final block to arrive.
Ohhhh drum roll please - the Sewing Circle Basket has finally been completed! This has to one of the most time-consuming projects I have ever made and although it has certainly challenged my sewing abilities, I'm thrilled to bits that I've been able to complete it. This will have pride of place in my sewing studio, filled with threads and pins and scissors and lace trimmings and all my essential bits and pieces... ...this pattern is by the Australian designer Lynette Anderson, and was bought as a kit from Lynette's online shop Little Quilt Store last year. It's been languishing in my sewing studio for so long, in various stages of completion, so I really needed to get it finished. This has been hand appliqued and hand embroidered and the beautiful lid was completed at the beginning of September (I'd actually started it as my stitching project when I was in Scotland at the beginning of March)... ...the hand embroidery has been stitched using a variety of variegated Valdani embroidery threads. I love the way the scalloped border looks like a lacey trimming. I even enjoyed making those pesky hexies - there are a total of 111 of them appliqued around this basket, and it was rather an acomplishment to see that they fitted perfectly around the middle which prevented too many bad words from being uttered! I had a case of severe brain fog when I was inserting the hinges, so that part of the construction was completed differently to Lynette's instructions, and I'm very happy with how neat it looks... ...inserting a 2-way zipper can be a bit tricky if you haven't done this before. It's been a long time since I'd done this, but memeories of my sewing teacher at school demonstrating how to pull off one of the zipper ends and pop it back on facing the other direction soon came flooding back. Once the 2 zipper pulls were in place, I actually measured my zipper, attached the hinge and completed it as a "zipper circle" then inserted it once the side seam had been completed. I used fusible Bosal In-R-Form for the wadding as this gives structure and ensures the basket stands up on its own without collapsing. This basket is also beautifully lined inside and a neat binding covers all the raw edges from the base too. The finished basket is so pretty, and definitely worth all the effort and hard work it took to make it. I really don't know what took me so long to actually make it!
I've started my day with some early morning stitching, after yet another restless night. An assortment of embroidery threads (DMC, Cosmo and Valdani) have been used for these stitchery designs, which are for block 12 of the Wish You Well quilt, designed by the Australian designer Gail Pan. These just need to be pressed and trimmed to size and will be ready to piece together for the the final block. Stitching early in the morning is good for the soul and stops my mind from working overtime.
Peace and Joy is this years mystery button club by the Australian designer Lynette Anderson. The fourth installment is The Reindeer's Visit and the pattern arrived a month ago from Coast & Country Crafts and Quilts The pattern includes full size stichery design and applique templates to trace. You can use whichever method of applique you prefer, but I'm using the Apliquick method. There are lots of tutorials on YouTube demonstrating this method if you're not familiar with it... ...the hand embroidery has been stitched with a selection of variegated Valdani embroidery threads, but you could substitute these for DMC threads if needed. Both Mr and Mrs Reindeer are looking very smart, with a fringed blanket on Mr Reindeer's back and a festive frock is worn by Mrs Reindeer, along with a hand painted wooden button hat - this will be stitched in place once the quilt is finished... ...a narrow pieced border is added to the top edge of the block. Although these tiny squares are fiddly, the end result is well worth it. My top tip for stitching these is to use a straight stitch needle plate, a fine Schmetz Microtex size 60 needle and an extra small stitch length, with a back stitch at the start and end of each seam... ...I don't normally press my seams open, but found this was much easier for this pieced border to have the seams pressed open. A final press on my wool pressing mat and it was completed. This has been super cute to make, and now I'm finally caught up, ready for the next one which arrived in the post yesterday.
Here is the needlecase that matches the project bag that I shared a picture of yesterday - the pattern is called "When Stitches are Sewn" by the Australian designer Gail Pan. The pattern was included in a kit that I'd bought a couple of months ago from Poppy Patch, and included these fabrics from the Swan Cottage collection, by Lynette Anderson. I substituted my own fabric for the stitchery background, and used another print also designed by Lynette. The hand embroidery was completed using a variegated thread, from the Cosmo Seasons range, shade 5208 to match the colours in the fabrics. There wasn't enough ric-rac trimming in the kit for the needlecase too, so I added a piece of vintage lace instead... ...inside the needlecase, there are 3 pockets for storing packets of needles and threads. The front pocket is also hand embroidered using some simple stitches... ...I added my own touch to this pattern, and stitched a piece of woolfelt inside to use as a needle keeper, trimmed with another piece of vintage lace. A few speacial heart topped pins were added as this was made for a very special person, with lots of love... ...both the project bag and the needlecase were posted off to my sister last week for her birthday. She's an excellent knitter and hand sewer, so I hope she'll find these useful.
"When Stitches are Sewn" is a pattern by the Australian designer Gail Pan and has instructions to make a hand embroidered project bag, needlecase and pincushion. This was bought as a kit from Poppy Patch back in September and included the pattern, fabrics, perle thread for hand quilting, self covered button and ric-rac trimming. These gorgeous fabrics are from the Swan Cottage collection, by Lynette Anderson. I wasn't keen on the plain cream stitchery background fabric supplied in the kit, so I added my own piece from my stash. Gail's instructions includes some suggested colours for the embroidery, however I decided to use just one thread to match the fabrics for this project and chose a variegated Cosmo Seasons embroidery thread shade 5208... ...the front and back of the project bag were both machine quilted very simply, with some ric rac trimming added between the 2 fabrics, then the hand embroidered panels were appliqued into place. I pnly had white cord in my box of trimmings, so coffee-stained a piece to use for this bag. If I made another one, I'd probably use fabric drawstrings... ...and here is the finished project bag, looking as neat on the inside as it is on the outside! With smart boxed corners, it's perfect for storing hand sewing projects in, or even knitting. There's also a pretty needlecase included with this pattern, which I'll share some pictures of tomorrow. This was posted off to my sister for a very special birthday, and I'm sure she'll put it to good use as she's very crafty!
Wish You Well has been this year's mystery BOM by Gail Pan Designs and I really can say I have enjoyed every single stitch. The patterns have been available as a PDF download from Gail Pan's website (see link in sidebar). At times this has been my salvation, my stress reliever, it's kept me sane during uncertain times. These pretty fabrics are from the Super Bloom collection by Edyta Sitar, (bought from Cross Patch) and these fabrics really are lovely to sew with. Decorated with vitage linens and lace trimmings, hand embroidered and hand appliqued, this really has been a labour of love. And now there is just one block left to make. Where have the past few months gone!
Here's the 11th block of Wish You Well - it's the 2020 I Stitch Club design, which is a mystery block of the month, designed by the Australian designer Gail Pan Designs and is available from her website as a PDF download. This combines a mixture of hand embroidery and applique (you can use whatever method of applique you prefer). Each month you're sent an email with a PDF download with the pattern instructions, colour picture of the completed block and a full size traceable stitchery design. You also get a bonus project each month. I've used a GORGEOUS selection of fabrics for this project, that are from the Super Bloom collection by Edyta Sitar, which were purchased from Cross Patch an online shop based in Wales here in the UK... ...as you can see, I've used a piece of a vintage linen napkin and some vintage lace trimming on this block. I've got quite a collection of vintage linens, lace trimmings, buttons and ribbons, moustly sourced from charity shops and vintage markets. The stitchery has been hand embroidered using a selection of DMC, Cosmo and Valdani embroidery threads. You can click on the pictures below to enlarge them if you want to see them in more detail. This is such a pretty BOM, I'm really looking forward to seeing these blocks all pieced together!
If you want to take part too, click on the link on the sidebar of my blog to take you to Gail Pan's website where you'll get all the details. Here are a few close-ups of the hand embroidered blocks for the Green Thumb quilt, that I shared a picture of yesterday. This is a design by Lynette Anderson Designs, and was bought as a kit from Cross Patch which included the set of patterns and all the fabrics required for the quilt top, including the backing and binding fabrics. These were all stitched using a selection of variegated Valdani threads. I've used a lightweight fusible interfacing on the wrong side of the background fabric, to prevent shadowing of the darker threads. My favourite embroidery needles are the Hiroshima Tulip menbroidery needles, and they're available in a variety of sizes. Once the embroidery was completed, these cameos were hand appliqued onto the block.
|
About me...Hi - welcome to my quilting blog! My passions are my family, my dog, my friends and sewing, not necessarily in that order! Archives
January 2025
Blogs I followUK shopsThese are the UK shops that I use to purchase my quilting supplies - fabrics and threads etc.
Australian linksScandinavian links |