|
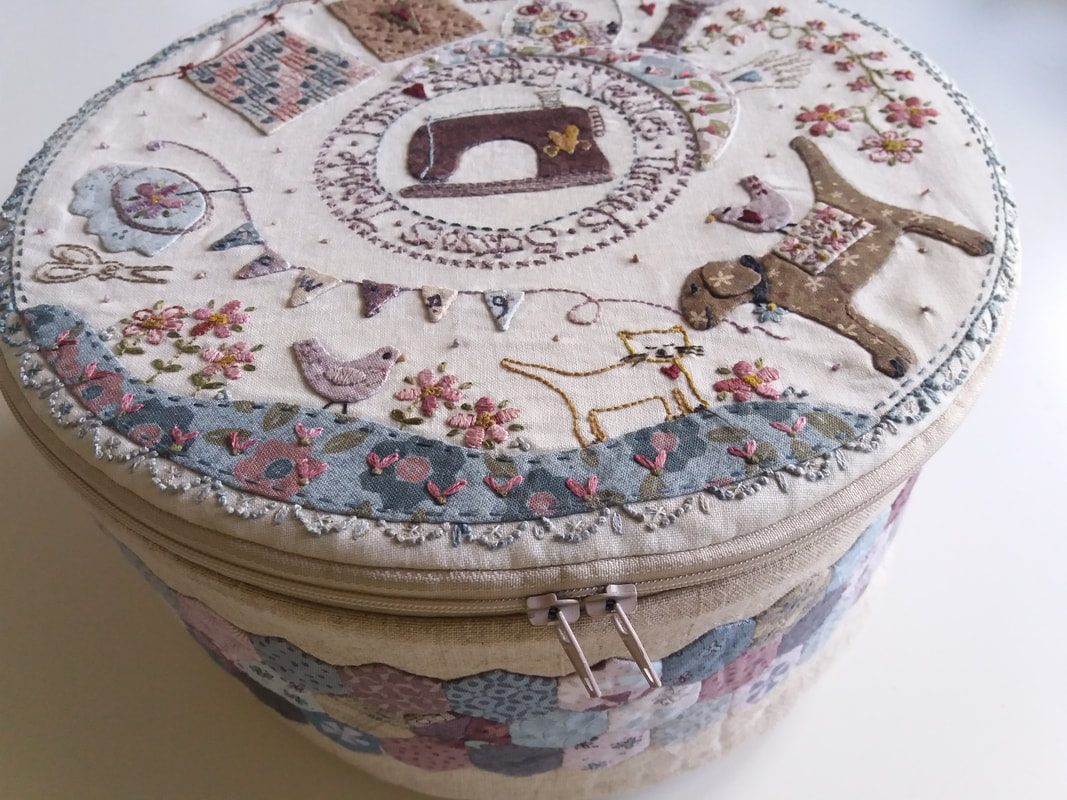
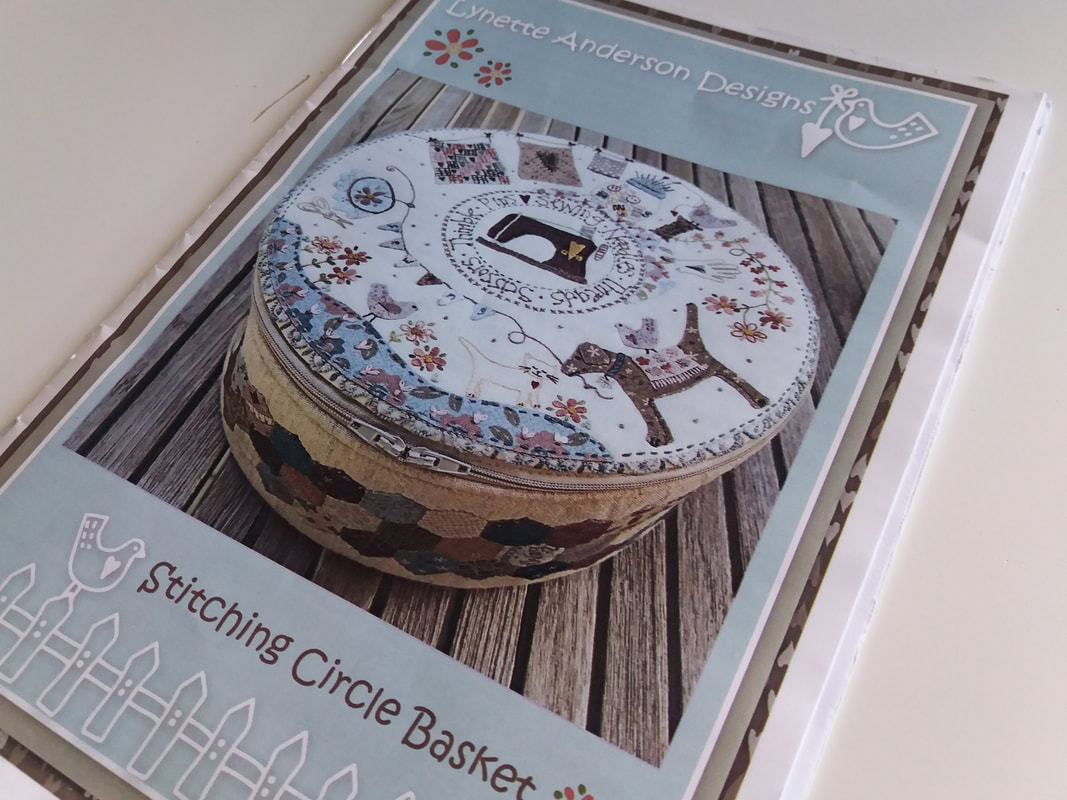
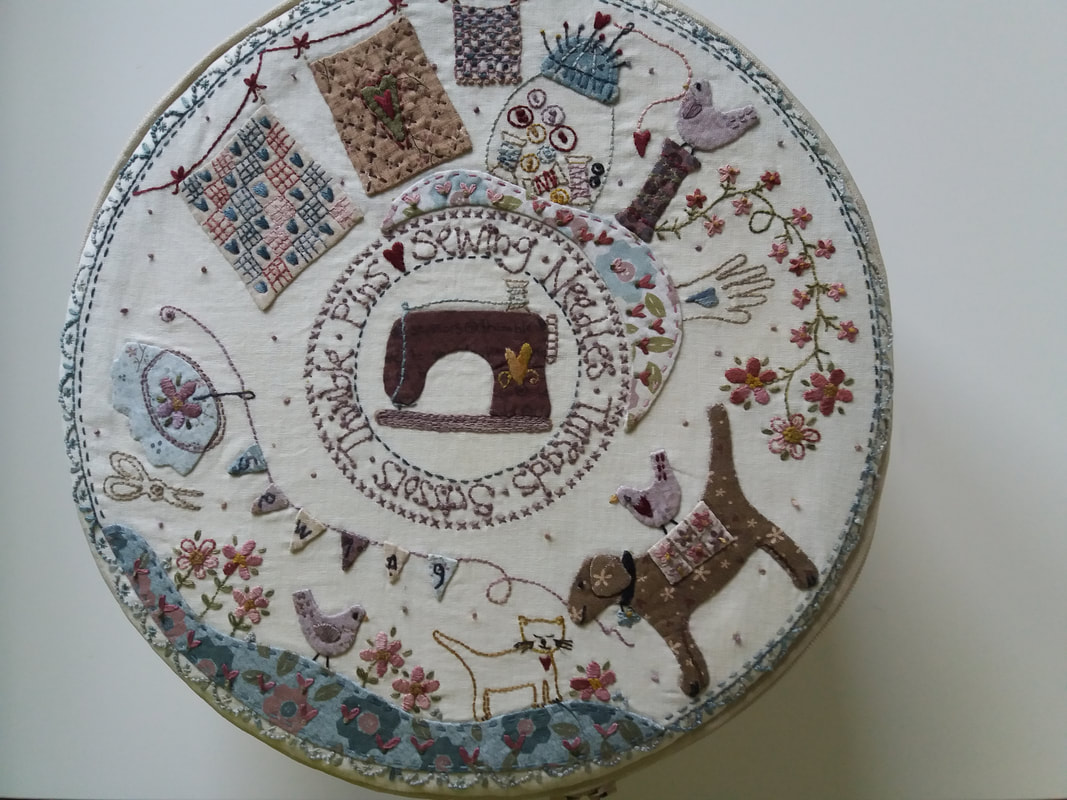
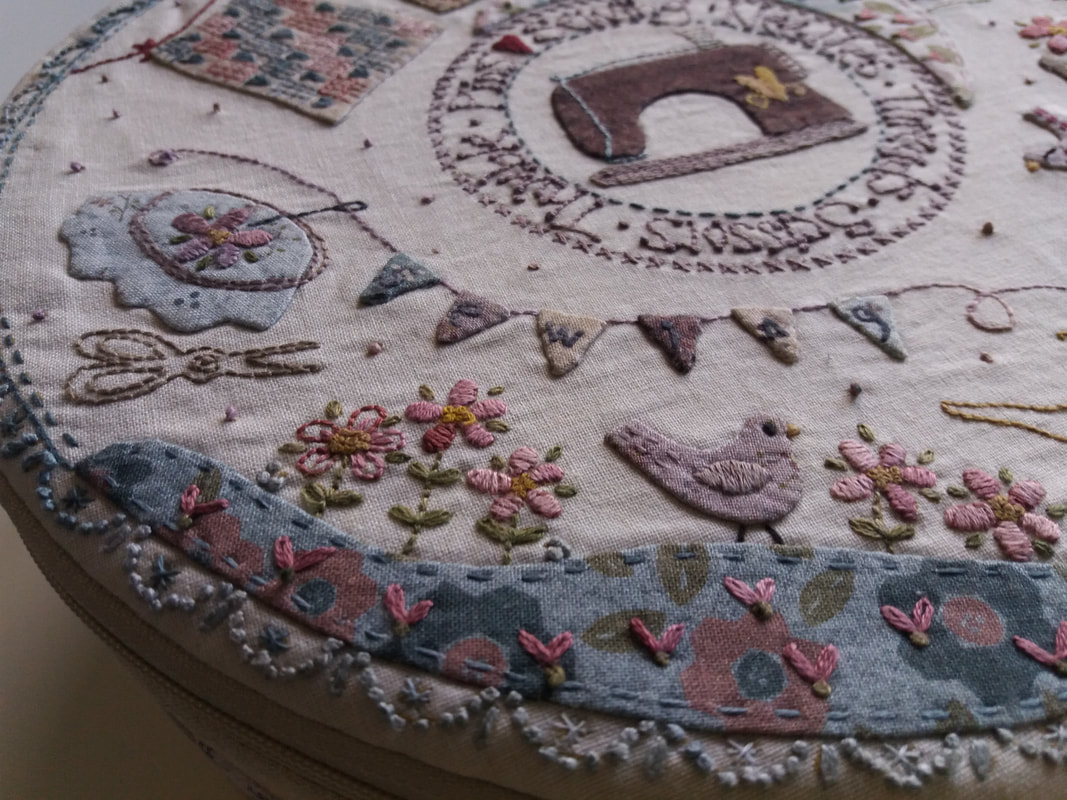
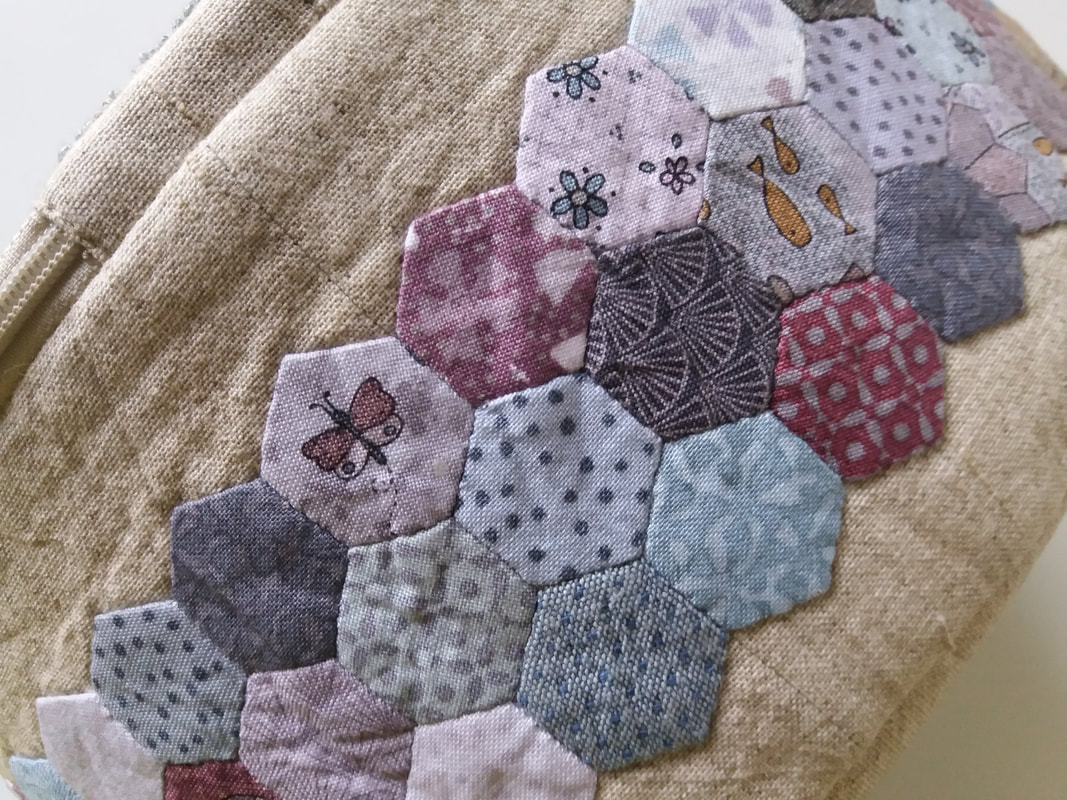
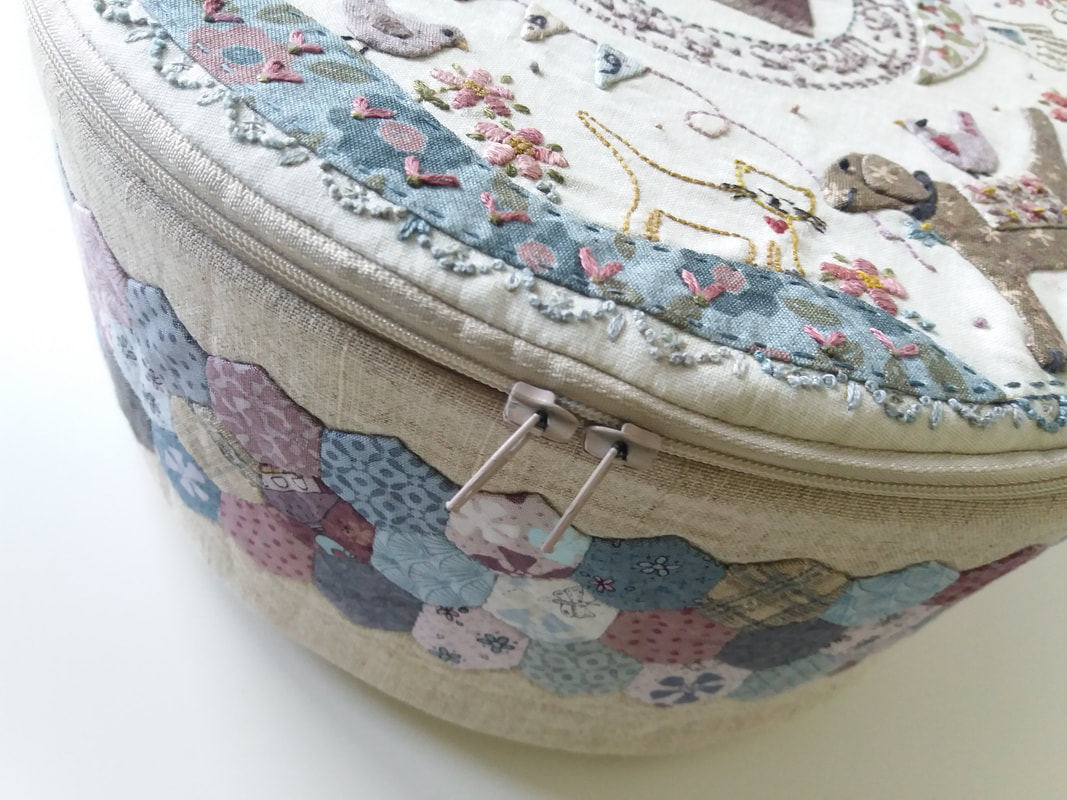
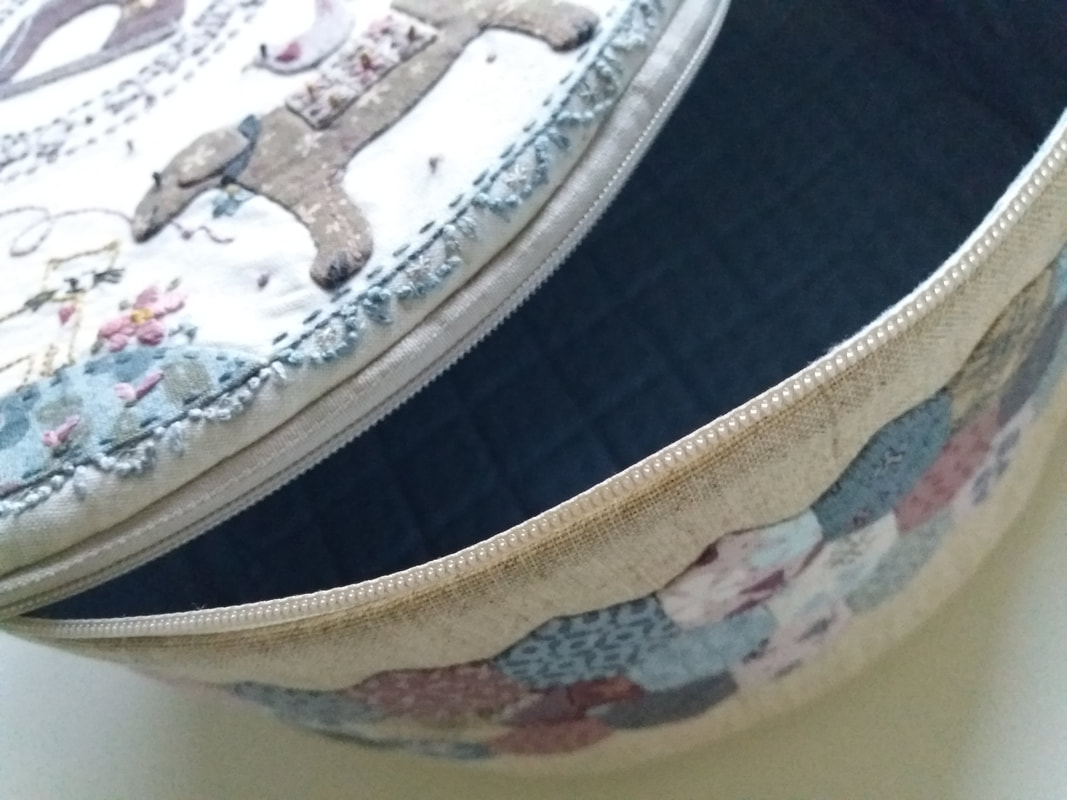
Ohhhh drum roll please - the Sewing Circle Basket has finally been completed! This has to one of the most time-consuming projects I have ever made and although it has certainly challenged my sewing abilities, I'm thrilled to bits that I've been able to complete it. This will have pride of place in my sewing studio, filled with threads and pins and scissors and lace trimmings and all my essential bits and pieces... ...this pattern is by the Australian designer Lynette Anderson, and was bought as a kit from Lynette's online shop Little Quilt Store last year. It's been languishing in my sewing studio for so long, in various stages of completion, so I really needed to get it finished. This has been hand appliqued and hand embroidered and the beautiful lid was completed at the beginning of September (I'd actually started it as my stitching project when I was in Scotland at the beginning of March)... ...the hand embroidery has been stitched using a variety of variegated Valdani embroidery threads. I love the way the scalloped border looks like a lacey trimming. I even enjoyed making those pesky hexies - there are a total of 111 of them appliqued around this basket, and it was rather an acomplishment to see that they fitted perfectly around the middle which prevented too many bad words from being uttered! I had a case of severe brain fog when I was inserting the hinges, so that part of the construction was completed differently to Lynette's instructions, and I'm very happy with how neat it looks... ...inserting a 2-way zipper can be a bit tricky if you haven't done this before. It's been a long time since I'd done this, but memeories of my sewing teacher at school demonstrating how to pull off one of the zipper ends and pop it back on facing the other direction soon came flooding back. Once the 2 zipper pulls were in place, I actually measured my zipper, attached the hinge and completed it as a "zipper circle" then inserted it once the side seam had been completed. I used fusible Bosal In-R-Form for the wadding as this gives structure and ensures the basket stands up on its own without collapsing. This basket is also beautifully lined inside and a neat binding covers all the raw edges from the base too. The finished basket is so pretty, and definitely worth all the effort and hard work it took to make it. I really don't know what took me so long to actually make it!
0 Comments
Leave a Reply. |
About me...Hi - welcome to my quilting blog! My passions are my family, my dog, my friends and sewing, not necessarily in that order! Archives
July 2023
Blogs I followUK shopsThese are the UK shops that I use to purchase my quilting supplies - fabrics and threads etc.
Australian linksScandinavian links |


 RSS Feed

