This really is such a pretty project to stitch, and last weekend my fingers were itching to get stitching block 2. There are lots of small stitchery pieces in this block, so I fused some weave line onto the back of a selection of fabrics that are suitable for stitchery, and then cut out the pieces that I needed. The leftovers will be used for future blocks. This is also easier than trying to fuse interfacing onto such small pieces (some are only 1.5" x 2.5"). I traced the stitchery designs with a pale brown coloured fine tipped Micron Pigma pen. You do need a steady hand as the ink is permanent. Once all the pieces of fabric had been cut out and all the stitchery designs traced, the block was stitched together. I machined around the outside edge using a 3mm length stitch about 1/8" from the raw edge, to stop the small blocks from coming undone. I used a slightly smaller than normal stitch when the block was pieced together, and used a neutral coloured Aurifil 50wt thread, a Schmetz Microtex size 60 needle (they're super fine and very sharp) and a straight stitch needle plate to help with the precision piecing of such small pieces... ...once the block was pieced together, I made a start on the hand embroidery with the DMC embroidery threads. The pattern suggests using 3 strands of thread, but I found that a bit too bulky, so I've just used 2 strands, and it covers the traced lines perfectly. I always use a wooden embroidery hoop for my work, as it keeps the fabric nice and taut... ...and here's the finished block, finally completed.Once all the hand embroidery is finished, I press the block on the back, using a thick towel on top of the ironing board so the embroidery stitches don't get flattened. These fabrics really look very pretty together, and the hand embroidery has been very relaxing to do in the evenings after a busy day at work. I'm hoping to make a start on prepping the next block later today as I'm having a crafty/sewing day with a couple of friends. And yes, cake may be involved too!
0 Comments
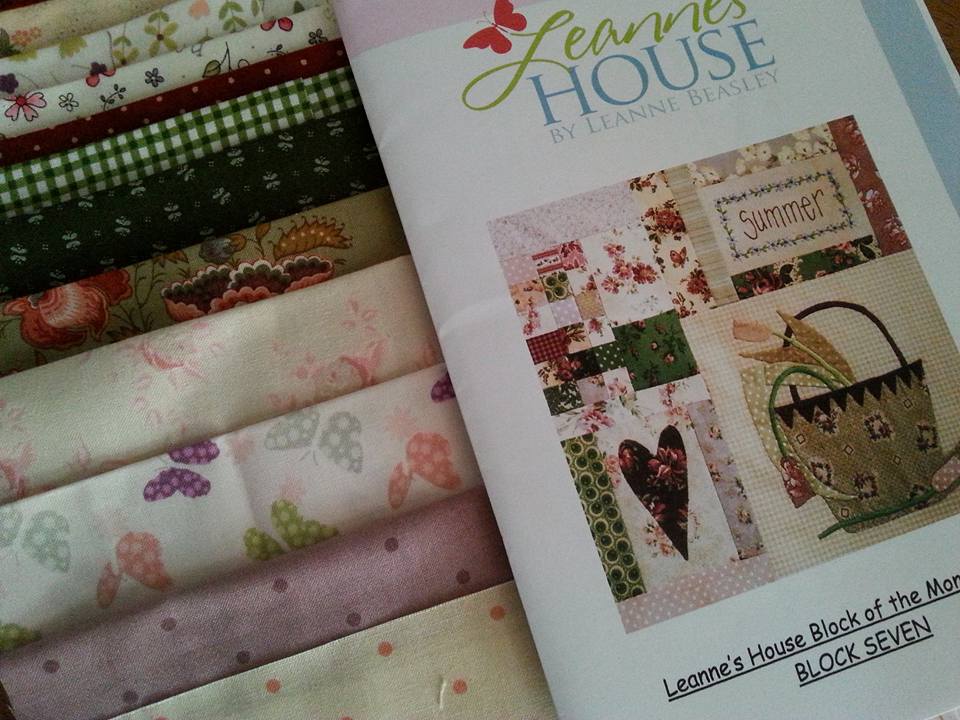
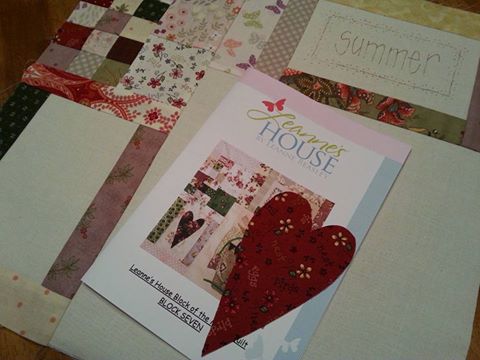
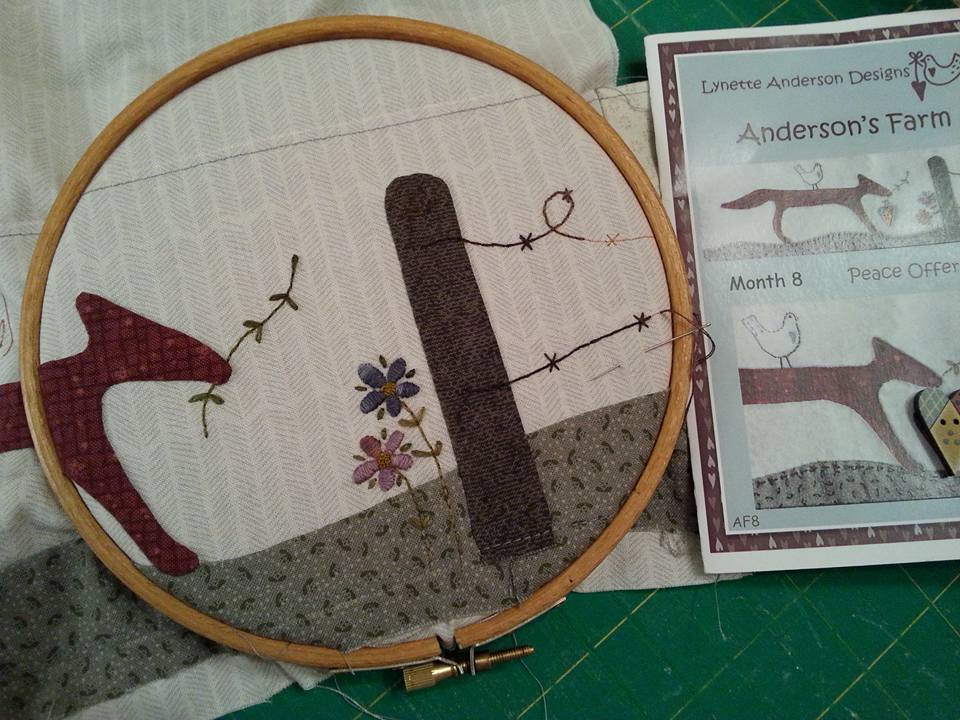
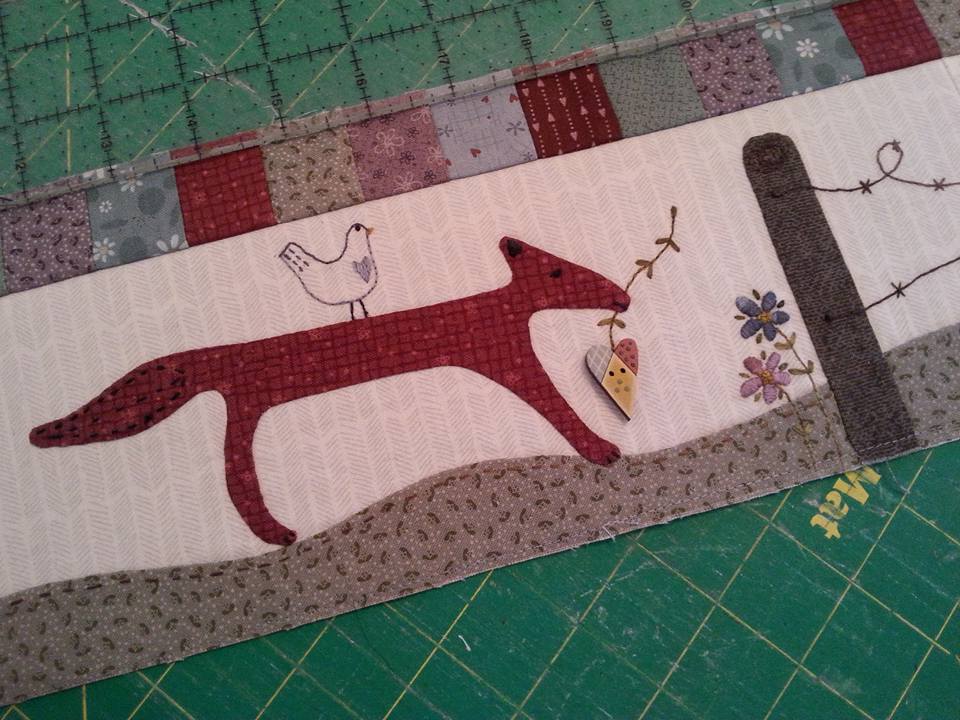
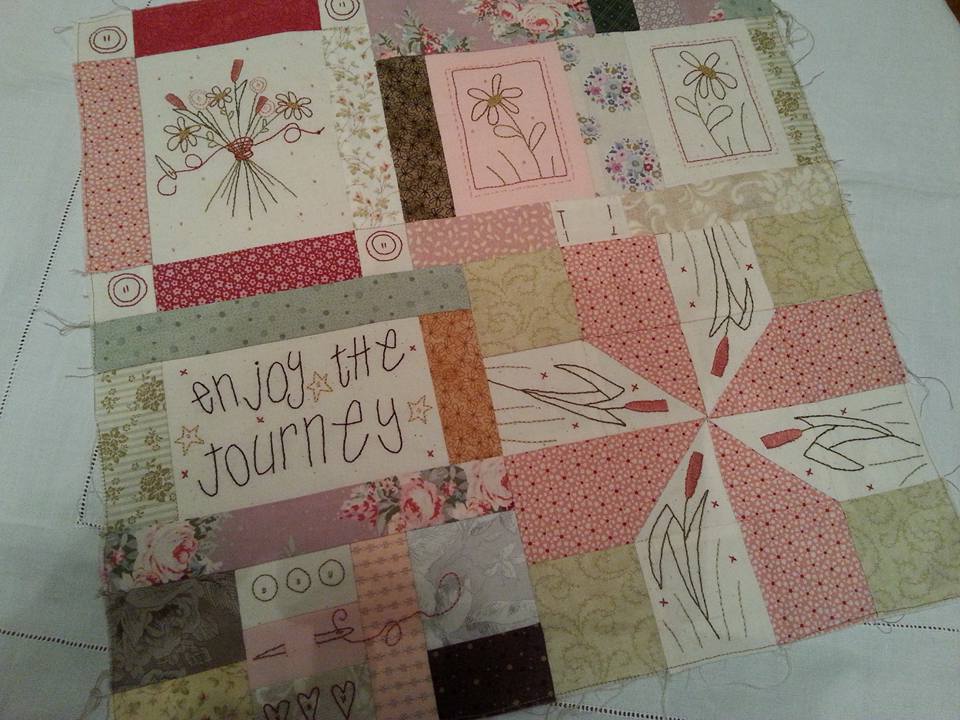
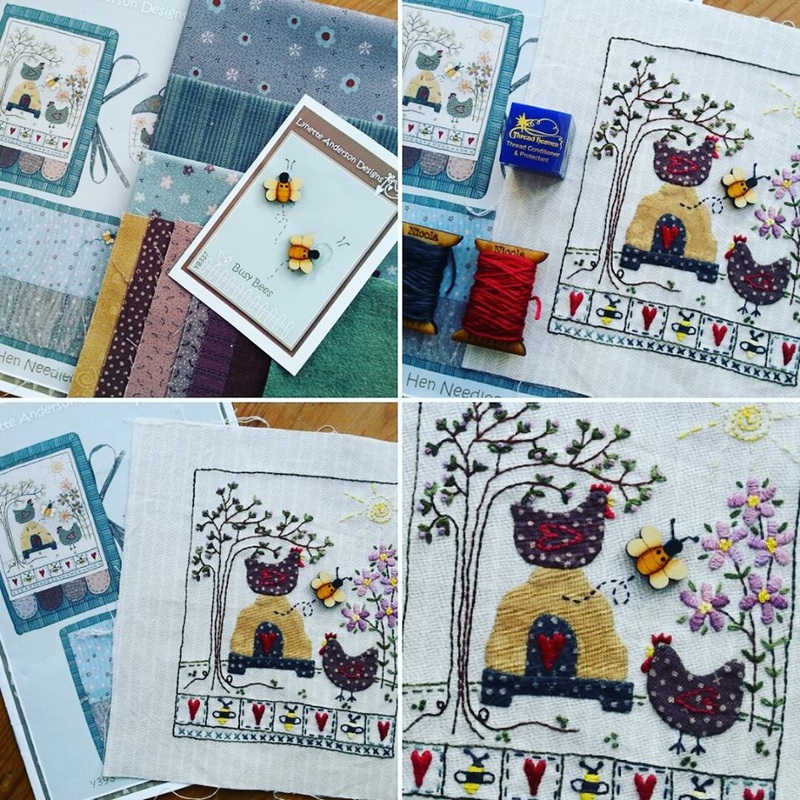
While I was away on my hols in Yorkshire a couple of weeks ago, the pattern for block 7 of "Leanne's House" arrived in the post from Cross Patch in Wales! I managed to piece the block together in one evening, and trace the stitchery design with a Micron Pigma pen. The applique templates were traced onto applique paper, cut out and fused to the back of the fabric... 
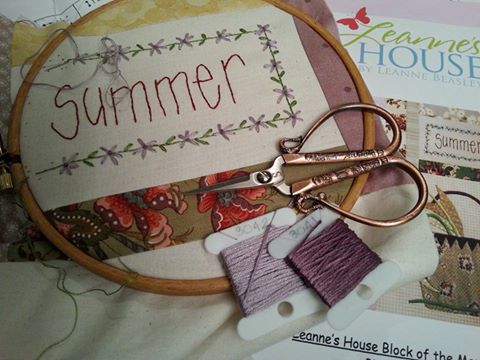
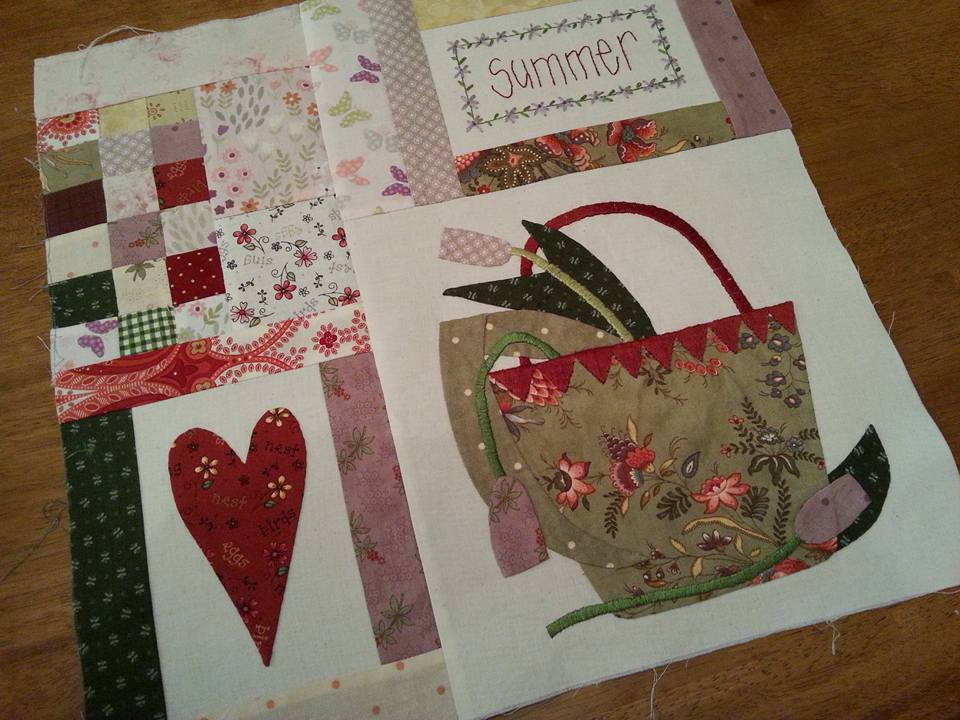
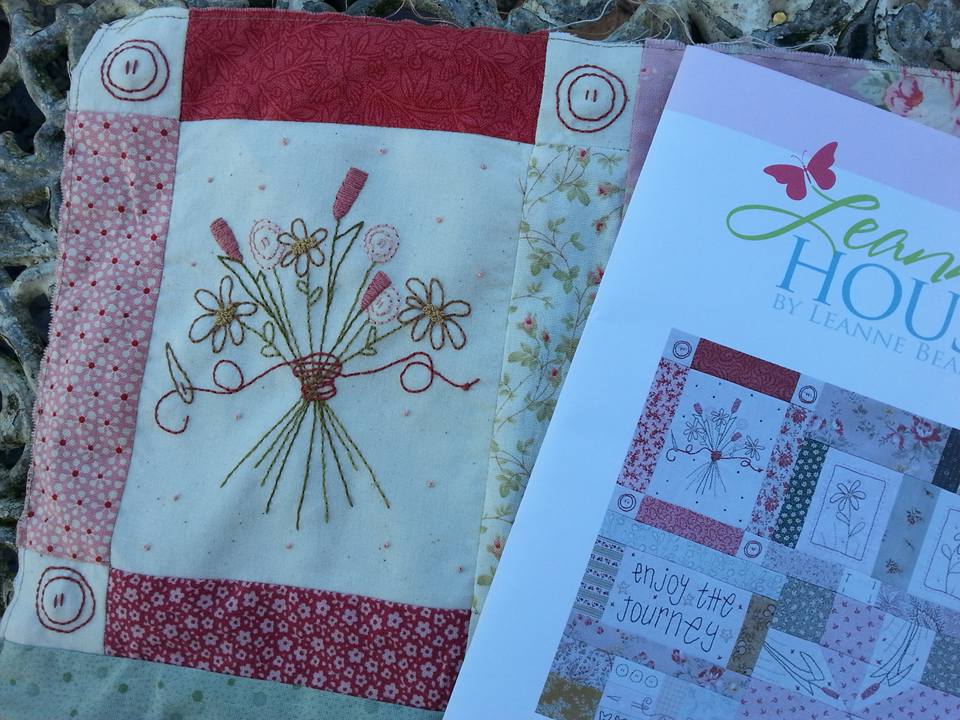
...the embroidery is all done by hand, using DMC stranded embroidery threads. This was complimented with some large appliqued tulips in a basket. Once the tulips, basket and leaves were all appliqued into place, I was able to embroider the tulip stems and the handle of the basket oh and the basket was decorated with more satin stitch too!!... 
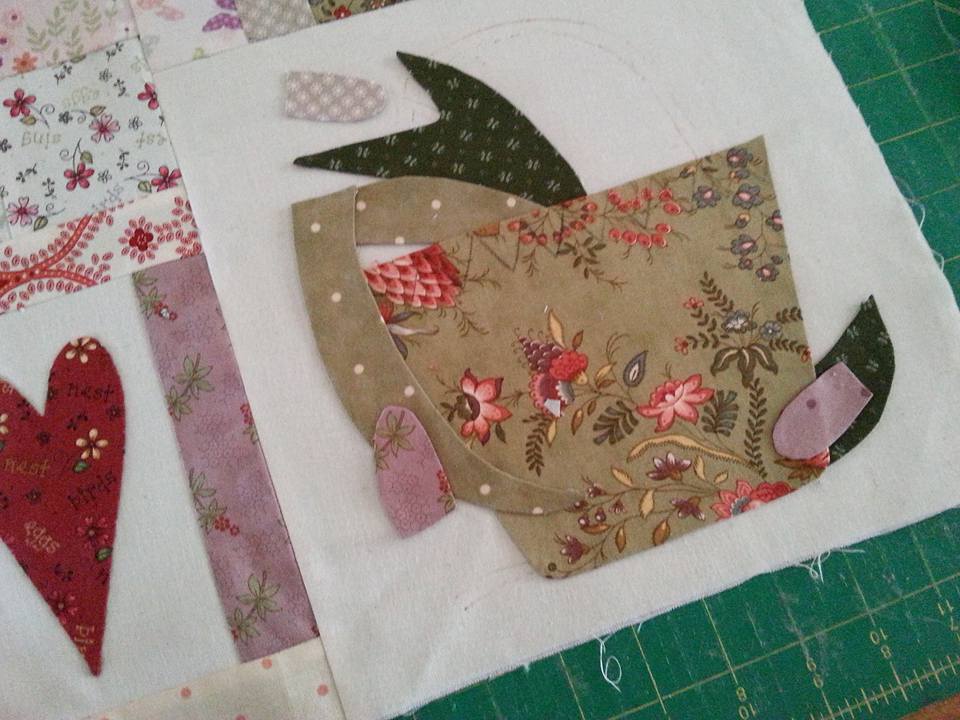
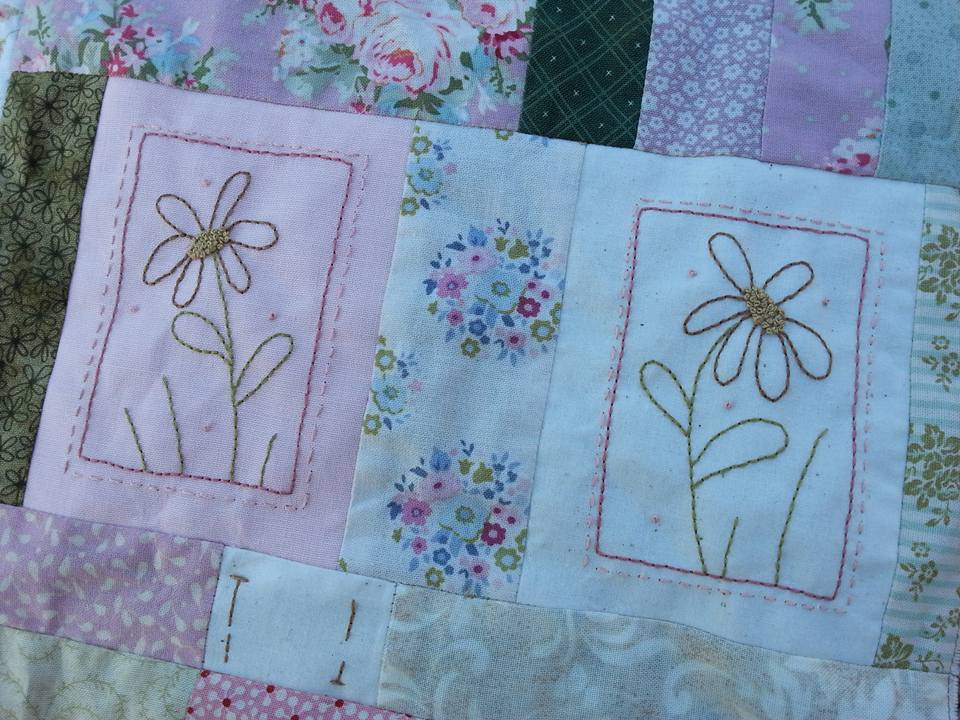
...and here's the completed block. Although I think the satin stitch looks a bit wonky, in the scheme of things, it doesn't look too bad.
I'm really enjoying this Mystery button project by Lynette Anderson Designs. The latest block, "Peace Offering" arrived in the post, and this one was quite a simple block. I traced the applique shapes onto applique paper, fused it to the back of the fabric, cut out the shapes (my favourite scissors are "Perfect Scissors" by Karen Kay Buckly), clipped the curves and turned over the edges with a glue stick and those wonderful apliquick tools... ...a few small spots of Roxanne's Basting Glue holds the applique in place instead of pesky applique pins, and my favourite applique thread at the moment is Bottom Line, a 60wt polyester thread by Superior Threads. I always try to match the colour of the thread with the background fabric, and I've been using Clover Black Gold applique needles. The stitchery design was traced onto the background fabric, and I used a wooden hoop for both the applique and the embroidery to keep the fabric taut and prevent it from "tightening". Valdani variegated threads are used for the hand embroidery and these are really lovely to sew with... ...I absolutely LOVE this foxy fellow! He's carrying a pretty hand painted button on a vine - each month a button comes with the pattern. The simple border at the top of blocks 7 and 8 is really pretty - I strip pieced some 1.5" strips of fabric for this, rather than cutting individual 1.5" squares. As you can see, I'm using fabrics also designed by Lynette for the project. I subscribed to this Mystery Button Club directly with Lynette via her online shop Little Quilt Store in Australia. There are a few stockists of this here in the UK, and if you have a look on Lynette's blog there is a list of all the shops that are participating in this across the world.
Back in July, Julia from Cross Patch sent me the most gorgeous fabric pack and a set of patterns for another quilt by the Australian designer Leanne Beasley - this one is called "Journey of a Quilter" and is really pretty! This first block was prepared, ready to take with me on my recent quilting trip to Yorkshire. While I was away I made a start on the stitchery designs, and I finished it yesterday evening... ...I spent yesterday evening stitching, and here's the completed block. I'm also doing "Leanne's House" by the same designer (also from Cross Patch) - these will look lovely hanging up together when they're finished!
I've just got back from a fabulous week in Yorkshire with my friend Helen and Linda, and we spent the week on a residential quilting course with Philippa Naylor. The majority of the other ladies on the course were doing wholecloth quilting, but I'd emailed Philippa to see if I could do curved piecing again as I really struggled with that when I did it on a course with her a few years ago. I'd packed a selection of batiks for my sample, and couldn't wait to get started!... ...it's important to have the right tools for the job - a narrow ruler, a pencil, a small rotary cutter and a pair of perfect scissors! Once the temples had been marked onto the fabric, cut out and pieced together, it was time to decide on the quilting. I'd taken a box full of beautiful Aurifil threads with me, and these were perfect... ...I practised lots and lots of free motion quilting, and was really pleased with these swirling feathers in the outer border. Once the FMQing was completed, I added a double row of piping, firstly in bright orange and the second row in fuchsia pink. Finally a half-inch wide curved binding is added to frame it - this lime green certainly is bright!... ...and here is my finished sample - I am absolutely thrilled to bits with this! If you click on the pictures, you can see some close-ups of the quilting and the piping. I still need to practise a bit more, but I'm so much more confident now, especially with these feathers, and I'll definitely add piping to more of my projects! I had a brilliant week away with Helen and Linda, and made new friends too. I'm looking forward to going back again next year!
Well my bags are packed and I'm off to sunny Yorkshire with my quilting friends Helen and Linda, for a week of quilting with the incredibly talented Philippa Naylor. We're staying at Highfield Farm, a wonderful B&B near Driffield. We've done this trip a few times before, and the food is simply amazing! I'll share lots of piccies when I get back, but I'm now going to load up the car (I've got more fabric in my suitcase than clothes!) and we'll be ready for our road trip.
A few weeks ago, I'd seen this kit in the weekly newsletter from Lynette Anderson Designs, and as I can never resist a small project that is useful as well as pretty, I ordered it from the Little Quilt Store straight away! The kit included the pattern, the fabrics and cute hand painted wooden buttons. I traced the stitchery design with a Micron Pigma pen, fused a small piece of weaveline fusible interfacing on the back, and was ready to start stitching. Valdani threads were perfect for this, and I used Thread Heaven thread conditioner on them as they can be a bit dry. The applique on the front of the needle case was done using applique paper, a glue stick and apliquick rods... ...once the stitchery was finished, and the appliqued hens and bee hive were secured into place, the panel was then appliqued onto the front of the needlecase, along with some small tabs. Rather than using cotton wadding, I used fast-to-fuse which is quite stiff, and gives a bit of "body" to the needlecase. Inside are some pockets for packets of needles, and a woollen hen is the perfect place to store a threaded needle. I made a slight design change, and instead of attaching ties to keep the case closed, I used a pair of button magnets. I've positioned them so the handle of the scissors is over the magnet, so when it's closed, the scissors stay in place and don't fall out - how clever is that!
|
About me...Hi - welcome to my quilting blog! My passions are my family, my dog, my friends and sewing, not necessarily in that order! Archives
July 2023
Blogs I followUK shopsThese are the UK shops that I use to purchase my quilting supplies - fabrics and threads etc.
Australian linksScandinavian links |