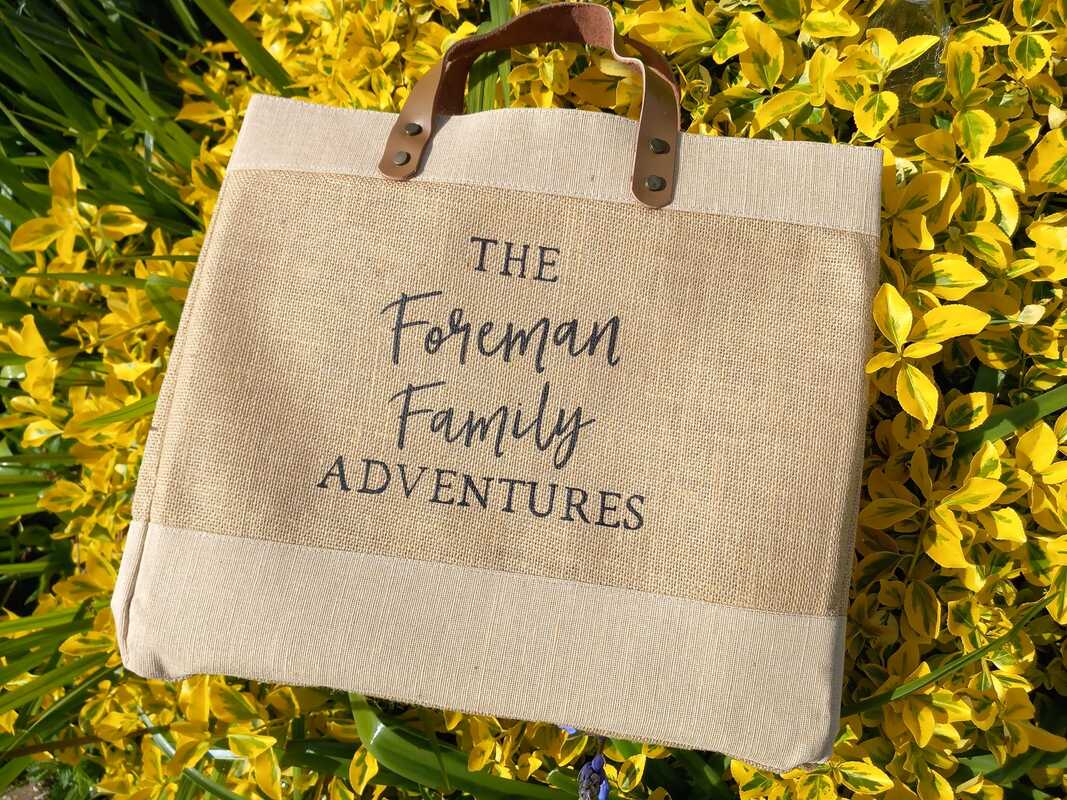
I don't buy many bags, as I prefer to make my own, but I couldnt resist this beautiful personalised tote bag from Tillyanna - made from jute, with leather handles, this sturdy, roomy bag is absolutely perfect for all our family adventures!
|
I don't buy many bags, as I prefer to make my own, but I couldnt resist this beautiful personalised tote bag from Tillyanna - made from jute, with leather handles, this sturdy, roomy bag is absolutely perfect for all our family adventures!
0 Comments
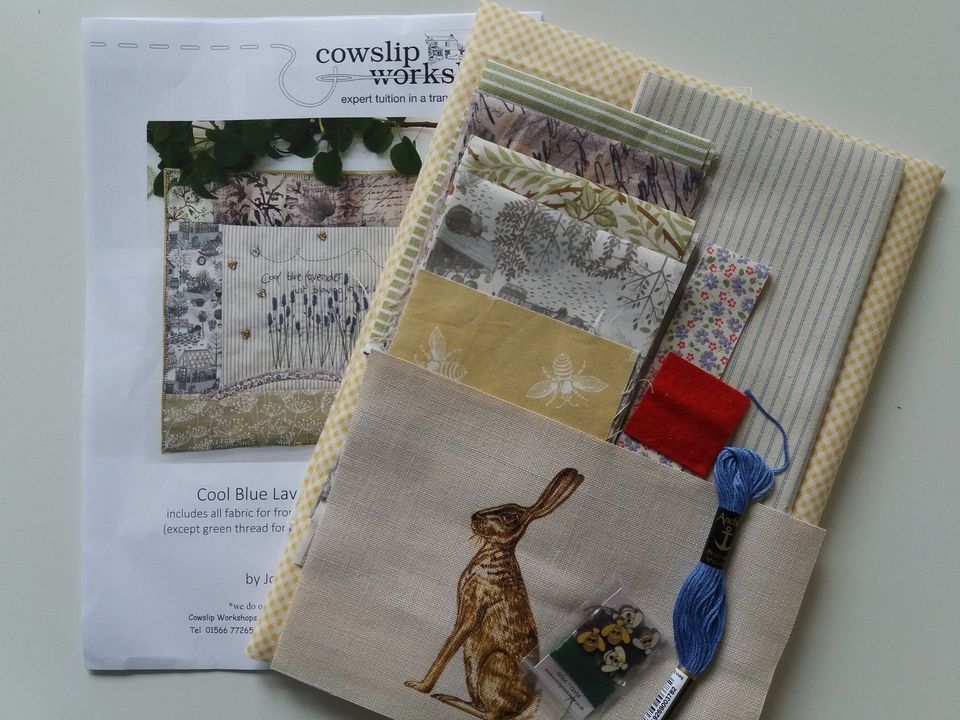
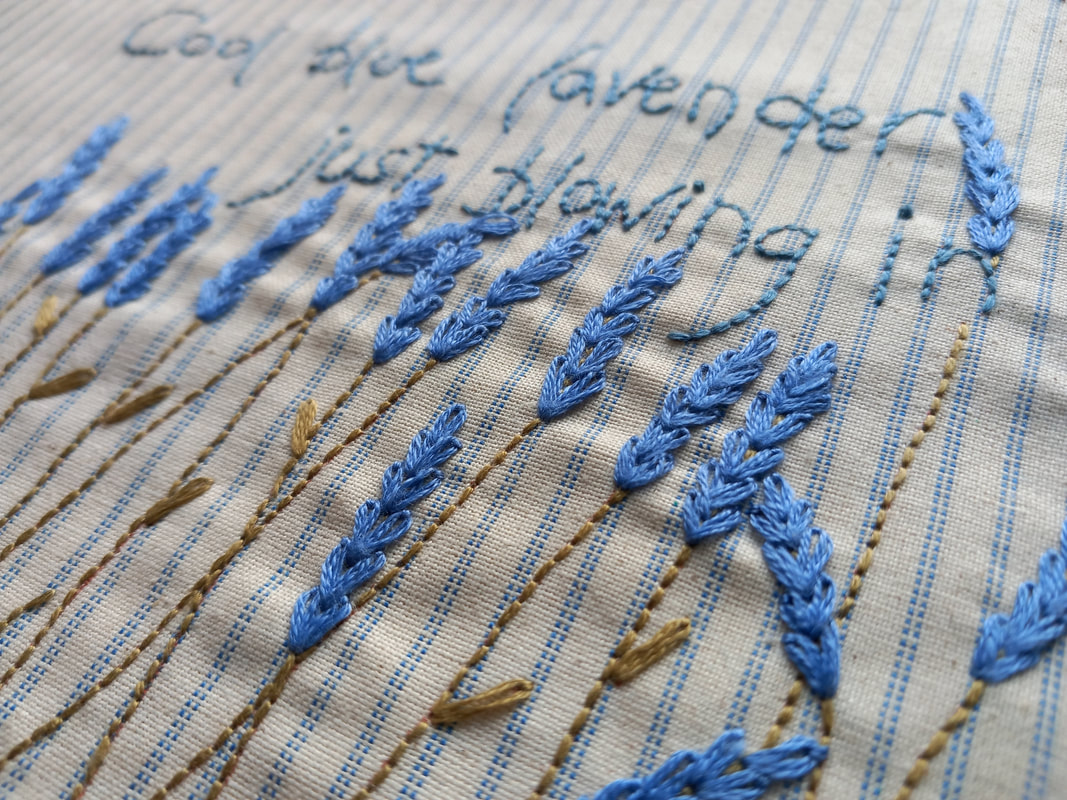
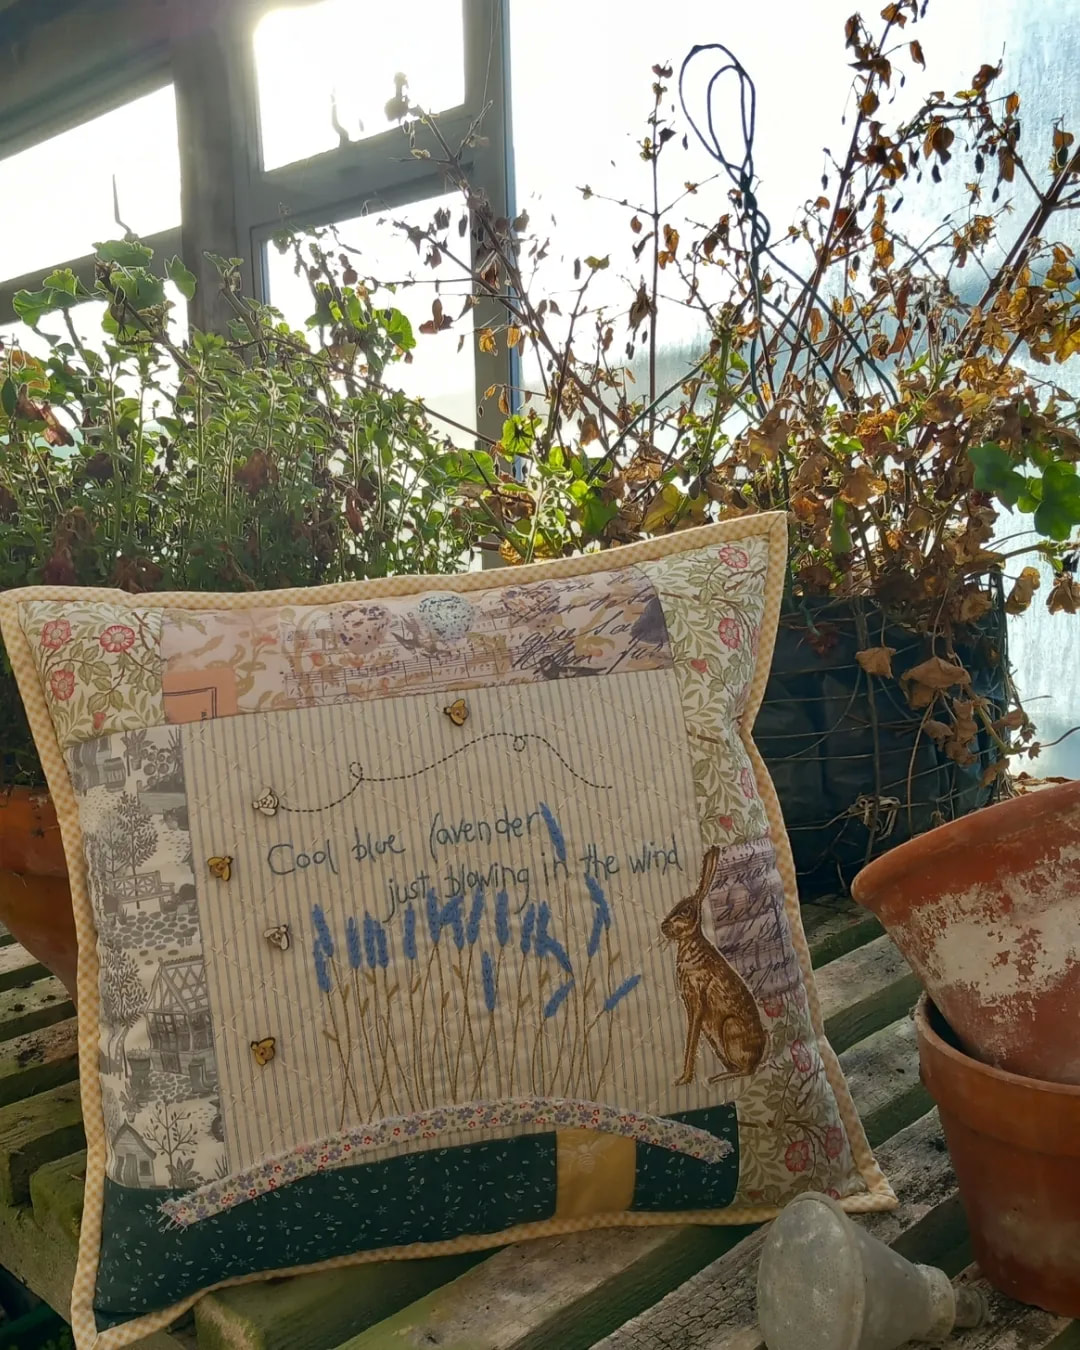
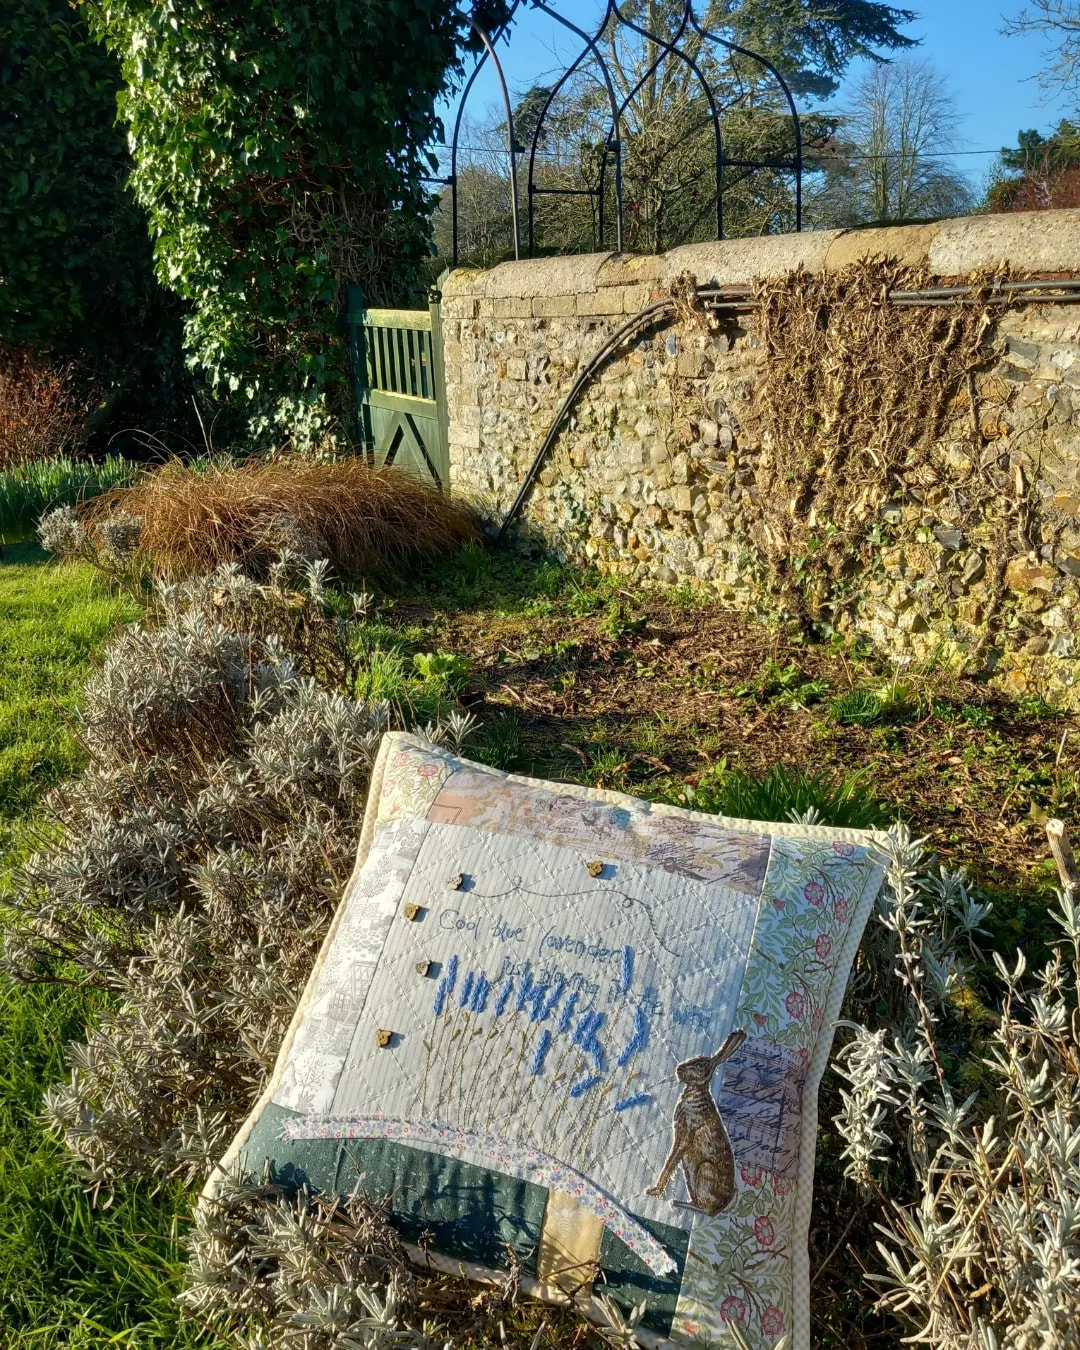
The third month of the Valdani Thread Club arrived in the post from Poppy Patch recently, and these threads are absolutely gorgeous! The colours supplied this month are - O559 - Watery Weed JP7 - Faded Marygold P10 - Antique Violet P3 - Aged White Medium JP11 - Heavenly Hue M67 - Blurry Vanilla 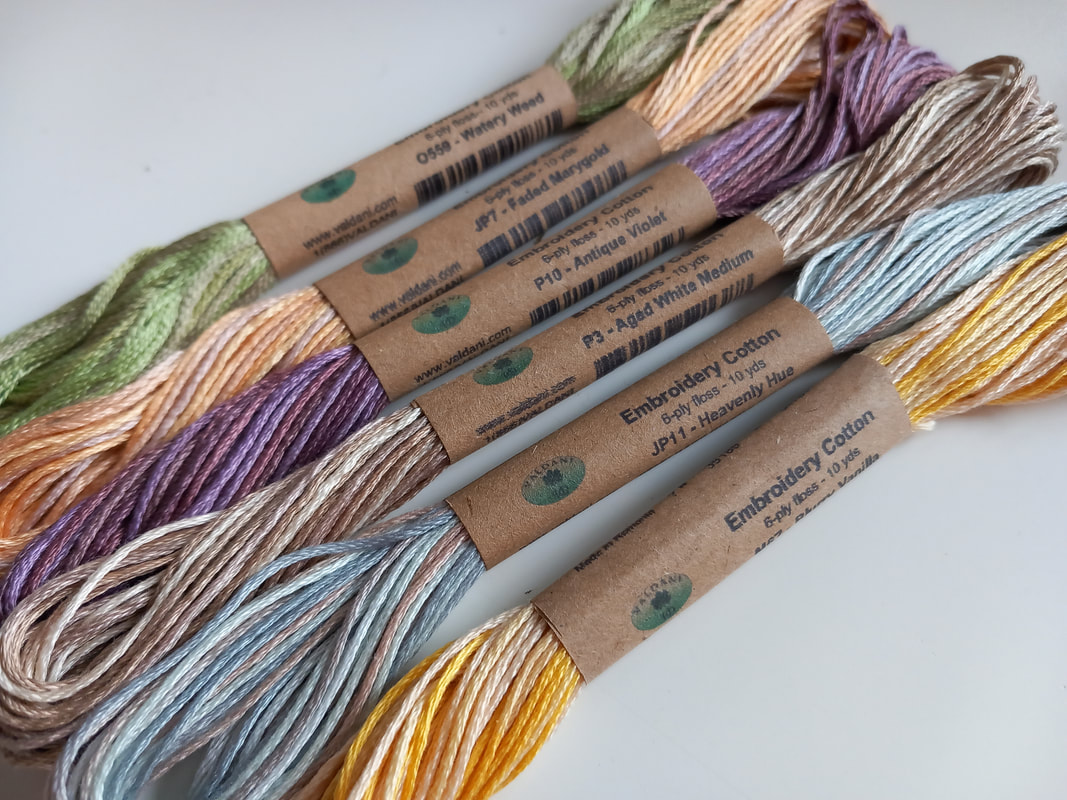 These GORGEOUS Aurifil 12wt threads arrived in the post recently from Cross Patch - 5 little spools of 50m each in shades 4651, 3817, 3852, 4650 and 4647, these threads will be perfect for some hand embroidery or hand quilting projects. 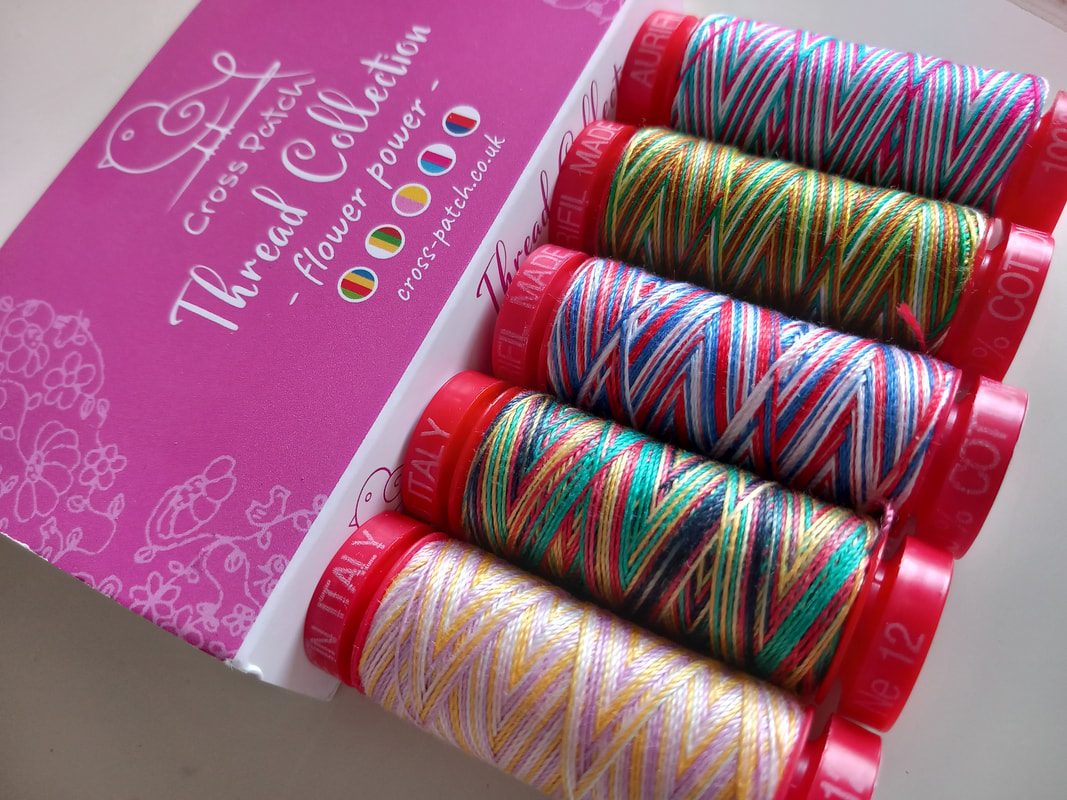 Happy anniversary Mr F - I can't believe this was 36 years ago. Where has that time gone to?  The reason I've been a bit quiet on social media is that we've been away to Malta for 10 days, while my husband took part in the 2024 Malta Seniors Cricket Festival playing for Norfolk and Suffolk Seniors - and his team won!! We had glorious weather, delicious food, some sight seeing, and this amazing view from our balcony at the Plaza Regency Hotel. We've had such a wonderful time, however now we're back, it's time to resume our renovations at home - lots of decorating needs to be completed, boxes unpacked, then maybe by the end of April I'll finally get back into my sewing studio! 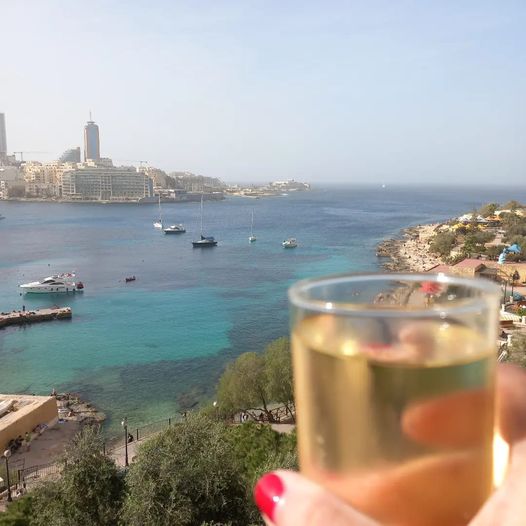 These GORGEOUS variegated Valdani Threads stranded embroidery threads arrived in the post recently from Poppy Patch here in the UK. The following colours arrived this month - O522 Raspberry O575 Crispy Leaf JP2 Spun Gold M24 Water Reflections M68 Blue Clouds M47 Robin's Nest 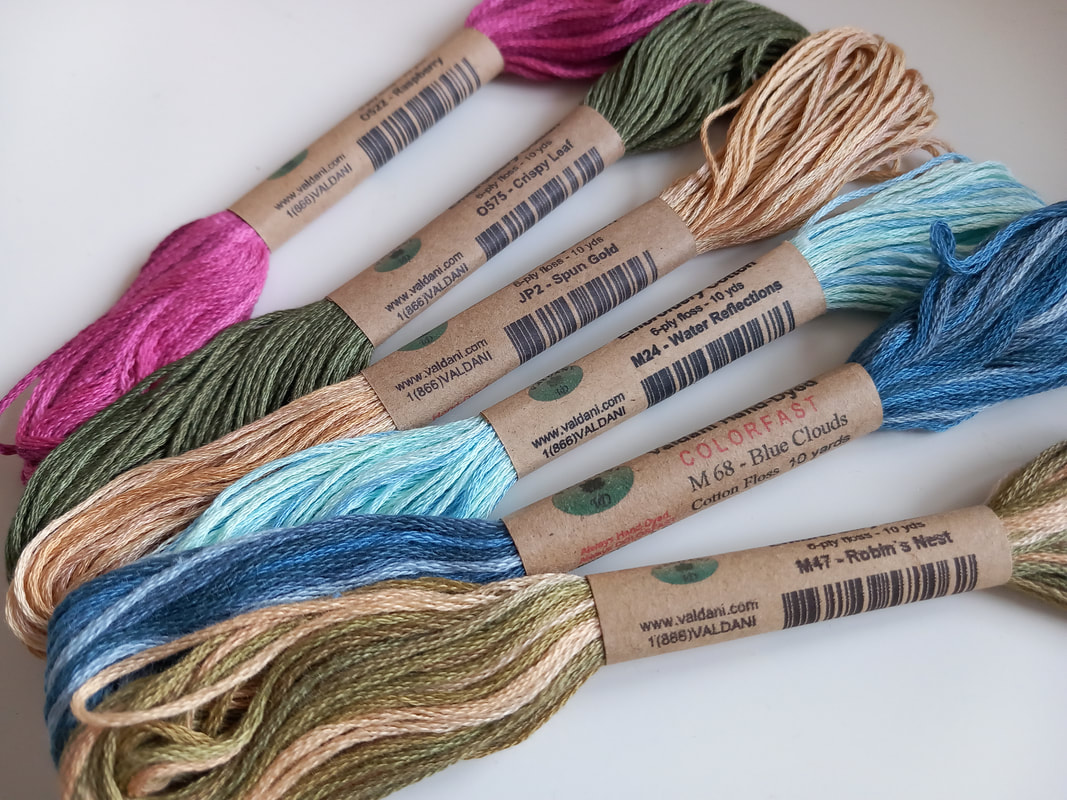 This project was perfect for stitching while I've been away from my sewing studio, as it incorporates lots of hand sewing. This pattern was designed by Jo Colwill of Cowslip Workshops and was originally purchased back in 2022 from their stall at the Malvern Spring Quilt Show. First of all, the stitchery design was traced onto the background fabric - a very smart blue ticking - and then hand embroidered using the blue DMC embroidery thread supplied with the kit. The lavender really does look as if it's gently blowing in the breeze...
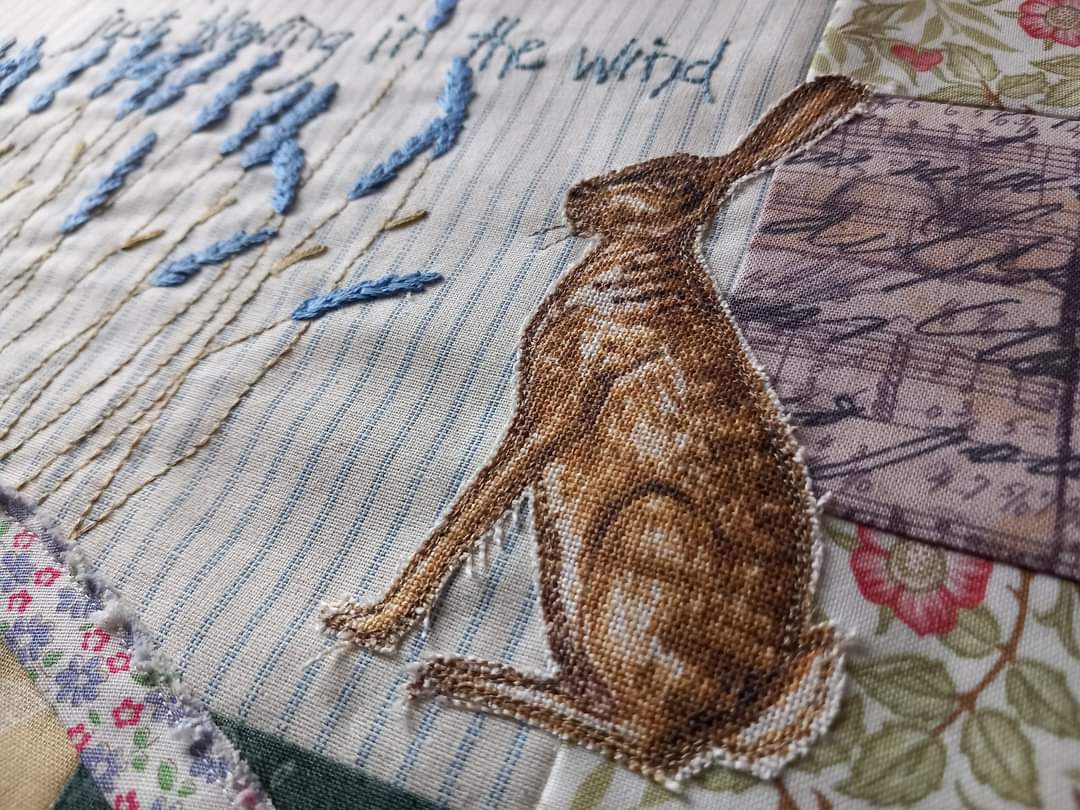
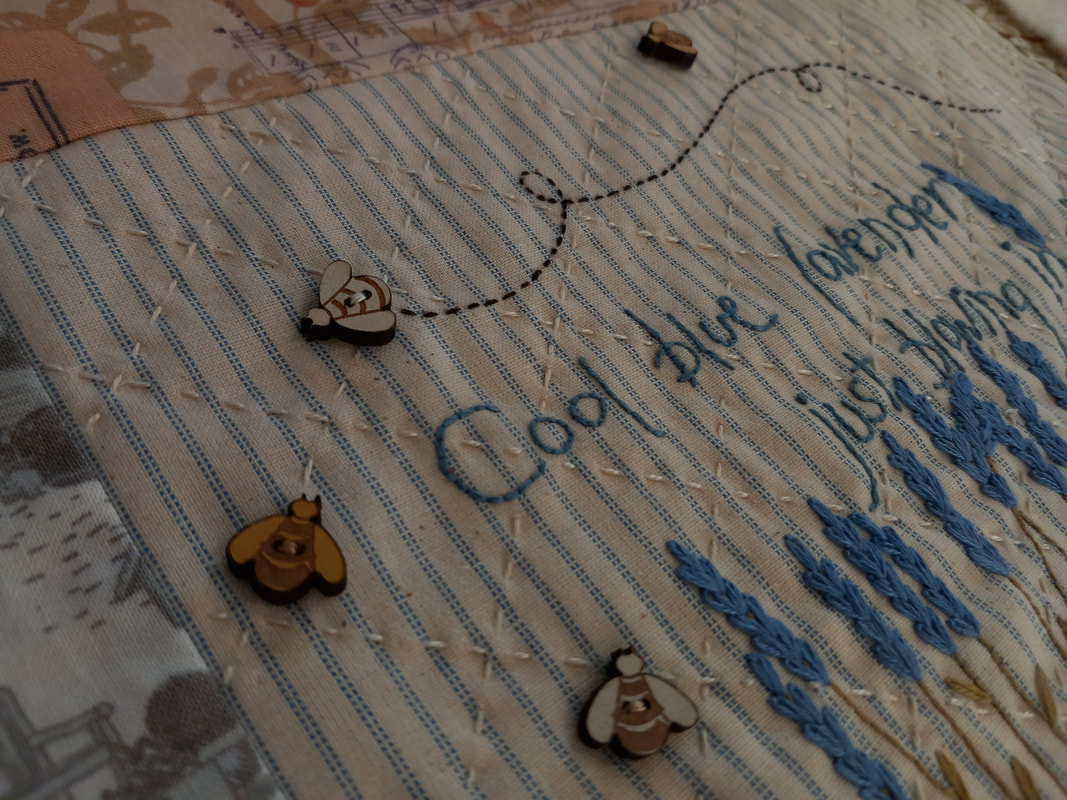
...this hare has been cut out of a piece of printed linen, fused to the background fabric using a piece of Lit-Steam-a-Seam 2 and then free-motion appliqued into place. The front of this project was hand quilted very simply in a cross-hatch design using a DMC perle thread in ecru, and a few wooden bee buttons were finally stitched in place...
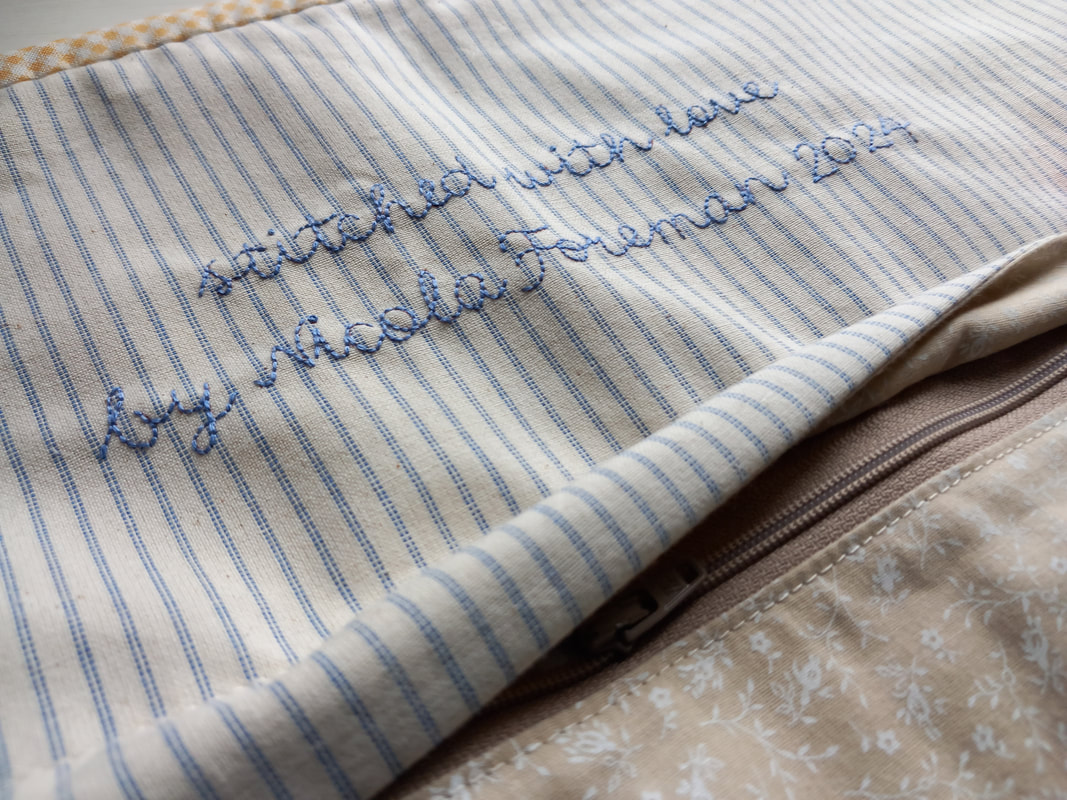
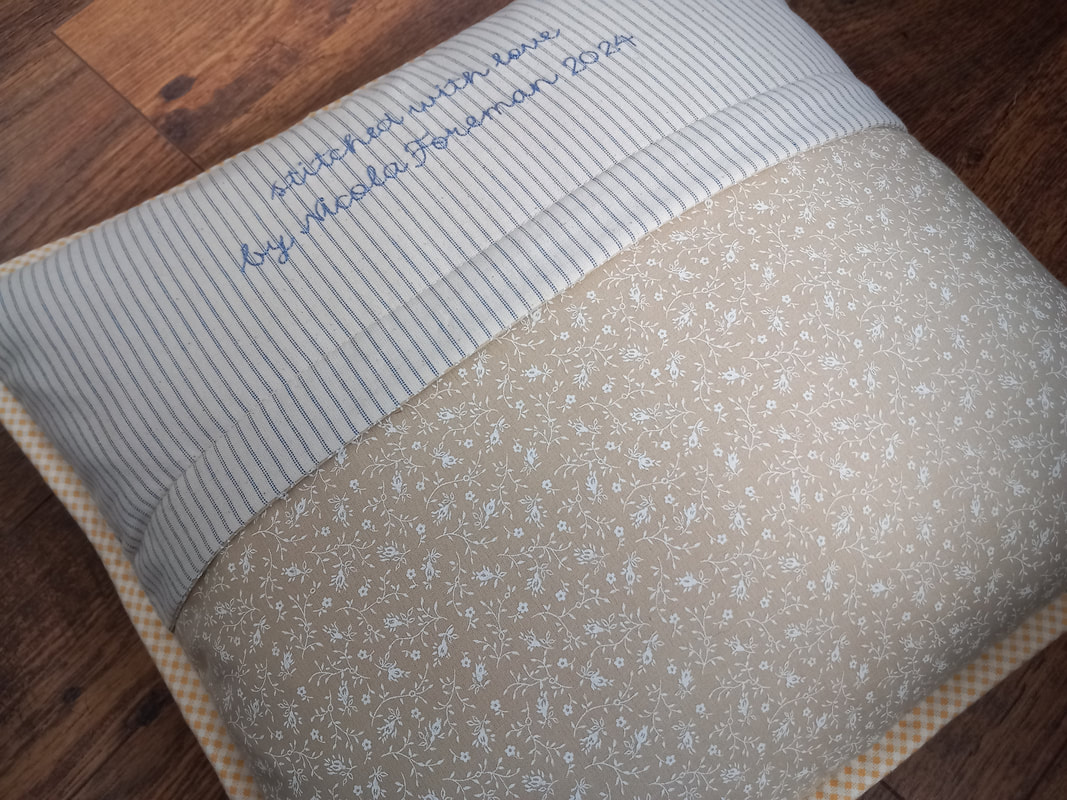
...although this is a pattern for a wallhanging, I've adapted it and made it into a small cushion. The back has been hand embroidered with my name and date, and has a hidden zipper so the cover can be removed if it needs to be laundered. The front and back were machined together with wrong sides together, then this smart yellow checked fabric was used to make a strip of double-fold binding, which was used to cover all the raw edges. The corners were mitred, and the folded edge of the binding folded over to the back of the cushion cover, and hand stitched in place. Finally a plump feather pad was put inside...
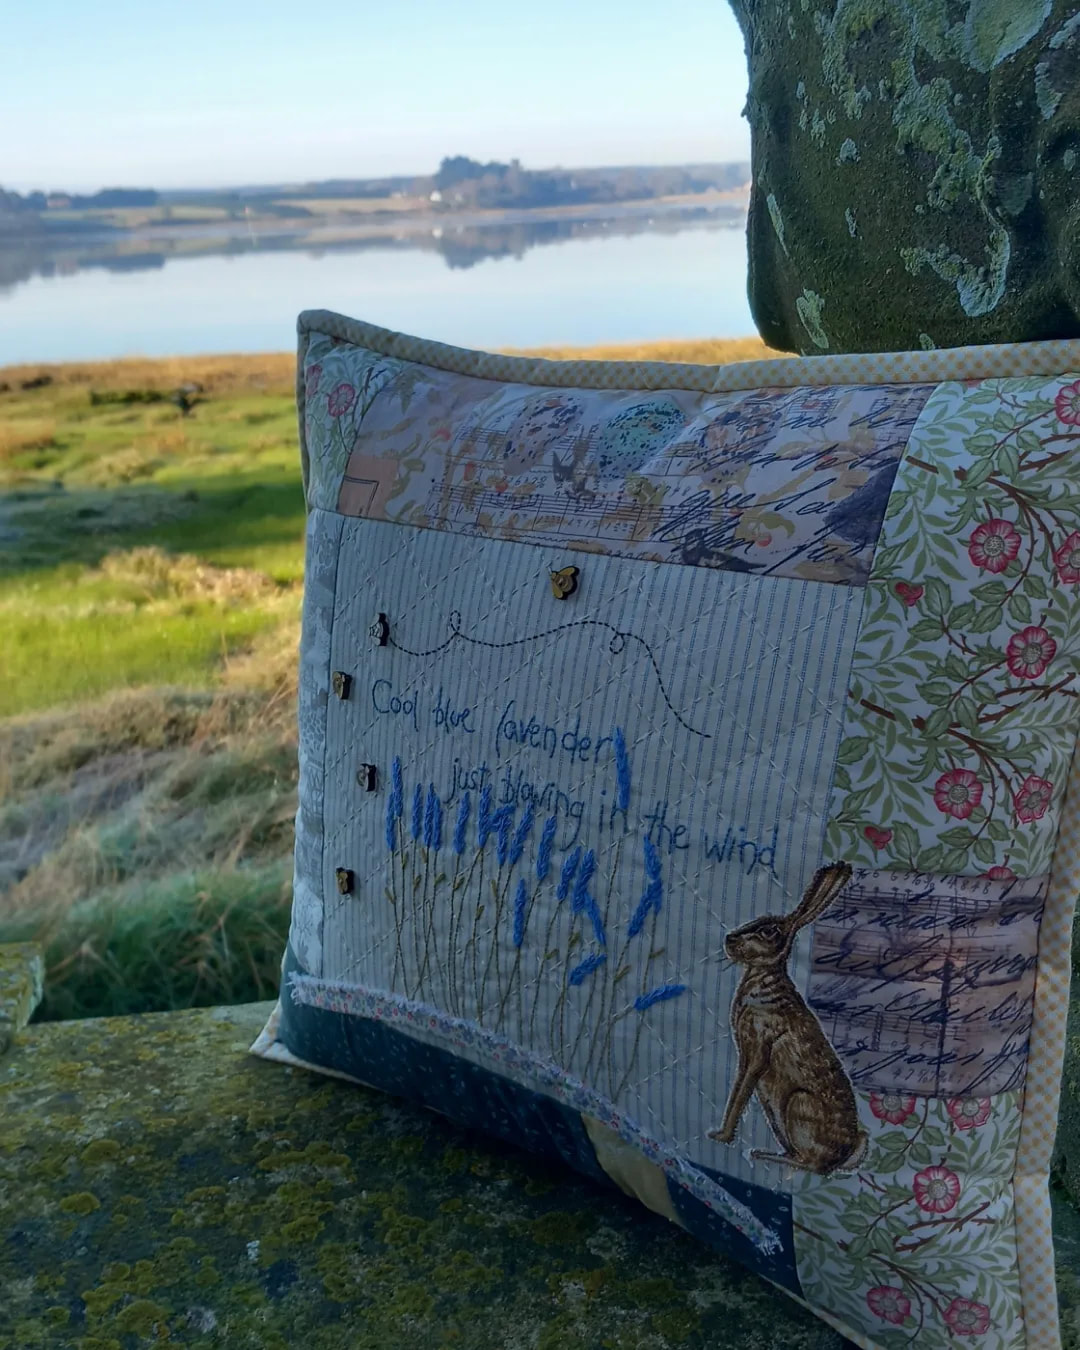
...and here's the finished cushion - my first completed project for 2024. A beautiful sunny morning gave me the ideal opportunity for a photoshoot outside. I couldn't decide which picture I liked best so here are all of them! There is fabric with greenhouses on, so obviously I had to take a picture there, and we've seen hares almost daily running across the salt marshes, so that was another obvious location...
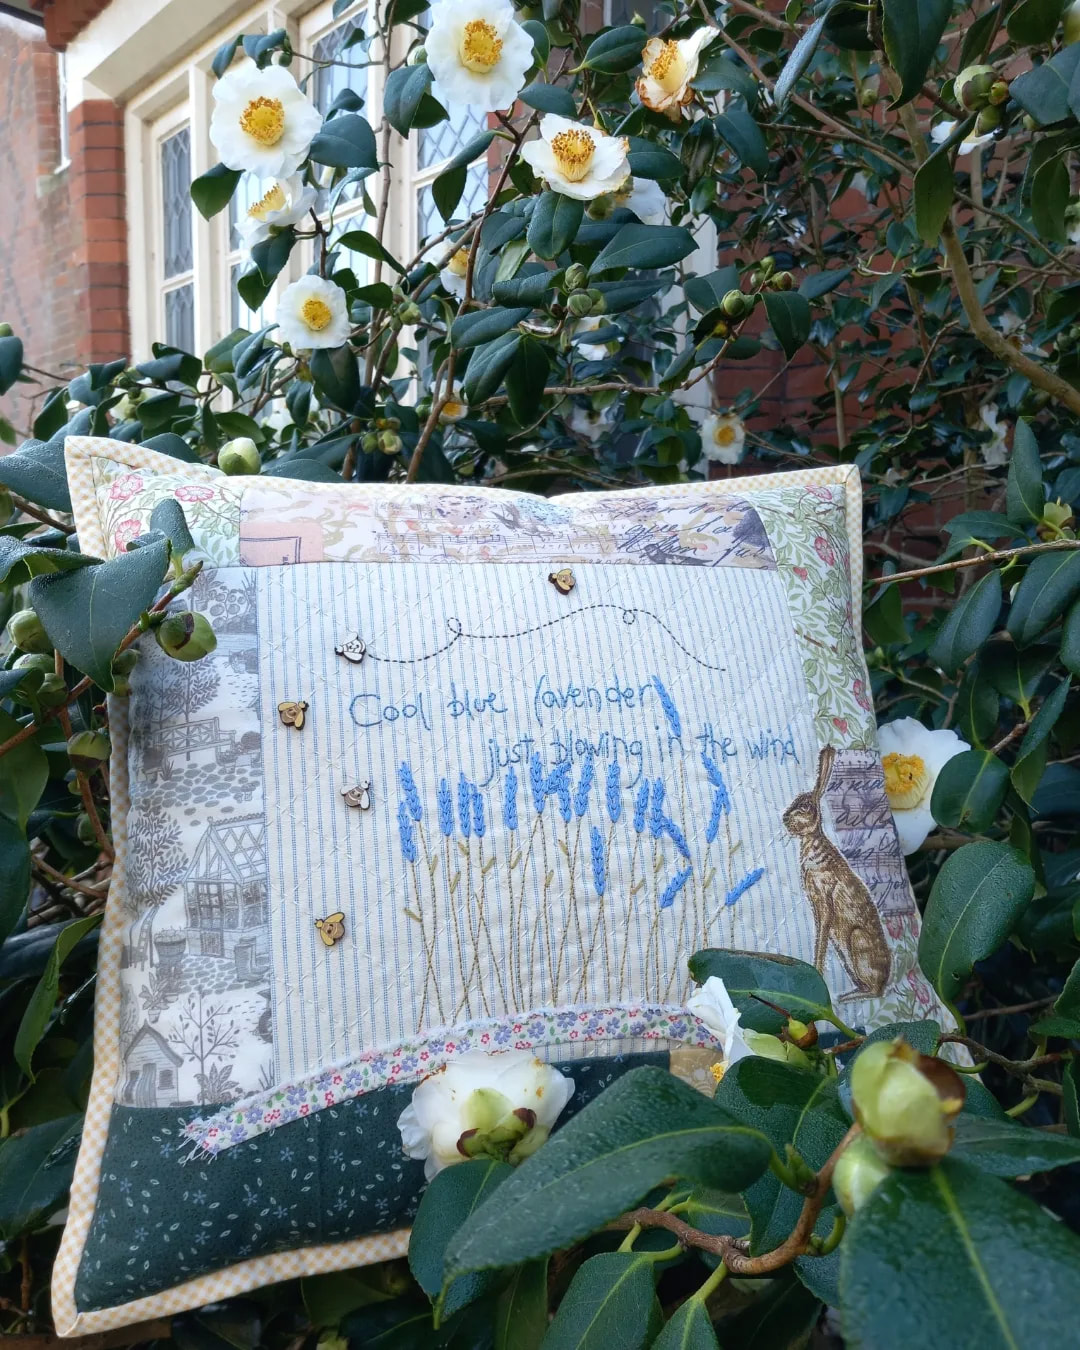
...I couldn't resist tucking it in a beautiful camelia, to reflect the pretty floral fabrics used in this kit. And obviously it had to photographed among the lavender in the walled garden, although that's not flowering yet.
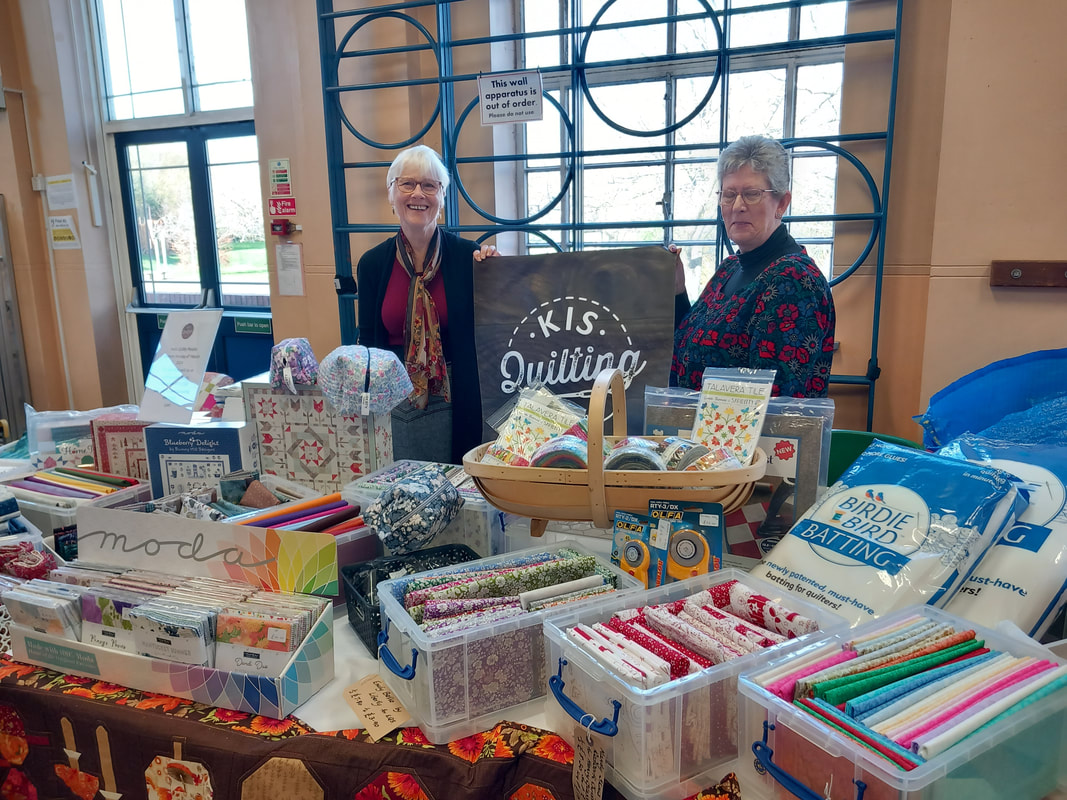
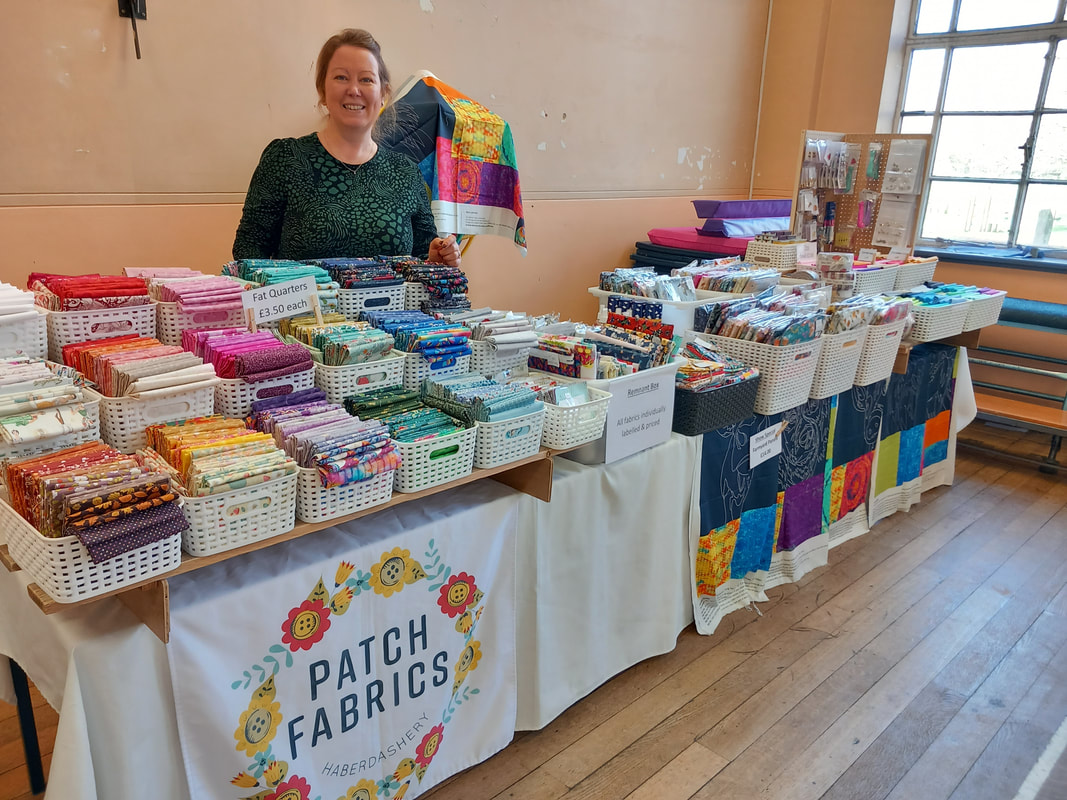
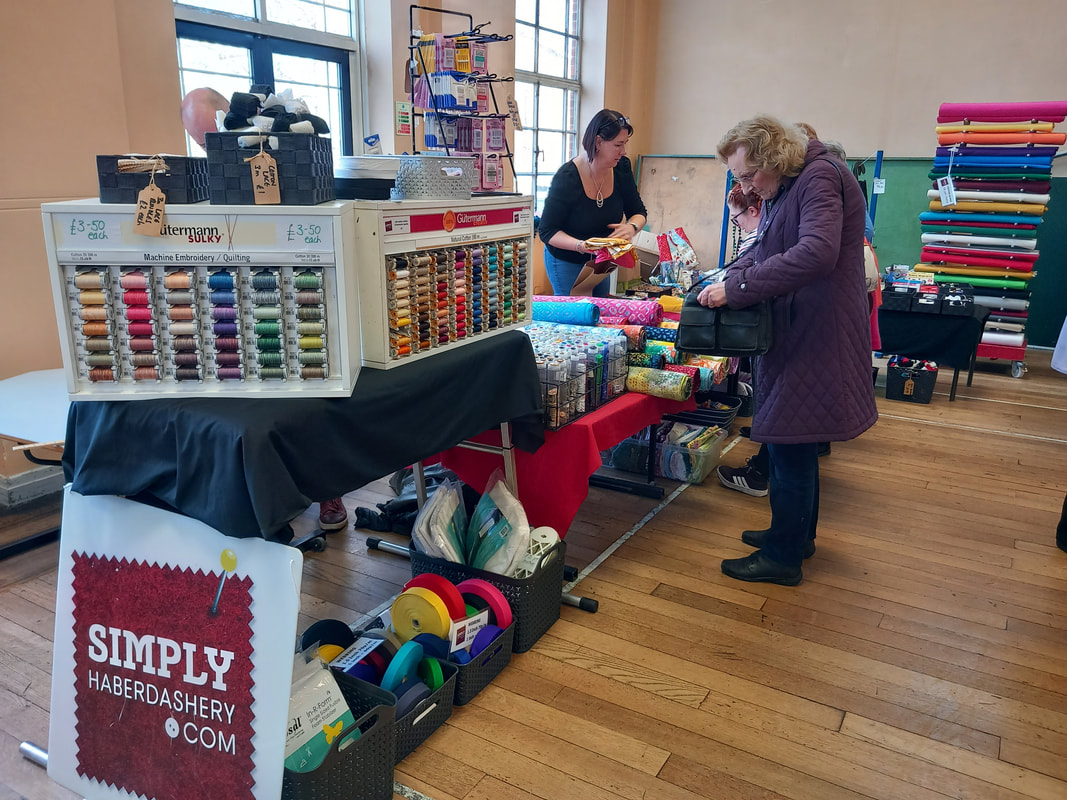
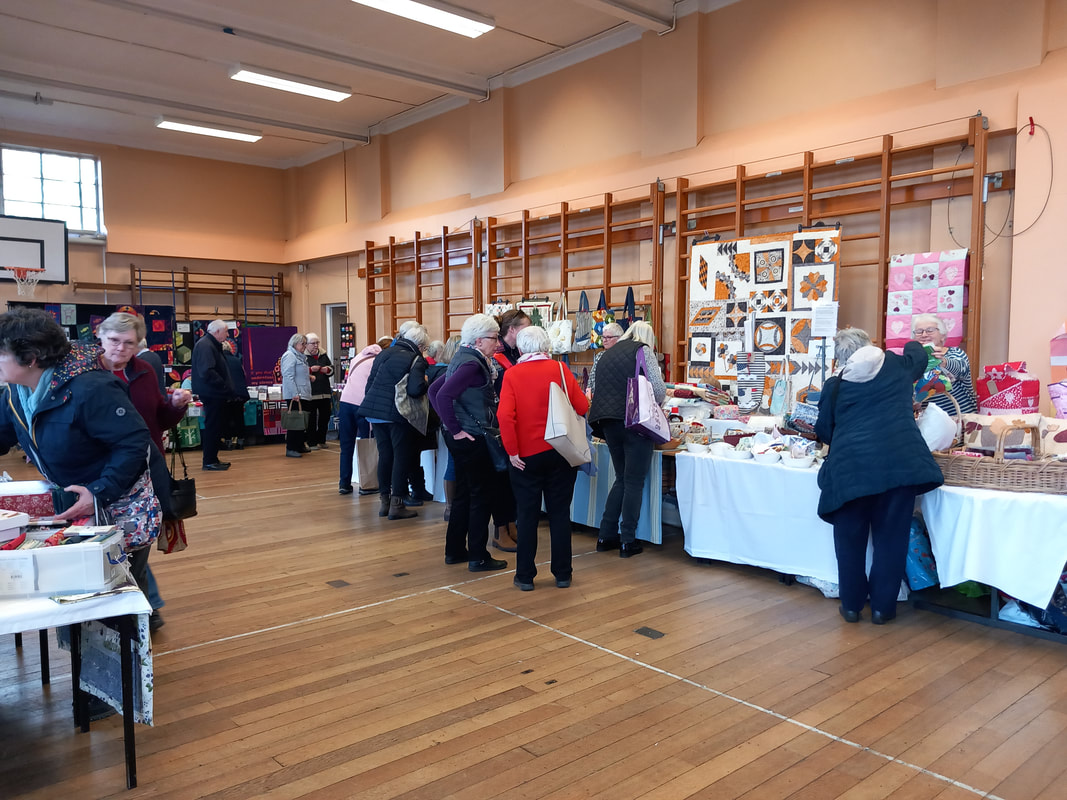
I recently purchased this cute little Easter sack from Tillyanna - ready for me to fill with some Easter goodies for my little grandson. This little bag has a drawstring closure, and can personalised with a choice of fonts, and has a very fluffy bunnies tail attached. It's so sweet, just perfect for little hands to carry. 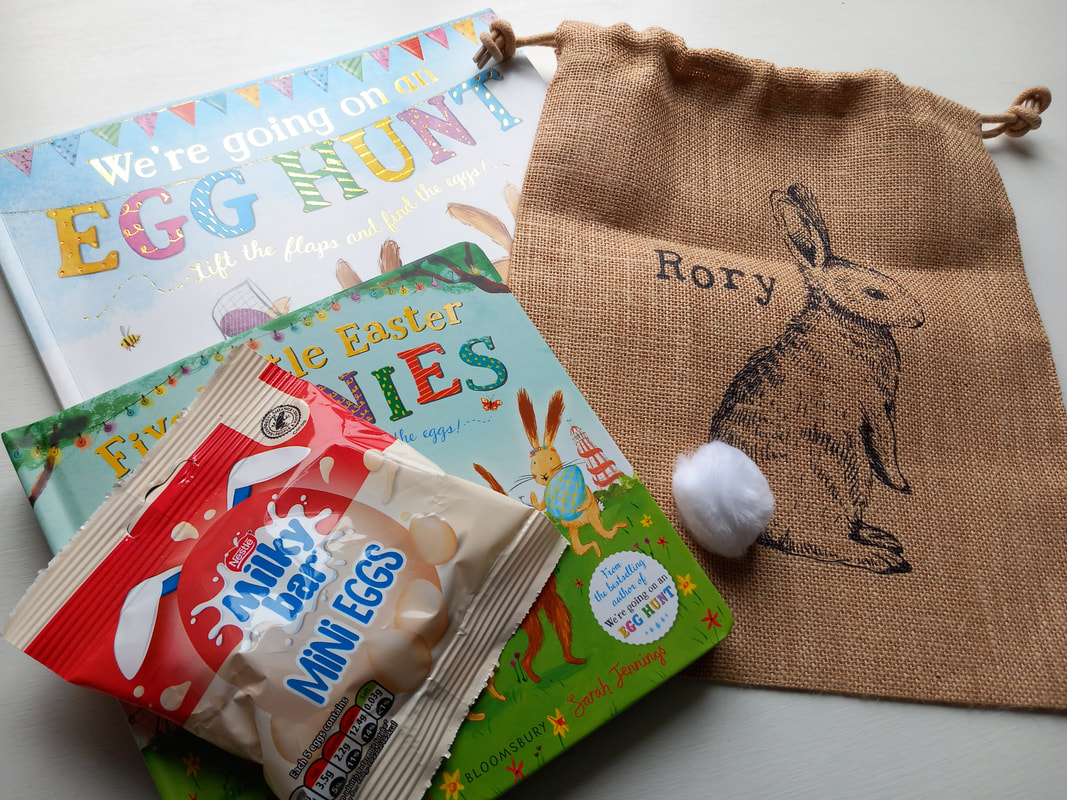 I was very restrained with my shopping at the Cotton Club Exhibition of Amazing Quilts. I bought a gorgeous quilt panel by Oasis Fabrics, along with a bottle of Mary Ellen's Best Press from Patch Fabrics - a small pack of wadding by Birdie Bird from Kis Quilting Ltd - and some small kits which will make perfect gifts for my quilty friends by Helen Butcher of Little Patch Pockets and Helen Howes Textiles. 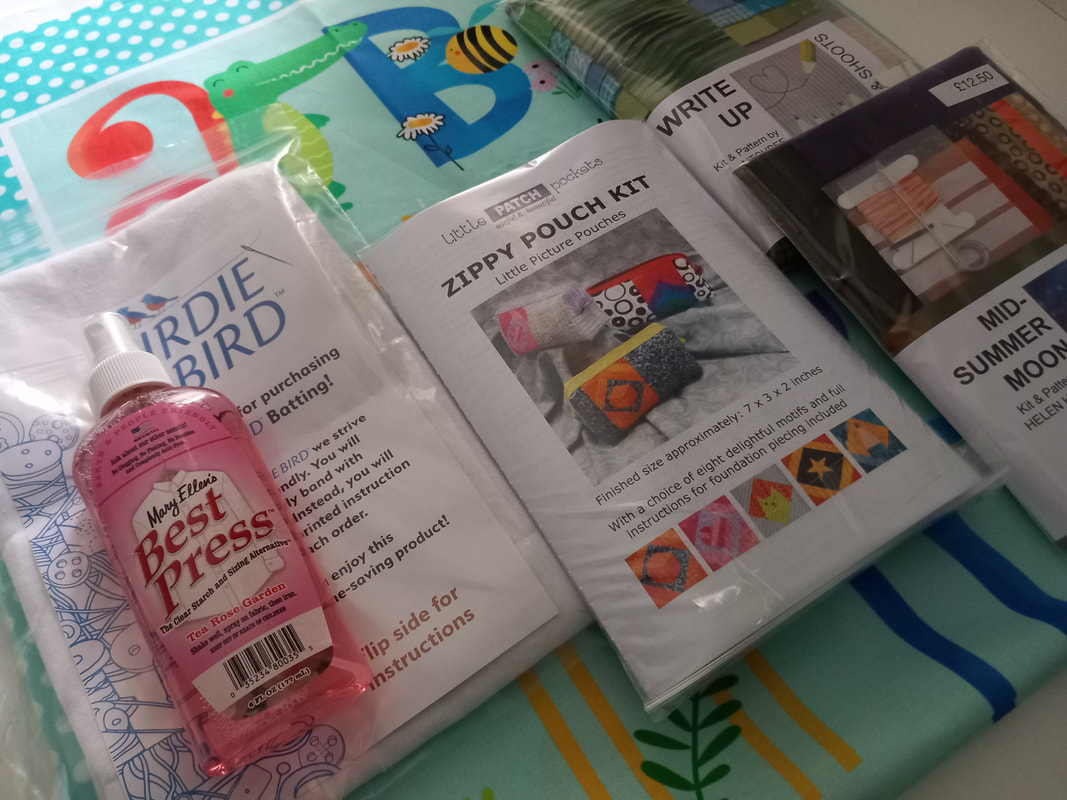 There were lots of tempting goodies at the Cotton Club Exhibition of Amazing Quilts in Wickham Market. It was lovely to catch up with Helen Butcher from Little Patch Pockets, the lovely ladies from Kis Quilting Ltd and Simply Haberdashery - and a new-to-me shop Patch Fabrics - and yes, a few purchases were made! The show is on again today and tomorrow, so do pop along if you can!
|
 About me...Hi - welcome to my quilting blog! My passions are my family, my dog, my friends and sewing, not necessarily in that order! 


Archives
July 2023

 Blogs I followUK shopsThese are the UK shops that I use to purchase my quilting supplies - fabrics and threads etc.
Australian linksScandinavian links |


 RSS Feed