|
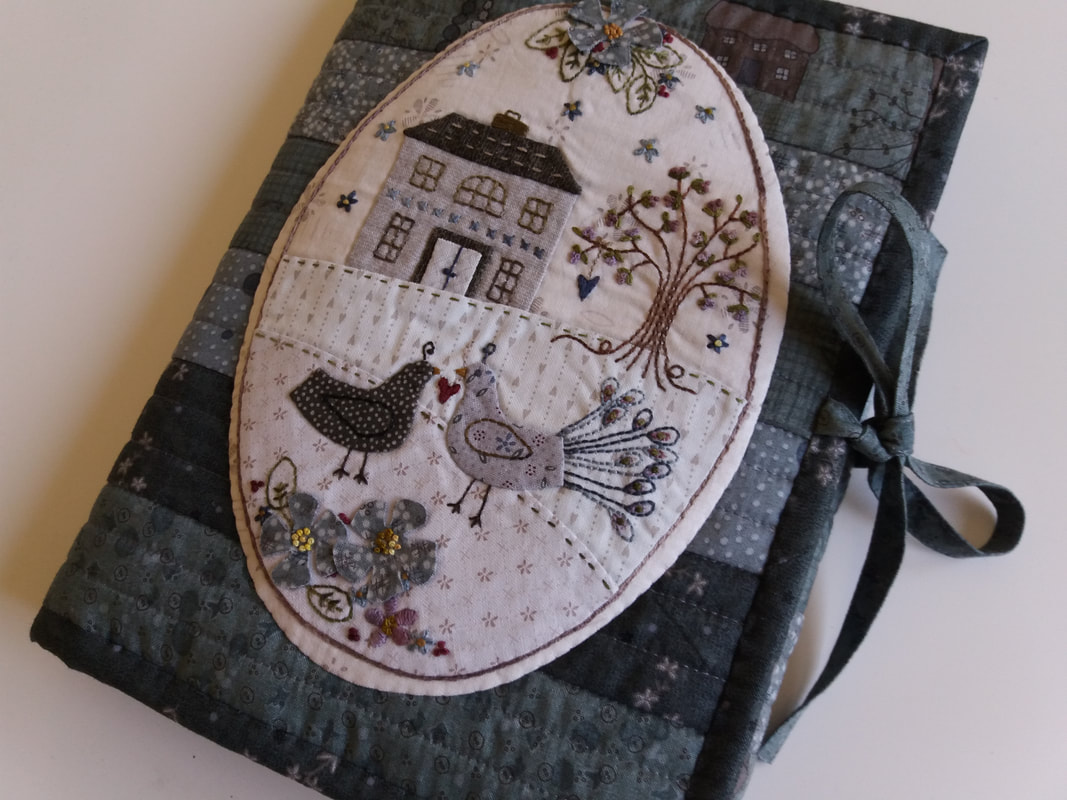
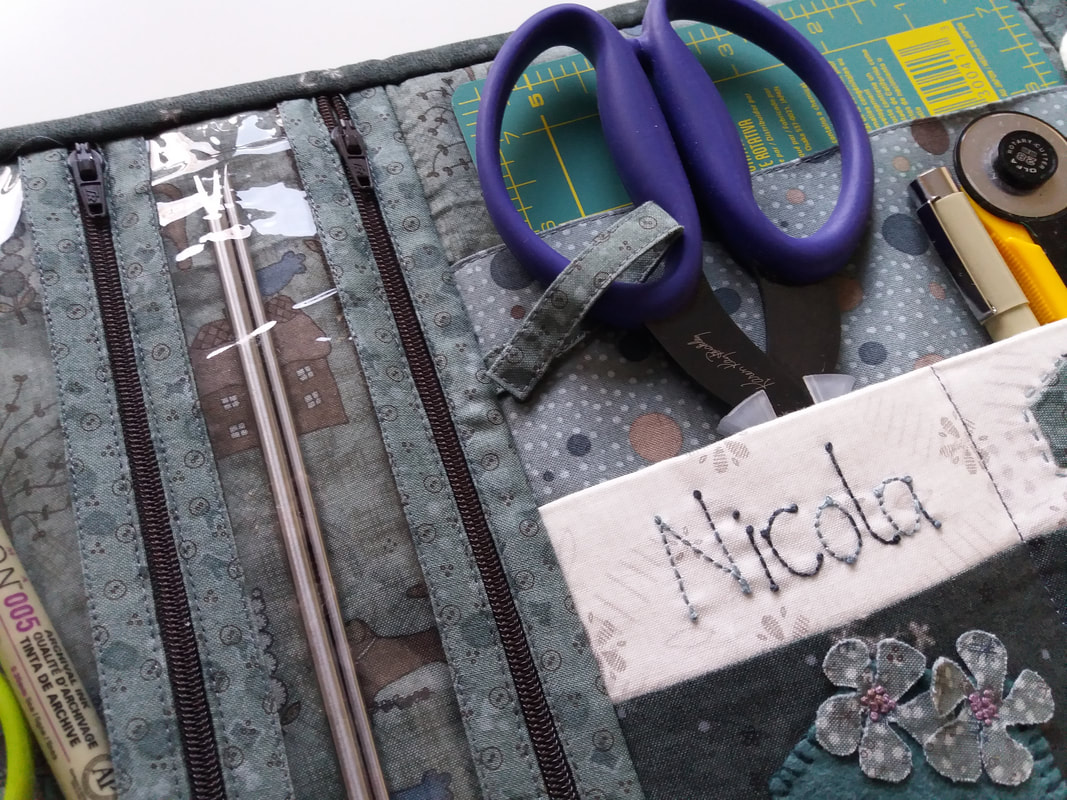
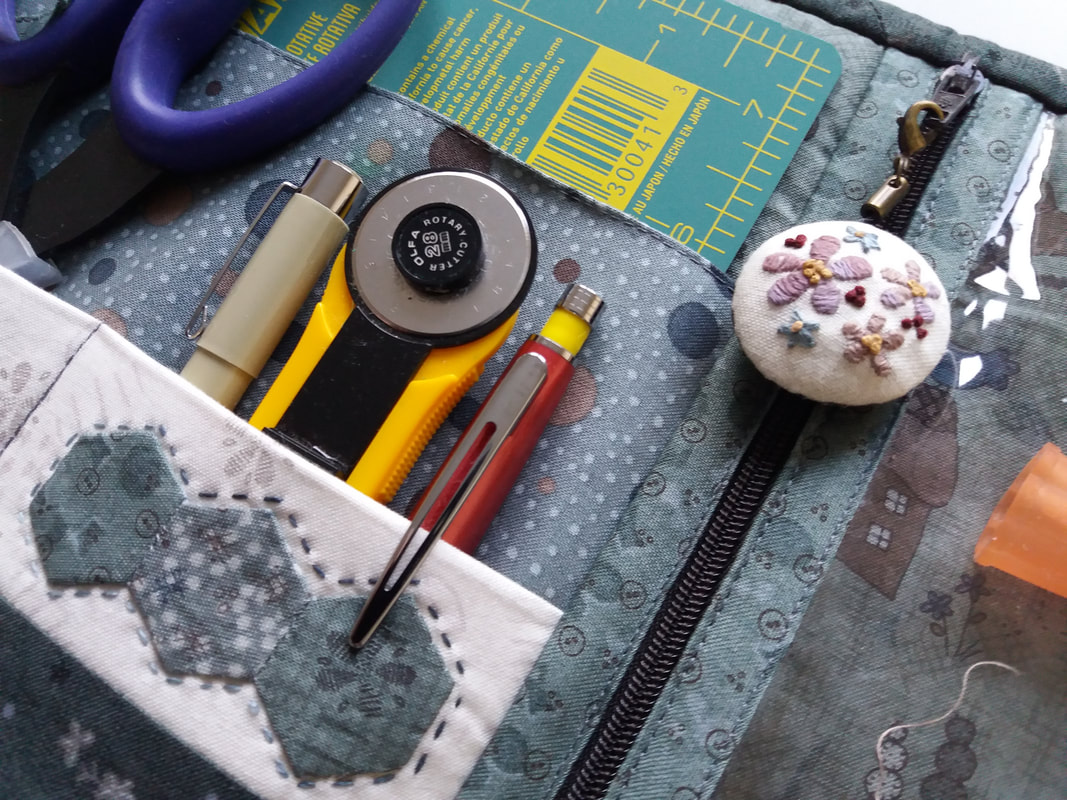
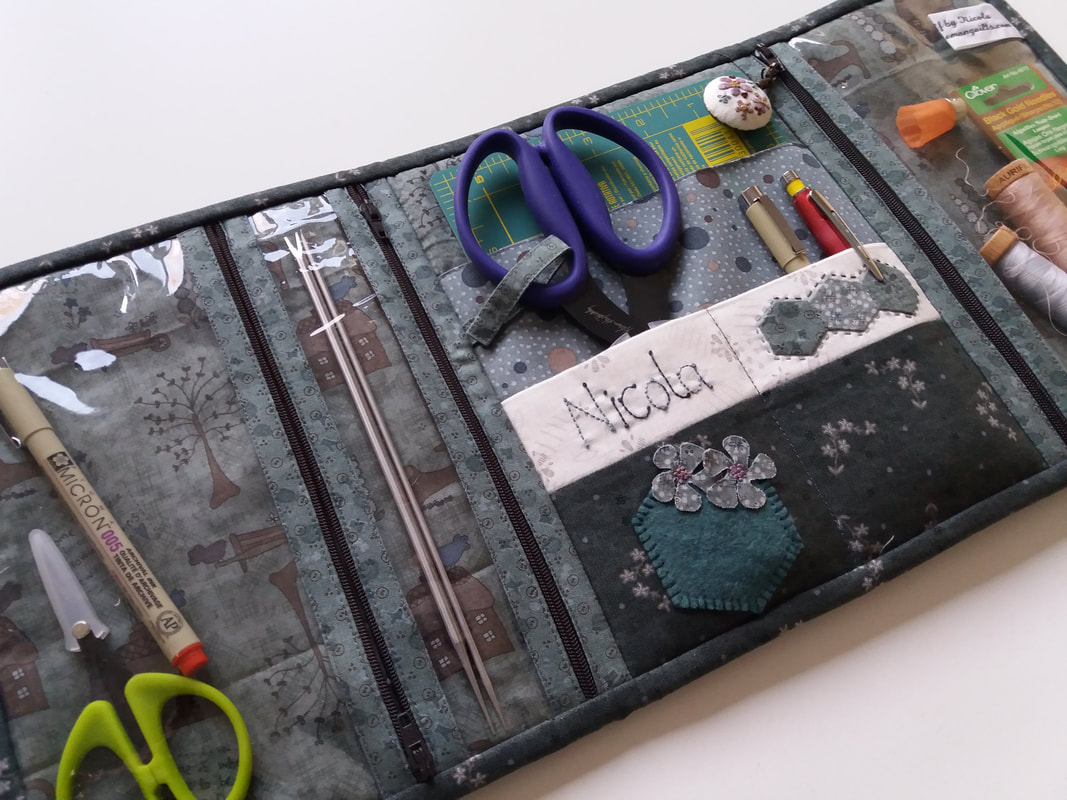
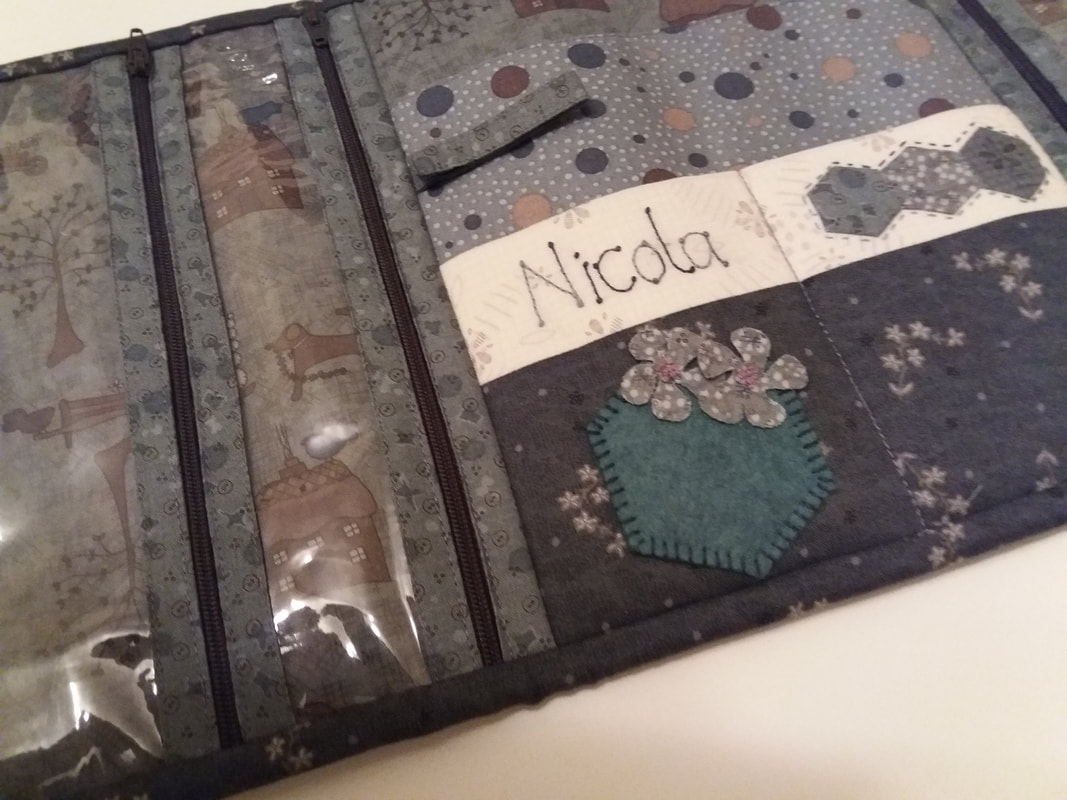
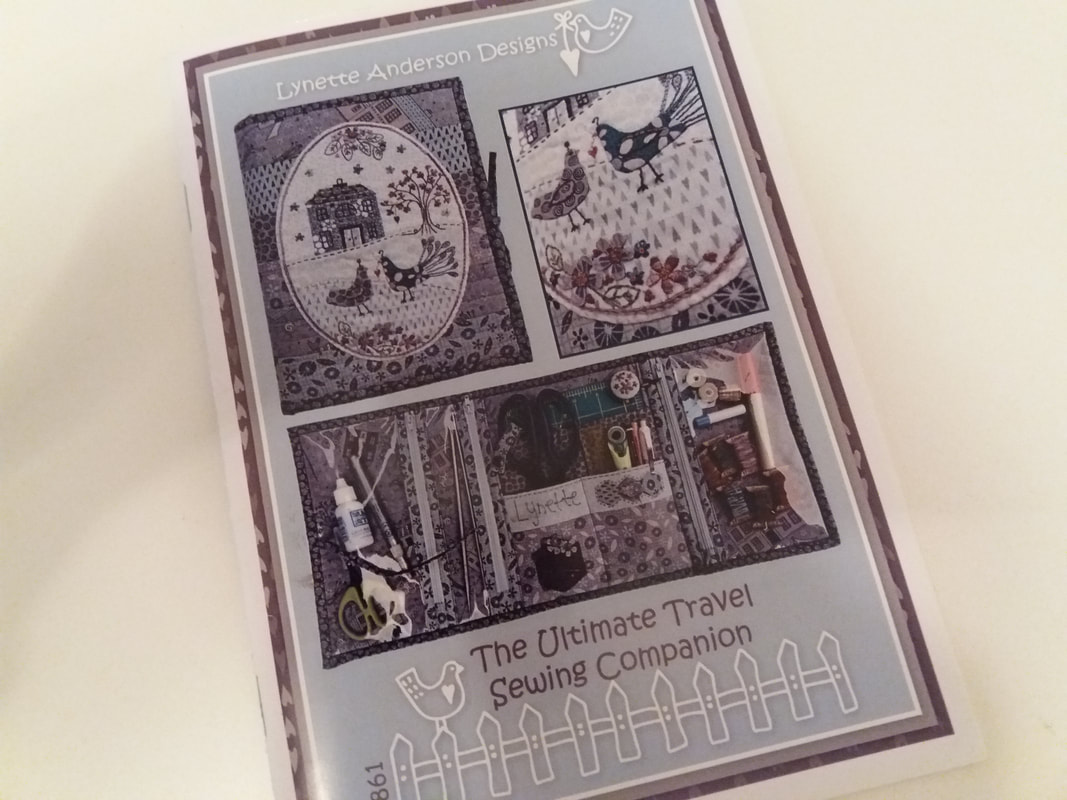
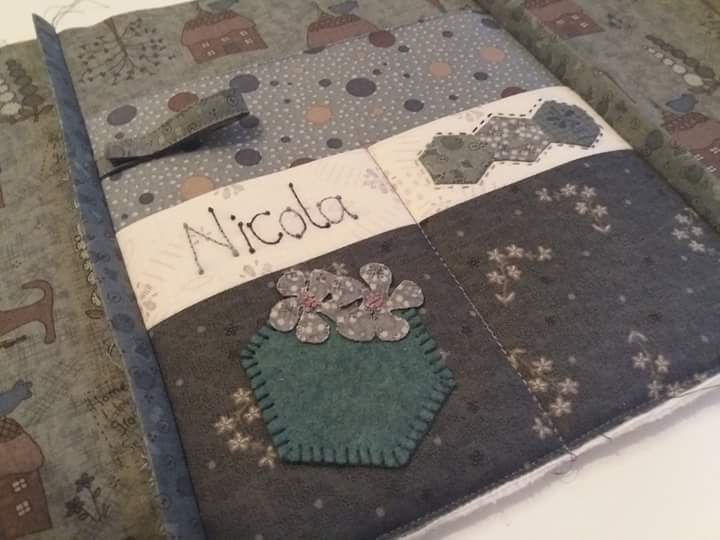
The Ultimate Travel Sewing Companion is completed! Pattern is by Lynette Anderson Designs and these gorgeous fabrics, also by Lynette, are from her Hollyhock Cottage collection by Lecien. This has been machine quilted with Aurifil thread, hand embroidered with variegated Valdani threads and hand appliqued using the applique paper and glue stick method along with Apliquick rods. 3-D flowers were stitched into place with a few colonial knots... ...and here's the inside - full of lots of pockets, including some plastic ones with zippers that are really useful, especially for storing my Apliquick rods. There's a useful strap, secured with a press stud, for keeping my scissors in place, and the appliqued woolfelt hexagon is a useful needle holder... ...pens and a rotary cutter all have their own place, and a small cutting board fits in the largest pocket. Threads and packets of needles and smaller scissors can all be kept safe in the zippered pockets, and the clear vinyl means you can see where everything is at a glance. My favourite part is definitely the decorative zipper pull... ...although this was quite time consuming to make, I'm thrilled with the result. This will be packed in my sewing bag when I go to classes and when I go to my sewing group too!
3 Comments
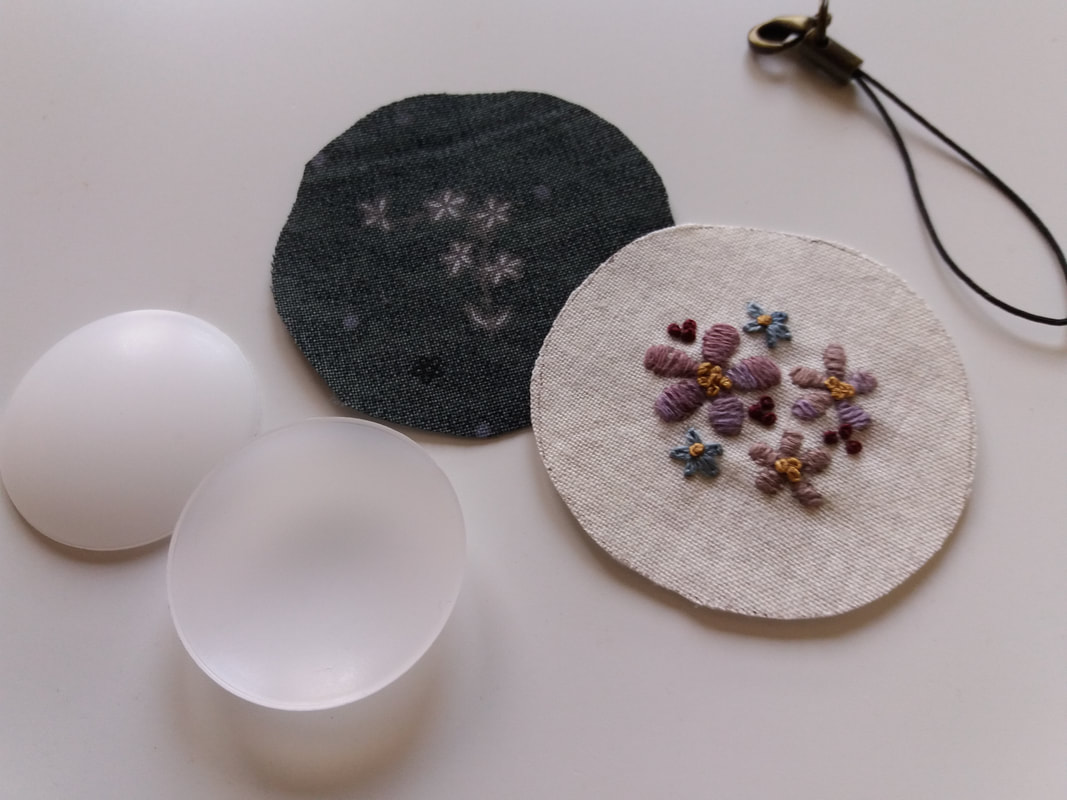
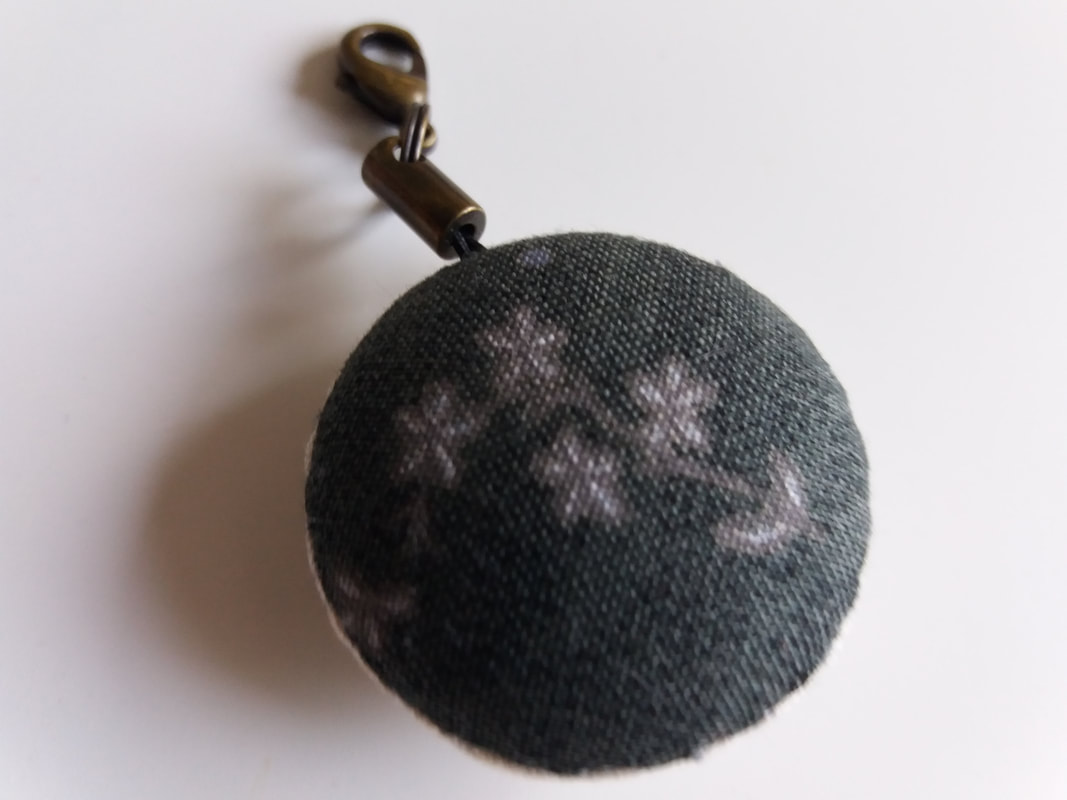
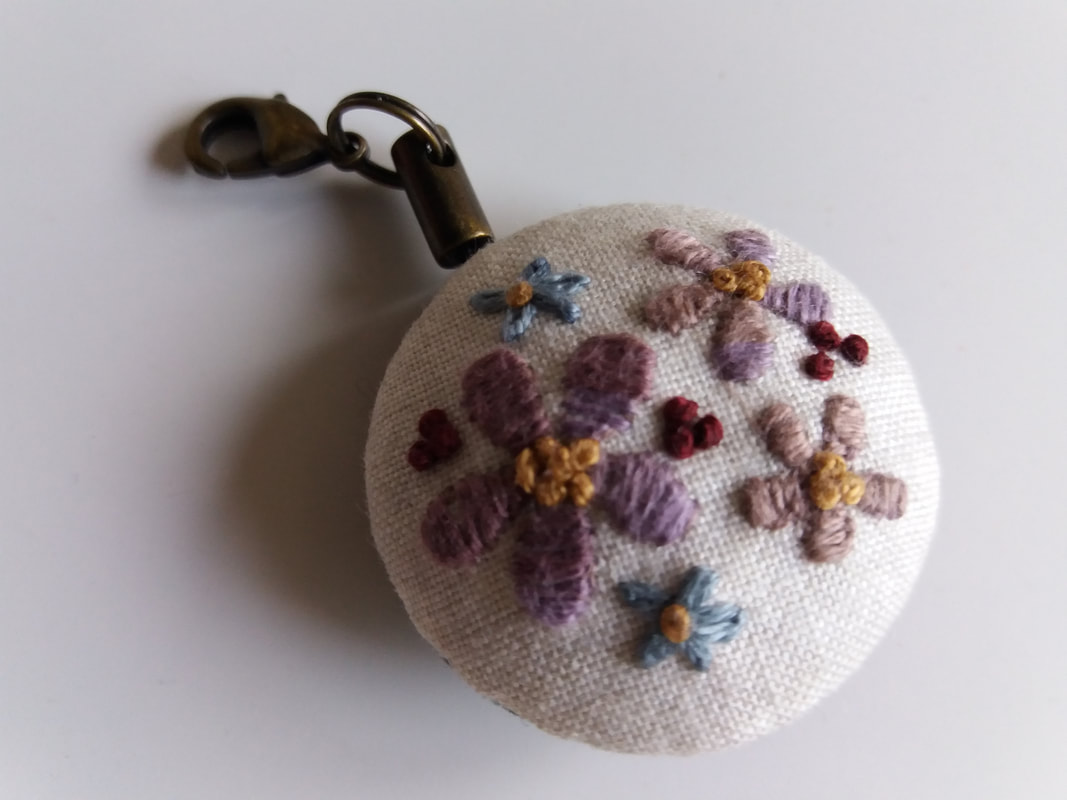
This sewing companion is filled with zippered pockets, and one of them is embellished with a decorative zipper pull. Using a Micron Pigma pen, the stitchery design was traced onto a piece of background fabric which had already been prepared with a piece of weaveline on the back. (Weaveline is a fusible lightweight interfacing that is fused to the wrong side of the background fabric. It gives fabric a bit of "body" and prevents "shadowing" of threads). As you can see, I'd fussy cut a piece of fabric for the back half of the zipper pull. Once the embroidery was completed, I pressed it on the WS and then cut out along the drawn line. I'd bought these plastic domes and the zipper attachments several months ago online from Little Quilt Store... ...the 2 halves were slip stitched together along the edge, with the clasp held between the 2 halves. These pictures show the back and the front of the zipper pull. Detailed instructions on how to make these are in the original pattern, by Lynette Anderson. This really was much simpler to make than I thought it would be, and it really does look so pretty. Now I've finished this, it can be attached to the zipper, and the sewing companion will be ready for a photoshoot!
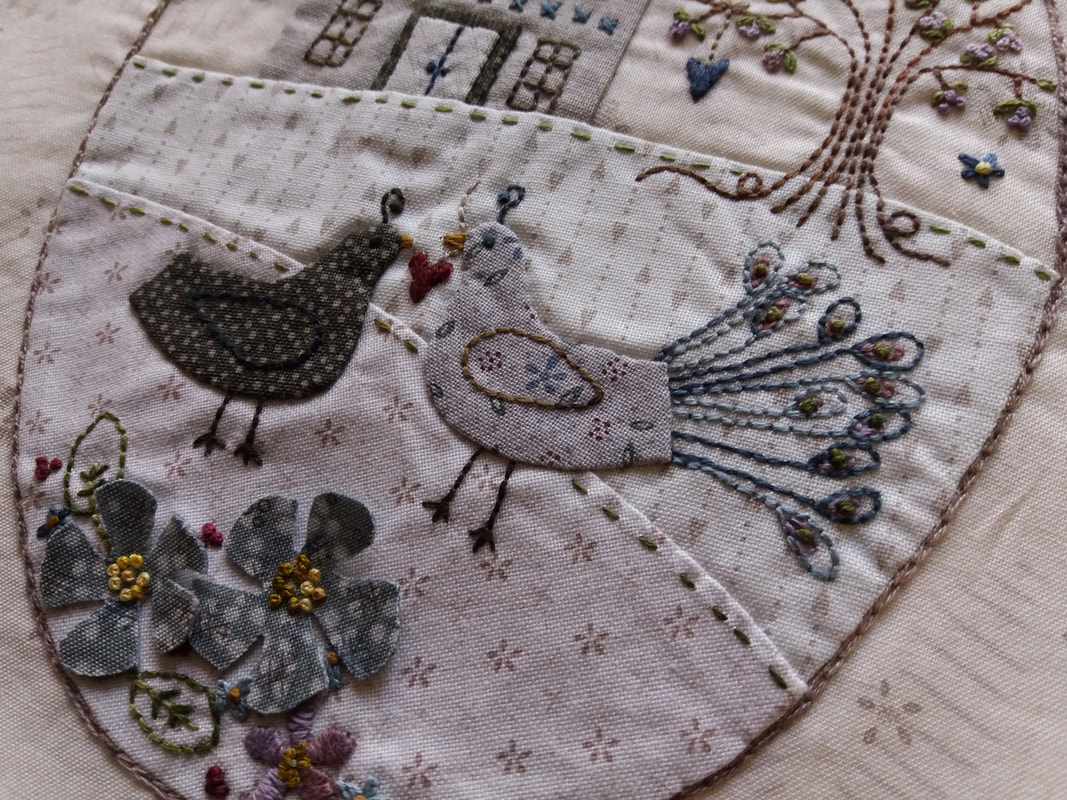
Mr Peacock is such a keeper! This is the stitchery design that will be appliqued onto the front of the Ultimate Travel Sewing Companion, and as you can see Mr Peacock is looking mighty fine with some gorgeous tail feathers! The applique has been completed using the applique paper and glue stick method along with Apliquick rods, and the hand embroidery completed using variegated Valdani stranded cotton threads. I've mentioned in the past that I've had issues with Valdani threads "shredding" as they seem quite dry, and I've found that using Thread Heaven to condition them really helps. I used a different interfacing on this background fabric, and I have to say I didn't have any issues with the Valdani threads breajing at all, so maybe they're better with a finer interfacing. (I never have any issues when I'm using DMC threads or Cosmo threads with weaveline). Once this stitchery piece is completed, it will be appliqued to the front of the sewing companion.
The Ultimate Travel Sewing Companion - pattern by Lynette Anderson Designs - is almost complete! I just need to finish some hand embroidery that will be appliqued to the front of the case, and make a decorative zipper pull. Loving all these pockets!
I've had a productive time in my sewing studio making some plastic pockets for my next project, The Ultimate Travel Sewing Companion. This is a pattern by Lynette Anderson Designs, and is full of useful pockets for storing threads and scissors and glue sticks and lots of sewing bits and bobs, including Apliquick rods! Stitching with clear vinyl can be a bit tricky - when I bought this, it came wrapped in a sheet of very thin paper, which I lay under the plastic then I'm stitching the binding in place. I always use a very sharp needle and a fine thread (you don't want to leave holes in your plastic, so you do need to be accurate). For this project I used a Titanium Microtex size 60 needle and Aurifil 50wt thread in a co-ordinating colour. The binding was stitched along the edge of the plastic, then I folded the binding over just like you do when binding a quilt, using a wooden pressing tool (obviously you don't want to iron anywhere near the plastic!) and then machined close to the edge of the binding.
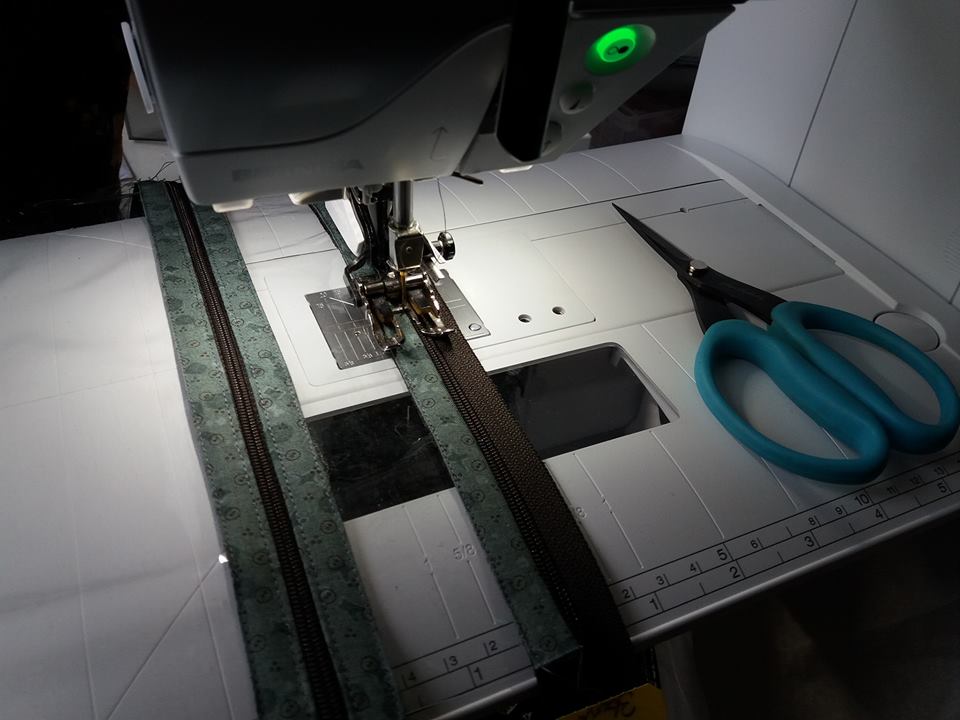
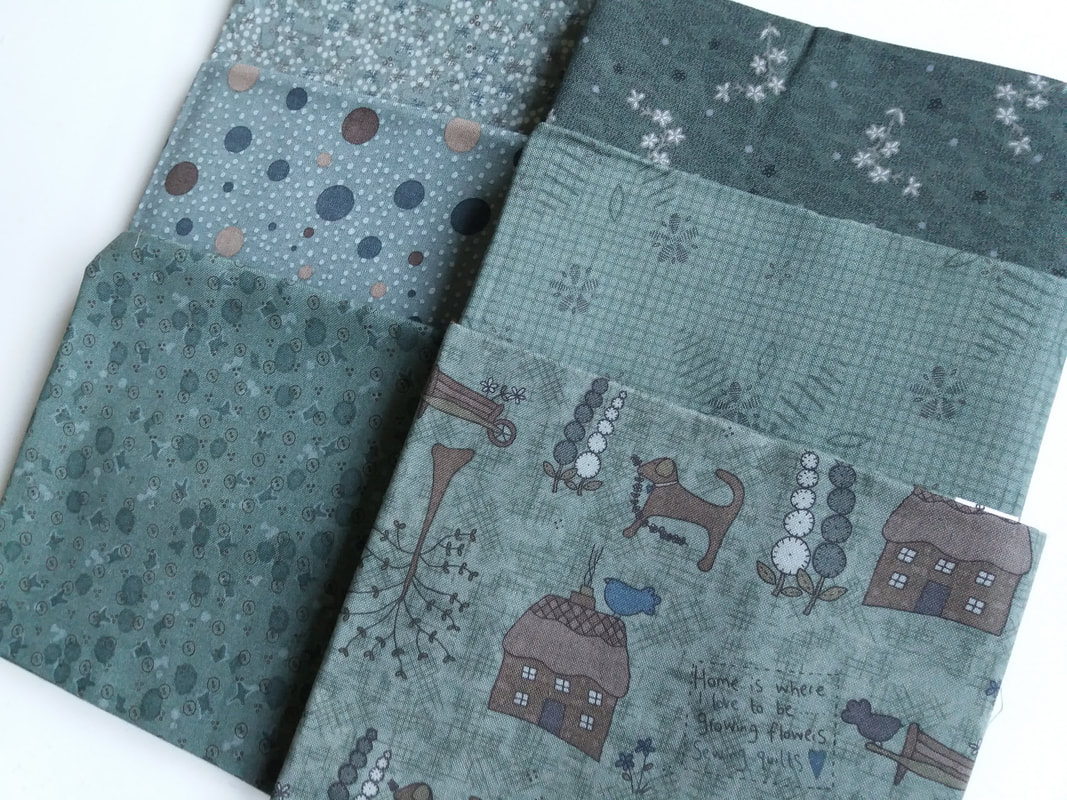
Once the binding is in place, the zippers are added and I put a line of fabric glue (a Sewline glue pen is perfect for this) on the fabric part of the zipper, and pressed the bound edge of the pocket onto the zipper, pressed it in place, and machined the pocket in place using a walking foot. The glue will dry clear, and it's much simpler than using pins. I love starting a new project, especially when it's a really useful one! The Ultimate Travel Sewing Companion was been on my to-do list for a few weeks. This pattern is by Lynette Anderson Designs, and I chose some fabrics also by Lynette, from her Hollyhock Cottage collection that had been in my stash for simply ages... ...the smaller pockets have been decorated with hand embroidery using variegated Valdani threads, and small appliqued hexagons (I used the applique paper and glue stick method for this). The appliqued woolfelt hexagon is a needle keeper, and there's also a handy fastening for my scissors to keep them secure in a pocket, and a small cutting board will fit in the larger pocket. The sides of the pockets are neatened with binding, which will attch to zippers. The next step is to make some clear vinyl pockets - I'll share some pictures as I go along, so check back for more updates!
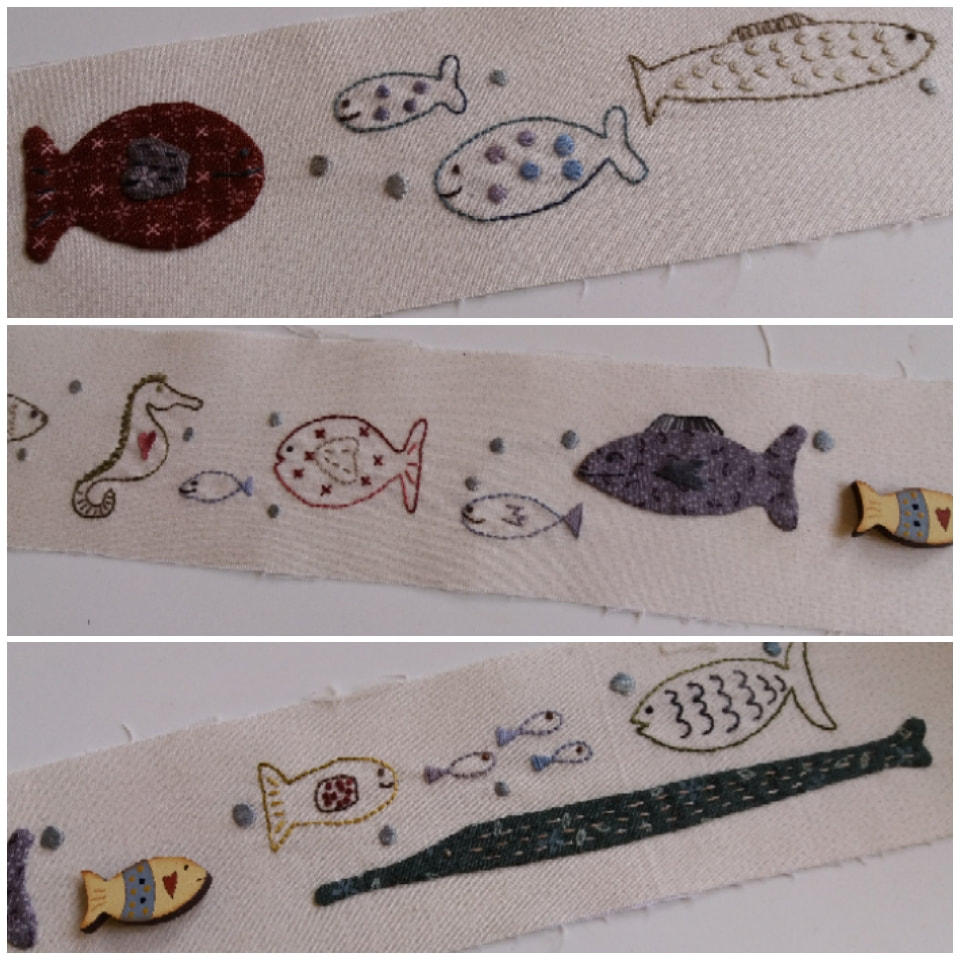
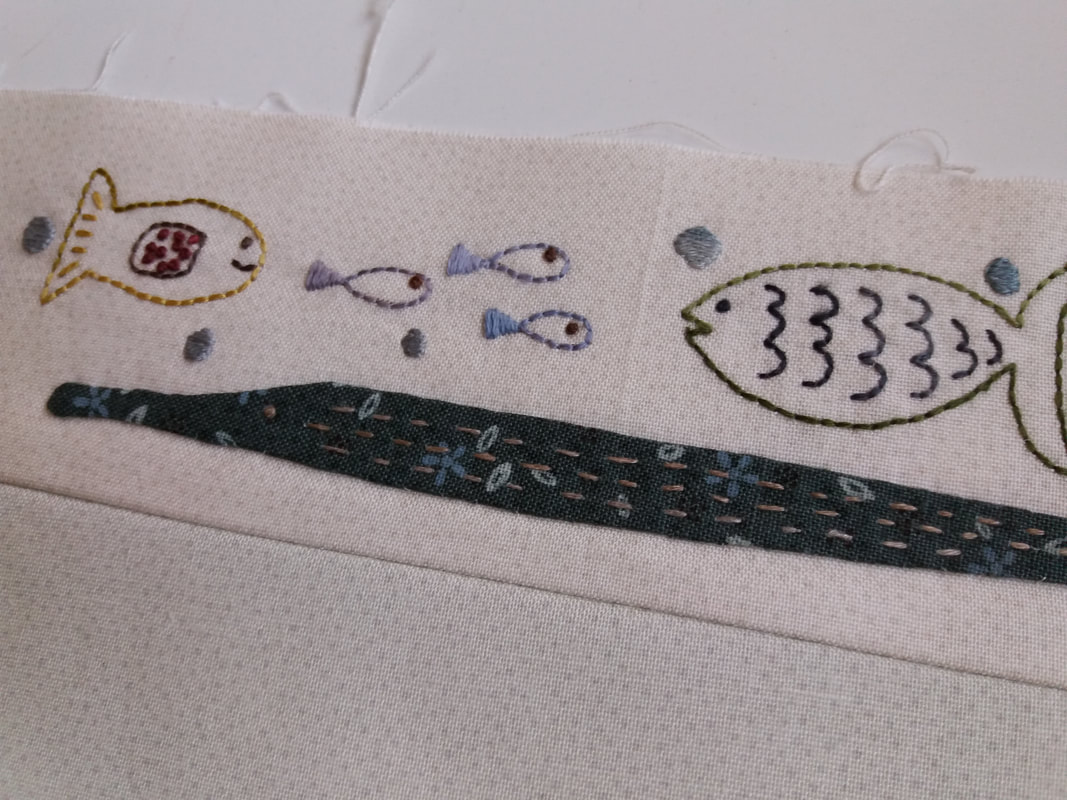
This shows a close up of all those hand embroidered and hand appliqued fishies! The hand embroidery was all stitched using Valdani variegated stranded cotton, and the hand applique was stitched in place with Aurifil 80wt thread in a mid-grey colour. The final flourish on this block is a hand painted wooden fish button.
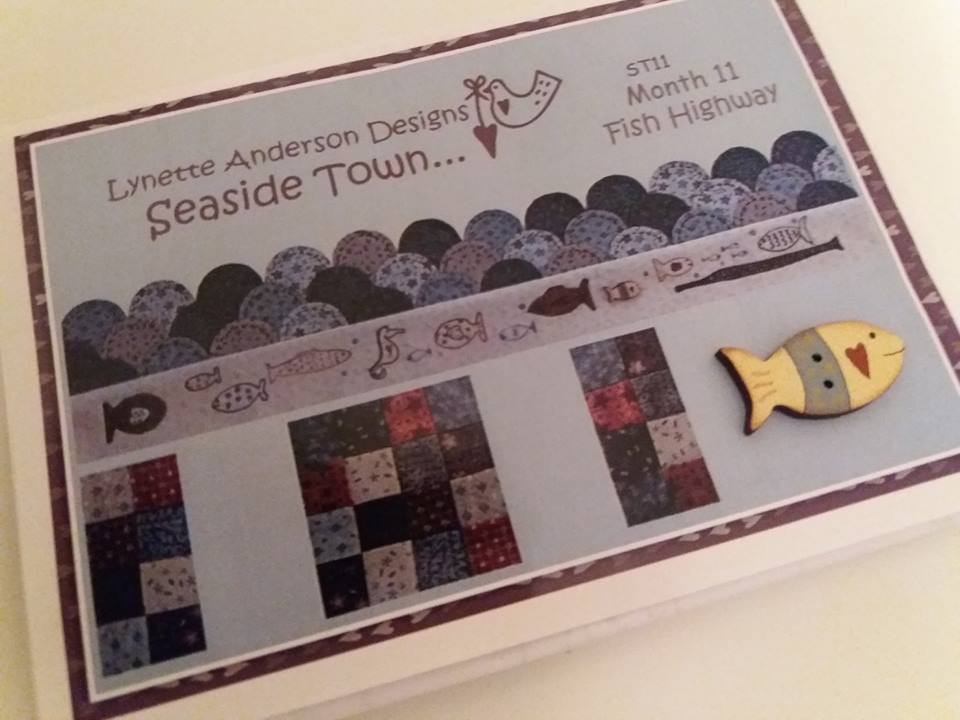
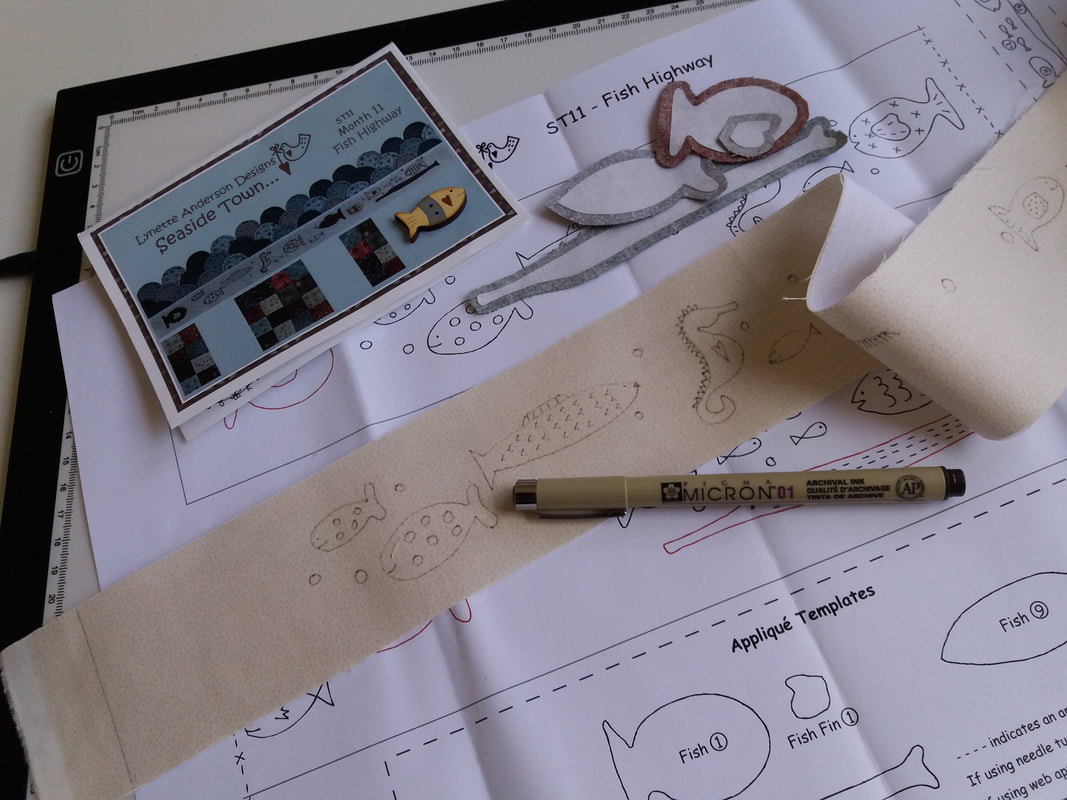
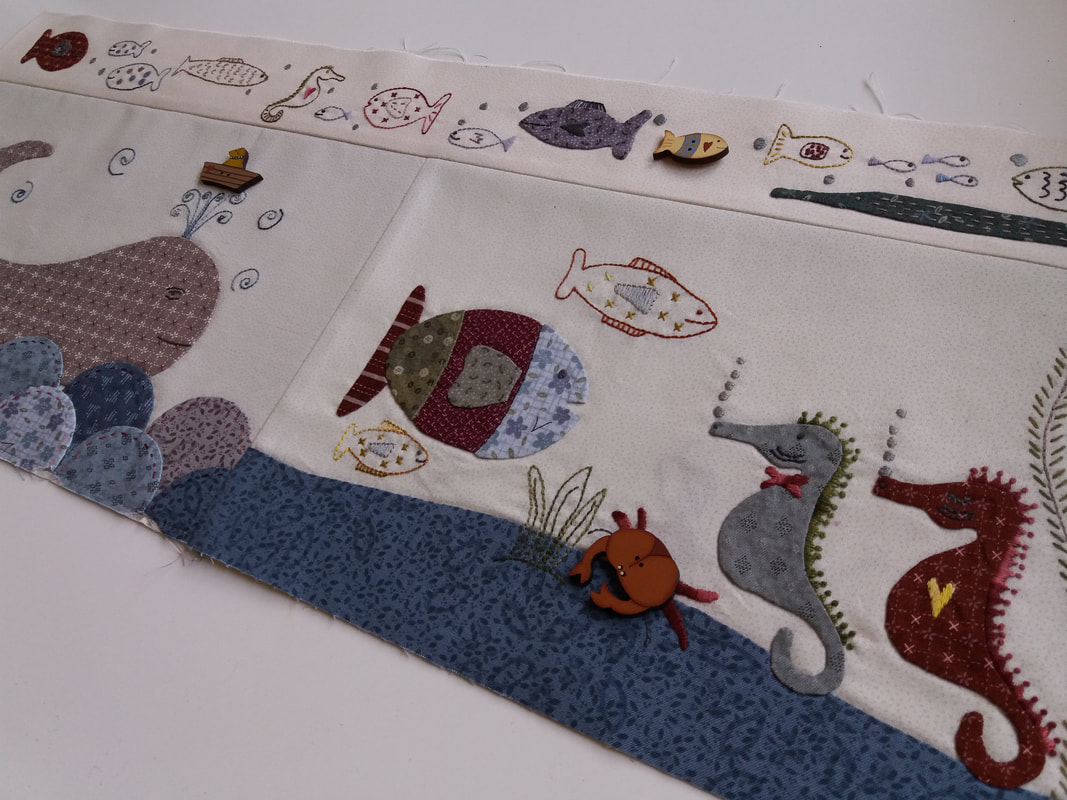
When the pattern for this block arrived in the post I still hadn't finished block 10, so it's taken me a little while to catch up! Seaside Town is a Mystery Button Club by Lynette Anderson Designs, and I signed up to this online with Cross Patch in Wales. A couple of years ago, I bought a light pad which makes transferring stitchery designs and applique layouts so much easier! This one is A3 sizes, and is one of my most useful things in my sewing room. A fine lightweight fusible interfacing is fused to the back of the background fabric before the design is traced, and I prefer to use a very fine Micron Pigma pen to transfer the design onto the background fabric, and try to get the finest nib size 005 whenever possible. I don't trace the layout of the applique pieces, but add them after the stitchery has been completed, either "by eye" or again using the light pad and the pattern to position them..... ...my favourite tools for applique - a black non-slip mat (this is washable), Apliquick rods, Perfect Scissors by Karen Kay Buckley, a fabric glue pen (these are refillable), Clover Black Gold applique/sharps needles and a very fine thread - Aurifil 80wt in a mid grey shade is perfect, as it blends in with all colours of fabrics. The effect of these variegated Valdani threads is gorgeous - although they can be a bit tricky to use, as they tend to be a bit dry, so I use Thread Heaven to condition them. A good quality embroidery needle is helpful too - I find I always get better results when I use top quality equipment. My favourites are Tulip embroidery needles but they are quite expensive, Bohin and John James are also good brands to try... ...and here's block 11 stitched to blocks 9 and 10.This is looking fab, and I'm really enjoying stitching these blocks. Now I just need to make about a million clam shells, ready to join this section to the previous blocks!
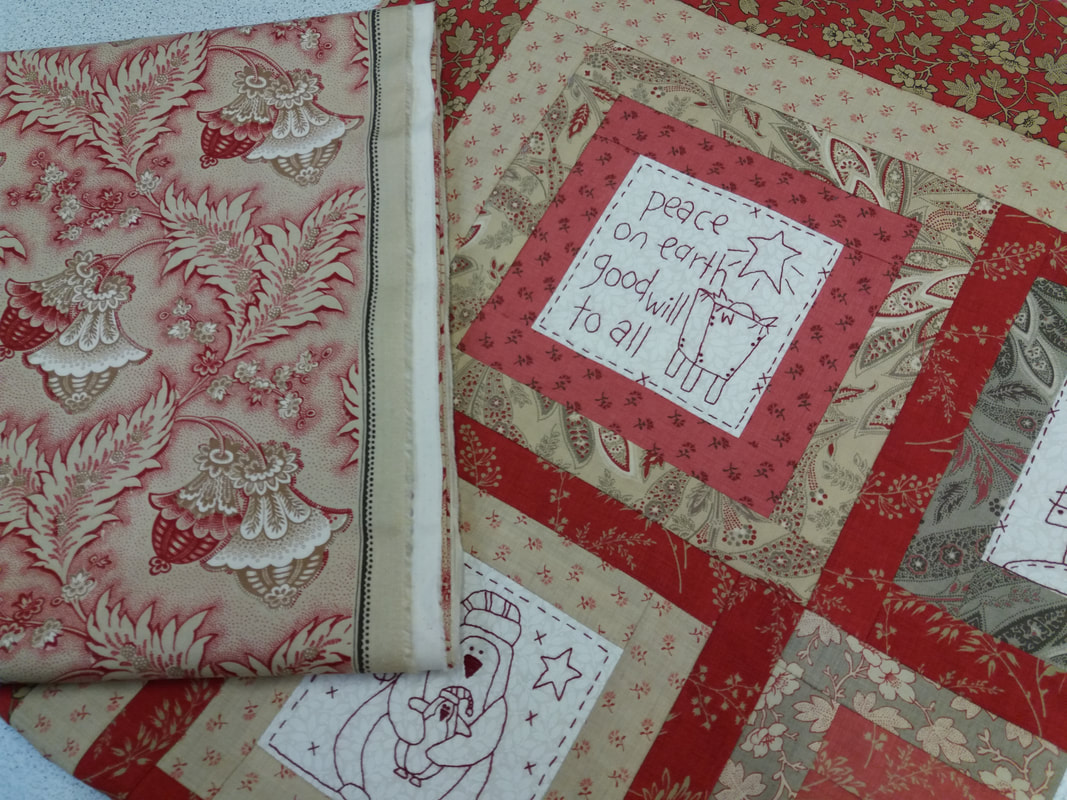
*If you're interested in stitching this too, Julia at Cross Patch in Wales is still doing this as a BOM. There are also details of other participating shops on Lynette Anderson's website. A few weeks ago I'd finished piecing together a gorgeous festive wall hanging, "Tis The Season" and on Saturday I bought some French General fabric from KIS Quilting Ltd ready for the backing. This will be quilted very simply with Aurifil 40wt thread. The wall hanging is a pattern by the Australian designer Natalie Bird, of The Birdhouse Patchwork Designs, and was bought online as a kit from Cross Patch in Wales and was made with gorgeous fabrics from the French General "Rouenneries" collection, and was hand embroidered with Presencia Finca Perle 16 thread.
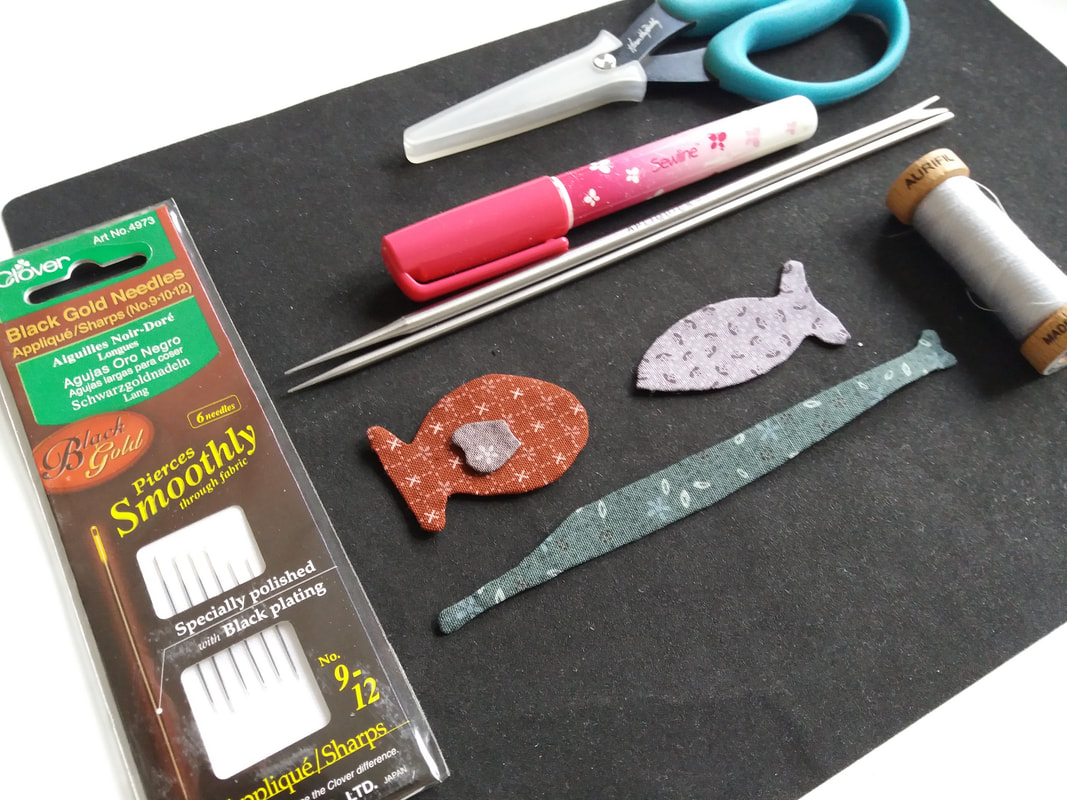
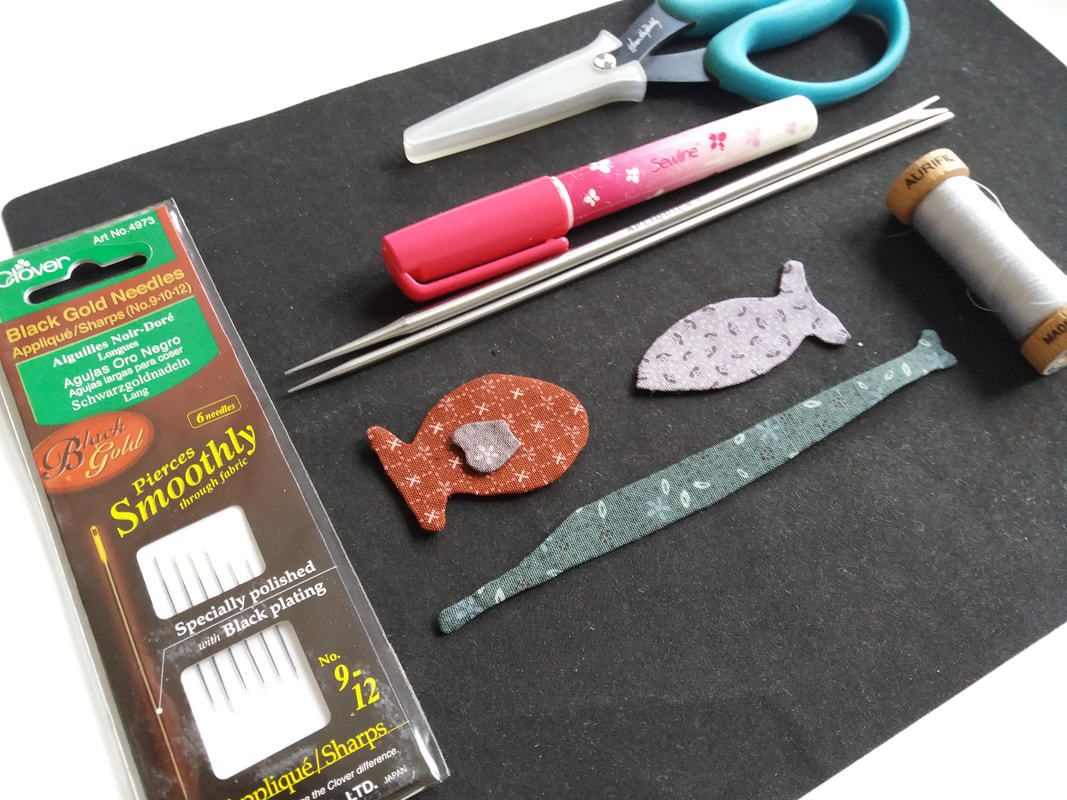
I often get asked what equipment I'd recommend, so here is my list of my essential tools for hand applique!
1. Black non stick mat - this is washable, so it's easy to keep clean if it gets glue on it! 2. Apliquick rods - these stainless steel rods have completely changed my life! Since learning how to use them, I've made loads of applique projects that I wouldn't have tackled otherwise. I've also got 2 pairs of Apliquick scissors, and the Apliquick tweezers too. 3. Karen Kay Buckley Perfect Scissors- these are wonderful scissors with micro serrated blades that grip the fabric and cut right up to the point. 4. Sewline fabric glue pen - essential for the applique paper method - and the refills are super easy to replace. The glue is coloured so it's easy to see where you've used it, and then it dries clear. You really don't need too much. 5. Applique paper - not shown - I use the Hugs 'n Kisses brand. The shiney side is fusible. Trace the applique design in reverse on the matt side of the paper, cut the shape exactly on the drawn line, and fuse on to the wrong side of the fabric. Cut out the fabric a scant quarter inch around the applique paper and run the glue pen along the edge of the fabric. Use the Apliquick rods to roll the fabric over the edge of the paper, and still using the rods, press the fabric in place. 6. Aurifil 80wt thread is my favourite thread for this method of applique and a mid grey colour blends with most colours of fabric. 7. Clover Black Gold applique/sharps needles are super sharp and are very fine so they don't leave holes in your work. 8. Roxanne's basting glue - not shown - just a couple of drops of glue are needed on the back of each prepared applique piece, press into place and let it dry. The applique shapes can then be stitched in place without getting stabbed with applique pins! |
About me...Hi - welcome to my quilting blog! My passions are my family, my dog, my friends and sewing, not necessarily in that order! Archives
July 2023
Blogs I followUK shopsThese are the UK shops that I use to purchase my quilting supplies - fabrics and threads etc.
Australian linksScandinavian links |


 RSS Feed

