|
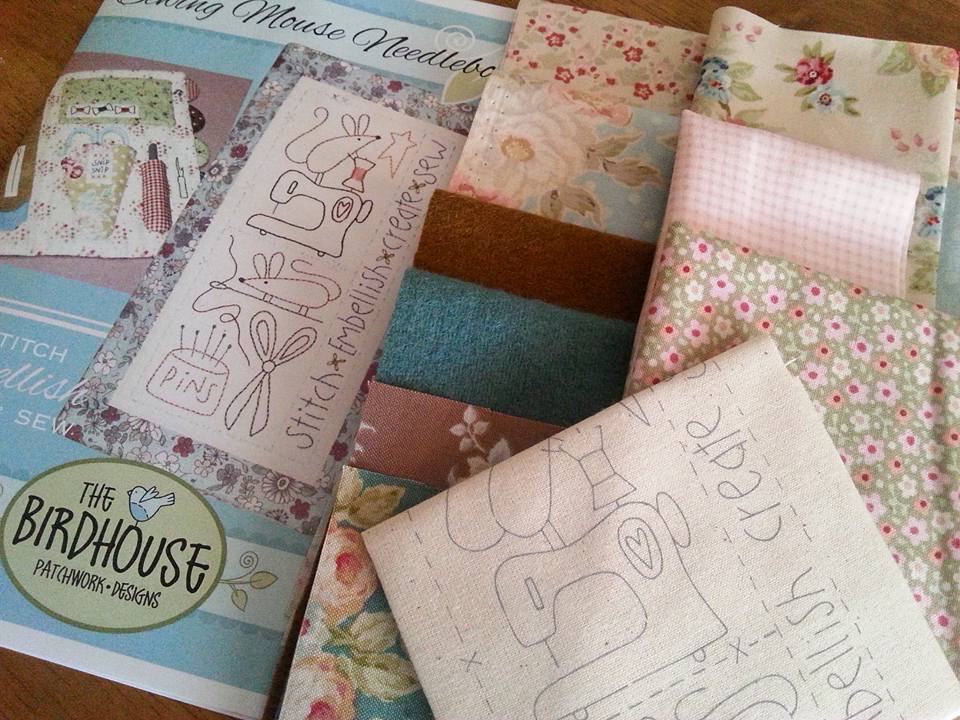
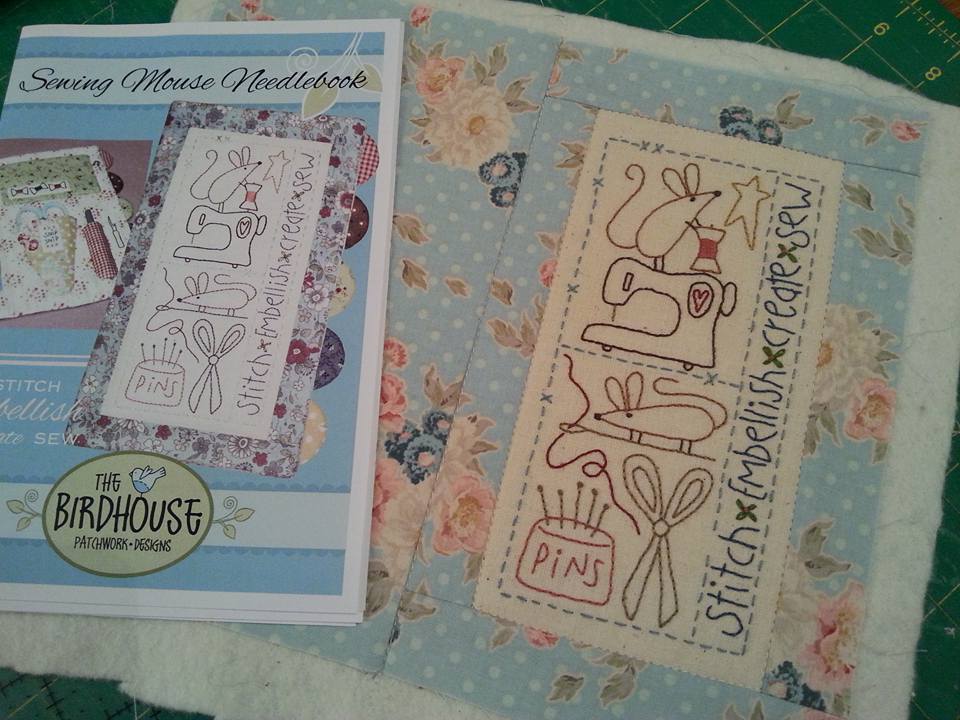
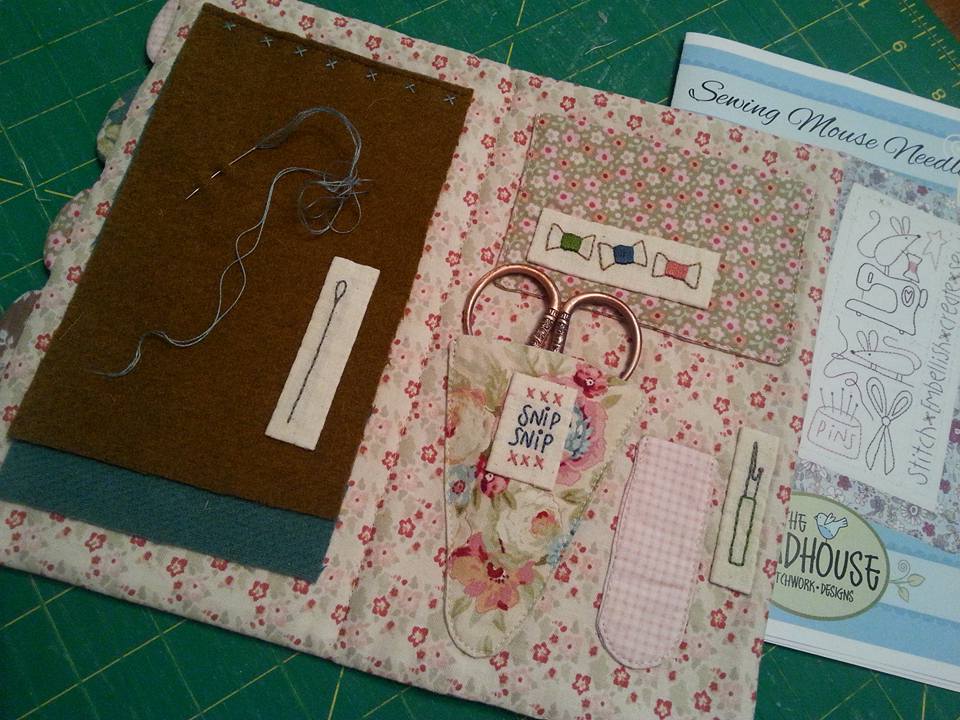
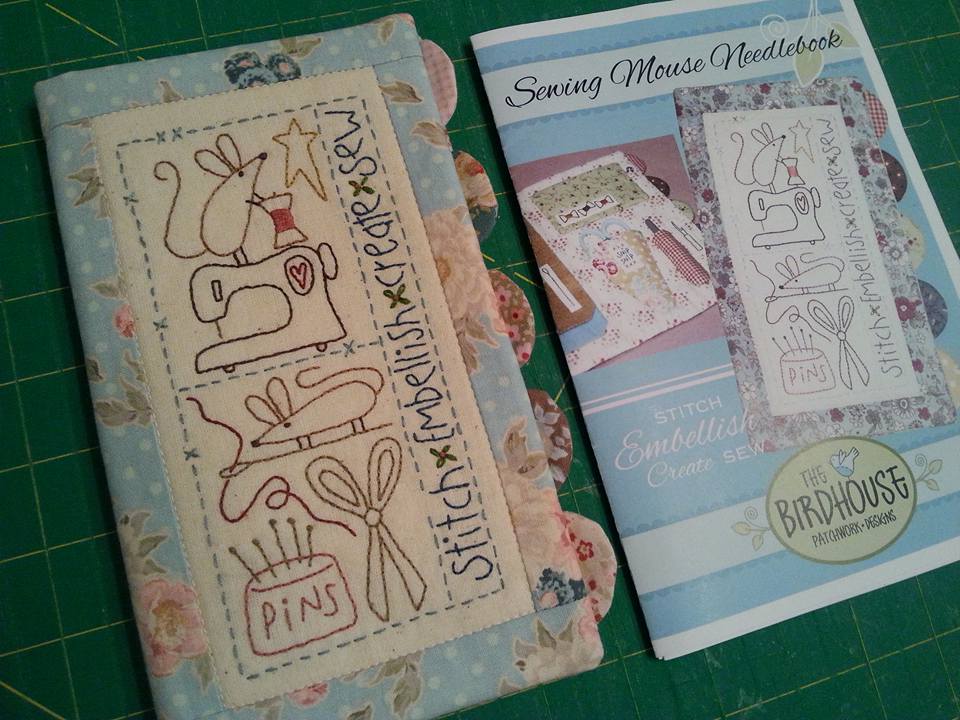
A couple of months ago this gorgeous kit arrived from Cross Patch in Wales. The pattern is by Natalie Bird of The Birdhouse Patchwork Designs. The kit contains the pattern and these beautiful Tilda fabrics that are absolutely lovely to sew with! The kit included a pre-printed stitchery design, so I didn't have to spend time tracing it, I just fused a piece of weaveline to the back, and I was ready to start stitching! A wooden hoop keeps the fabric taut and stops any puckers. I tend to use John James embroidery needles, and I've used DMC threads for this project... ...once the embroidery was completed, the borders for the front of the needlebook were added, then the back, and this was layered with some thin cotton wadding. I spray basted this with 505 spray, and quilted it very simply stitch-in-the-ditch using cream Aurifil 50wt thread. The inside on the needlebook has some wool "pages" for needles and pins, and also has an assortment of useful pockets... ...and here's the front of the finished needlebook. This is a super project, as it's both pretty AND useful. This will be the perfect accessory for my summertime sewing projects. If you want to have a look at the Cross Patch website, you'll see a huge array of patterns and kits etc.
1 Comment
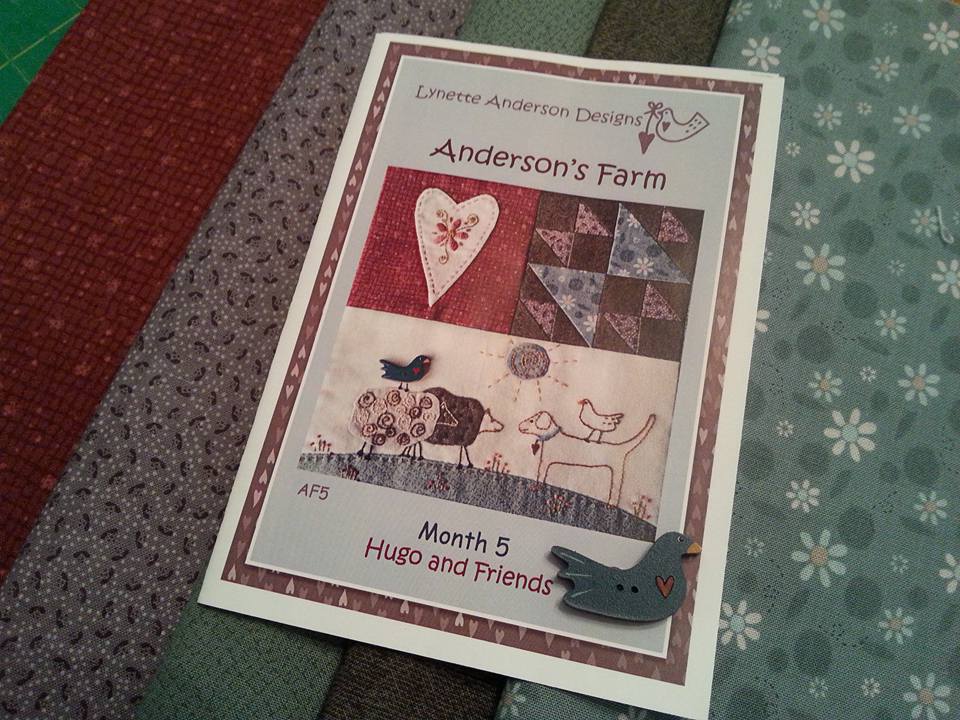
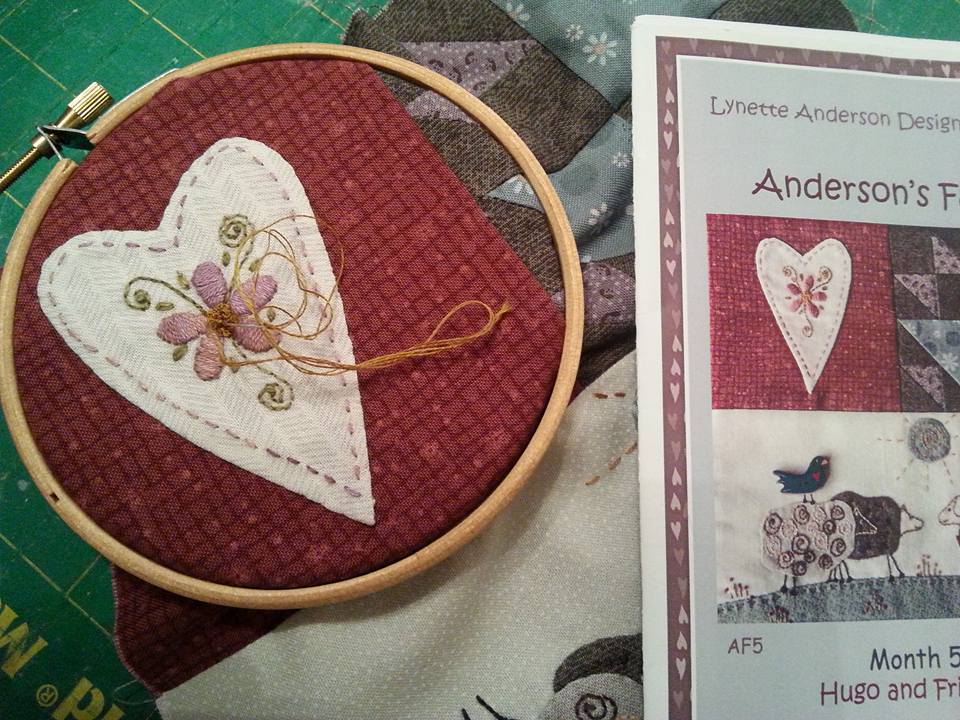
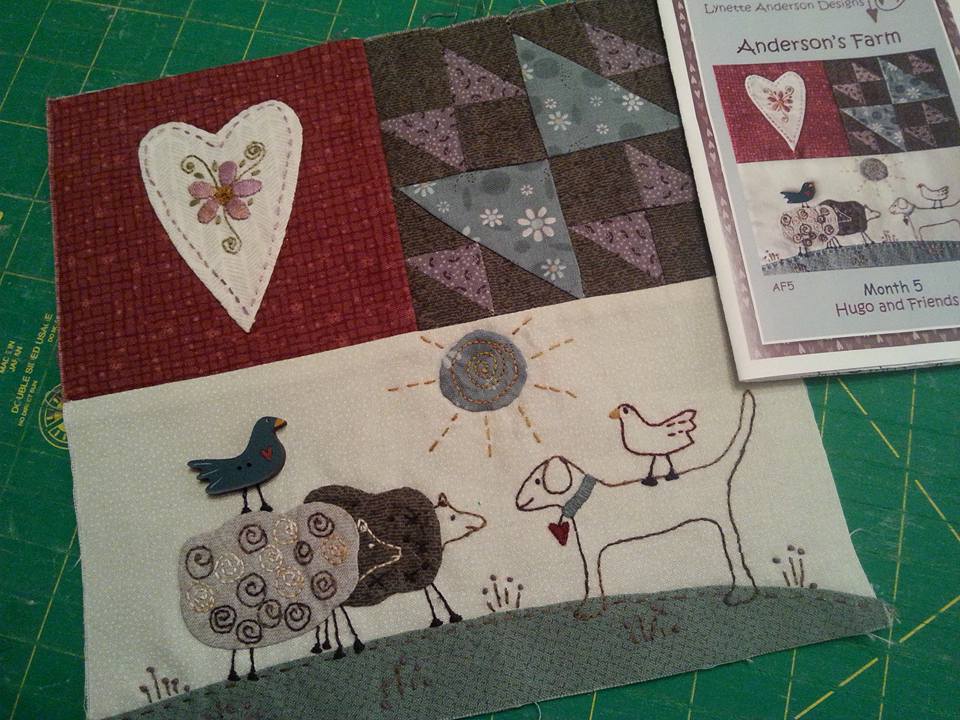
The pattern and hand painted wooden button for the block for month 5 "Hugo and Friends" arrived in the post before I'd even had a chance to stitch the block that had arrived for month 4! As soon as I had time I prepped the block, by tracing the stitchery design with a Micron Pigma pen and fusing a piece of soft woven interfacing to the back of the background fabric (weaveline is my favourite) and piecing the Hens and chicks block together with Aurifil 50wt thread in a neutral colour. Once the applique had been prepped it was hand stitched into place, and the stitchery design was stitched with Valdani threads (both the thread pack and fabric pack had been ordered from Lynette a few months ago when I signed up to this mystery button club from her quilt shop Little Quilt Store in Australia)... ...and here is the completed block. Months 3,4 and 5 will be stitched together to make one of the rows for Anderson's Farm. Are you stitching this one too? If you are, I'd love to see your blocks too - if you are on instagram, use #andersonsfarm when posting your pictures!
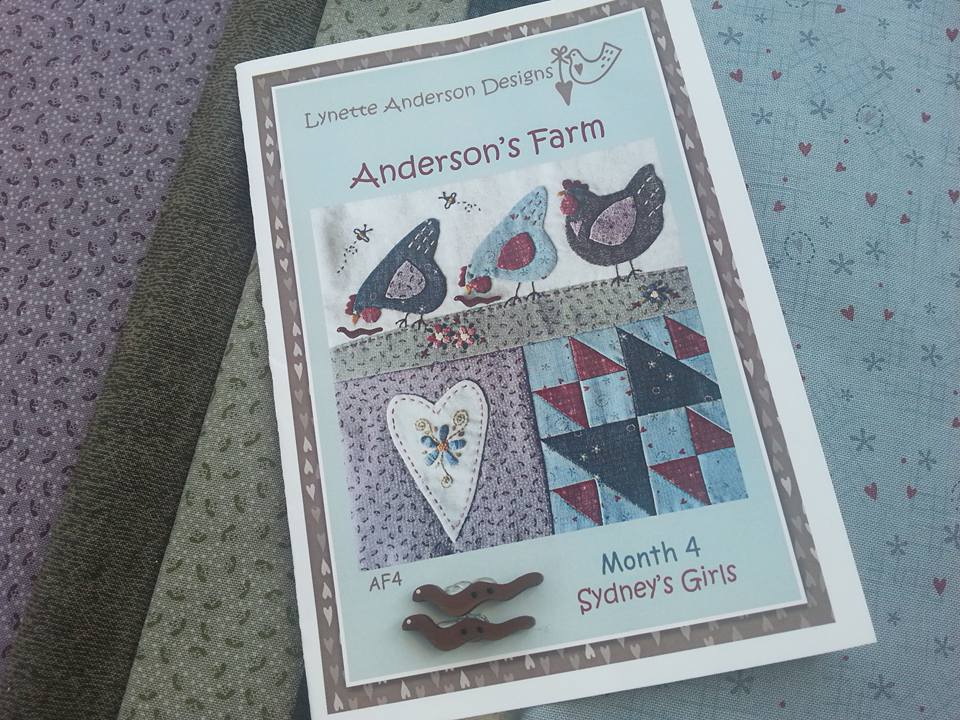
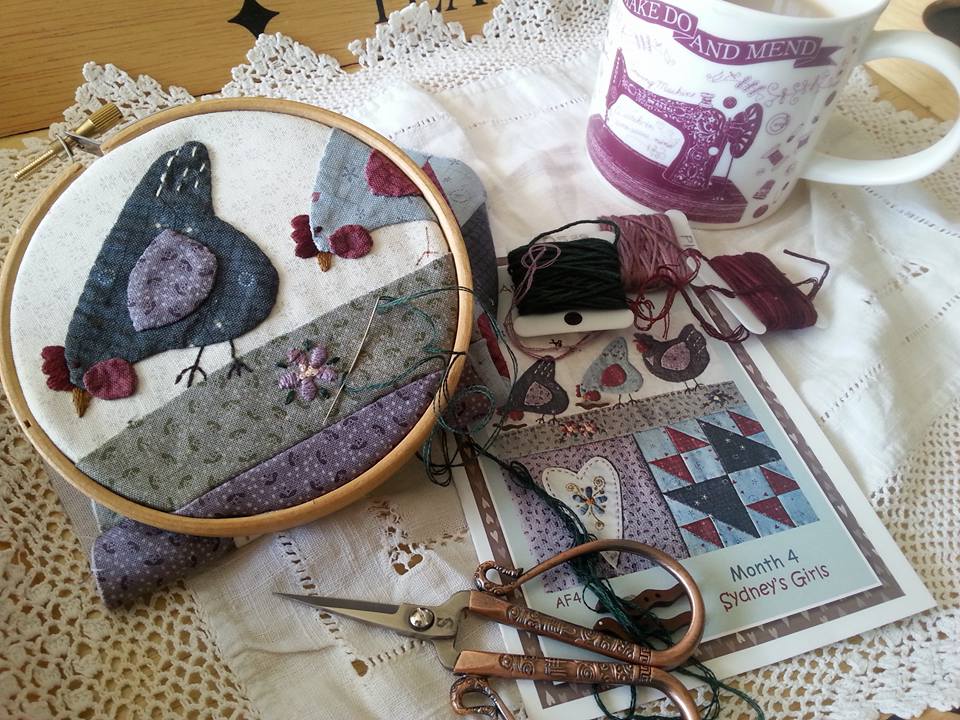
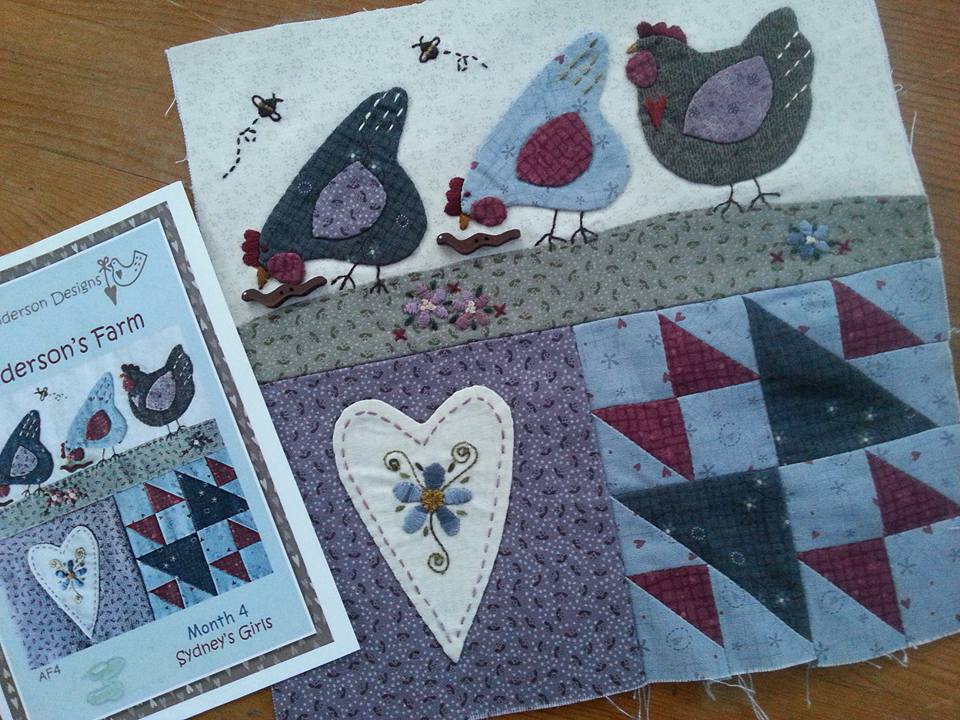
A few weeks ago "Sydney's Girls" Month 4 of Anderson's Farm arrived in the post. This is the latest mystery button club by Lynette Anderson Designs, and was bought online from Lynette's shop Little Quilt Store in Australia. This was packed in my sewing bag on Monday evening, and I made a start on it at sewing group. The next few evenings were spent working on this block, including piecing the patchwork Hens and Chicks block together. Yesterday morning saw me embroidering the tiny daisies on the grass. This small 4.5" wooden hoop is perfect for small projects... ...and yesterday evening I was able to finish off the busy bees, and a final press meant the block was completed! I've loved stitching with these gorgeous over-dyed Valdani threads, as the colour change is very subtle. The cute hand painted wooden button "worms" have just been laid on the block for a photoshoot, as they'll be added properly after the project is completed and quilted. Month 5 has already arrived, so I'm hoping to make a start on that one soon!
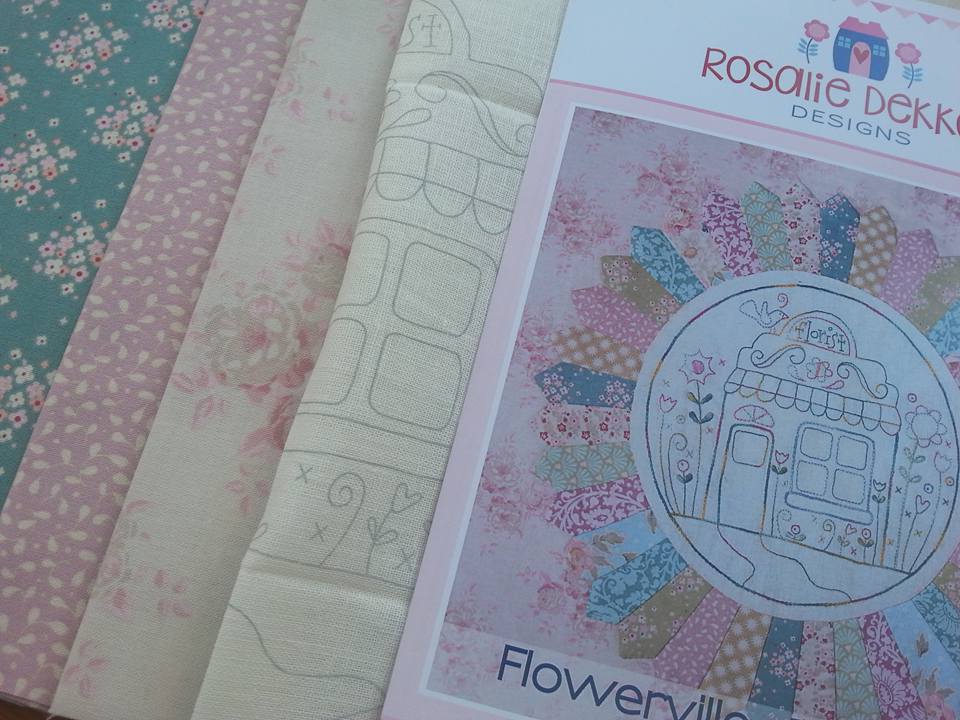
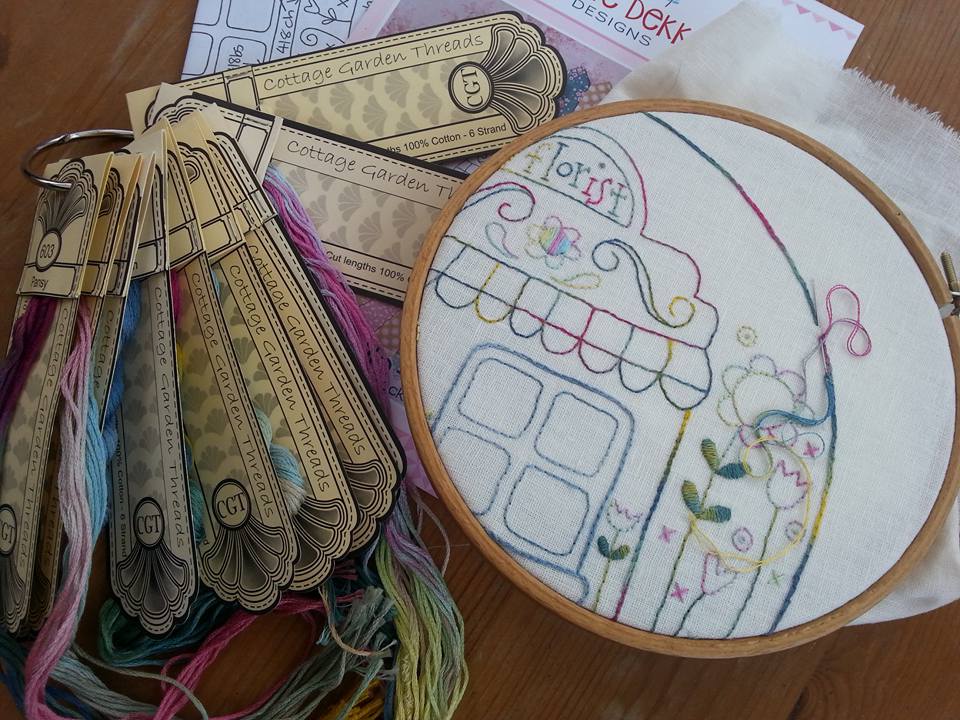
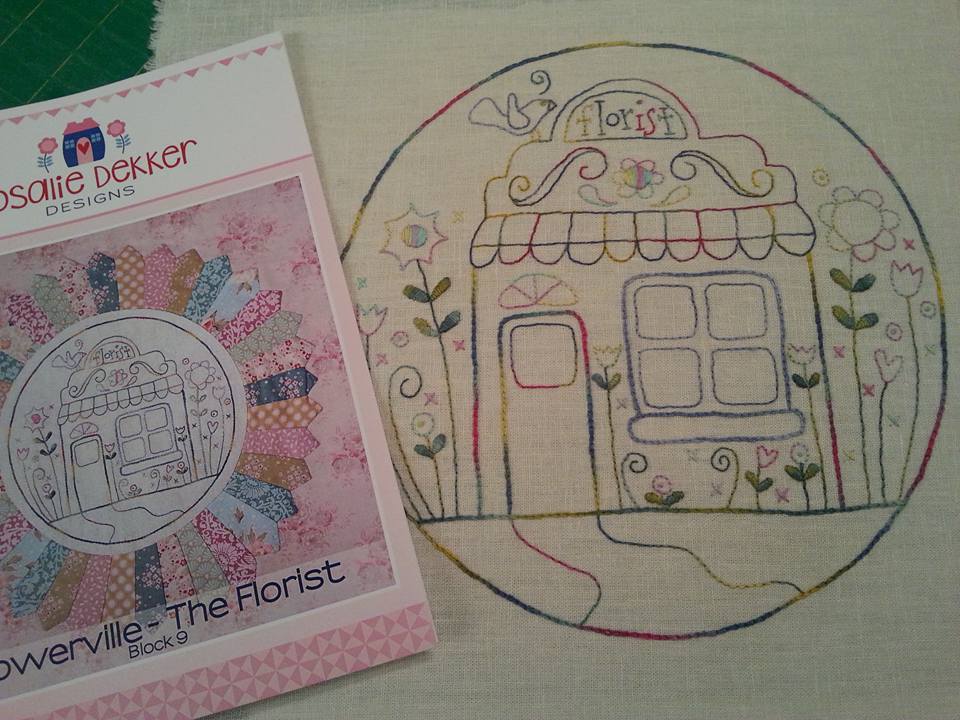
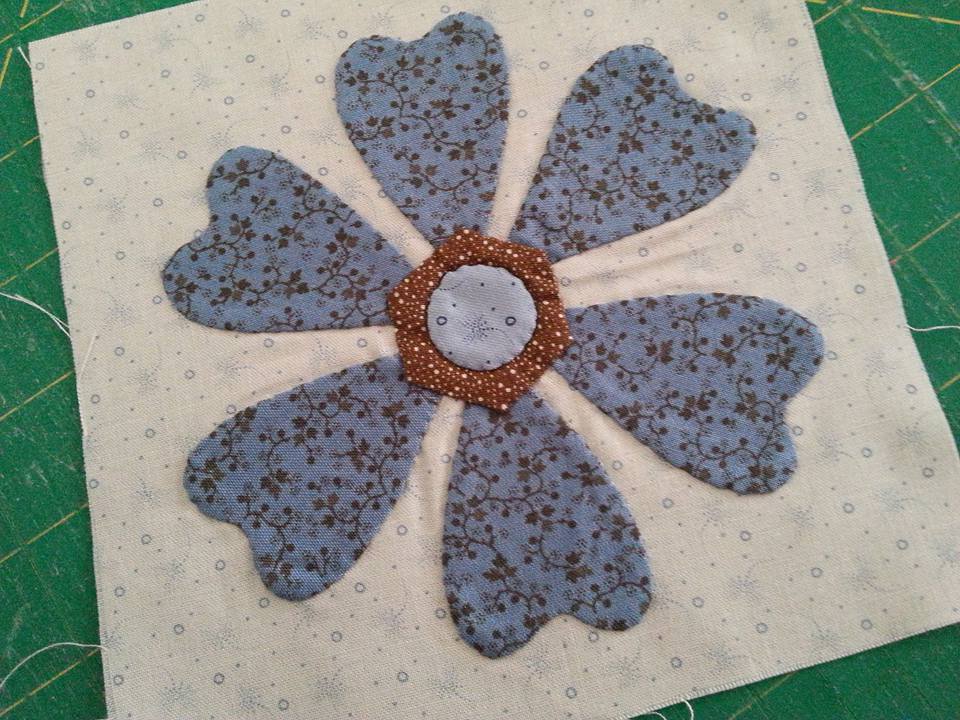
The final stitchery block for Flowerville arrived at last! This BOM has been bought from Under The Mulberry Tree in Australia. It really has been so exciting getting these parcels in the post every month! The design is pre-printed onto handkerchief linen... ...and has been hand embroidered using back stitch, chain stitch and satin stitch with gorgeous hand-dyed Cottage Garden Threads. Now all I need to do is make a start on getting those Dresden plates stitched together. I'll enjoy stitching those with the gorgeous Tilda fabrics!
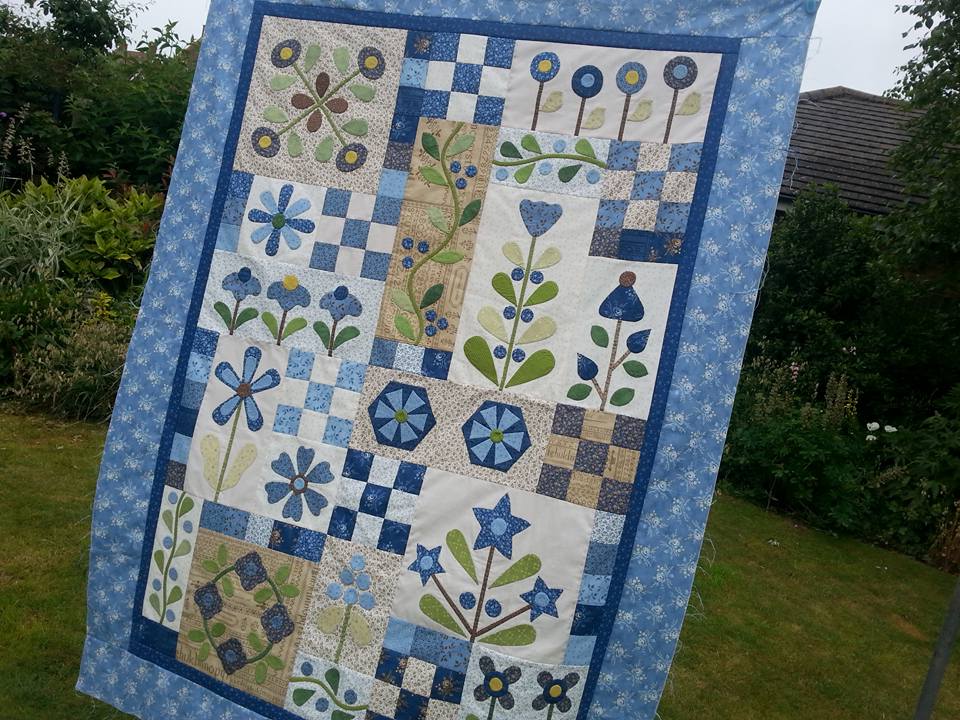
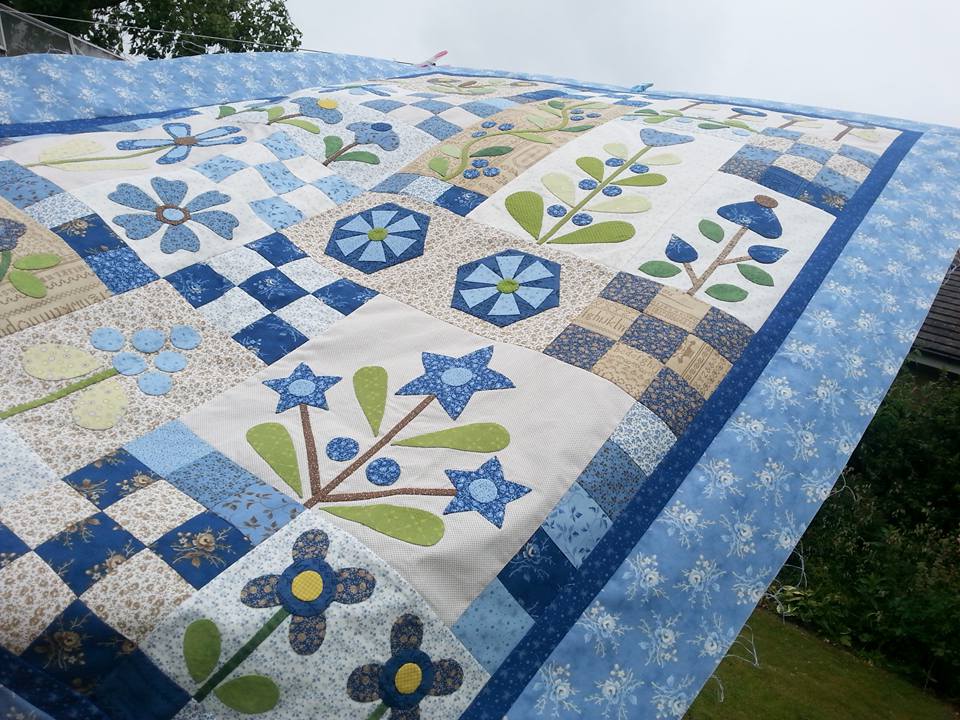
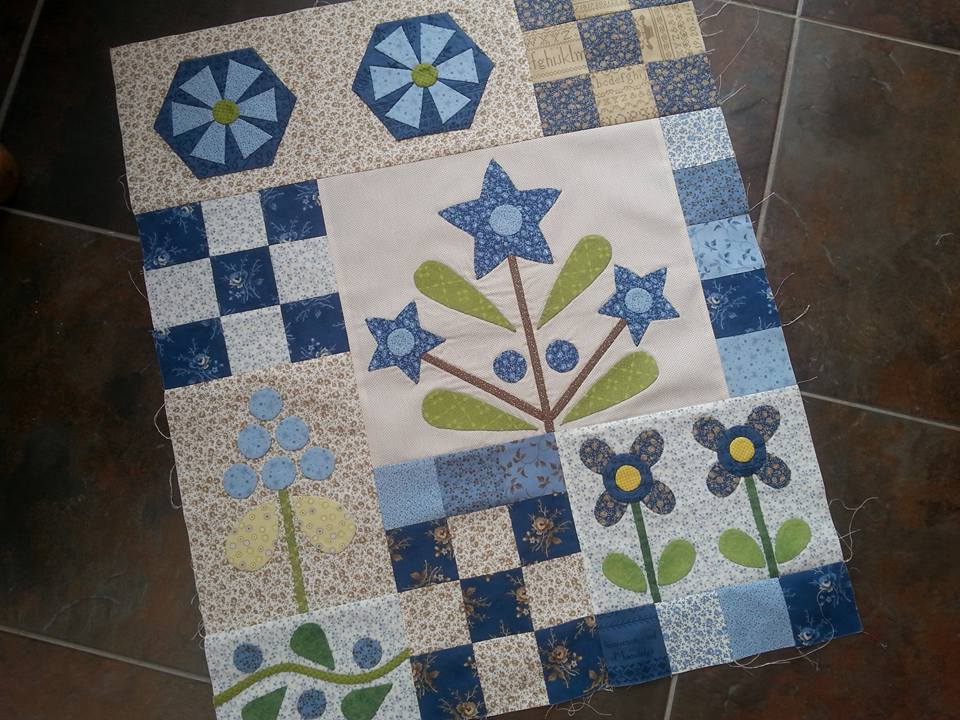
Well this morning the weather much better, and I was able to bet a picture of my latest quilt without it blowing all over the place! This is what I have been busy stitching over the past 5 weeks, and has filled every spare moment that I've had, as there is a HUGE amount of applique in this project! The pattern is Flowerdale, by the Australian designer Gail Pan, and was purchased as a kit online from an Australian quilt shop about 5 years ago. I can't believe it had been in that box for so long! This has been made with a selection of fabrics from the Blueberry Crumb Cake collection by Blackbird Designs for Moda, and these fabrics have been lovely to sew with, both by machine for the piecing and by hand for the applique. Now I just need to save up my pennies ready to take this over to the long arm quilter so she can work her magic on it!
My Flowerdale quilt (pattern by Gail Pan Designs) was completed and it was time to take some pictures. It's so tricky though, trying to do a photoshoot when it's a bit blustery and you're trying to dodge the showers! The fabrics used for this quilt are a selection from the Blueberry Crumb Cake collection by Blackbird Designs for Moda. This was a kit that had been in my sewing box for about 5 years, and I finally plucked up the courage to make it! It really does have a lot of applique on this one, but it's broken down into 4 sections, which makes it a lot easier. I used my favourite method of applique for this, using applique paper and a gluestick, and apliquick rods. There are lots of tutorials on YouTube for this technique, my favourite is a video with a demonstration by the Australian designer Lynette anderson. Hopefully I'll get some better pictures later when the sun comes out!
Section C and D of Flowerdale have been machine pieced together with Aurifil 50wt thread, and once this has been joined to A and B I can tackle the borders! This pattern is by Gail Pan Designs, and has been in my sewing box for the past years, as when it first arrived I was completely overwhelmed by the amount of applique I needed to do. However now I've mastered the technique using those apliquick rods, I can't wait to make another one of Gail's beautiful designs!
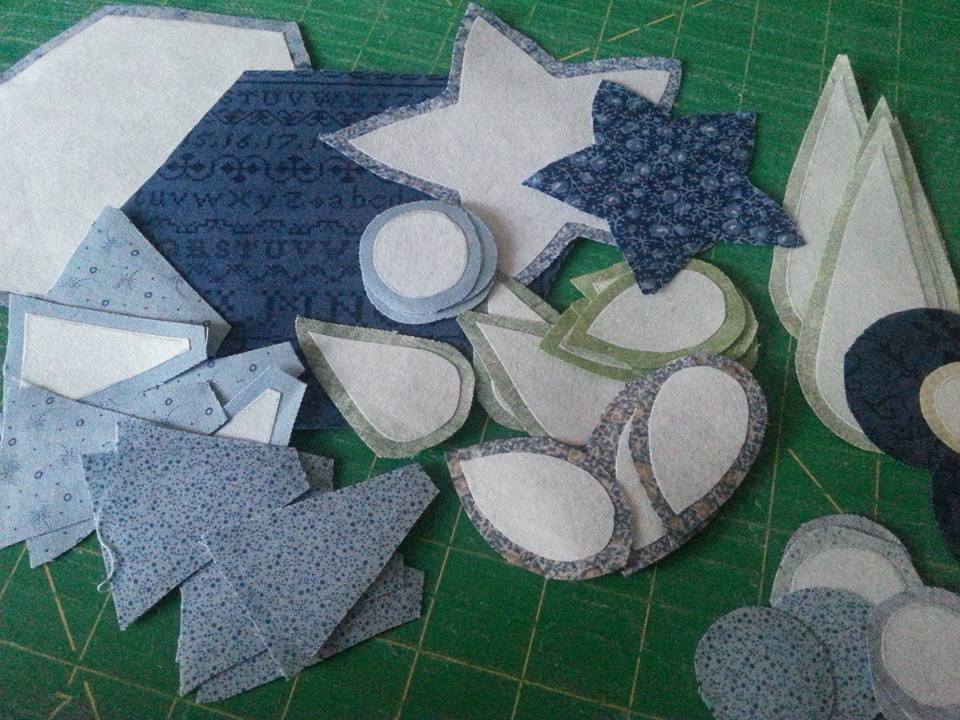
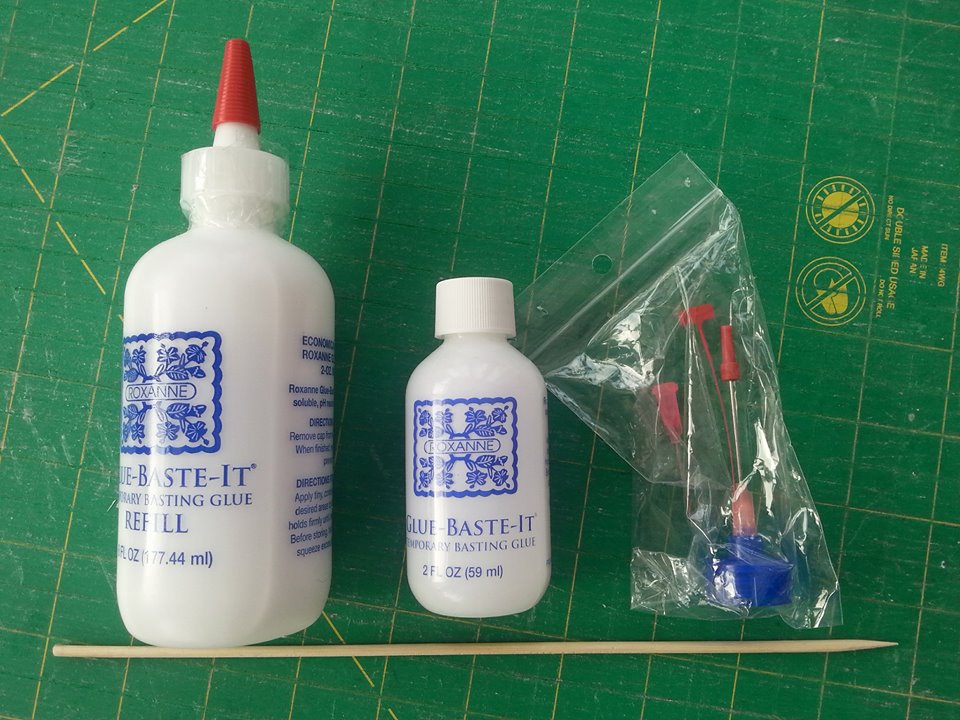
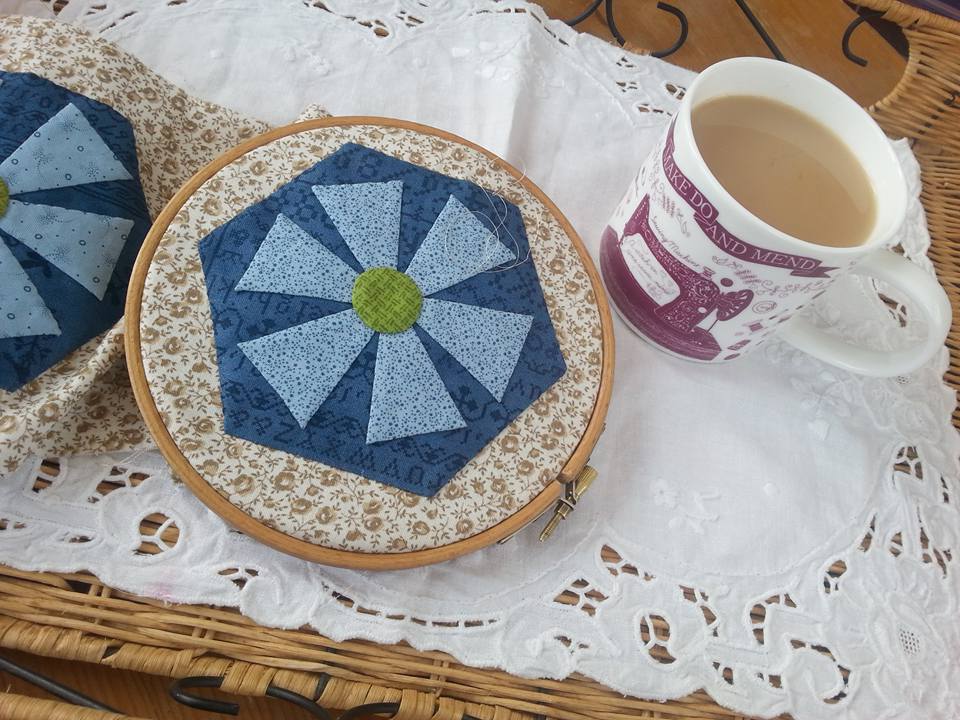
I spent a couple of evenings prepping some applique for Section D of Flowerdale (pattern by Gail Pan Designs fabrics from the Blueberry Crumb Cake collection by Blackbird Designs for Moda). As you can see, the applique paper has been fused to the WS of the fabric, and the edges are then turned over with apliquick rods. I use a few spots of Roxanne's basting glue rather than applique pins to ho;d the applique shapes into place before hand stitching them. I tend to use a wooden skewer to add small "dots" of glue to the back of the applique shapes. The smaller bottles come with a couple of needles for applying glue, but they tend to get clogged so I've found using the skewer is much easier!... ...on Sunday morning it was the best part of the day! A cuppa and some hand sewing while everyone else is still asleep. I use a very fine neutral coloured thread for hand sewing the applique into place - my favourites are YLI silk thread or bottomline, and I use a very fine applique needle... ...and here's Section D, appliqued and machine pieced together with Aurifil 50wt thread. The next step is to join this to the other sections, then it will be ready for the borders.
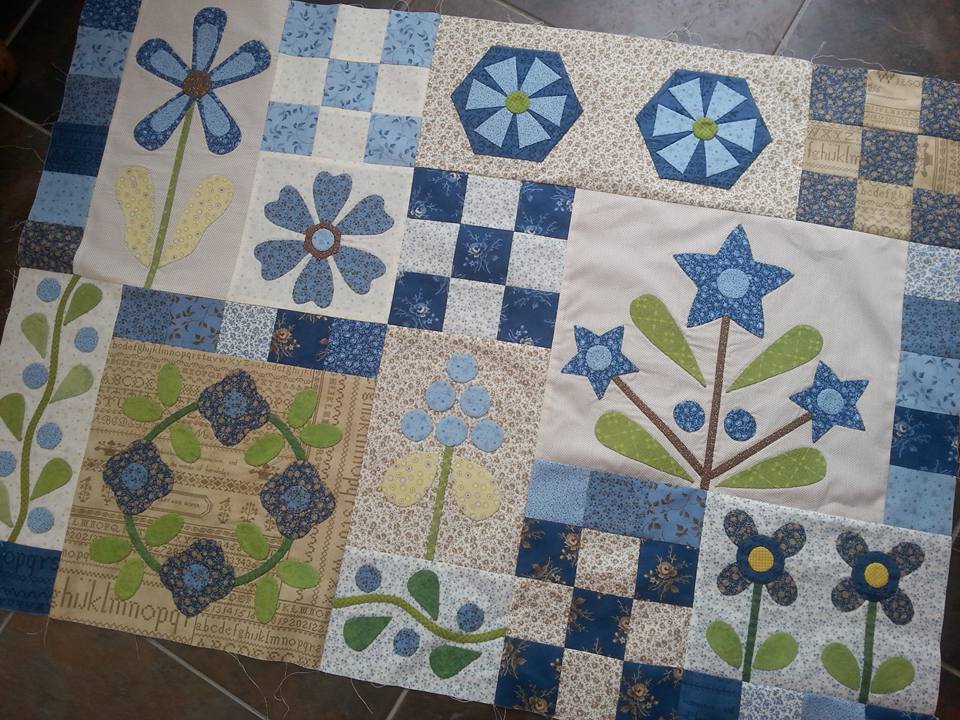
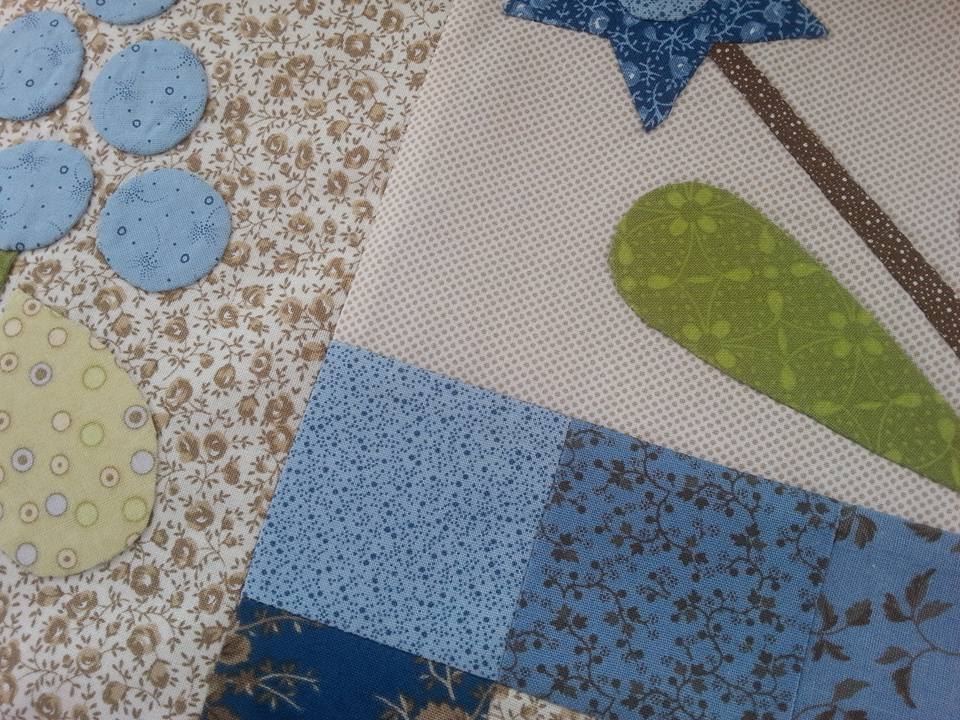
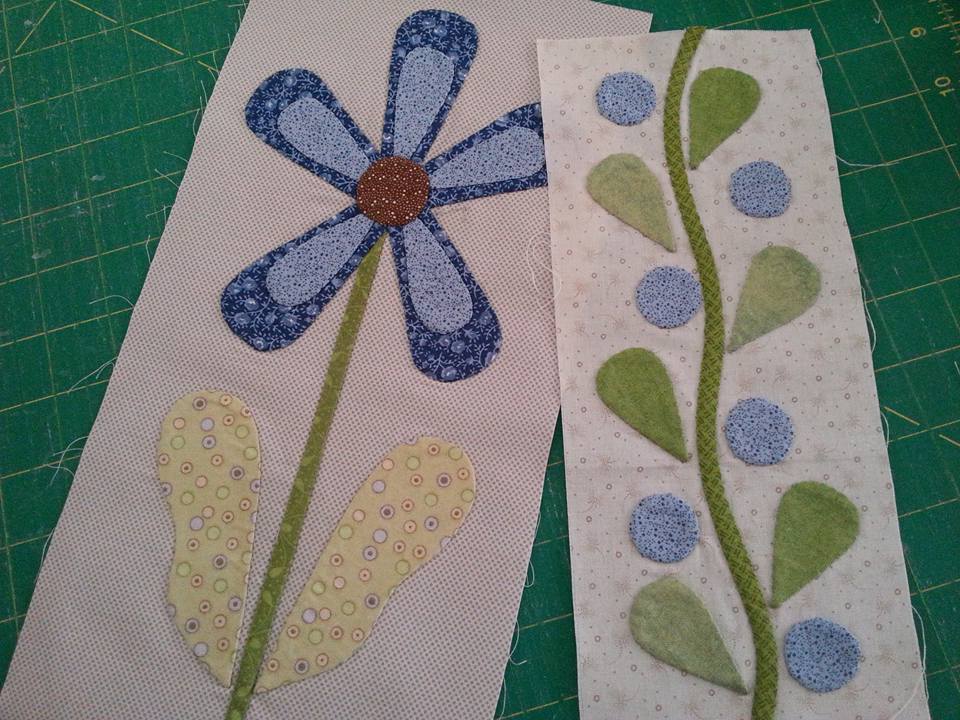
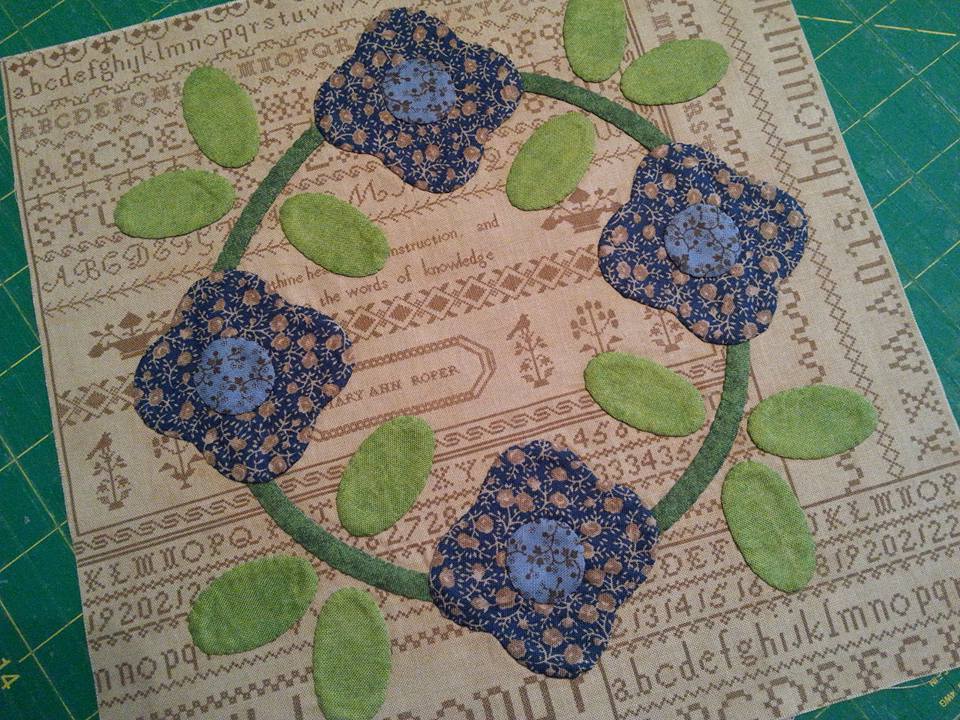
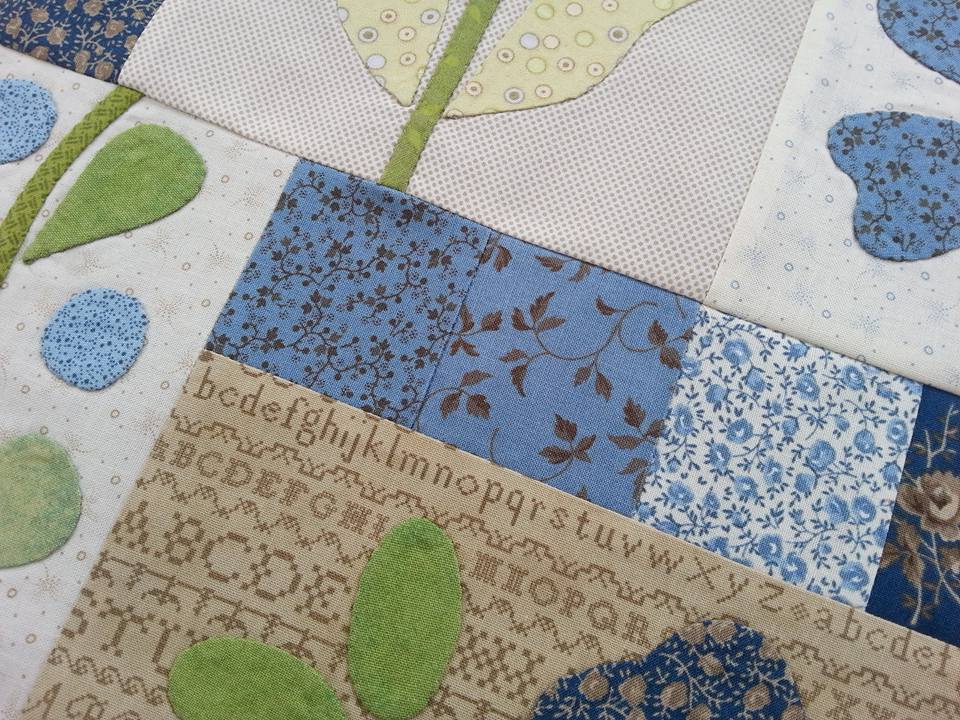
Section C of Flowerdale (pattern by Gail Pan Designs) was the next section to be appliqued - four applique blocks with lots of flowers and leaves and bias stems in beautiful shades of blue and green, appliqued onto gorgeous background fabrics. I've been using the applique paper and glue stick method for this this project (there are lots of tutorials demonstrating this technique on YouTube - my favourite ones are with Lynette Anderson) and I'm really pleased with how this project is looking... ...my favourite background fabric is the "sampler" one below. These fabrics are from the Blueberry Crumb Cake collection by Blackbird Designs for Moda, and this was a kit that I bought online from Australia about 5 years ago (if you're in the UK, the pattern is available from Patchwork Chicks). Each section comprises of appliqued blocks, 9-patch blocks and 2.5" squares, so is pieced together very simply. My favourite thread for piecing is Aurifil 50wt and I've used a neutral colour for this project... ...and here is the completed Section C - I love the effect of the scrappy backgrounds and the gorgeous blues and green fabrics. Only one more section to go!
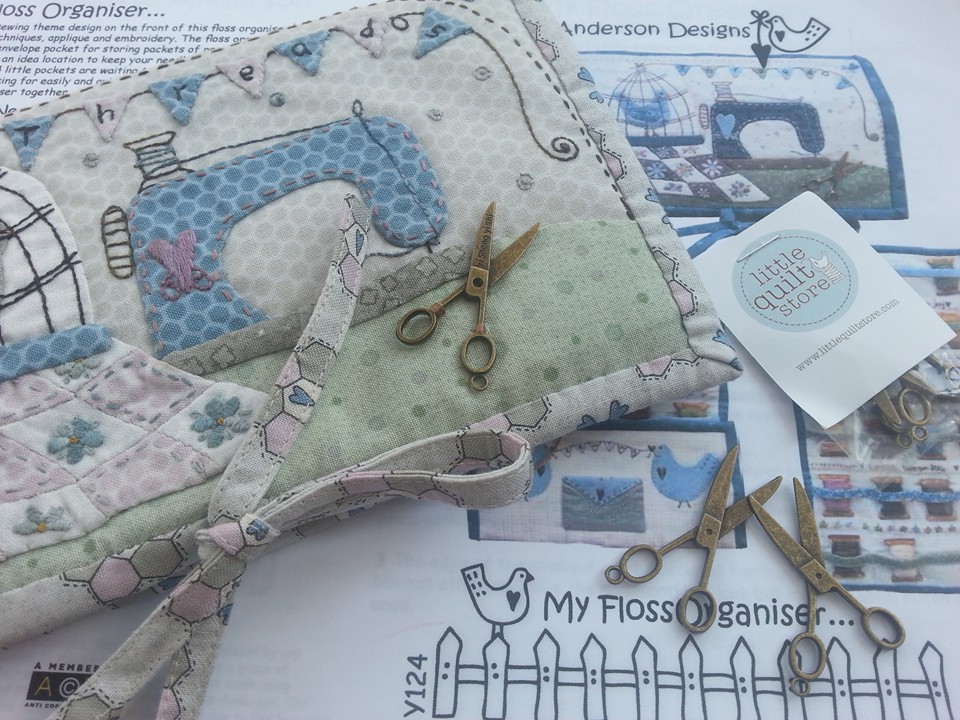
Just a quick update on My Floss Organiser that I made recently! A few weeks ago these cute scissor charms arrived in the post all the way from the Little Quilt Store in Australia. I had a few spare minutes this morning, so I replaced the charm I'd used originally, and this one looks so much better! This is the perfect embellishment for "My Floss Organiser" (pattern by Lynette Anderson Designs), which I had made with fabrics from Lynette's My Hearts At Home collection. This organiser was hand appliqued using the applique paper and glue stick method, and hand embroidered with Valdani threads.
|
About me...Hi - welcome to my quilting blog! My passions are my family, my dog, my friends and sewing, not necessarily in that order! Archives
July 2023
Blogs I followUK shopsThese are the UK shops that I use to purchase my quilting supplies - fabrics and threads etc.
Australian linksScandinavian links |




 RSS Feed

