|
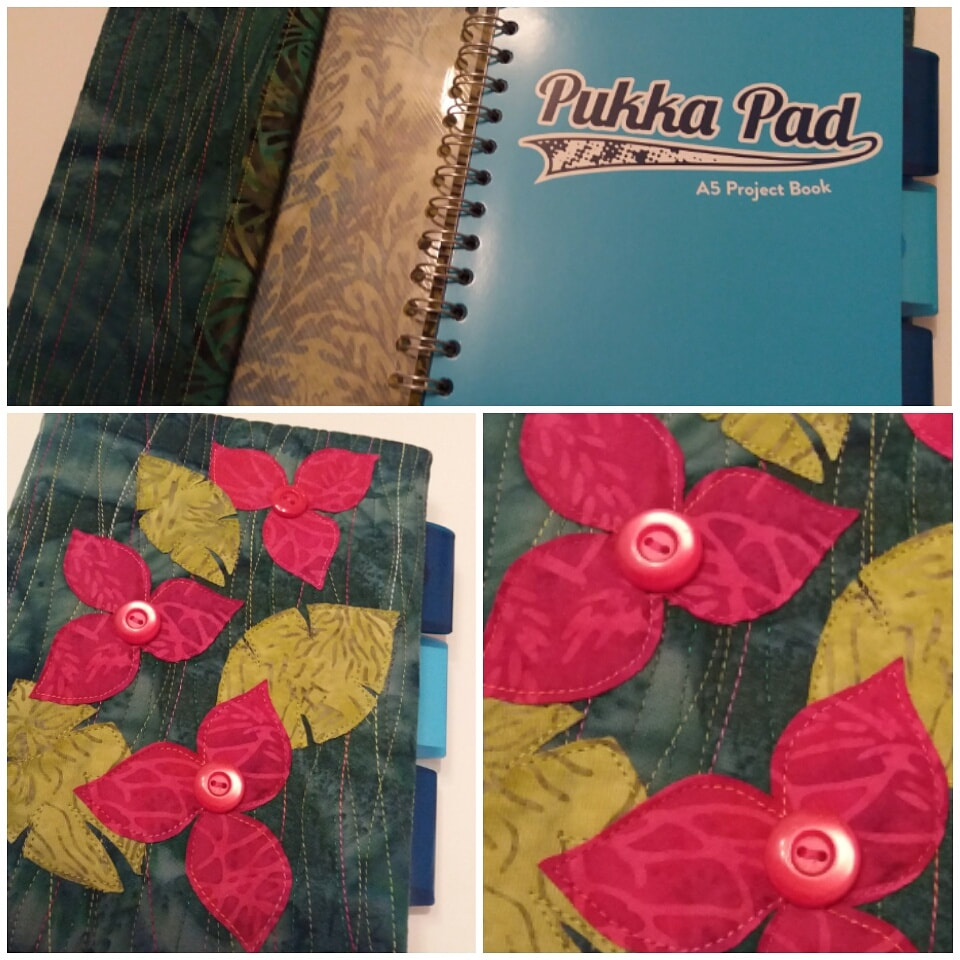
These journal covers are super simple to make! I always keep a few handmade gifts in a box, ready for when I need a present. This was the perfect choice for an early Christmas present for a sewing friend who is going off on her travels. Free motion quilted with variegated threads, raw edge machine appliqued and embellished with a few buttons - and these Pukka Pad project books are perfect for putting inside!
0 Comments
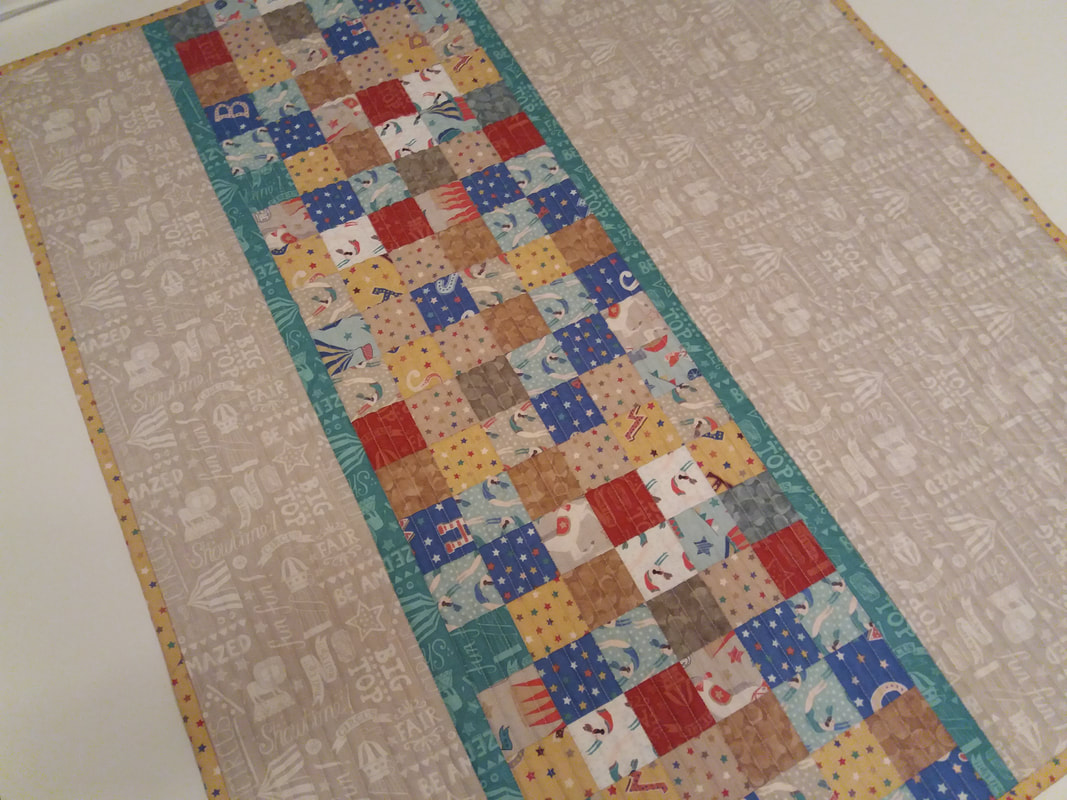
Now this has been gifted I can show you a picture of the completed baby quilt! Pattern is Pure Baby Boy by Teaginny Designs and is a free download from the Moda Bake Shop website. Fabrics from the Vintage Circus collection by Lewis & Irene - the jelly roll and border fabrics were bought online from Empress Mills, and the backing and binding fabrics were bought from Sew and So's of Bungay. This has been quilted very simply with straight lines, using Aurifil 40wt thread.
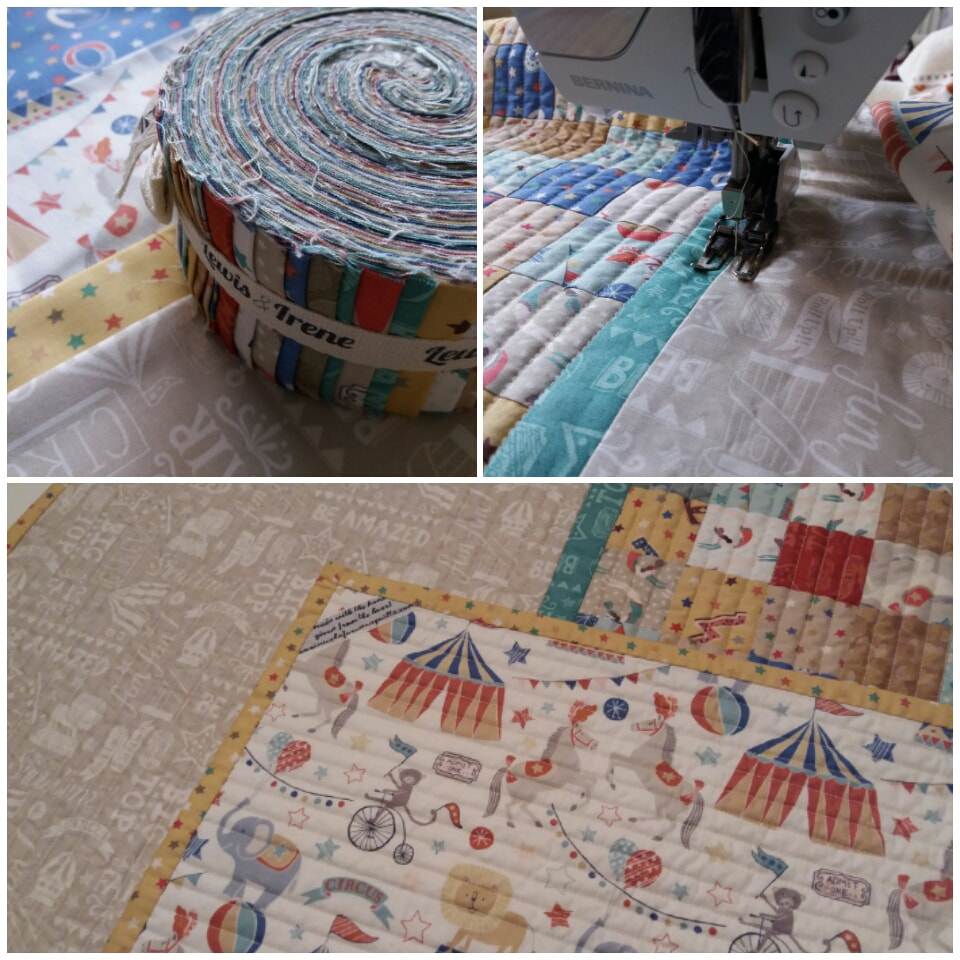
A few months ago I bought some gorgeous fabrics from Sew and So's at Bungay, from the "Vintage Circus" collection by Lewis and Irene. I was thrilled when I managed to find a jelly roll of the same fabric collection from Empress Mills. I chose one of my favourite quilt patterns, Pure Baby Boy, by Teaginny Desogns (pattern is a free download from the Moda Bake Shop website). This has been quilted very simply in straight rows using Aurifil 40wt thread. I absolutely LOVE the backing fabric and the starry binding! The final touch was adding one of my labels - made by the hand, given from the heart. This will be wrapped and sent off to it's new owner tomorrow.
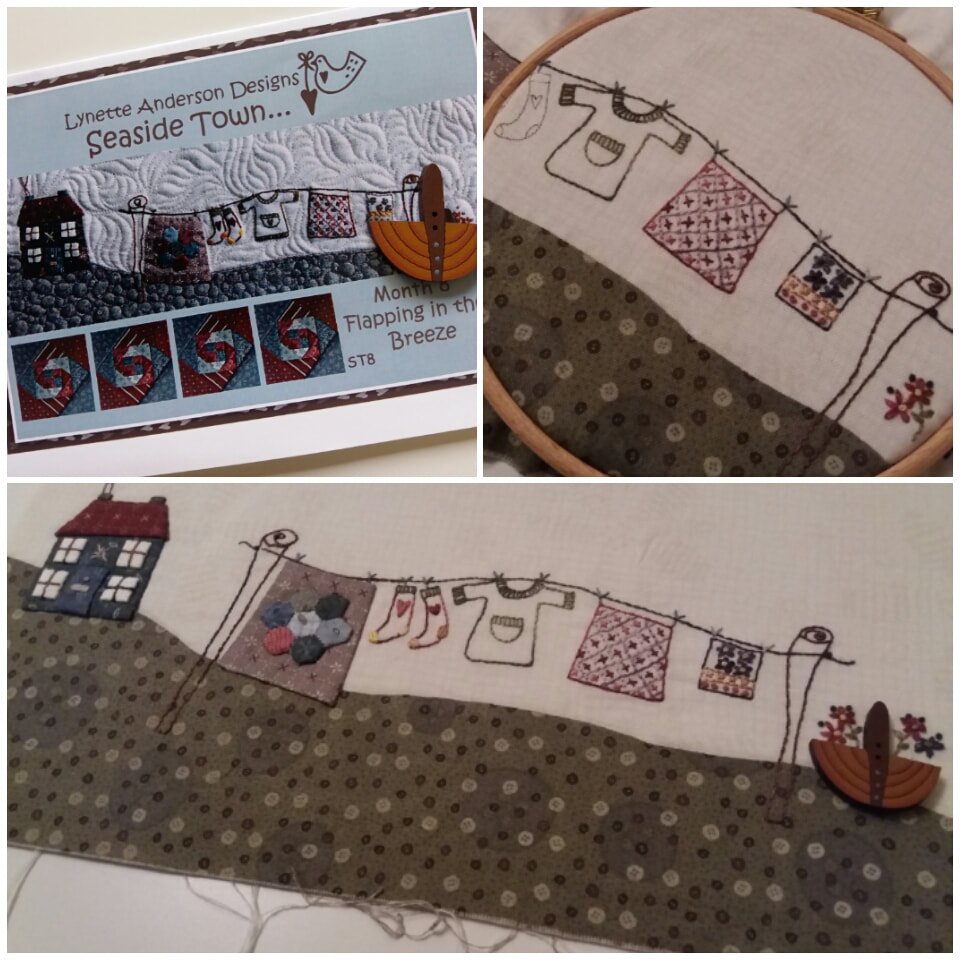
Month 8 of "Seaside Town" arrived in the post a couple of weeks ago, from Cross Patch in Wales. This block is called "Flapping in the Breeze" which was appropriate for me on the day it arrived, as it was a very windy morning in Suffolk and my laundry was certainly flapping about on the washing line!
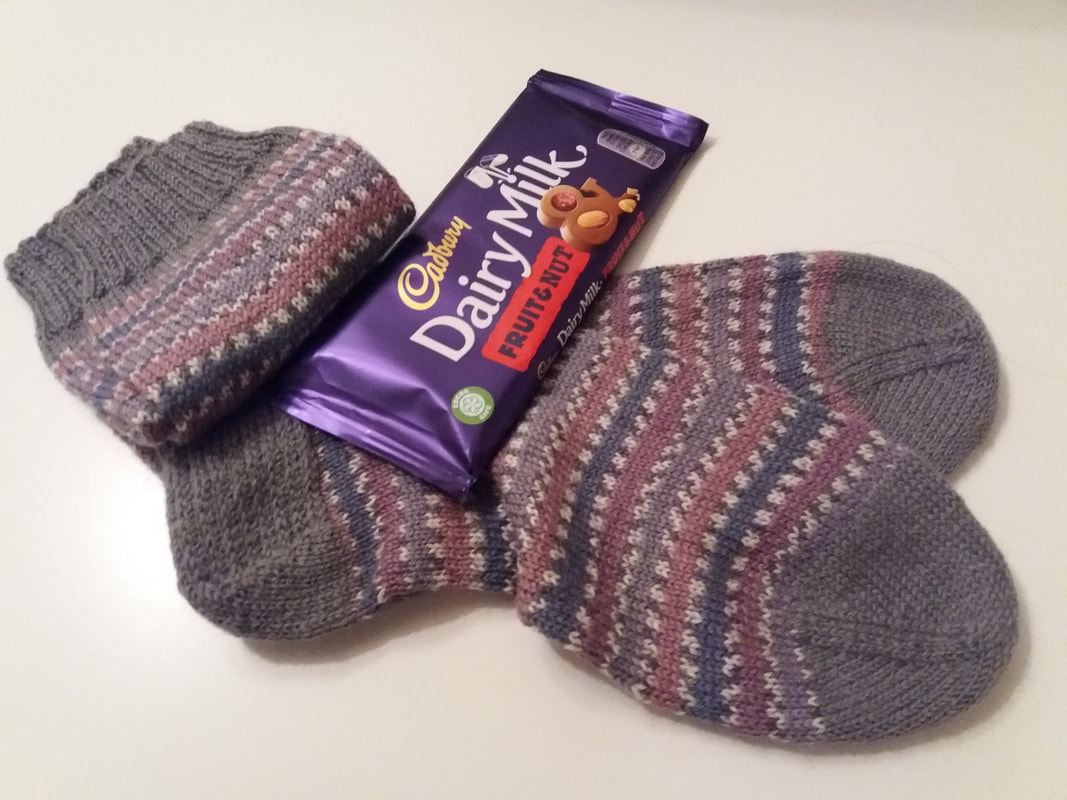
This is a mystery button club quilt by Lynette Anderson Designs, and this month the cute hand painted wooden button is a basket. Eeekkk!! If you look closely there is a flower made with some 3/16th inch hexies that have been appliqued onto a "quilt" on this block!! Pass the gin quick!! Well, after a few evenings spent curled up on the sofa stitching, the hand embroidery using Valdani threads was finished, and the applique was also completed. And yes, look I managed to stitch those TINY 3/16th inch hexagons! I held them together using my Apliquick tweezers while I was stitching them together. Mr F had a WONDERFUL surprise today! A belated birthday pressie arrived in the post from my sister, and she'd knitted him a beautiful pair of socks (colour is wood pigeon which is very appropriate as he'd been on a shoot today). AND she'd sent him a rather large bar of his favourite chocolate. As you can imagine, he's a very happy boy 😉
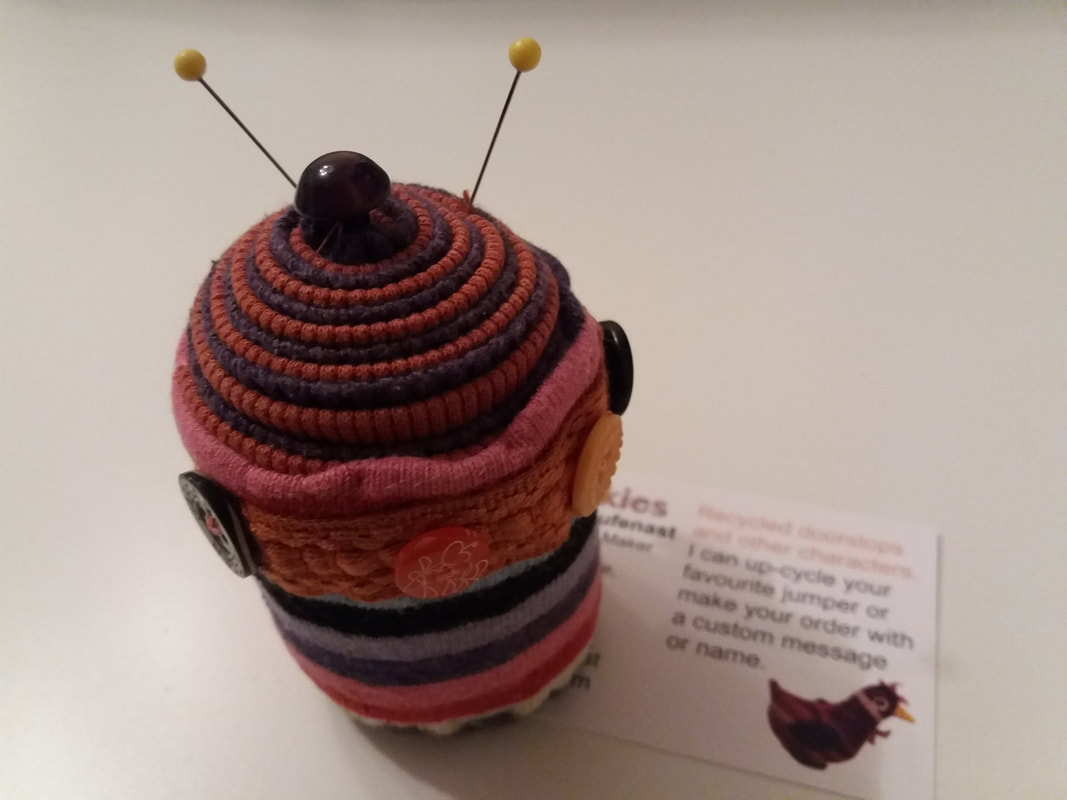
I love seeing local crafts for sale, and couldn't resist buying this cute cupcake pincushion made from recycled jumpers! "SHRUNKIES" by Amanda Aufenast, makes the most incredible things and her stall was amazing. I went along to The Christmas Craft Fair at Wantisden Valley on Sunday, (it's not far from where I live), and there was a huge variety of crafts for sale, and it was great seeing so many local people had stalls there.
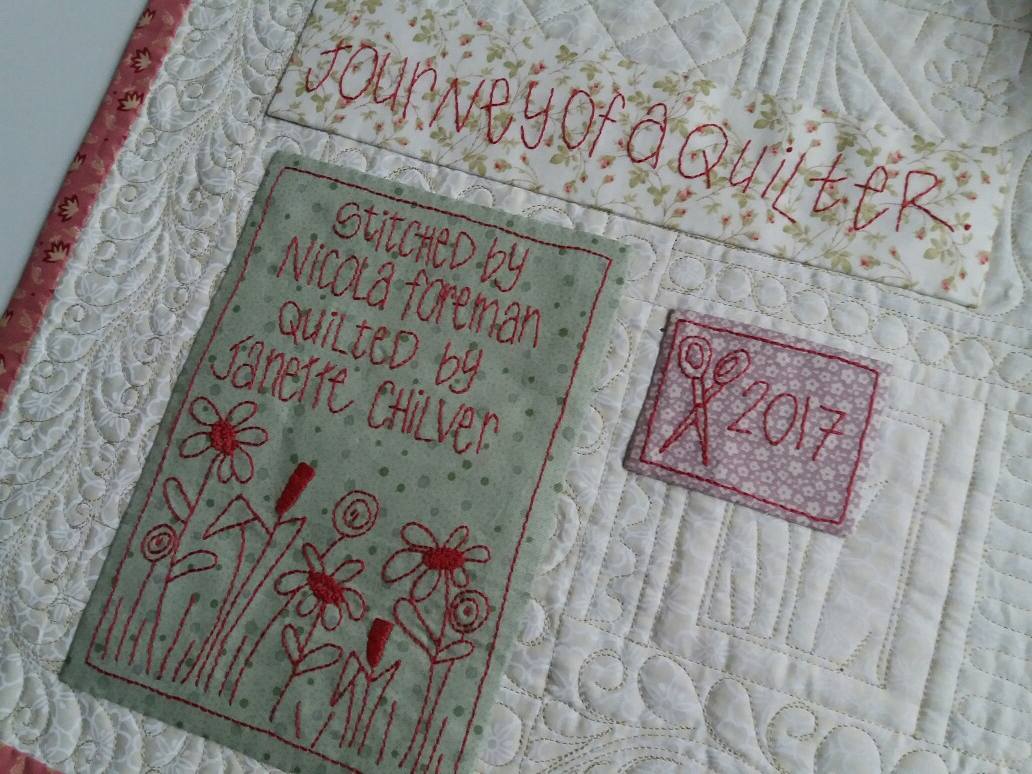
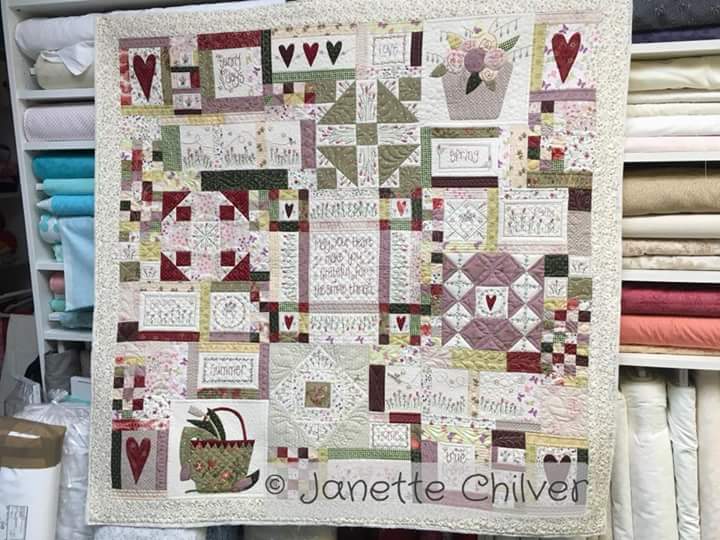
"Journey of a Quilter" was such a beautiful quilt to make. As usual I hand embroidered the labels (I used DMC threads for these ones) and then appliqued them into place on the back of the quilt, also by hand. These stitchery patterns are designed by the Australian designer Leanne Beasley. This quilt is now on display at my local quilt shop, Kis Quilting Ltd if you want to see it!
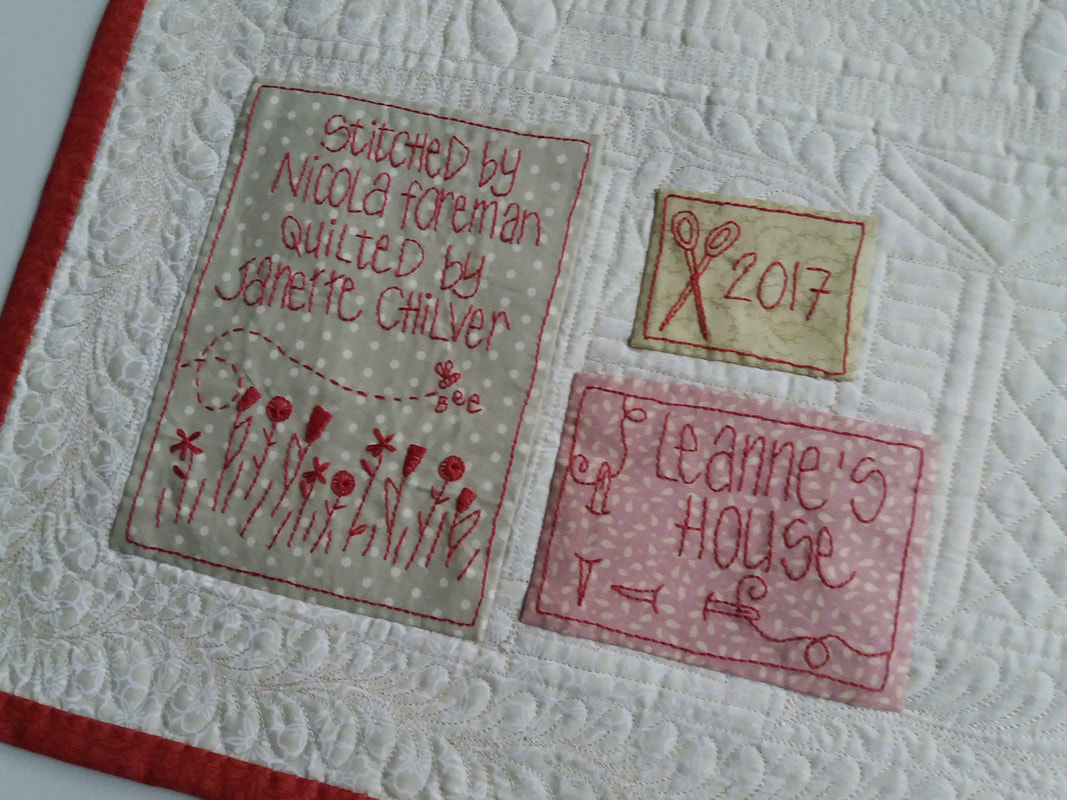
The labels for "Leanne's House" have been appliqued into place and the quilt is now finally completed! The stitchery designs are by the Australian designer Leanne Beasley and the words were drawn freehand. Leanne's stitchery designs were initially traced onto paper using a pencil. Once I was happy with the layout, I used a very fine Sharpie pen to trace over the pencil lines. My paper "label" was then put on a light box and the fabric placed over the top and the design traced using a Micron Pigma pen, and finally hand embroidered using 2 strands of DMC thread. The labels were appliqued into place by hand, making sure the stitches didn't go all the way through to the front of the quilt.
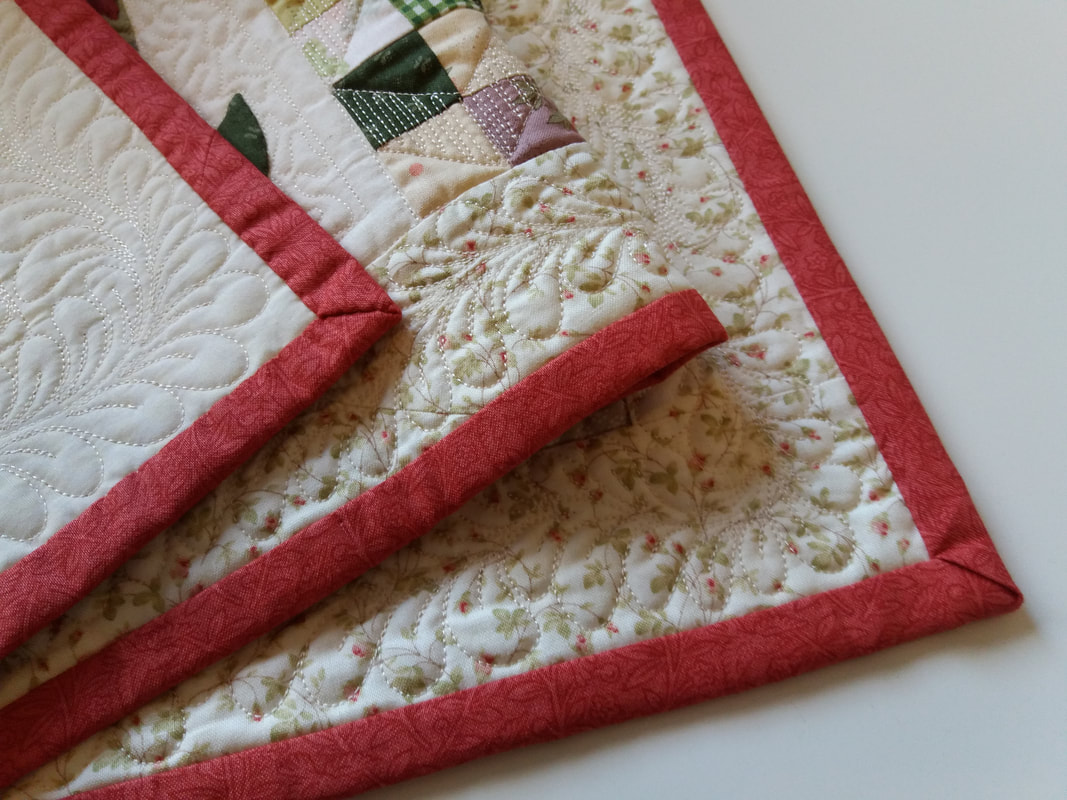
Strips of binding fabric were cut along the width of the fabric and joined them together on the diagonal, ready for maching into place. I prefer a wider binding on my quilts, and Janette had trimmed my quilt to allow enough room for a 0.5" finished binding. This was machined into place using a walking foot, the folded over to the back of the quilt and hand stitched using a neutral coloured Aurifil 40wt thread. Next step is to attach the labels!
Last week I collected my "Leanne's House" quilt from Janette, tha wonderful longarm quilter who does the most amazing freehand custom quilting. The pattern for this quilt is by the Australian designer Leanne Beasley, and was bought online from Cross Patch in Wales. I'll post some more pictures once the hand embroidered label is on!
|
About me...Hi - welcome to my quilting blog! My passions are my family, my dog, my friends and sewing, not necessarily in that order! Archives
July 2023
Blogs I followUK shopsThese are the UK shops that I use to purchase my quilting supplies - fabrics and threads etc.
Australian linksScandinavian links |


 RSS Feed

