|
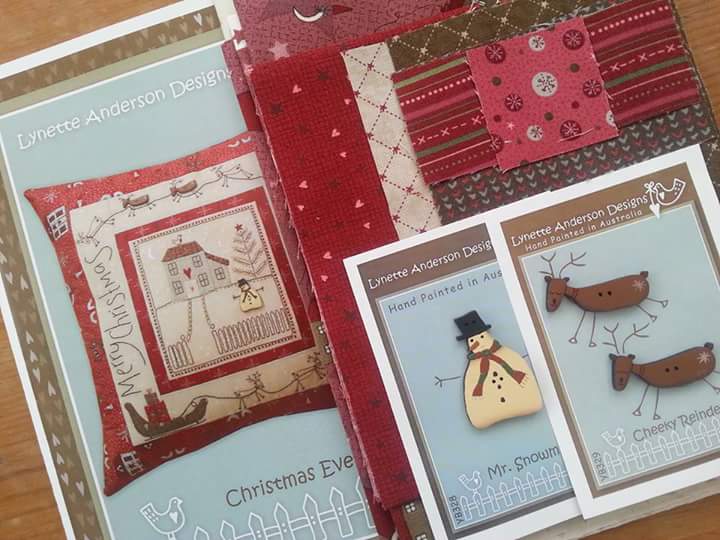
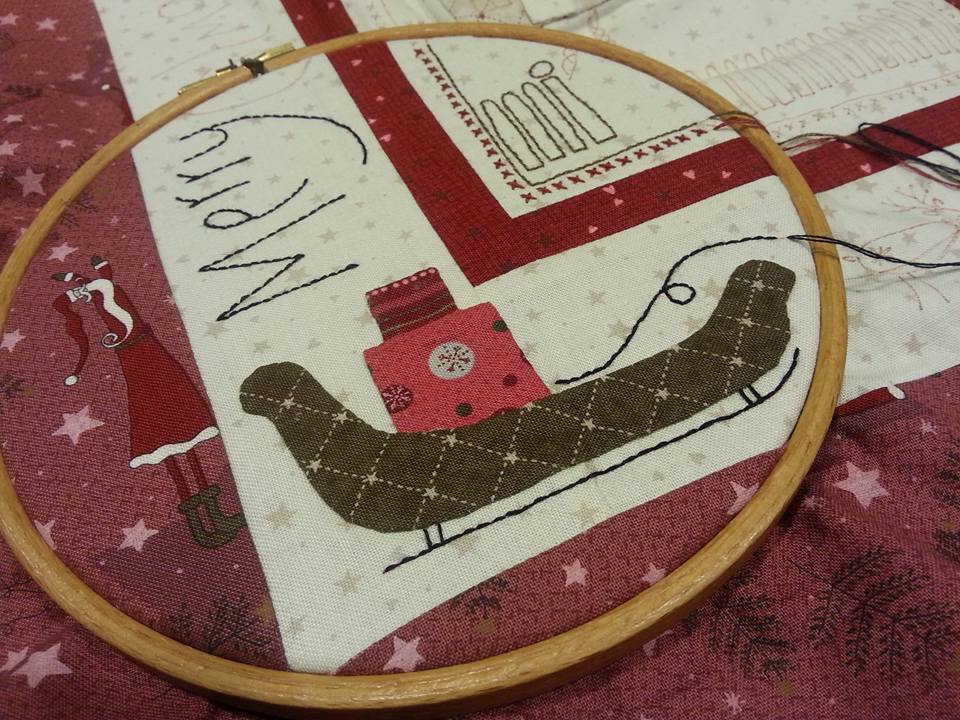
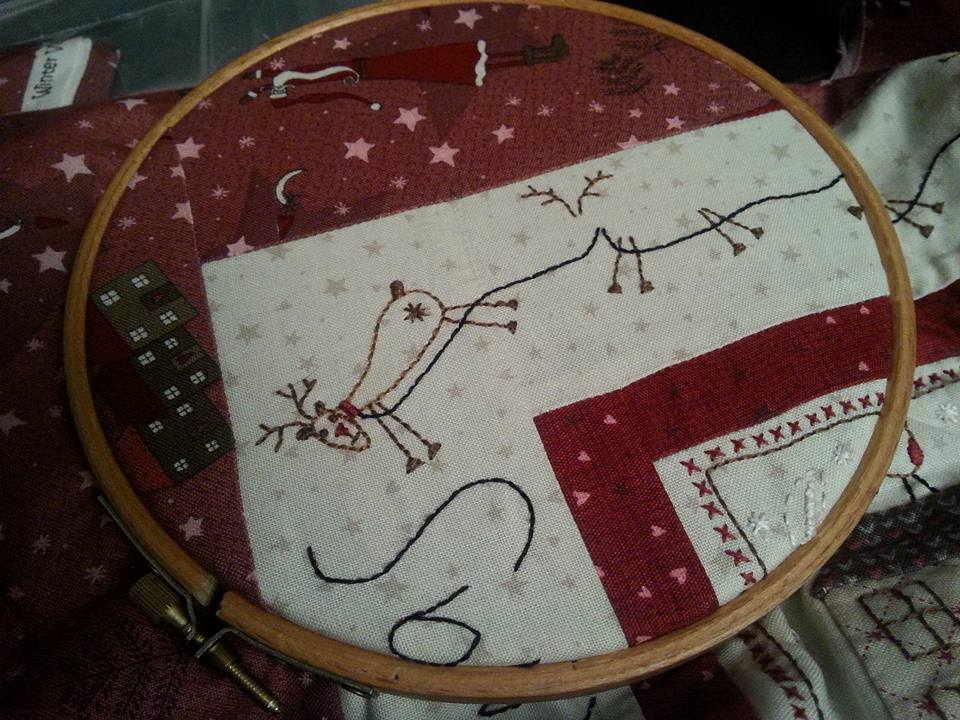
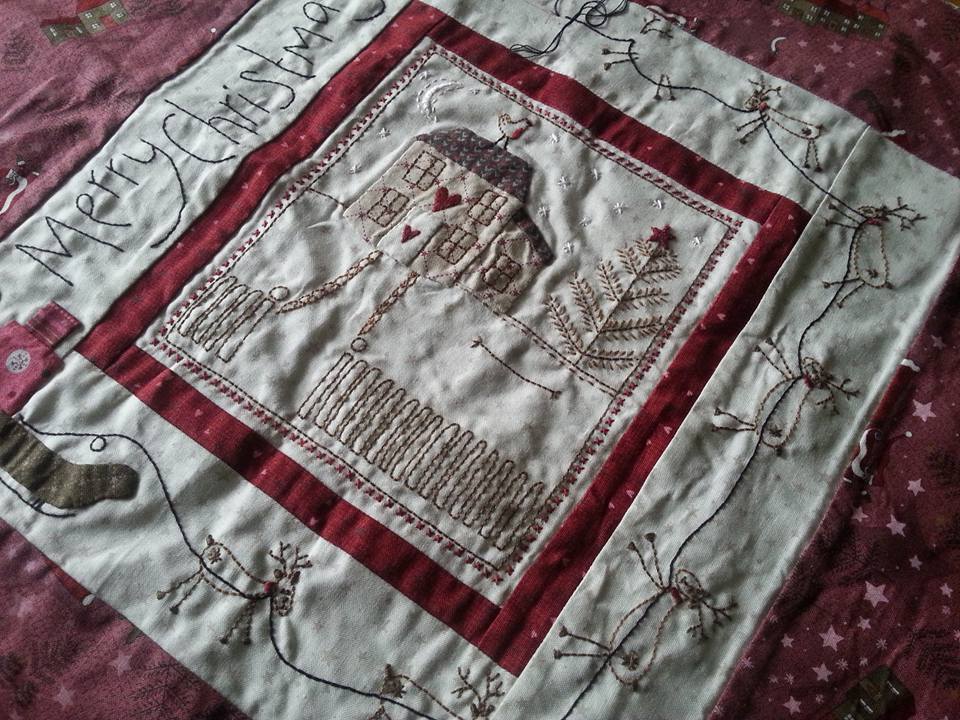
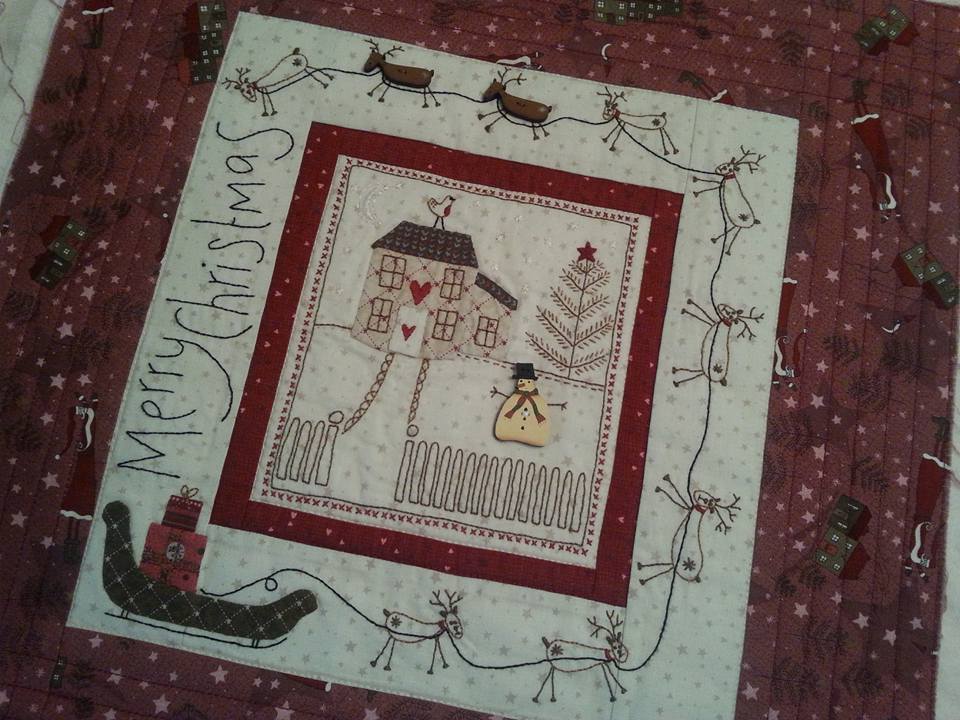
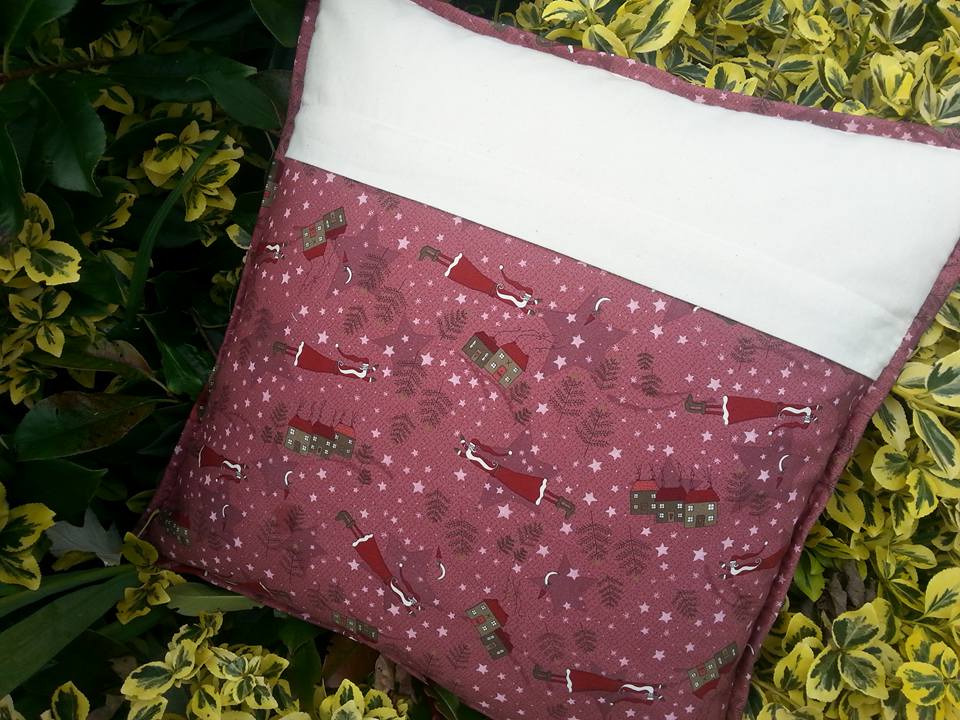
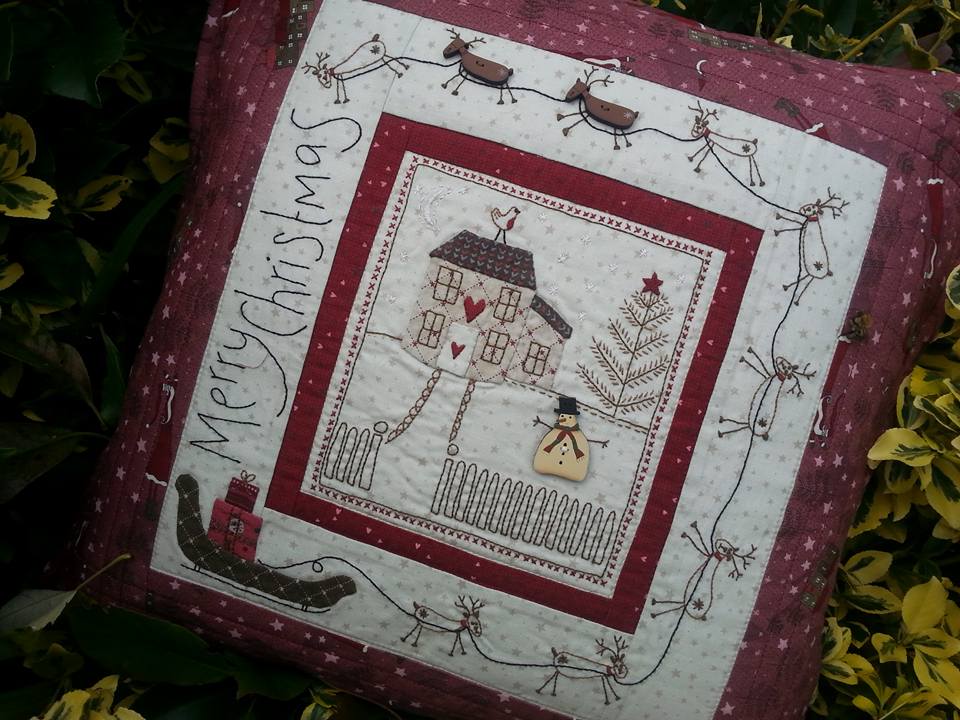
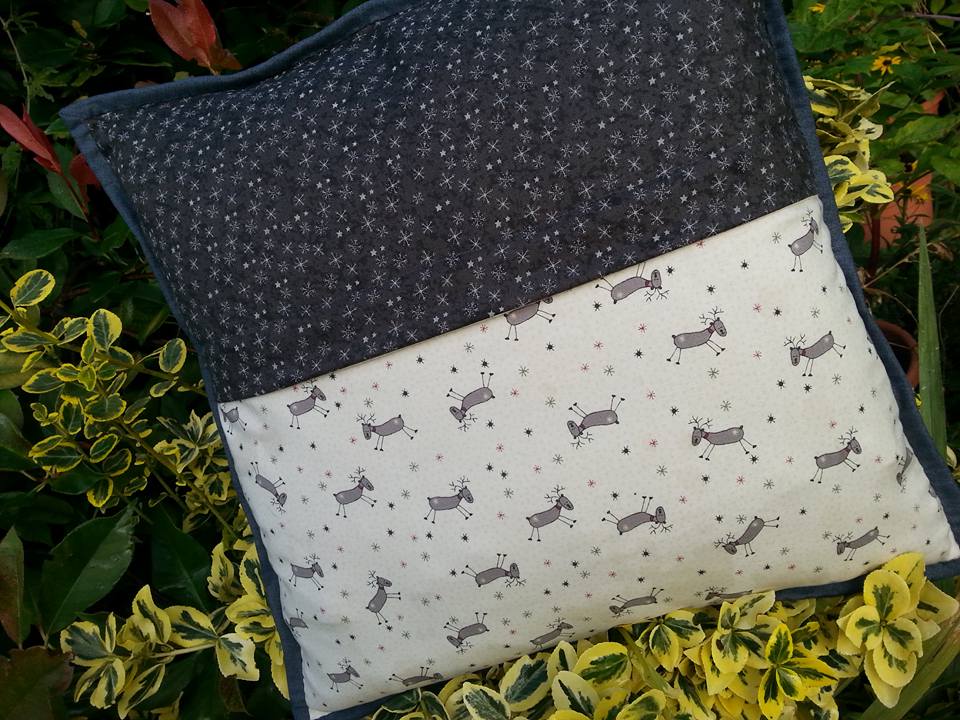
Do you remember this kit that I bought from the Festival Of Quilts back in August? It's "Christmas Eve" by Lynette Anderson Designs, and was prepped and ready to take along to the sewing group on Monday evening. The design was traced onto the background fabric using a Micron Pigma pen (I prefer to use a light brown, with a very fine nib) and weaveline interfacing was fused to the back of the pieced cushion front. I made quite a good start with the applique, then added the stitchery... ...the stitchery was soon completed, using 2 strands of embroidery threads. The final reindeer must be Rudolf, as he has a very red nose! I always use a wooden embroidery hoop, as it keeps the background fabric nice and taut. When the hand work is completed, it gets a good press on the reverse. I find putting a clean thick towel on the ironing board and laying the project face down prevents it from going flat, and gives a very good result... ...the cushion front was layered with some thin cotton wadding, and a piece of calico, and was then ready for quilting. Using a cream King Tut quilting thread, and a Schmetz Topstitch size 70 needle, I quilted "stitch-in-the-ditch" around the cream centre square and the cream border. I then used a burgundy coloured Mettler quilting thread and quilted "stitch-in-the-ditch" around the red inner border, and quilted a few straight rows around the outer border, about 0.5" apart, using the edge of the walking foot as a guide. The back was made with some feature fabric from the Winter Village collection (this was included in the kit) and I added a double layer of calico for the top part, as I like using an enclosed zipper for my cushions. There is a great tutorial here, that is very similar to the method that I use... ...I used a single fold binding to cover all the raw edges once the front and back had been stitched together, then filled it with a feather pad. I always use a pad that's slightly bigger than the cushion cover, so it really fills it out and makes it nice and plump. I love these reindeer flying around the border, and reindeer will feature in my next festive project too.
0 Comments
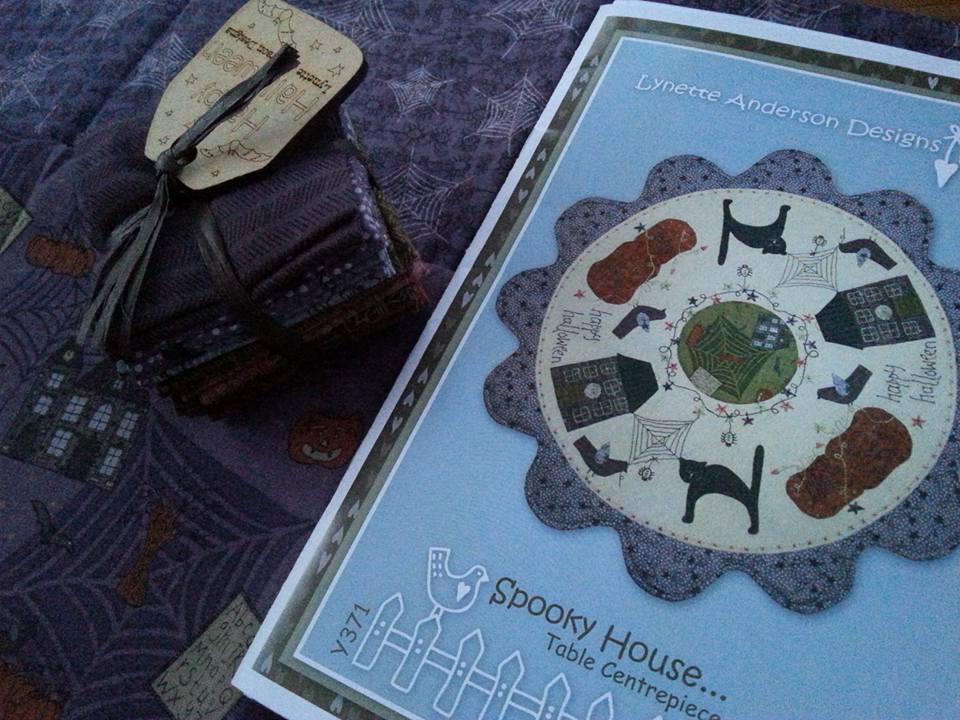
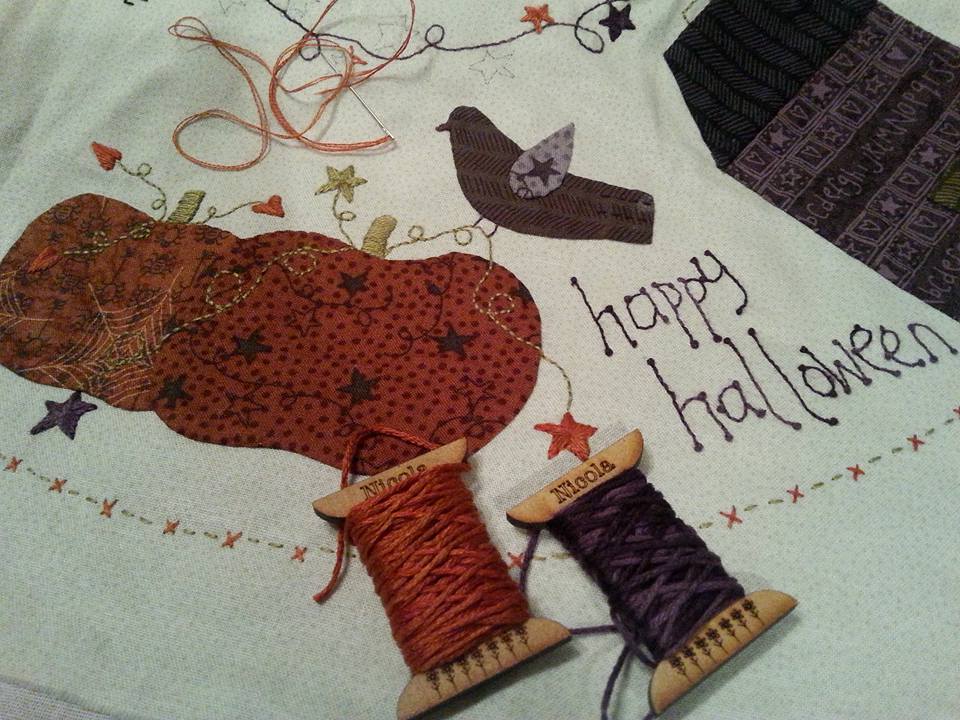
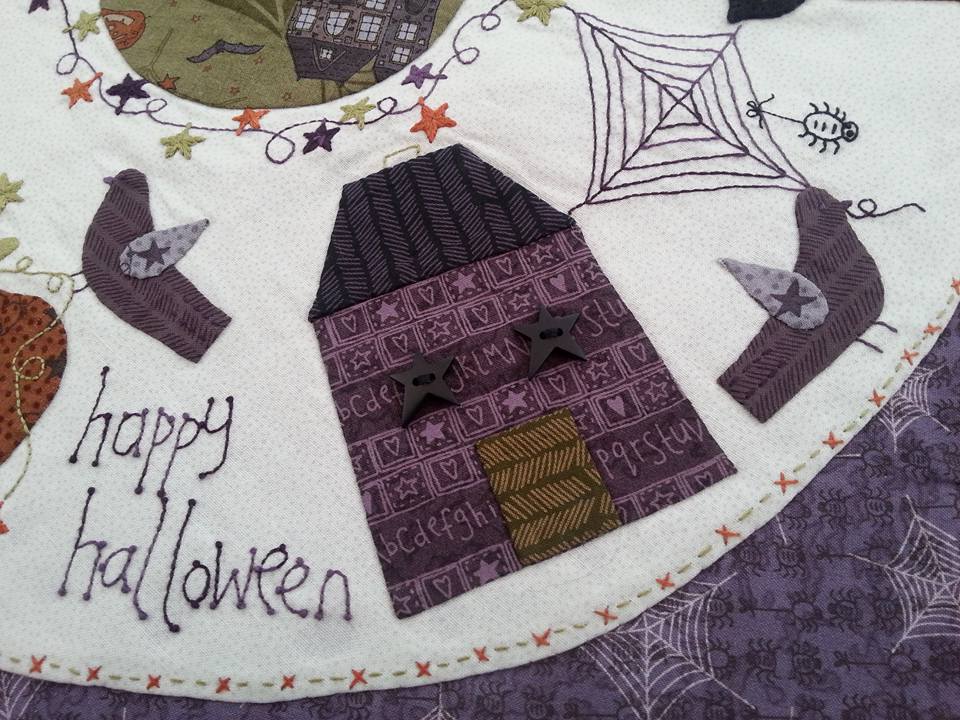
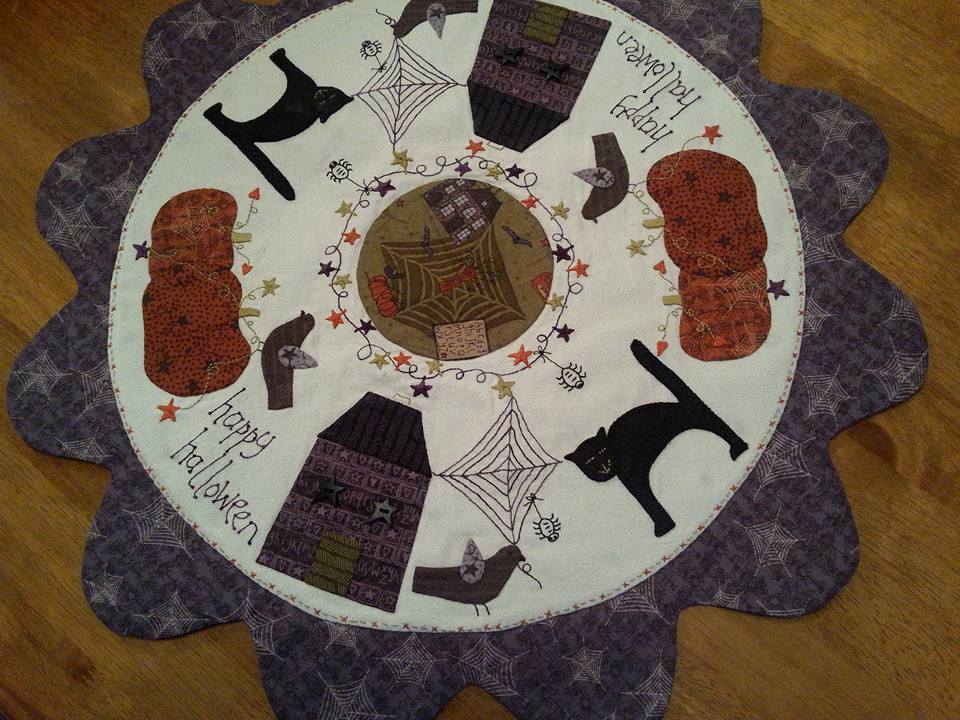
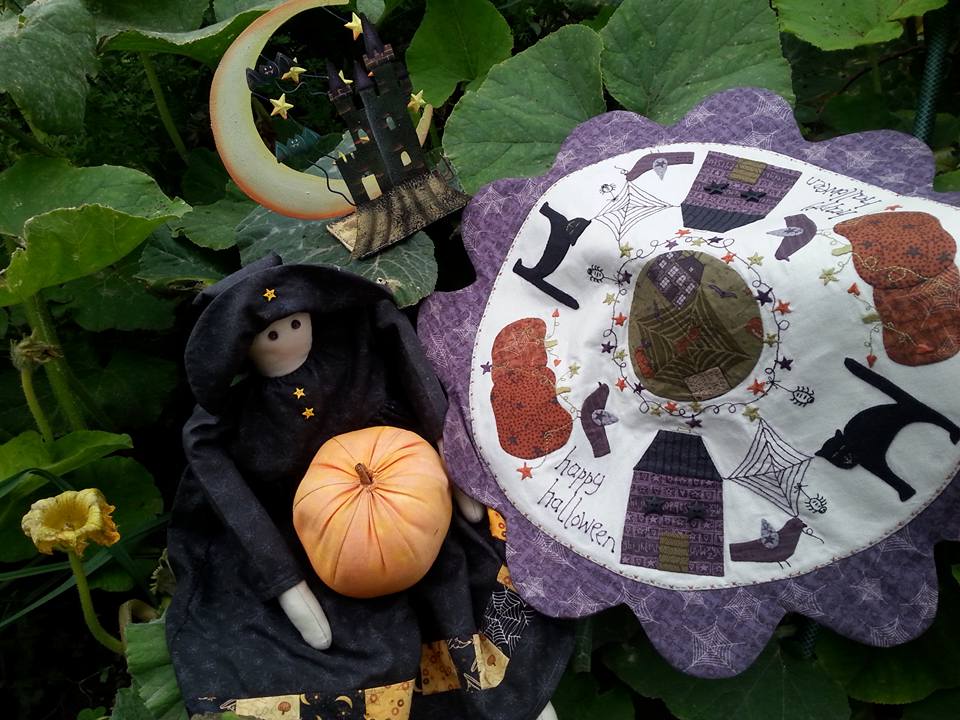
After a very long search for a Halloween themed table runner, I decided that I really needed to make this one! The pattern is "Spooky House" by Lynette Anderson Designs, and I couldn't find the pattern here in the UK, so ordered the pattern and fabrics online from Lynette's shop Little Quilt Store in Australia. These fabrics are from her Happy Halloween collection. I decided to try out those gorgeous hand dyed Valdani threads for the embroidery, mixed with some DMC threads too, and they were just perfect for this project... ...the original pattern has embroidered windows, but I decided to use these wonky star buttons from my button tin instead, and love they way they look a bit like "eyes" peeking out! The cats were made with wool felt, which I'd bought from Eternal Maker. I have really enjoyed working with wool felt, and love the added texture that it gives to this project. I used the cobweb designed fabric for the front of the table centre piece, and used the spooky house feature fabric for the backing. This has a very thin layer of pellon felted wadding inside, and once the centre was appliqued into place, I quilted around the two circles to hold all the layers together... ...I managed to do a quick photoshoot in the rather overgrown courgette patch in Mr F's garden, along with Winnie the Witch and a rather spooktacular tealight holder. I made Winnie a few years ago, and both Winnie and her pumpkin had some crushed cloves added to the toyfill stuffing, so they smell rather nice, and the pumpkin stalk is a cinnamon stick!
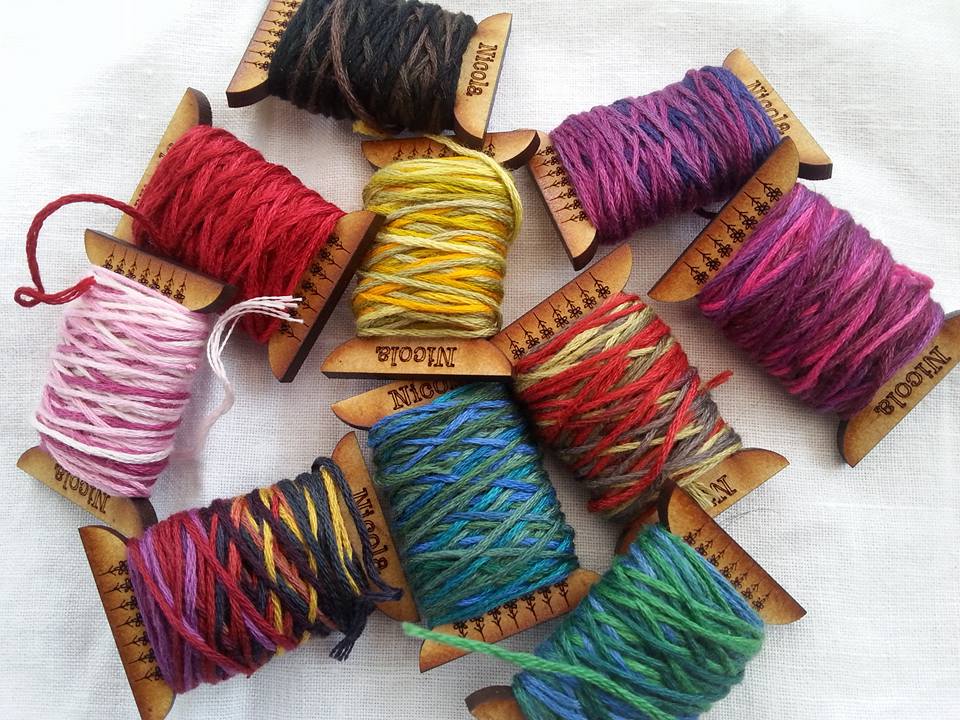
Ohhhh it's Month 10 already! These simply gorgeous Valdani Threads are from the Thread Club organised by Lynette Anderson Designs, and these gorgeous personalised wooden spools were an optional extra. I've used some of the threads that I'd already been sent, and they are really lovely to sew with. My collection of beautiful threads is growing fast! If you want to find out more details, there is info on Lynette's website for her shop, Little Quilt Store in Australia.
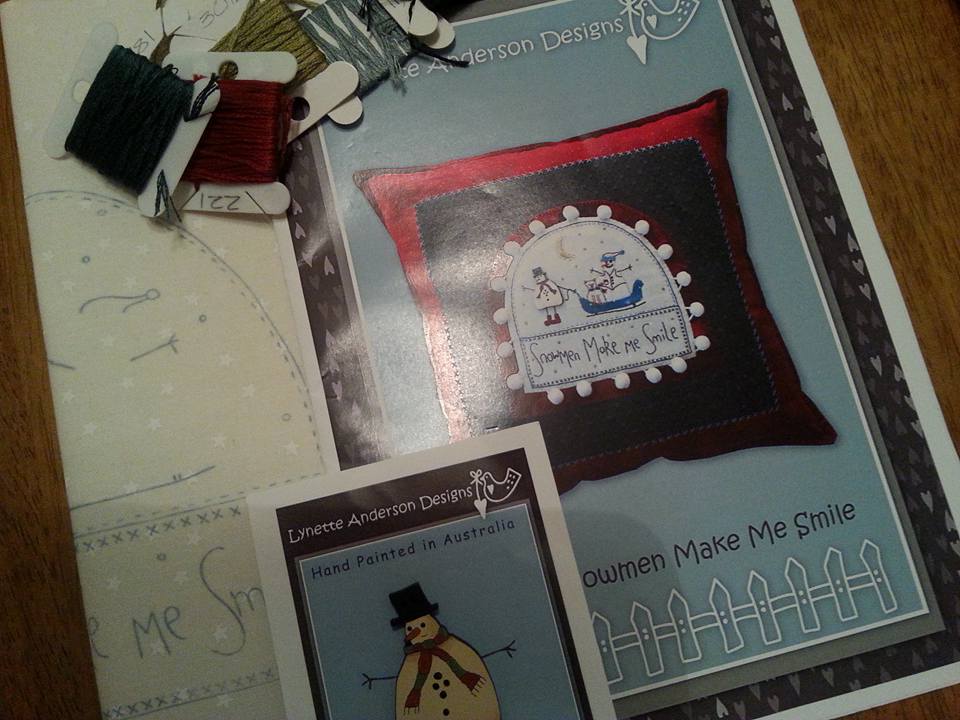
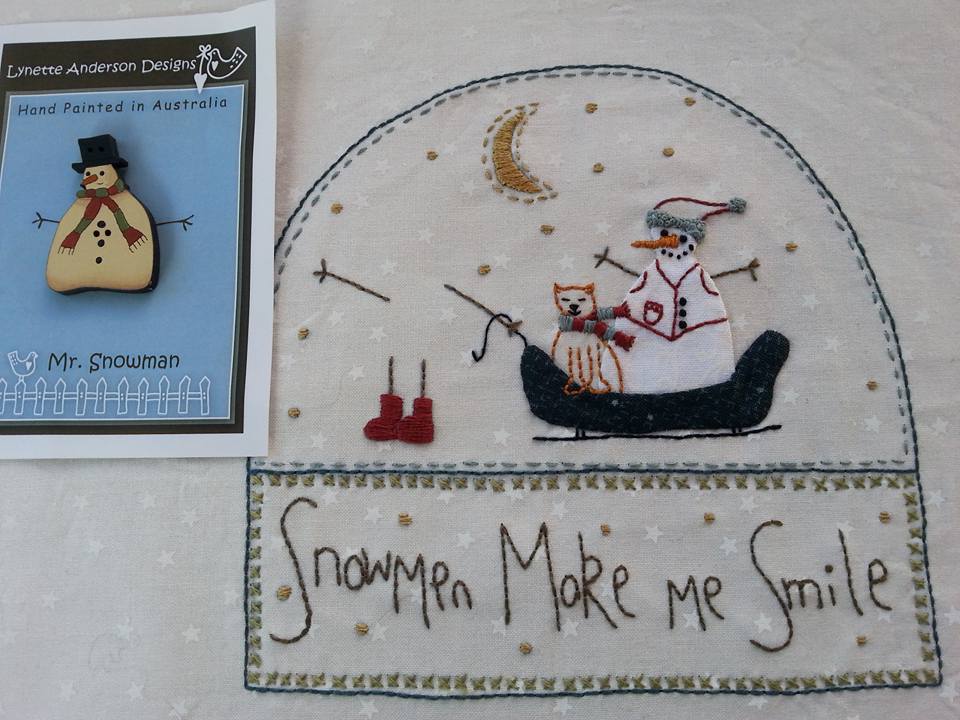
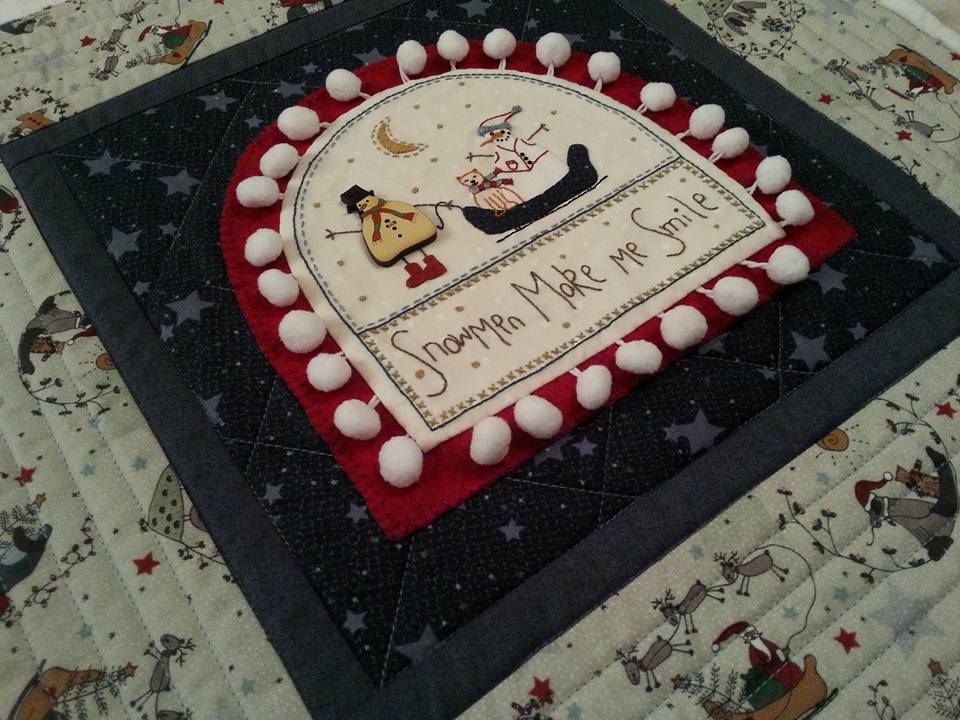
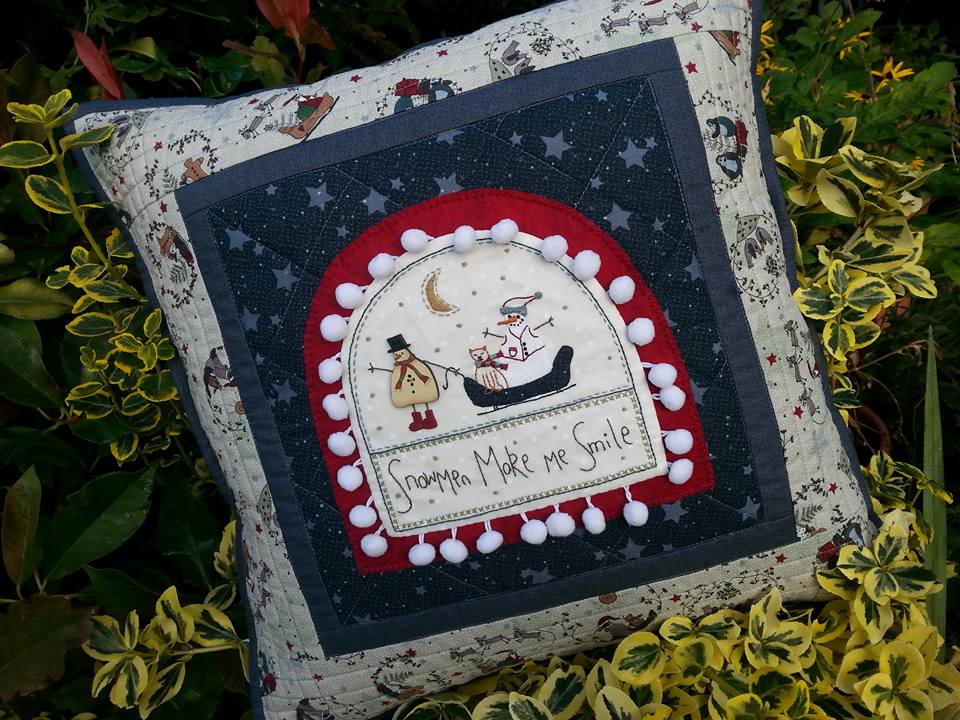
Another festive project has been completed. This is Snowman Make Me Smile, by Lynette Anderson Designs. I bought the pattern from Cross Patch, in North Wales, (thank goodness for the internet!!) and used some a spotty cream fabric as the background for the stitchery, a selection of DMC threads, and I was ready to get started. A piece of weaveline was fused to the back of the fabric, and then the stitchery design was added. The pattern included an iron-on transfer, which is so much quicker than trying to trace it by hand... ...this gorgeous red wool felt and pom-pom trimming was bought from The Eternal Maker (I love how cute these pom-poms are - so much better than real snow balls!) and the centre piece is appliqued onto the cushion front. I used some fabrics also designed by Lynette, from her Starry Night collection. This cute hand panted wooden snowman button was the perfect embellishment to finish it off. The cushion front was quilted with Aurifil thread, and I used more fabrics from the same collection for the back, and used an enclosed zipper. A plump feather cushion inner was tucked inside... ...and here's the finished cushion. The feature fabric on the outer border is my absolute favorite. I've now got 3 festive pillows made with Lynette's patterns, and they all look super grouped together. Mr F says they look very comfy, but I've told him they are for decoration only, and he'd better not actually sit on them!
|
About me...Hi - welcome to my quilting blog! My passions are my family, my dog, my friends and sewing, not necessarily in that order! Archives
July 2023
Blogs I followUK shopsThese are the UK shops that I use to purchase my quilting supplies - fabrics and threads etc.
Australian linksScandinavian links |


 RSS Feed

