|
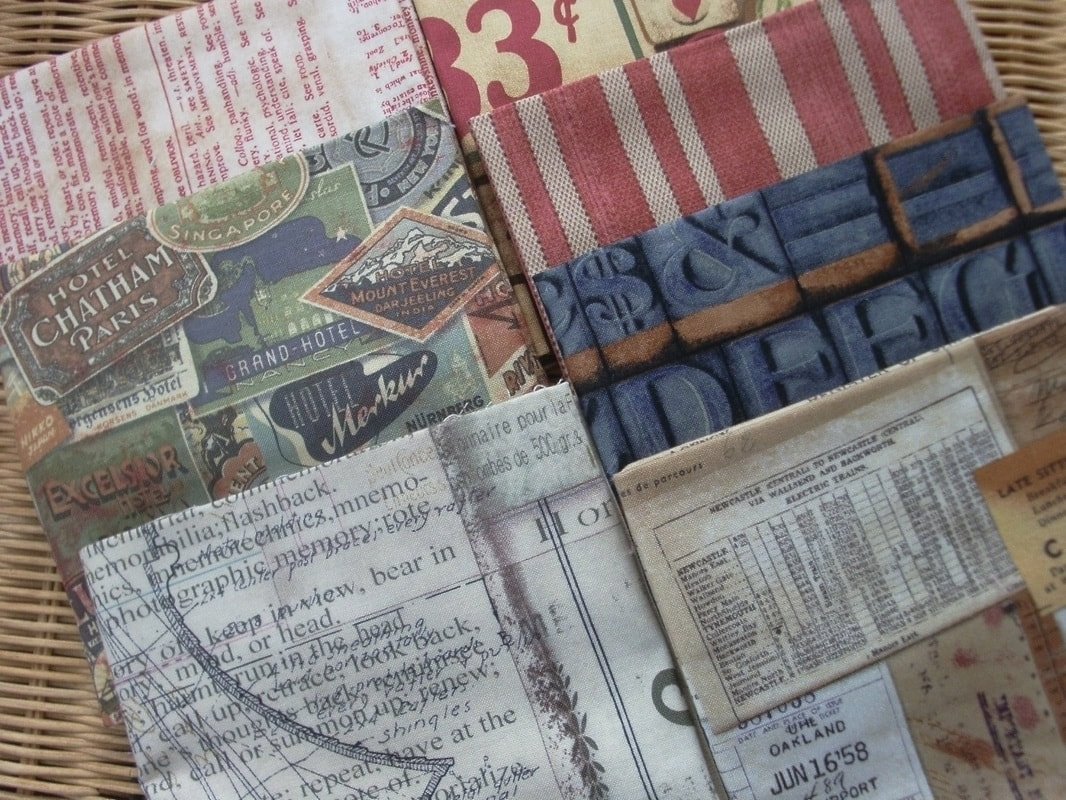
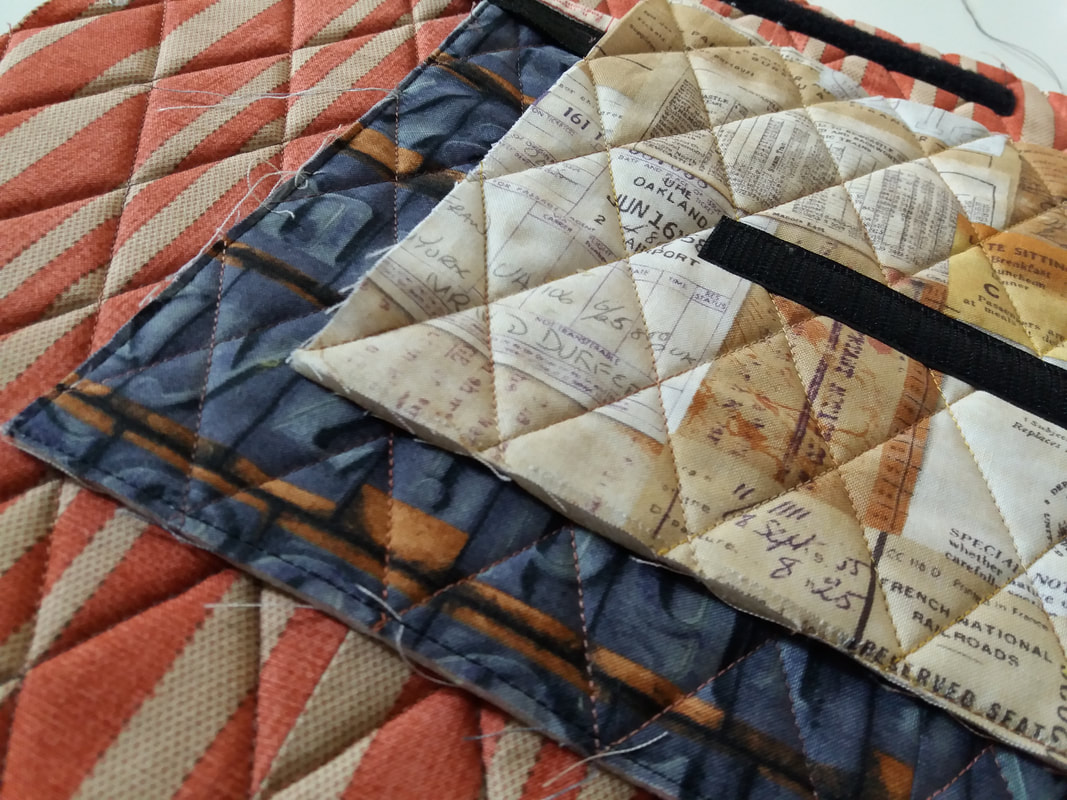
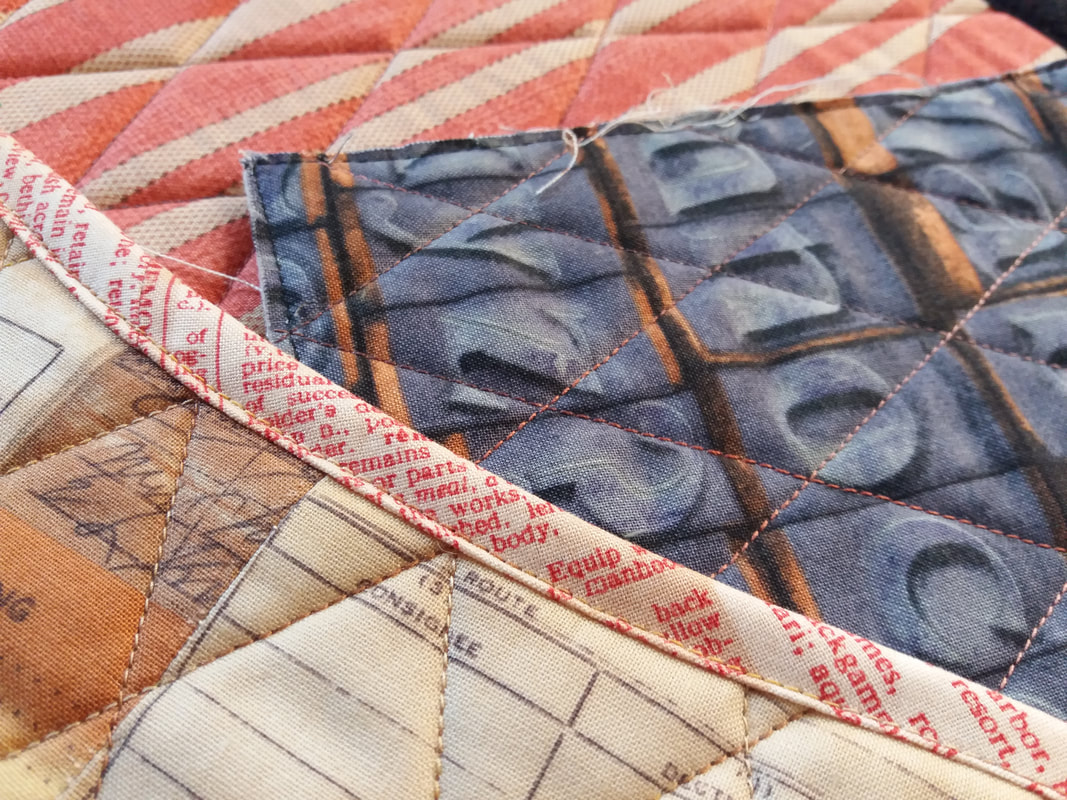
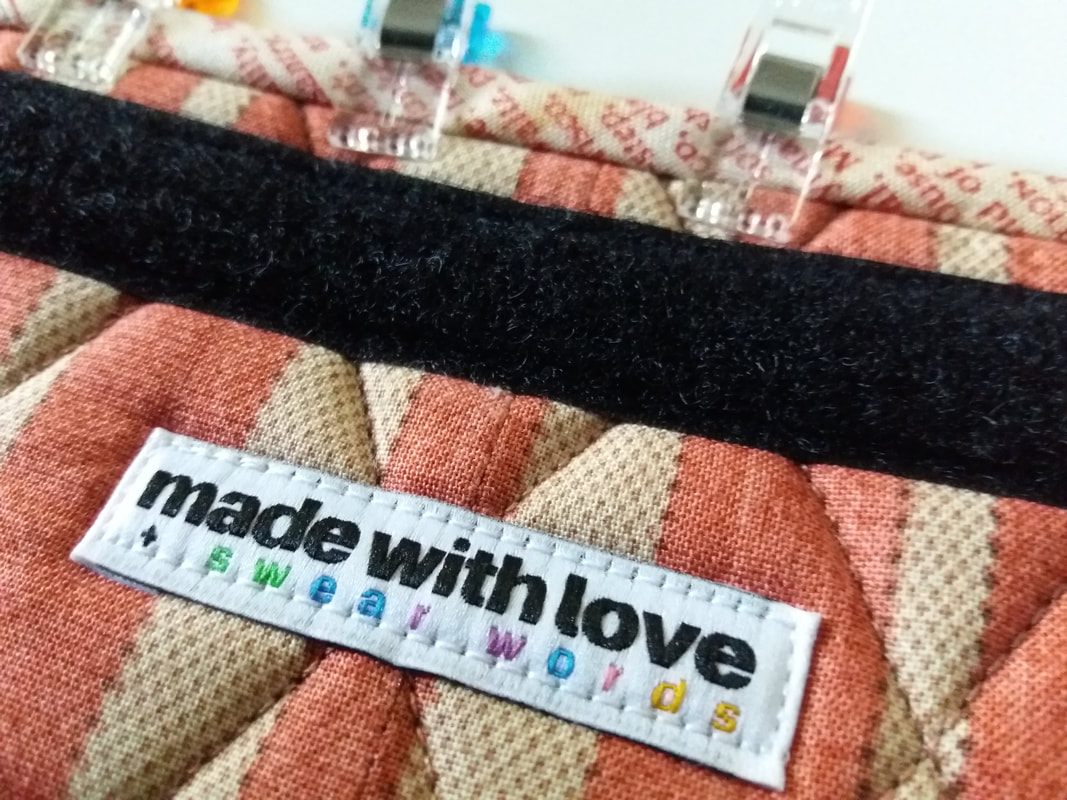
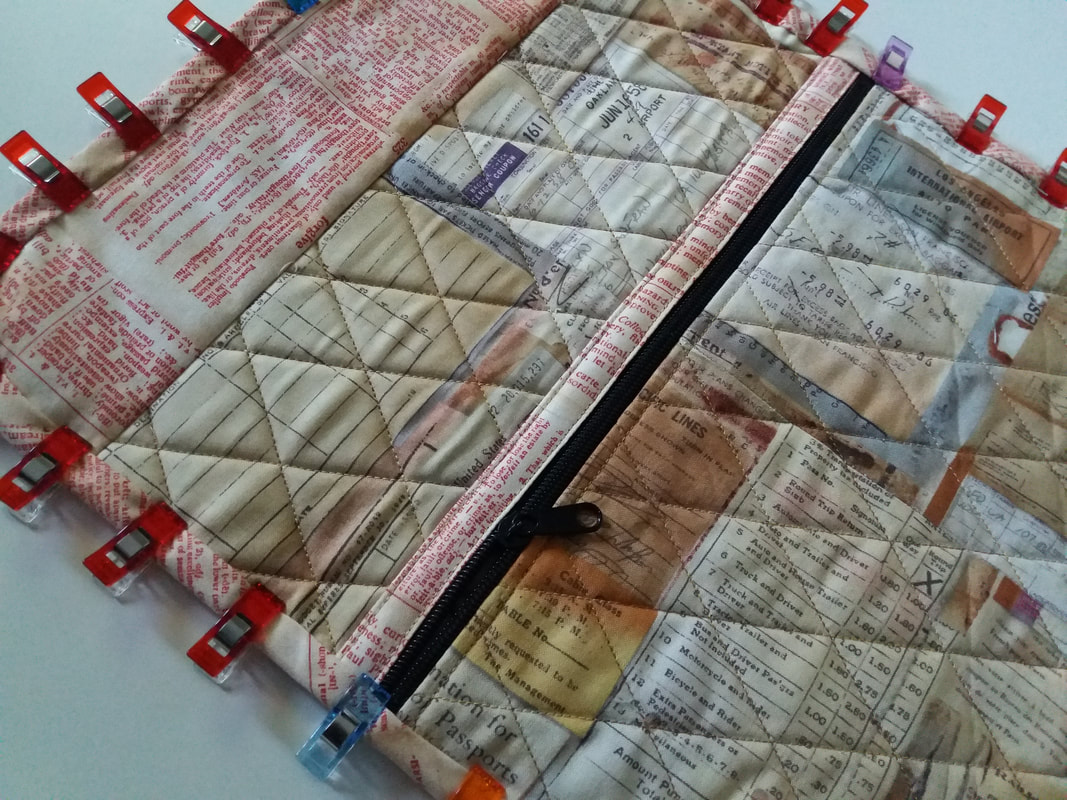
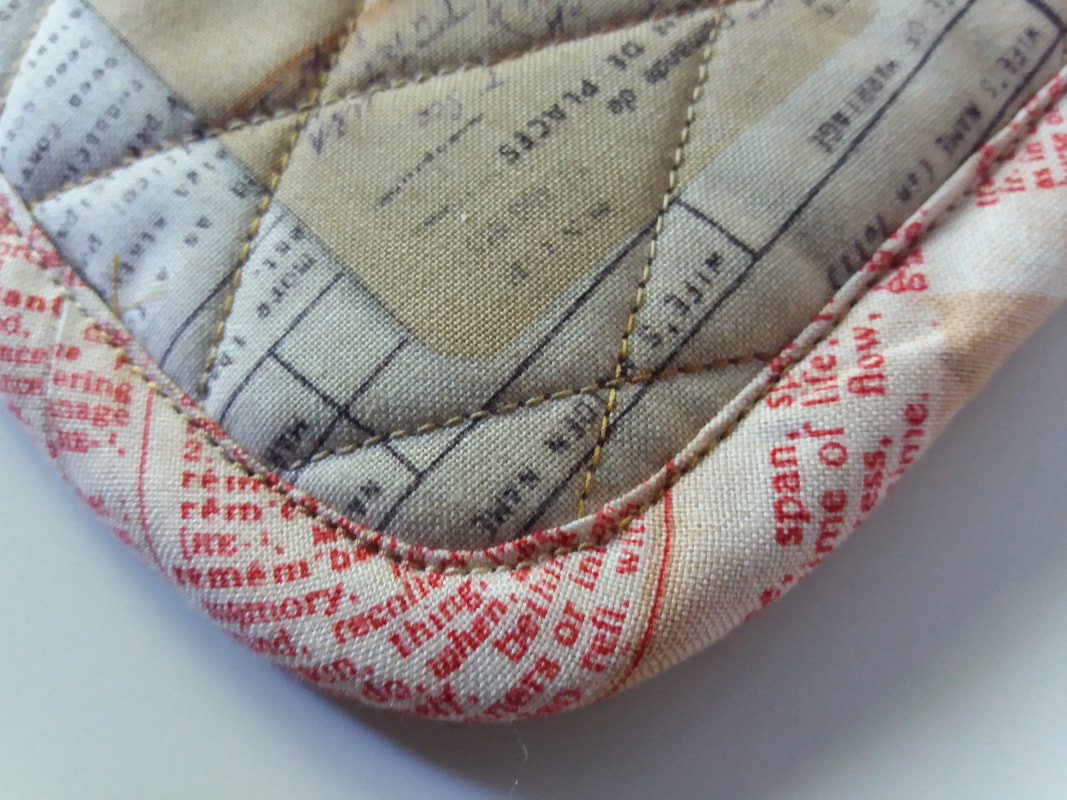
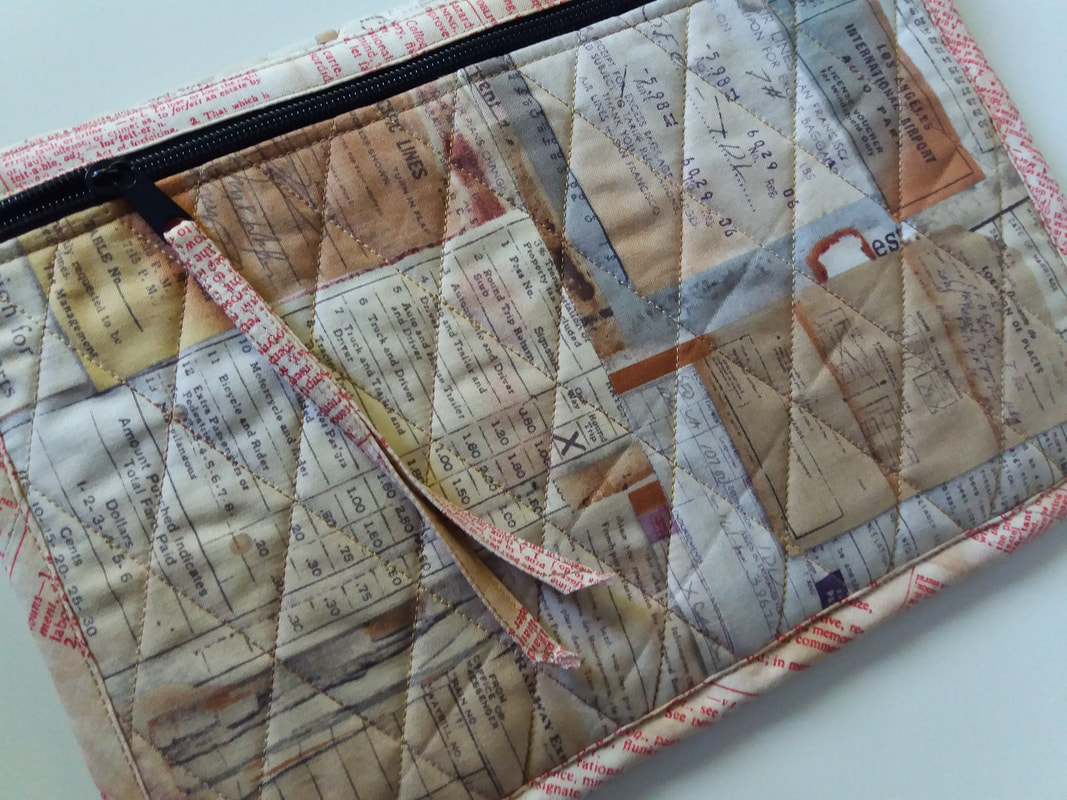
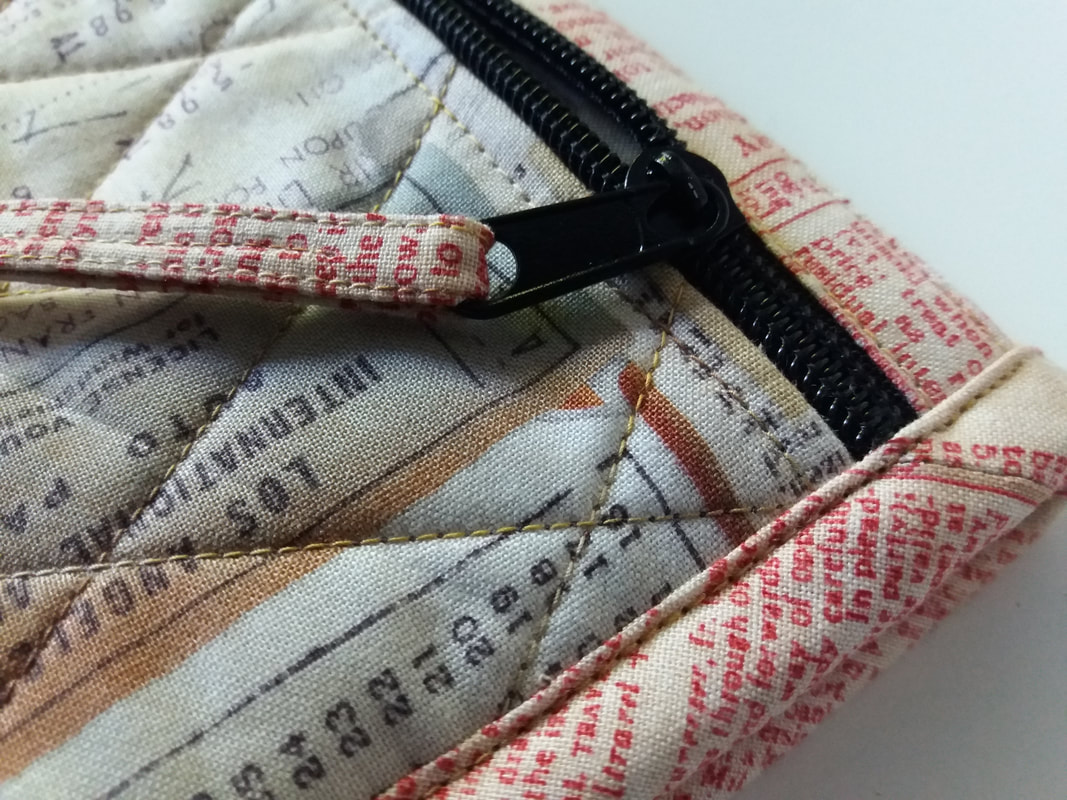
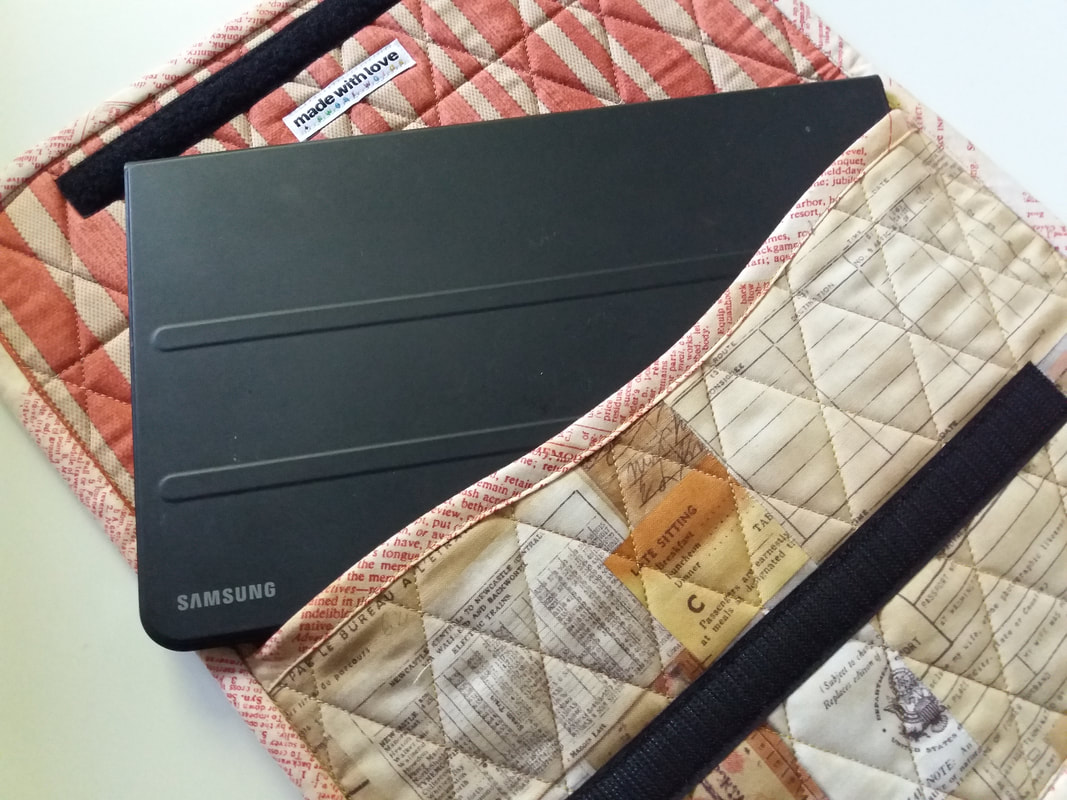
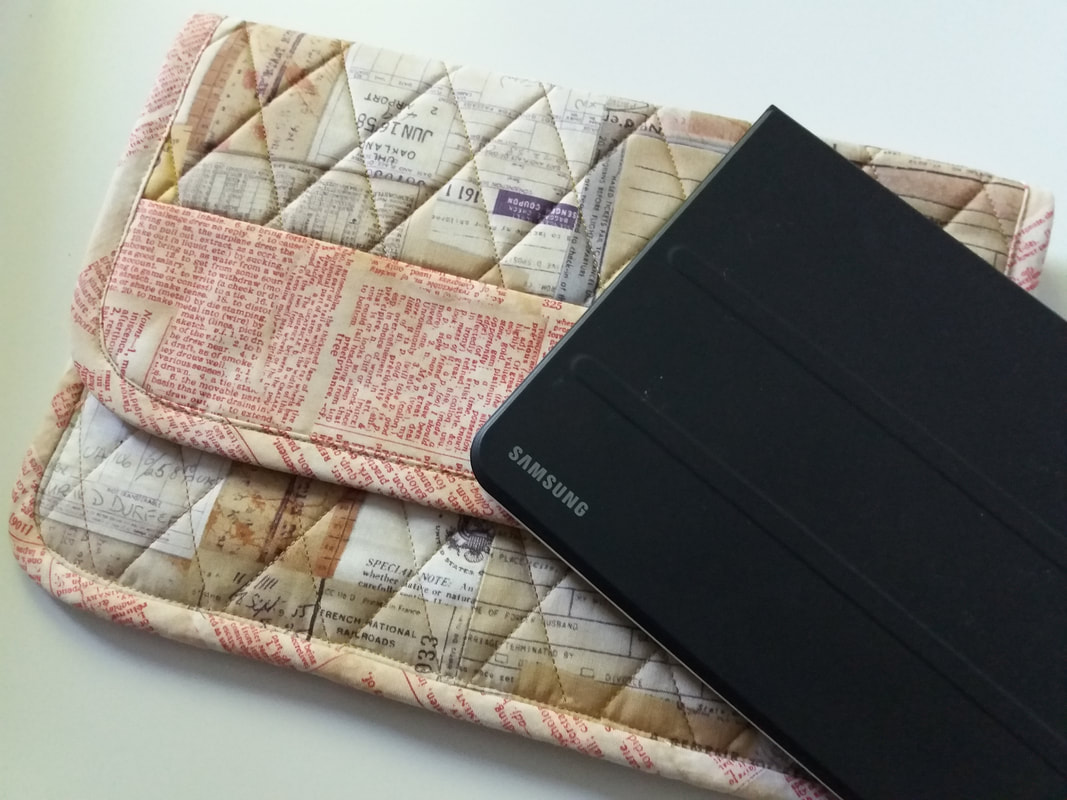
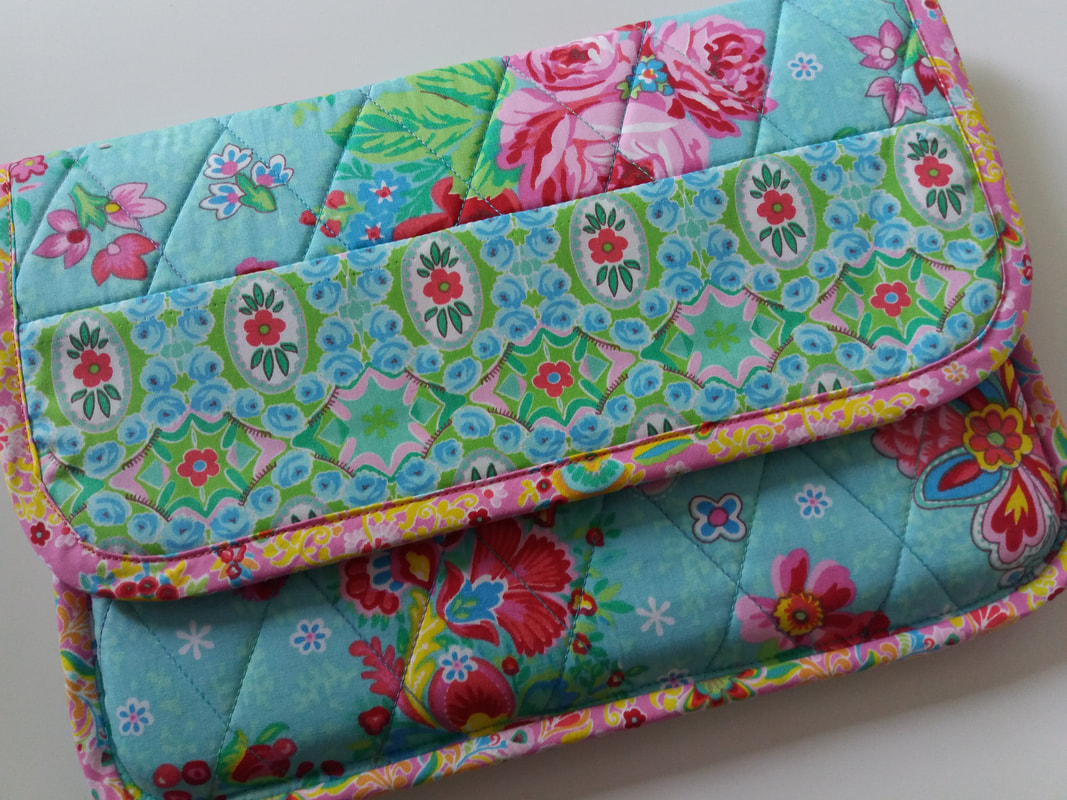
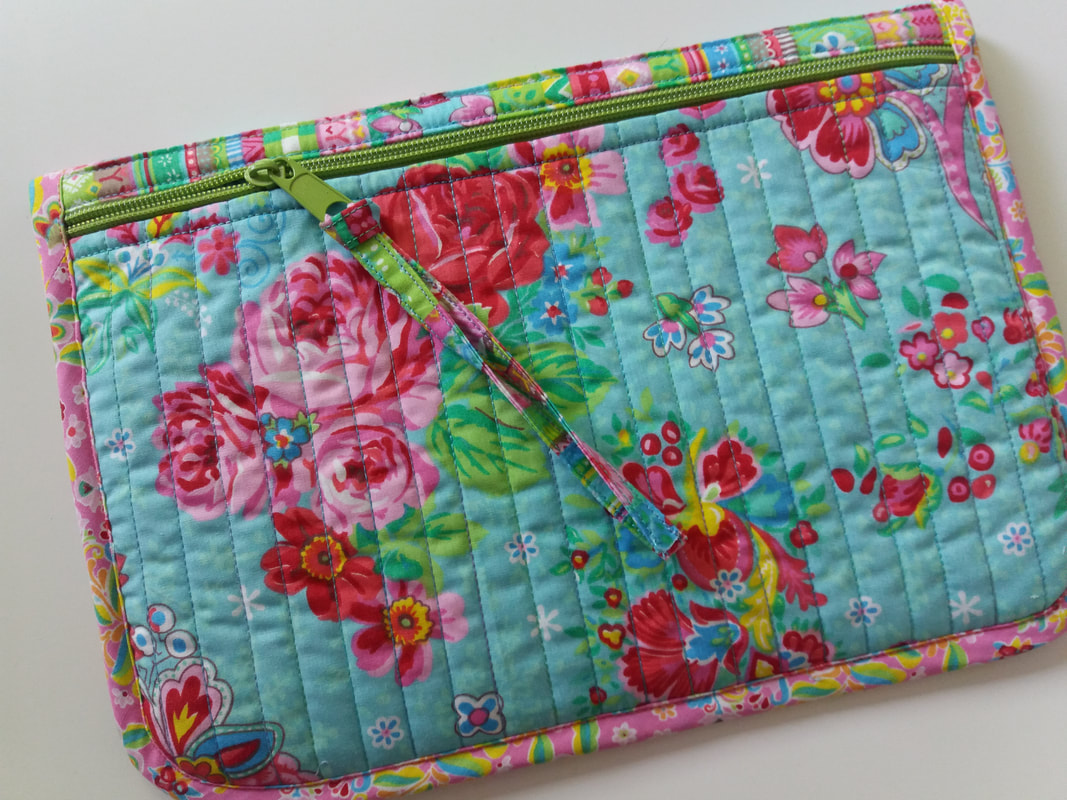
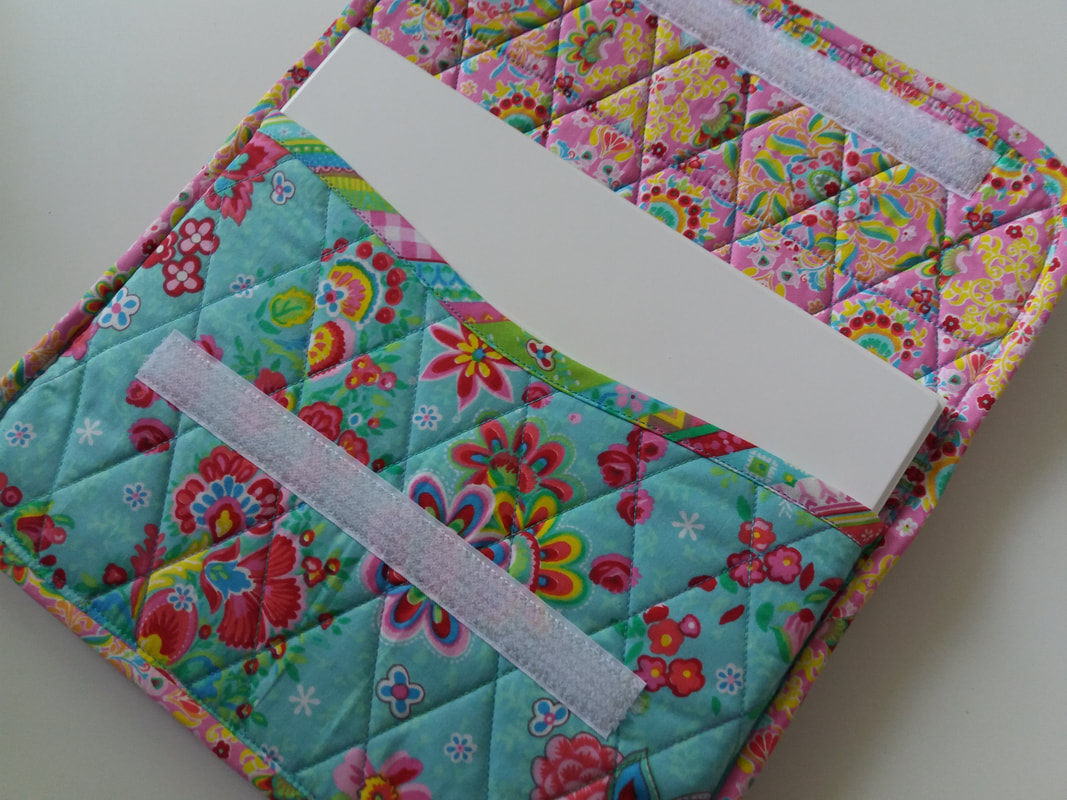
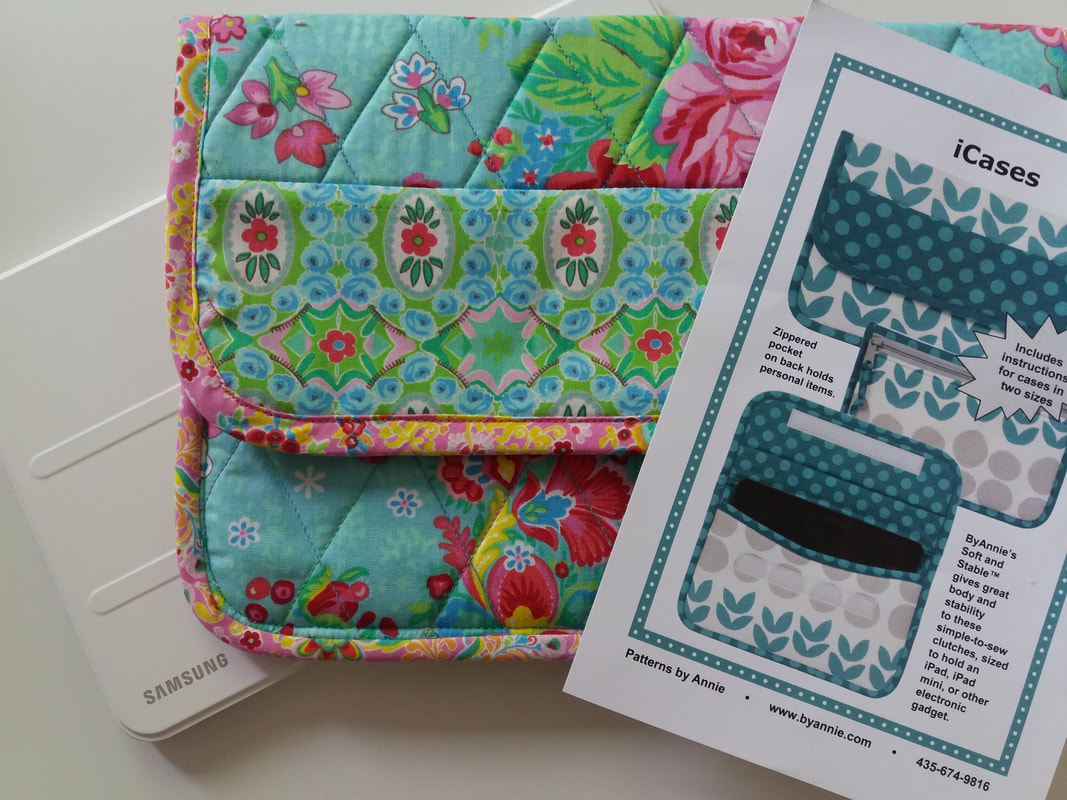
I'd been searching through my fabrics for just the "right" ones for a project for my husband - and hit the jackpot with these! I'd bought this fat quarter bundle of Electic Elements by Tim Holtz from the Lady Sew and Sew stand at the Knitting and Stitching Show back in 2014 and these were just perfect for what I had in mind, a padded case for Mr F's Samsung tablet... ...once I'd decided which fabrics to use for the outer case, pockets and lining, these were quilted very simply, using a variegated KingTut quilting thread. The bag wadding I'm using is ByAnnie Soft and Stable which quilts really well and I can't believe it took me so long to discover it, although I have used Bosal In-R-Form for bagmaking, which is very similar... ...well practise makes perfect, as I'm definitely getting better at this machine binding malarkey! I had to piece a few strips of fabric together for the binding before I was able to cut it on the bias, but fortunately the seams don't look too obtrusive... ...I've stitched this fun label in the inside of the front flap - these are by Kylie and the Machine and were purchased recently from Tangled Yarn - as this is for Mr F, I'm sure he'll understand this sentiment very well!... ...once the binding had been machined to one side of the iCase, the binding was folded over to the other side and machined into place. Clover Wonder Clips are brilliant for this, goodness only knows how I ever managed without them! They really do make machine sewing the binding so much easier... ...practise makes perfect, and I have been practising a lot to get these curves to look neat and tidy! I stitched along the edge of the binding using a walking foot, and repositioned the needle which enabled me to use the inside edge of the walking foot as a guide... ...this shows the back of the iCase, which has a quilted zipper pocket. A long fabric zipper pull was added once the iCase was complete... ...I used zipper by the metre, previously bought from Zipper Station for this project - they have a huge assortment of colours and you can urchase extra zipper sliders too... ...this shows the inside of the iCase - Mr F's Samsung tablet is also in a protective hard case, so the large size iCase was perfect for this (I'd made one for myself a few days ago and it's a bit of a snug fit to be honest). Velcro strips were stitched on the front of the case and the flap to keep it securely closed, without worrying about the effects of using magnets... ...this padded iCase will also add a bit of extra protection when the tablet is packed in a traveling bag... ...and this shows the front. The pattern I used is ByAnnie iCases, purchased recently from Plush Addict and I'm sure I'll be making a few more of these for Christmas gifts. Now I just need to wrap this up along with a couple of other gifts ready for the birthday boy to open tomorrow.
2 Comments
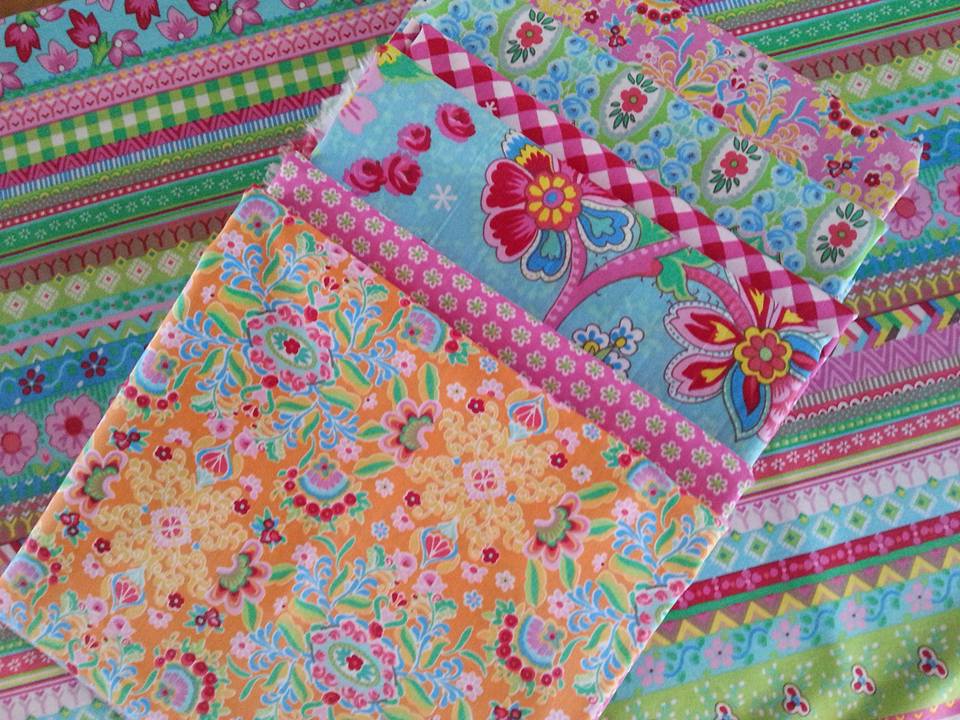
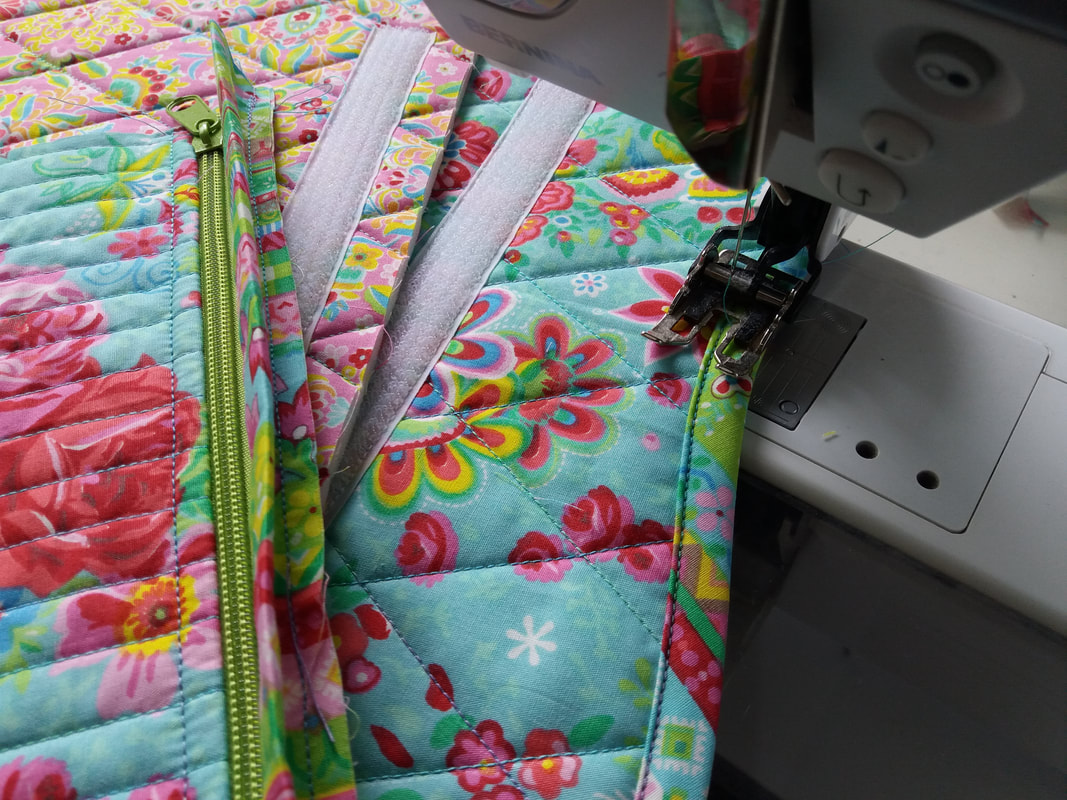
Back in 2016 I'd purchased these gorgeous fabrics from Fiona's Fabrics in Woodbridge (the brand is A Spark of Happiness) and I'd used them to make a Sew Together Bag. The fabrics are quite wide and I had lots of leftlovers, which had been lovingly packed away waiting for another project... ...I decided to use some of them for a trial run of another ByAnnie pattern,a posh new coat for my Samsung tablet! I gathered a few of my bag-making supplies together - this bright green zipper by the metre from Zipper Station was just perfect to use with these bright fabrics - along with some snag-free Velcro fastening and a variegated KingTut quilting thread. The case was quilted very simply onto Soft and Stable bag wadding... ...the front of the case looks very smart, with machine stitched binding covering all of the raw edges... ...the back of the case has a zipper pocket... ...inside there is a slip pocket for my Samsung tablet, and the flap secures it with Velcro. It's a bit of a snug fit as I used some pieces of fabric that were already cut which were slightly smaller than the pattern suggested. Also, I've kept my tablet in it's protective hard case... ...well I absolutely LOVE my new tablet case! The pattern, iCases, was purchased from Plush Addict - the pattern includes instructions for making depending on the size of your electronic devise, however it would be simple to make it smaller or larger - I'm thinking about enlarging it to make a case for my lightpad!I'm going to make another one of these cases for my my husband as a birthday gift, also my sister-in-law was admiring mine, so I'll make one for her birthday too. Now I just need to find some appropriate fabrics and I'll make a start!
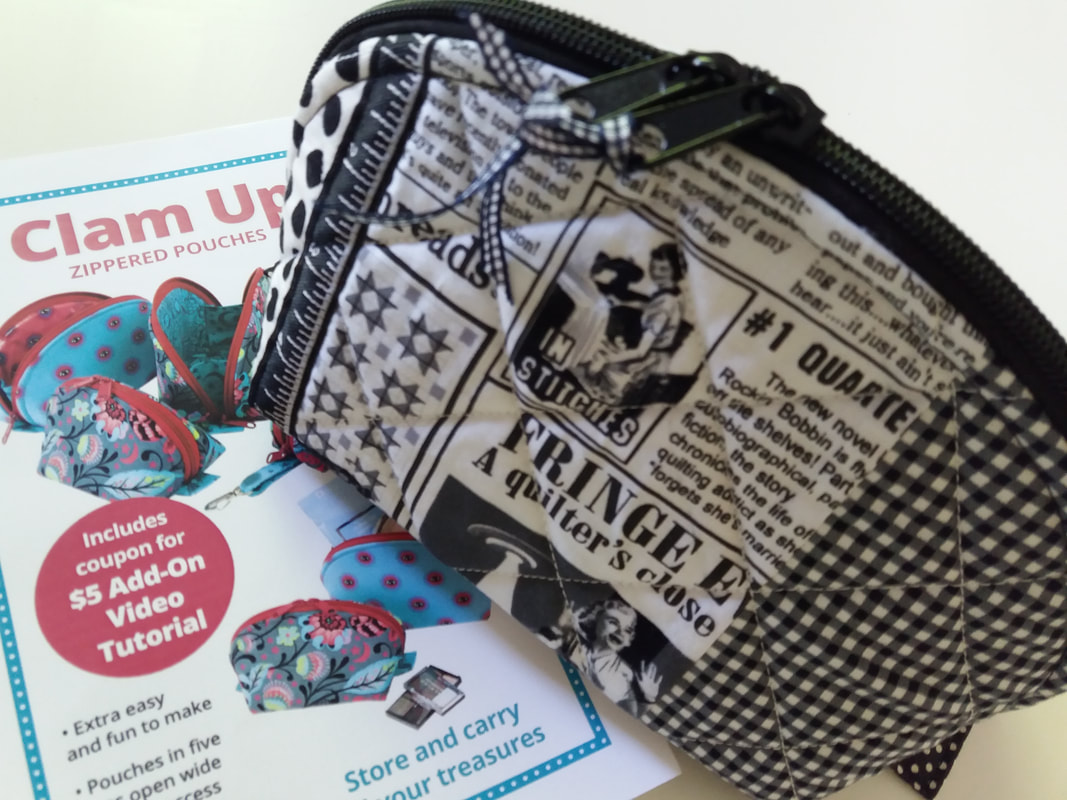
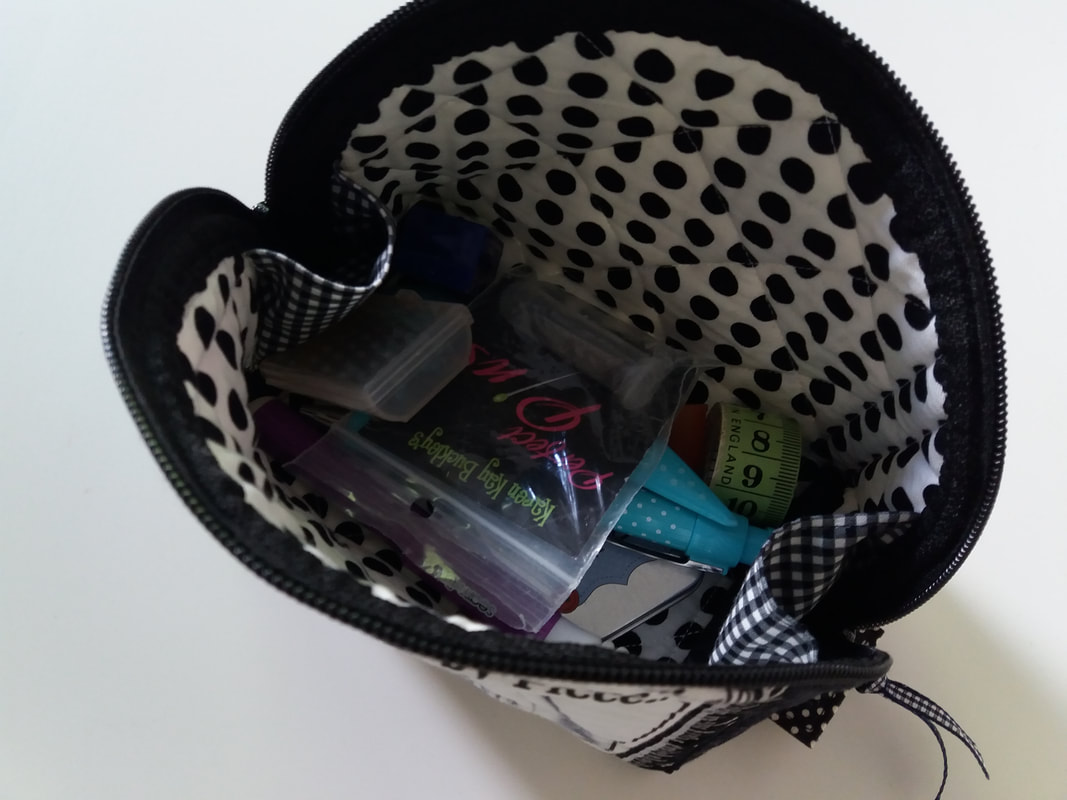
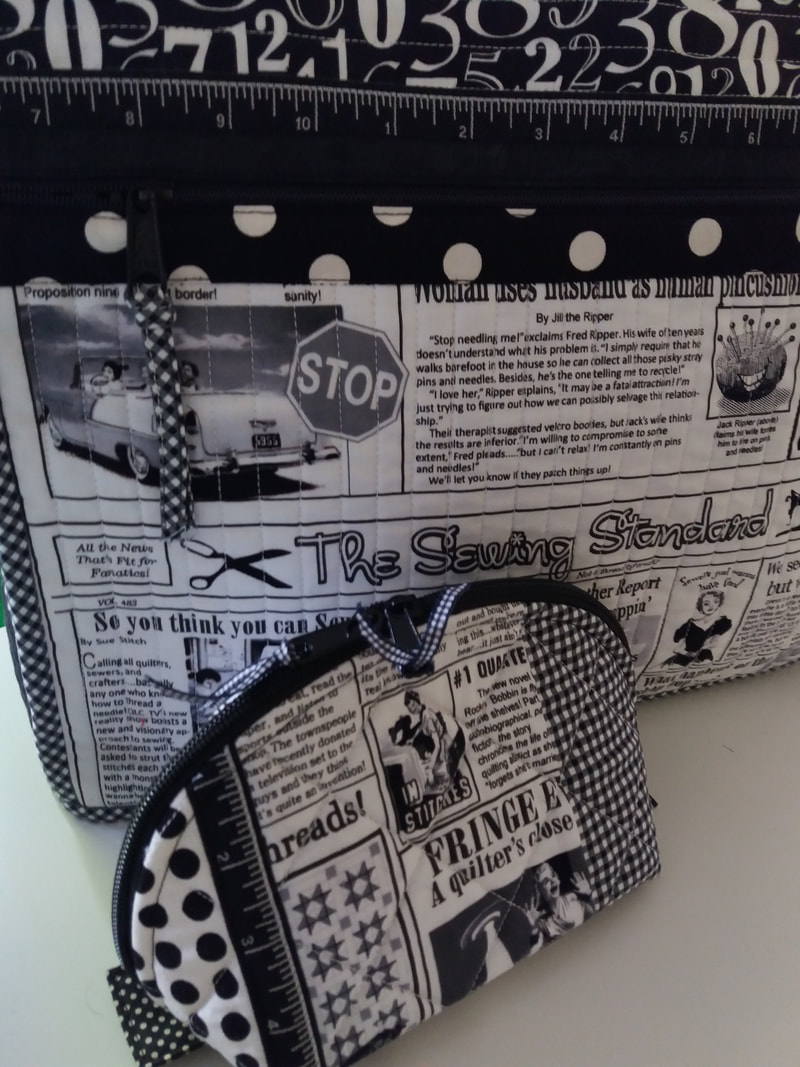
I've become rather addicted to By Annie patterns, and this Clam Up zipper pouch pattern was purchased just a few days ago from Oh Sew Sweet at The Hut. The instructions for ByAnnie patterns are well laid out with diagrams and lots of diagrams and the add-on videos are brilliant! I've used zipper by the metre which I'd akready bought a few weeks ago from Zipper Station (along with extra zipper sliders). This particular pouch has 2 zipper sliders on it and opens up nice and wide, which is perfect for keeping a few of my sewing bits and bobs in! I've also used ByAnnie soft and stable wadding, which is great for bagmaking as it adds a lot of structure and quilts beautifully... ...I've used some leftover pieces of fabric and tape measure ribbon from when I made Under Cover a few months ago. Clam Up was really simple to make and the pattern has instructions for making it in an assortent of sizes - this one is the large size. I'll definitely make a few more of these - they'll make super gifts for family and friends.
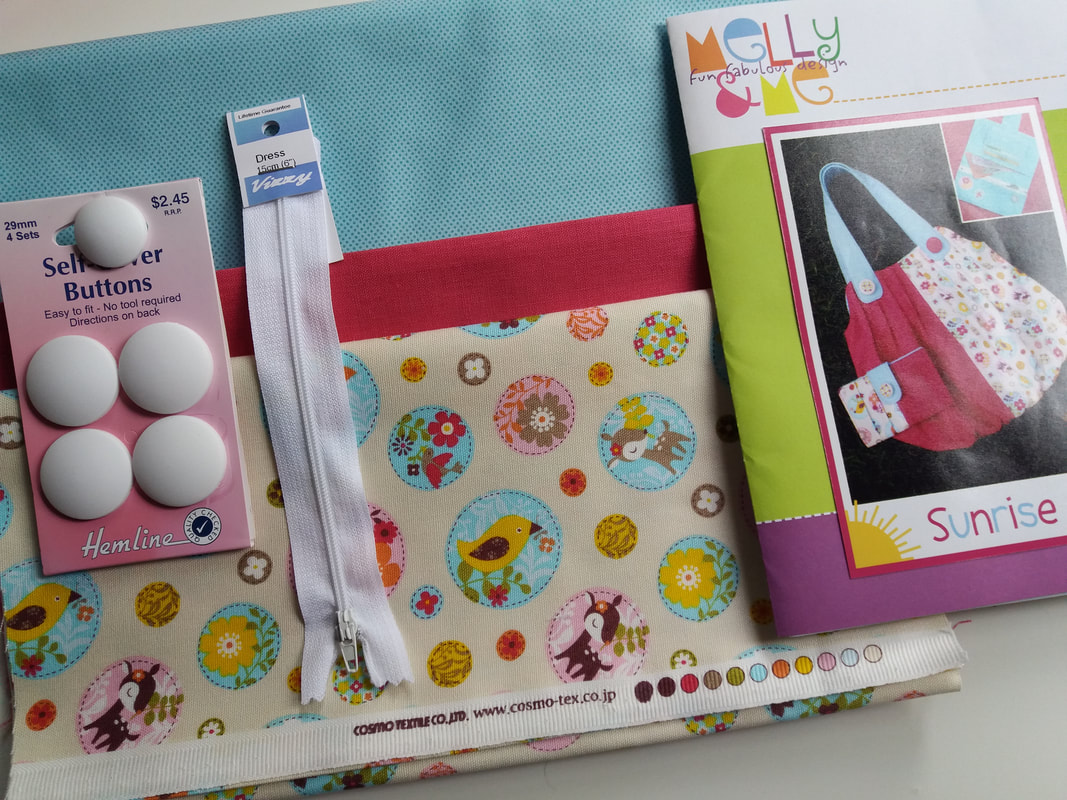
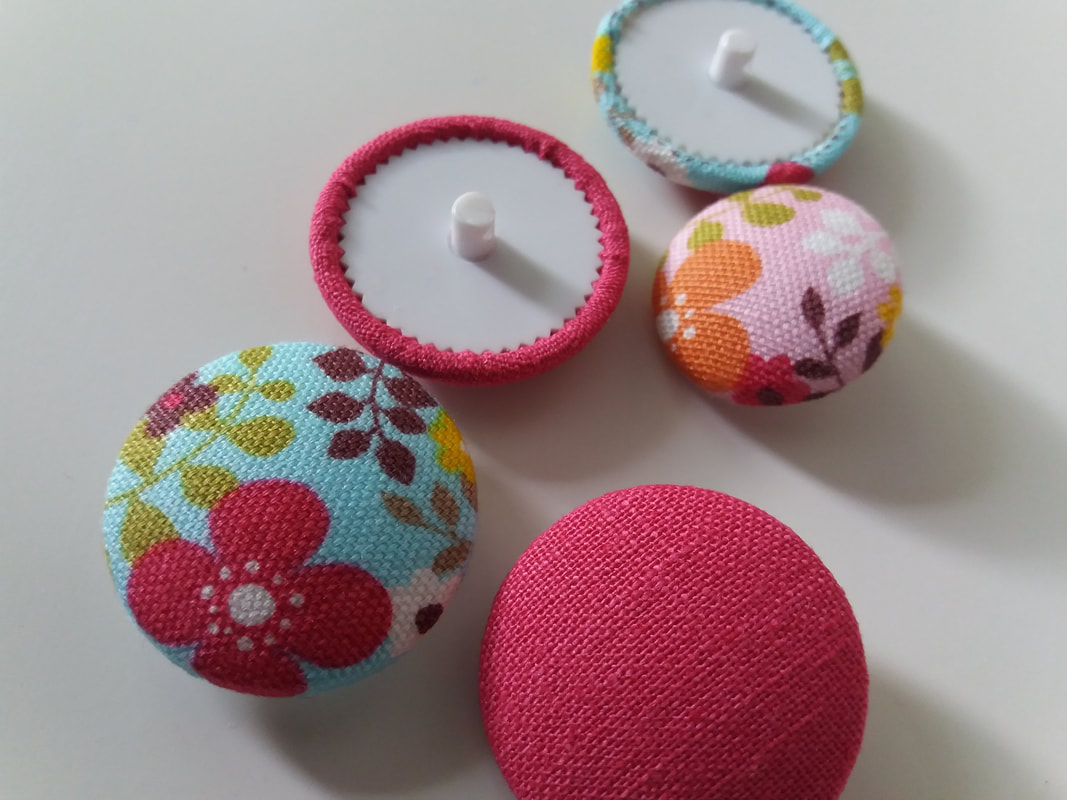
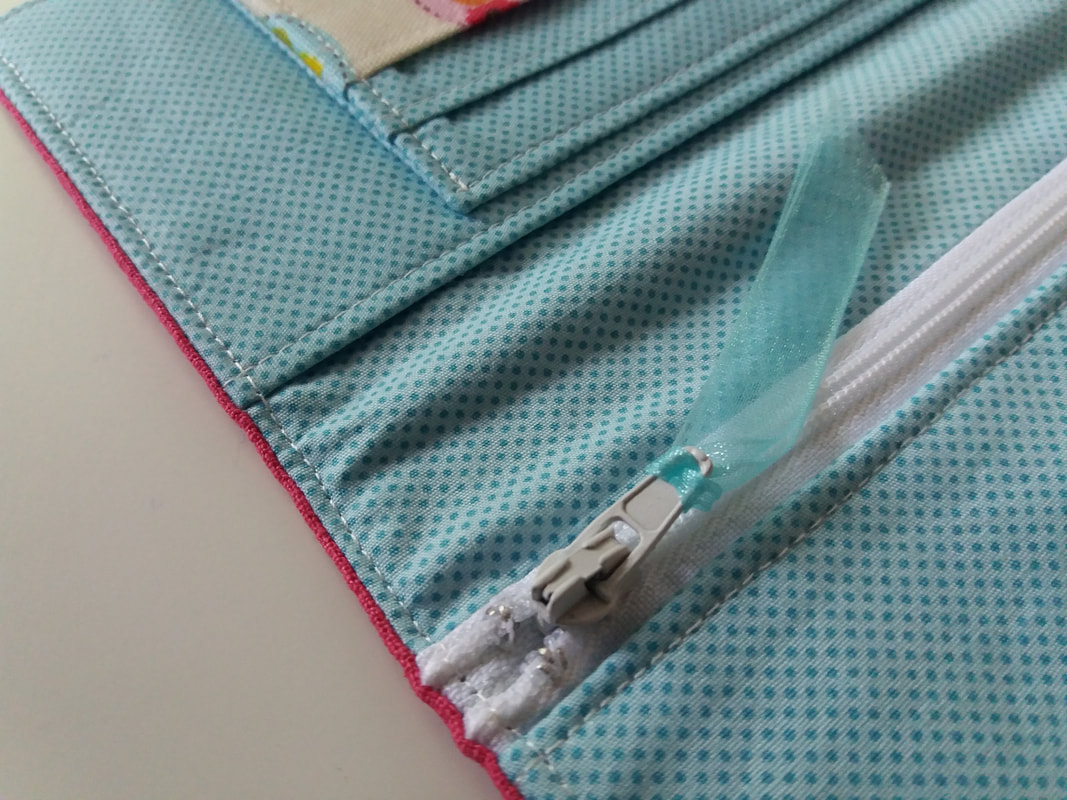
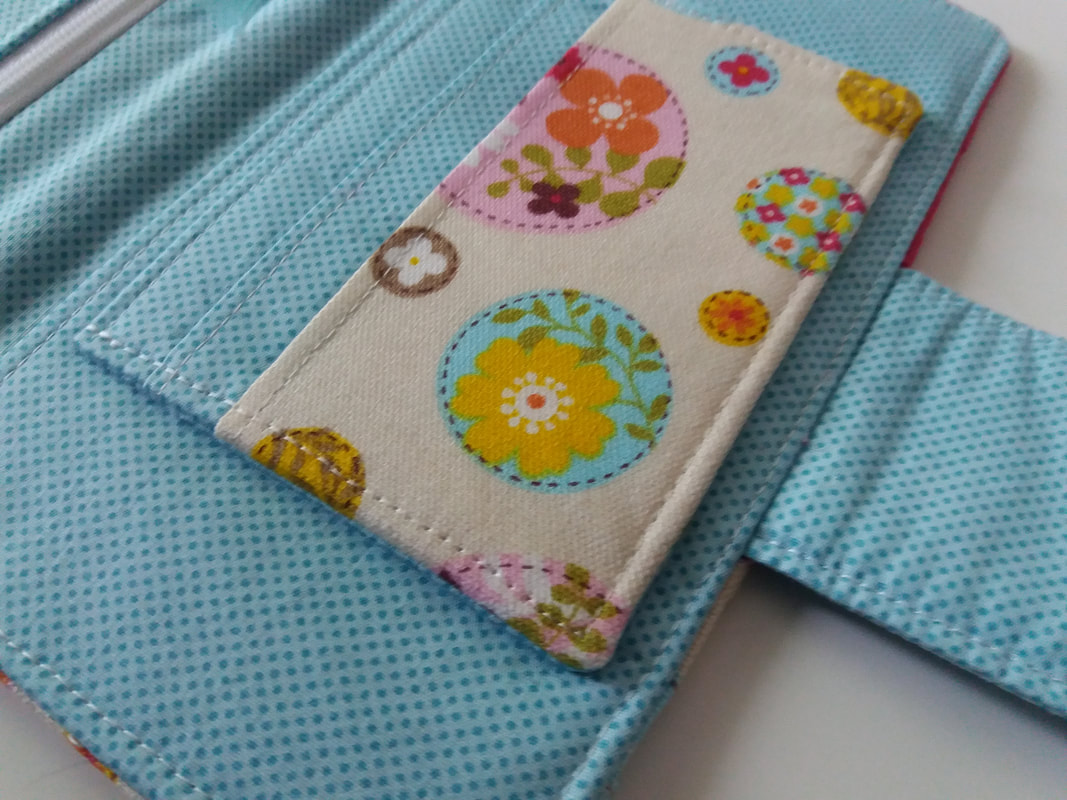
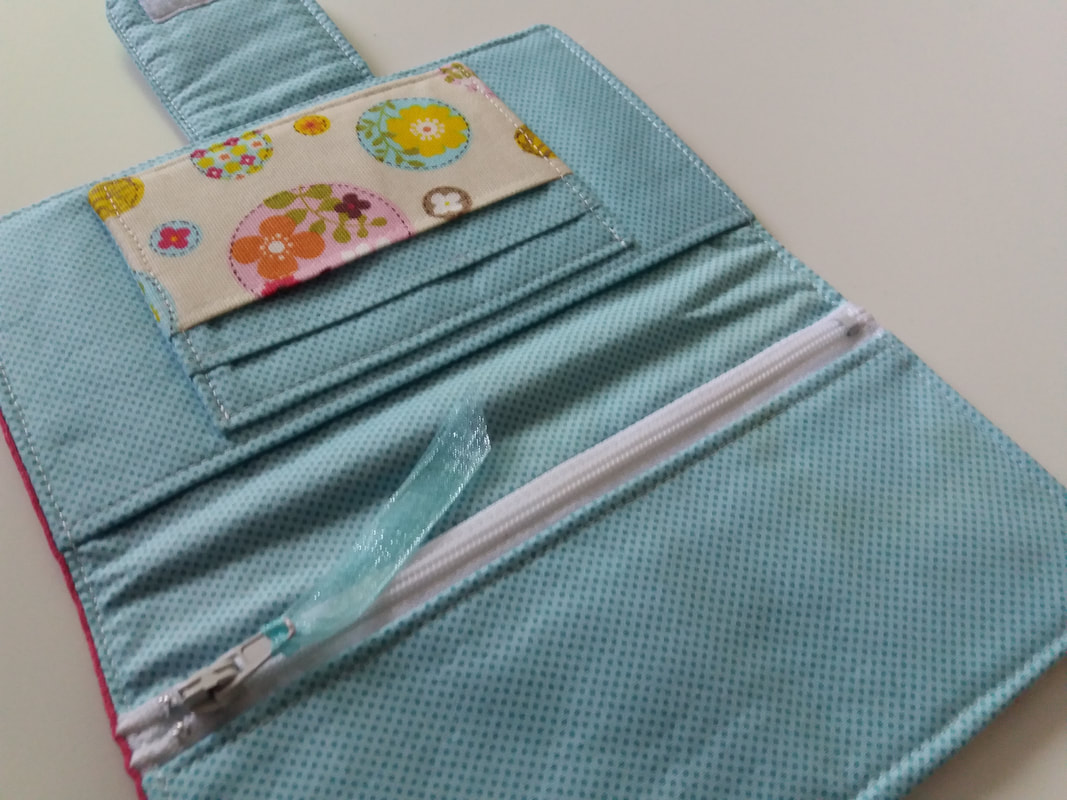
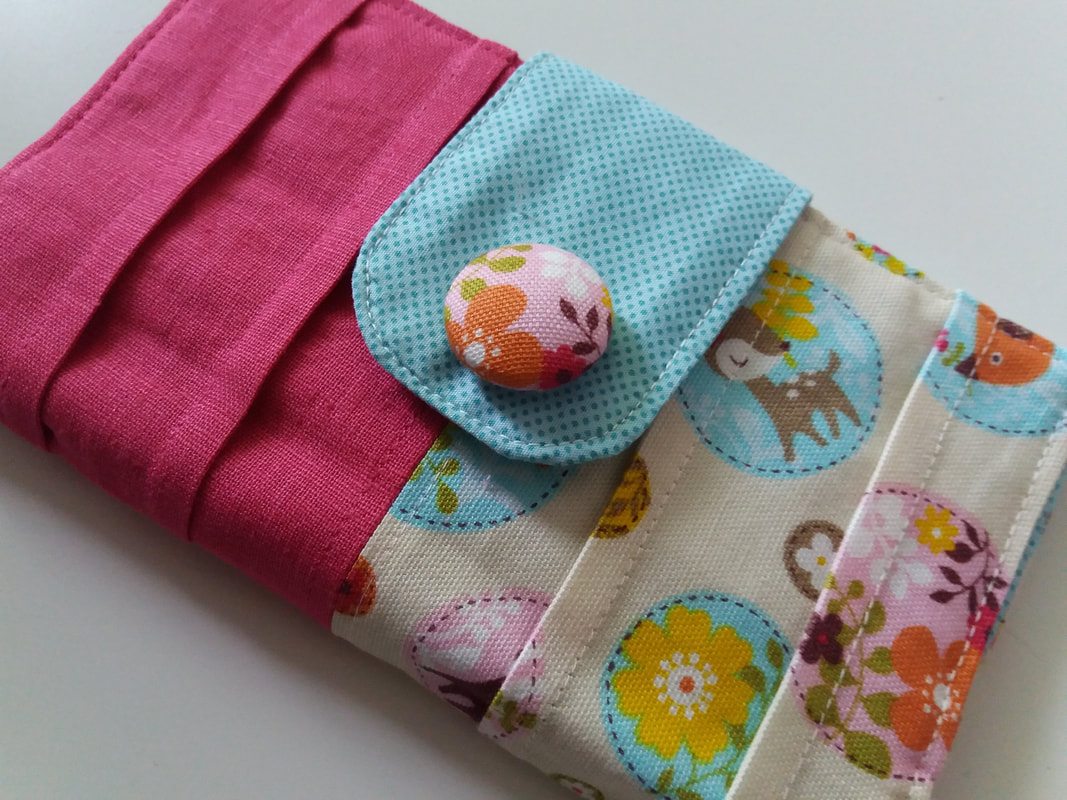
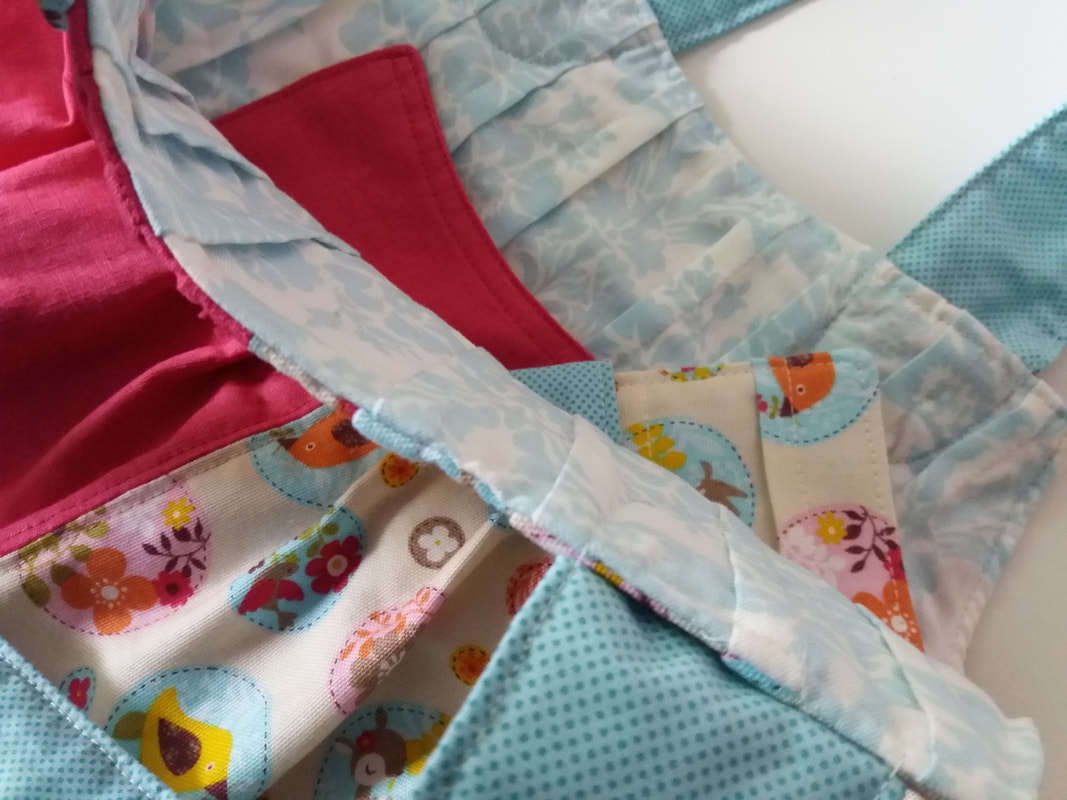
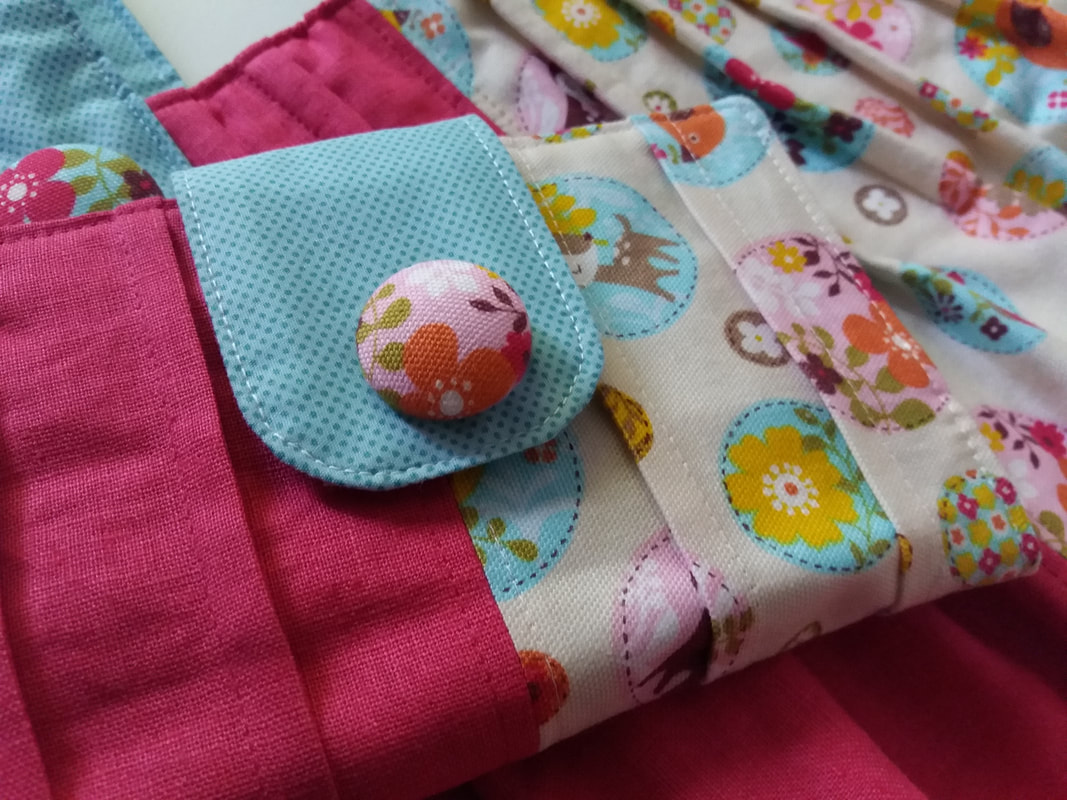
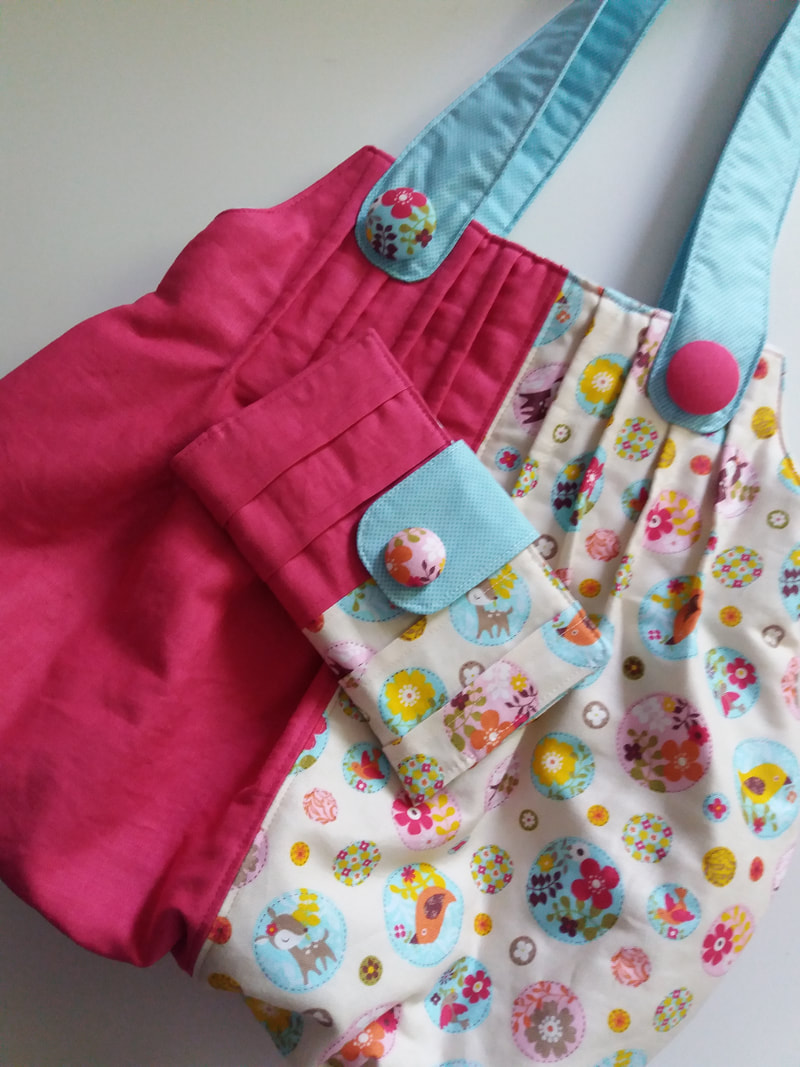
Several years ago I belonged to a bag-making club - each month I was sent a pattern by various designers, along with fabrics and bits and bobs to complete each bag. This particular kit, Sunrise by Melly and Me, was still sitting in a box, just waiting for the right person to make it for. Then along comes a special girl who loves bags and when she saw the collection of them in my sewing room a few weeks ago, she almost squealed with delight when I said I'd make one especially for her! This kit contained the fabrics to make both the bag and the purse, along with a zipper and a set of self-cover buttons. These buttons were really easy to make, and I was able to fussy-cut some of the feature fabric from a few leftover scraps once the main parts for the bag were cut and sewn together... ...the pattern was super easy to follow and the bag was really simple to put together. I used Vliseline H630 for the wadding which was fused to the wrong side of the bag front and back, after the 2 panels were joined but before the pleats were added. If I made the pattern again, I'd also fuse wadding the wrong side of the linning too to give it a bit more structure. The purse was even simpler to construct as it was made with a series of rectangles and squares, stitched together very simply. The purse lining was also backed with Vlieseline H630 and a lightweight interfacing was fused to the wrong side of all the pockets. There's a coin pocket with a zipper fastening, along with a pocket for notes and a few smaller pockets for cards. All of these pockets are neatly topstitched.... ...I've added a pale blue ribbon to the zipper pull on the coin pocket. Velcro is stitched in place on both the front of the purse and on the wrong side of the tab to keep the purse closed. Another pretty fussy-cut self-covered button is stitched to the front of the tab for decoration... ...inside this simple slouch-style bag there's also a shaped slip-pocket. The bag itself is quite roomy, and neatly spaced pleats are stitched along the front and back of both the bag and the lining. The lower edge is gathered to give this bag a nice shape. The purse also has similar pleats along the front and back... ...and here is the completed Sunshine bag with matching purse, perfect for a young girl to take shopping! The fussy-cut self-covered buttons were stitched in place to decorate the handles, and add a nice finishing touch to this bag. Now it just needs to be wrapped and gifted!
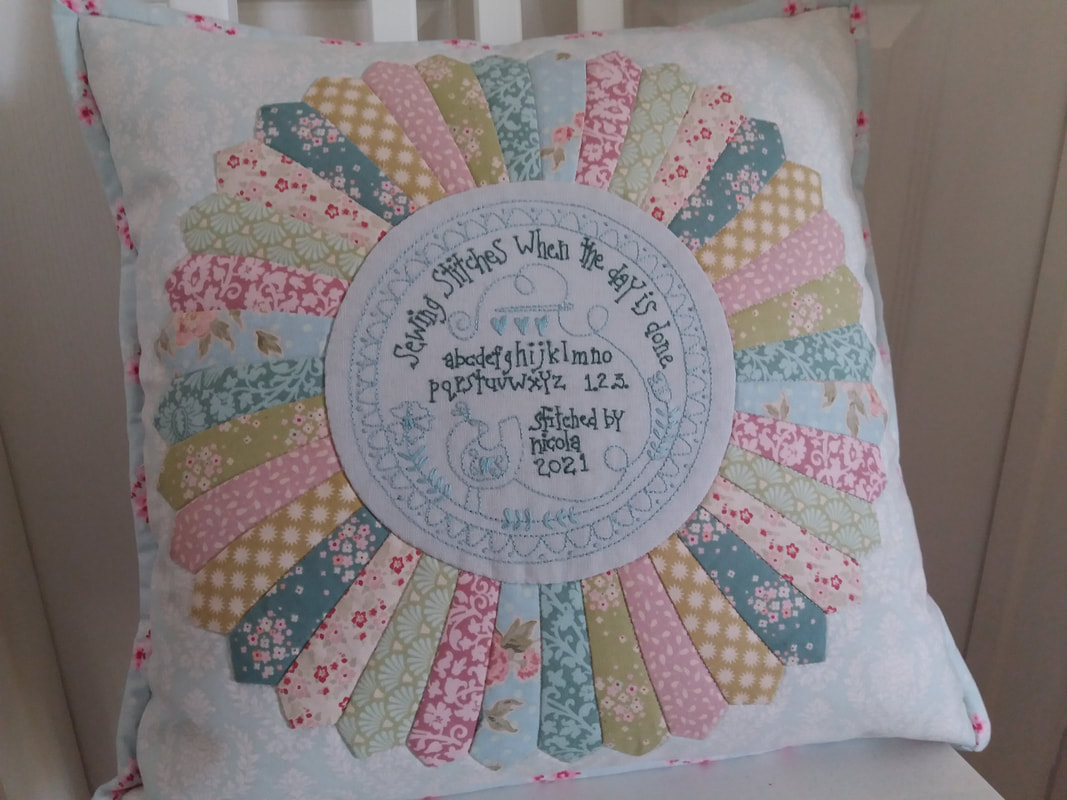
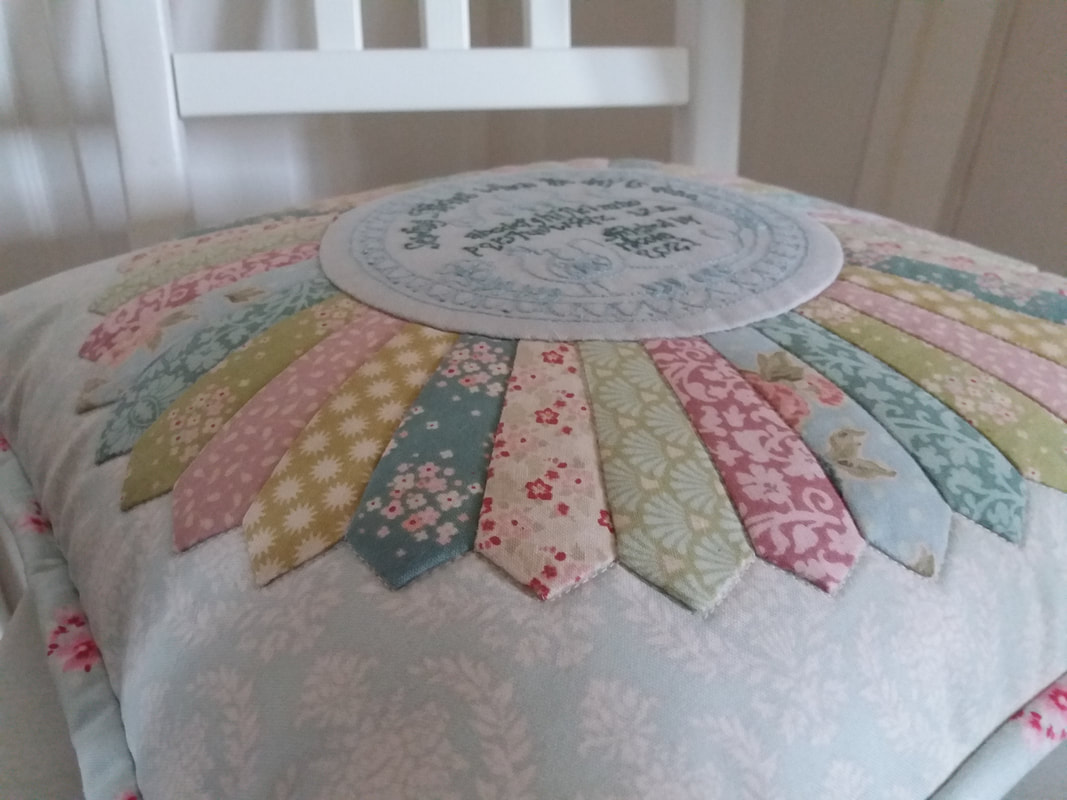
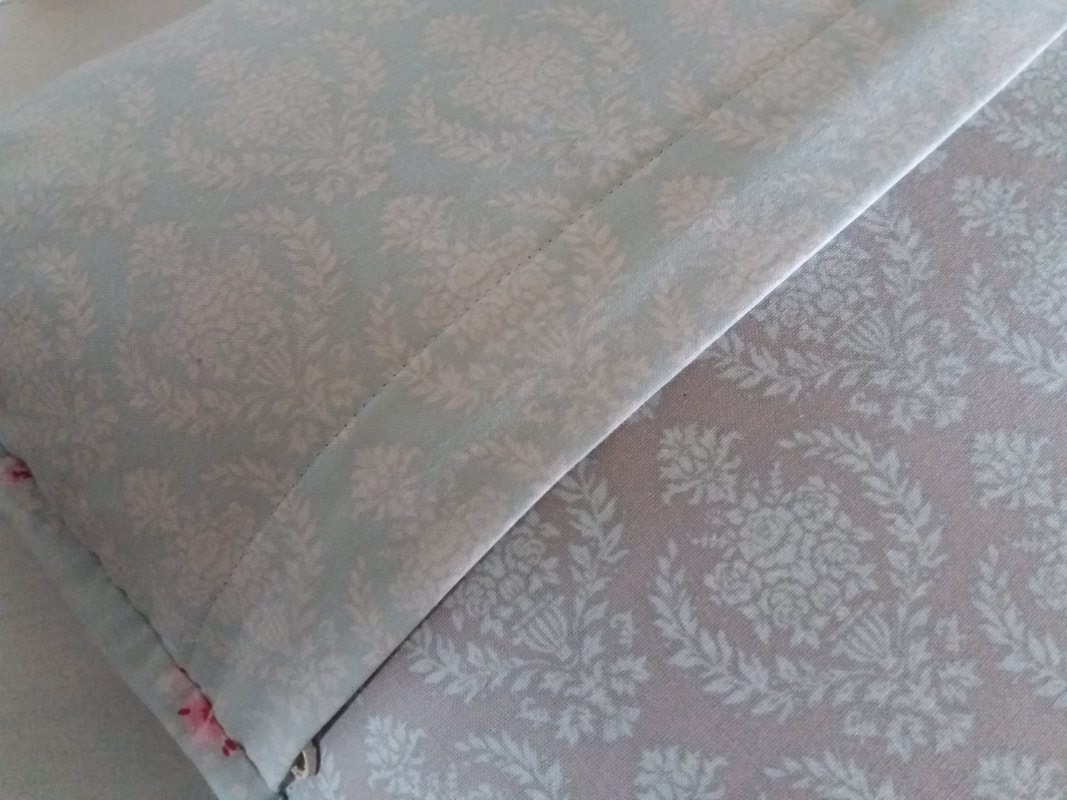
Finally completed - a mixture of 2 patterns by the Australian designer Rosalie Dekker. Made with a selection of Tilda fabrics, the Dresden plate was a "reject" from my Flowerville quilt. The centre was traced from the stitching guide of the final block for Simply Blessed - (both the Flowerville and Simply Blessed quilts were made a few years ago)... ...these Tilda fabrics really are so pretty. The stitching guide was smaller than the pre-printed design for the original Simply Blessed quilt, but it works really well as the centre for the cushion. I chose 2 embroidery threads is colours to compliment the colours of the cushion. Another Tilda fabric was used as the background - the dresden and the centre circle were both hand appliqued into place and machine quilted very simply... ...more Tilda fabric from my stash was used for the back and the binding. I've tried very hard to pattern match the 2 backing fabrics where they overlap for the zipper as they're the same design, just in different colourways. A plump feather pad approximately 2" bugger than the size of the cover has been squeezed inside to make it look full and plump.
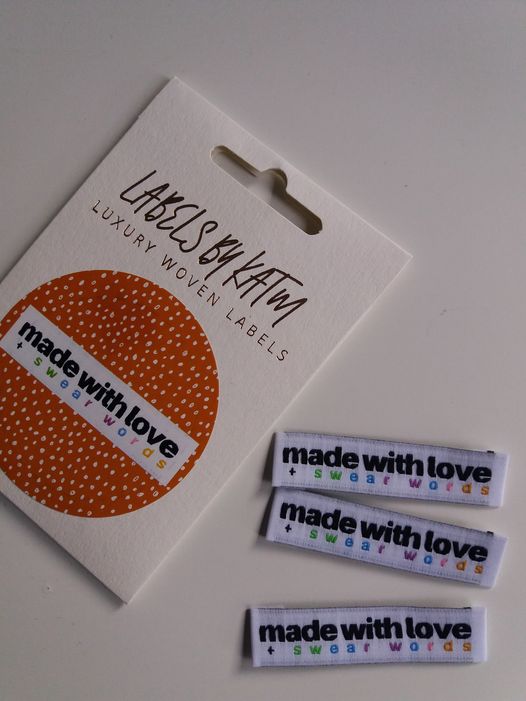
Haha! These Labels by Kylie And The Machine sewing labels are perfect for sewing on a few of my "tricky" projects! As soon as I saw these I just knew I needed them and after a quick Google search, bought them online from Tangled Yarn. I wonder which project will be the first to have one of these stitched onto it!!
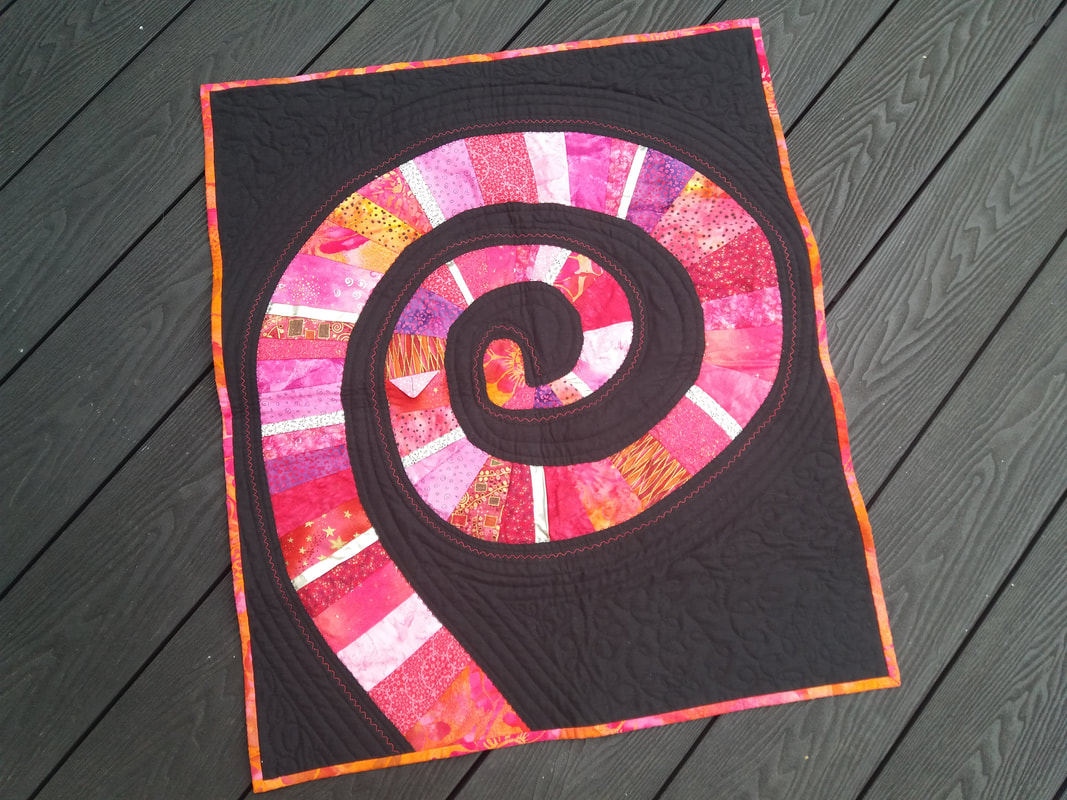
Operation Clear Out The Loft is completed and I've saved the best treasure to show you today! This spiral pieced wallhanging was one of my early projects, made on a workshop many, many years ago with Helen Howes Textiles - she's a fantastic tutor. This was my first attempt at free motion quilting - looking at all those wobbly lines made me consider whether I should unpick the quilting and do it again. However, after much deliberation, I've ordered a copy of the pattern and will make another one so they can both be displayed side-by-side on the wall of my sewing studio to show my improvement while I've been on my quilting journey. And this "wonky" one will definitely NOT be going back in the loft!!
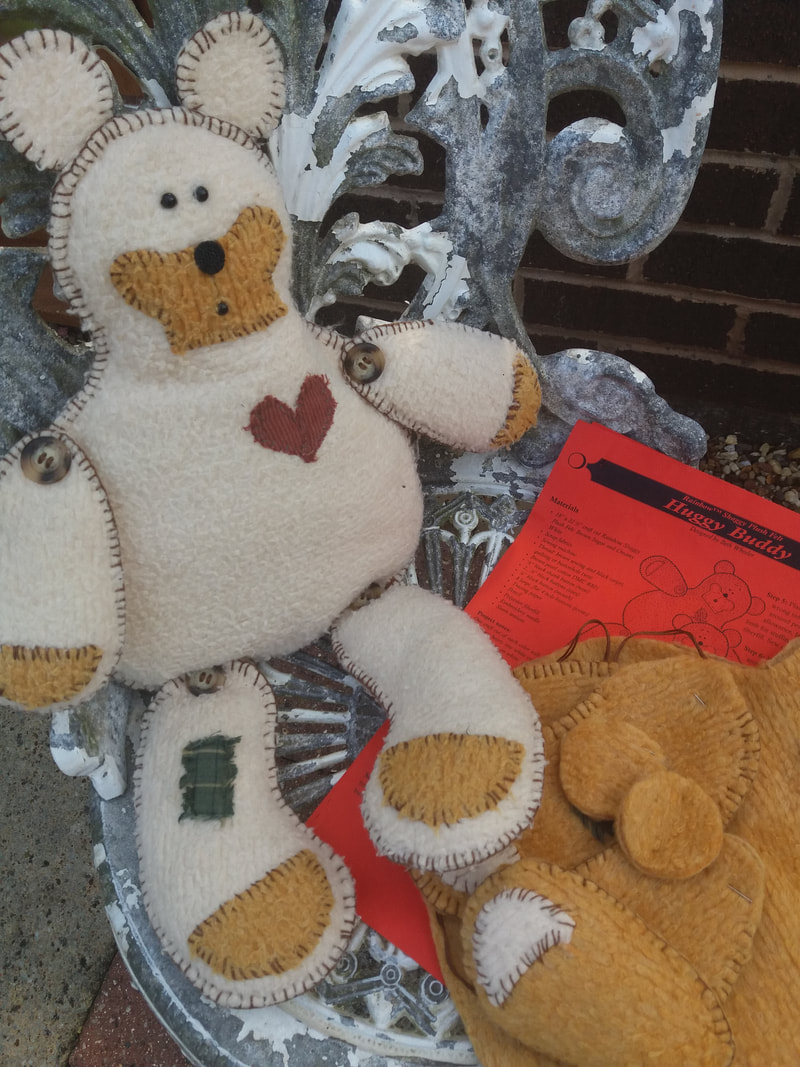
So Operation Clear Out The Loft continues and day 2 and day 3 have unearthed a few more treasures! My daughter made this Huggy Buddy bear several years ago (I think she was still at primary school) and had even started the second one. This was a kit, designed by Beth Wheeler, bought from Quilter's Haven - our local quilt shop which sadly closed down a few years ago. Finding this has thrown up lots of happy memories of days gone by when I was teaching her to sew!
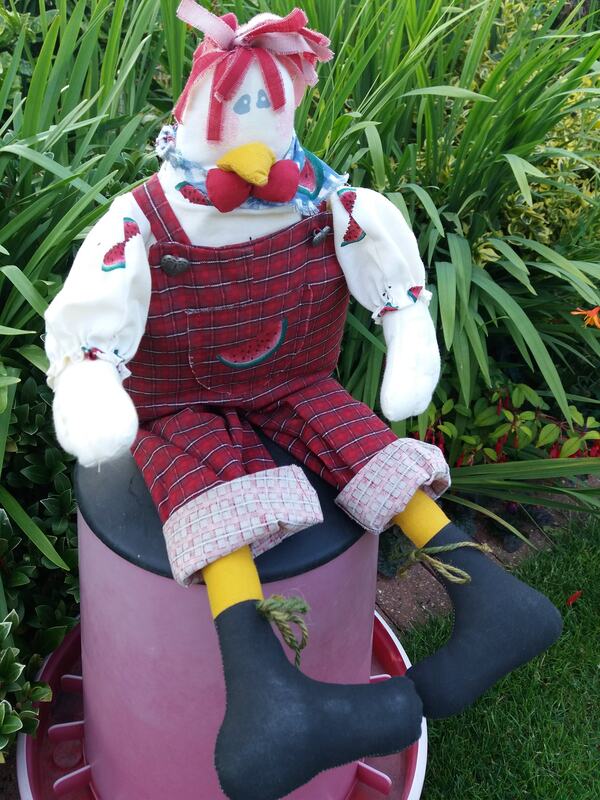
Yesterday was day one of Operation Clear Out The Loft - and one of the treasures I found was this rather handsome cockerel! I've no idea what the pattern was called, but I can remember it was on a pre-printed panel and I made it many, many years ago BB (before my Bernina). I'm definitely keeping this "treasure" although much to Mr F's dismay, despite both the wheelie bins being filled (both recycling and rubbish) and dropping off 3 bags of clothes to the clothes bank, my pile of "to keep" is much larger than he's hoped!!
|
About me...Hi - welcome to my quilting blog! My passions are my family, my dog, my friends and sewing, not necessarily in that order! Archives
July 2023
Blogs I followUK shopsThese are the UK shops that I use to purchase my quilting supplies - fabrics and threads etc.
Australian linksScandinavian links |



 RSS Feed

