|
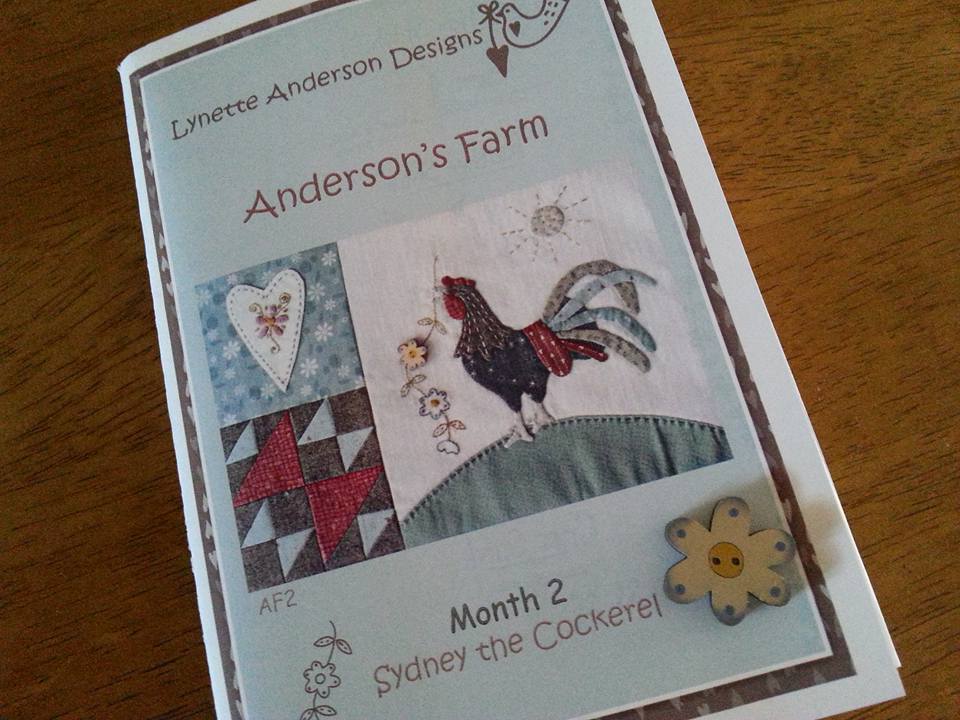
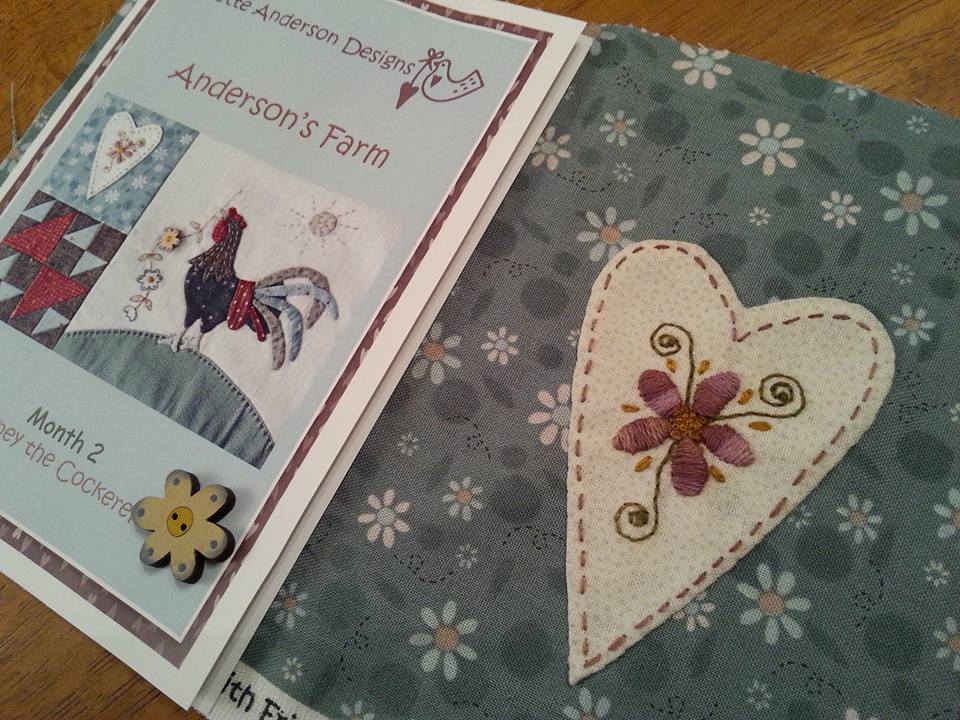
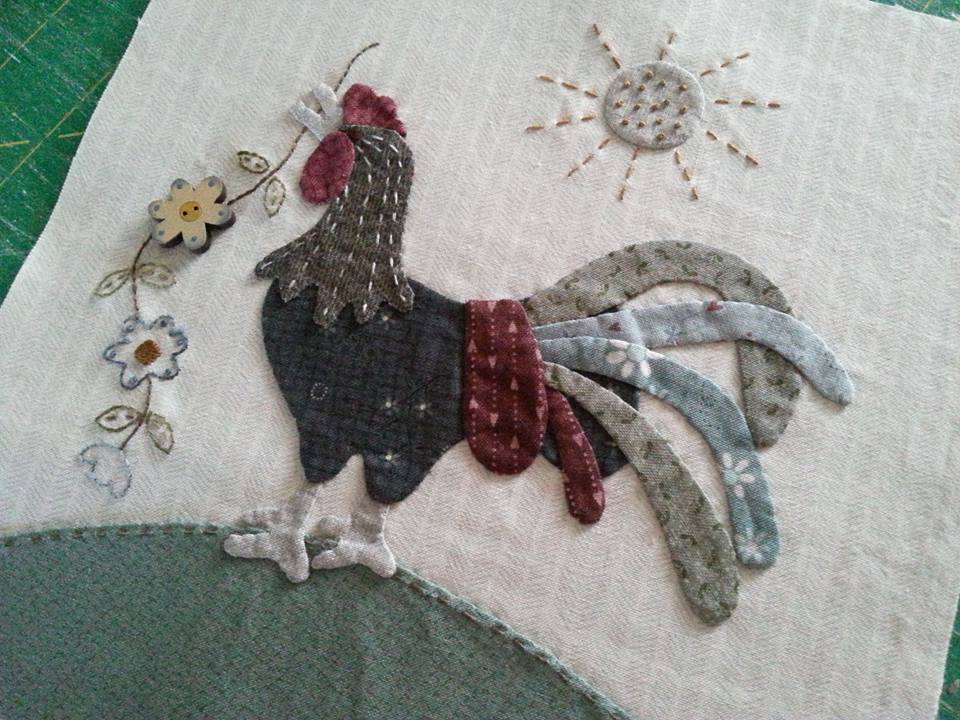
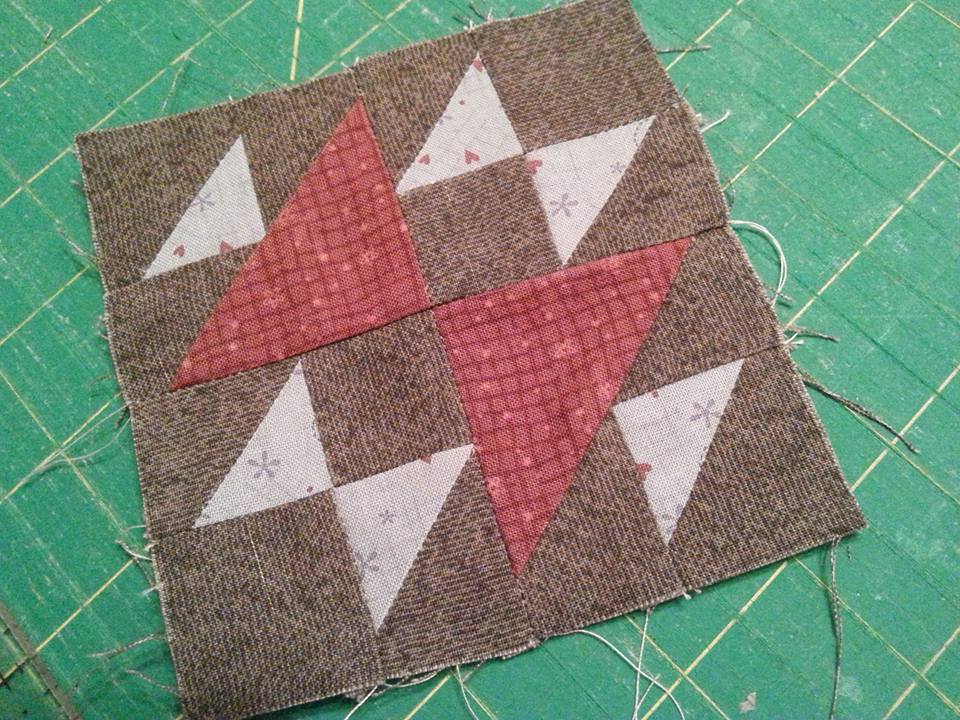
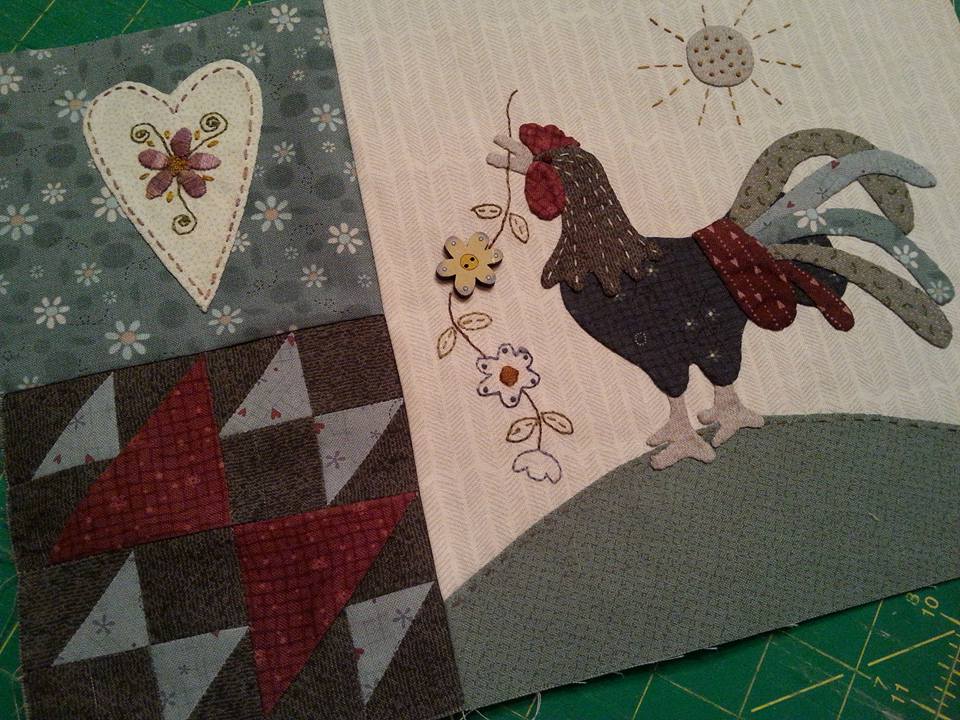
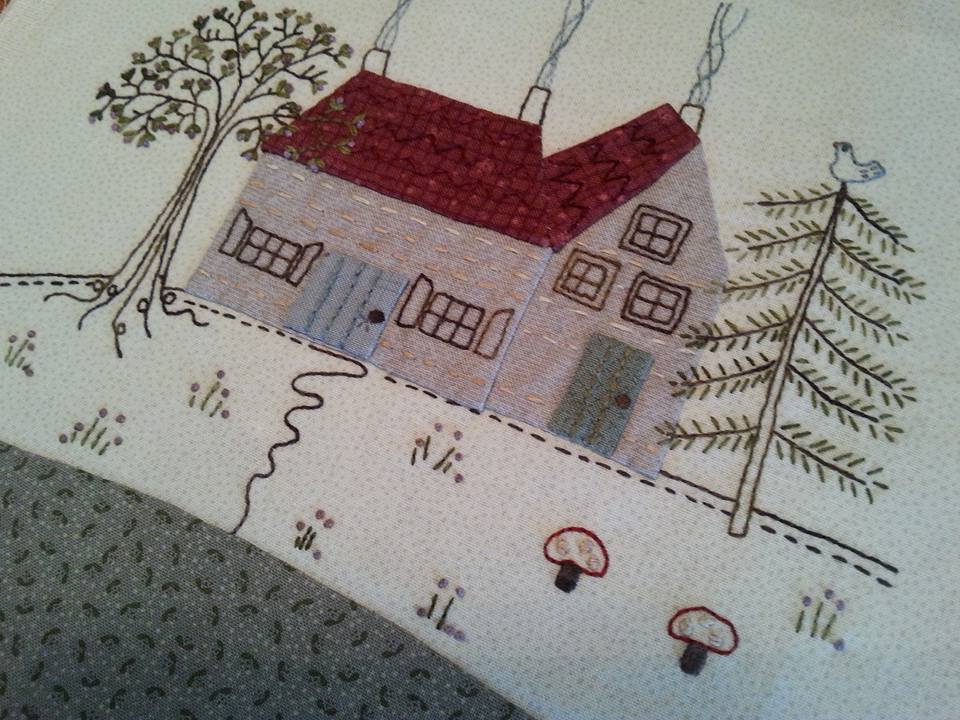
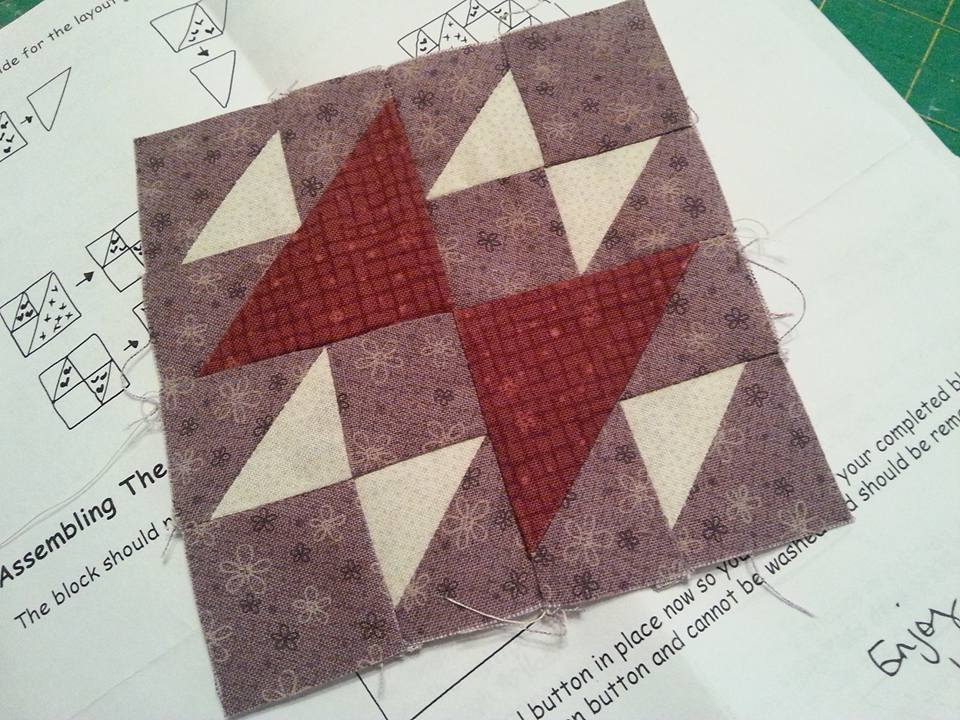
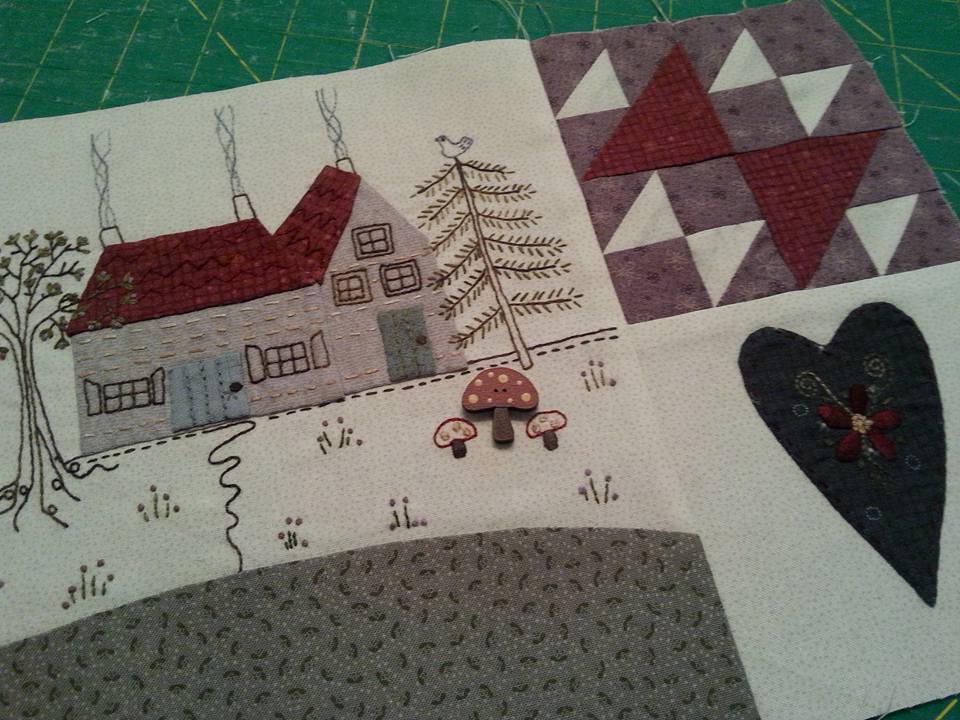
Block 2 of Anderson's Farm "Sydney The Cockerel" arrived in the post last week from Little Quilt Store in Australia - this is the latest mystery button club by Lynette Anderson Designs. I'd already signed up to this a few weeks ago, and had already received the fabric and thread pack so it didn't take too long to get started on this super block. The heart mini-block was embroidered and appliqued onto a 4.5" square... ...the main block is appliqued and embroidered with beautiful Valdani hand-dyed embroidery threads that have a beautiful variegation, the colors are really subtle. The pieced Hen and Chicks patchwork block is also 4.5" square. As this was quite small, I found it easier to press the seams open rather than press them to one side. I used a straight stitch needle plate, a Schmetz Microtex size 60 needle and my favourite Aurifil 50wt thread for precision piecing... ...and here's the finished block. Cock-a-doodle doooo!! Each block is embellished with a hand painted wooden button (there is a button with each pattern). I've just laid the button on for the photograph, it will be stitched in place once the project is finished and quilted. Sydney is a very handsome fellow, and certainly was a joy to stitch.
2 Comments
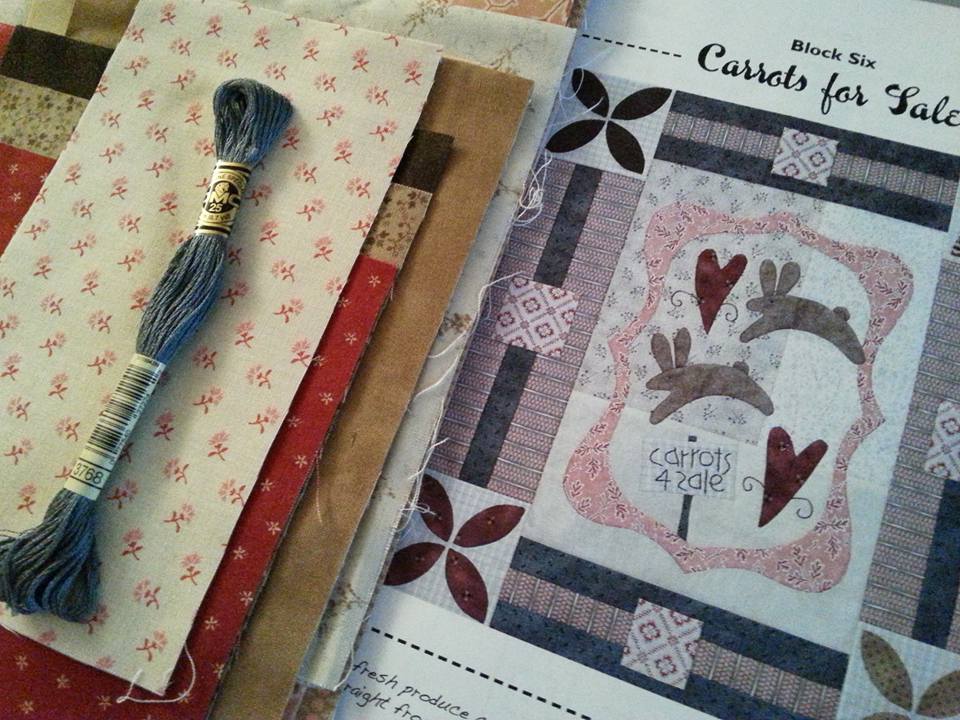
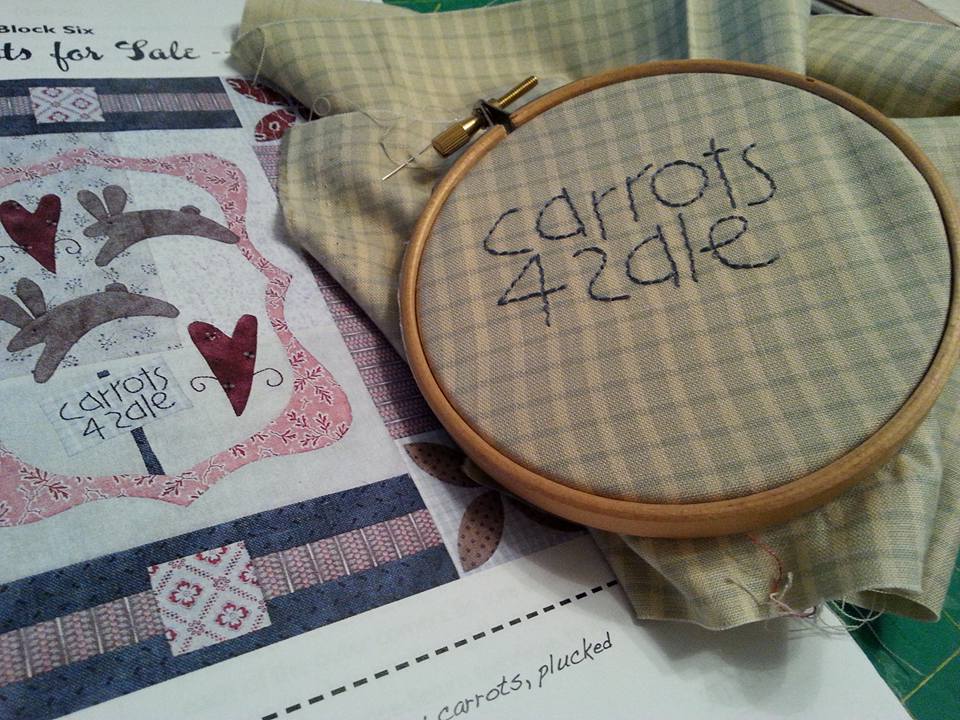
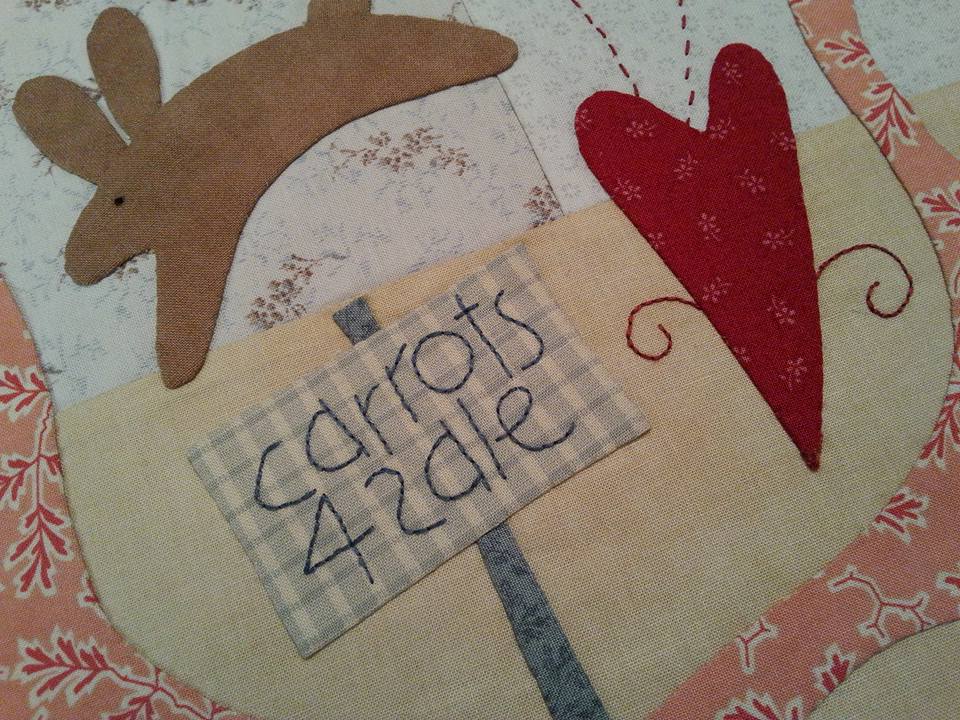
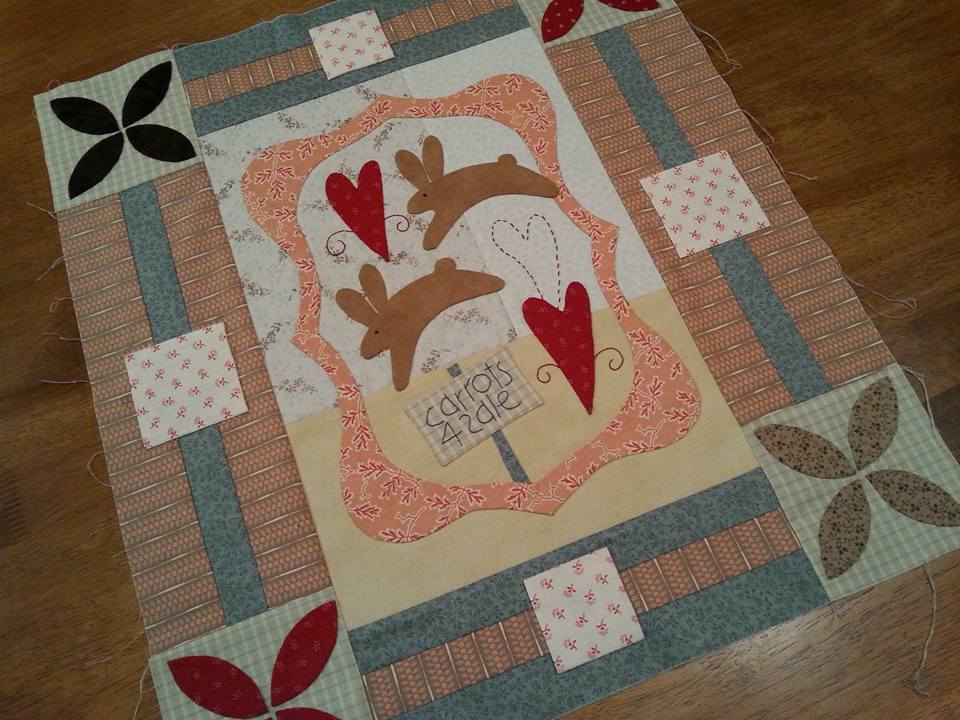
Block 6 (Carrots For Sale) of Bluebird Lane by Natalie Bird of The Birdhouse Patchwork Designs was really appropriate as a project over the Easter weekend with these cute bunnies hopping across the block! This BOM arrived in the post last summer from Patchwork Chicks, here in the UK. It contained a really detailed pattern, all the fabrics and embroidery treads and a piece of weaveline stabiliser too. My top tip for the appliqued sign is to stitch the words first, then trim the shape to size. A piece of applique paper was fused to the back, then using a lightbox I traced the words using a Micron Pigma pen. 2 strands of DMC embroidery thread cover the pen lines perfectly. A wooden hoop keeps the fabric taut so the stitches are neat... ...there are several videos on Youtube showing how to use apliquick tools, my favourite is the video by Lynette Anderson, so I've added the link below if you want to see how simple the tools are to use... ...and here's the completed block. 4 squares were also added to the pieced border. These blocks really are looking great laid out together, and now there are just 3 more to stitch!
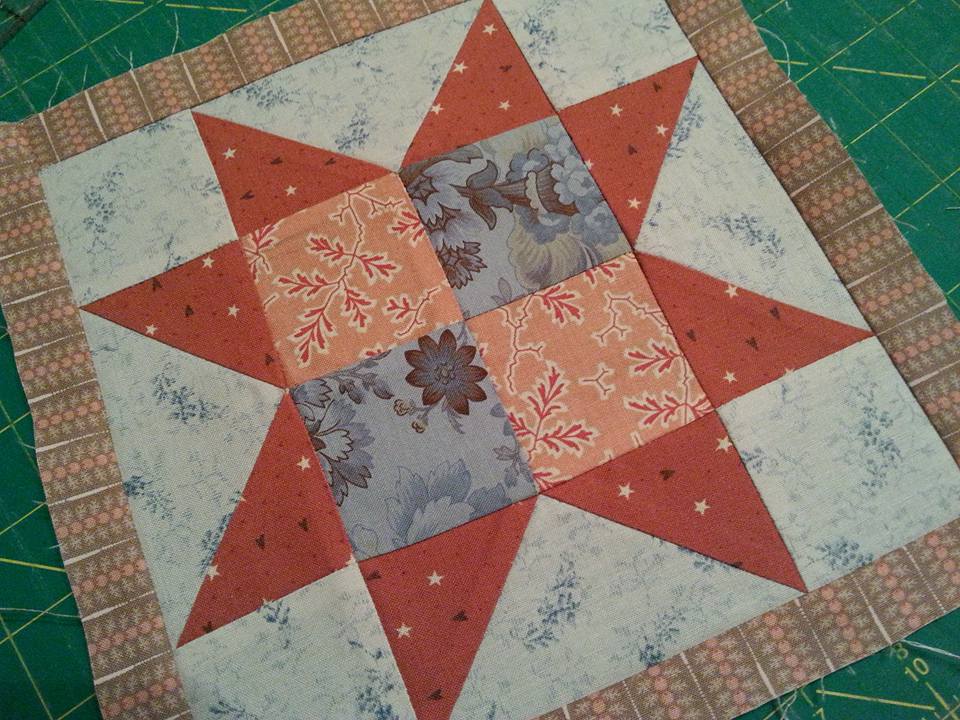
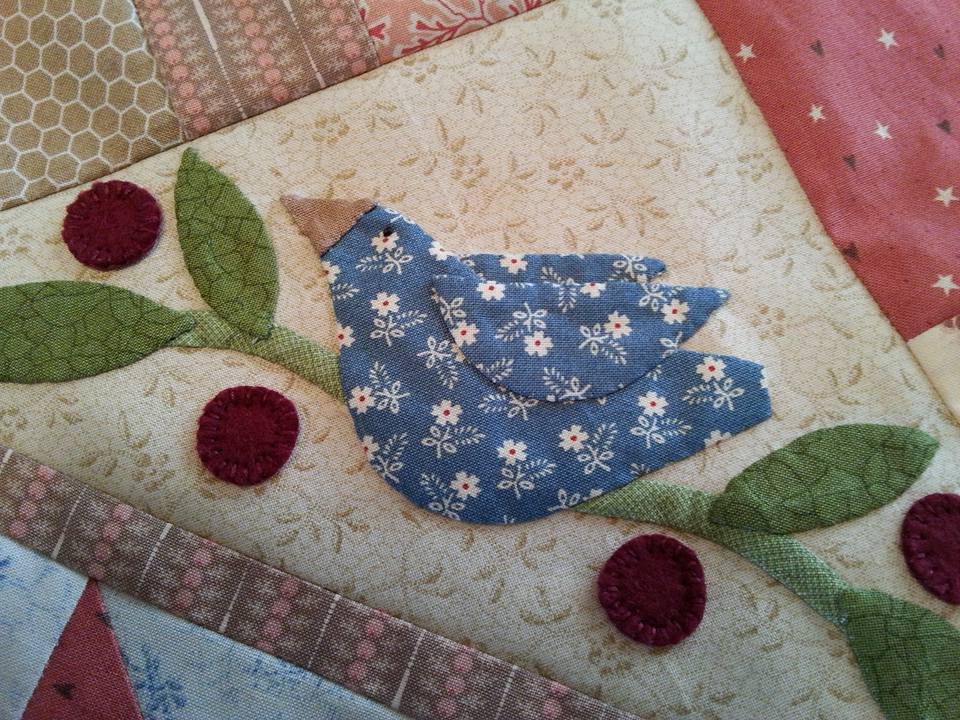
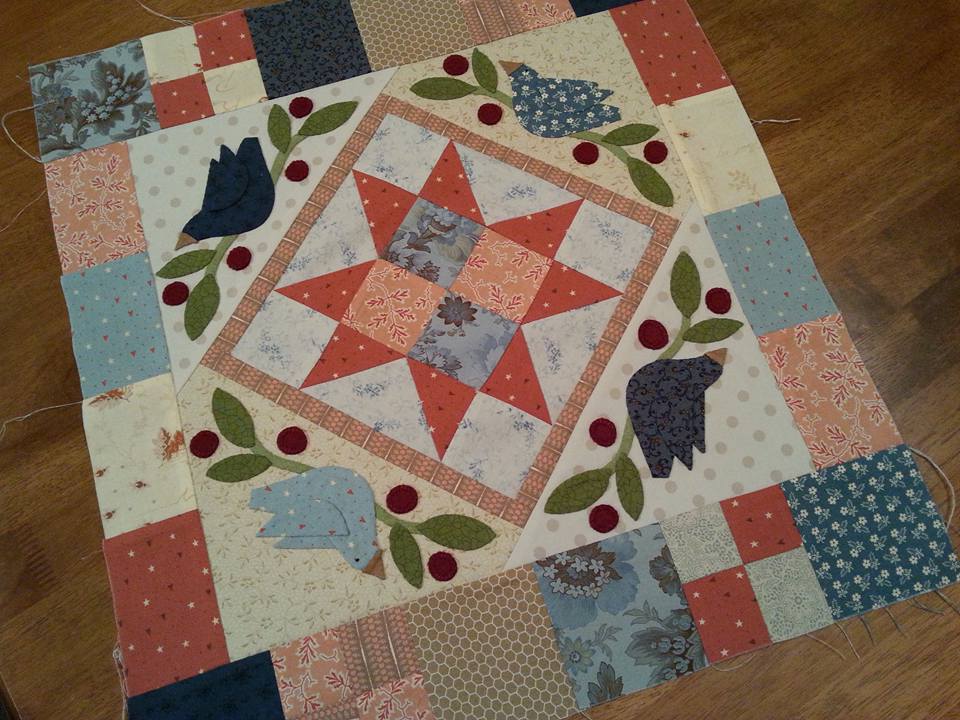
Block 5 (Bluebirds) of Bluebird Lane is very aptly named, as it has 4 pretty bluebirds appliqued around a centre star. This pattern is by the Australian designer Natalie Bird of the Birdhouse Patchwork Designs, and was bought from Patchwork Chicks here in the UK as a BOM. When this arrived in the post last year it was quickly put away ready to stitch when I more time to spend on this wonderful project. Now a year later I'm finally getting the blocks pieced together and tackling the HUGE amount of applique! The centre is a beautiful star with a 4-patch middle, and has a striped thin border... ...4 little bluebirds were appliqued around the centre star, each birdie is sitting on a branch surrounded by wool felt berries. The bluebirds were appliqued using the applique paper and glue stick method, and there is a really great video on Youtube of Lynette Anderson demonstrating how she uses these tools... ...and here is the completed block - and I'm now officially over half way through with these gorgeous blocks! This is really coming along well, and I can't wait to start sewing a few of the blocks together.
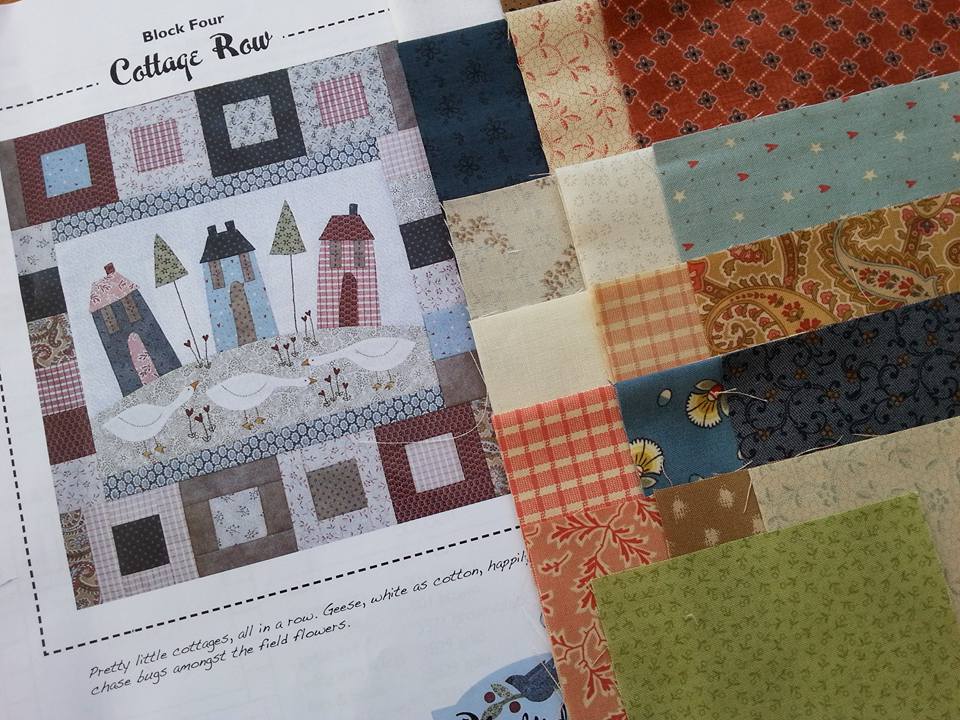
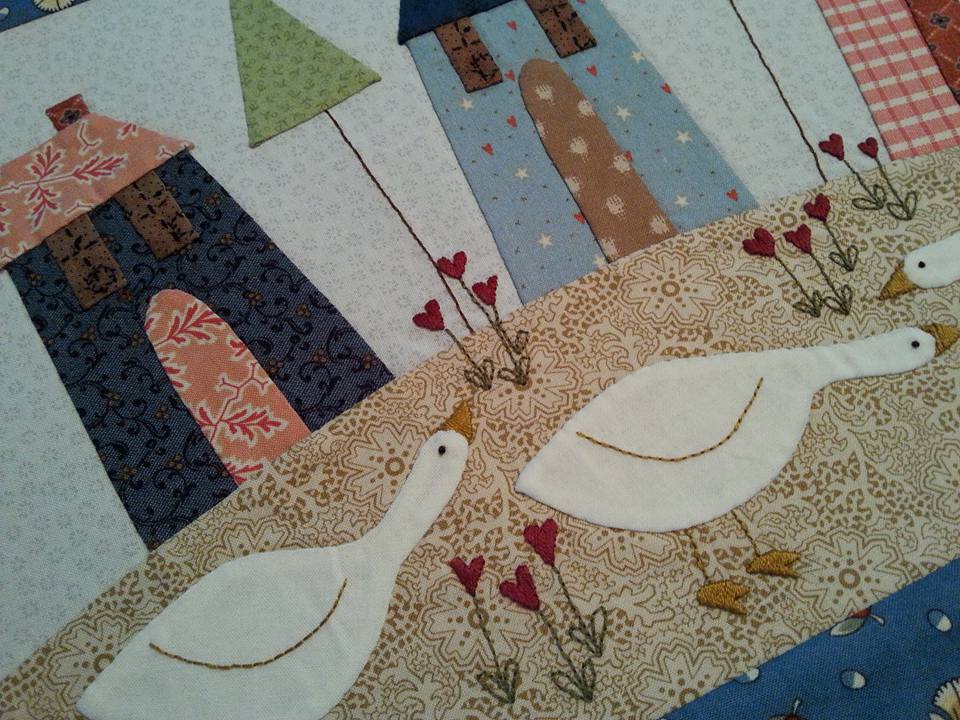
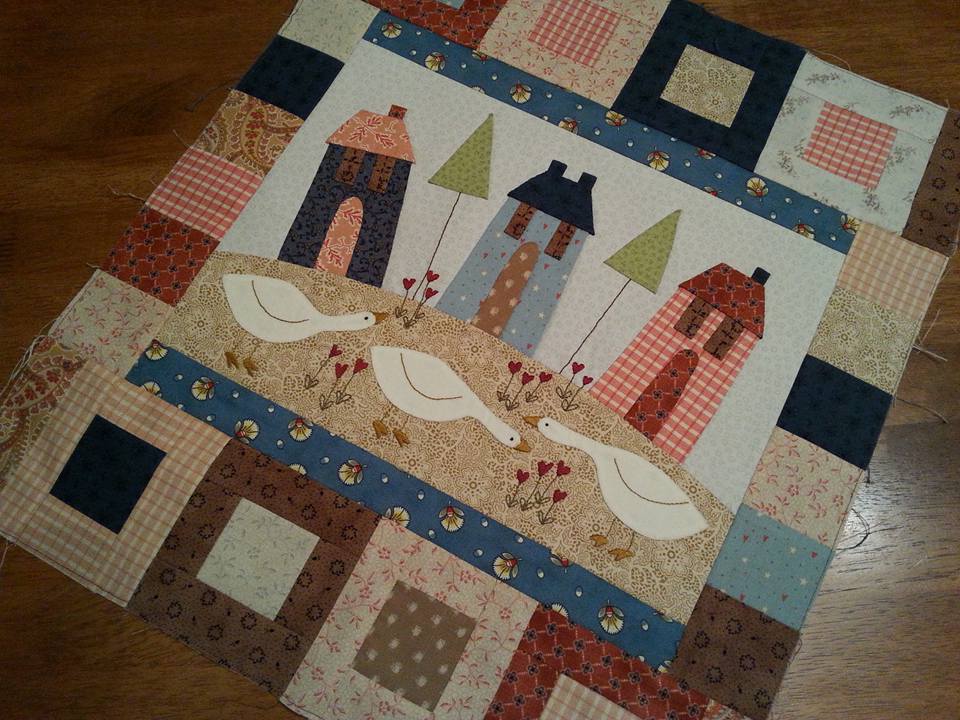
Block 4 (Cottage Row) of Bluebird Lane had arrived in the post last year, and was out away to become my Winter project, however other things took priority so it has become my Spring project instead! This pattern is by the Australian designer Natalie Bird of The Birdhouse Patchwork Designs. The stitchery design was traced with a Micron Pigma pen, and a piece of weaveline fusible interfacing was fused to the back of the background fabric. The applique has all been done using the applique paper and glue stick method, and the hand embroidery was completed with DMC threads that were supplied with the fabrics and pattern... ...this beautiful BOM was ordered from Patchwork Chicks here in the UK, so all the fabrics and threads were supplied, but this would be a great project for using up your scraps! Once all the applique was completed, the borders were machine pieced using Aurifil 50wt thread, and a Schmetz Microtex size 60 needle. This project is coming along nicely, and I've already traced the applique templates for the next few blocks. Once all the blocks have been completed there is a gorgeous star block border which certainly take me a while to complete, for for now I'm really enjoying the peacefulness of all the hand applique and embroidery!
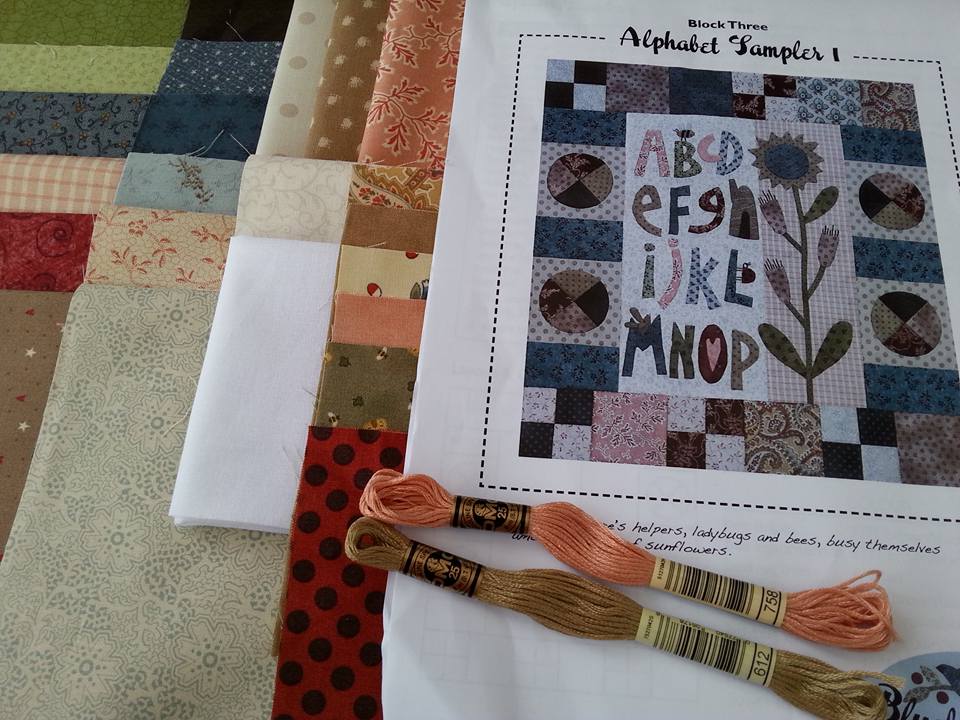
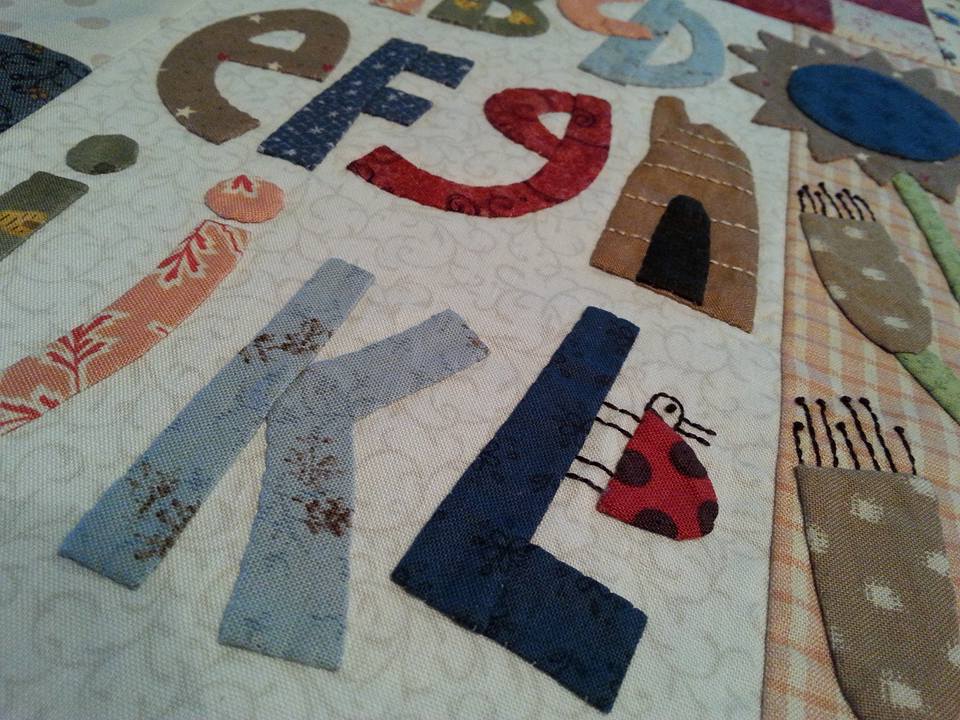
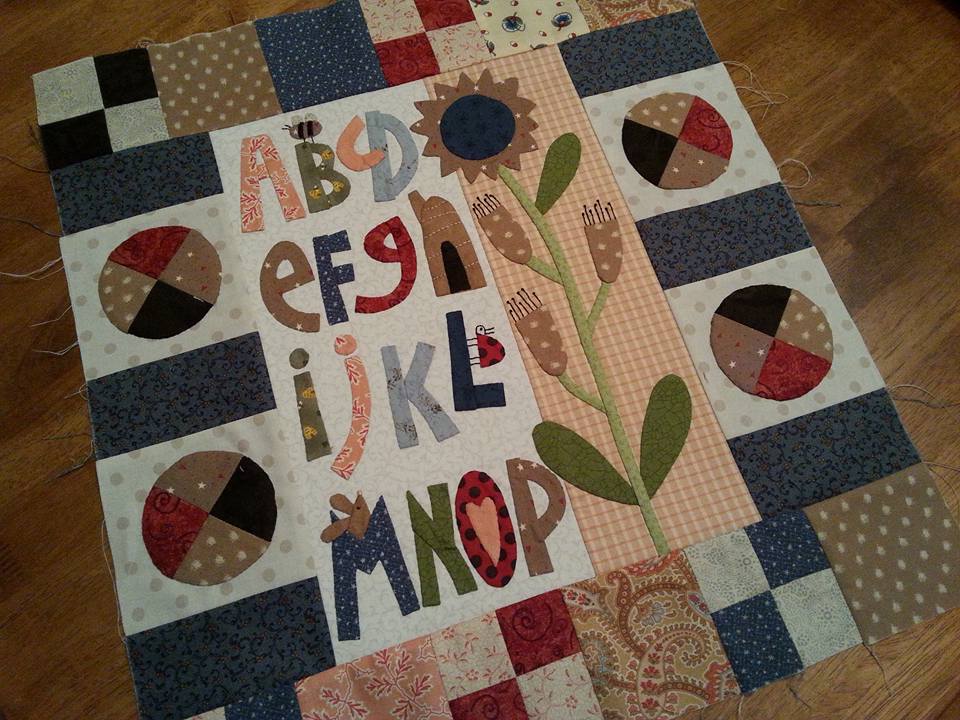
My latest project wad been in my sewing basket for several months (block 1 arrived over a year ago!) and I finally made a start on it this year. This is Bluebird Lane, by the Australian designer Natalie Bird (The Birdhouse Patchwork Designs) and was bought online as a BOM from Patchwork Chicks here in the UK. Block 3 of arrived back in April 2015 and I really can't believe I left it for so long before making a start on it! The background is pieced, and I used my favourite Aurifil 50wt thread for all the machine piecing. The applique was all made using applique paper and a gluestick, and apliquick rods. I've been busy stitching the applique for both block 2 and block 3 in the evenings over the past week... ...and over the weekend I was able to get the borders pieced together for both blocks too. Yesterday I shared a picture of block 2 (Little Country Church) and here's the completed block 3 (Alphabet Sampler 1). Some of these letters were a bit tricky, and the ladybird was particularly small and fiddly, but the overall result was well worth all the effort! The remaining letters will be on block 7, Alphabet Sampler 2.
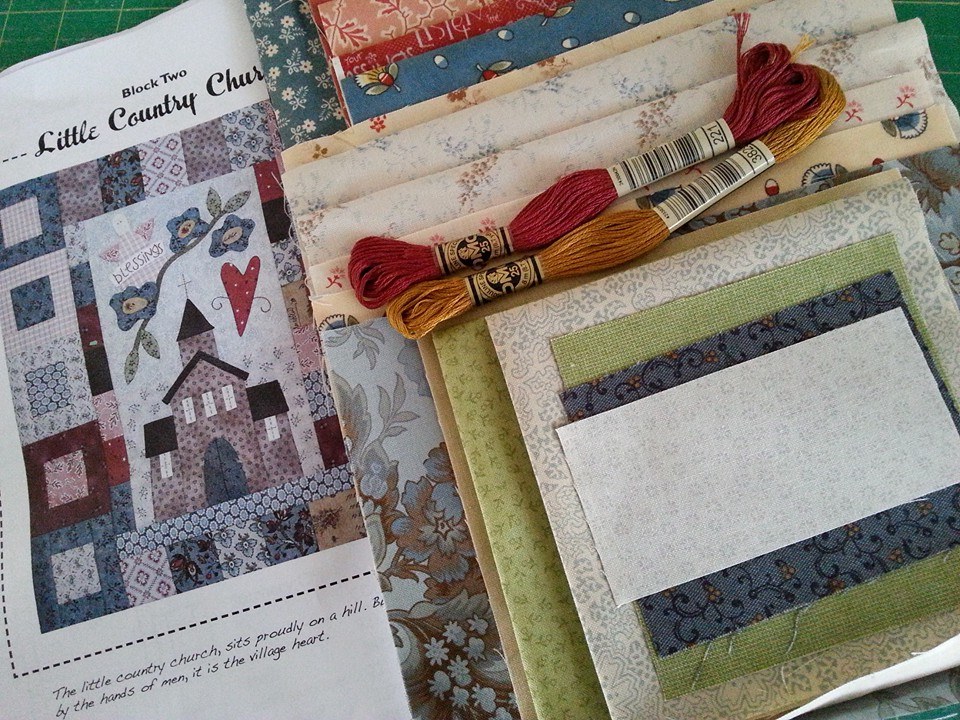
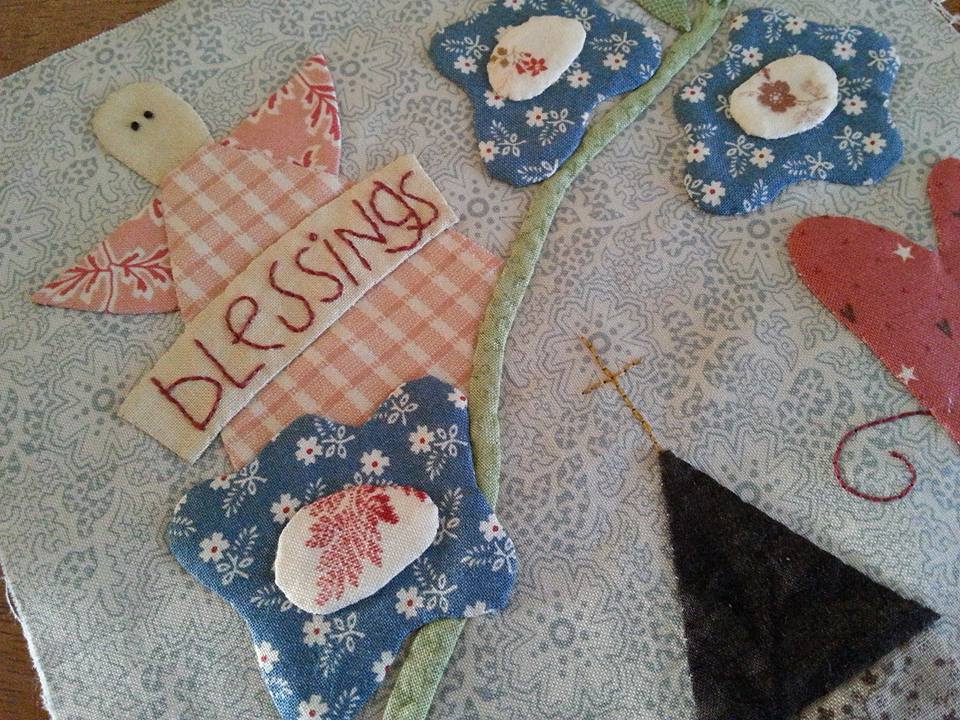
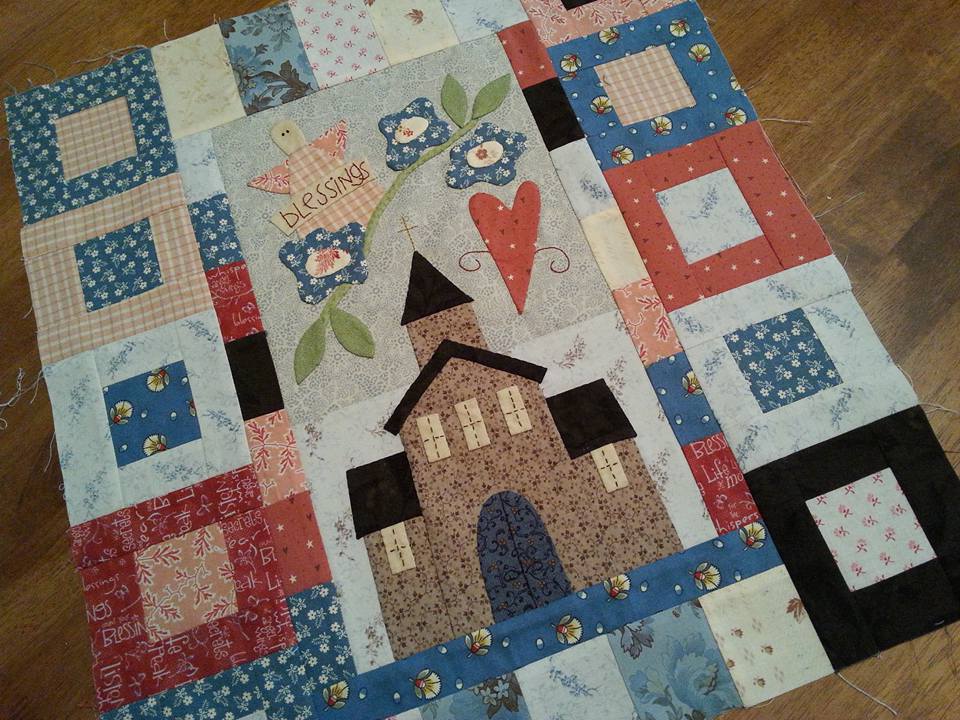
The second block of "Bluebird Lane" arrived in the post back in April 2015, and I finally made a start on it last weekend. This BOM was bought from Patchwork Chicks here in the UK, and this pattern is by another Australian designer, Natalie Bird of The Birdhouse Patchwork Designs. There was lots of applique to prepare (my favourite method is using applique paper, a glue stick and apliquick rods), and the background had to be pieced together, then I was ready to start. I found it easier to embroider "blessings" on the fabric before it was trimmed to size and appliqued into place. I traced the banner onto a piece of applique paper, fused it to the back of the fabric, and positioning it carefully on the pattern I was able to trace "blessings" with a very fine Micron Pigma pen and a lightbox. The applique paper worked as a stabiliser and I found this much easier than embroidering on top of the banner through several layers. Once the word was embroidered, I trimmed the fabric to size and appliqued it into position as usual... ...once the applique and embroidery was finished, there were blocks to make for the border, and these were machine pieced with my favourite Aurifil 50wt thread. Here's the completed block "Little Country Church".
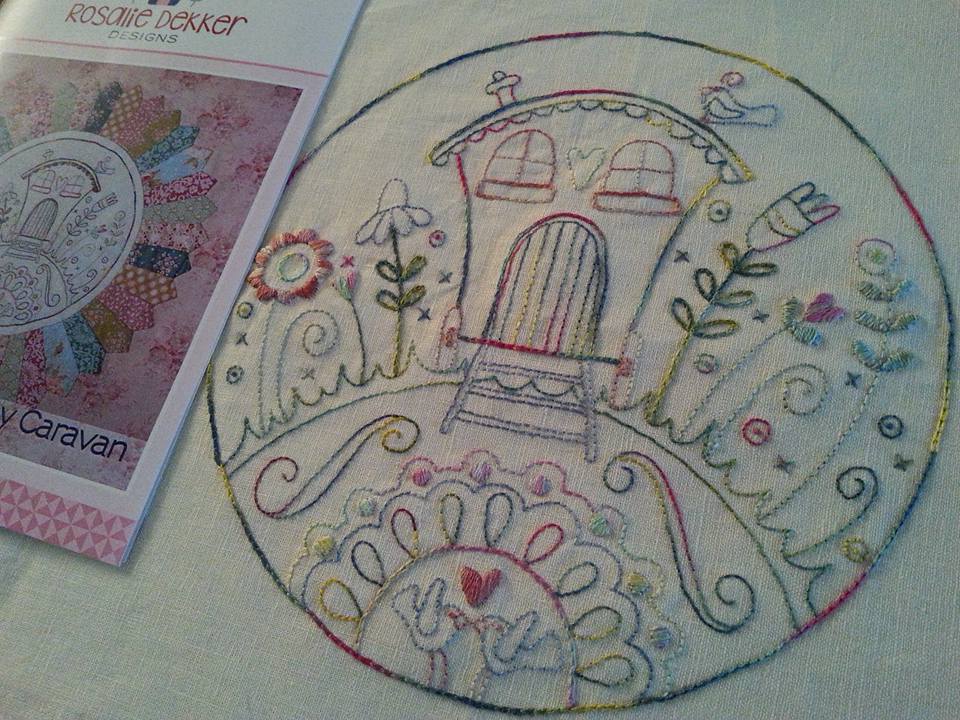
This arrived in the post a few days ago. Block 7 (Gypsy Caravan) of Flowerville by Rosalie Dekker Designs, that I'd ordered online from Under The Mulberry Tree in Australia. I fused a piece of weave line interfacing to the back of the stitchery design, and it was ready for stitching. I've still got all the dresden plates to make with those beautiful Tilda fabrics, but I'm saving those for a weekend when Mr F is busy working so I can stitch in peace and quiet!
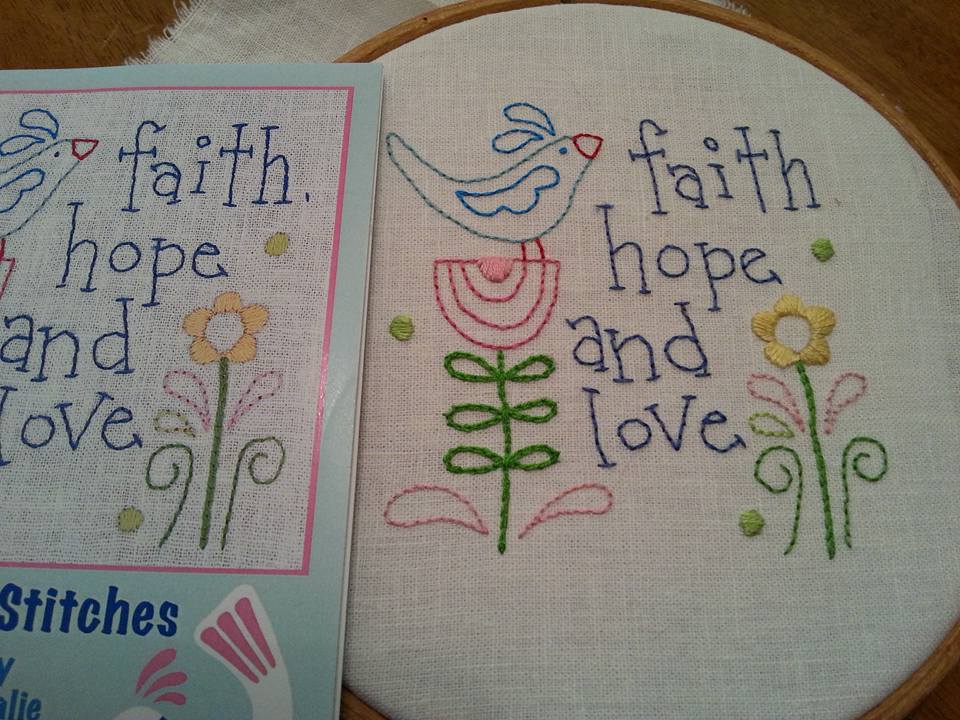
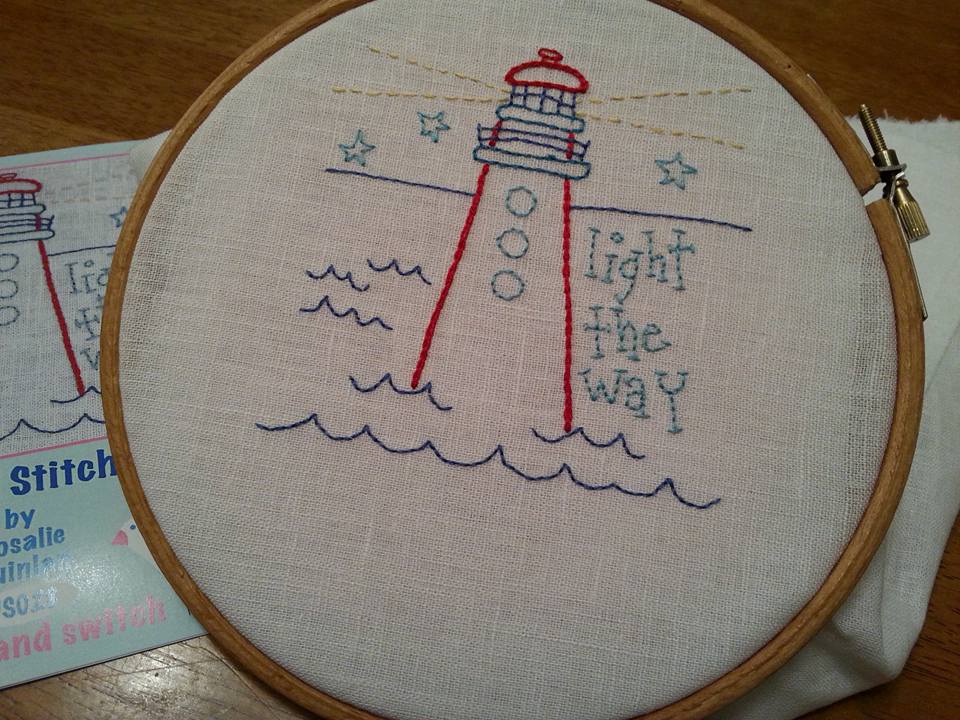
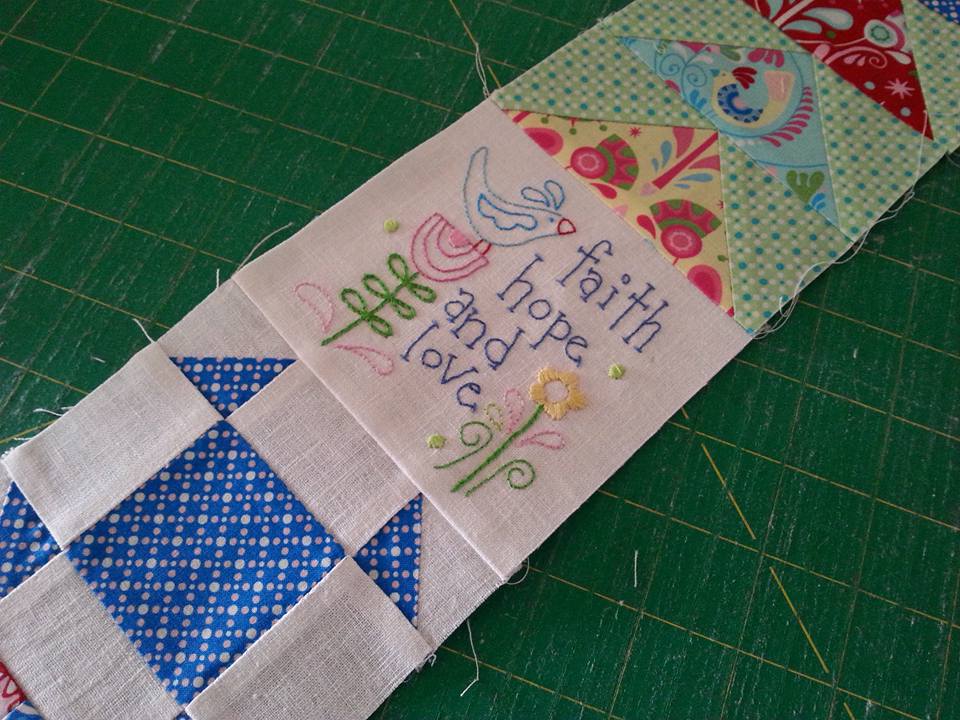
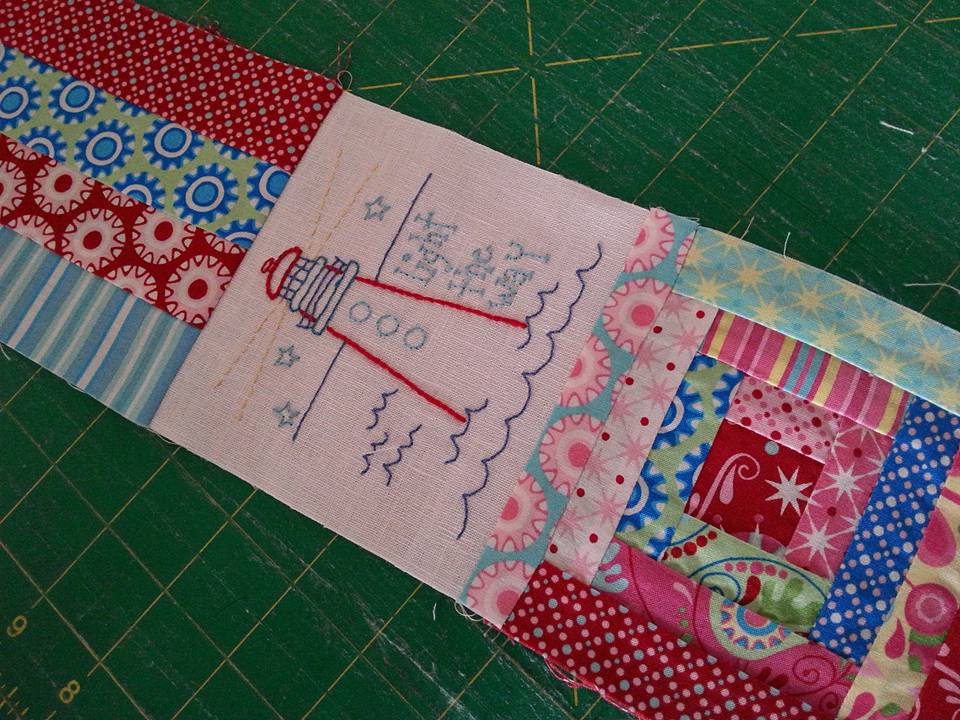
My hand stitching projects have kept me busy this week, as this parcel arrived in the post all the way from Under the Mulberry Tree in Australia. US027 and US028 of United Stitches by Rosalie Dekker Designs has been stitched with Cosmo embroidery threads, and I use a fusible thin interfacing (weaveline) on the back of the pre-printed linen... ...once the stitchery designs have been completed, they are trimmed to 4.5" and then stitched in place. I'd already made all the pieced blocks a few months ago, and it has certainly saved a lot of time. Now there are only 4 more stitchery designs to sew. Then the final rows can be added ready for the borders to go on!
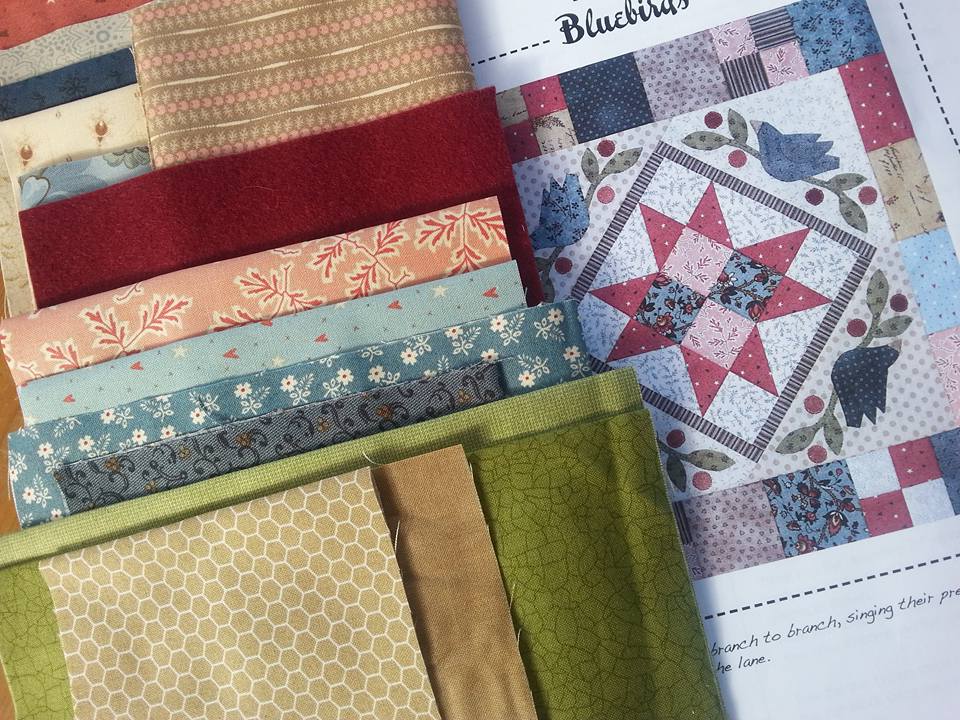
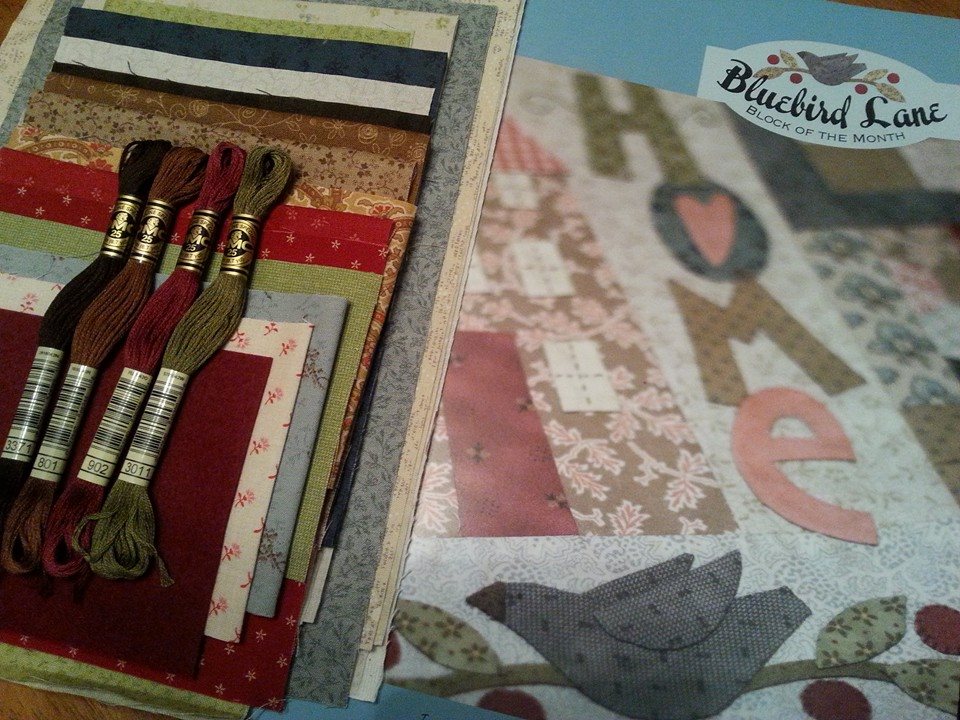
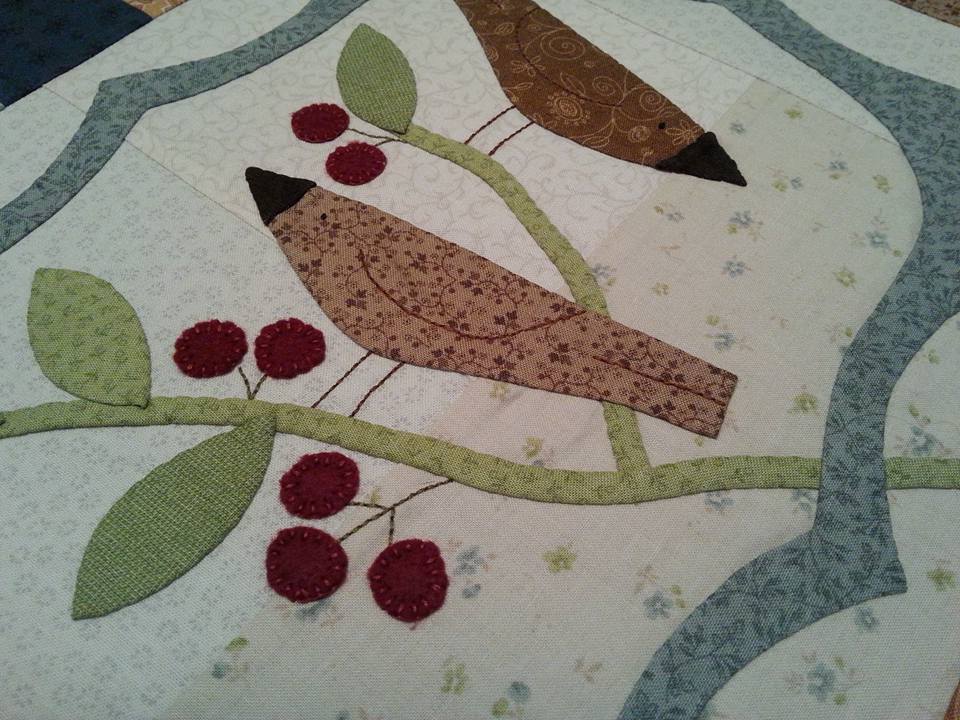
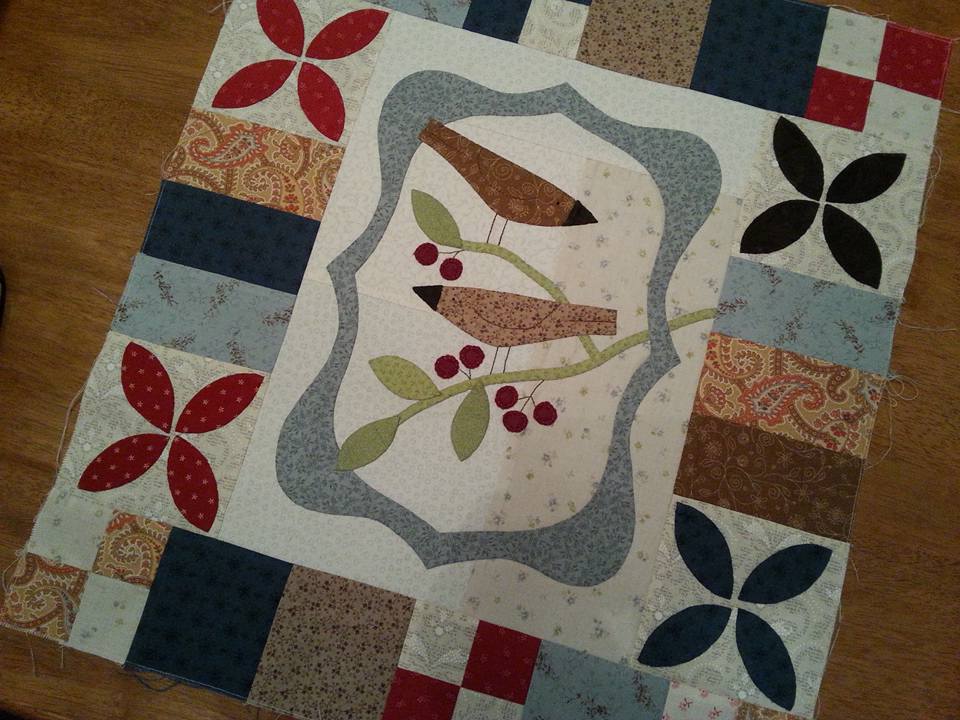
I'd signed up with Patchwork Chicks here in the UK to do this BOM "Bluebird Lane" by Natalie Bird of The Birdhouse a year ago. This is a gorgeous project combining piecing and appliqué and stitchery and EPP. The first block arrived and I was so busy with other projects, it was put away for a few weeks, then it was going to be my winter project, and now it has become my spring project! The first pack contained all the fabrics, weaveline and DMC threads needed for block 1, and it also came with a folder to keep all the patterns in each month as they arrived. I finally made a start on this over the weekend, a whole year after this first arrived. The background was pieced together, and the applique was mostly completed using the applique paper and glue stick method and the wool felt berries were completed using fusible webbing on the back, and secured into place with blanket stitch, using DMC embroidery threads... ...and here is the first block completed, Birds n' Berries. I machine pieced the borders of the block together using my favourite Aurifil thread. This is going to be a lovely project, and I've made a start on getting the applique ready for block 2 as I'm hoping to get a block finished each week.
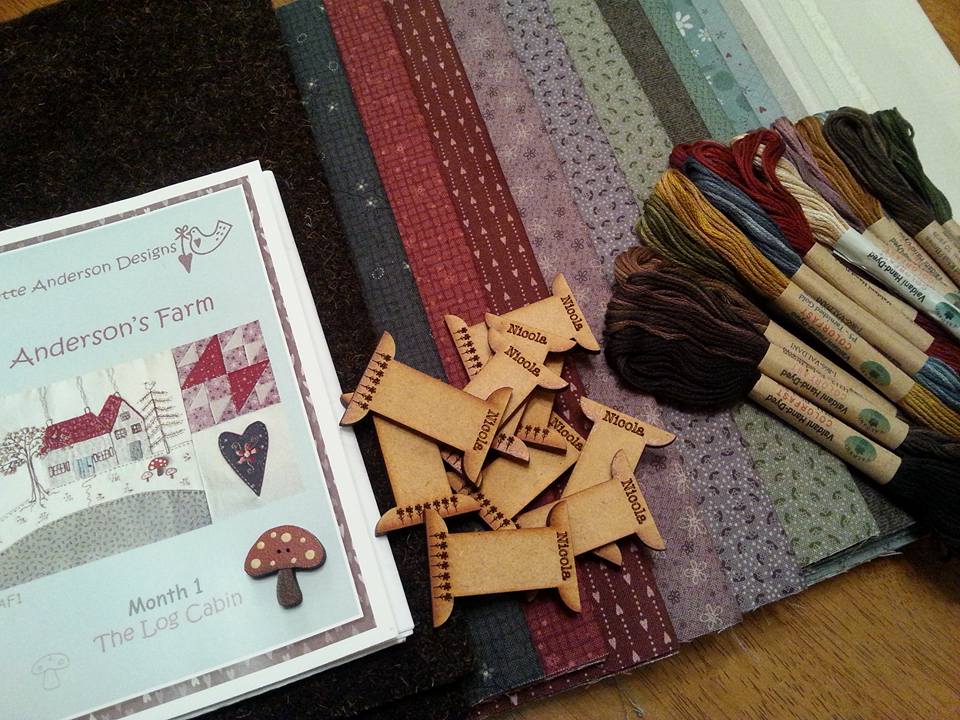
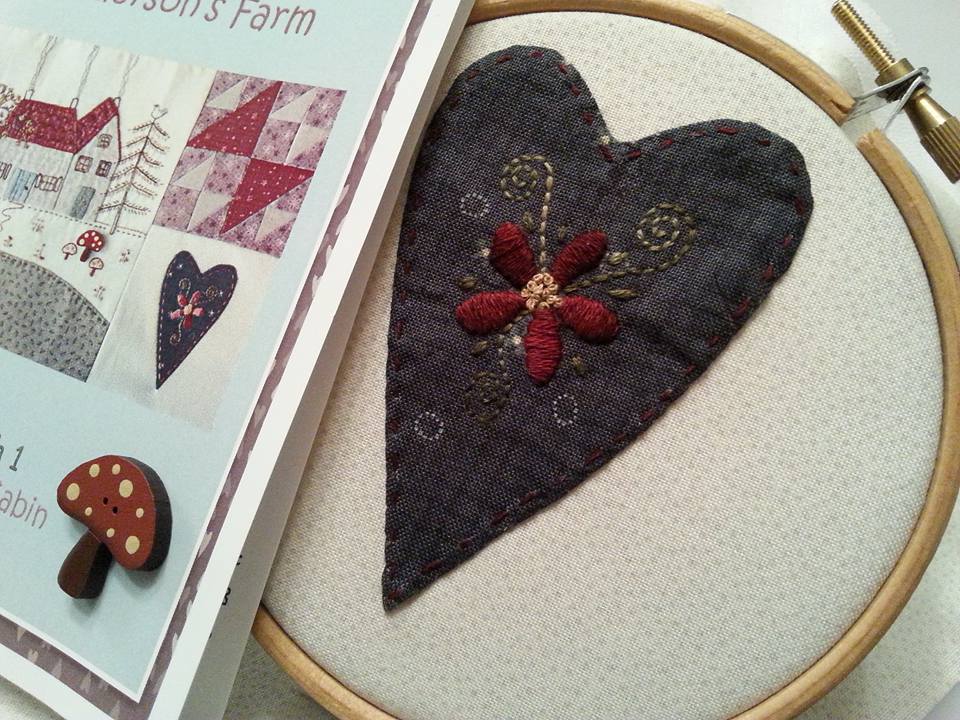
Are you taking part in Anderson's Farm? This is the latest Mystery Button Club by Lynette Anderson Designs, and I ordered this from Lynette's shop Little Quilt Store in Australia. There is a list of stockists of this one on Lynette's blog. Block 1 arrived a couple of weeks ago, along with a cute wooden button, the fabric pack including wool, and a selection of gorgeous Valdani Threads. It didn't take me long to make a start! This mini block with an appliqued and embroidered heart will be trimmed to 4.5" square... ...the hand appliqué and hand embroidery was completed, then this block just needed to be trimmed to 8.5" square. The "Hen and Chicks" mini-block has been pieced together with Aurifil 50wt thread. For precision piecing I'd recommend a fine thread (Aurifil 50wt is my favourite), a fine needle (Schmetz Microtex size 60 was used foor this) and a straight stitch needle plate. I used a smaller than usual stitch for this, and pressed some of my seams open which normally I NEVER do, but found these small pieces much easier to press flat with open seams. Now these just need to be joined together... ...and this is the first block all stitched together. Machine piecing, hand applique and hand embroidery - all of my favourites in one project. I haven't stitched the wooden button on yet, as I'll wait until this project is completed and and quilted. This is the first time I've taken part in one of Lynette's mystery clubs, and I'm really enjoying it. Now I can't wait for block 2 to arrive in the post!
|
About me...Hi - welcome to my quilting blog! My passions are my family, my dog, my friends and sewing, not necessarily in that order! Archives
July 2023
Blogs I followUK shopsThese are the UK shops that I use to purchase my quilting supplies - fabrics and threads etc.
Australian linksScandinavian links |



 RSS Feed

