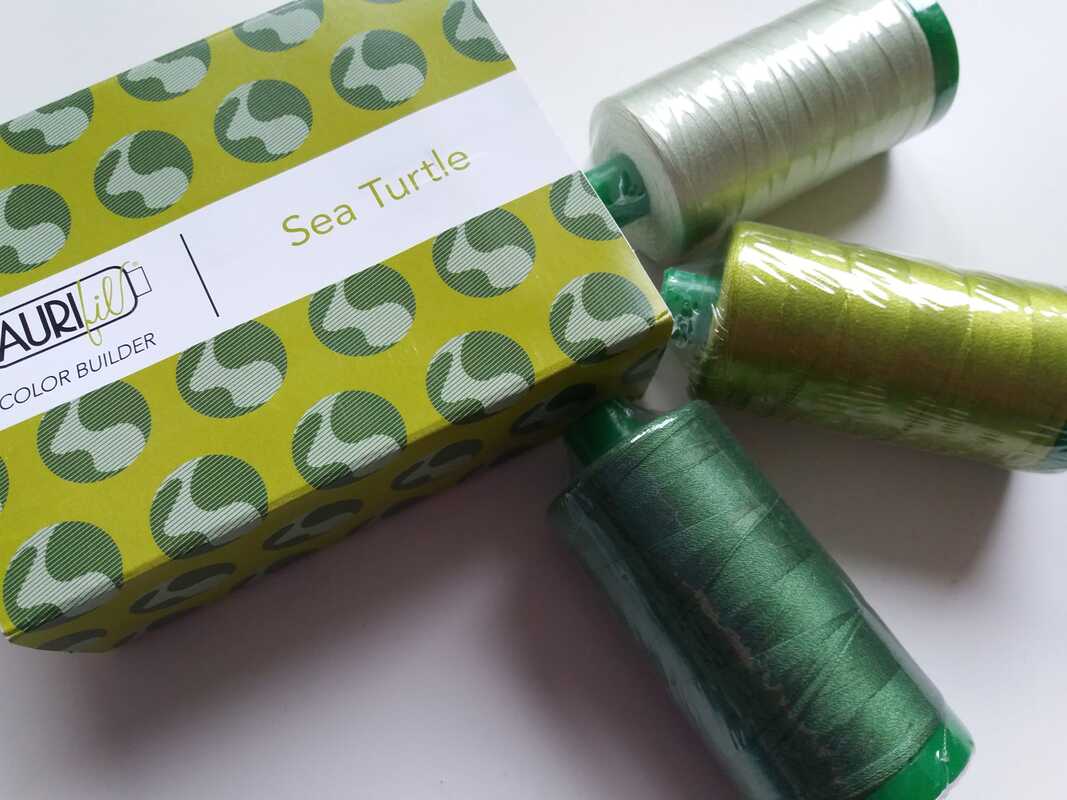
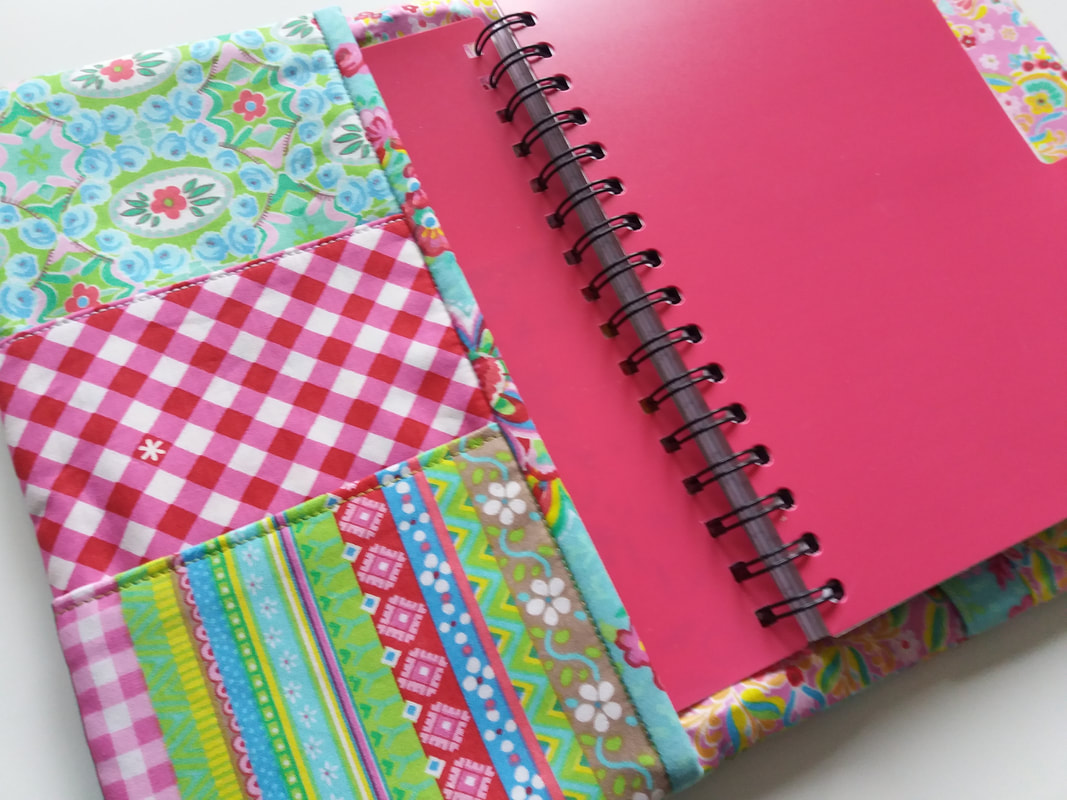
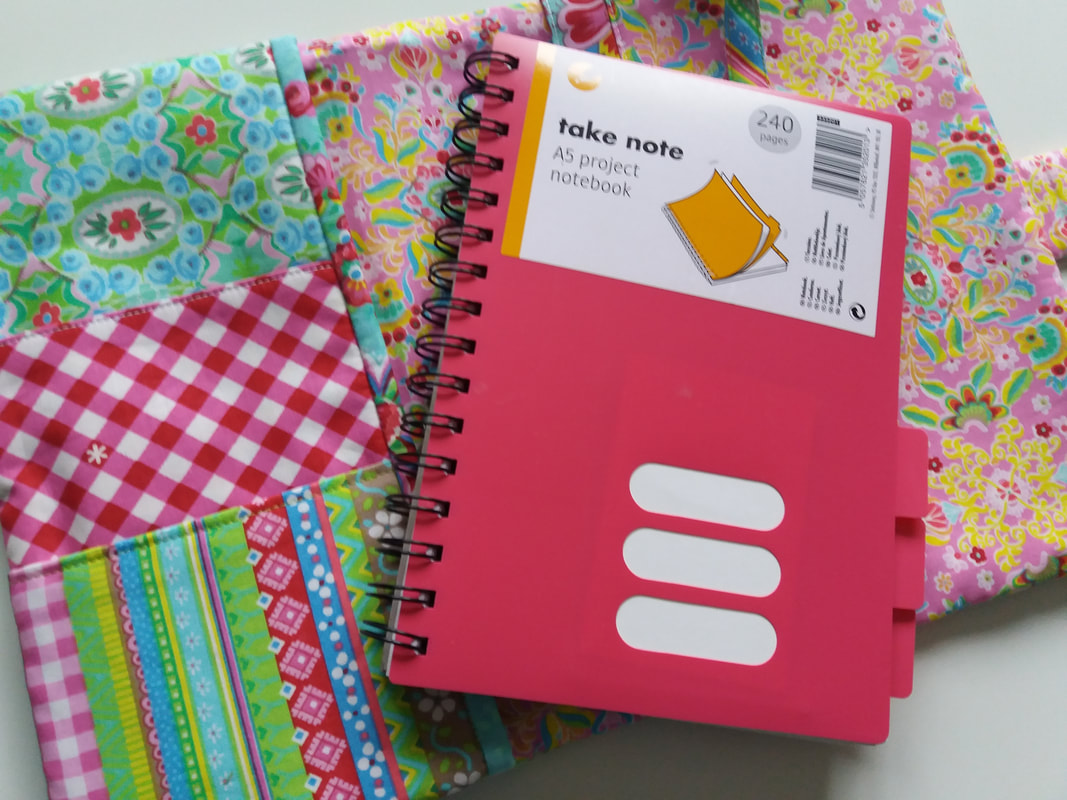
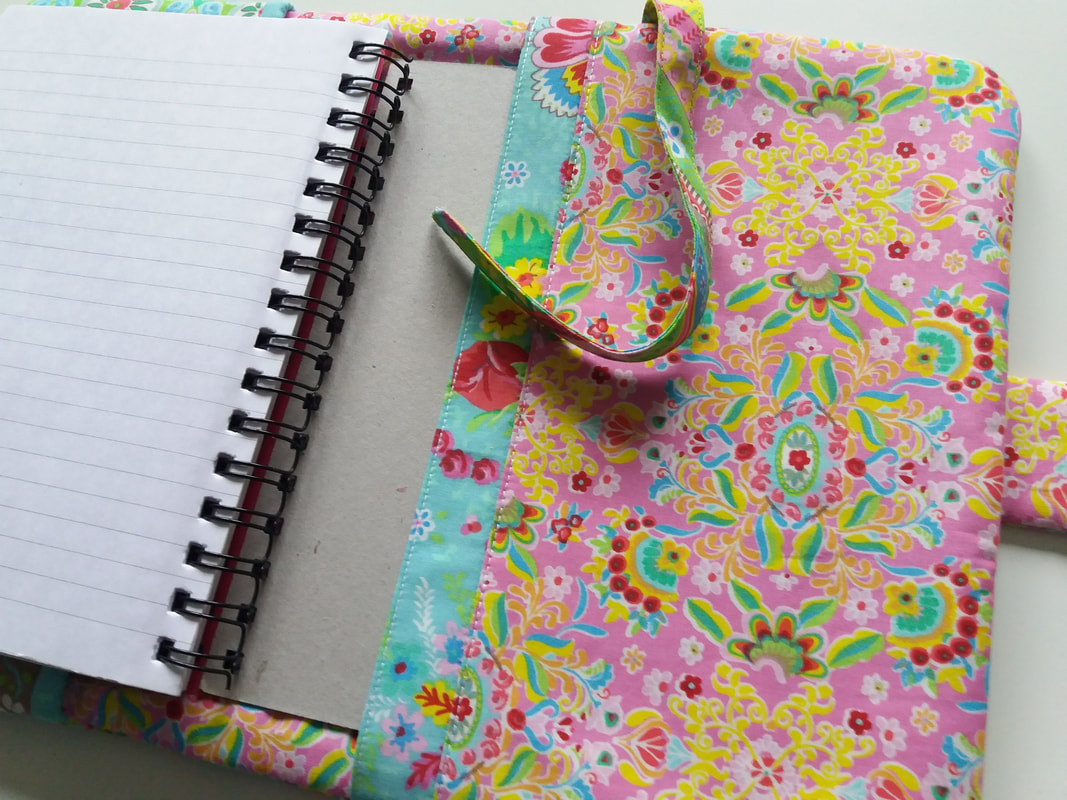
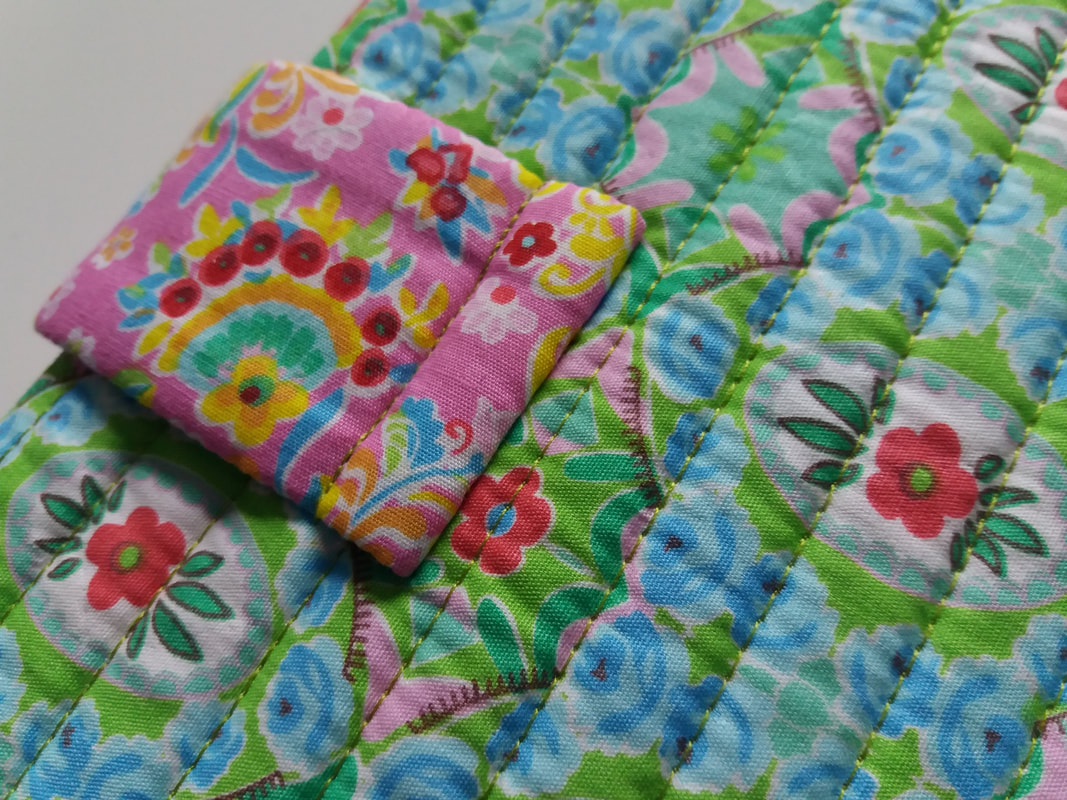
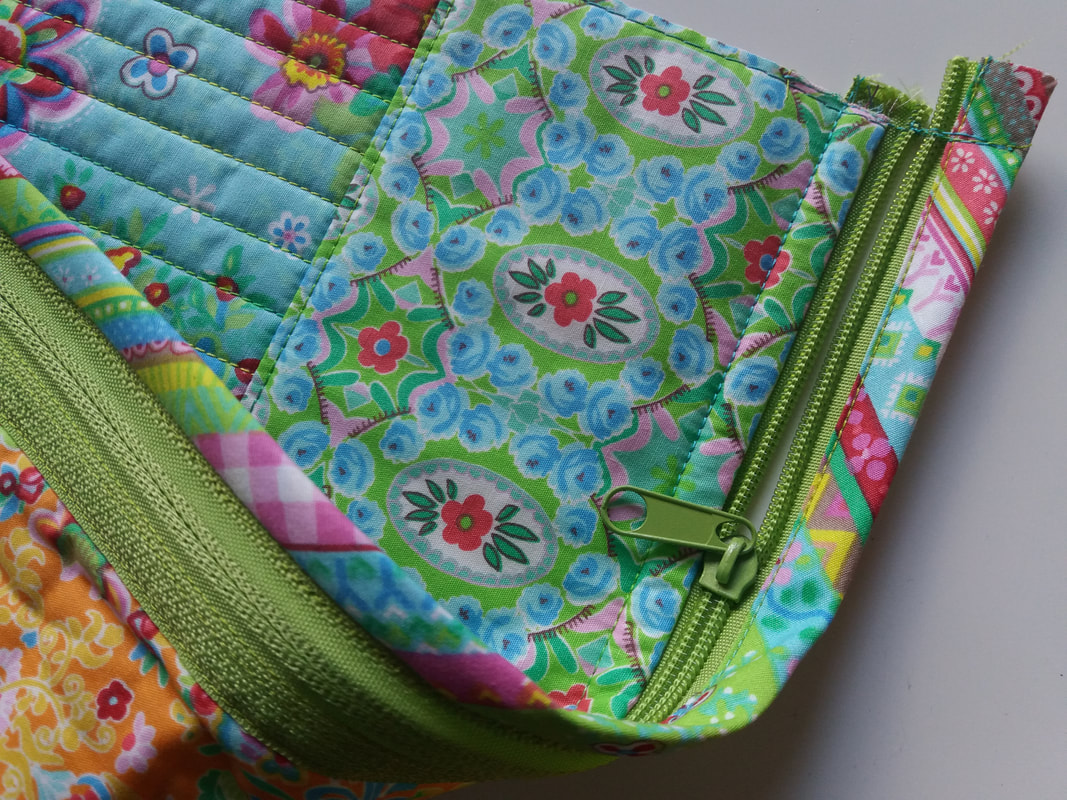
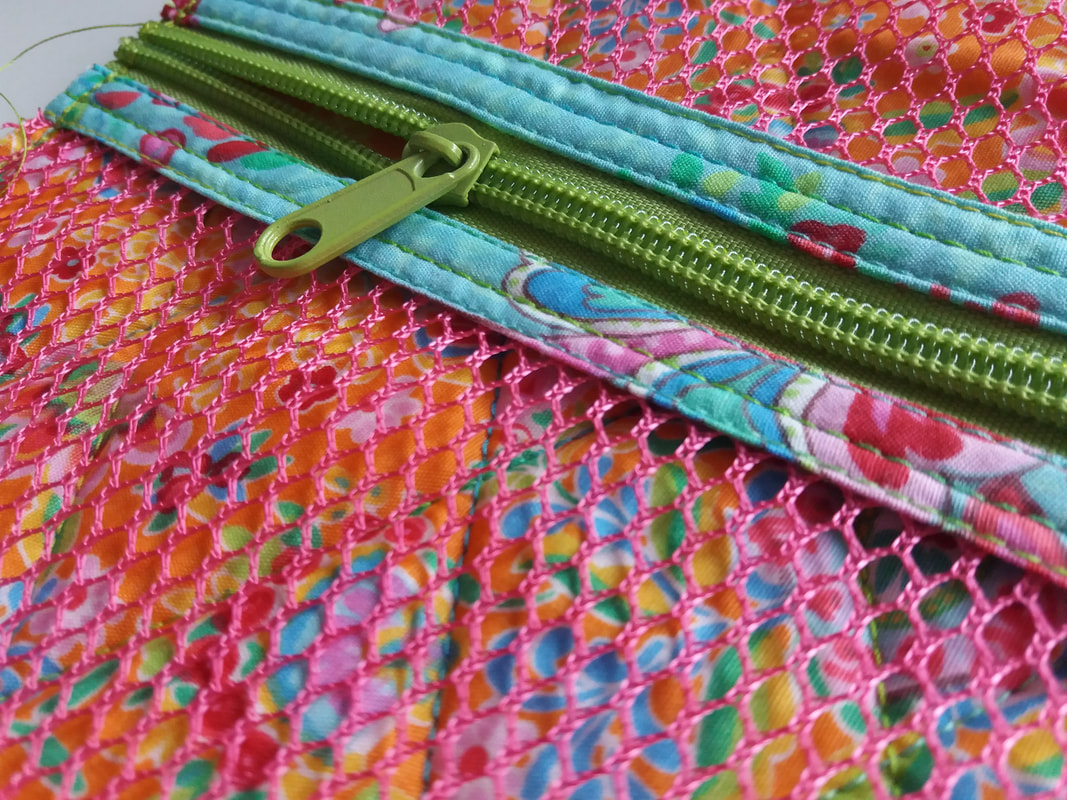
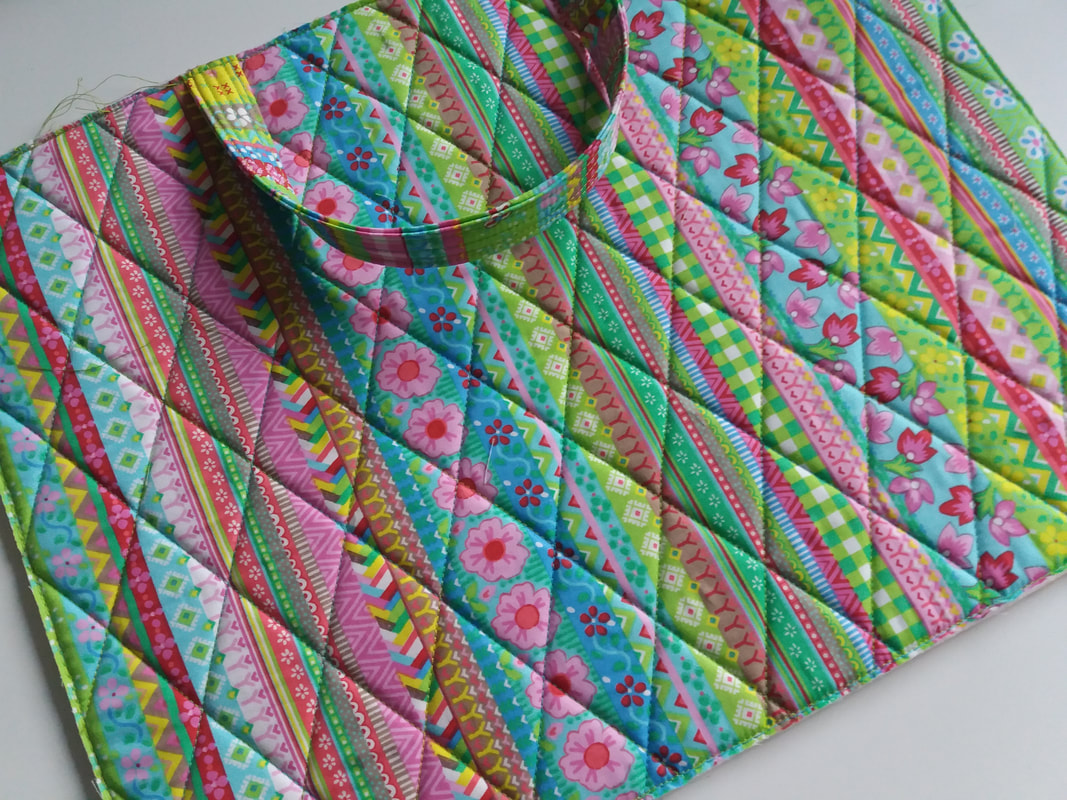
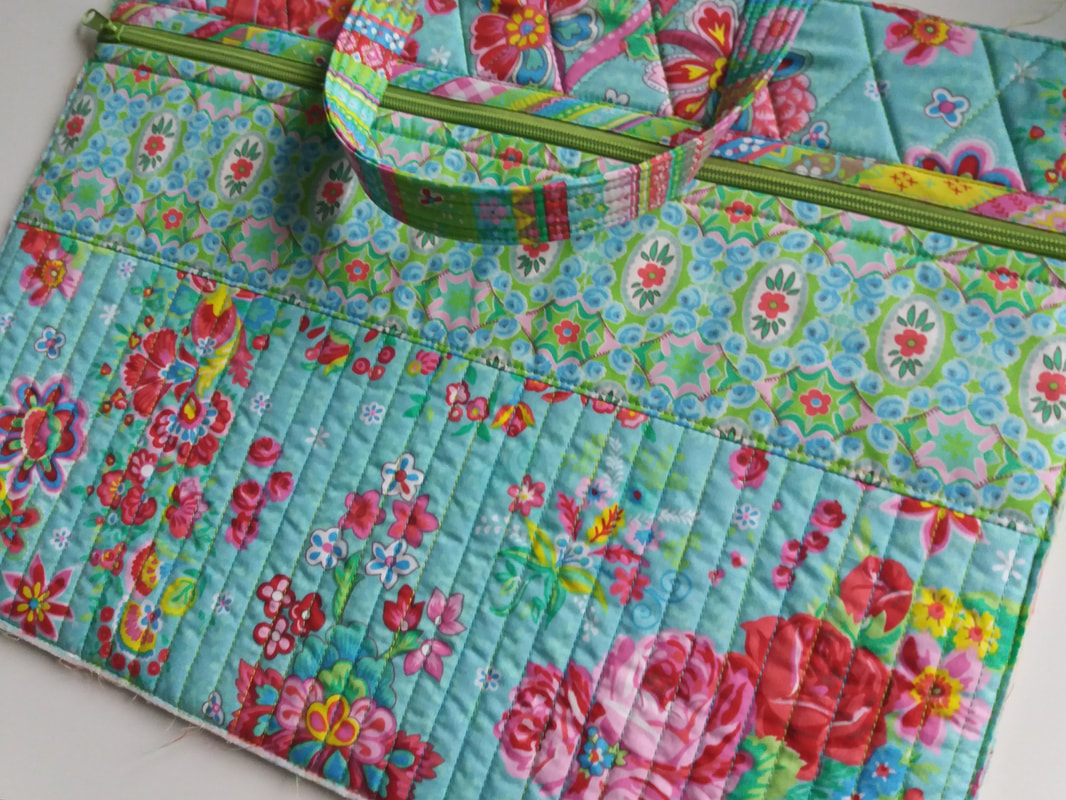
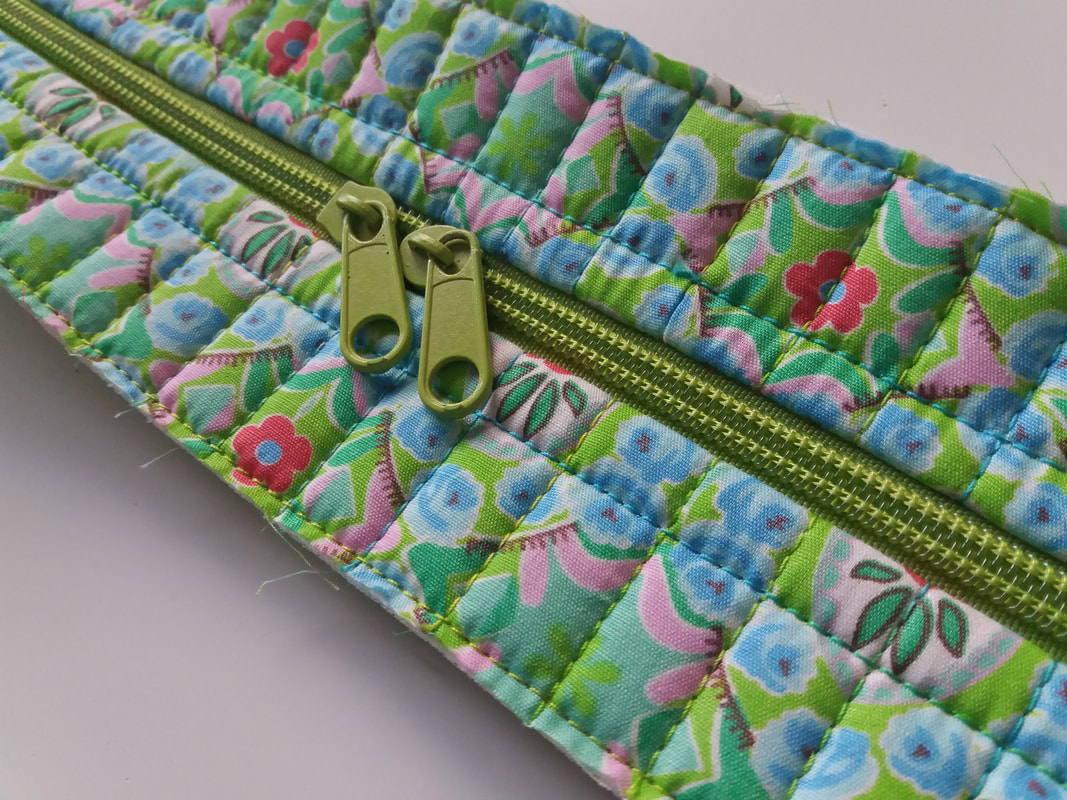
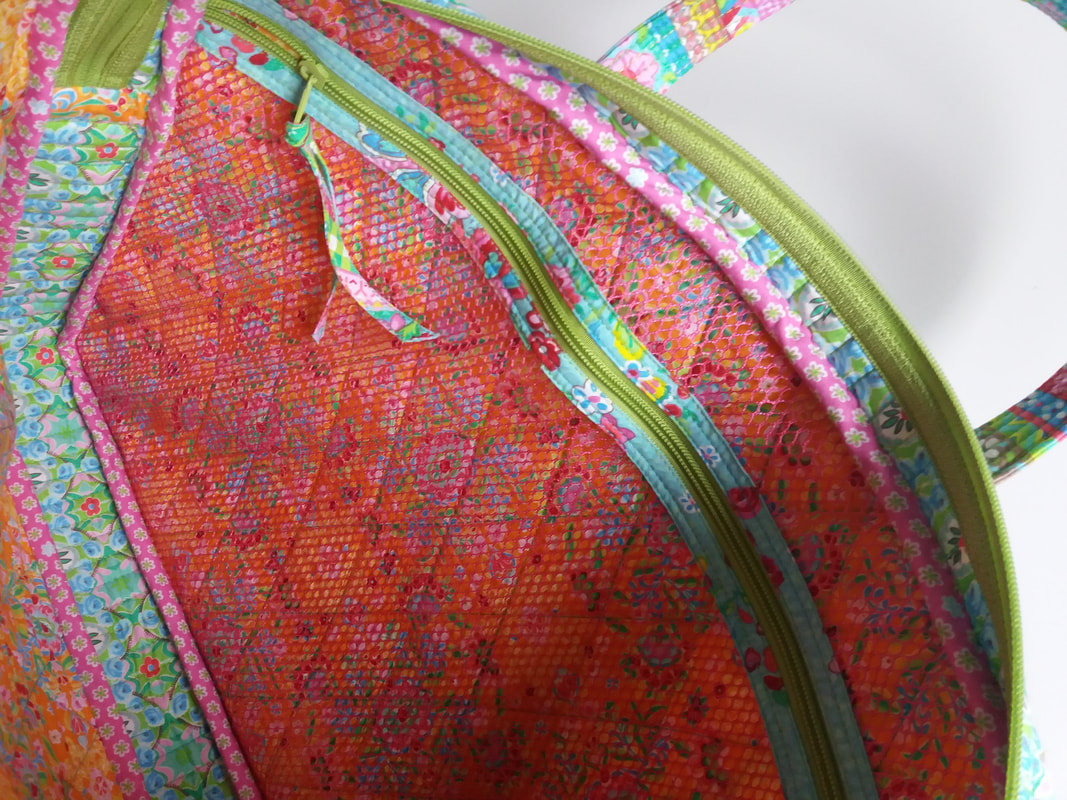
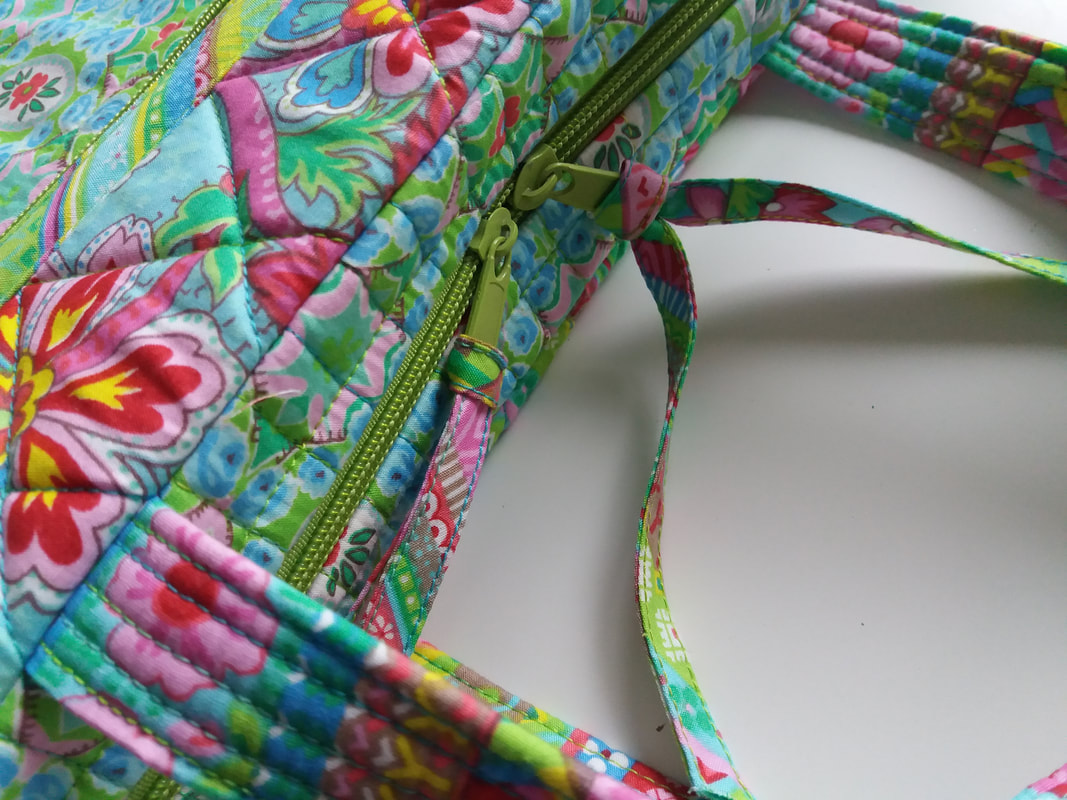
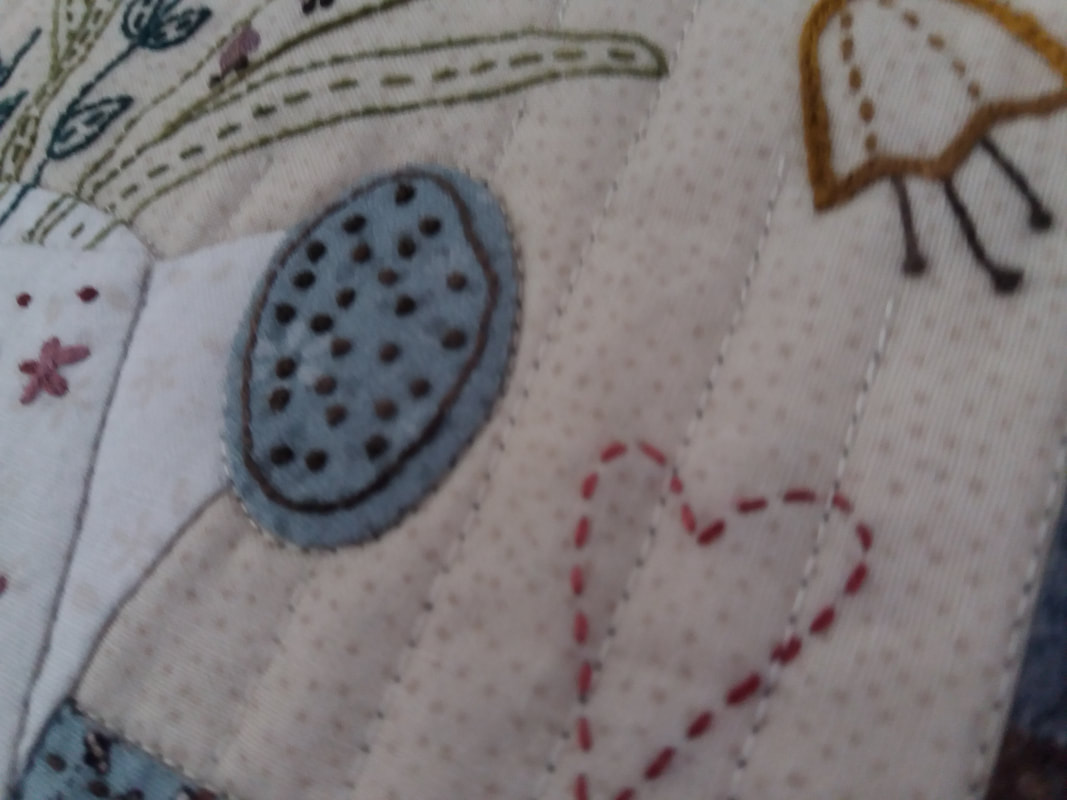
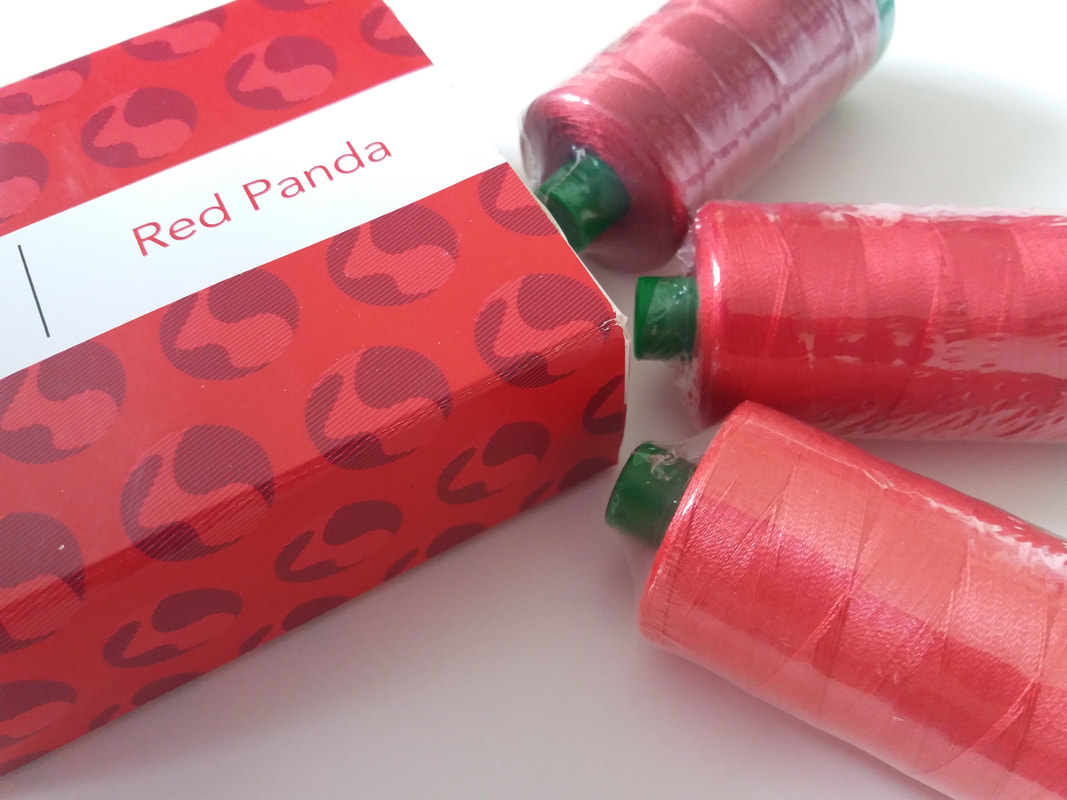
Thanks to signing up to the Aurifil Colour Builder club at Oh Sew Sweet Shop I've been able to add to my collection of Aurifil 40wt threads. Sea Turtle is this month's selection and these green threads - shades 2890, 1147 and 2908 - really are beautiful and are great for machine quilting.


 RSS Feed

