|
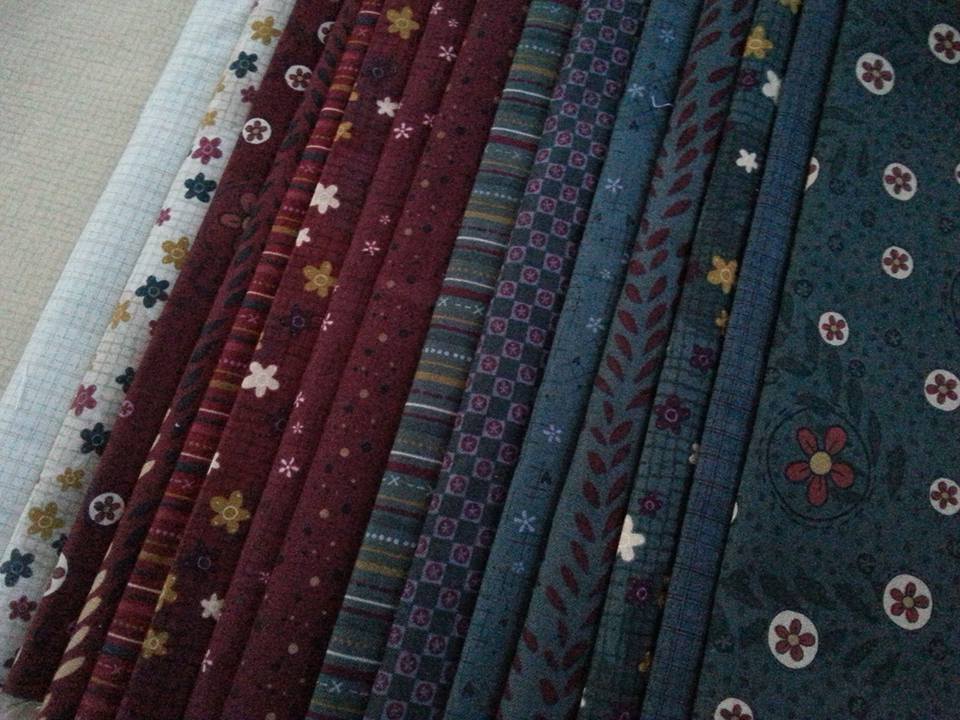
.I really am so very lucky! My very good friend Lynette has sent me these beautiful fabrics. "Highland" is the newest collection by Lynette Anderson Designs and they are going to be used to make "Stitched By Me" - (I'd bought the collection of patterns and wooden buttons from Patchwork Chicks a few weeks ago, and was just waiting for the perfect fabric, and here it is!!) thank you so much for these Lynette. I really am overwhelmed by your generosity.
0 Comments
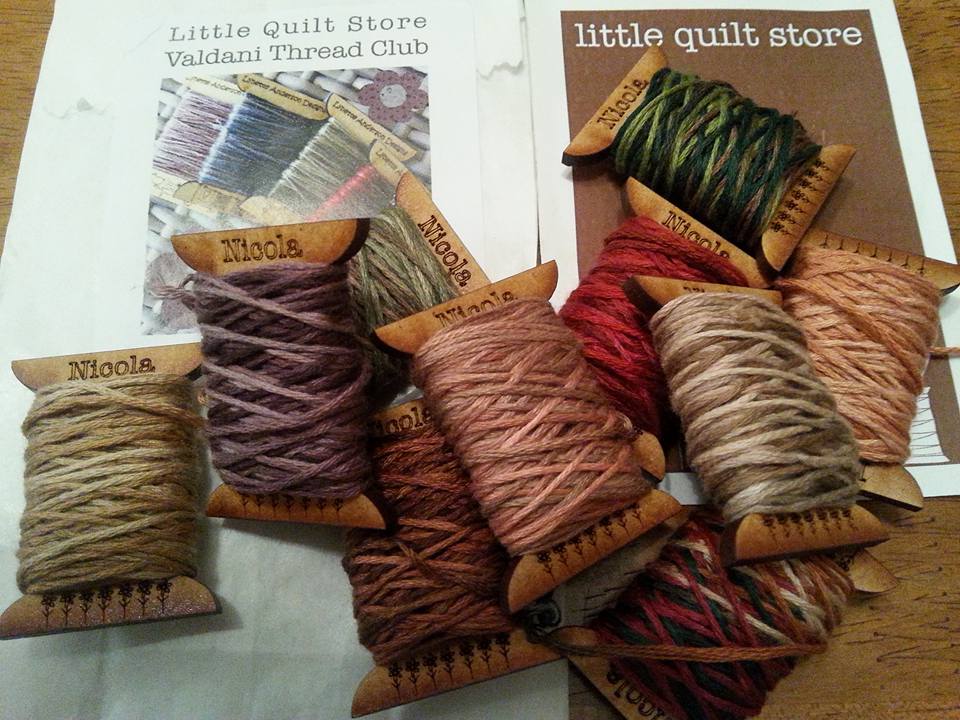
.These beautiful hand-dyed Valdani Threads arrived today, as part of the Thread Club organised by Lynette Anderson Designs. I've already wound them onto the cute personalised wooden spools that were an optional extra (I've written the thread numbers with a pencil on the back of the spools). They have wonderful names too, Melancholic Purple, Muddy Pots, Countryside, and Washed Orange. If you'd like to sign up for this club, there are details on Lynette's website, the Little Quilt Store.
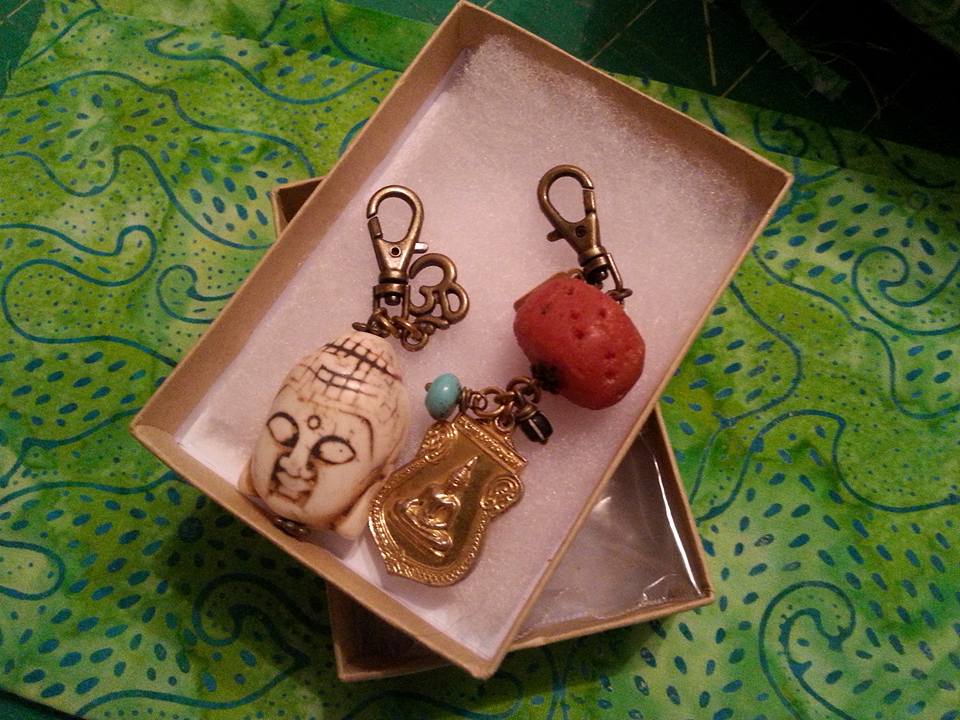
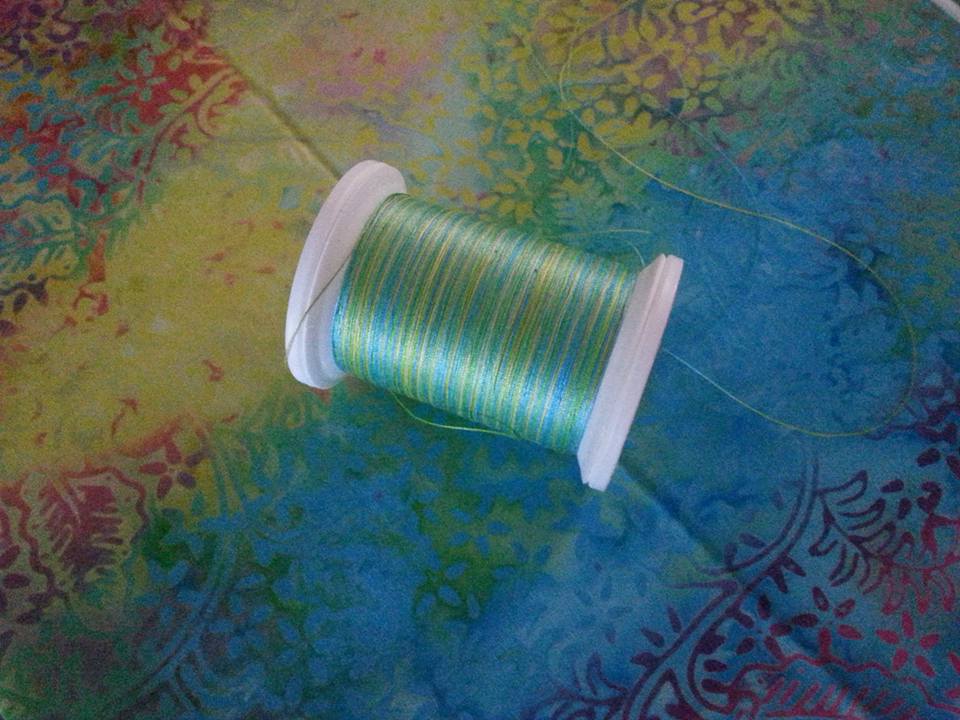
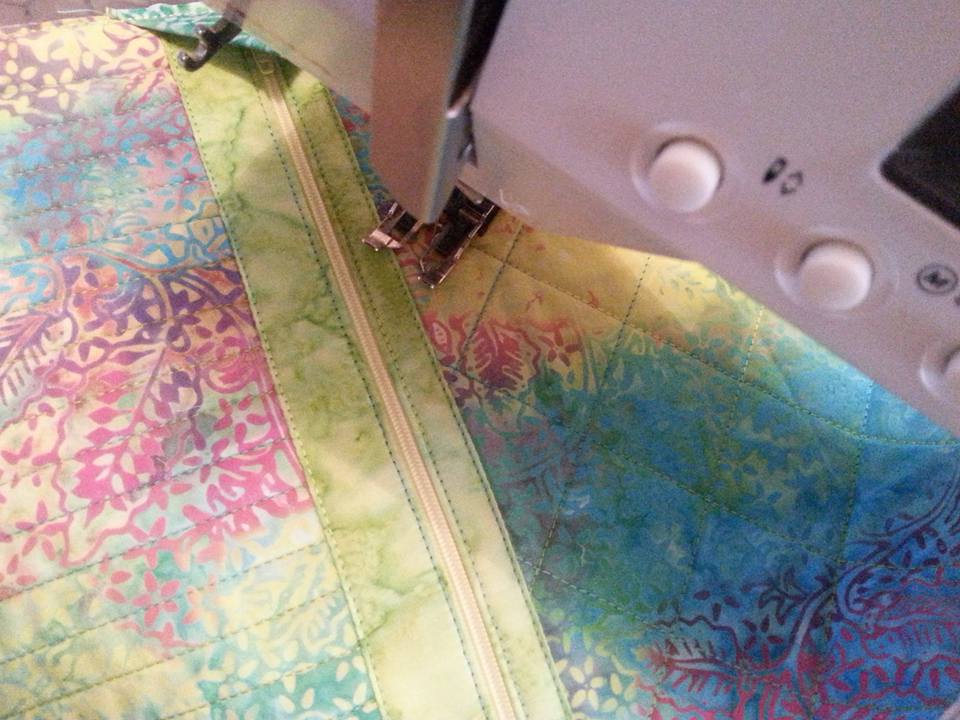
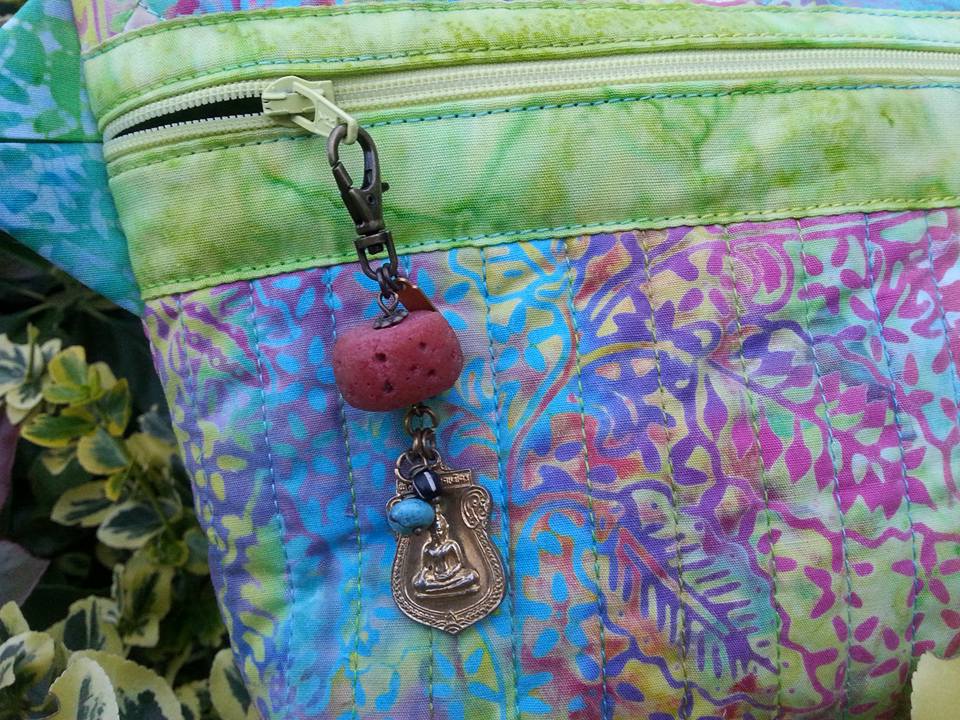
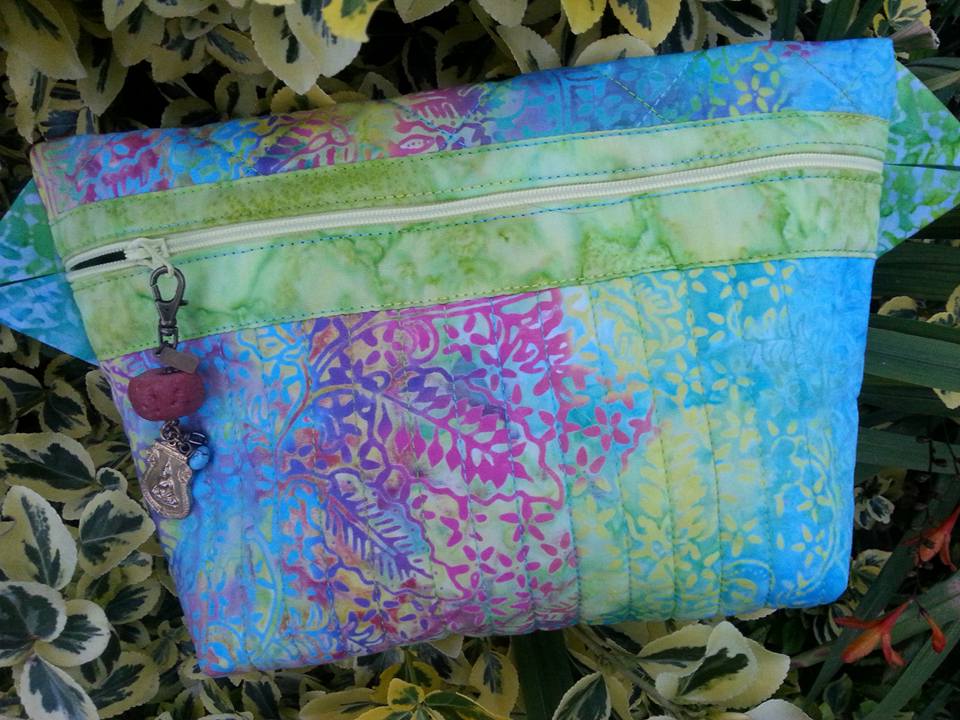
One of my colleagues is a very spiritual girlie and when I saw this sweet pair of Buddha inspired charms I thought of her. I picked out a batik from my fabric box that I had been saving for something special, and teamed it with a gorgeous variegated YLI quilting thread shade V76 Kyoto Garden, which was just perfect for this special gift... ...I used my favourite cosmetic bag pattern, "Anna's Sminkepung" by the Norwegian designer AnnAKa. I used a piece of Quilters Dream cotton wadding, and then quilted it very simply with a combination of straight rows for the front and a cross hatch design for the back. A lime green batik was used for the binding, and added one of the charms to the zipper pull... ...I managed to do a quick photo shoot before it was delivered. Did she like it? Well she couldn't stop smiling all day, so I guess the answer is yes!
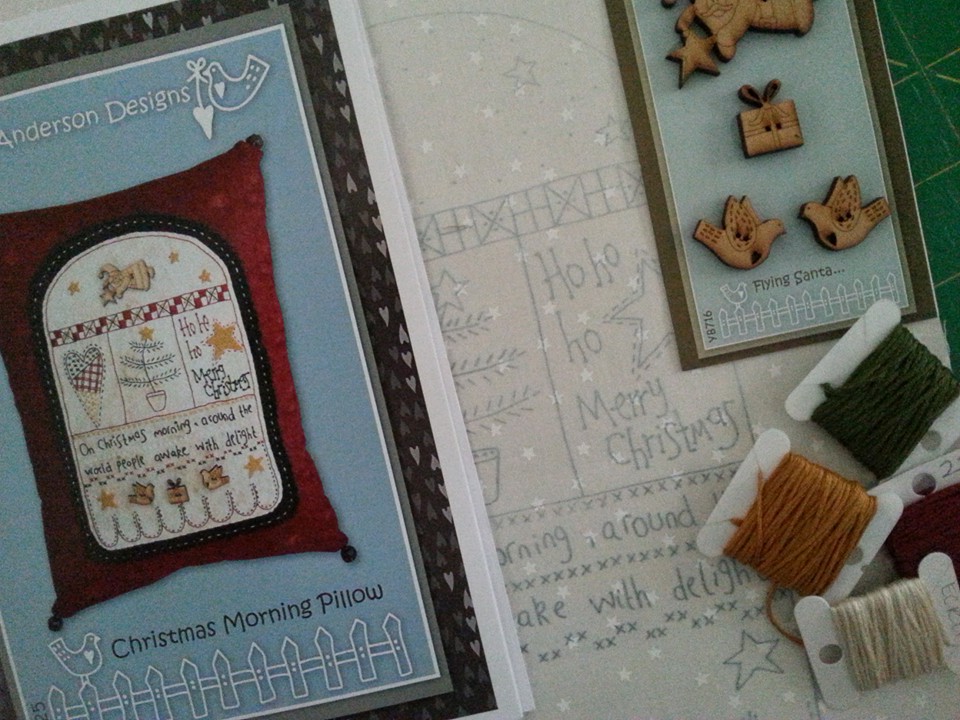
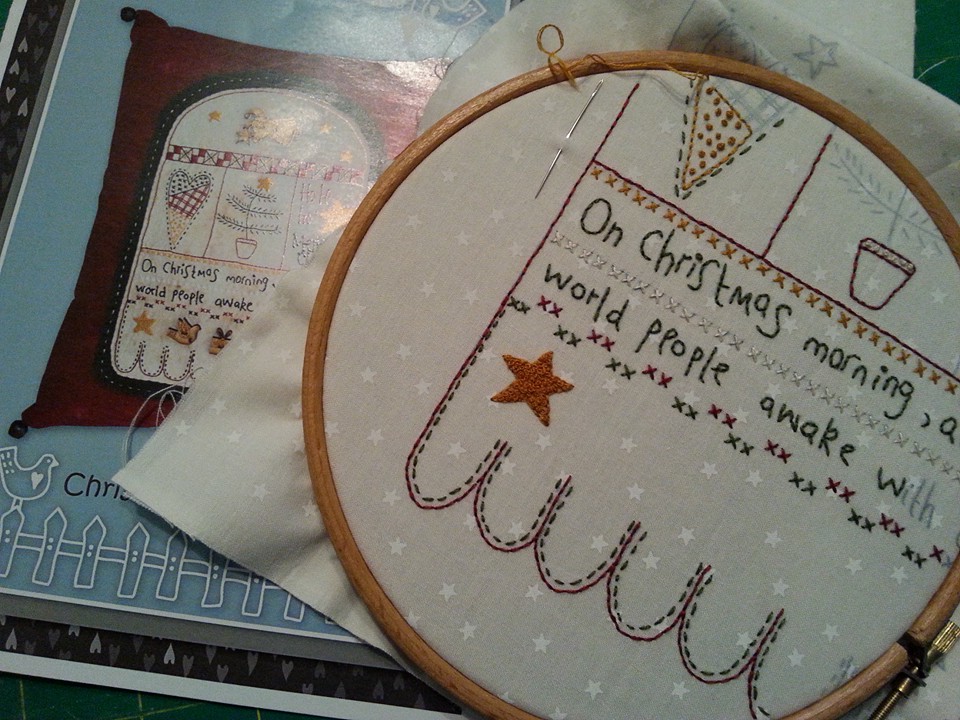
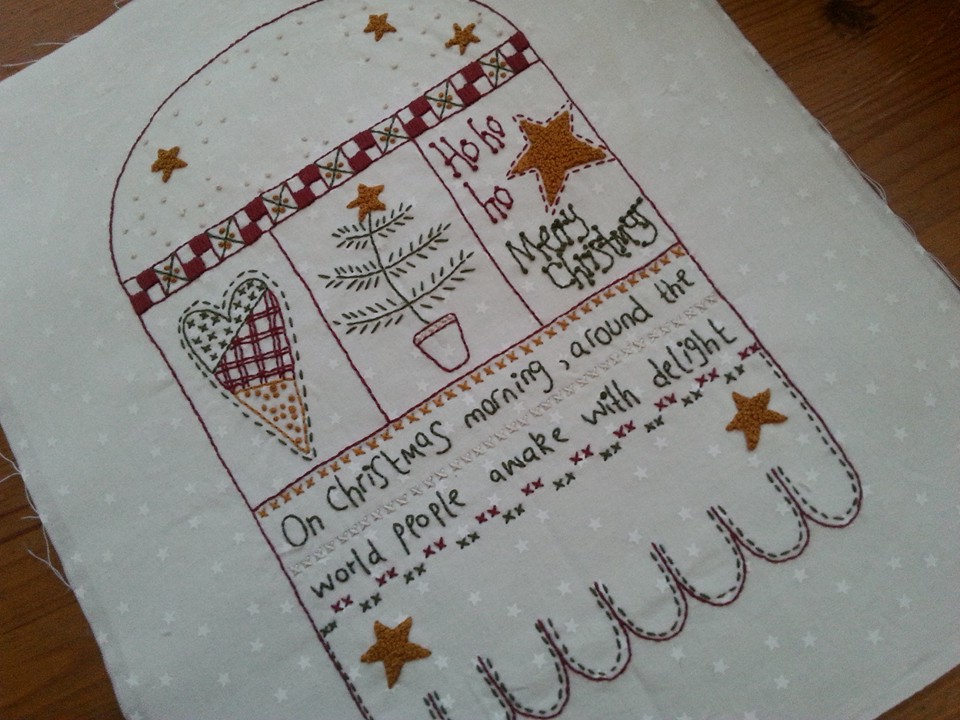
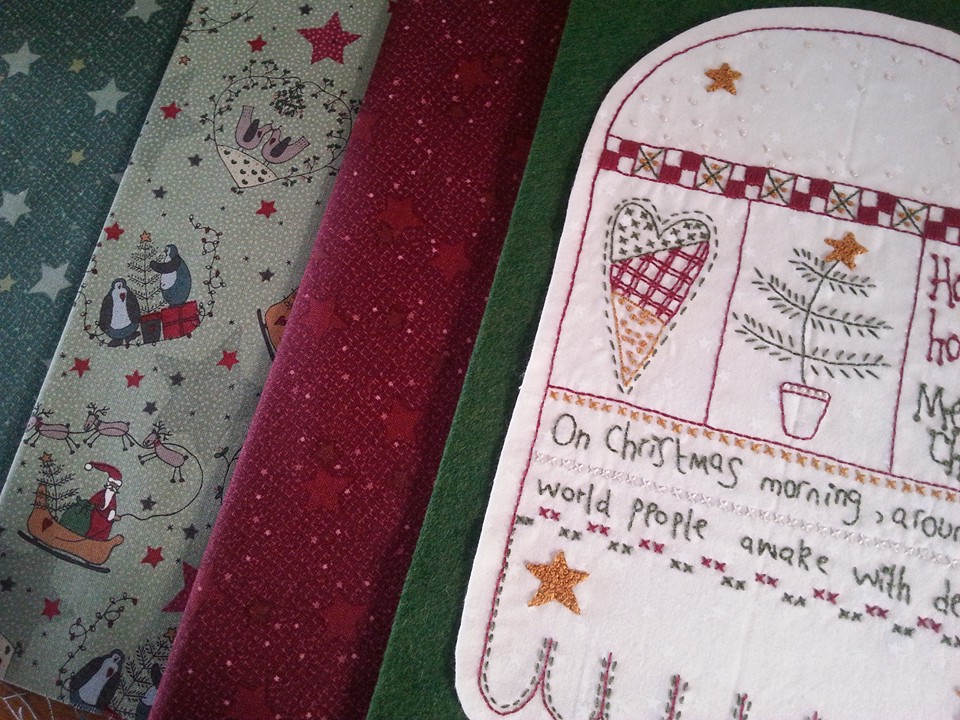
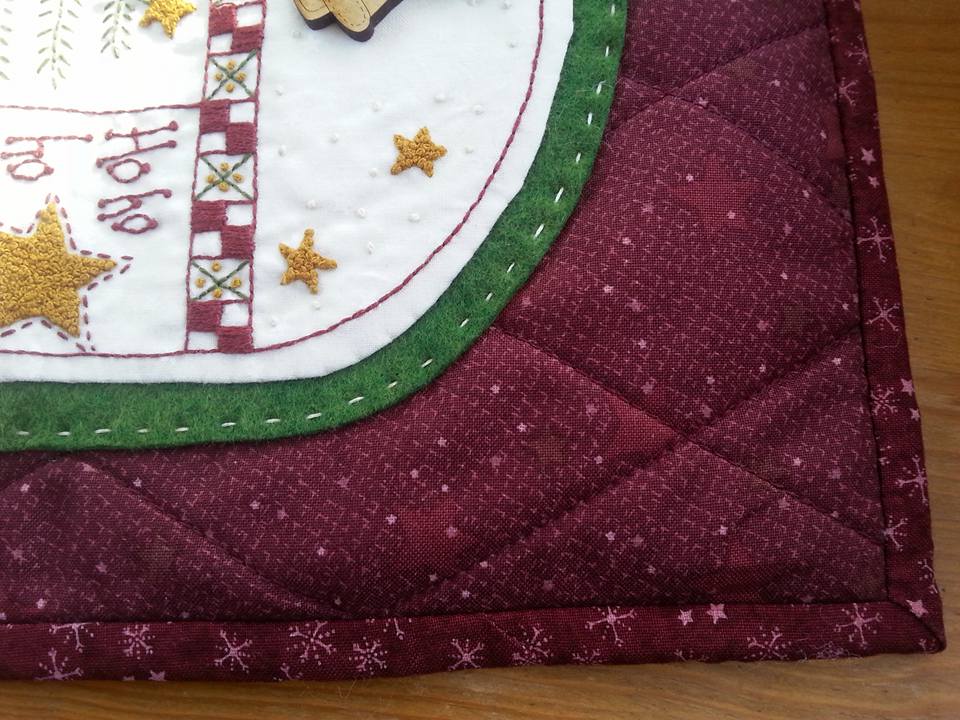
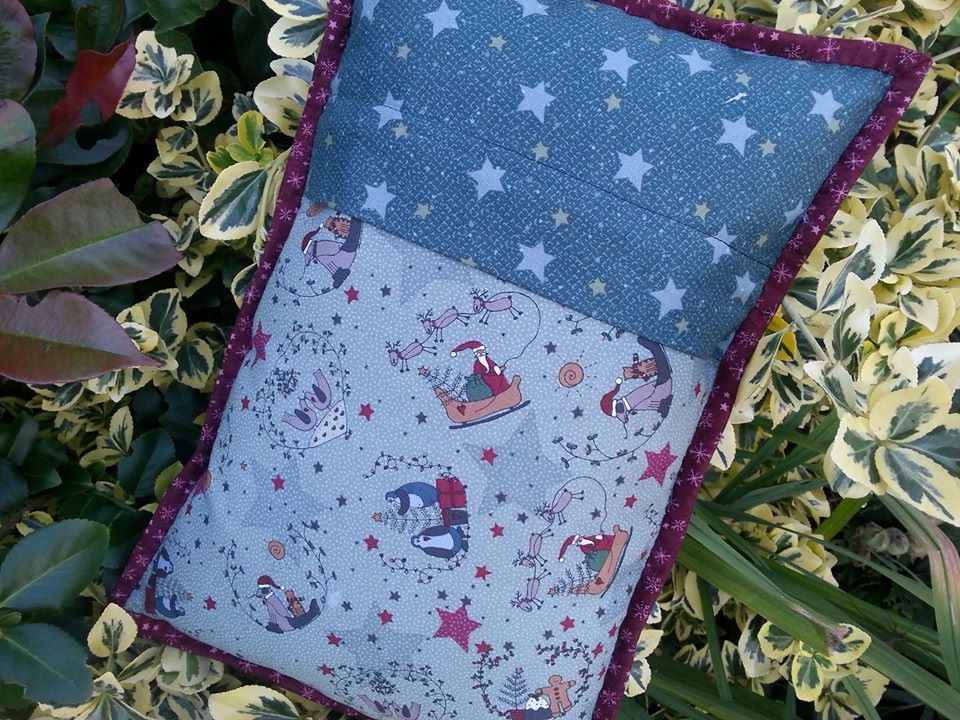
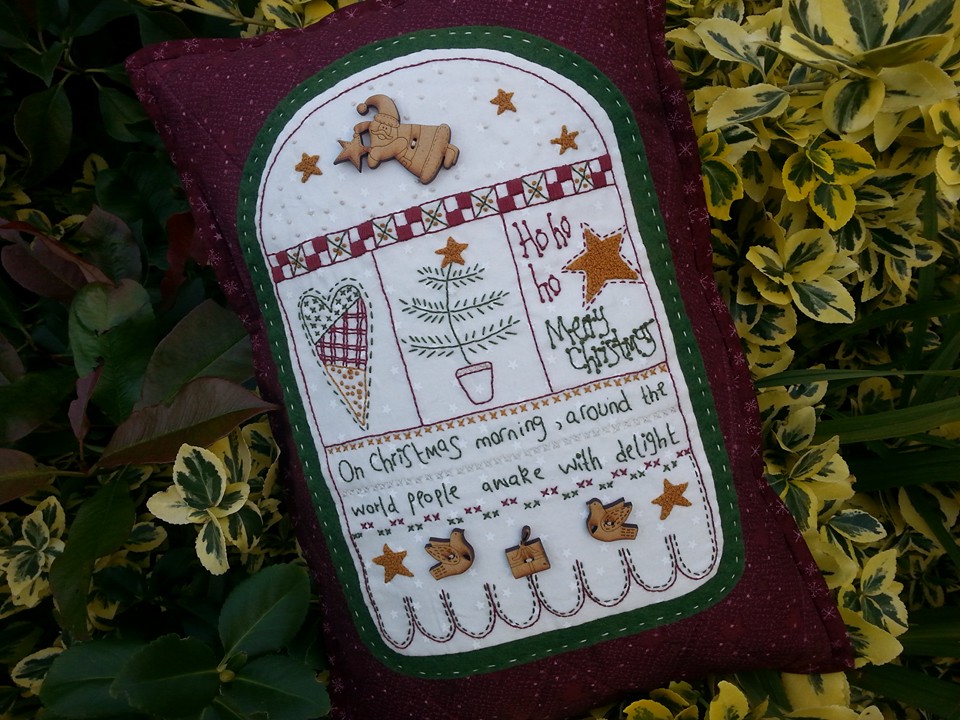
What do you do when you're busy stitching and you realise that you haven't got something essential to finish the project? And it's pouring with rain so you're stuck indoors? And you have to be quiet because Mr F is working nights so he's asleep in bed?? Answer = start another project! This is "Christmas Morning Pillow" by Lynette Anderson Designs, and I bought this pattern and the raw wood buttons from her stall at the Festival Of Quilts a couple of years ago. I fused some weaveline to the back of the fabric BEFORE I added the iron-on transfer (then I don't get transfer marks on my ironing board cover) and selected some DMC embroidery threads and I was ready to start stitching... ...a few years ago, my friend Lynette Anderson had sent me some beautiful festive fabrics "Starry Night" to play with. I had ohhed and ahhed over them for ages, and put them away for something special. This seemed like the perfect project to these lovely fabrics to good use! I picked out a red star print for the front, and a feature print for the back. Some beautiful wool felt was the final thing I needed. I ordered some beautiful wool felt from The Eternal Maker, and was really impressed with their prompt service. It arrived the following day, and I was ready to get the layers glued and appliqued together... ...the front of the pillow has been layered with some thin cotton wadding, and quilted with a matching Aurifil quilting thread in a cross-hatch design. As this pillow was smaller than the covers that I normally make (approx 11" x 14") I made my own inner, with calico, and stuffed it with polyester filling. I used 2 more fabrics from the Starry Night collection for the back of the pillow, and added a zipper enclosure... ...and here's the completed pillow. I changed the pattern slightly, and used a single fold binding to over the raw edges of the pillow. I just need to add some small jingle bells to the corners - the ones in my button tin are far too small, so some bigger ones have been ordered and will be stitched into place as soon as they arrive!
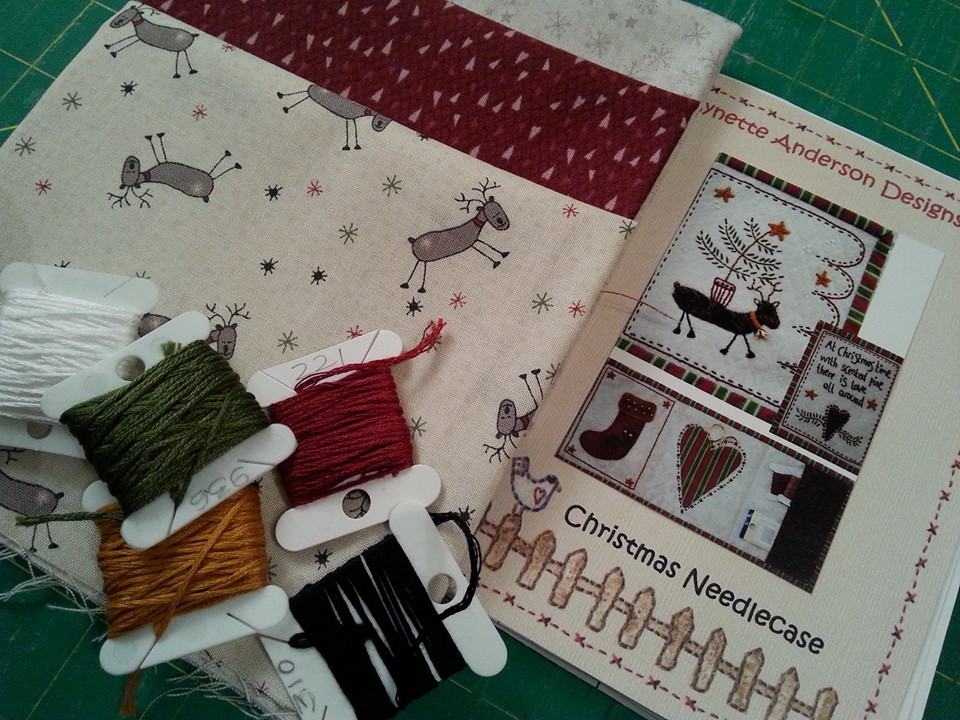
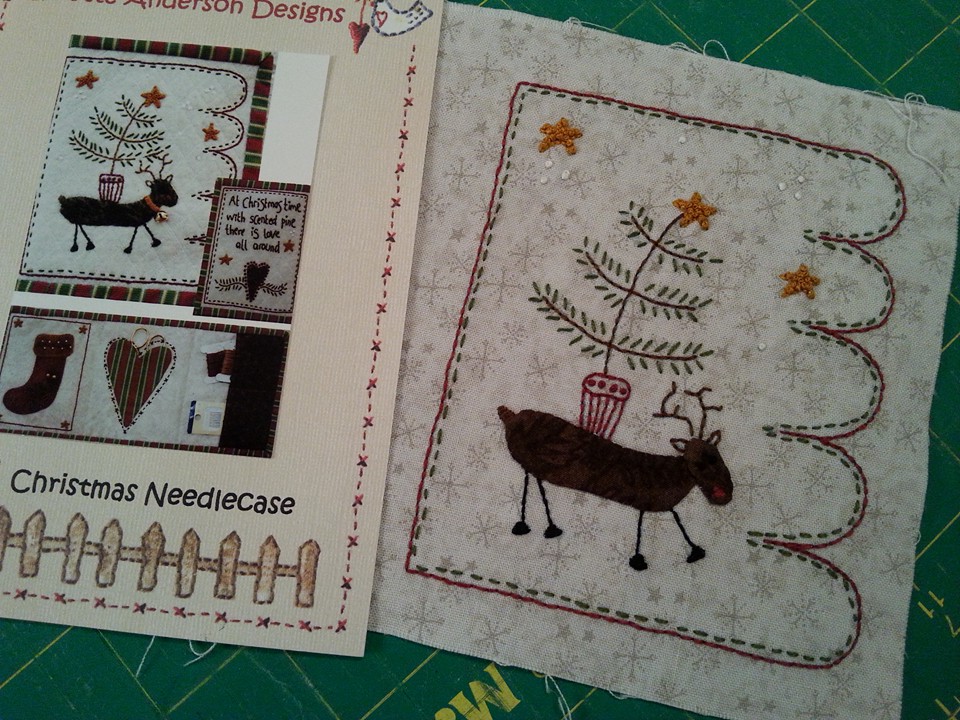
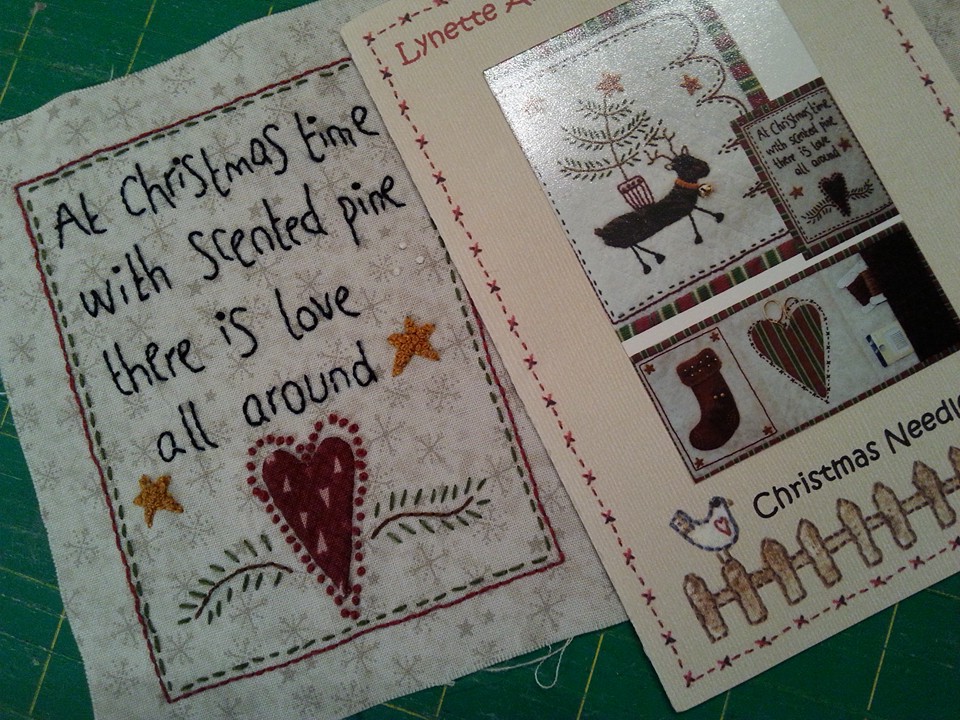
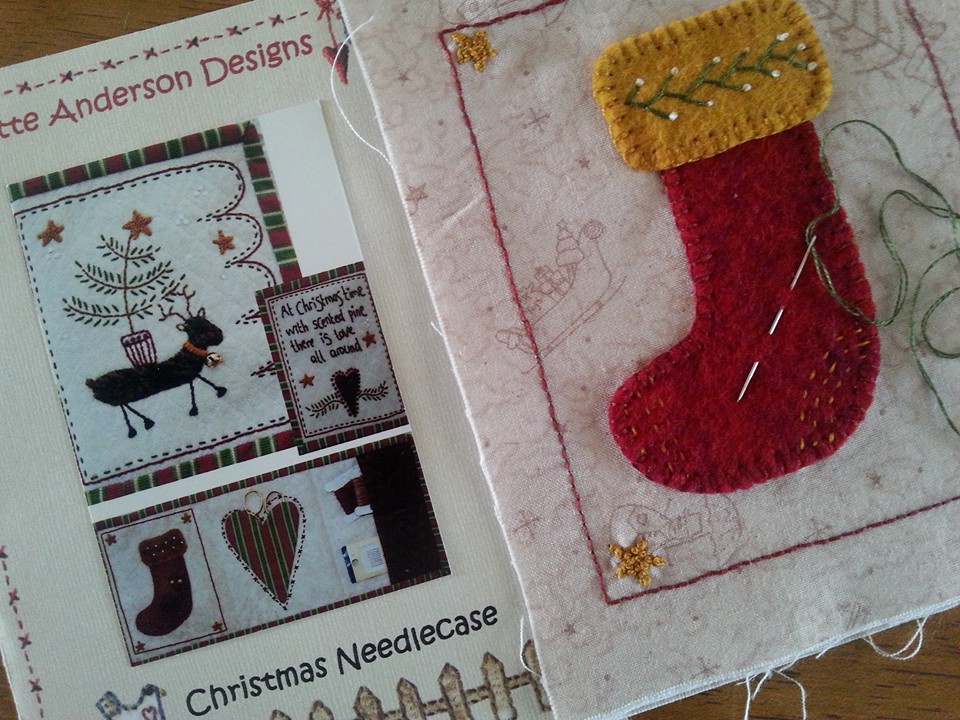
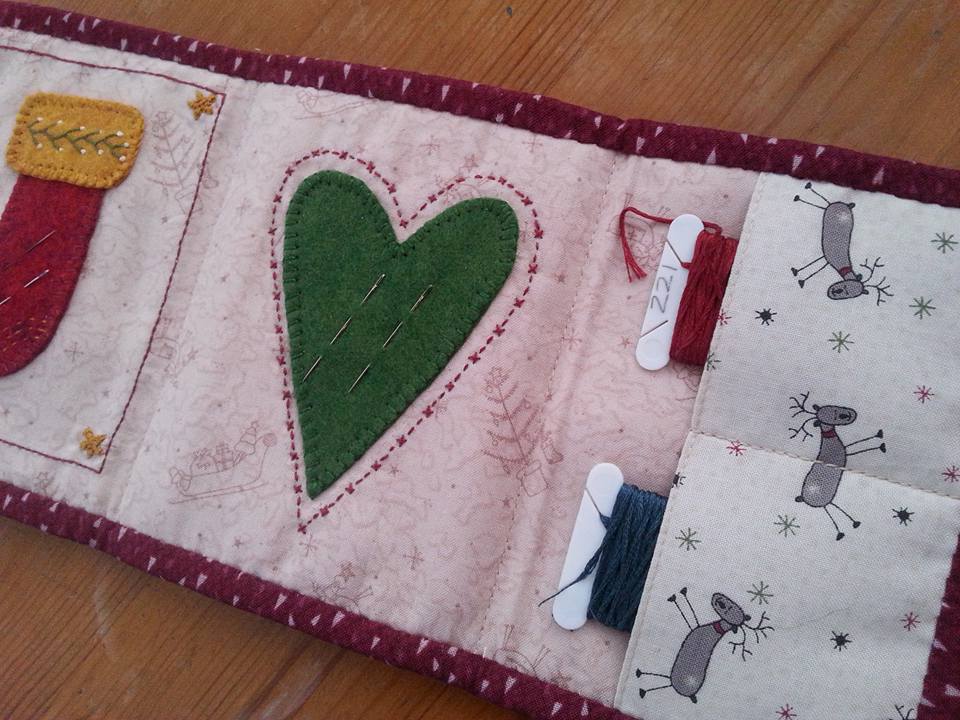
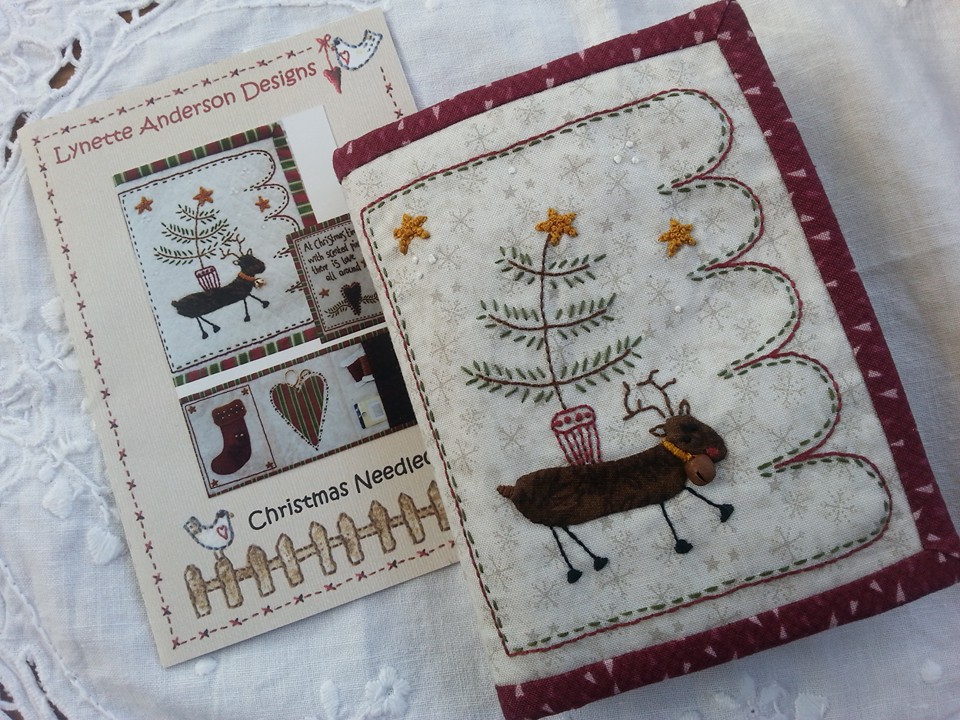
I recently received a lovely present in the post from Sarah, one of my lovely "likers" - a Christmas needle case pattern by Lynette Anderson Designs. I picked out some of Lynette's festive fabric "Starry Night" from my stash (Lynette had sent this to me a few years ago to play with), and made a start on the stitchery... ...this pattern included both a traceable pattern and an iron-on transfer too. I chose to use the iron on one as it was much quicker than tracing the stitchery design, I do have a top tip when you're using an iron-on design - I add a piece of weaveline to the back of the background fabric BEFORE I add the design, as the first time I used an iron-on pattern I made a right mess on my ironing board cover when I laid the fabric with the design on it upside down ready for the stitchery stabiliser! I bought some gorgeous wool felt from The Eternal Maker, and it was just right for the pin/needle holder, It's lovely to stitch with, and I love the feather stitch and colonial knots on the top of the stocking. This was secured into place with blanket stitch, using matching coloured DMC thread.. ...it didn't take very long to get this needlecase completed, and I layered it with a piece of thin cotton wadding, and finished it with a strip of single fold binding to cover all the raw edges. Inside the original pattern there was a scissor holder, but I decided to alter the pattern and added another needle holder which I cut from wool felt, and was also secured into place with blanket stitch. A couple of pockets are perfect for storing a few threads too... ...this will be perfect for storing my needles and thread for all the festive projects that I've got planned! I thought I'd make an early start this year, as usually I'm so busy stitching gifts for friends and family that my own festive projects end up being stitched at the last minute! Anyway, I took this needlecase along to the Sewing Group last night and it received lots of admiring looks and comments!
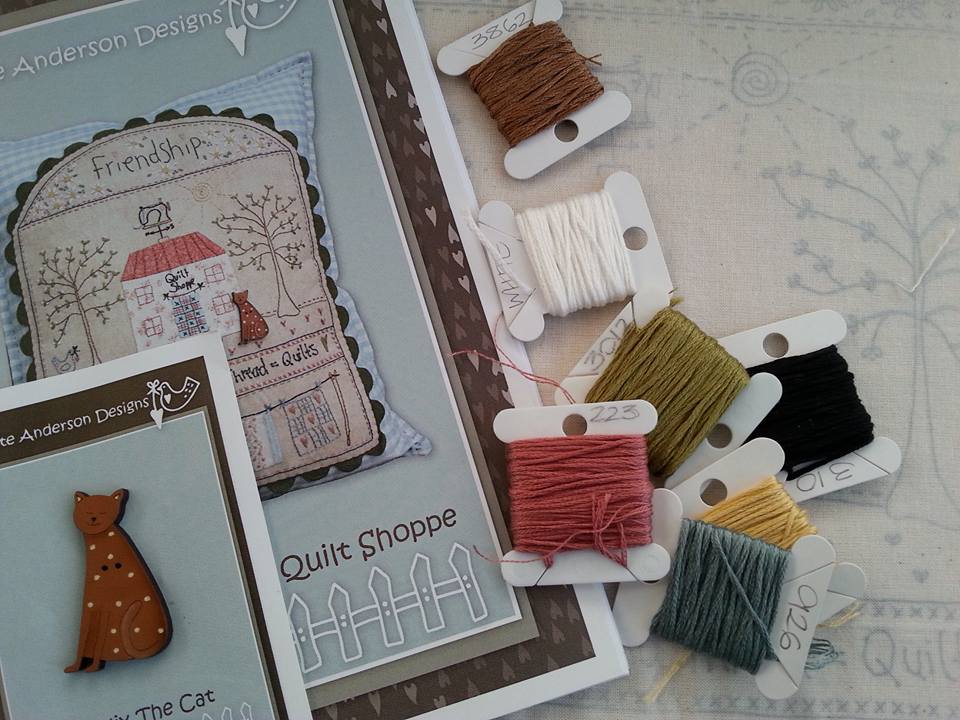
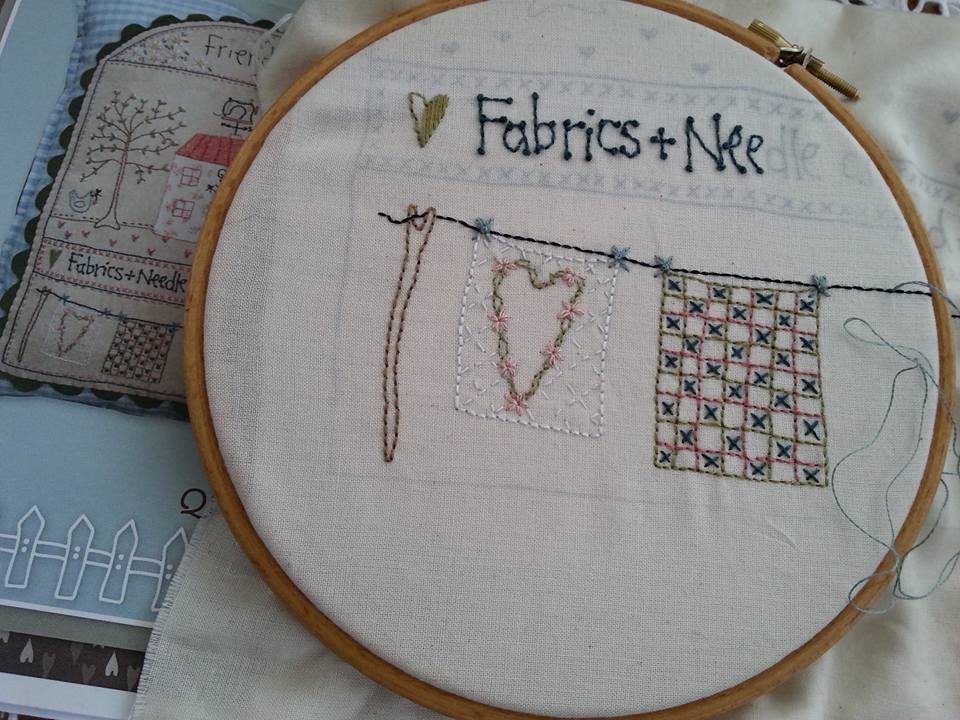
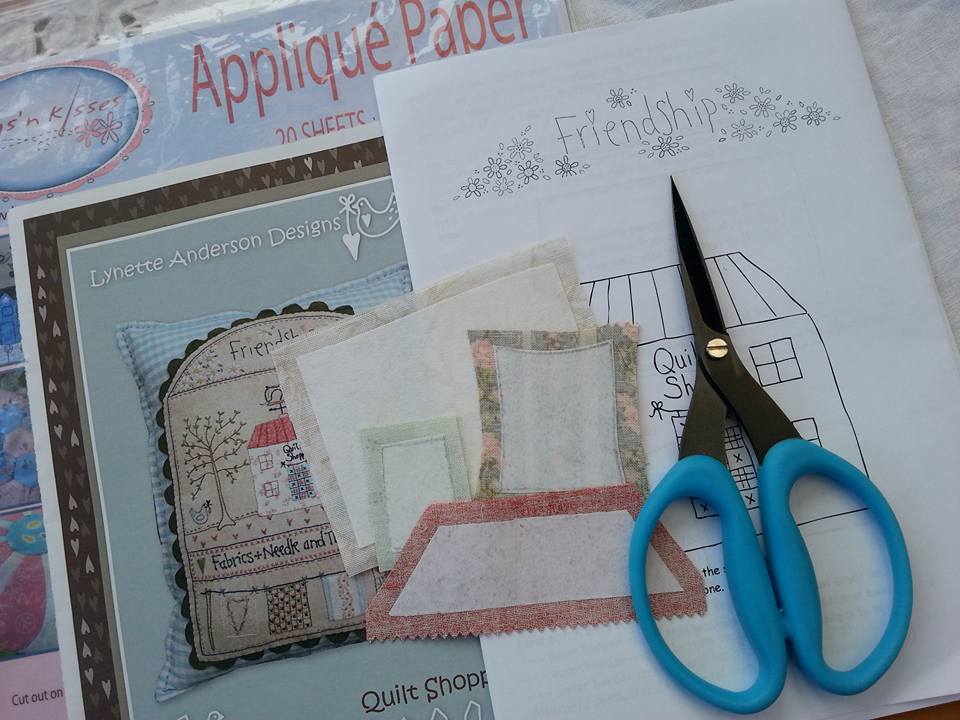
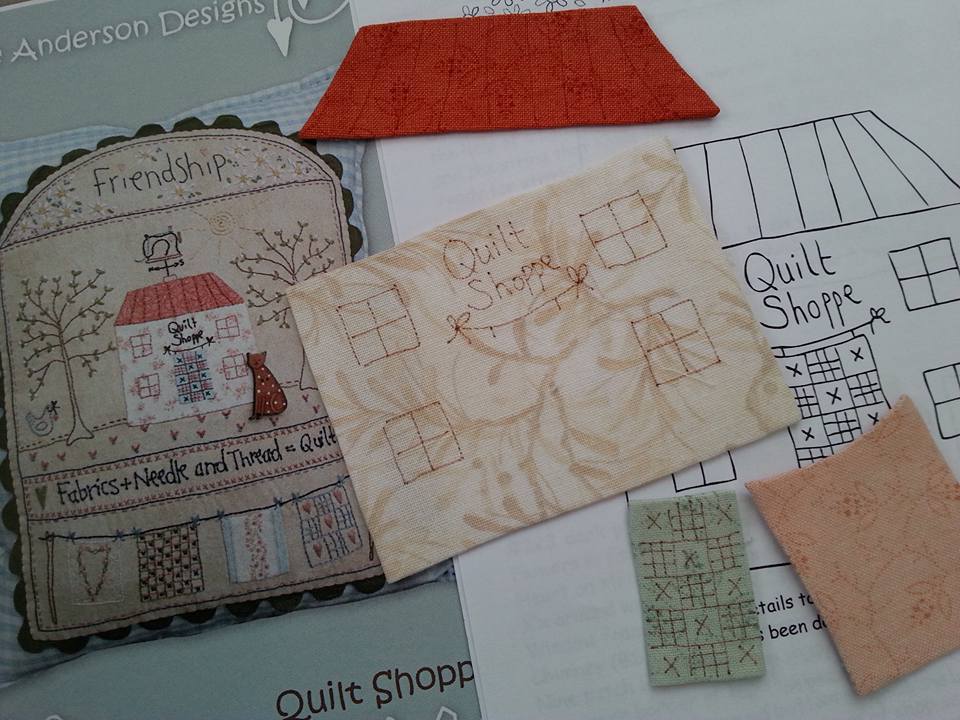
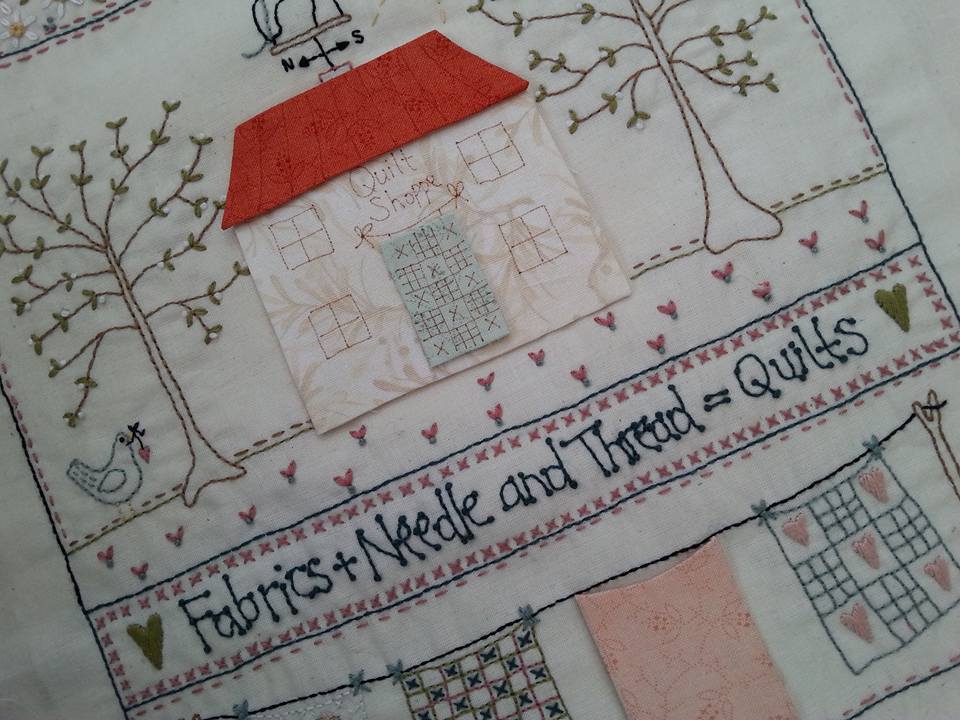
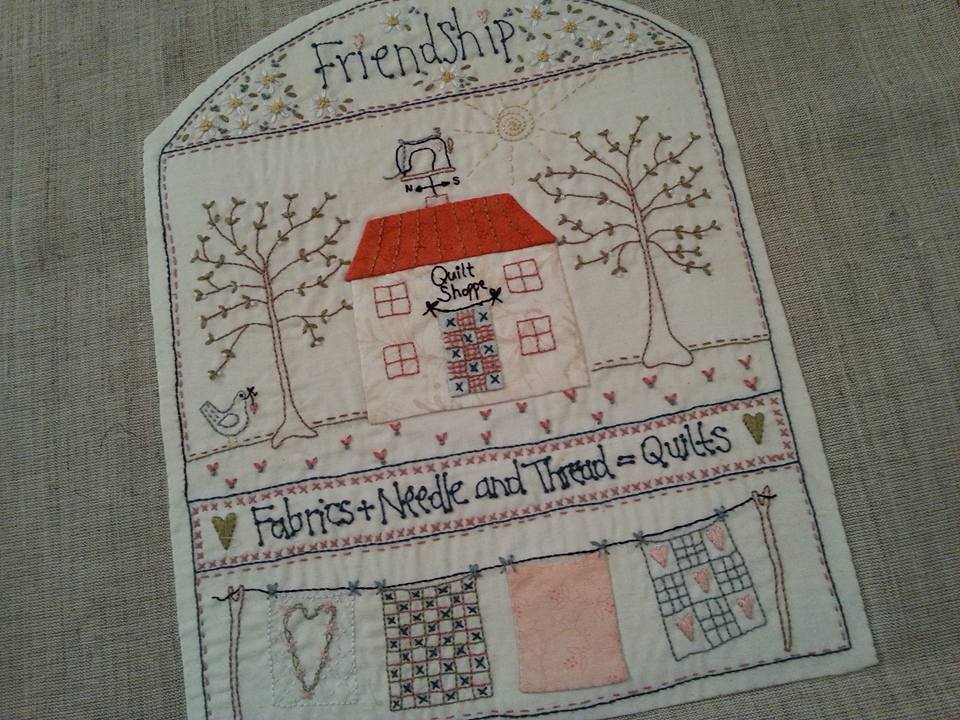
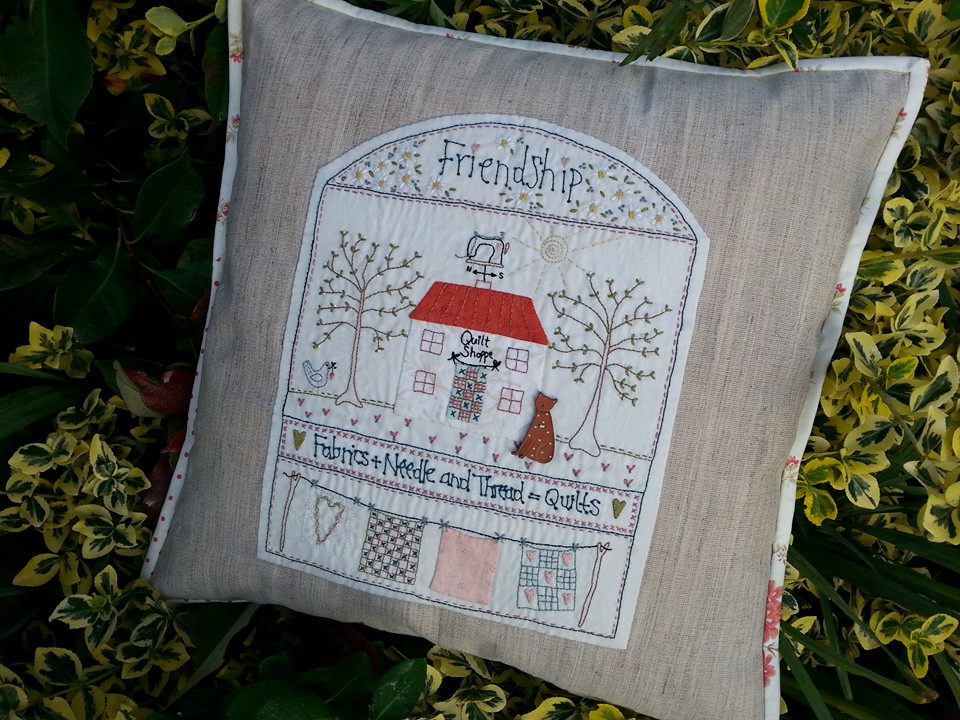
I had a rummage through my box of patterns by Lynette Anderson Designs and found this one for a cushion called Quilt Shoppe that I'd bought a few years ago, and luckily I'd bought the hand painted button that is used to embellish it with too. The pattern includes an iron-on transfer sheet so I didn't have to spend ages tracing the design! I collected together some DMC embroidery threads, ironed some weaveline to the back of the fabric, and I was all ready to start stitching with a selection of DMC embroidery threads... ...once the appliqué templates had been traced and cut out of applique paper, the paper was fused to the back of the fabric ready for the gluestick method. Then the stitchery design was drawn onto the applique shapes with a Micron Pigma pen, ready for some more embroidery... ...the shapes were glued into place with a few spots of Roxanne's basting glue, and were ready to be stitched securely to the background fabric with a neutral coloured YLI silk thread. When the stitchery on the appliquéd shop was completed, it was time to chose some fabric for the cushion front. I had planned to use some blue and white polka dot fabric, but then I decided to use a piece of linen for the cushion front instead. The main design has been appliquéd into place on the cushion front by hand. I decided not to use ric-rac trimming, but I did have an idea for a little twist on the binding.... ...there was just time for a quick photo shoot this morning before I went off to work! I added an enclosed zipper to the back, and used a scrappy binding to cover the edges. The binding strips were made with leftovers from a Jelly Roll, Martinique by 3 Sisters for Moda, and I'd used a few scraps from the same fabric range for the applique, so it co-ordinated nicely. A cute wooden button was used to embellish the front. Mr F despaired when I said it was going to be added to the pile of cushions on our bed - so this now has pride of place in my sewing corner.
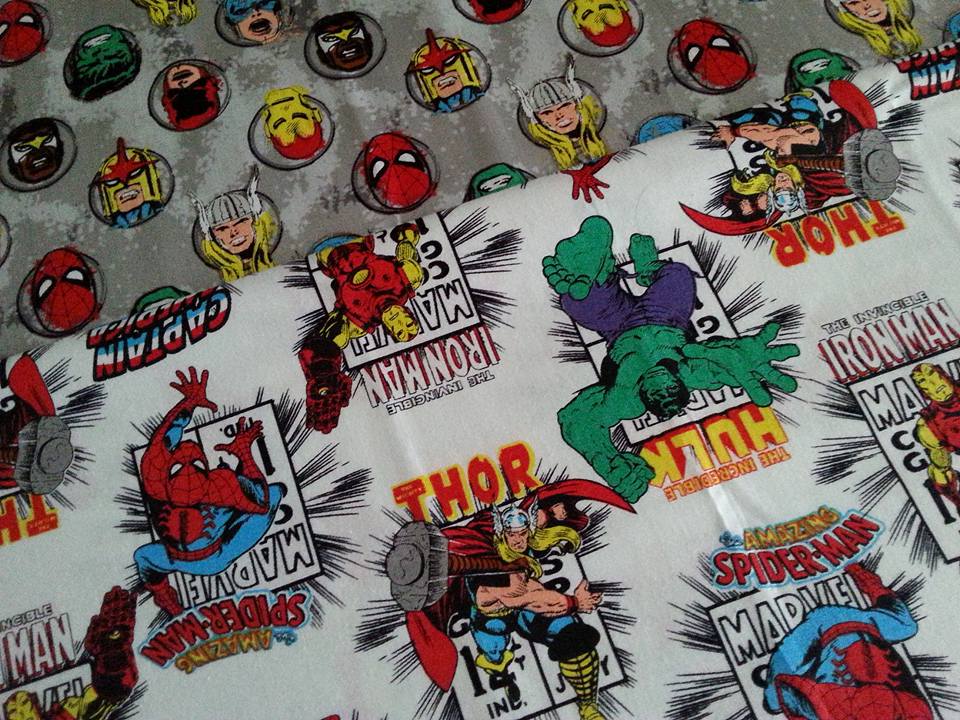
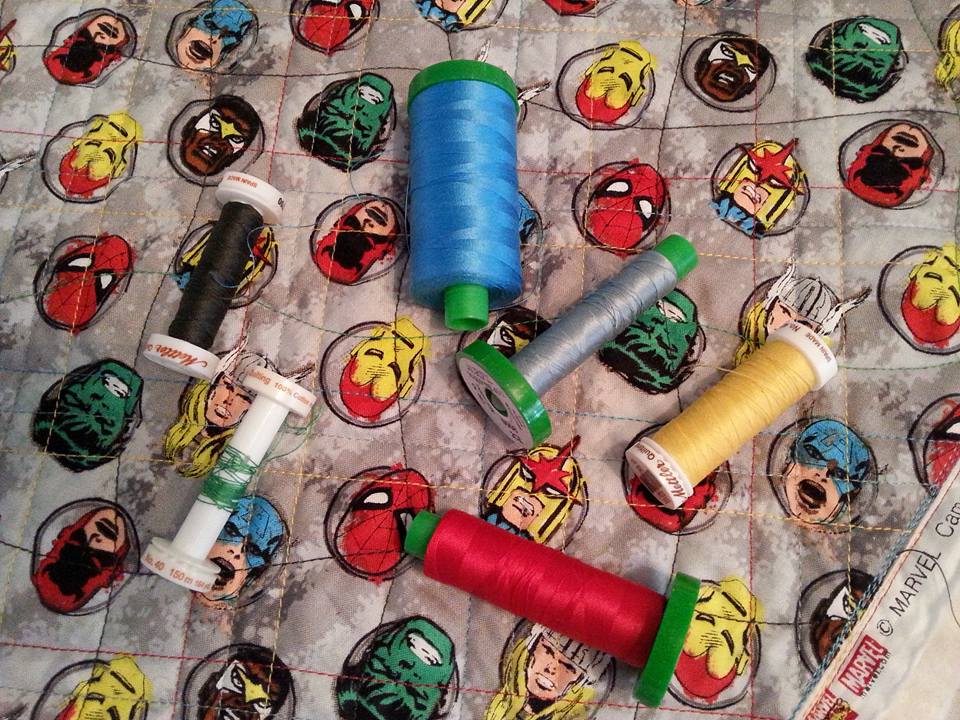
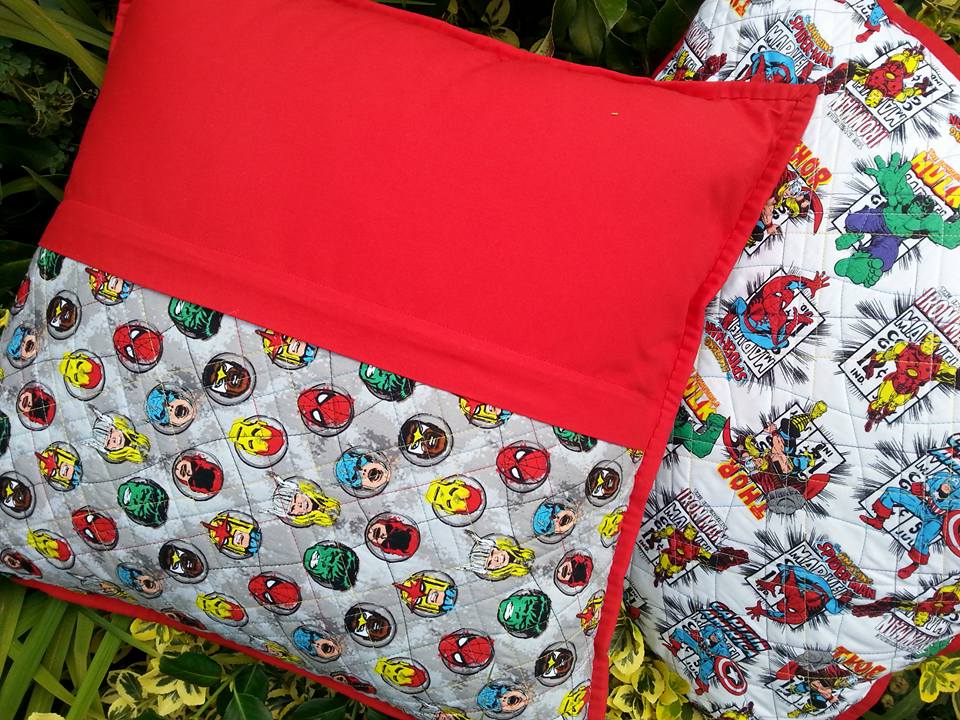
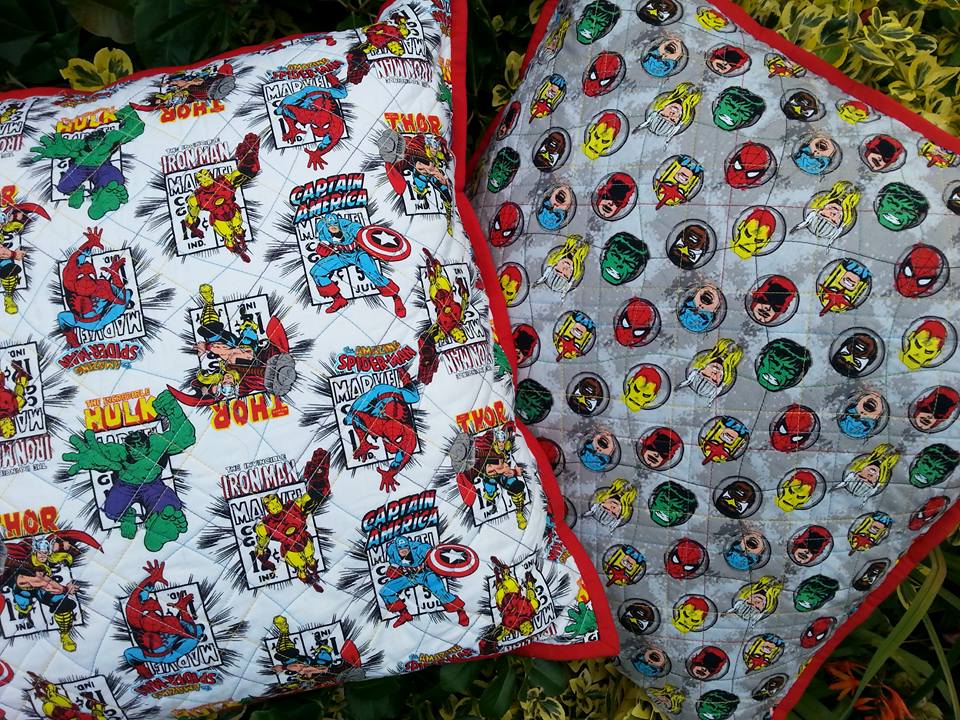
My youngest daughter loves Marvel comics and books etc, and when she recently saw this Marvel fabric by Camelot Fabrics, she thought it would be brilliant made into extra large cushions for her room when she's back at university in a few weeks. So I've been working with these funky fabrics by Camelot Fabrics, that we bought from The Cheap Shop in Triptree a couple of weeks ago. I'm really out of my comfort zone with these, but sometimes a mum has to do what a mum has to do! I must admit I was having a lot of fun playing around with a selection of Aurifil threads and Mettler threads in co-ordinating colours, quilting a grid and a few curvey lines too... ...the backs have been completed with an enclosed zipper and the edges have been finished with bright red single fold binding. These are 20" square and filled with a plump cushion pad. When I came home from work this evening, my daughter was propped up in bed with them, reading a book, and gave me a thumbs up - so job done!
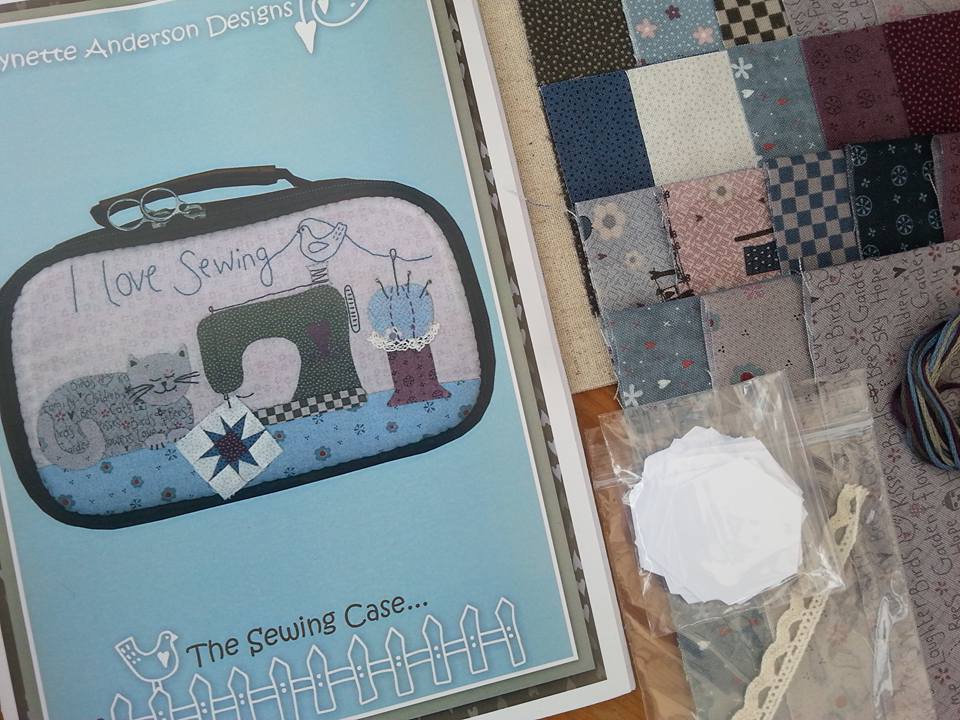
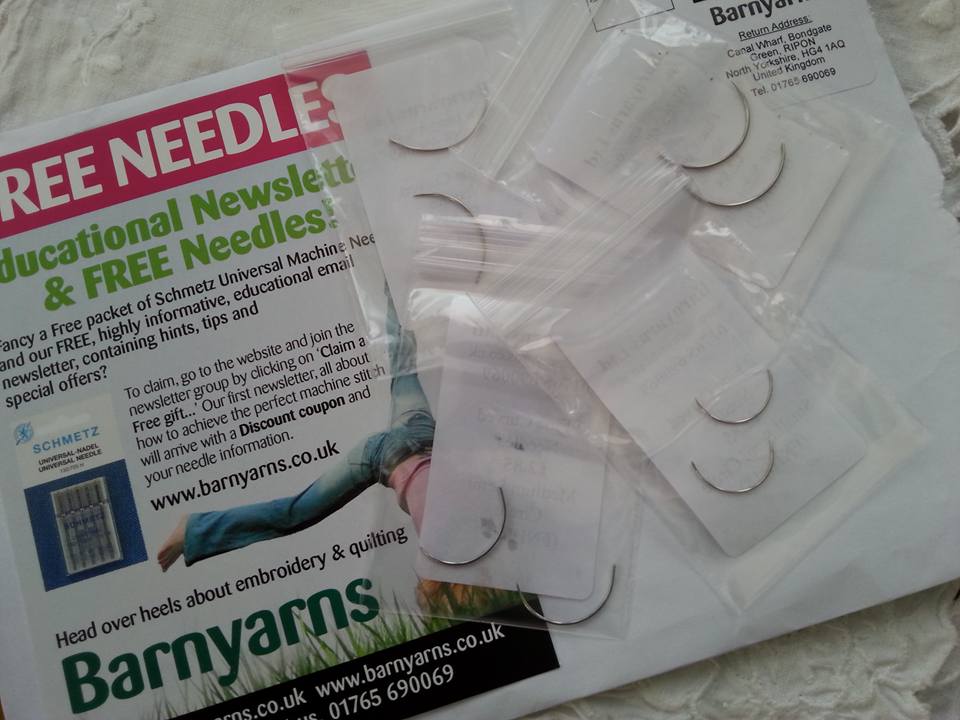
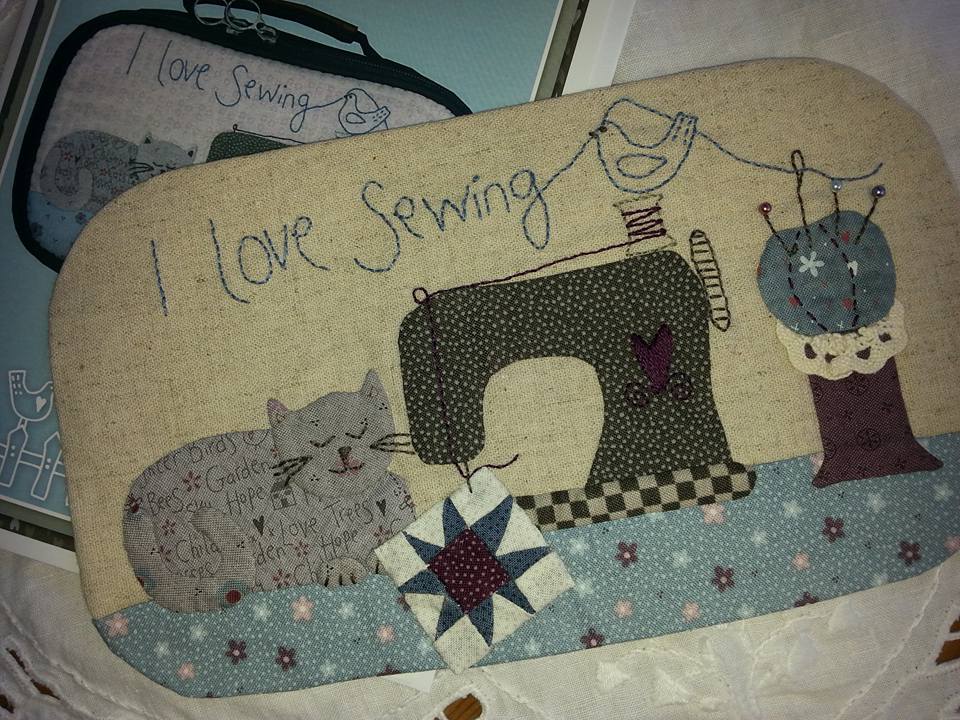
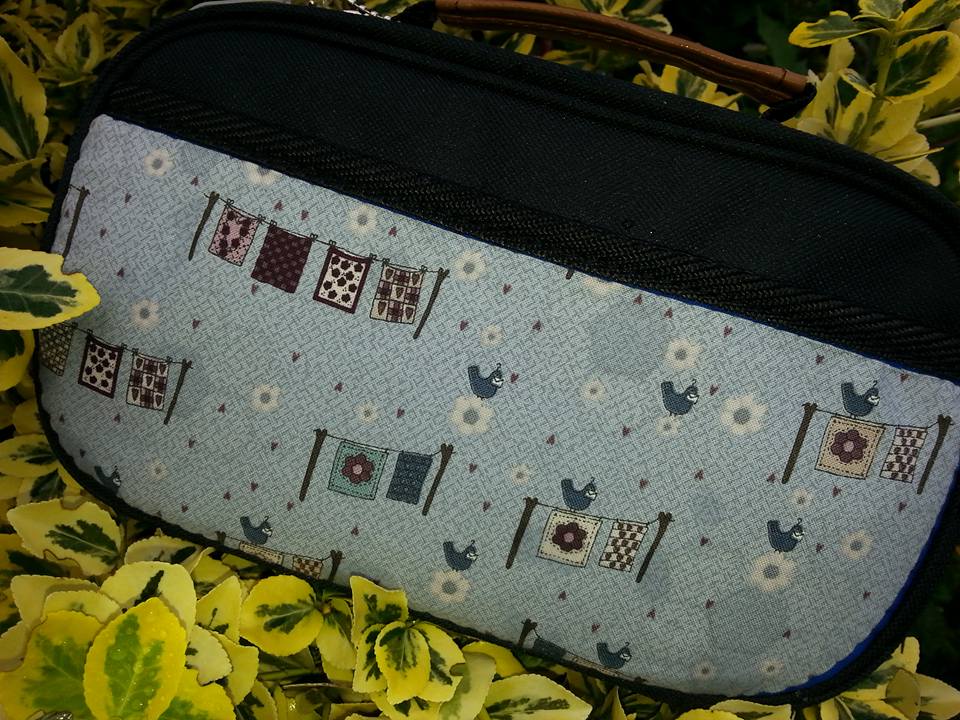
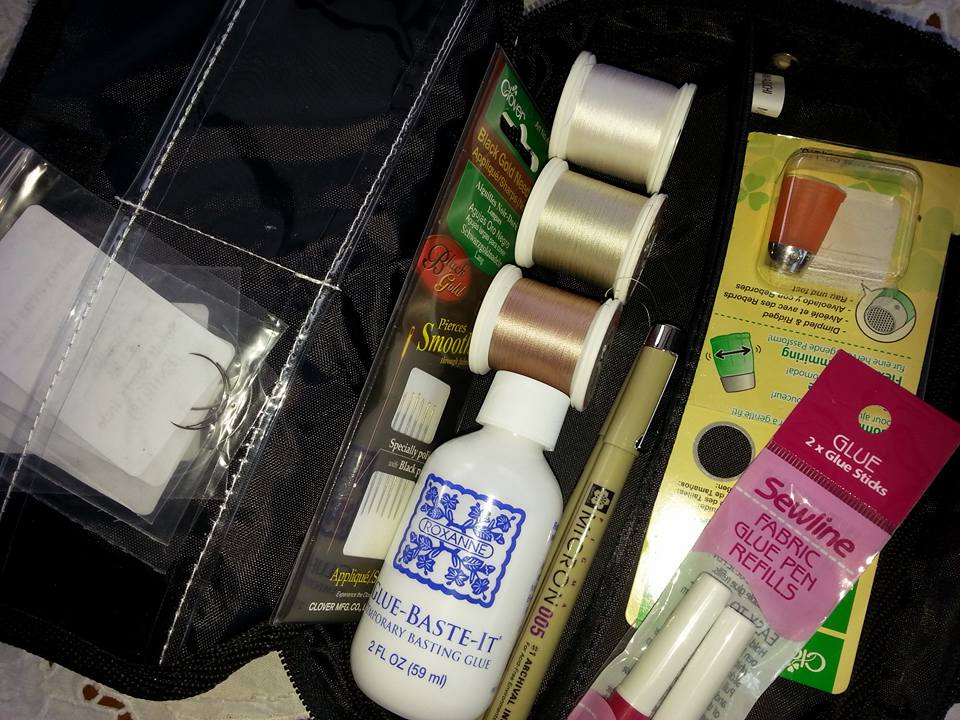
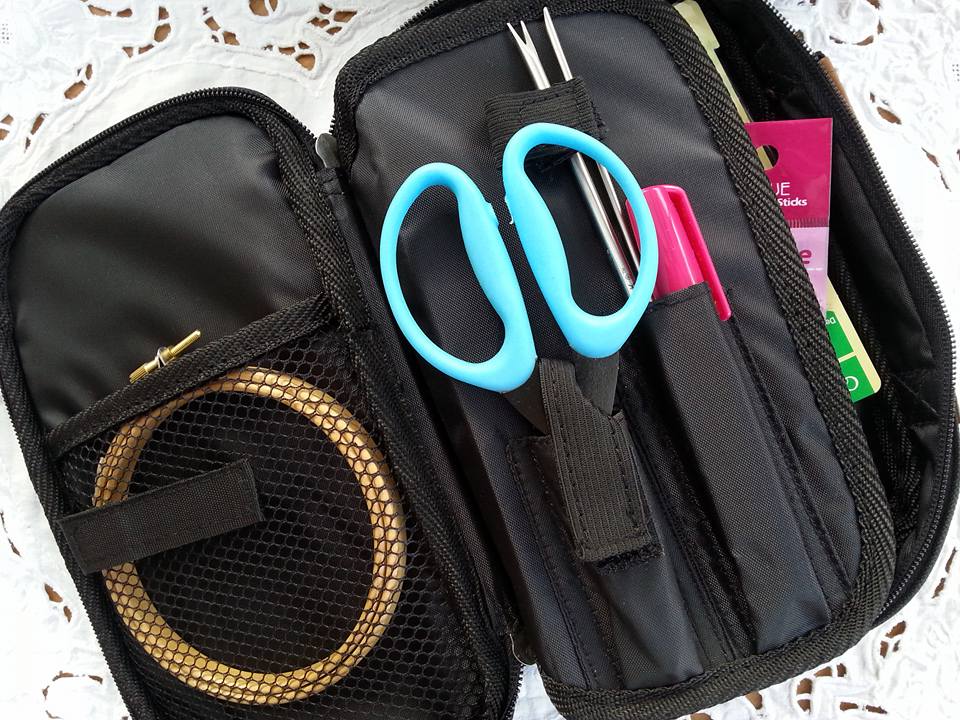
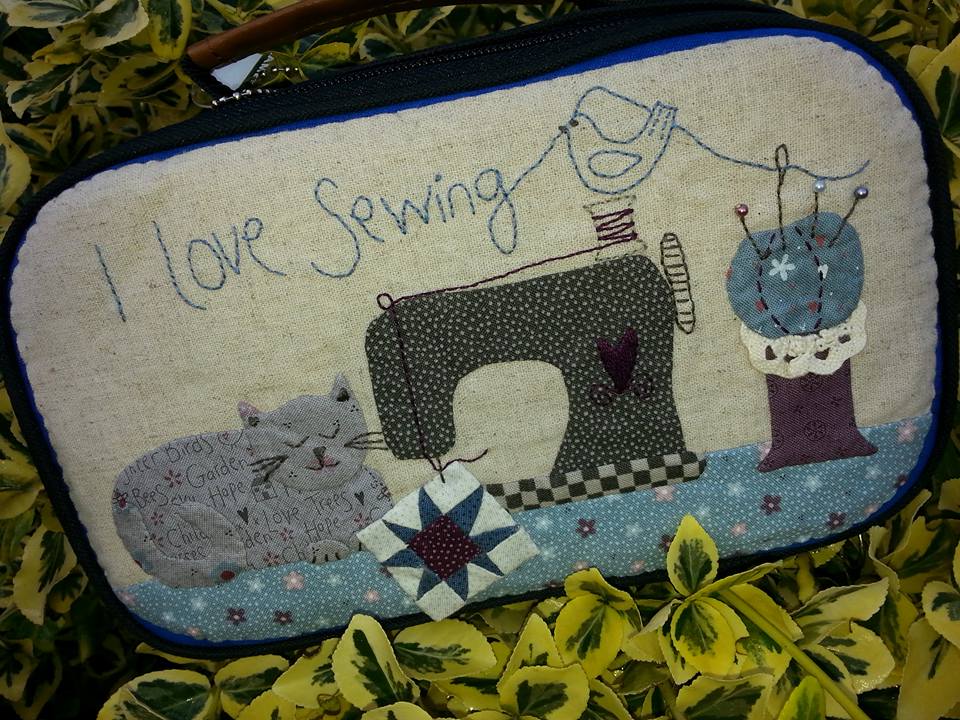
I just couldn't resist getting this kit, as I really want to make another one of these! This one will be for me (the Walnut Tree Cottage one is going to be a gift for a very special super-crafty person). The pattern is "Sewing Case" by Lynette Anderson Designs and this was bought as a kit from Patchwork Chicks and includes the pattern, fabrics, hexie papers, DMC embroidery threads, seed beads, lace trimming, and the sewing case. This is much easier to to complete with a curved needle, so I put in an online order from Barnyarns. Their customer service is really good, and they arrived really quickly... ...thanks to a very wet and blustery Bank Holiday weekend, I was able to spend some extra time stitching, and soon finished the appliqué and the stitchery for the front of the Sewing Case. Oh and that tiny quilt block? Hand stitched, and hand appliquéd into place too. Please don't look too close at the points, but it really was very fiddly as it's about 1.5" square. I really don't know how people do miniature quilts! The back of the Sewing Case in the original pattern was made with pieced hexagons, but I've changed it and used a piece of fabric from the "Quilter's Garden" collection ( also designed by Lynette). Those curved needles made sewing the covers into place so much easier... ...inside the case there are lots of useful compartments, and it's ideal for storing all my appliqué tools. I've managed to fit a pair of scissors, a glue stick, a few packets of applique needles AND my curved needles, a few reels of YLI silk thread in an assortment of neutral colours, a thimble, and some glue stick refills. There was even room for my apliquick rods too... ...and here's the completed case. Now I'm not sure which one to keep and which one to use as a gift! Which ever one I keep will be tucked into my large sewing bag, and will travel with me to sewing classes and sewing days with friends.
|
About me...Hi - welcome to my quilting blog! My passions are my family, my dog, my friends and sewing, not necessarily in that order! Archives
July 2023
Blogs I followUK shopsThese are the UK shops that I use to purchase my quilting supplies - fabrics and threads etc.
Australian linksScandinavian links |



 RSS Feed

