|
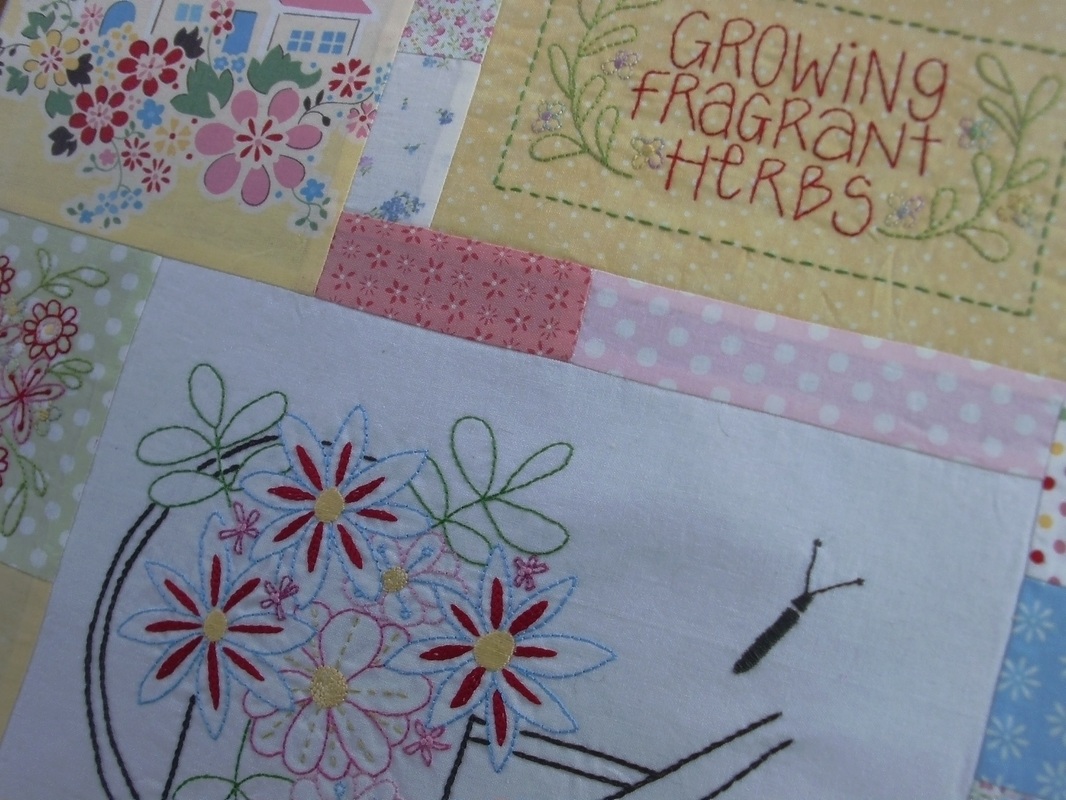
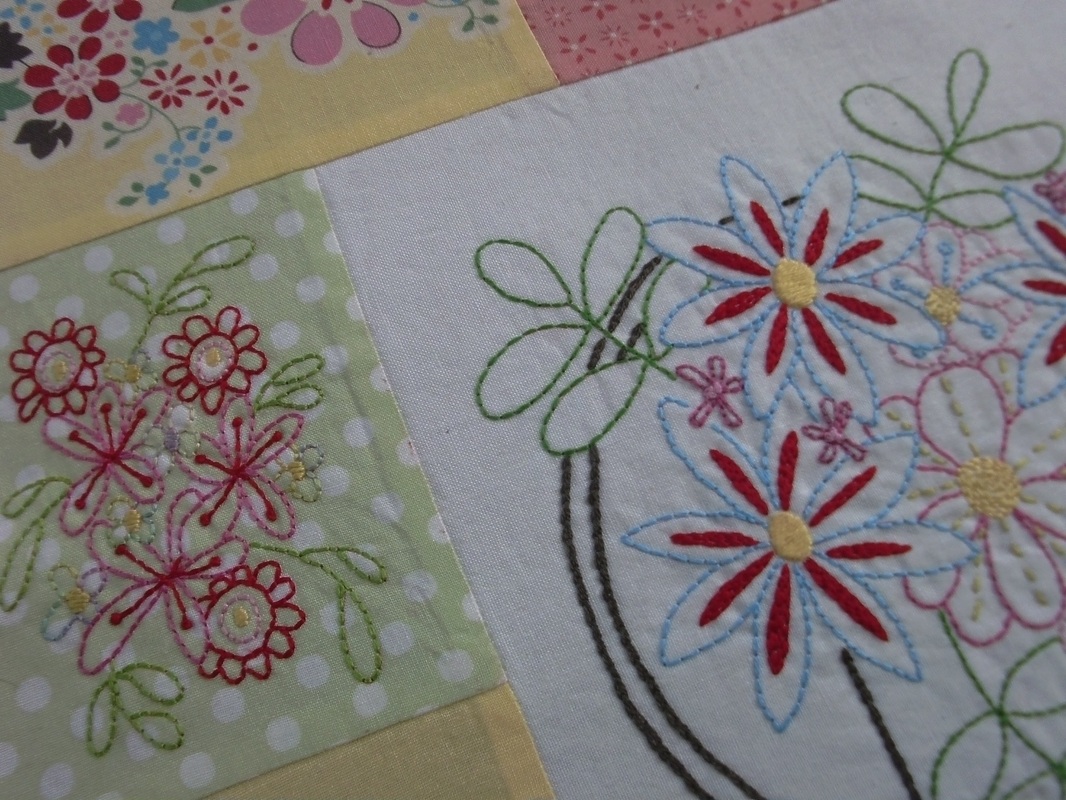
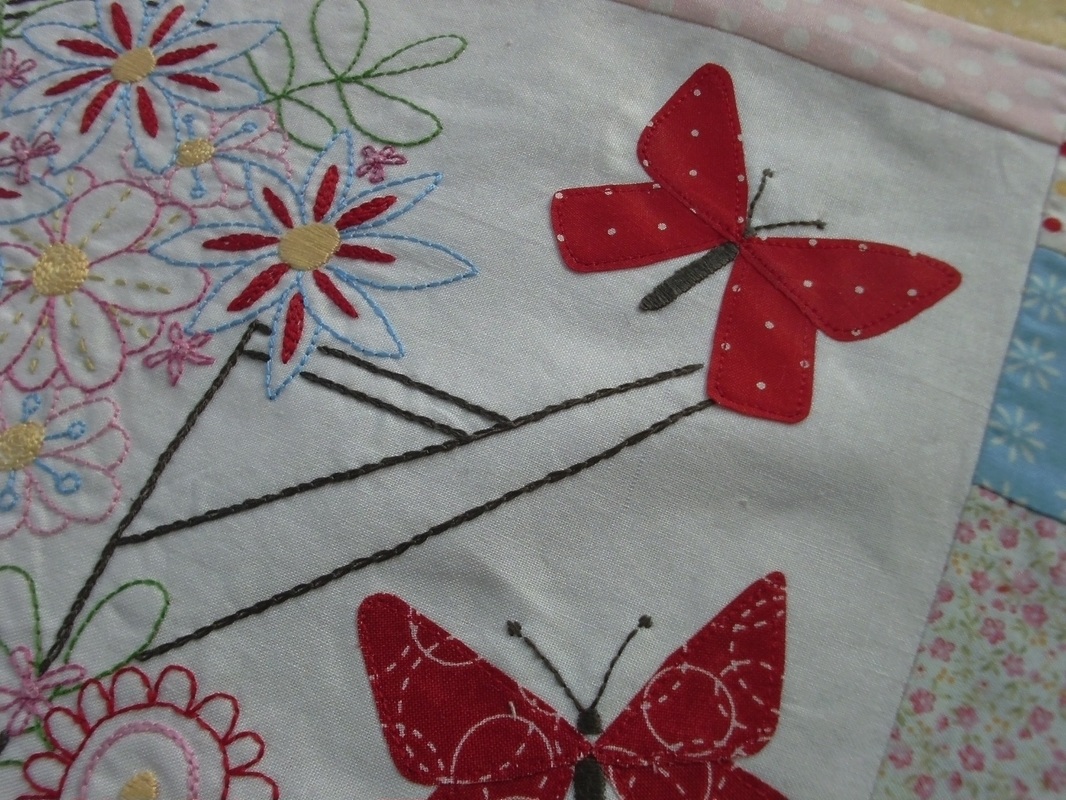
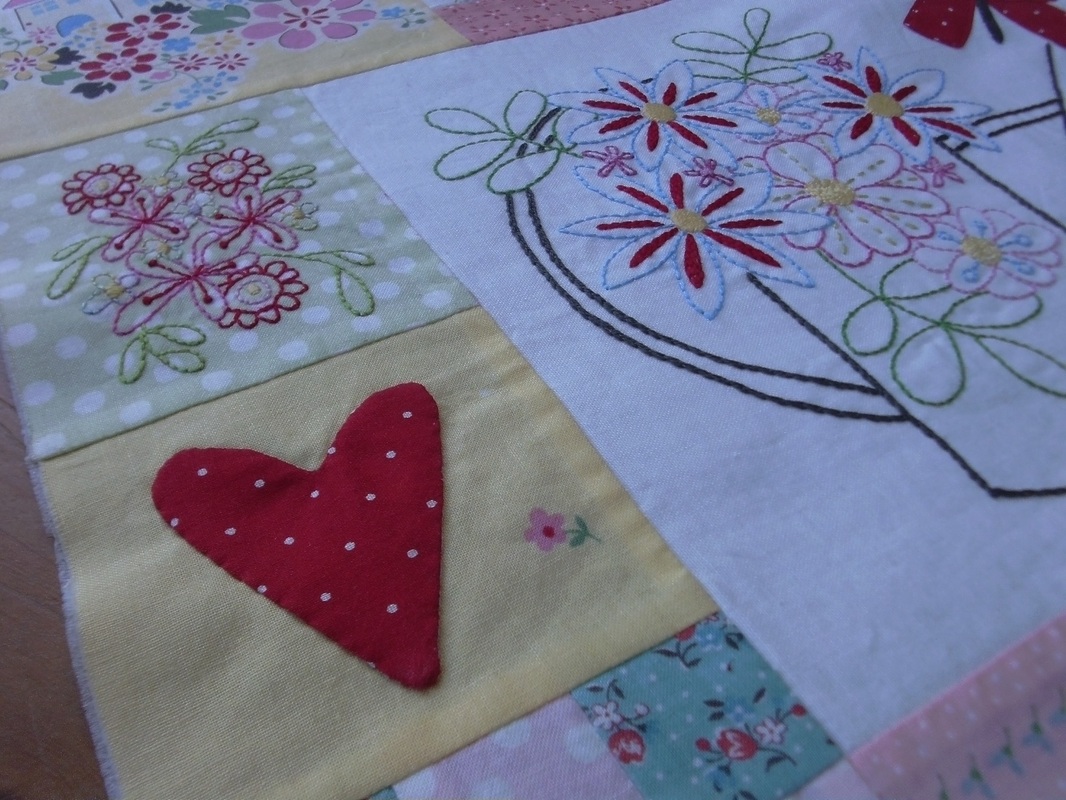
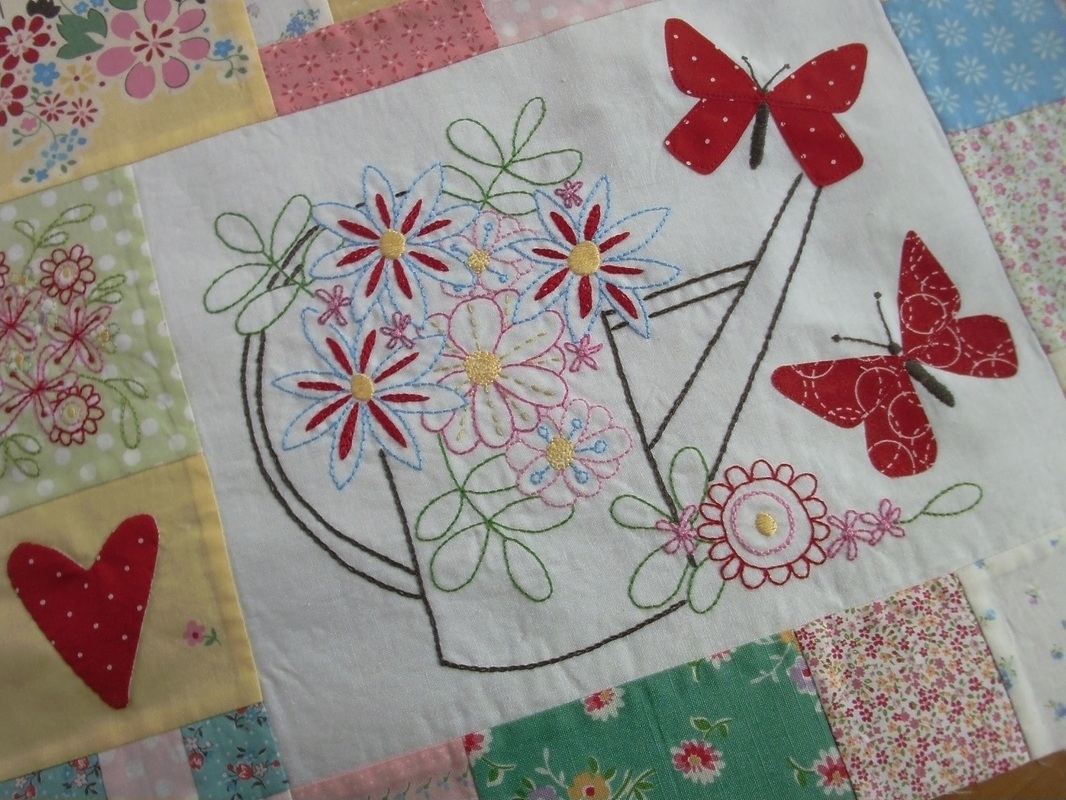
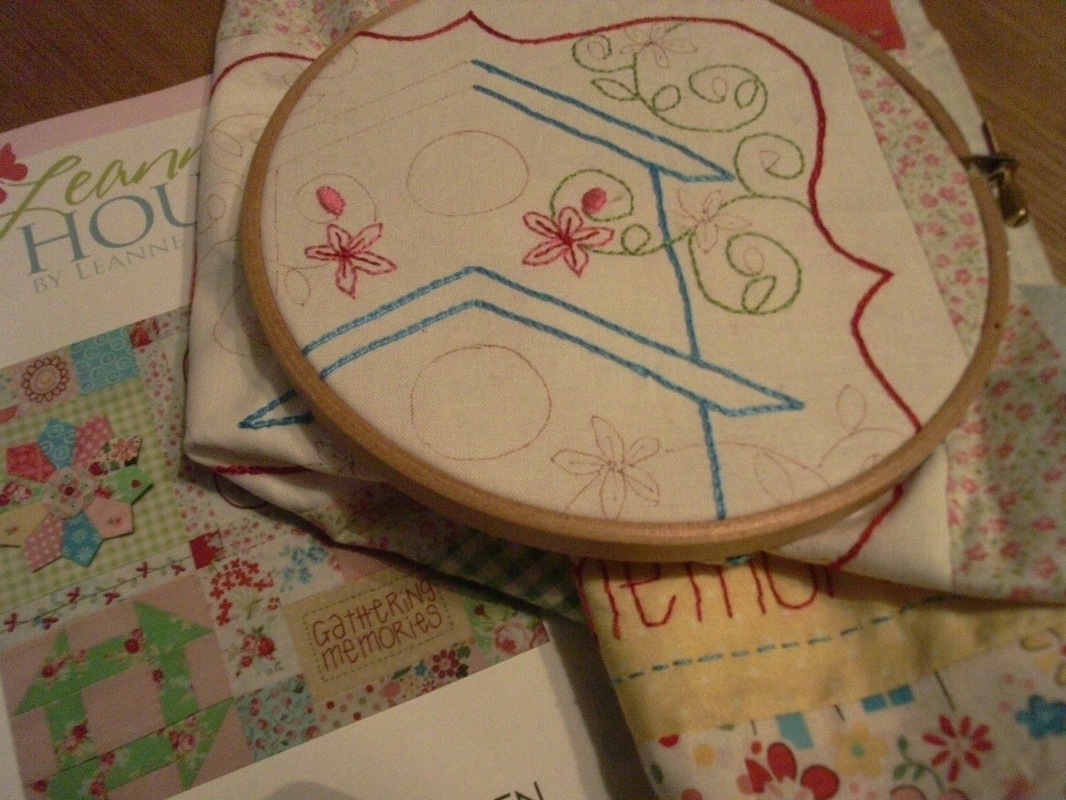
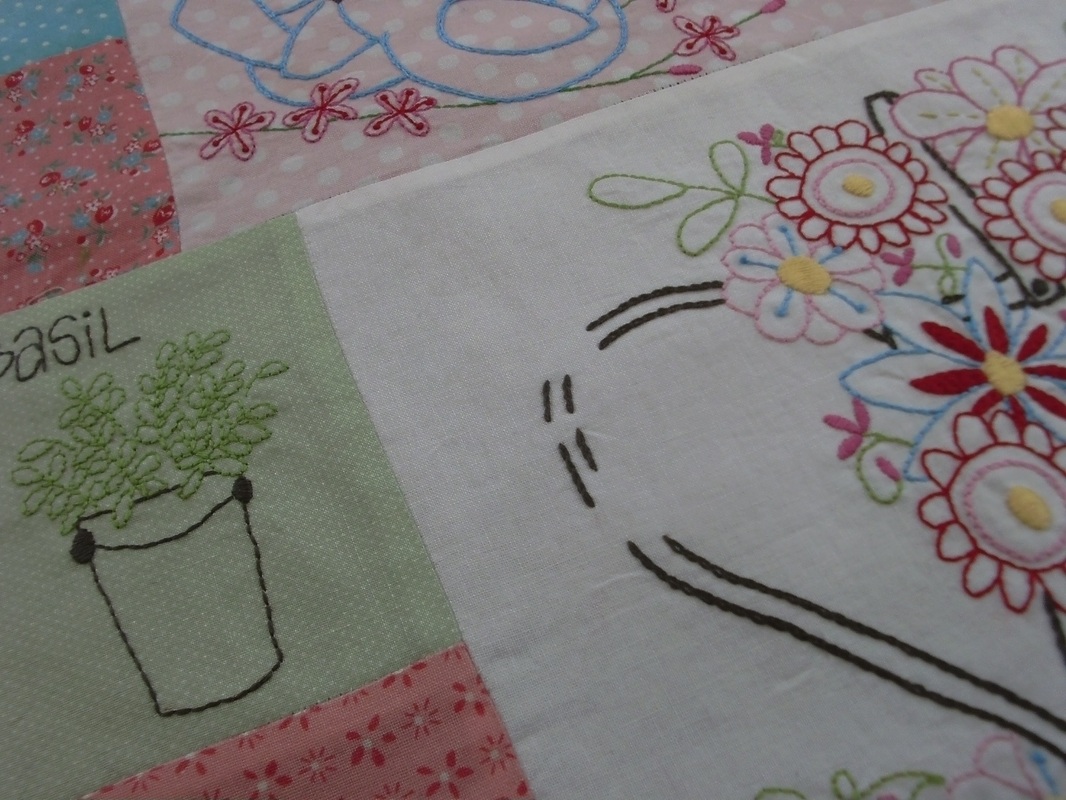
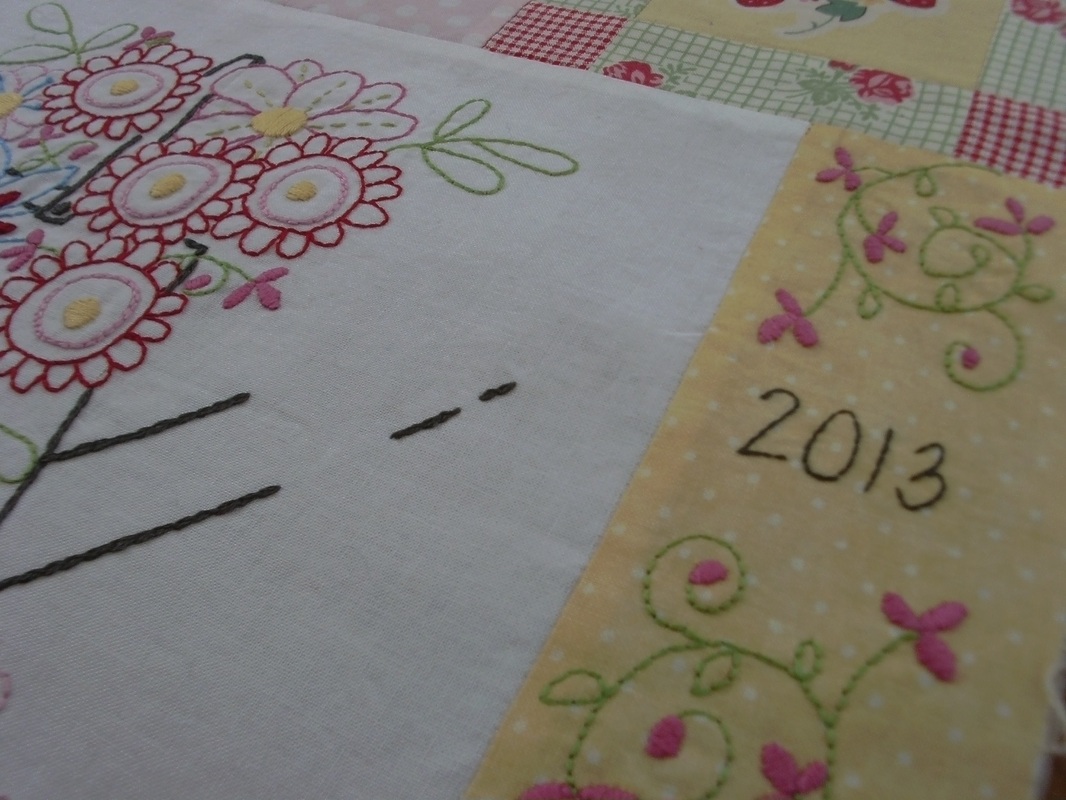
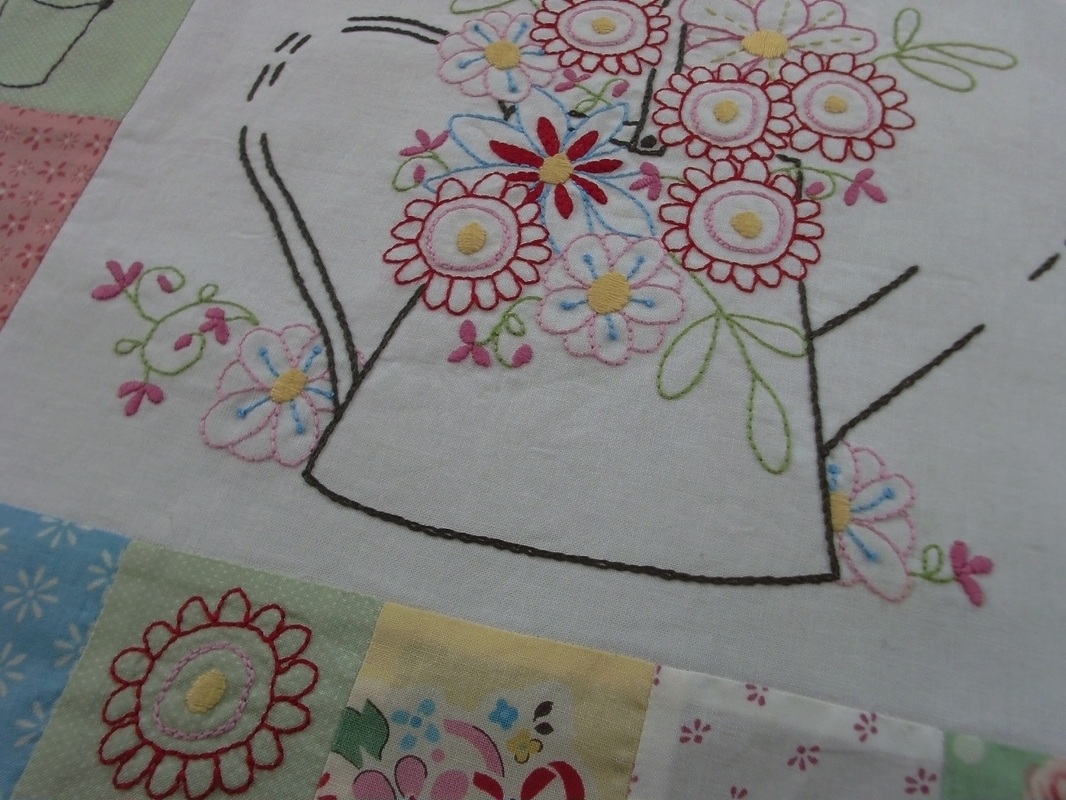
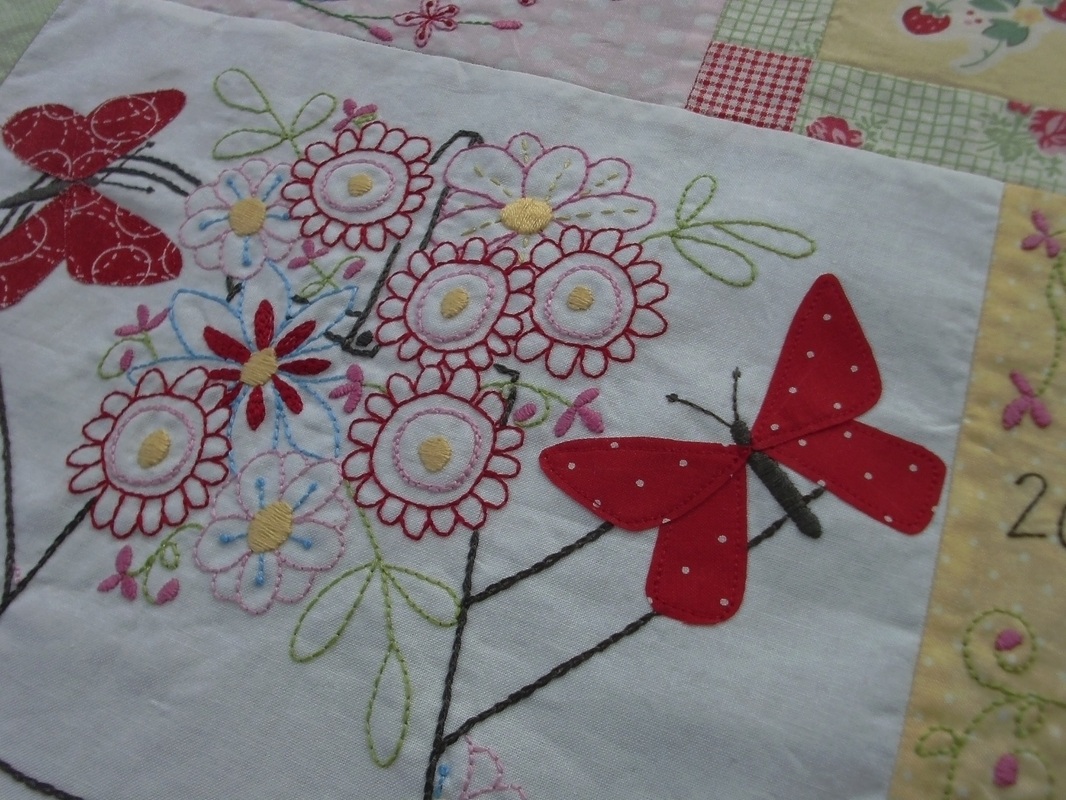
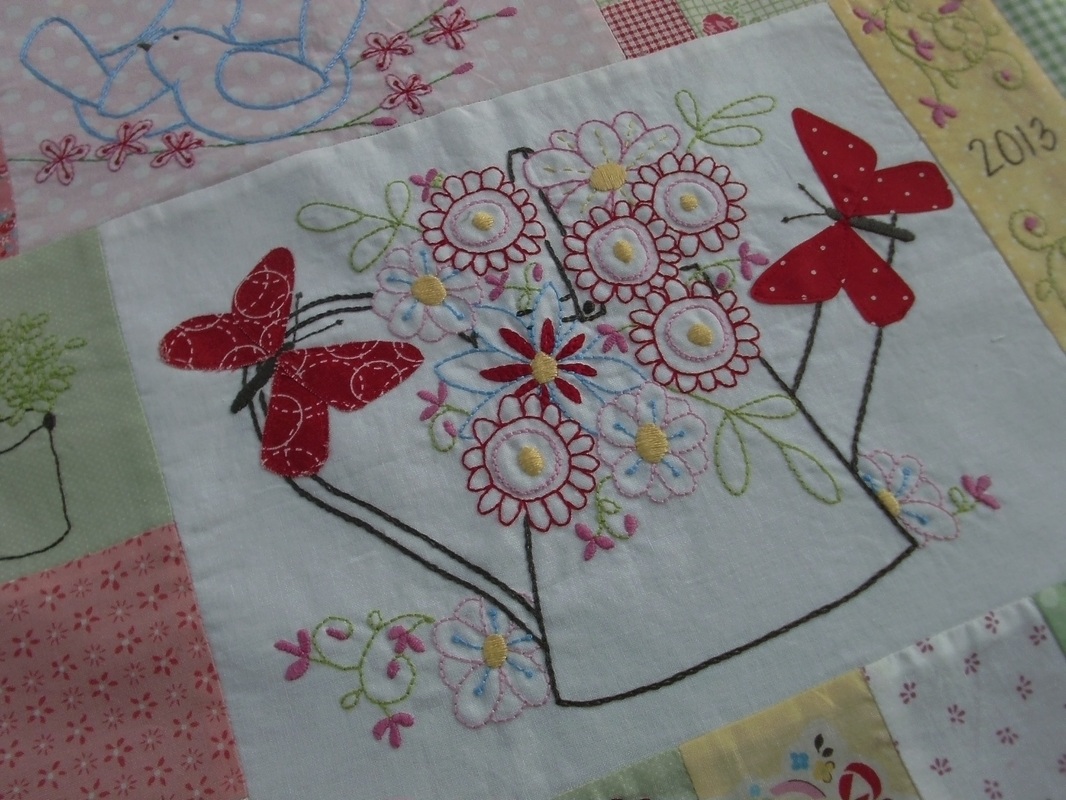
Well I'm getting there at last! This is a BOM "Down In The Garden" by the Australian designer Leanne Beasley, and was initially started last summer. During the winter months I put it to one side to concentrate on other projects. I've finally finished block 4, and this one has only taken me 3 weeks from tracing the stitchery, piecing the mini-blocks and putting the final stitches into place. As you can see from the picture below, the stitchery was completed before the applique... ...again there is a combination of appliqued butterflies fluttering across the block, and an appliqued heart... ...and the centre piece is a beautiful stitchery watering can filled with flowers. Several of my blog followers have asked me where they can purchase these patterns. I initially bought mine from an online shop her in the UK (that has sadly closed down) that used to stock lots of beautiful Australian patterns. There are links on Leanne Beasley's website detailing where these patterns can be bought. Block 5 is much more stitchery-intensive and needs to be prepped. I really need to invest in a super large lightbox as my arms are going to be killing me by the time I've traced only a quarter of block 5 if I carry on taping my patterns onto my conservatory window! I've got a small A5 size lightbox which is ok for small projects, but I really NEED a bigger one!
1 Comment
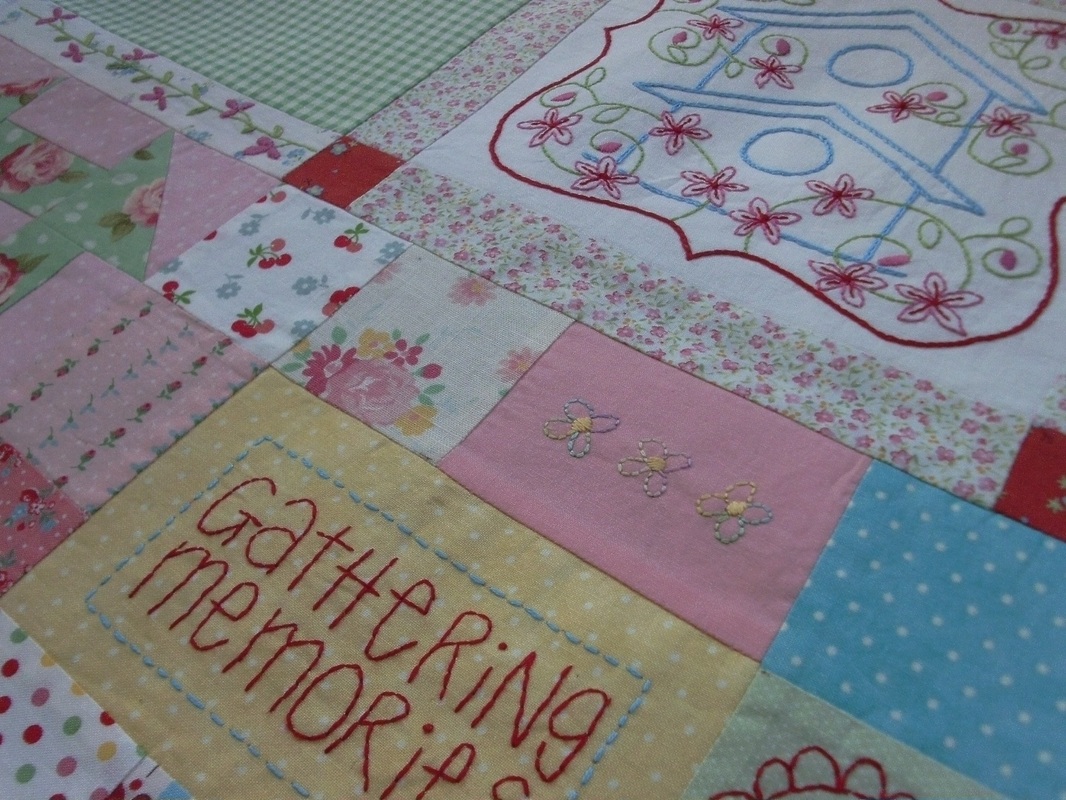
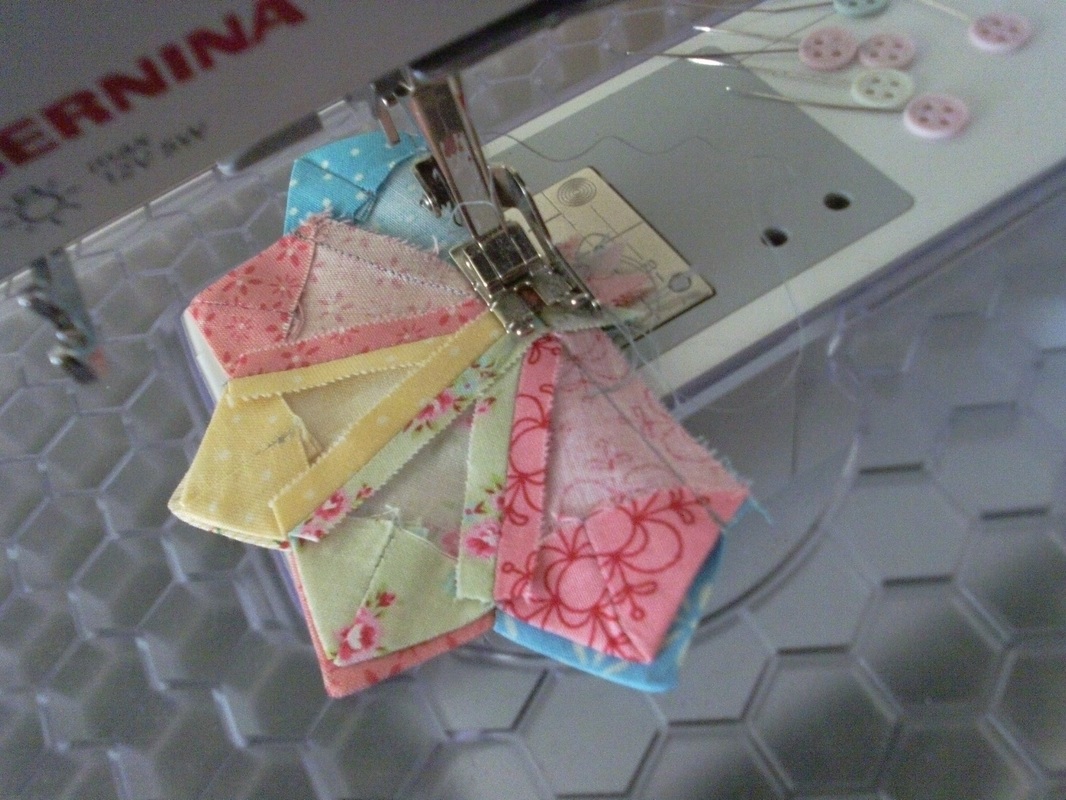
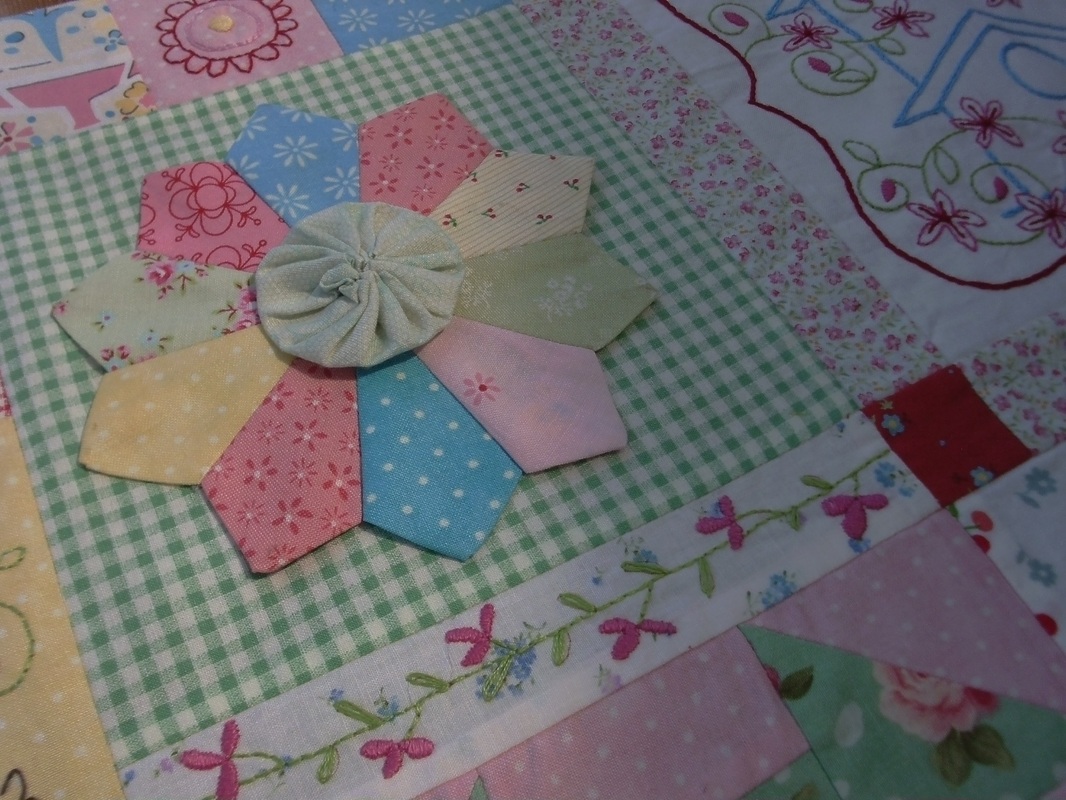
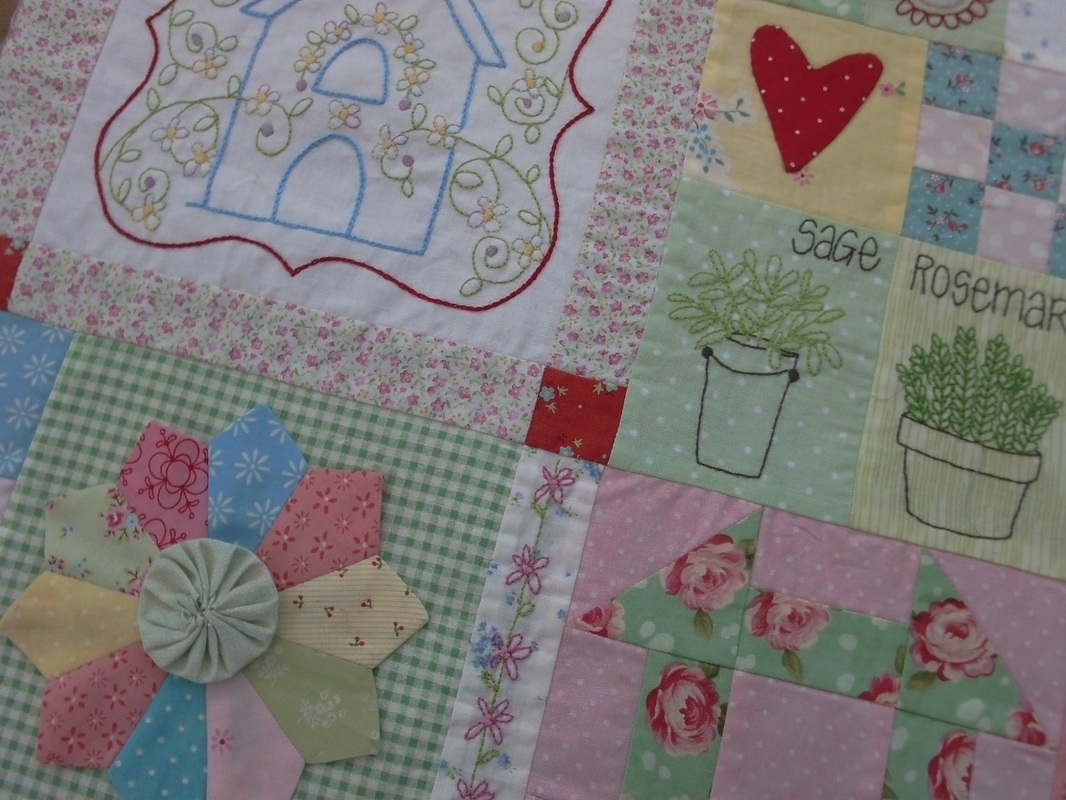
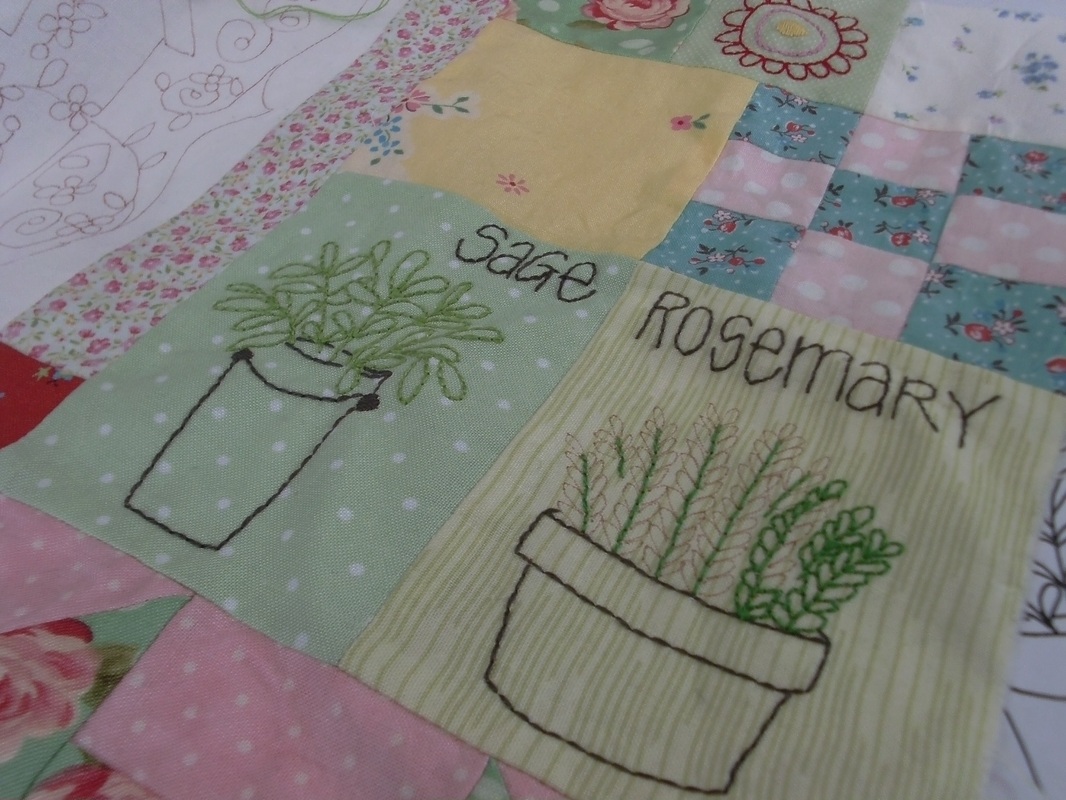
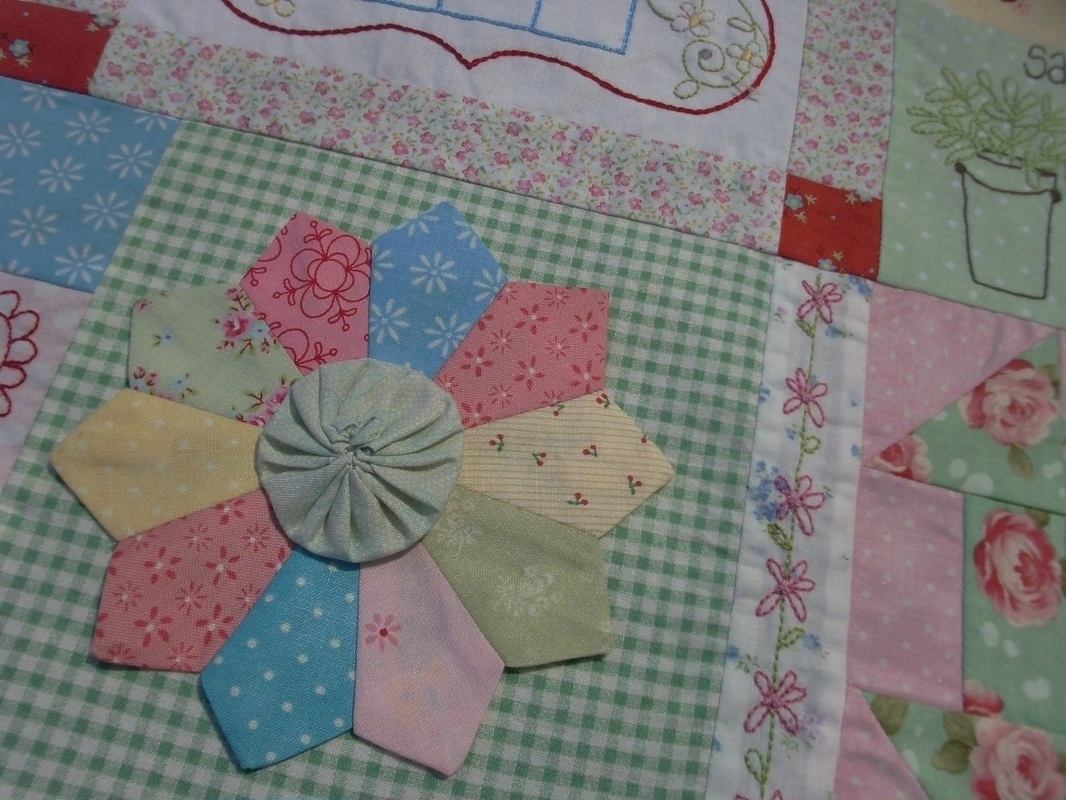
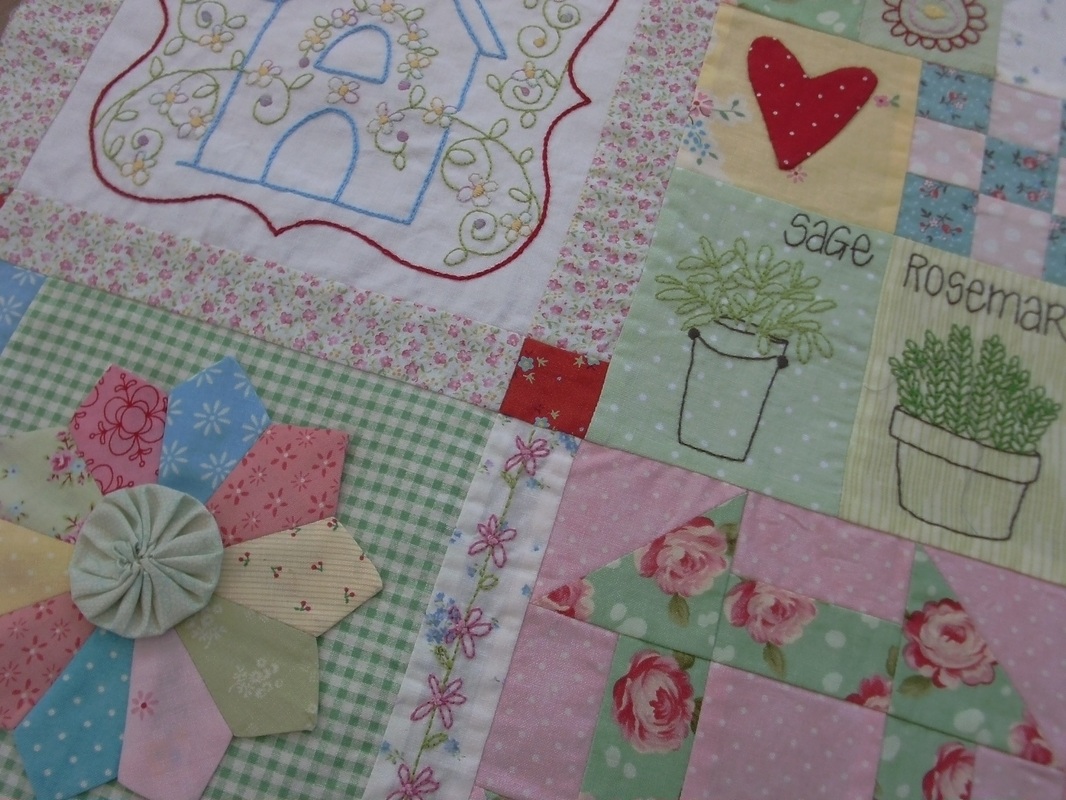
I made a start on stitching this block back in September 2013, then other projects sort of took over, and it was put back in a box until a few weeks ago. Stitching this has been very relaxing, especially early in the morning when everyone is still asleep... ...another mini-dresden plate adorns this block, and I did a short-cut method by piecing these together by machine and then they are appliqued into place using a neutral coloured silk thread, with a Suffolk Puff in the centre. I finally made a batch of these mini-dresden plates this morning, and couldn't believe how quick I made the 2nd, 3rd and 4th one... ...these 3 blocks form row 1 of "Down In The Garden" (designed by Leanne Beasley). Block 4 beckons, and as I've already completed the stitchery for it, I just need to prepare the applique - more pictures soon!
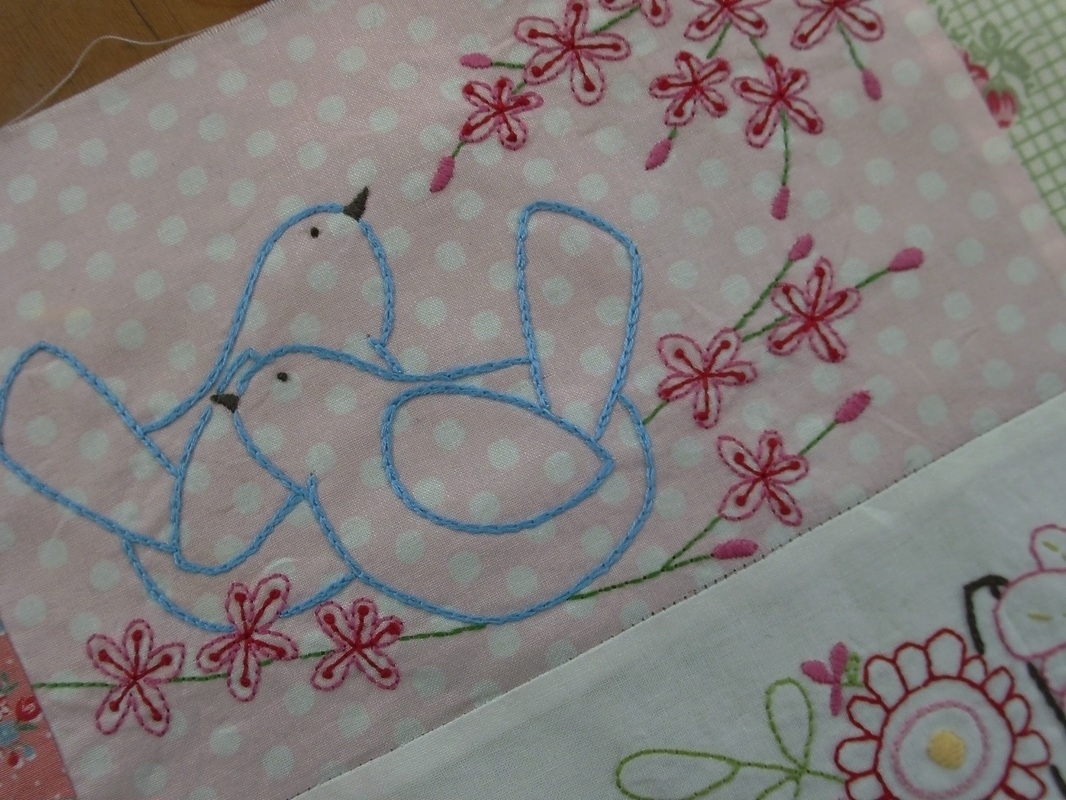
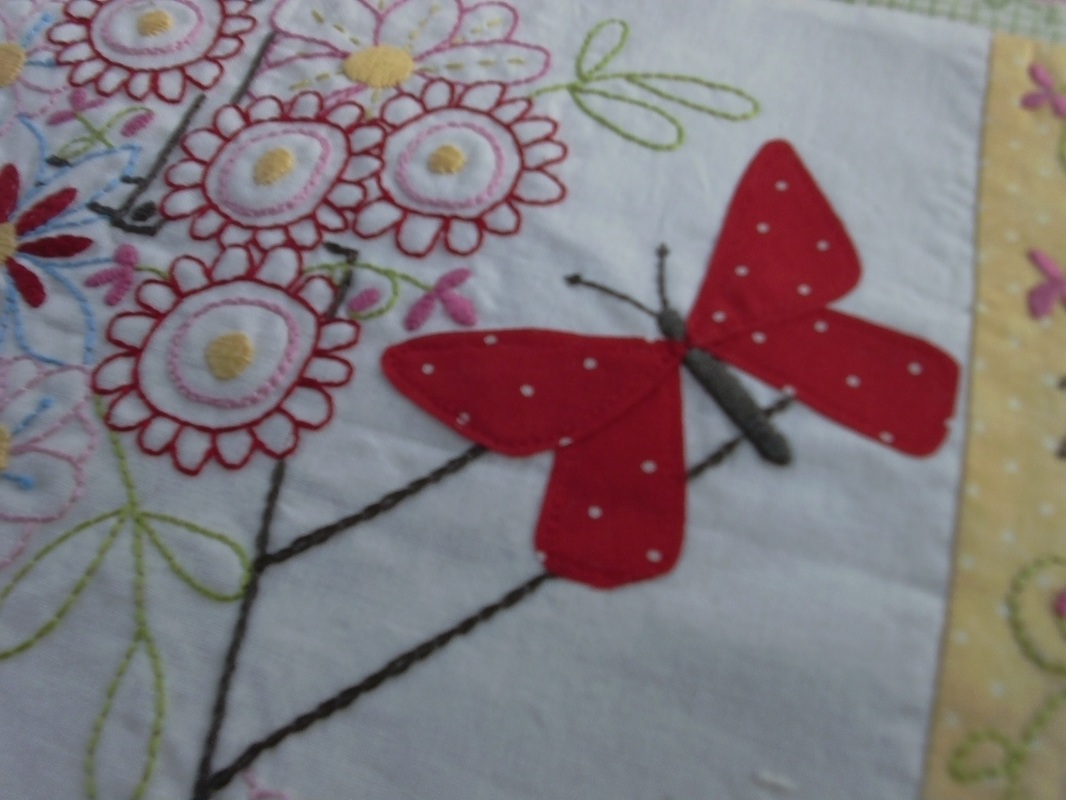
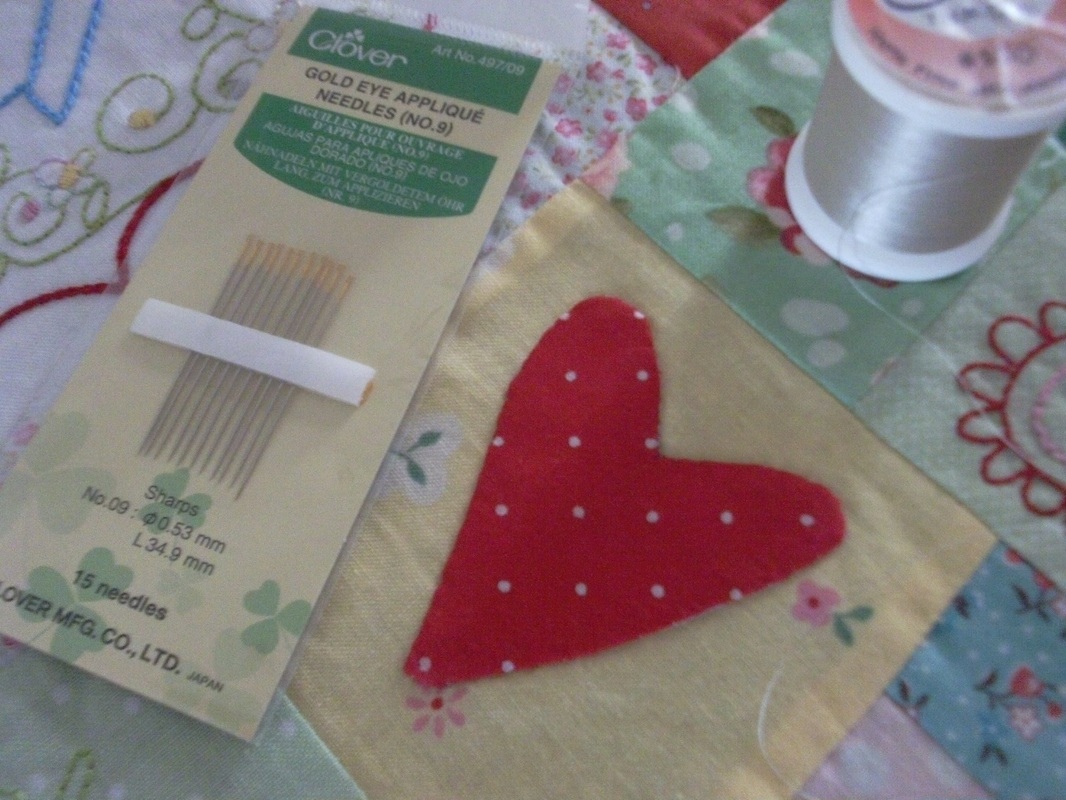
I actually did the stitchery on this block last year, and finished the applique this morning! Well my satin stitch was CERTAINLY improving by the time I'd moved onto Block 2 of "Down in the Garden" BOM (designed by Leanne Beasley) - well, it really couldn't get much worse after the fiasco of the bird's beaks! I used Leanne's tip of stitching around the outline with back stitch first of all, then sewing the satin stitch, and I must say it certainly looks much neater. This project uses DMC threads, and I've been using a size 9 John James embroidery needle for the hand stitchery... ....these cute blue birds are stitched with tiny chain stitch, (I am SO glad I removed the original mini-block and replaced it - these birds really do look SO much better) and the watering can is stitched the same way. Loving this bouquet of flowers!!..... .....pretty red appliqued butterflies adorn this block, and look so cute fluttering among the flowers. Needle turn applique isn't a technique that I'm particularly good at, so I decided to use raw-edge applique with fusible interfacing to secure them into place... ...time for a final press, and I'm ready to make a start on the applique for Block 3!!
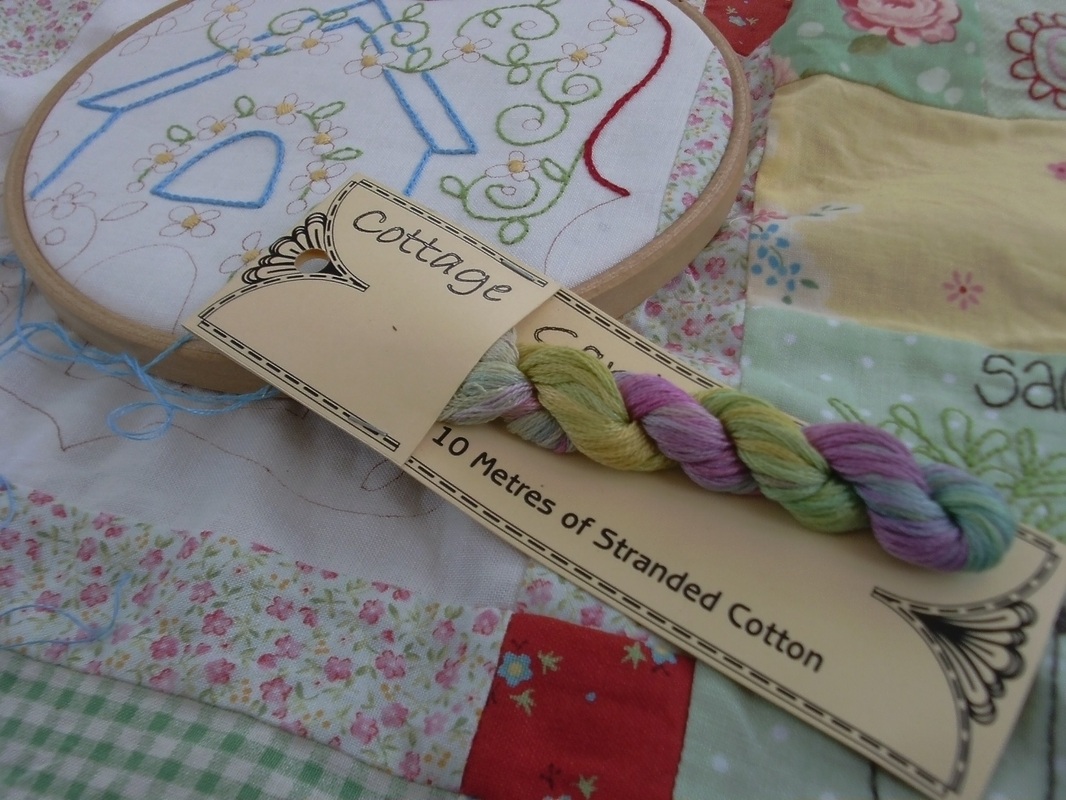
Last year I started this BOM "Down In The Garden" by the Australian designer Leanne Beasley. Lots of techniques were used to complete Block 1 and I am so thrilled with it!! Piecing mini blocks, fussy cutting, more piecing to make the large block, stitchery, stitchery and MORE stitchery, and my first time of using Cottage Garden threads - hand dyed stranded cotton, already cut into lengths and absolutely divine to sew with!... ...well I really enjoyed the stitchery, but put off doing the rest for several months. These mini-dresden plates were a bit tricky (I'd never actually made a dresden plate before, so turned to my very crafty sister for some expert help). I didn't really like the middle discs as per the pattern, so made some Suffolk Puffs instead, and this was secured into place with a dab of Roxanne's basting glue before being stitched down.The applique hearts have been sewn into place with a very small slip stitch using a neutral coloured silk thread...... ...this really does look so pretty - goodness only knows why I didn't prepare these dresden plates and hearts last year. Although the first one took a little while to master, I decided to get the other 3 made while I still had my machine threaded! Now to get the butterflies on Block 2 stitched into place!
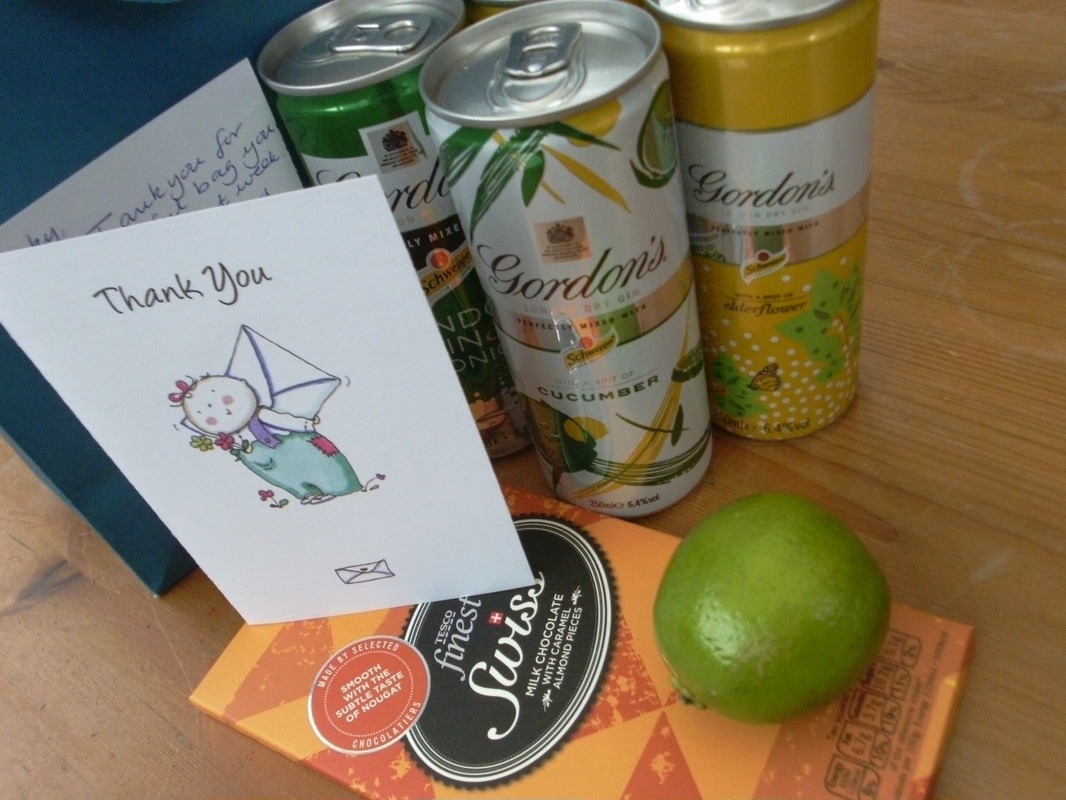
Well this picture isn't really quilty-related, but do you remember the tote bag that I made last week for my friend Sue with her beautiful left-over batiks? Well just look what was waiting for me when I got home from work this evening. Gin-in-a-tin, AND a lime, AND chocolate too - thank you SO much Sue. You know me so well ;) and I'm so glad you were pleased with your bag!
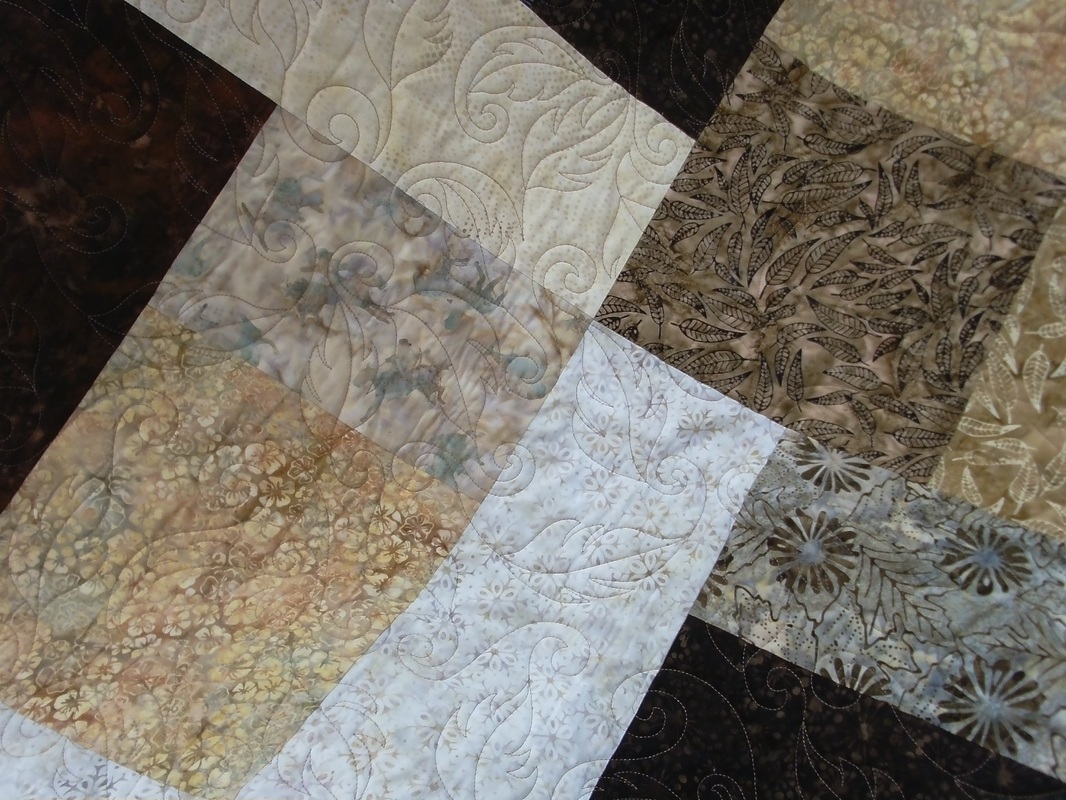
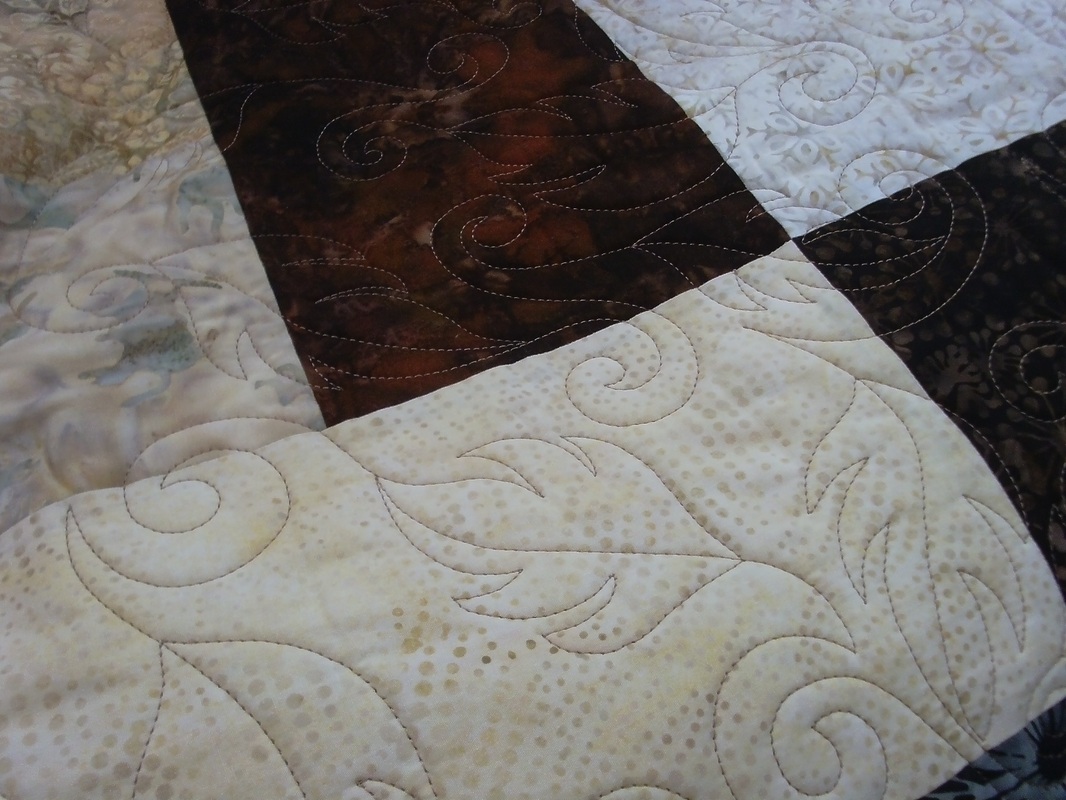
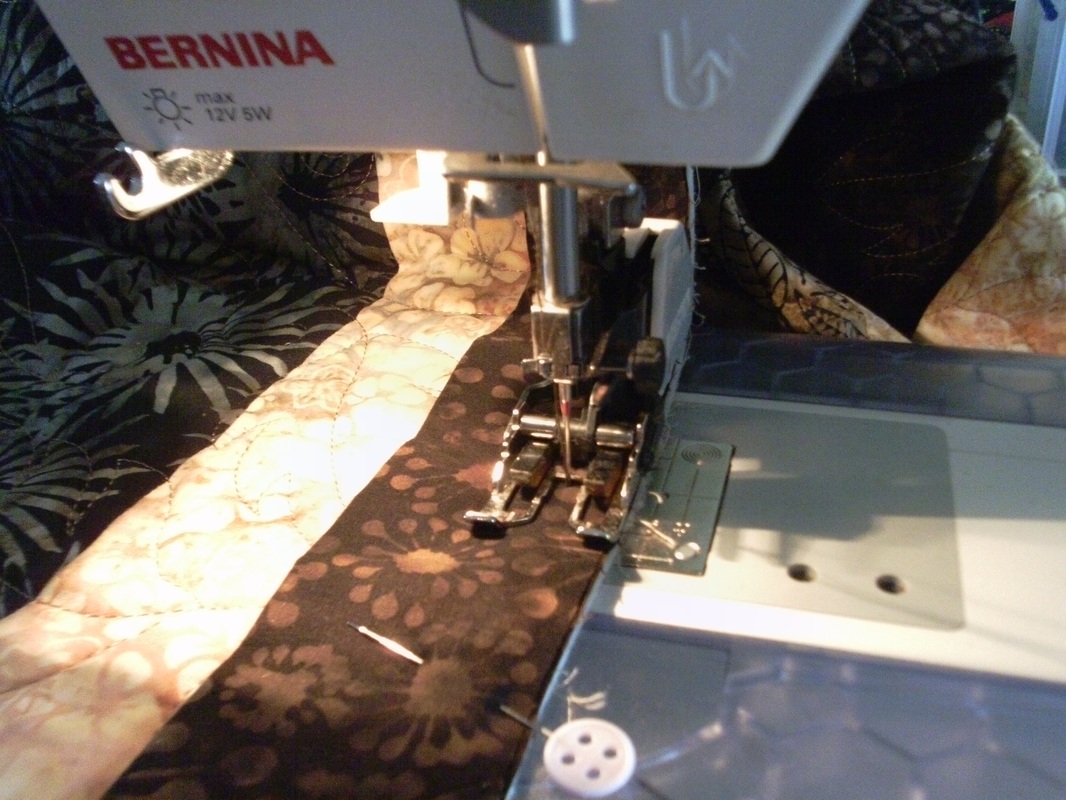
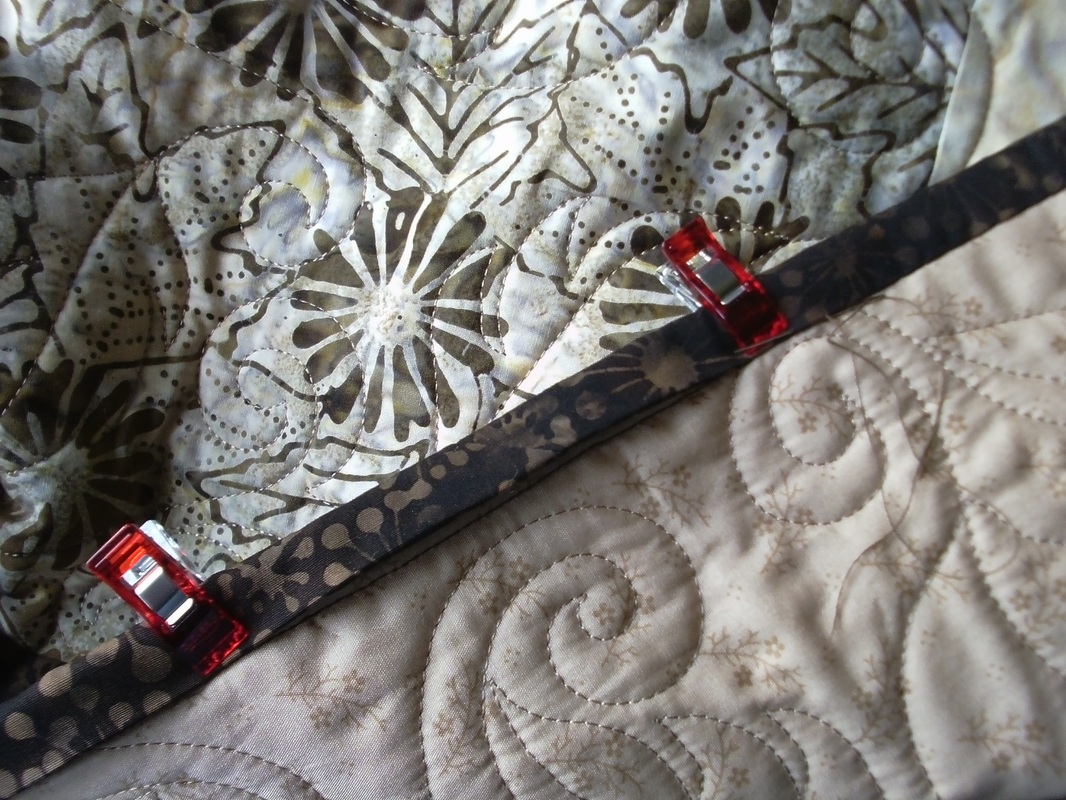
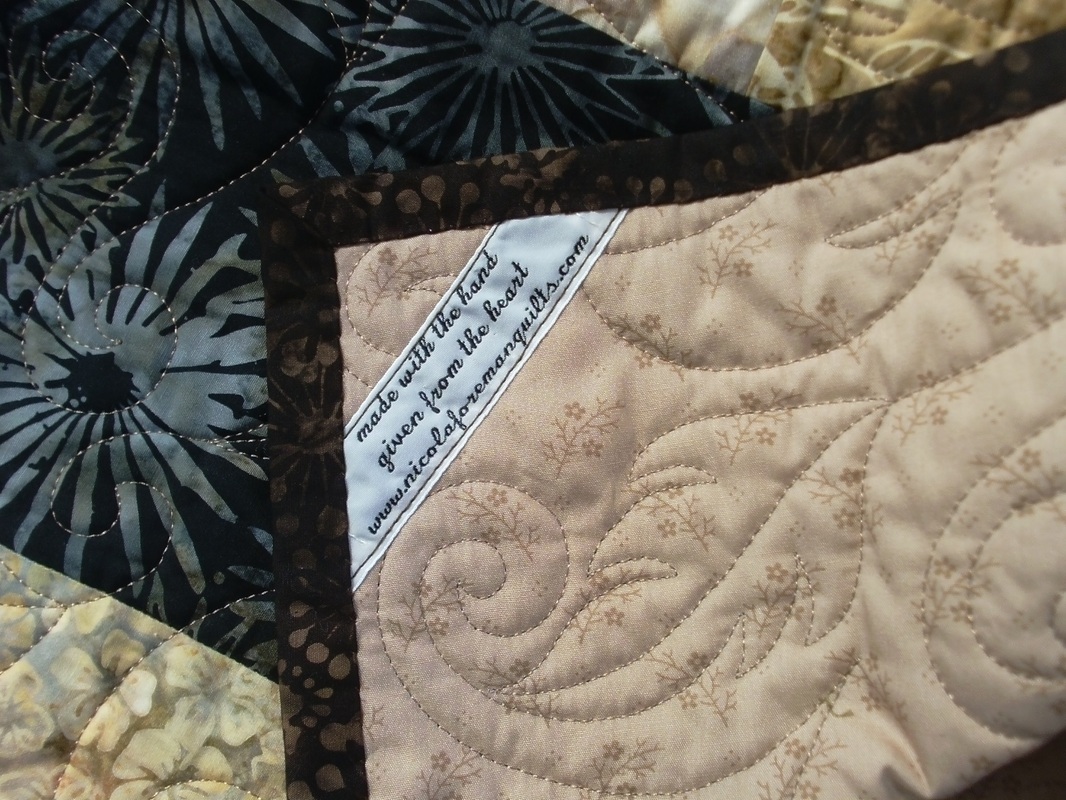
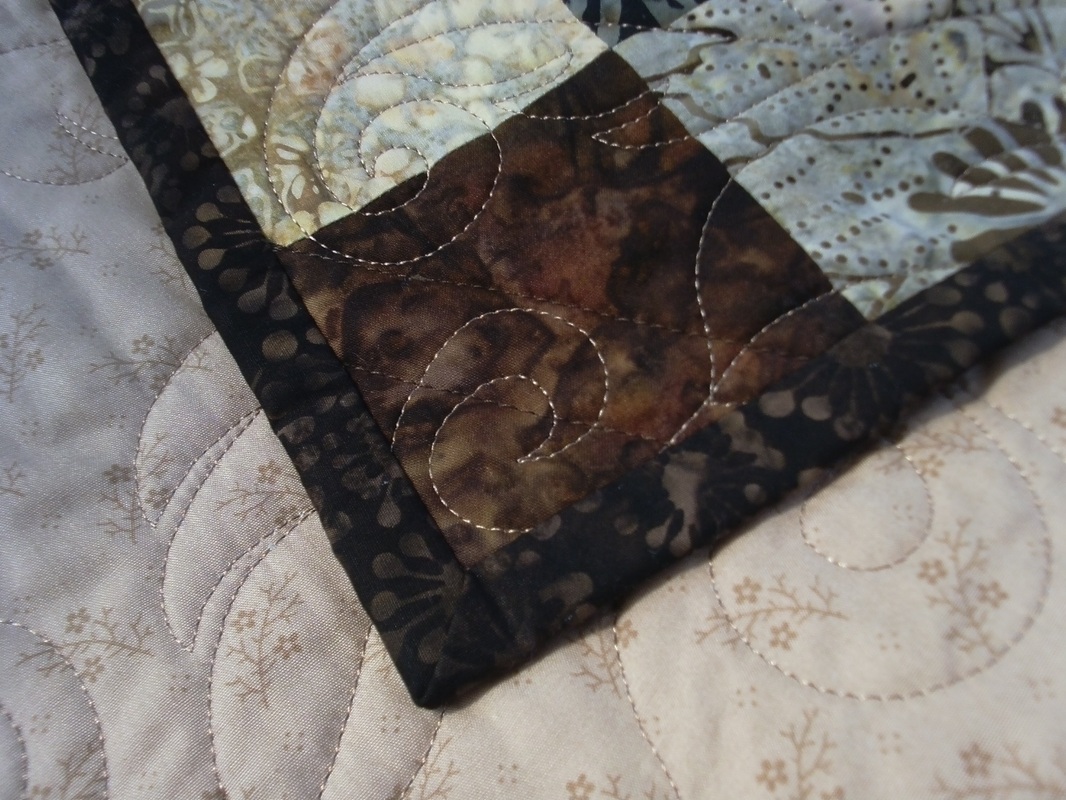
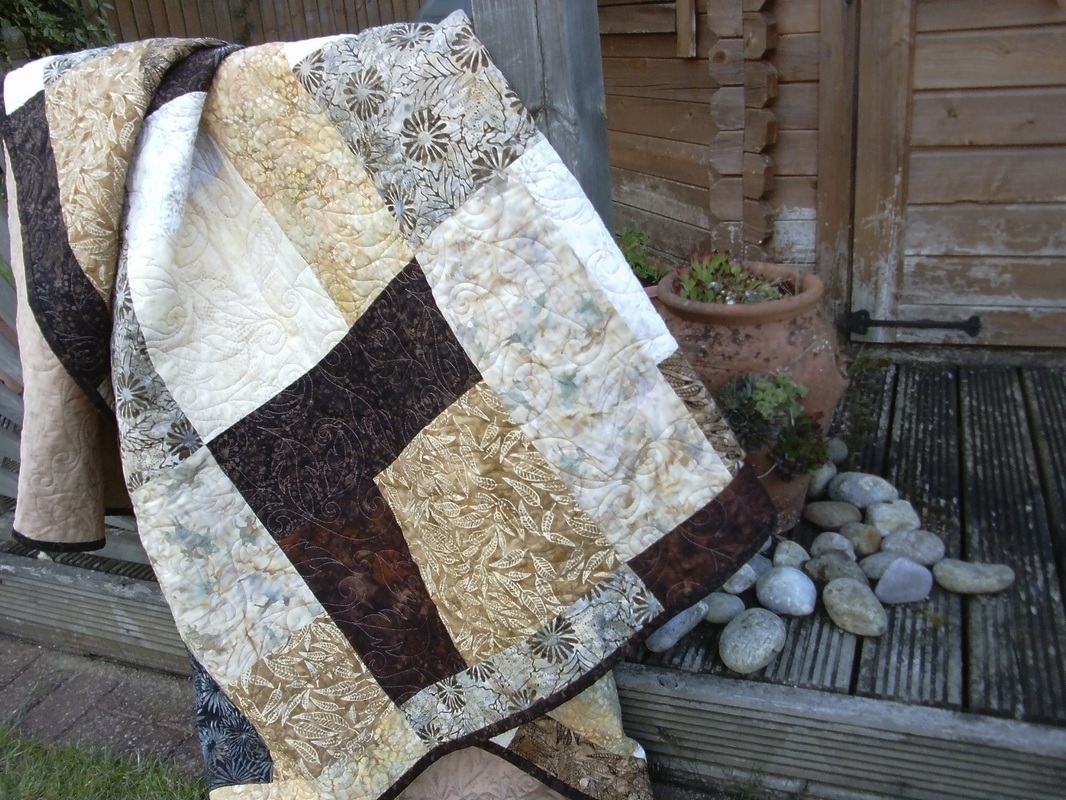
My batik "Turning Twenty" quilt has been longarm quilted by Janette, and she has made it look absolutely beautiful. This was a really simple quilt to piece together, and the "Turning Twenty" pattern is designed by Tricia Cribs. We chose a swirling leaves quilting design, which looks great on both the dark and light coloured batiks... ...initially I was going to use one of the batiks with the leaf design for the binding, but didn't have enough, so on Saturday I made a mercy-dash to Sew and So's and decided to go for this rich dark brown batik (this was also used in the quilt). I prefer wide bindings for larger quilts, so cut my binding strips 3.5" wide, joined the strips with mitred seams, folded the binding in half and machine stitched it into place 0.5" from the edge of the quilt. Luckily my walking foot is 0.5" wide, so I can easily use the edge of the foot as a guide. Janette used a Moda extra wide fabric for the back, which really compliments the batiks on the front of the quilt. These Clover Wonder Clips are brilliant at holding the binding in place while I hand sew it to the back, using ladder stitch... ...nice sharp mitred corners, and I'd already machined one of my labels into place across one corner. This dark brown binding is very effective, and really frames this quilt... ...and here is the finished quilt. I really am absolutely THRILLED with this one, and it looks even better draped over my sofa than it does draped over my decking!
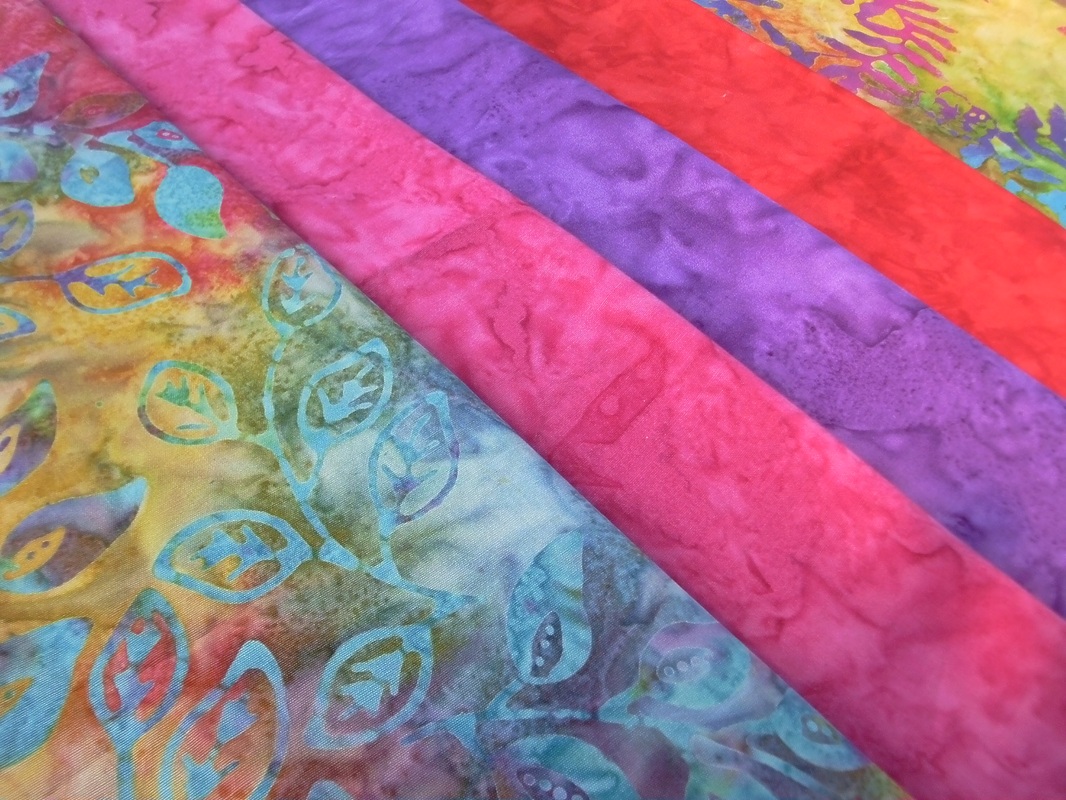
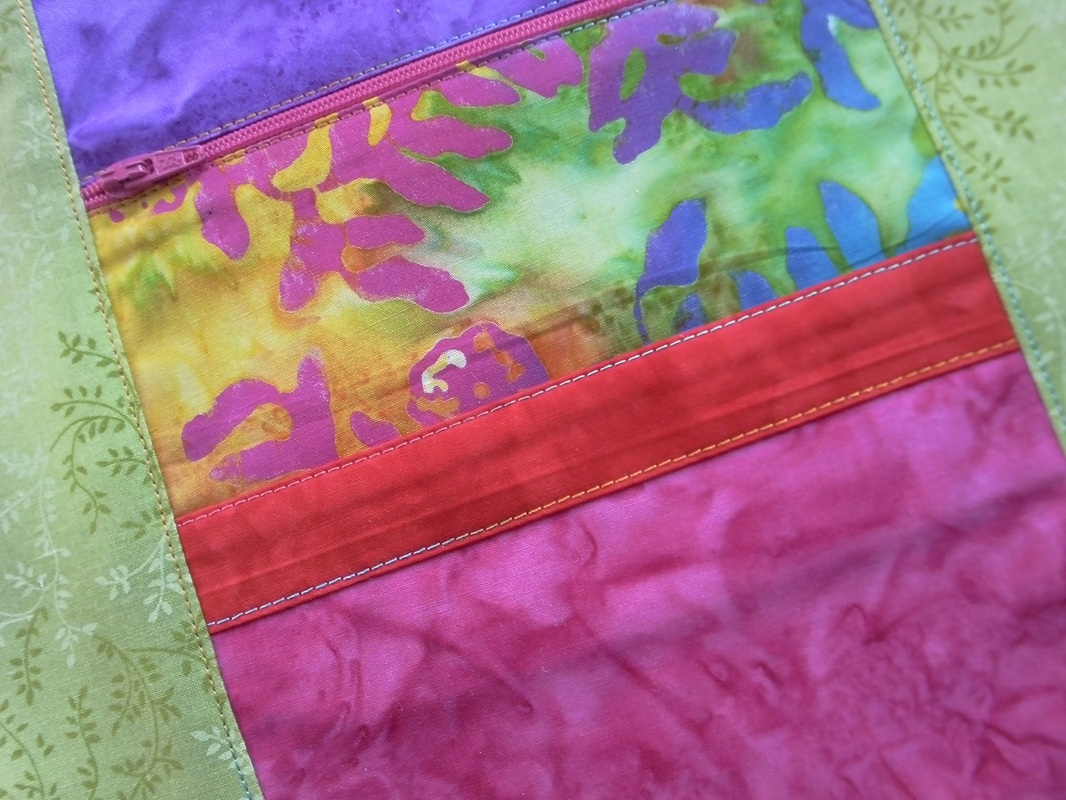
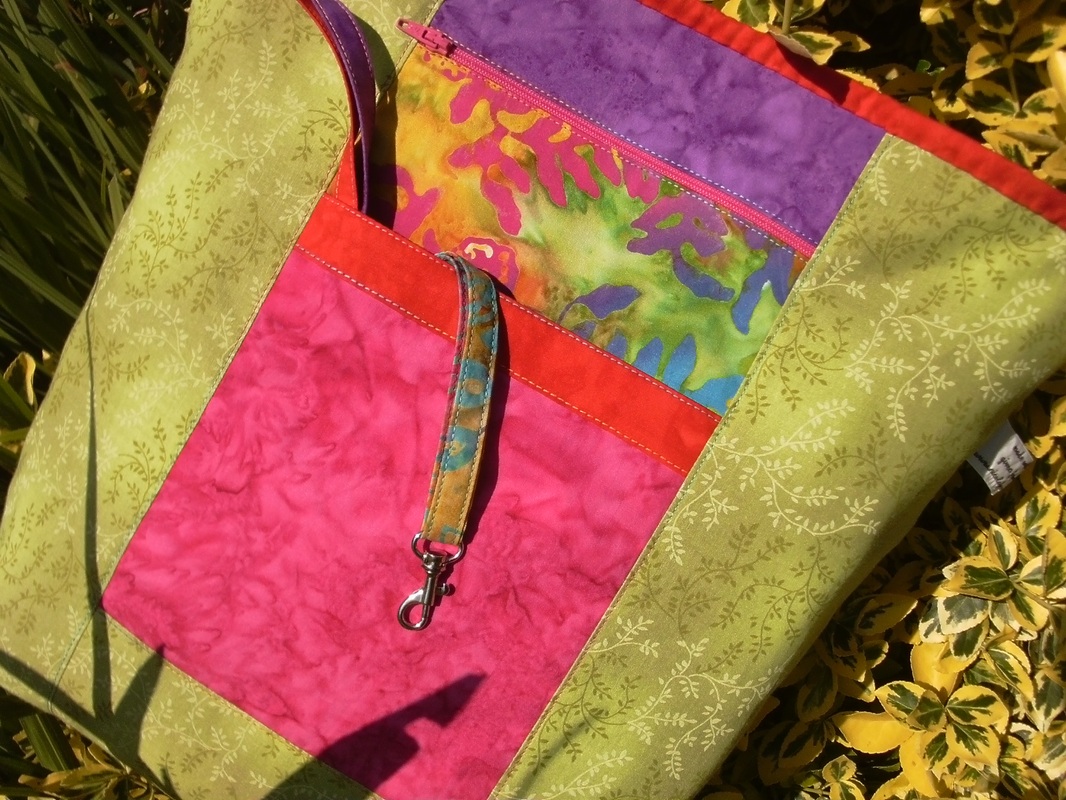
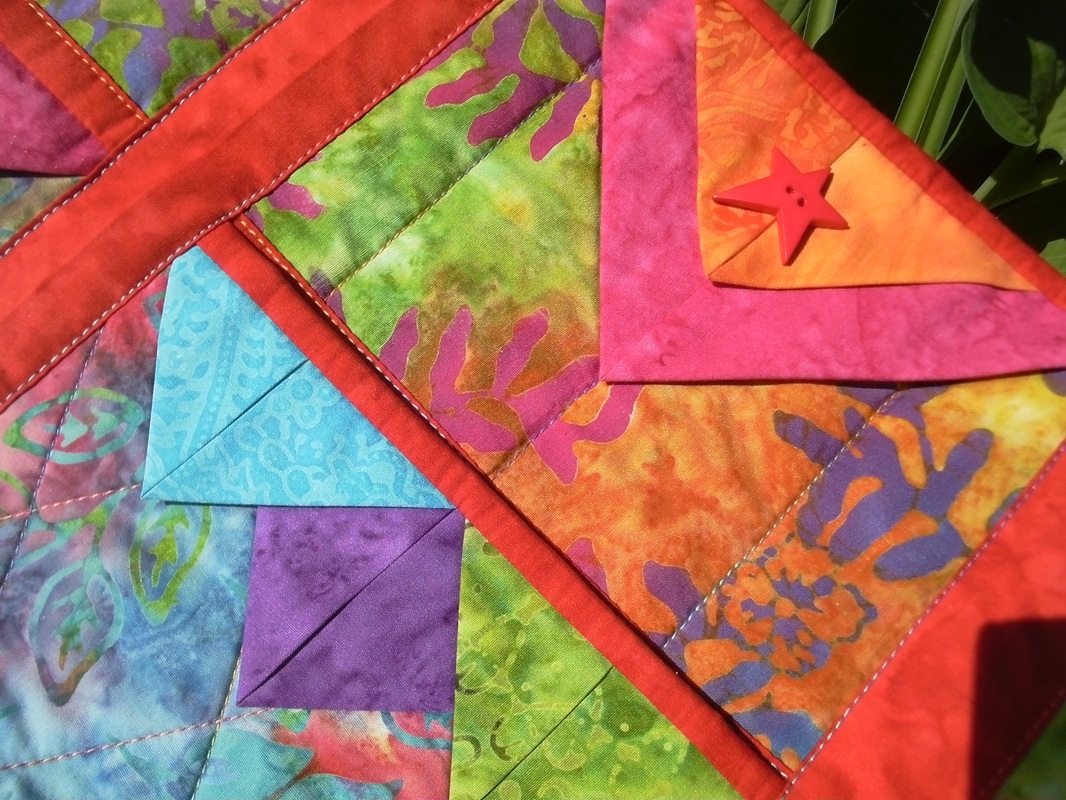
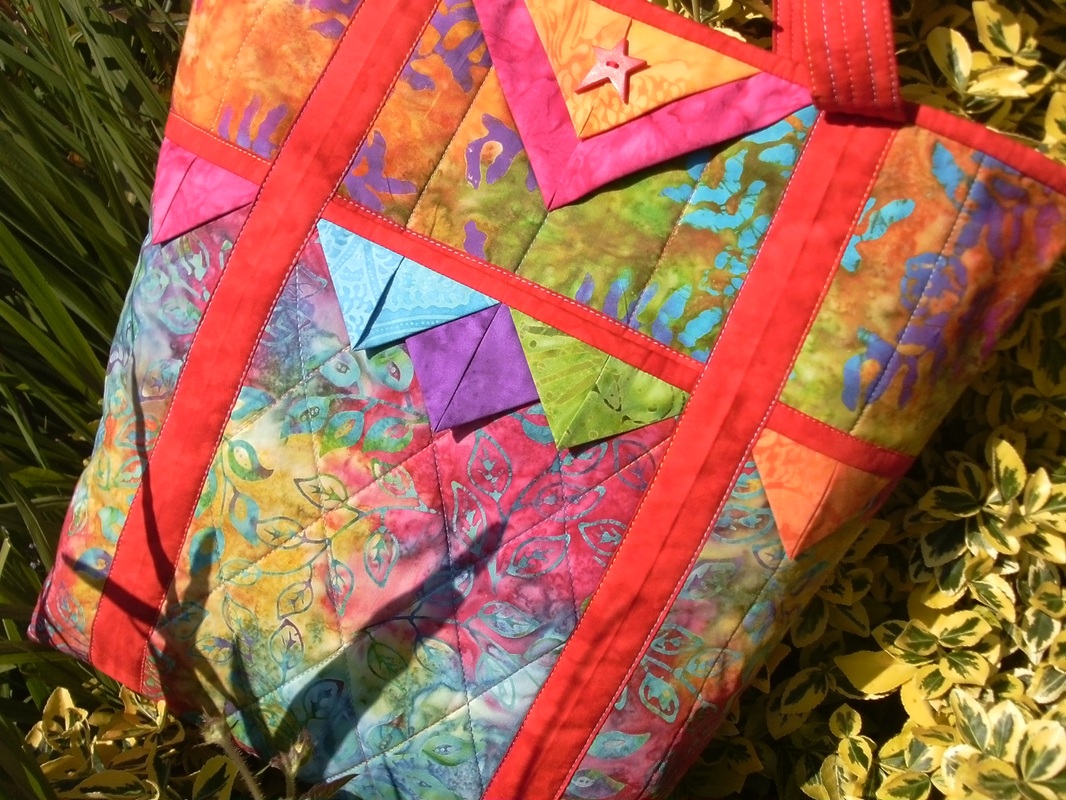
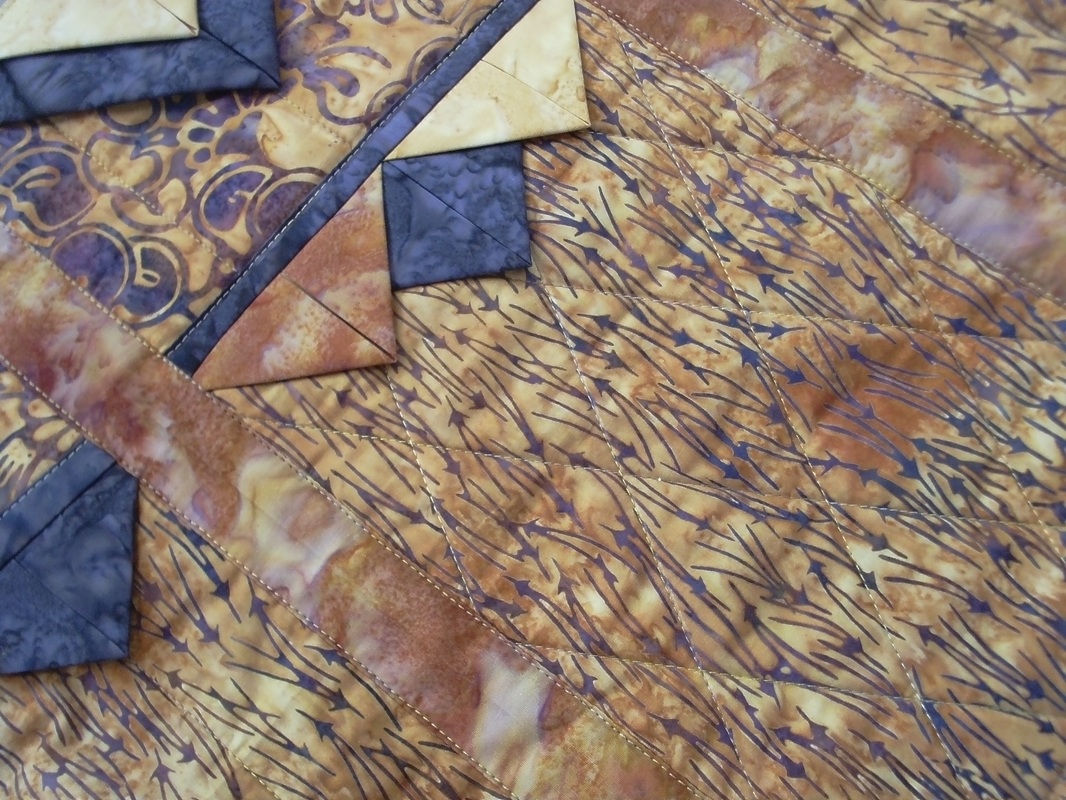
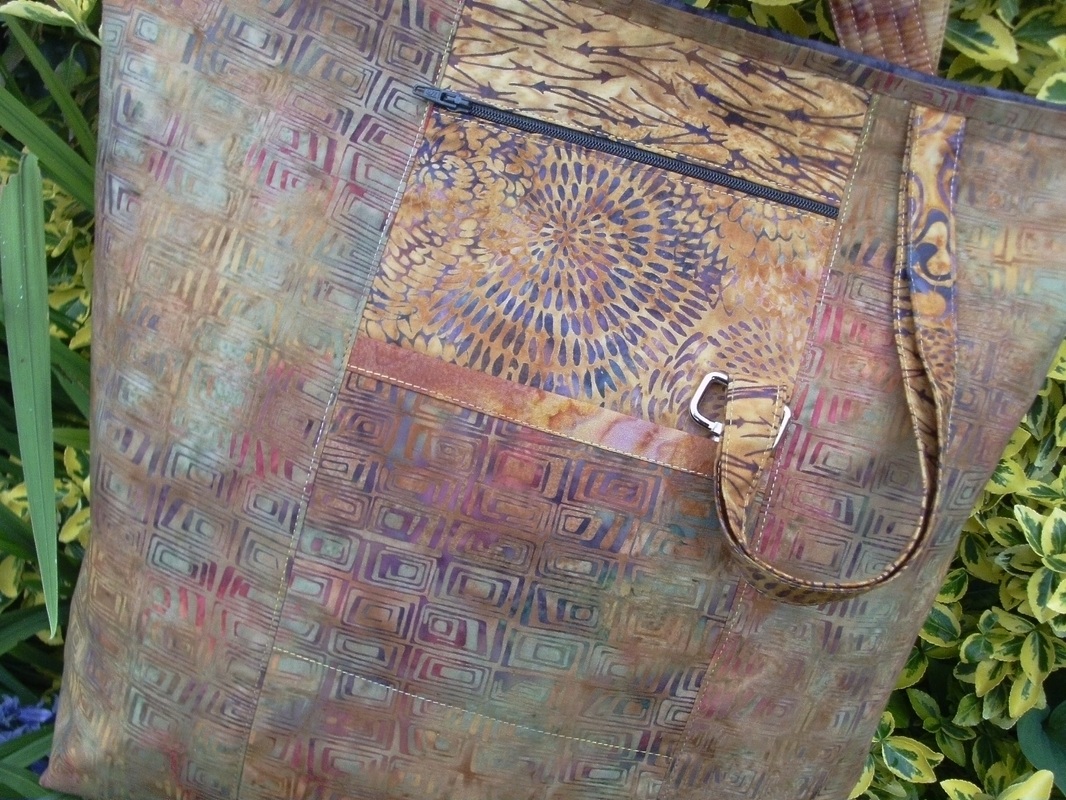
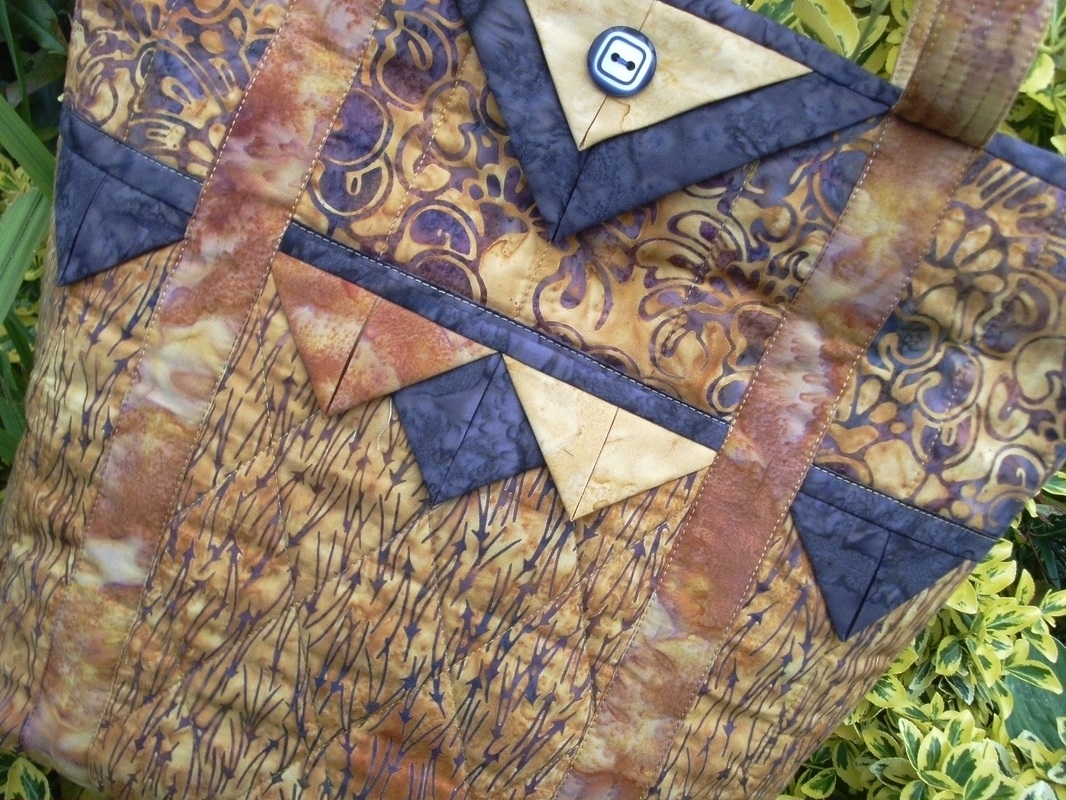
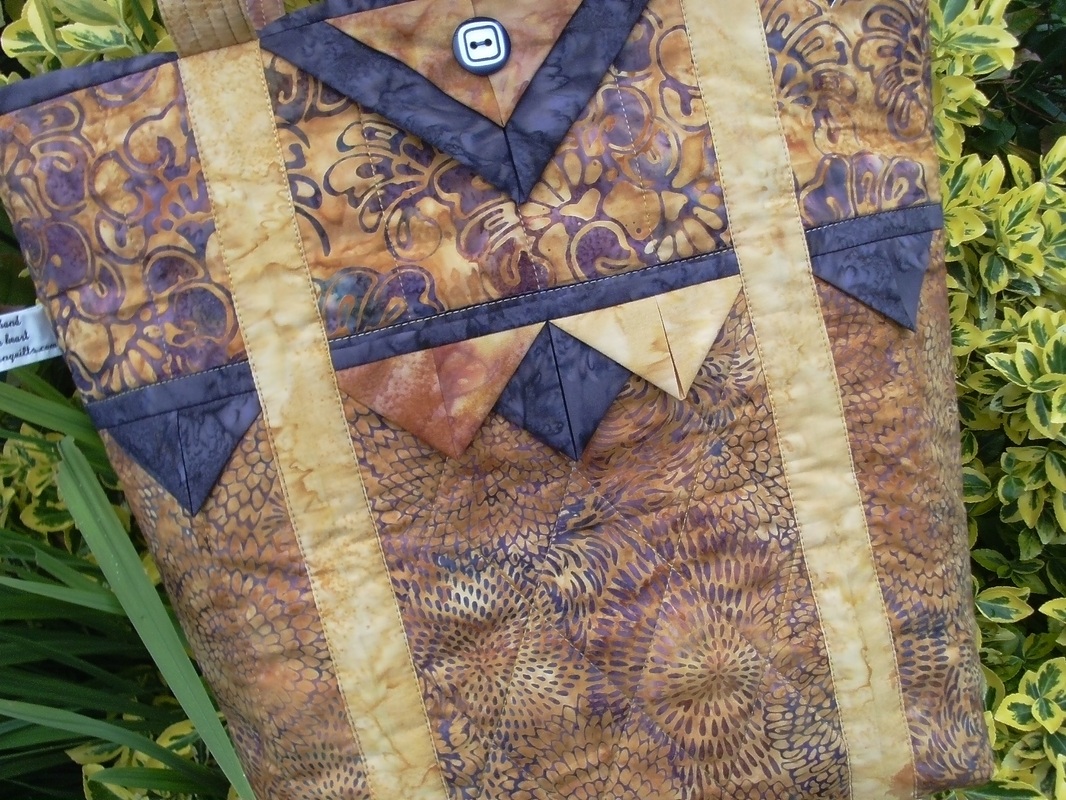
My friend Sue is going on a very special holiday, and asked if I could make a tote bag for her to take with her, using these beautiful batiks that were left over from a quilt that she'd made. Well as you know I love batiks and I love making bags, so putting the two together and I said yes straight away. She had already chosen the pattern "På Quiltelaup" by the Norwegian designer AnnAKa. Well I was in batik-heaven sewing with these beautiful fabrics. I made a pocket panel using some of the smaller scraps, and a fuchsia pink zipper that matched perfectly. This panel is based on a pattern by Elizabeth Hartman... ...I used a YLI variegated thread "Great Barrier Reef" for the quilting. The lining fabric (one of my favourite colours!) was also left-over from Sue's quilt. It's great making super projects without having to buy anything new! I added a couple of scraps from my batik box - orange, turquoise and and of course lime green for some of the Prarie Points, and added a red button as the final embellishment... ...I hope Sue likes this as much as I do! I really enjoyed making this for her, and hope she gets as much enjoyment out of using it as I did making it!
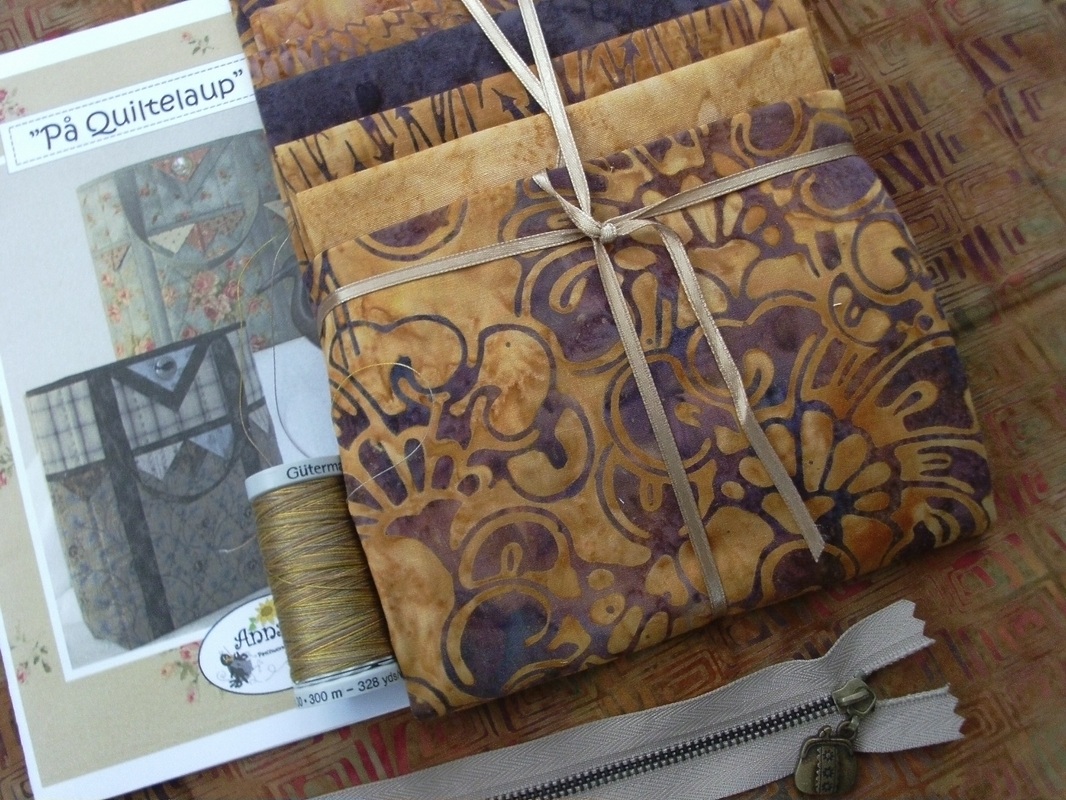
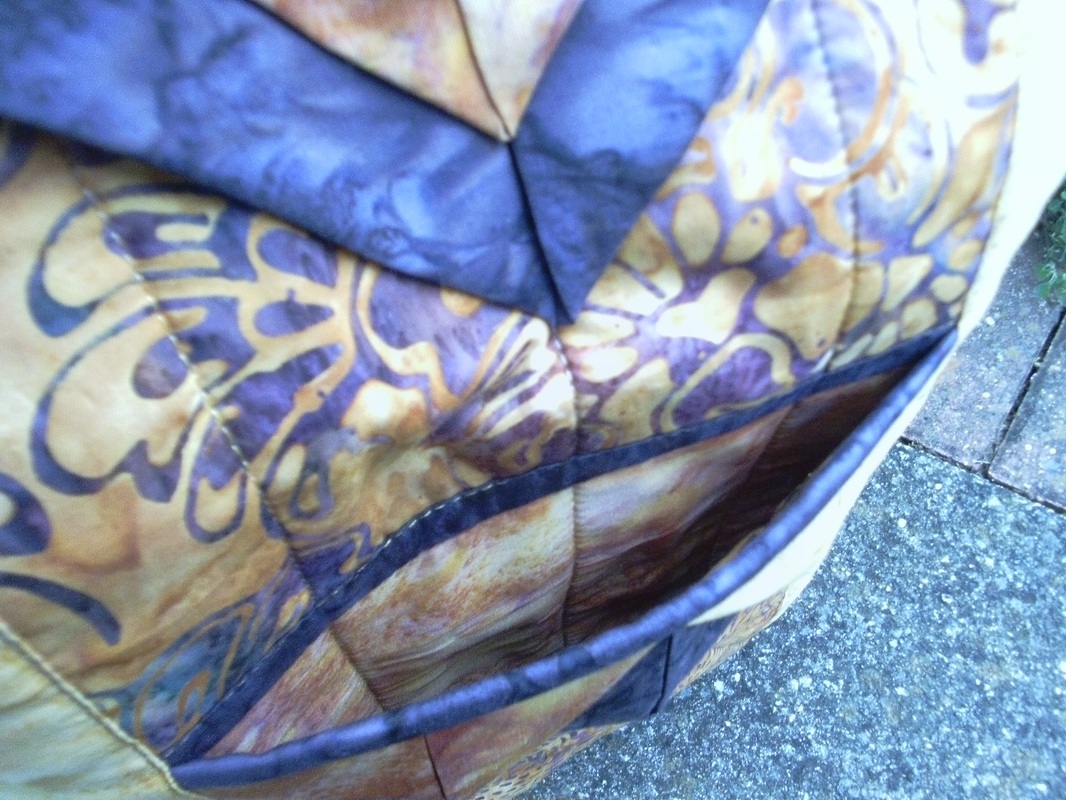
This selection of batiks has been in my stash for simply ages - and I decided at the weekend that I really NEEDED to put them to good use! I used an AnnAKa pattern that I have used several times before, called "På Quiltelaup" and set to work, cutting and stitching and quilting. I used a Gutermann Sulky variegated thread that I bought a couple of weeks ago from the "Cosy Cabin" when I went to a Quilt Guild regional day. This bag has a "secret" pocket on the front and the back of the bag... ...I added my own twist on this bag, by adding internal pockets (I used a pattern by Elizabeth Hartman for this - it's my favourite method for internal zippered pockets) and also a special clip for keys -there's nothing so annoying as not being able to find your keys and having to rummage about in the bottom of your bag for them!!... ...and finally the large Prairie Points on the front of the bag are decorated with 2 buttons to secure them in place. This was made with a 5 fat quarters of batiks for the bag, the binding, the Prairie points and the pockets both inside and out, and a half metre of fabric for the lining.
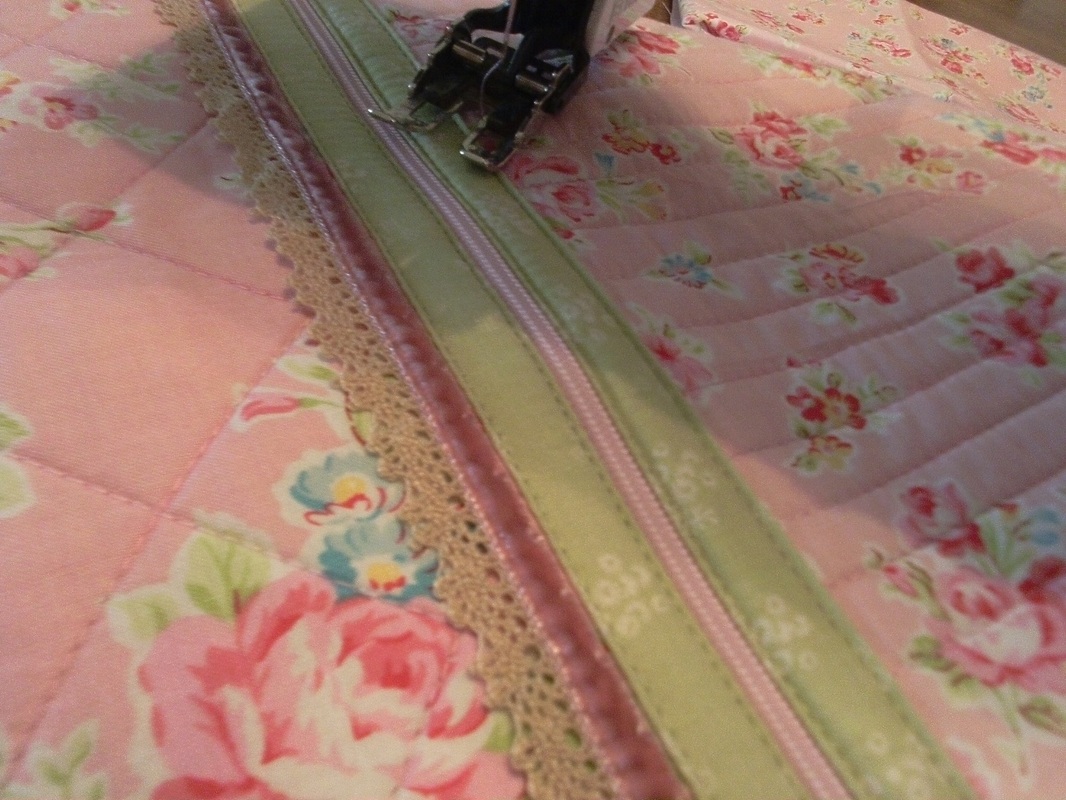
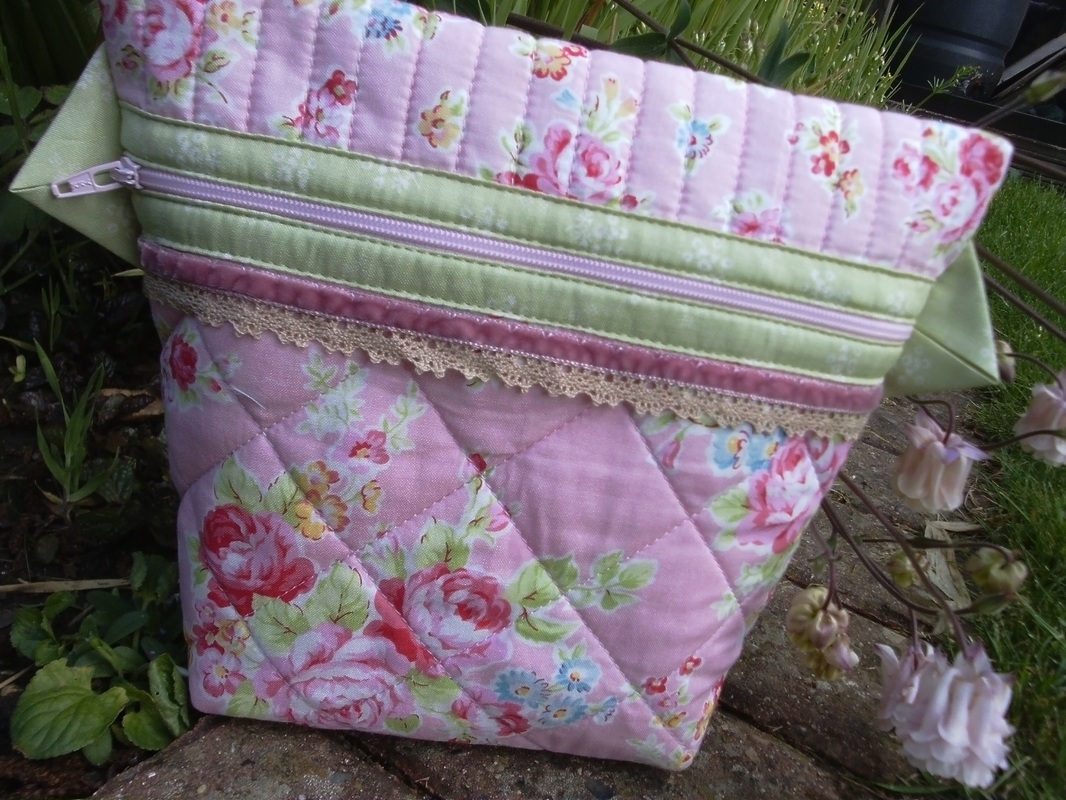
What to do on a rainy Saturday morning? A rummage through my box of Lecien fabrics, and I found these that are mostly from the Flower Sugar III range. I needed to make a gift for a very special person who has a birthday in a couple of weeks, so set to work using the pattern "Anna's Sminkepung" by the Norwegian designer AnnAKa. I thought I'd used the last piece of this gorgeous lace-trimming, but found it screwed up in my box of zippers! I've still got some in different colours, but this is the last I had in this colourway. I've been desperately searching for more, but so far I've had no luck... ...the beautiful soft green fabric was left over from the Butterfly Garden quilt that I'd made a few years ago, and was perfect for the binding along the opening of this bag. Now I just need to buy a few more "pink" bits and bobs to tuck inside and it will be ready for the birthday girl!
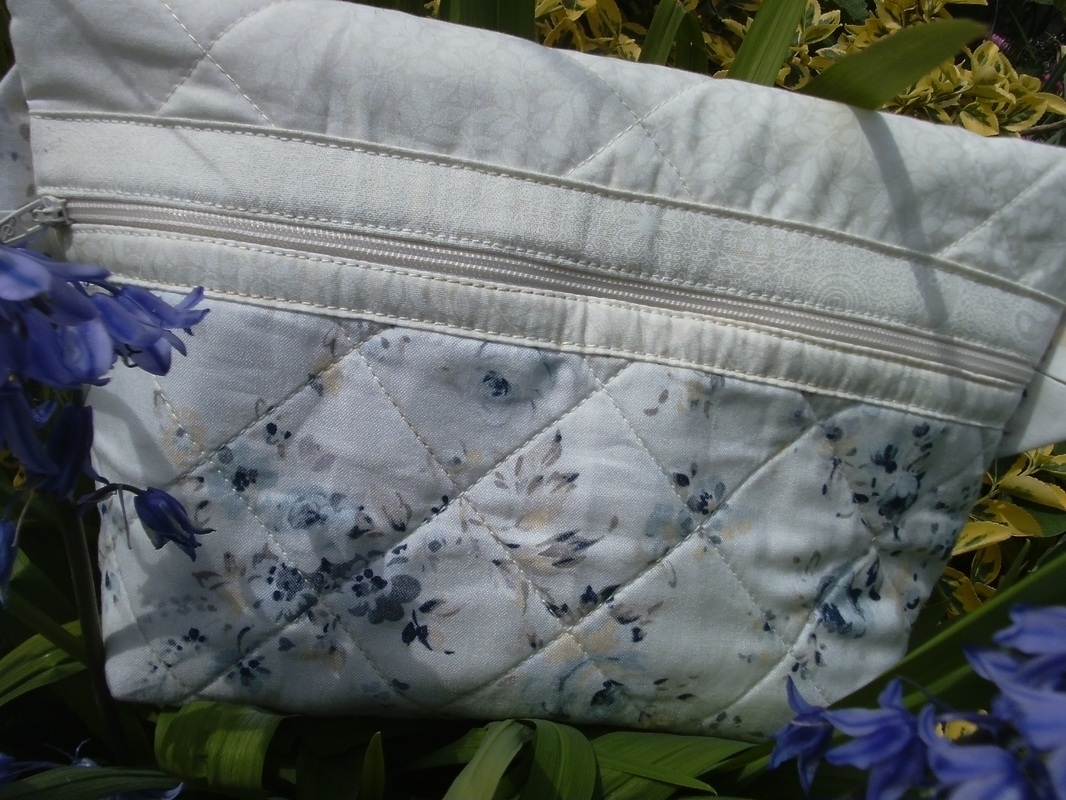
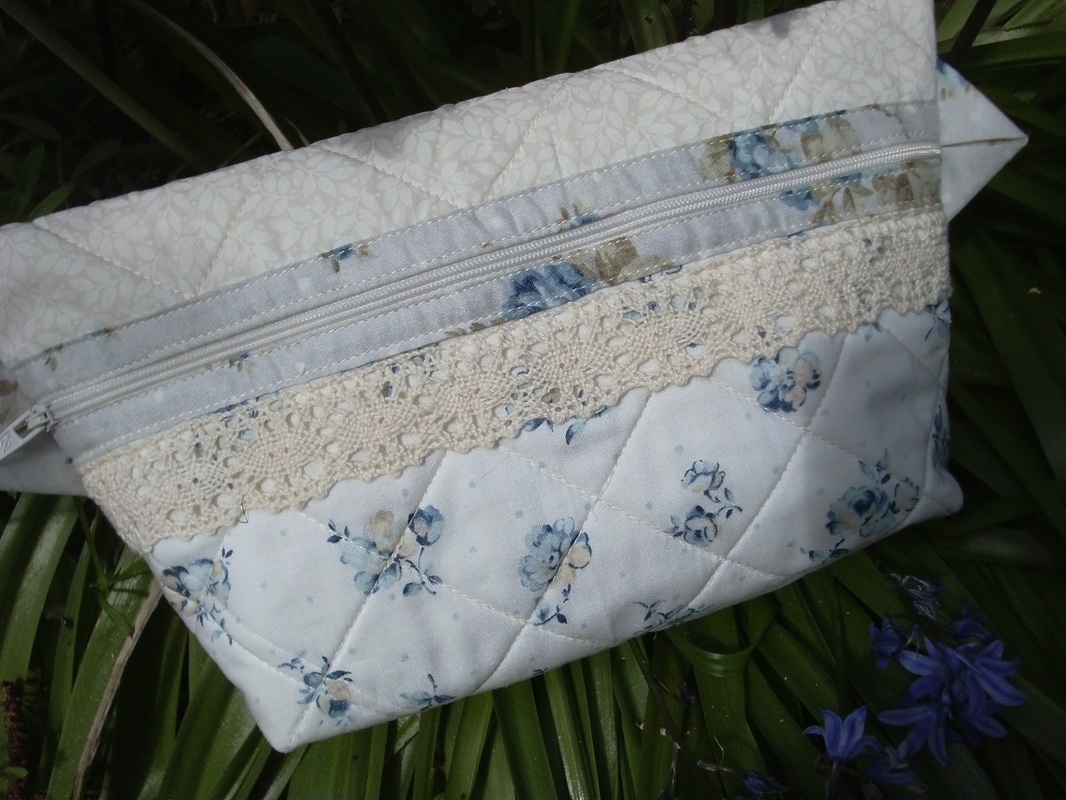
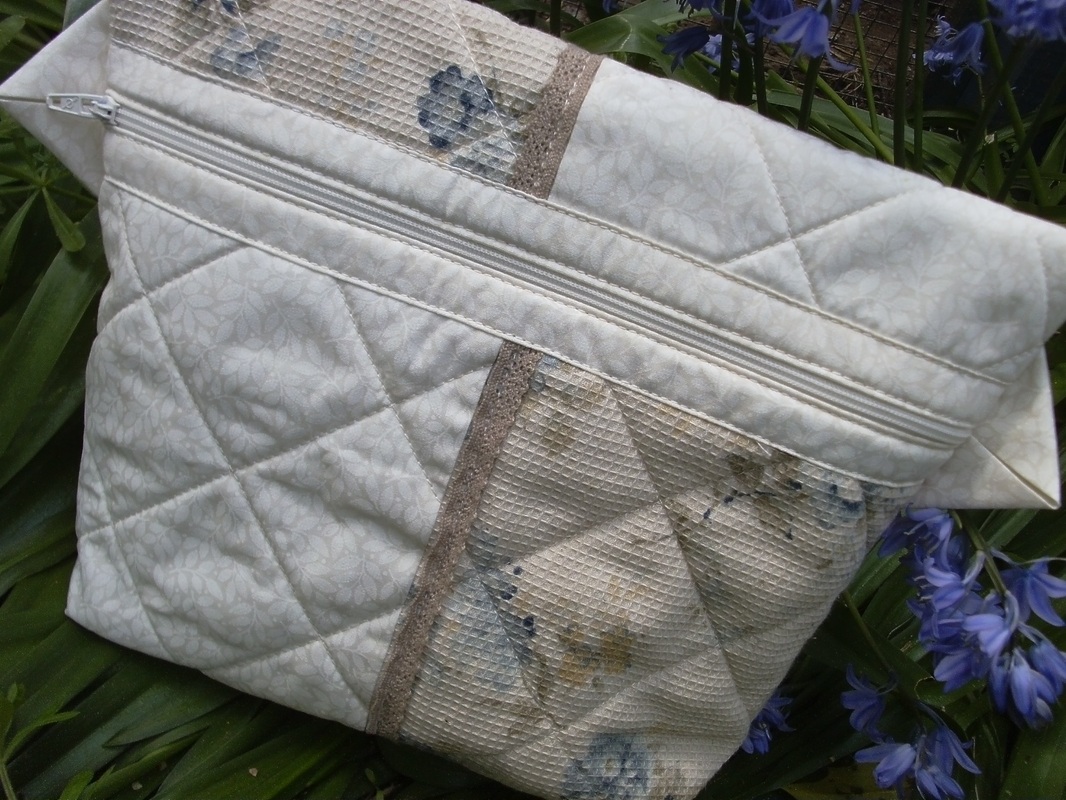
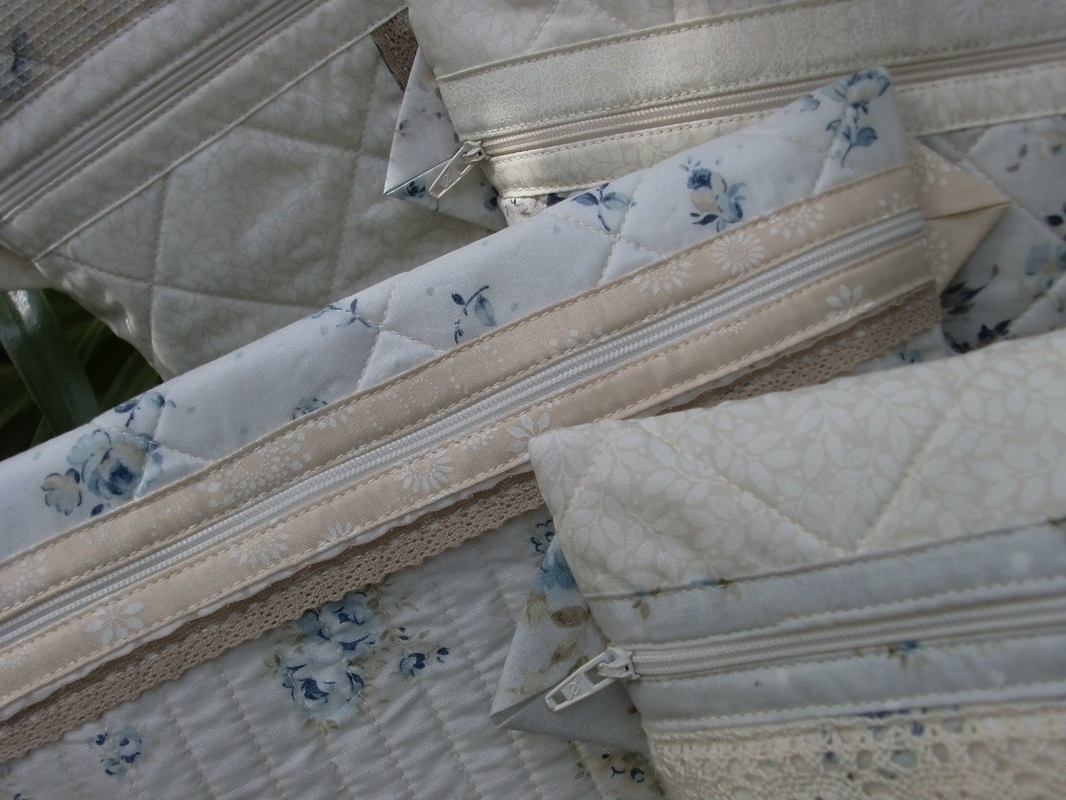
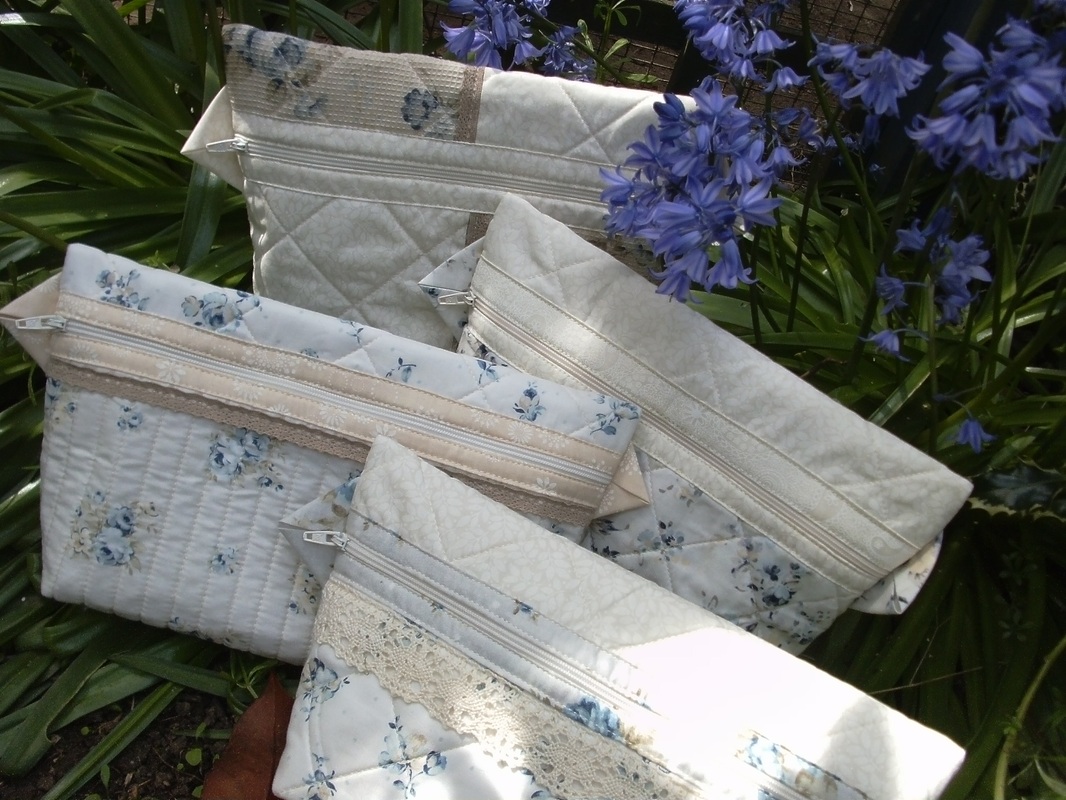
This weekend I've finished making a selection of cosmetic bags, made with the pattern "Anna's Sminkepung" by the Norwegian designer AnnAKa. These fabrics are by Lecien, that I bought last year from Sew and So's at Bungay and were left-overs from a tote bag I made a couple of weeks ago. Each bag is different, made with different scraps of fabric and lace trimmings... ...I'd made one of these bags a couple of weeks ago with some of these scraps of fabric and lace, and blogged about that one here. This shows a close-up of the zippers and the trimmings that I used... ...down among the bluebells in a shady spot at the bottom of my garden seemed the perfect place for this morning's photo-shoot. These will do in my "gift box" so when I need a present for a friend in a hurry, I'll have the perfect present!
|
About me...Hi - welcome to my quilting blog! My passions are my family, my dog, my friends and sewing, not necessarily in that order! Archives
July 2023
Blogs I followUK shopsThese are the UK shops that I use to purchase my quilting supplies - fabrics and threads etc.
Australian linksScandinavian links |



 RSS Feed

