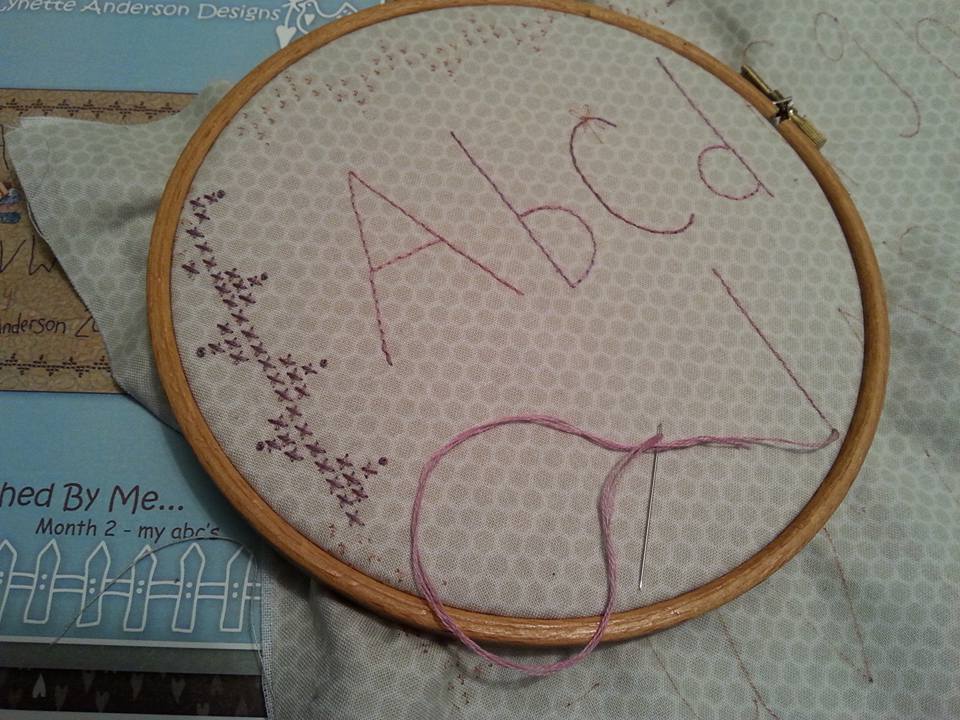
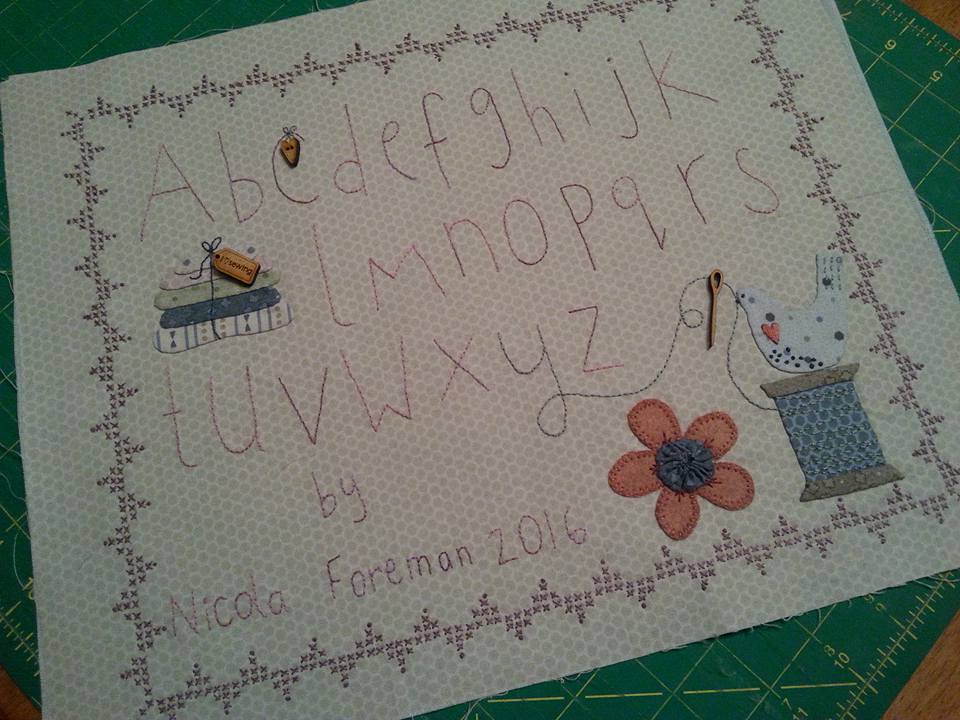
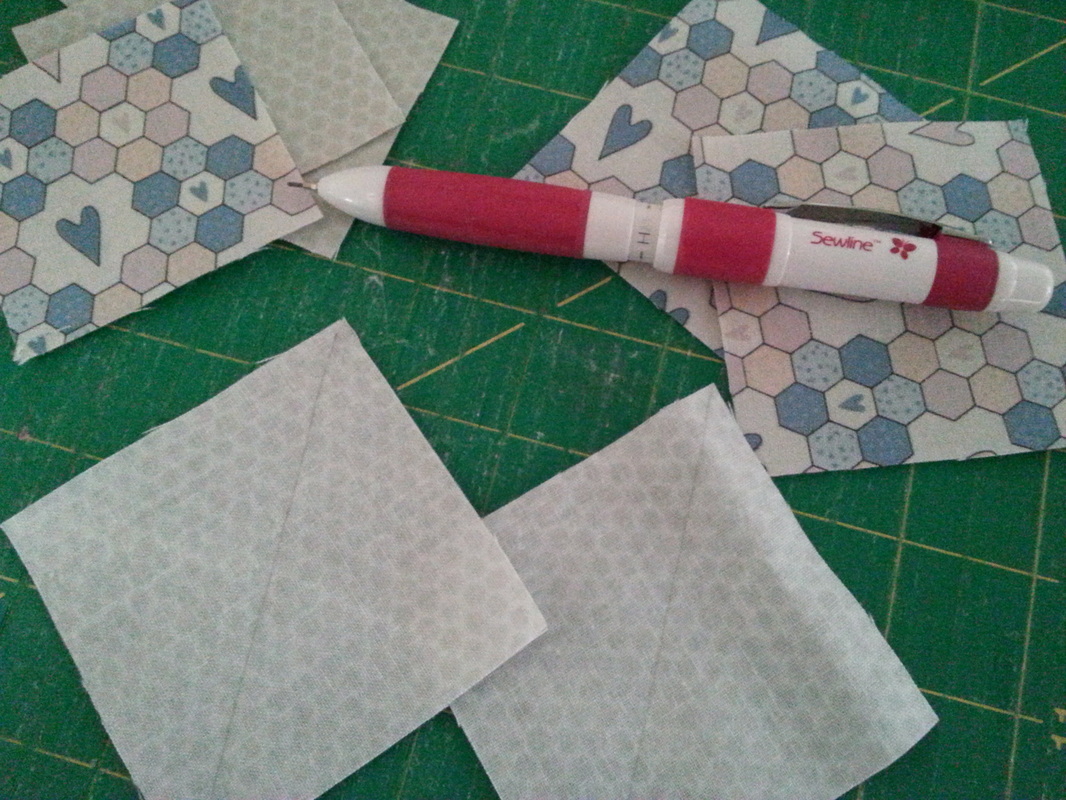
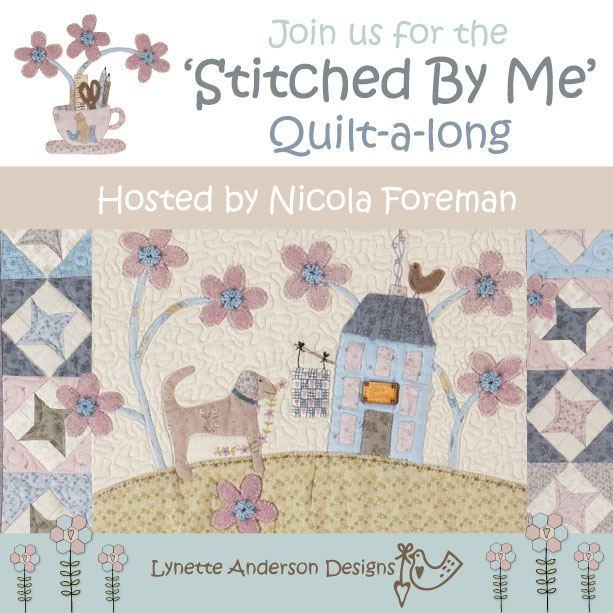
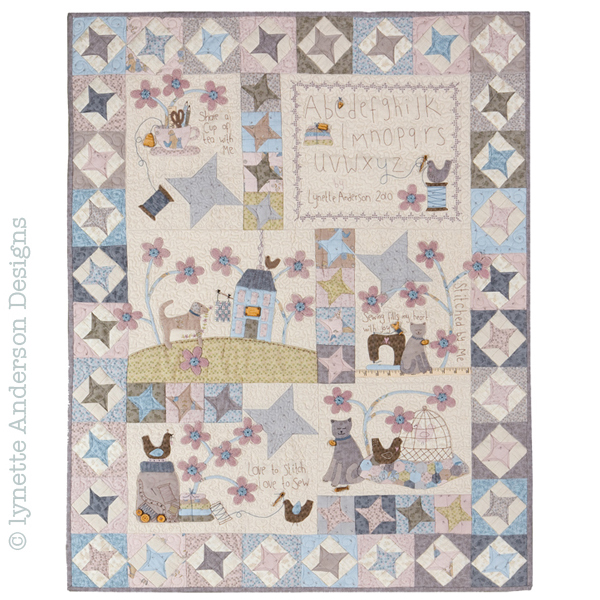
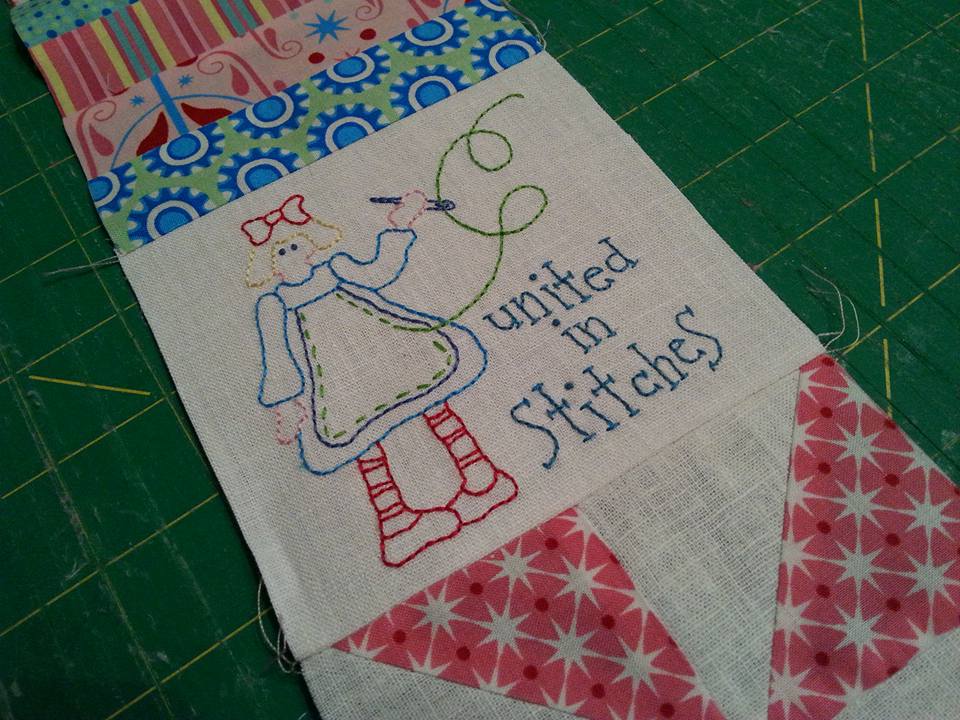
I've had a few busy evenings stitching the net block for my latest project. The design for block 2 (my abc's) of Stitched By Me (designed by Lynette Anderson Designs) was traced using a lightbox and a Micron Pigma pen. A lightweight fusible woven interfacing (my favourite one is Weaveline) was fused to the back of the background fabric. I used one of my hand dyed variegated Valdani Threads for the alphabet, shade M18 "Iris Petals". I used the appliqué paper and glue stick method for the appliqué. Even tiny pieces of appliqué look good!! The edges are then turned over using apliquick rods. The completed appliqué pieces are then held in place with a couple of drops of Roxanne's basting glue (you really don't need very much, and I prefer this to using those tiny appliqué pins that stab you!!) then secured into place with a very fine thread... 
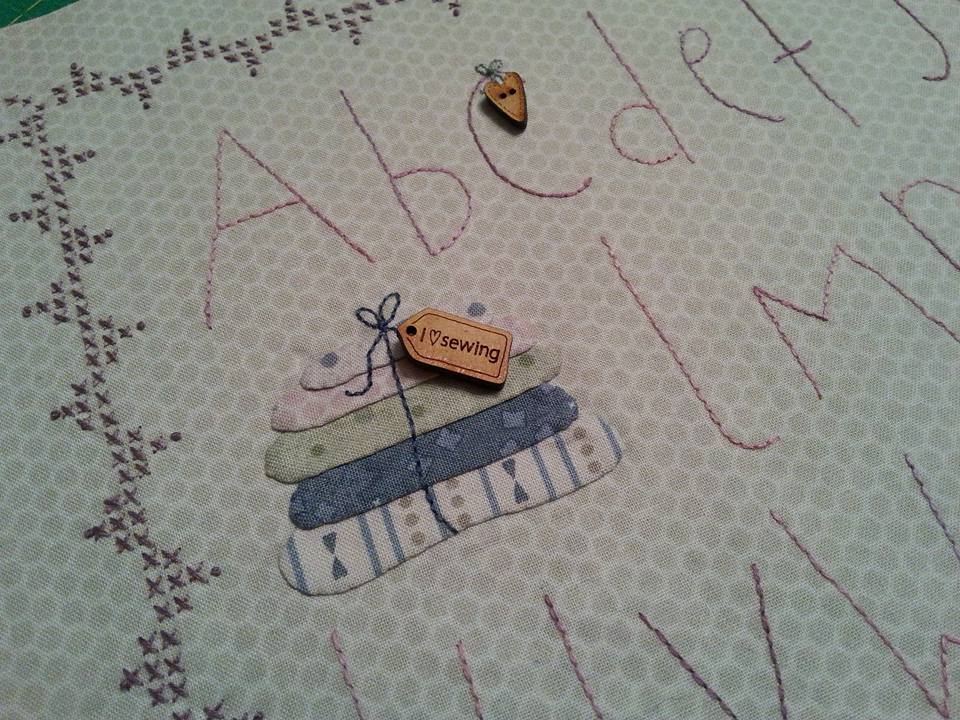
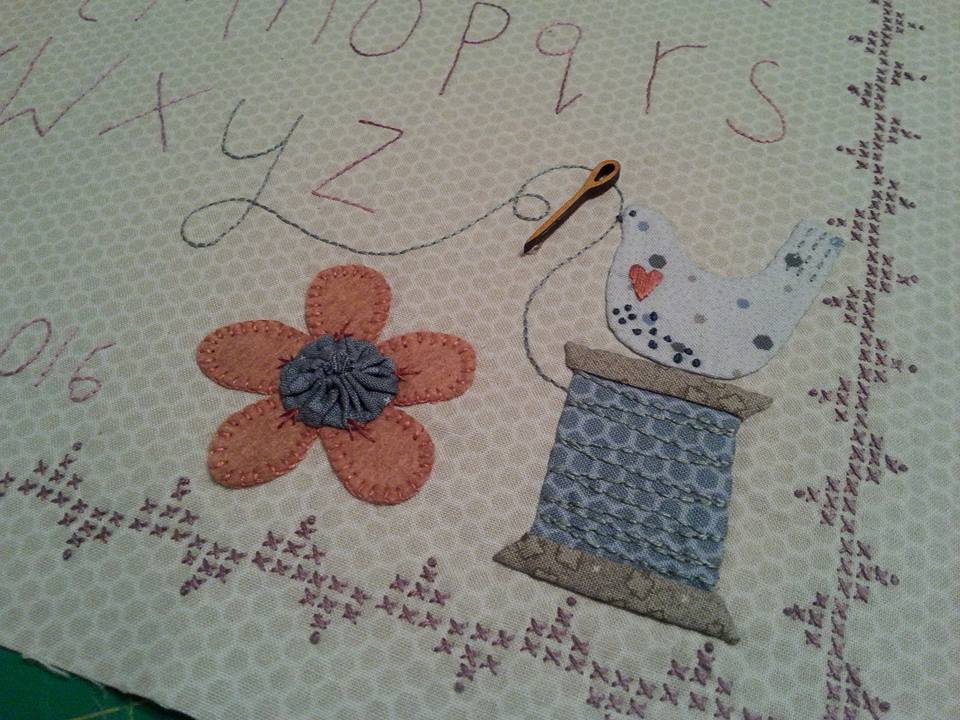
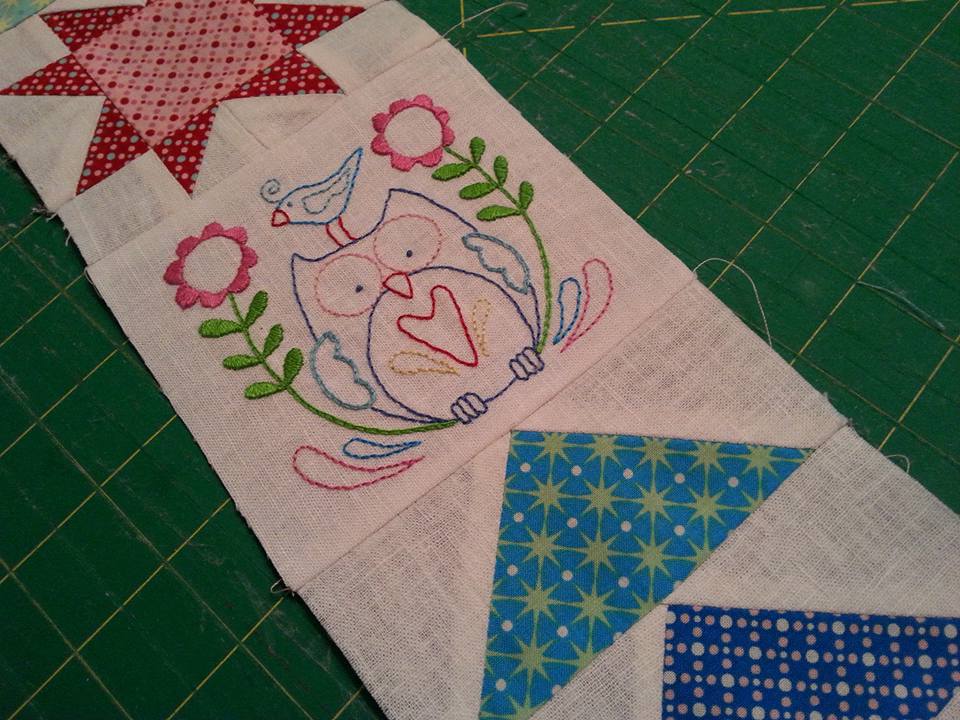
...I used a DMC thread for the cross stitch border. The pile of quilts, cotton reel and birdie were made using the applique paper and glue stick method. I bought the wool felt from The Eternal Maker and it is really lovely to stitch with. The wool felt flowers were hand appliquéd using the fusible method, then hand stitched using blanket stitch and a DMC thread. Small Suffolk Puffs are used as the centres for the wool felt flowers. A few colonial knots are added to the birdie, and a satin stitch heart. The wooden buttons will be stitched down properly once this project is completed and quilted... 
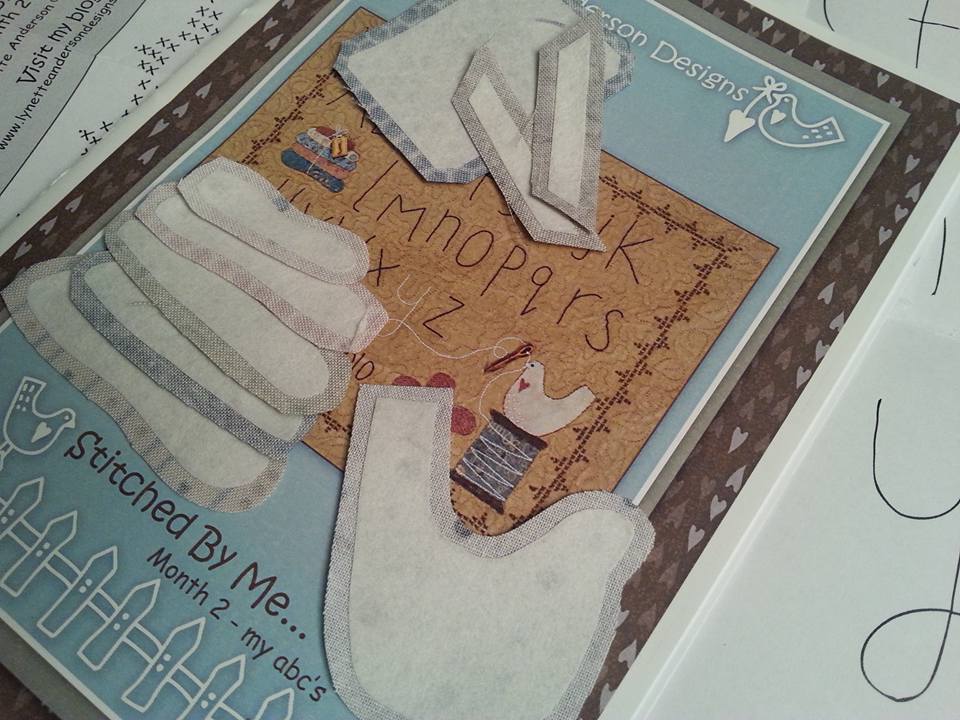
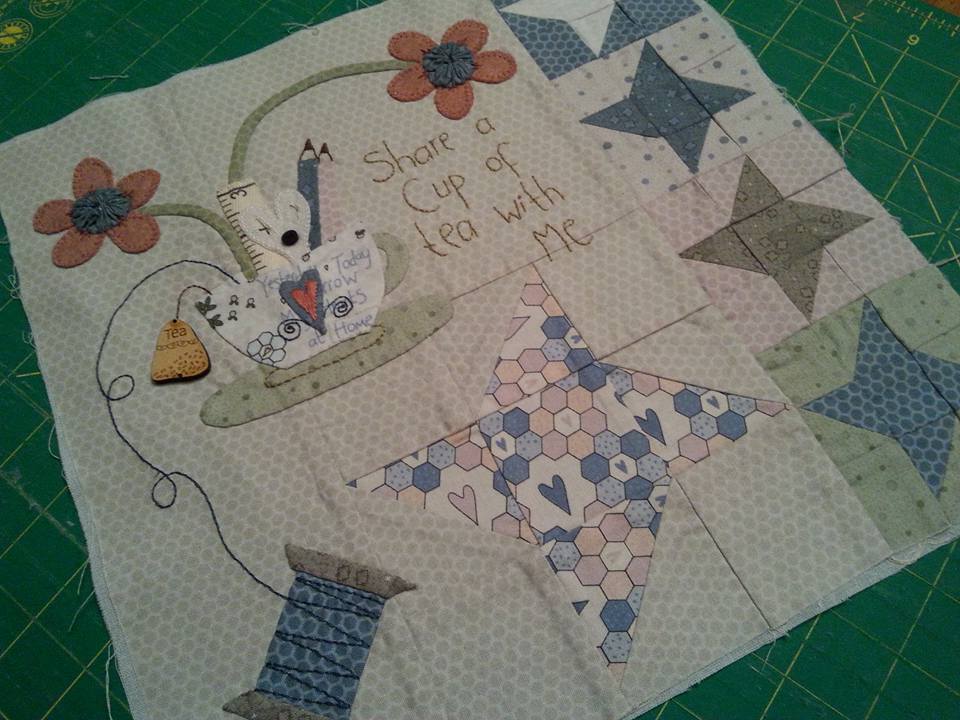
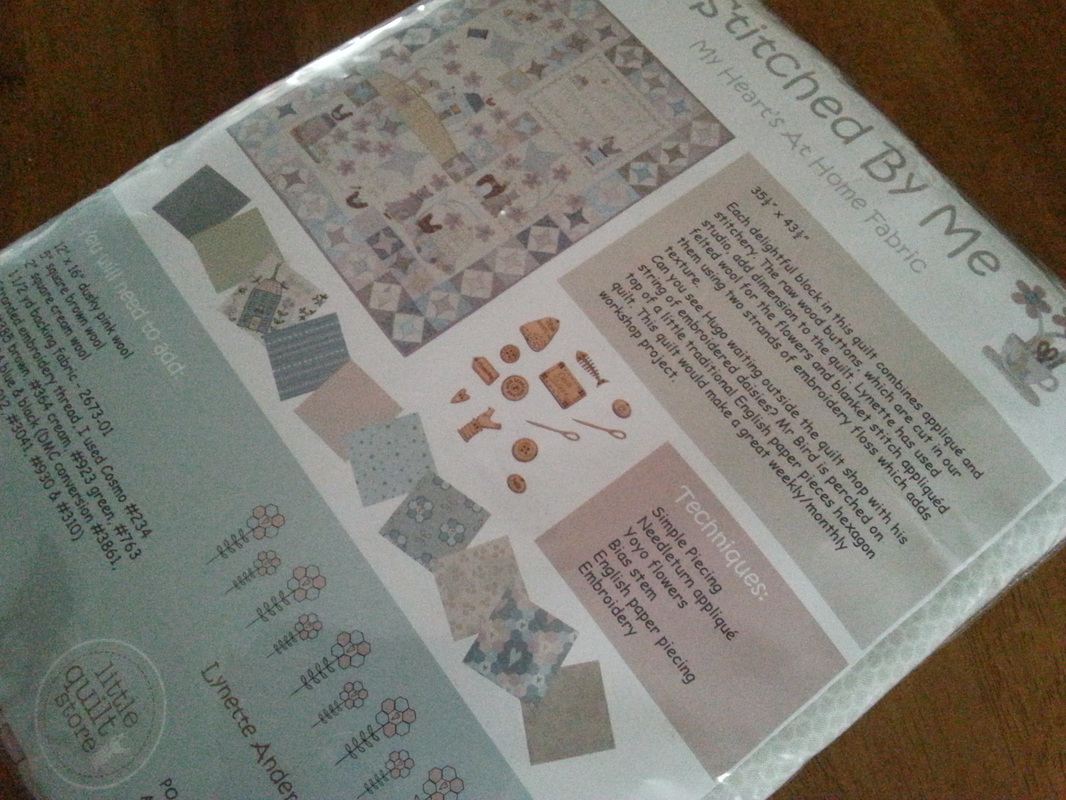
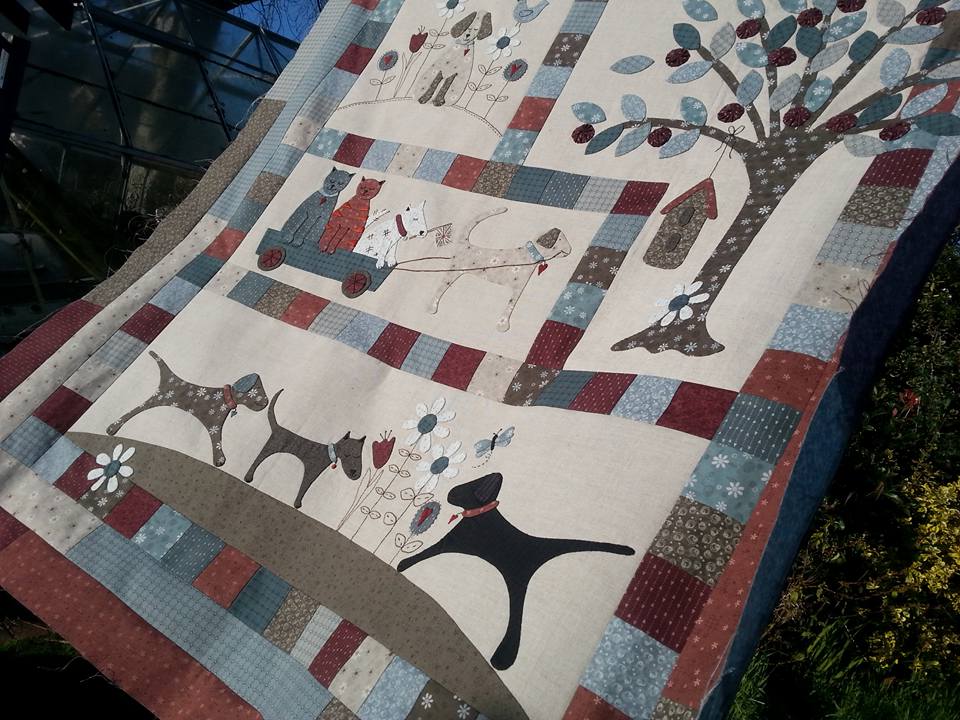
...and here is the completed block. There are kits available for this project using Lynette's "My Hearts At Home" collection, and you can get the kit that includes the fabrics, patterns and buttons from Lynette's shop, Little Quilt Store in Australia.
2 Comments
Hoorah! Block 1 (tea with me) of Stitched By Me by Lynette Anderson Designs is completed! The "tea bag" wooden button will be secured into place once this has been quilted. This was a kit using fabrics from Lynette's My Hearts At Home collection, and the wool felt was from The Eternal Maker. This block has been machine pieced with Aurifil 50 wt thread, hand appliquéd and hand embroidered with DMC threads. Are you joining in with this quilt-along? Please let me know if you are, as I'd love to see pictures of your blocks too.
.It's simply ages since I made some bias strips, so to make life easier, I've bought these Karen Kay Buckley "Perfect Stems" ready for making the flower stems for the "Stitched By Me" project, by Lynette Anderson Designs. I started by cutting a few diagonal strips of fabric for the curved flower stems... ...these narrow strips of fabric were machined with a quarter inch seam. The edges are then trimmed by cutting close to the stitching line. I shortened the stitch length for this, and used a Schmetz Microtex size 60 needle, Aurifil 50wt thread and a straight stitch needle plate on my Bernina. I've used a large pair of Karen Kay Buckley Perfect Scissors to trim the edges. The press bar has been threaded though the fabric tube, and the seam twisted round to the back. (I didn't follow the instructions on the back of the packet, as that suggests stitching the fabric with the press bar in place. I preferred to use the method that Lynette suggested!!) Once it's pressed with a hot iron, the press bar is removed, and the bias strip is ready to be used... ...once the strips had been made, a few of dots of Roxanne's basting glue was used to hold the bias stems in place, then they were stitched securely with a neutral coloured YLI silk thread. Wool felt flowers need to be made, and some Suffolk Puffs for the centres, then the first block will be finished!
Do you remember the Simply Blessed quilt that I made last year? It was a BOM designed by Rosalie Dekker Designs and I bought it from Under The Mulberry Tree in Australia. It used beautiful Tilda fabrics and Cosmo variegated embroidery threads. Well it was sent off to my wonderful longarm quilter, Janette at J-Quilts. Her amazing quilt won Best in Show at the Festival Of Quilts last summer, so my quilt is in VERY good hands, Anyway, here's a little peek of what she's been up to.
Do you want to share a cup of tea with me? I've started the embroidery for Block 1 of Stitched By Me by Lynette Anderson Designs. I've used DMC thread shade 3012 for the words on this block. Lynette has suggested a selection of threads to use for this project, both Cosmo and DMC, but it really doesn't matter what threads you use or where you use them. The next block is mostly embroidery, and I think I'm going to use a variegated embroidery thread for that one. These letters were traced using a fine Micron Pigma pen and a lightbox, then I fused a piece of weaveline (this is a soft fusible cotton interfacing) to the back of the block before I started the embroidery. I always use an embroidery hoop to keep the block nice and taut, and find it easier to hold rather than a plastic one. My favourite embroidery needles are by John James. Well I'm off for another cup of tea - then I'll make a start on the applique.
If you want to join in this quilt-a-long, there is a button on my side bar that you can use and link back to me. If you would like to use a kit for this project, they are available from Lynette's shop in Australia, and the link is here... http://www.littlequiltstore.com.au/shop/product/stitched-me-kit/ My kit for Stitched By Me by Lynette Anderson Designs arrived in the post on Thursday. This will be such a pretty wall quilt! Are you going to join in with this quilt-a-long? These gorgeous fabrics are from Lynette's "My Hearts At Home" collection, and the kits are available online from Lynette's shop. If you don't live nearby, they are available online here http://www.littlequiltstore.com.au/shop/product/stitched-me-kit/... ...block 1 of Stitched By Me by Lynette Anderson Designs with a piece of tape measure trimming and a "teabag" raw wood button. Once the fabric was cut out for the background, I was ready to make a friendship star block. I've used a sewline pencil to draw a diagonal line across the back of the 2 large background squares. You can use any pencil or marking tool, but I like these sewline ones as they have a dark lead, a white lead and a tracing tool all in the same pencil... ...a print square and a background square are placed right sides together, then I've machined a quarter inch either side of the line. My top tip for precision piecing is to use Schmetz Microtex size 60 needles, aurifil 50wt thread and a straight stitch needle plate. Once you've stitched along both sides of the drawn line, cut exactly along the line, and press open... ...I've laid out the squares for this block so I can stitch them together the right way! The 3 rows have been pieced together and pressed, ready for machining together... ...the 3 rows are then machined together to complete the friendship star block. A press with my new iron, and I'm ready to make some smaller ones. This involved lots of cutting! A selection of fabrics have been cut ready for some smaller friendship star blocks... ...these are made exactly the same as the larger friendship star. I used a slightly smaller stitch for machining these together. Another press with a hot iron and these are ready to be joined together... ...finally block 1 has been pieced together, ready to have the stitchery design traced on. I needed some wool felt for the appliqued flowers ready for this block, and I've ordered that from Eternal Maker here in the UK. There will be more pictures later in the week of my progress. I hope you're going to join in the quilt-a-long with me - I'd love to hear about how you're getting along too. If you're taking part, please use the Stitched By Me button on the sidebar of my blog and link back to me. There are also pictures of this quilt-a-long on my FB page Nicola Foreman Quilts and on instagram and pinterest too!
Are you going to join in with the Stitched By Me quilt-a-long? This is a gorgeous wall quilt designed by Lynette Anderson Designs. I'll share lots of pictures of my progress, and if you want to join in there is a button on my sidebar that you can use to link back to me. The picture below can be used if you have a social media page. Kits for this are available from Lynette's website over here...
http://www.littlequiltstore.com.au/shop/product/stitched-me-kit/ Hope you're going to join me! Well I have got some REALLY exciting news to share with you all! My next project is going to be "Stitched By Me", by Lynette Anderson Designs and I'd bought the patterns for this beautiful project a few months ago from Patchwork Chicks. Anyway, Lynette has suggested that I could host a quilt-a-long for this project using fabrics from her My Hearts At Home collection. This means there will be lots of pictures showing the stages of making this beautiful wall quilt, and I'll share these both here and on my quilting FB page too. Fellow bloggers can join in the quilting fun too. Lynette is getting a special button ready to post on your blog if you want to join in! More info will be added later, but here's a look at what "Stitched By Me" will look like. Lynette has kits available for this on her website, and includes the fabrics, patterns and raw wood buttons. My kit arrived in the post today and I can't wait to make a start on it!
Here is the link to the kits... http://www.littlequiltstore.com.au/shop/product/stitched-me-kit/ The next 2 stitchery designs of United Stitches, US23 and US24 arrived in the post and I couldn't wait to get started on them! I use weaveline, a cotton fusible interfacing that is fused to the back of the fabric, and once that's in place I can make a start with playing with the threads. These are stitched with gorgeous cosmo stranded embroidery threads, and use very simple embroidery stitches - back stitch, chain stitch and satin stitch, with an occasional colonial knot too! I use a small wooden embroidery hoop to keep the background fabric taut (this is handkerchief linen, which the designs have already been screen printed onto)... ...once the stitchery is completed, the blocks are trimmed to 4.5" squares, and then added to the pieced blocks that I'd already made a few weeks ago. These are made with Rosalie's "Chirpy Lola" collection of fabrics and they really are lovely to sew with. I've used Aurifil threads for piecing these blocks together and a Schmetz Microtex size 60 needle. This BOM is by Rosalie Decker Designs and was ordered online from Under The Mulberry Tree in Australia, and the very first block was stitched back in February 2015. Only a few more blocks to go and this will be finished!
This was bought It was a bit cold and frosty yesterday morning, but the sun came out while I had a photoshoot! My latest project is called "A Dog's Life" by Lynette Anderson Designs and has finally been completed! This was bought a few months ago from Cross Patch in Wales, here in the UK (the owner Julia has a great website and she's really helpful). Four beautiful blocks pieced together and embellished with applique and hand embroidery - this was my most ambitious "Lynette" project so far - and I absolutely love it! I used the glue stick and applique paper method of applique for this (Lynette uses the fusible web and blanket stitch method for her original) and I changed the design ever so slightly to incorporate that "blasted hairy hound" our very own rascal Jasper. I hope Lynette approves of my changes to her wonderful pattern. This was bought as a BOM from Cross Patch here in the UK, and uses fabrics from Lynette's Time With Friends collection and DMC embroidery threads in co-ordinating colours. Finished size is 42" x 46" and this will be taken to my wonderful longarm quilter, Janette at J-Quilts, ready for her to work her magic on it with her incredible custom quilting - her work is absolutely amazing! Meanwhile, I've pieced together the scrappy binding for it, and just need to put my creative hat on and design a quilt label to go on the back. Maybe a miniature Jasper could be appliqued to the label - what do you think?
|
About me...Hi - welcome to my quilting blog! My passions are my family, my dog, my friends and sewing, not necessarily in that order! Archives
January 2025
Blogs I followUK shopsThese are the UK shops that I use to purchase my quilting supplies - fabrics and threads etc.
Australian linksScandinavian links |