|
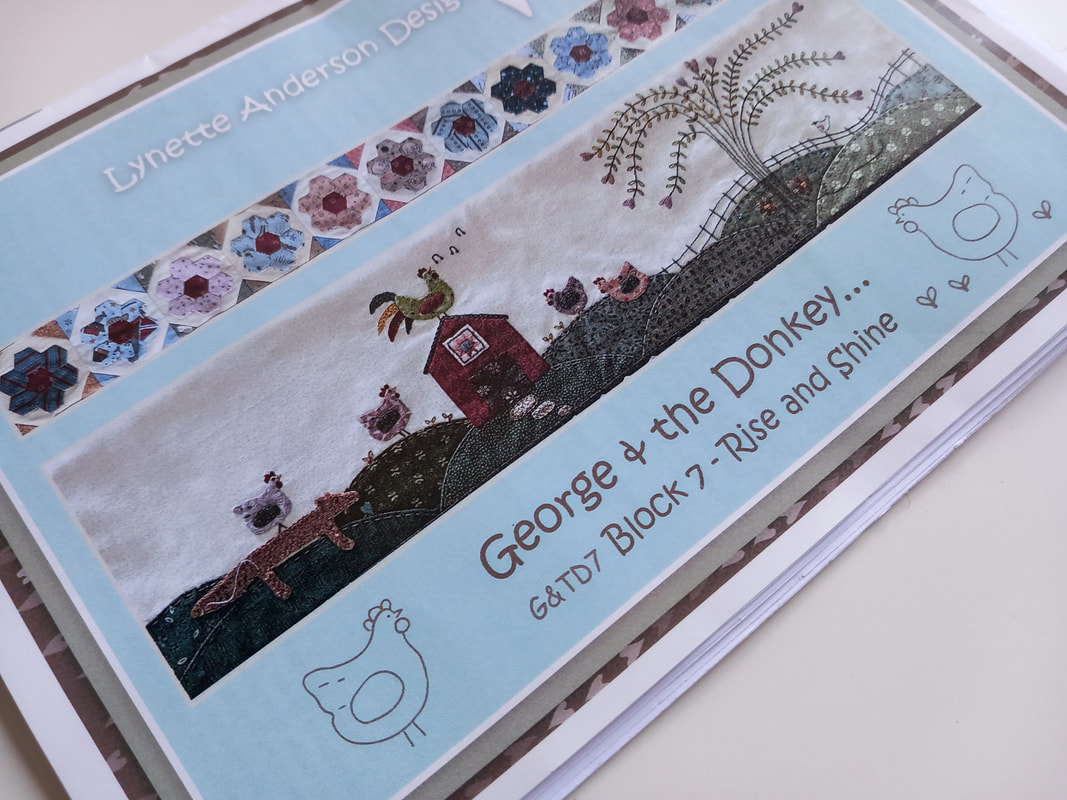
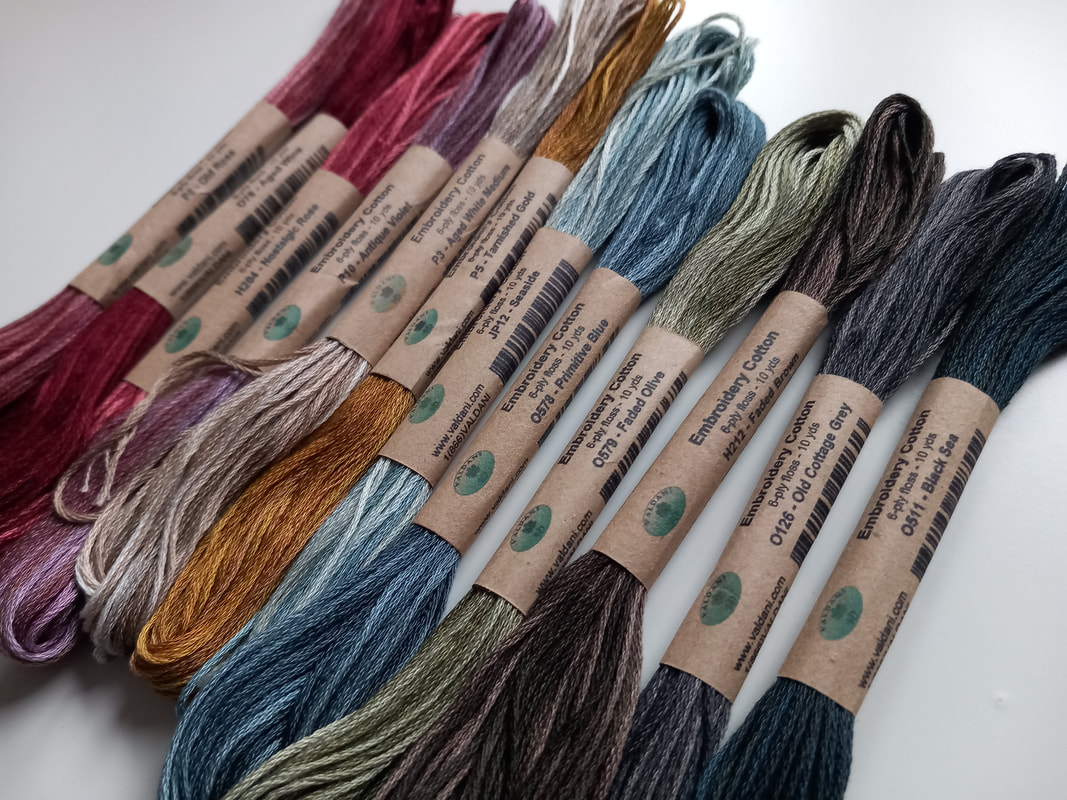
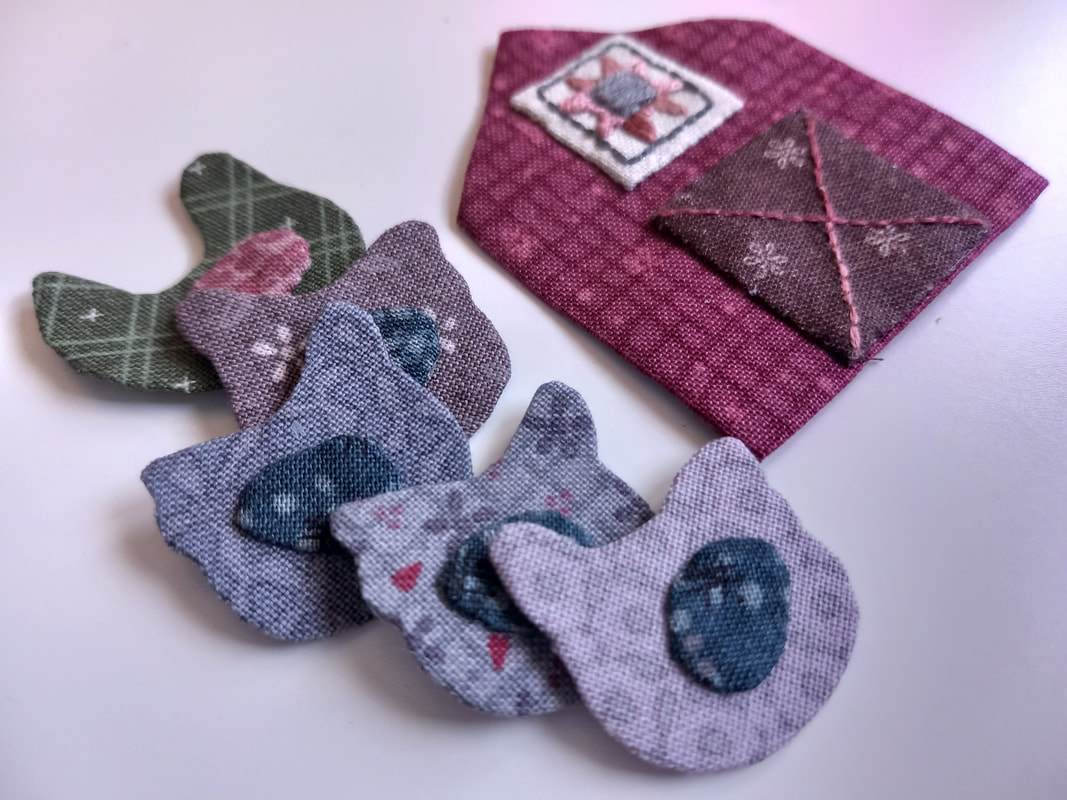
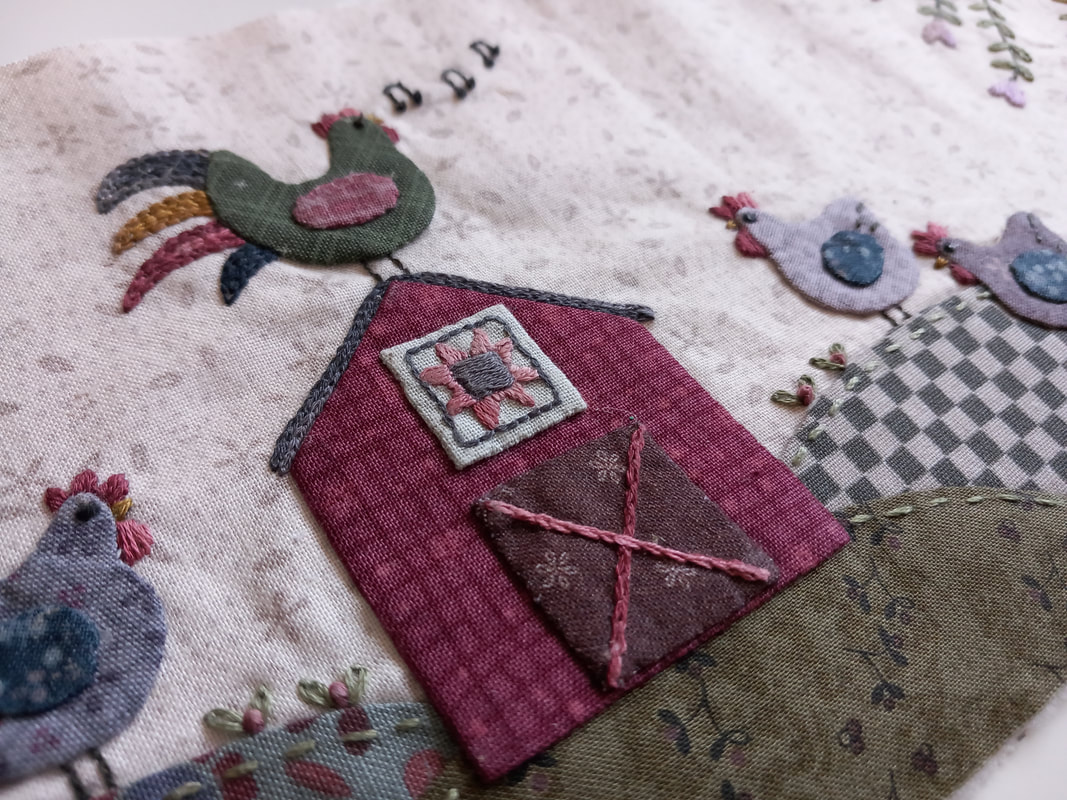
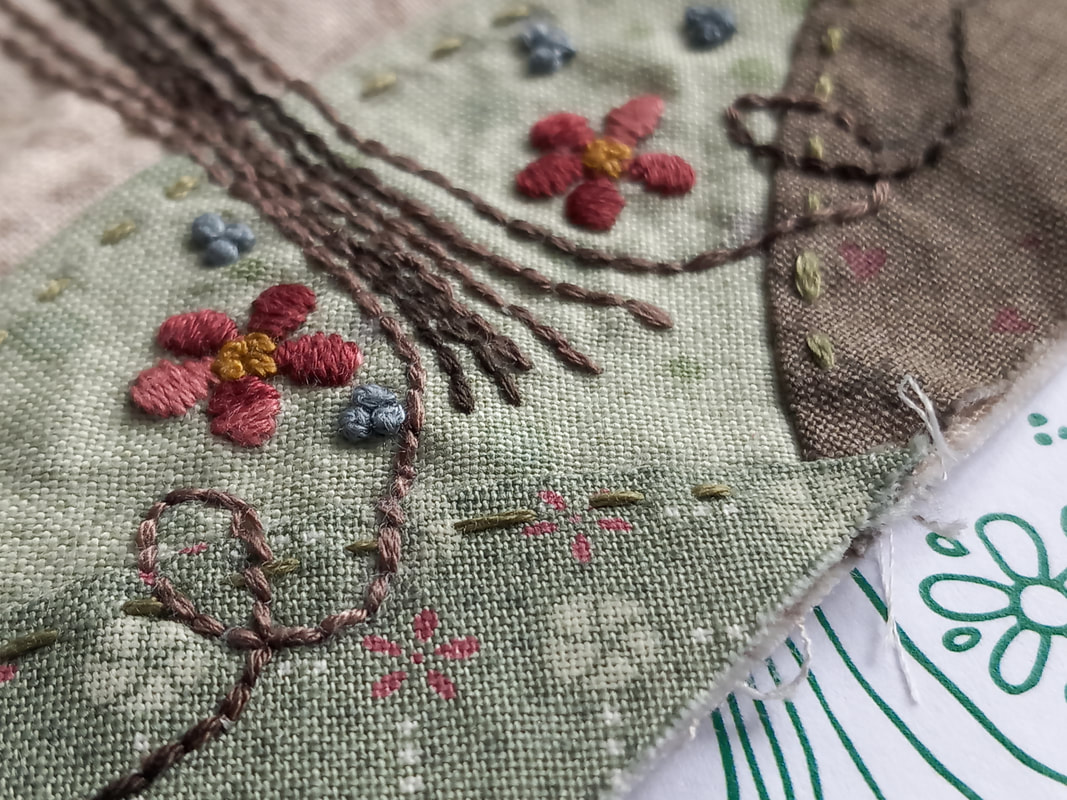
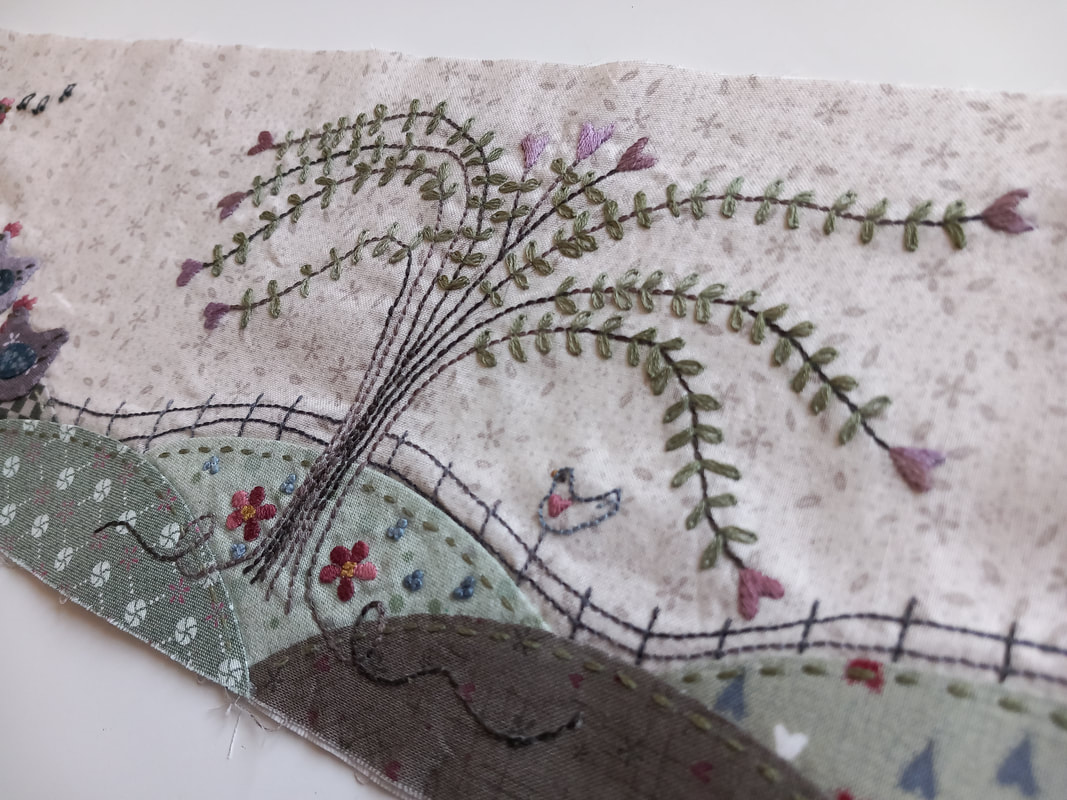
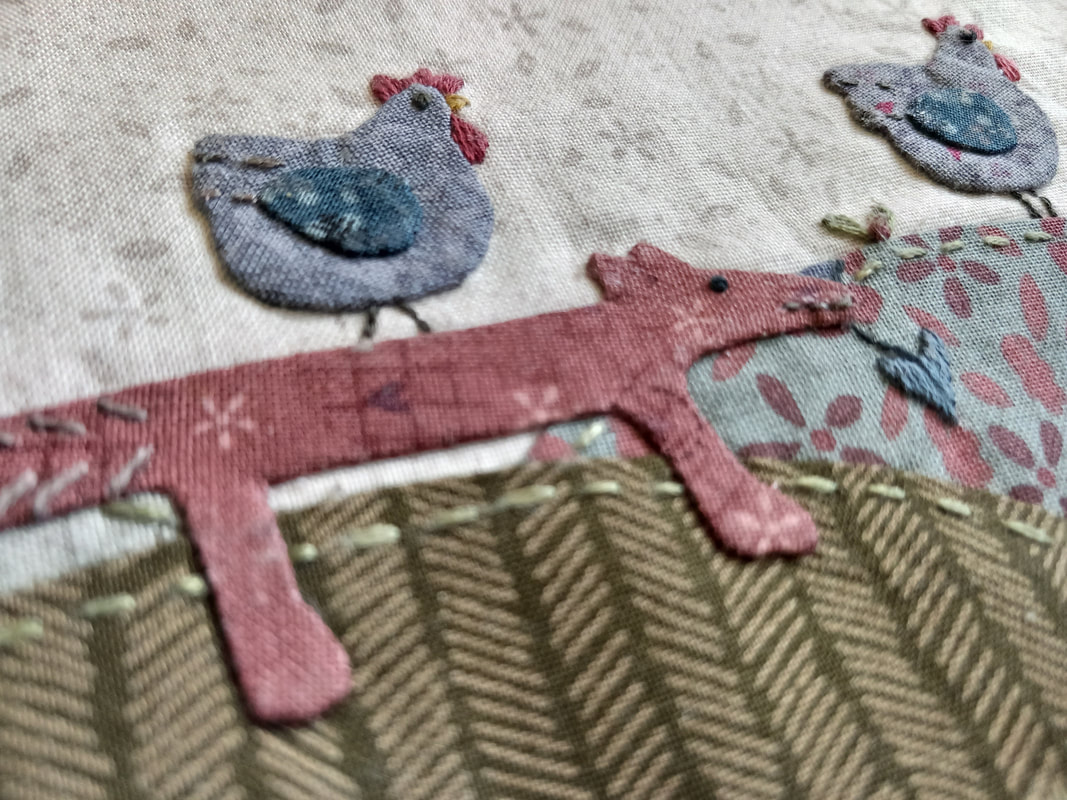
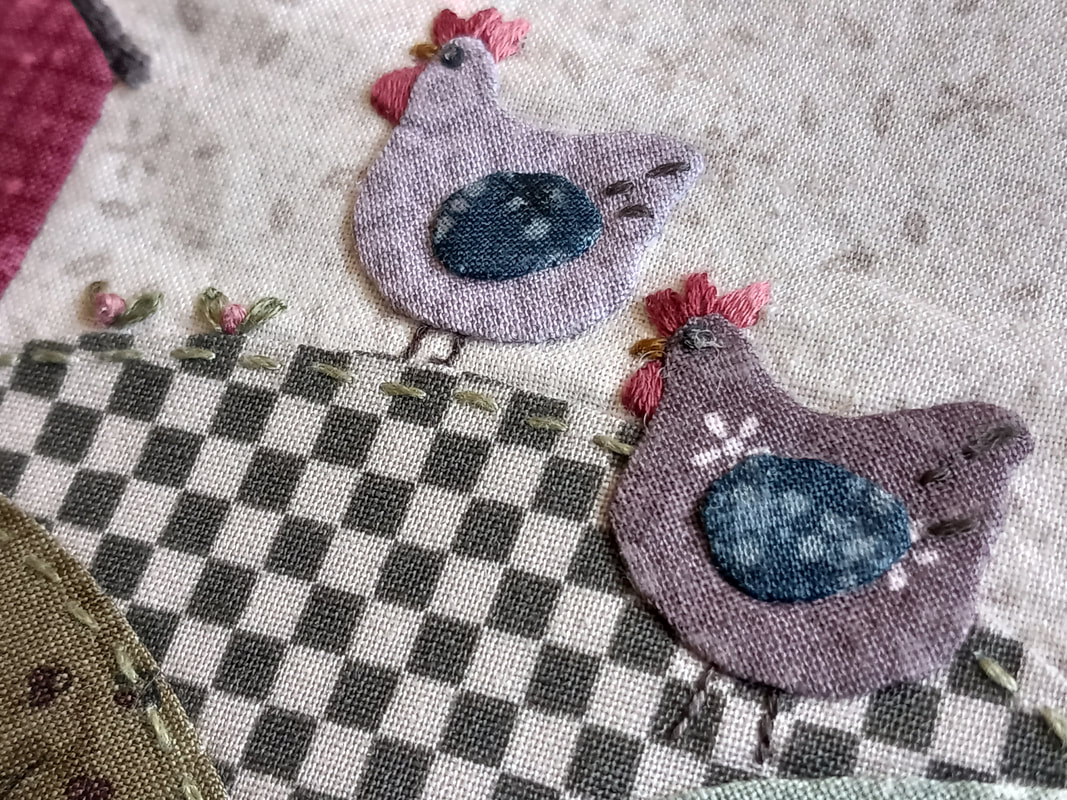
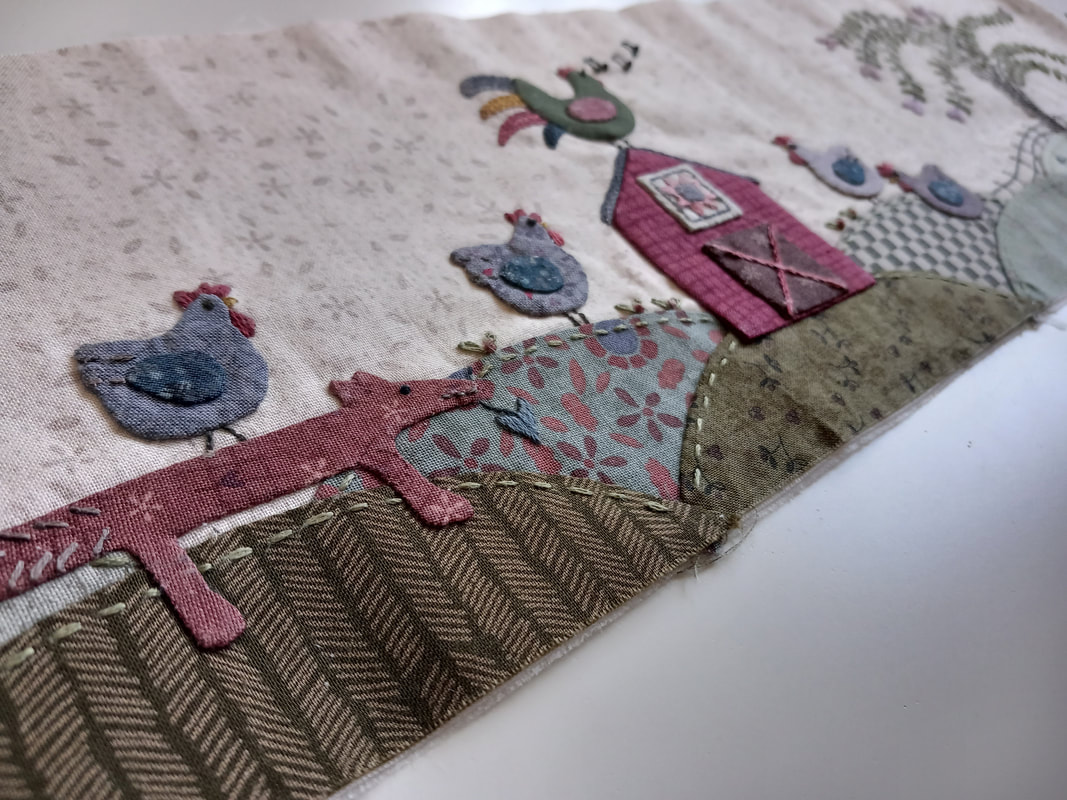
A few weeks ago, the pattern for Rise and Shine - the final block of George and the Donkey, arrived in the post from Poppy Patch here in the UK. This is the mystery quilt designed by Lynette Anderson designs that I've been stitching for the past few months. The blocks have been hand embroidered using a selection of variegated Valdani stranded embroidery threads, which are available to purchase in a set especially for this project from Cowslip Workshops also here in the UK... ...I've used the appliquick method of applique for this project, and prepared the applique before I started the hand embroidery. This cockerel certainly does look very spendid perched on the barn roof... ...the pttern has full size traceable stitchery designs and applique placement so it's easy to plan exactly where everything has to be stitched. I've been using a fine 60wt polyester Bottomline thread in a mid grey colour to stitch the applique shapes to the background fabric... ...all of the fabrics used are also designed by Lynette Anderson Designs and are from a variety of collections. I had purchased a started pack from Poppy Patch along with the patterns however I've added several of my own "Lynette" scraps - the muted tones of her prints all work well together... ...I can't begin to tell you how much I've enjoyed stitching these blocks, I'm almost sad that it's come to an end. Now that the final block is completed, I just need to assemble the blocks together and add the outer hexagon border. Then comes the tricky part - deciding how to quilt it!
0 Comments
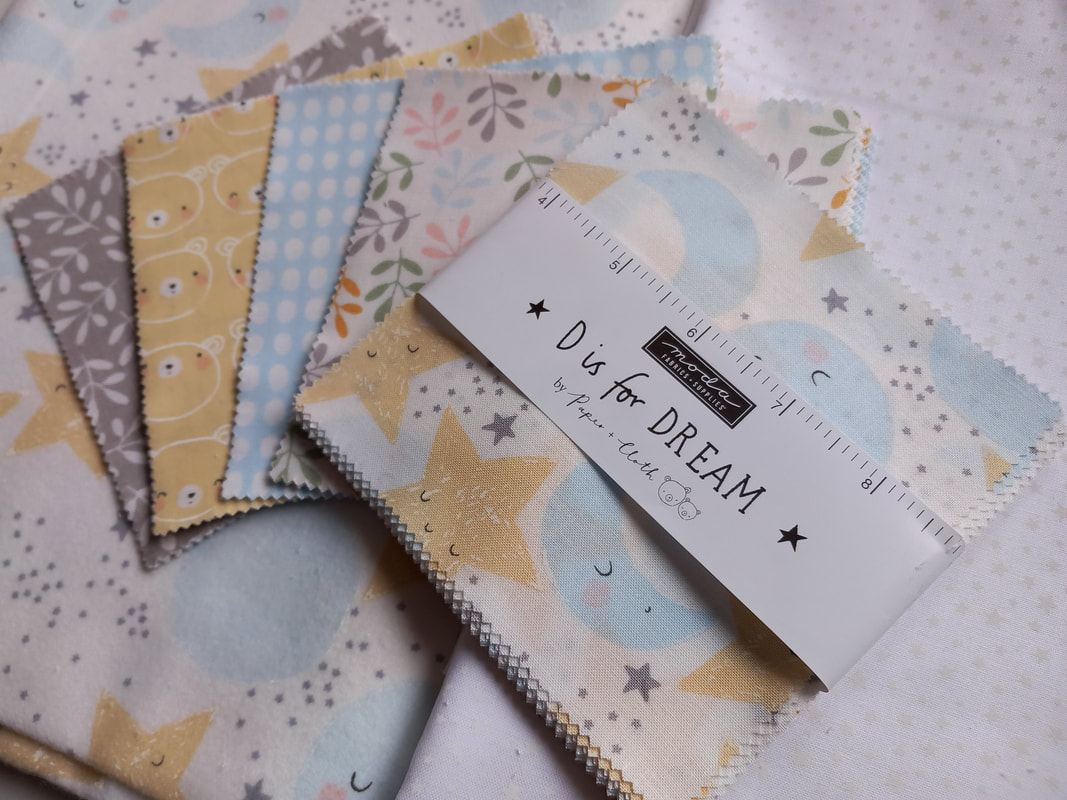
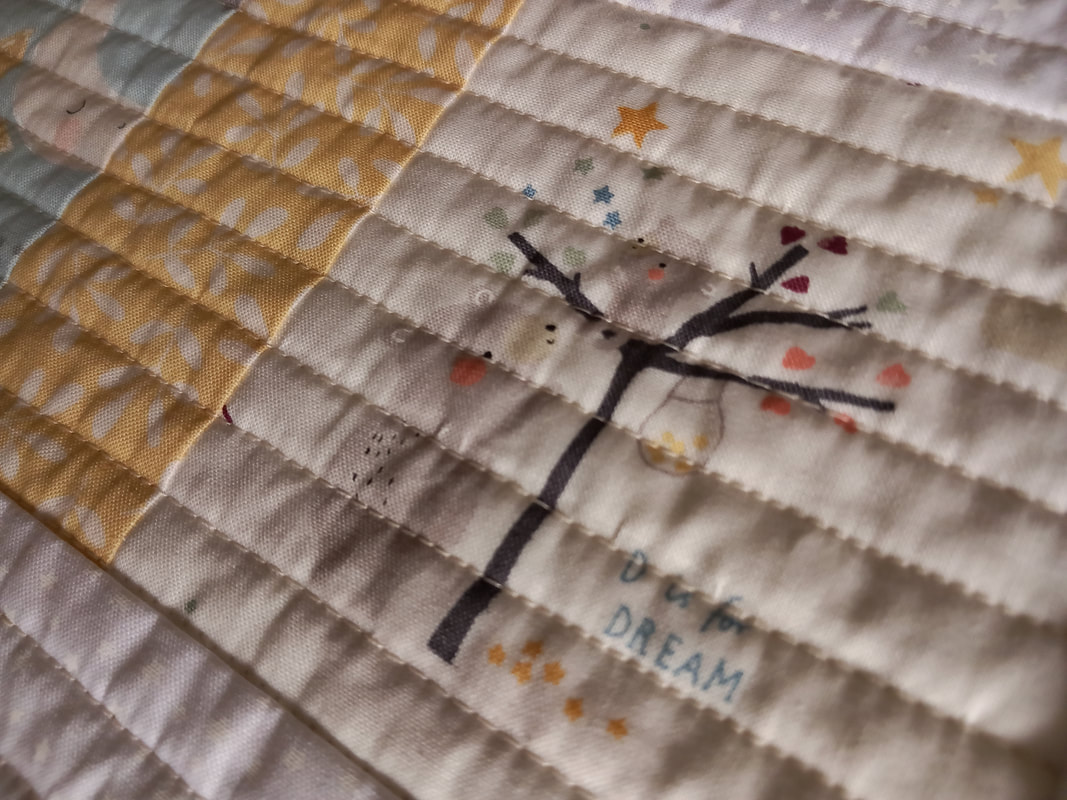
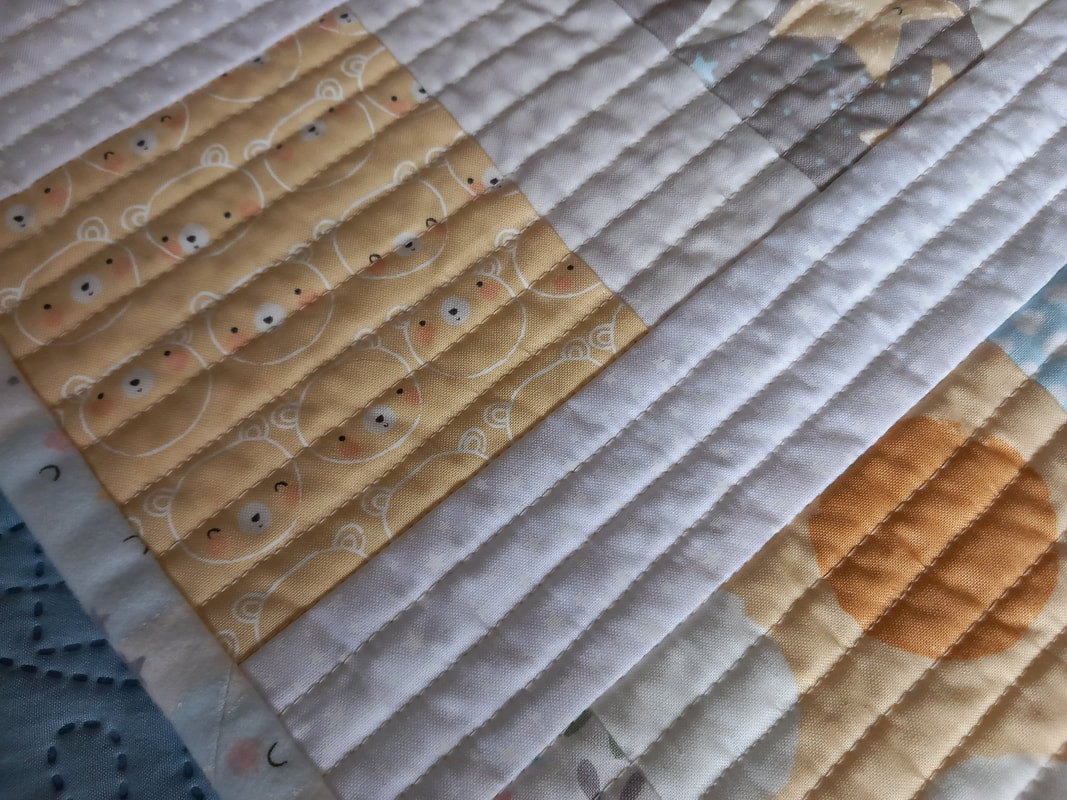
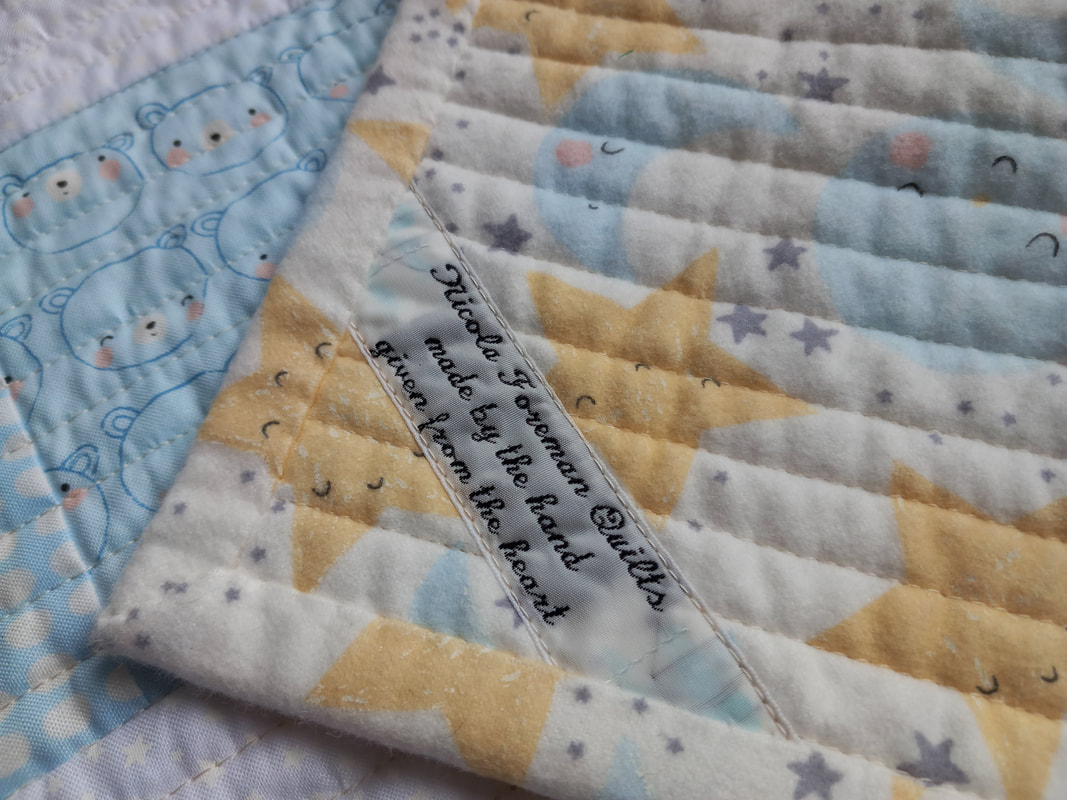
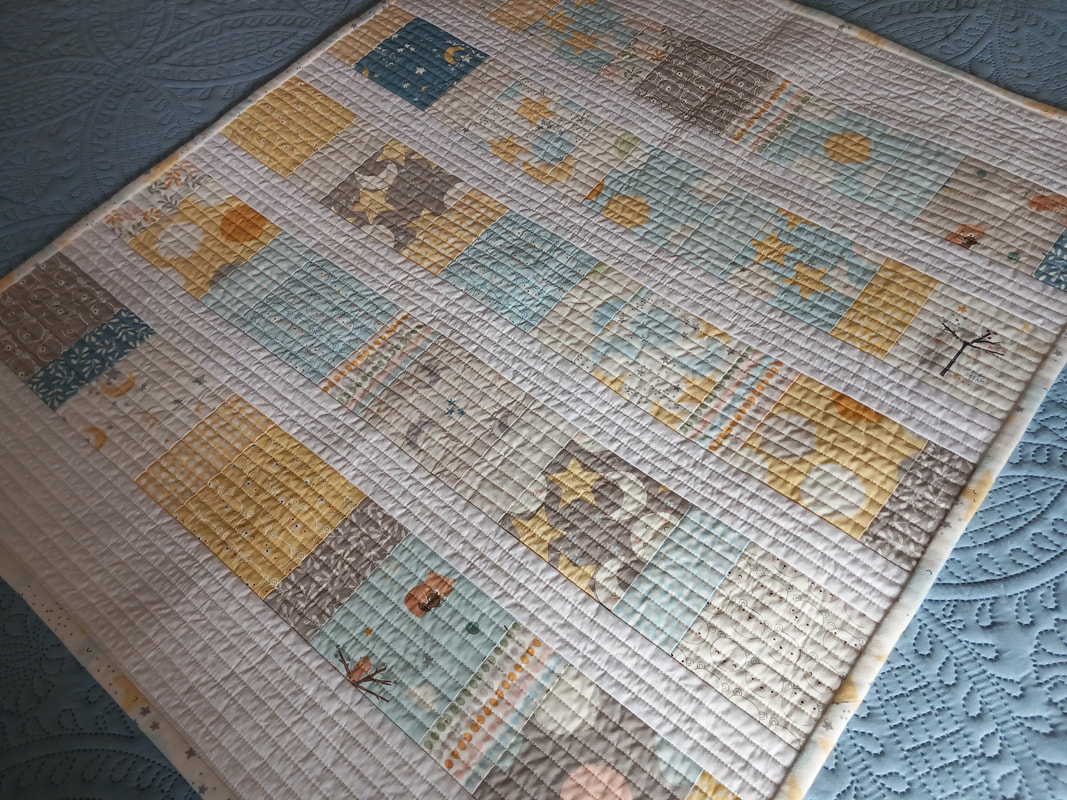
A new baby is on the way, and the perfect excuse to make another baby quilt! This pretty fabric collection, called D is for Dreams, is by Paper + Cloth for Moda, and I purchased both a charm pack and some yardage of one of the prints, from The Cotton Patch. The pattern I've used as an absolute favourite of mine, Charm Squares Baby Quilt, designed by Elizabeth Hartman, and is availaable as a free download from her website. The charm squares are pieced together very simply in 5 rows with sashing inbetween. Once the quilt top was pieced together, it was layered up wwith bamboo wadding and quilted very simply... ...the machine quilting was stitched using a cream coloured Aurifil 40wt thread both in the top and in the bobbin. I've stitched straight rows about half an inch apart, using the edge of the walking foot as a guide for spacing. The backing fabric, which is a print from the same fabric collection, is a lovely soft flannel and teamed with the bamboo wadding, it's really soft. I've also used the same flannel backing for a wide binding. The label, which I've machined onto one of the corners on the back of the quilt, was from Woven Labels UK - they provide a variety of personalised labels, and I've been buying mine from this company for several years. These labels are perfect for projects that will be laundered several times, rather than a pretty hand embroidered label that would show signs of wear and tear... ....and here's the finished quilt, ready to be wrapped and delivered to the expectant mum. This will be super snuggly for cuddles with the new baby, and ideal to put on the floor for baby's tummy-time too.
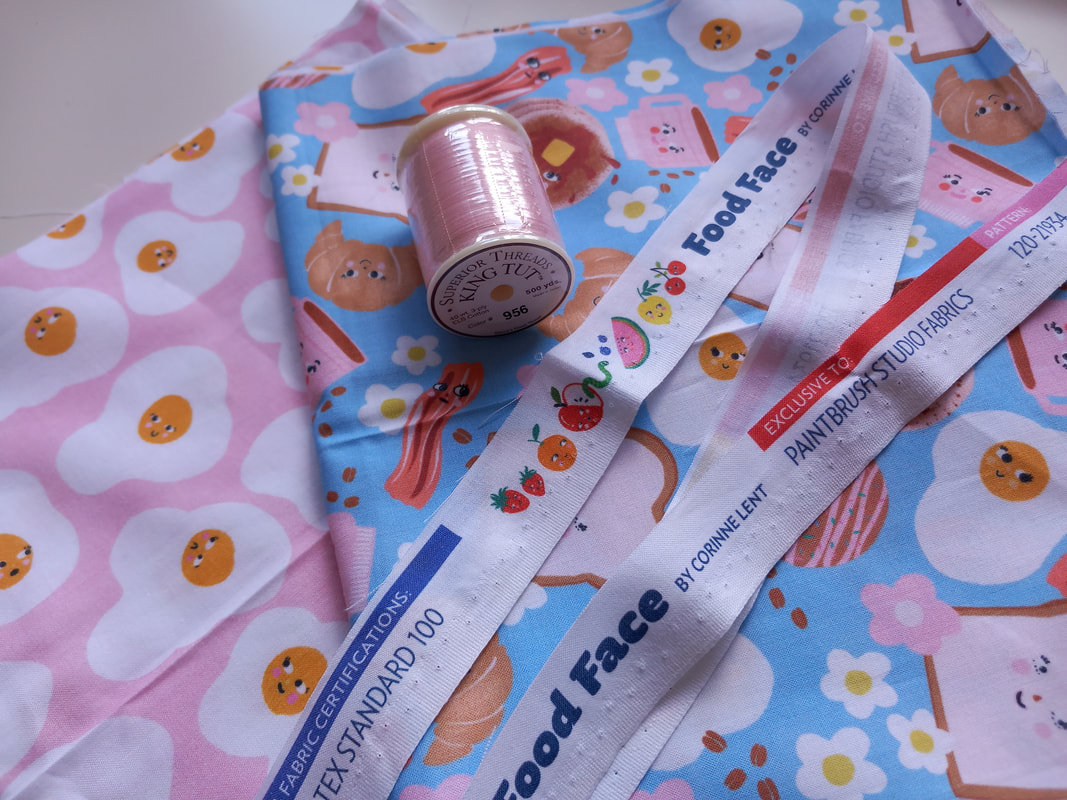
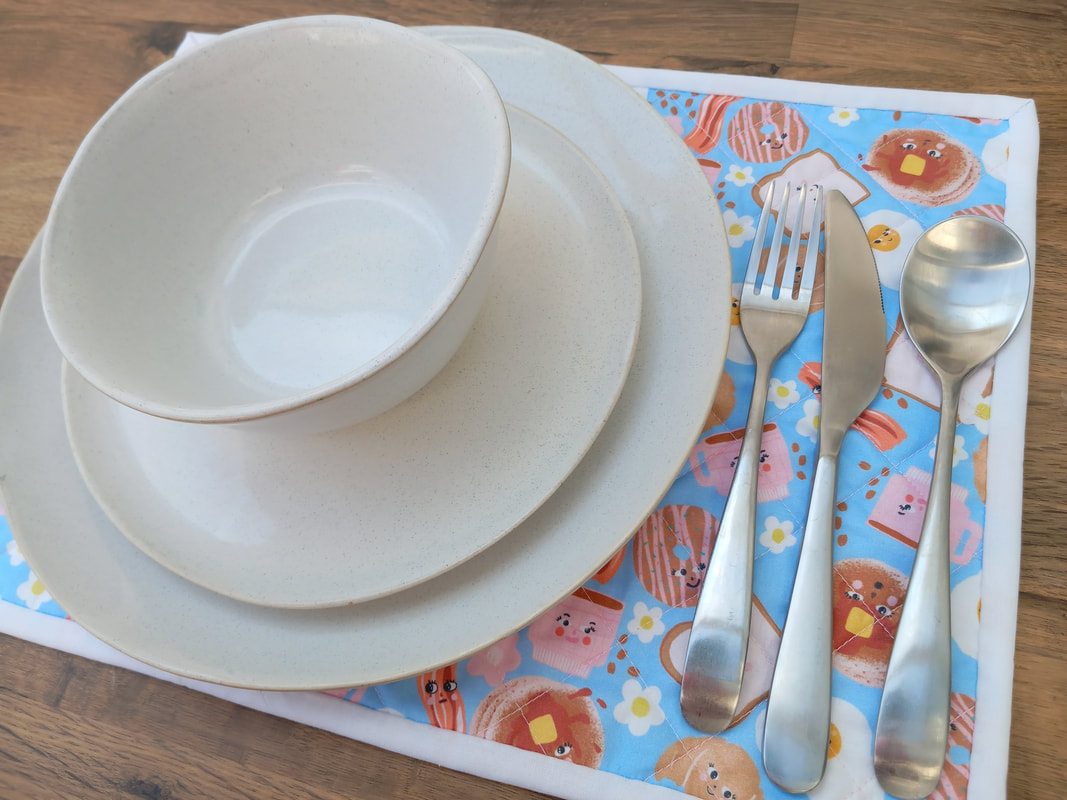
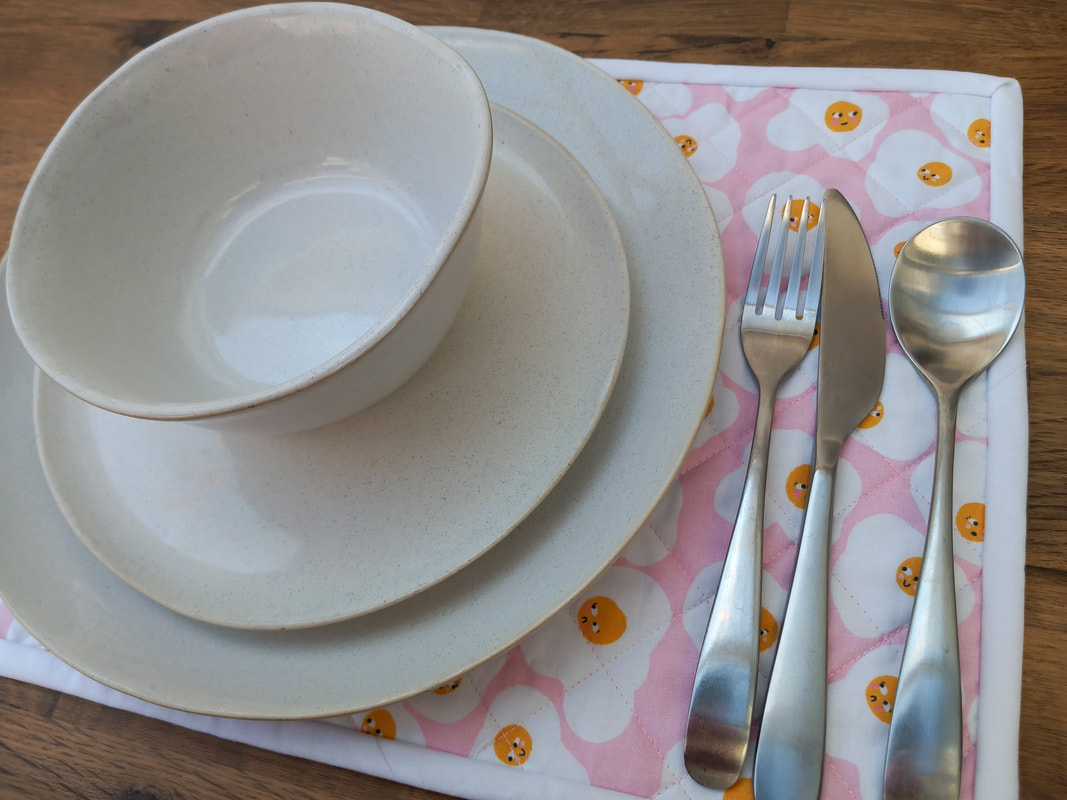
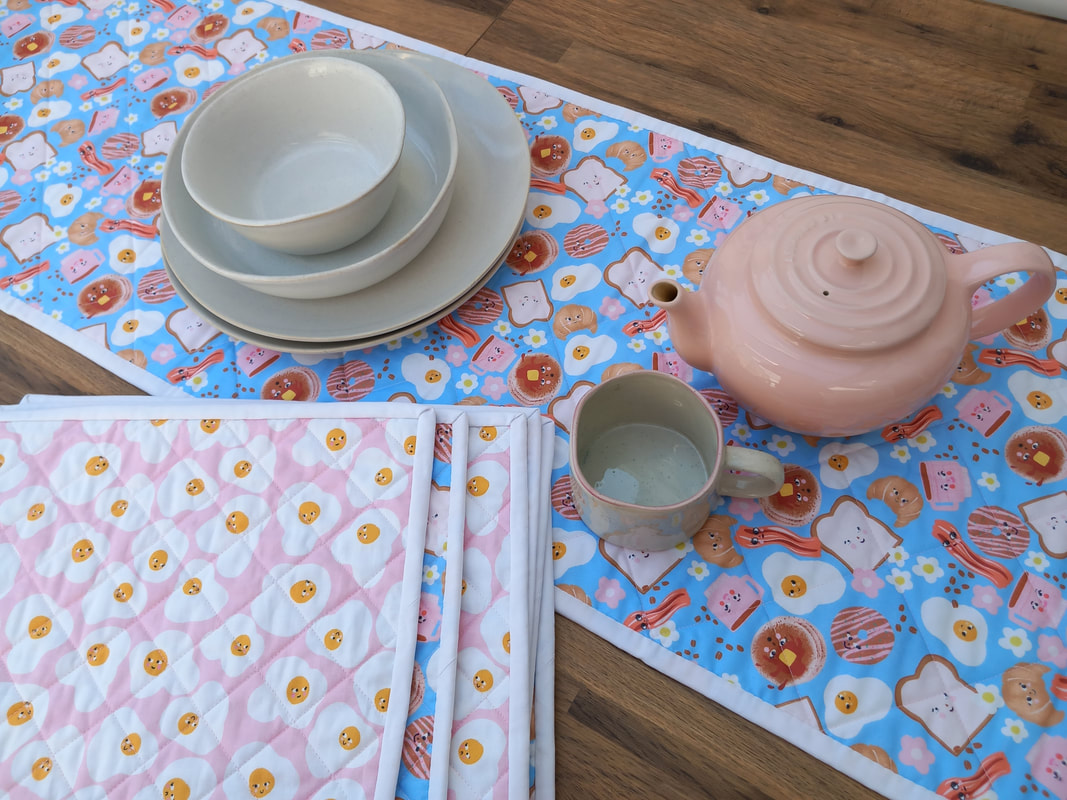
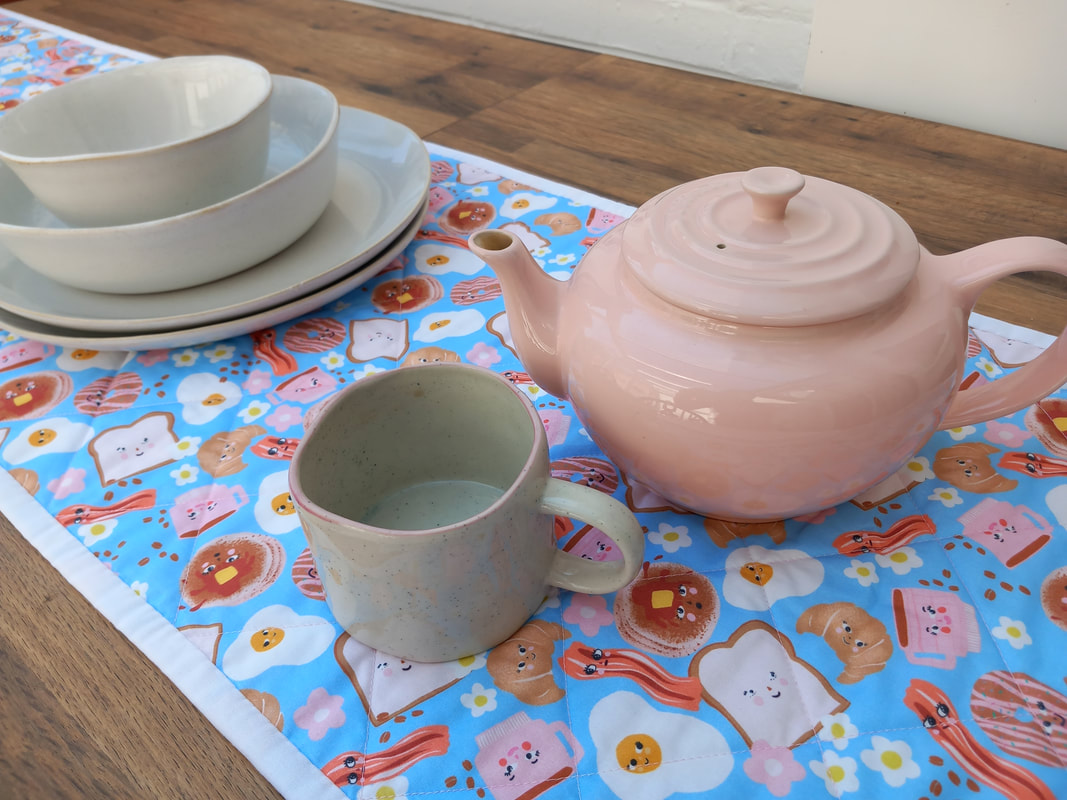
When your daughter buys fabric and says "oh mum can you just make this..." she actually bought these fun fabrics last year for me to make her a table runner and a set of matching placemats, and I've only just got started on it!! These fun fabrics are from the Food Face collection by Corinne Lent for Paintbrush Studio, and I'm using this pretty pale pink King Tut thread from Sew and So's of Bungay for some very simple machine quilting in a crosshatch design... ...by simply using 2 fabrics, one for the front and one for back, it means they're completely reversible. I quilted a long rectangle and then cut it apart to make 6 placemats rather than quilt each one individually. This was also much more ecconomical with the fabric, too. The table runner was again cut as a long rectangle, and I've used a thin felted polyester wadding in the middle. Plain white fabric has been used for a wide binding to frame both the placemats and the table runner... ...these colours are super for a bright kitchen or dining room, and my daughter's pink Le Cruset teapot matches perfectly!
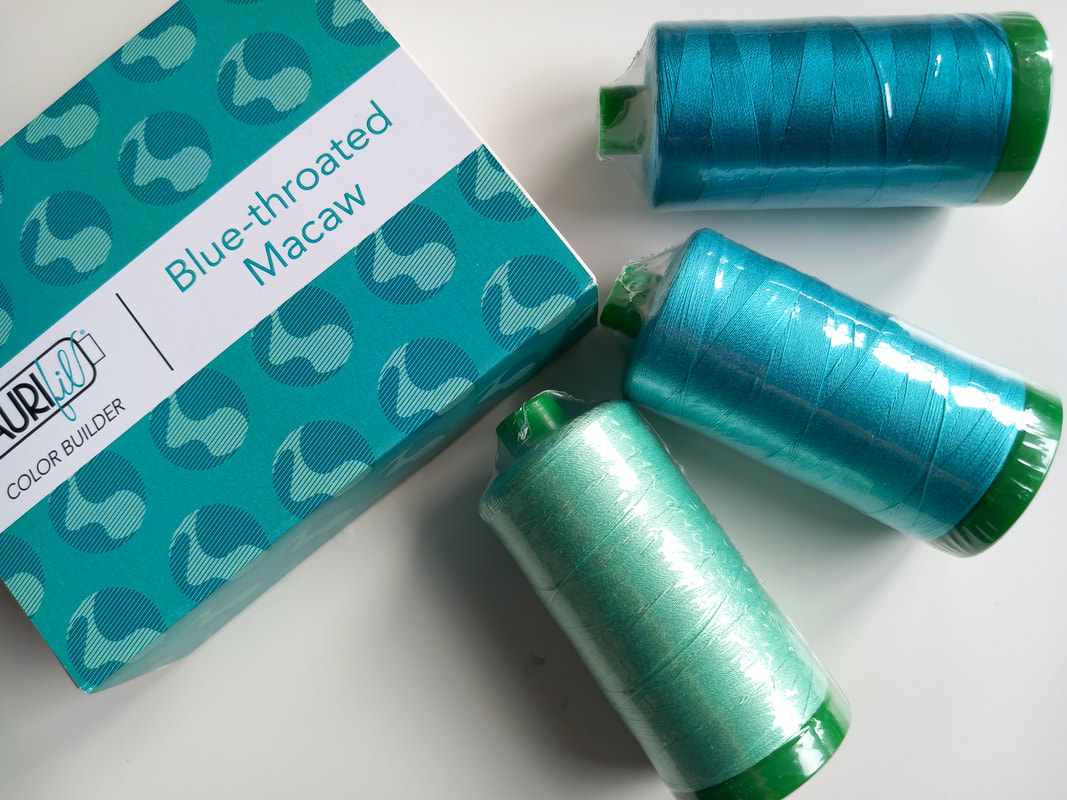
Thanks to signing up to the Aurifil Colour Builder club at Oh Sew Sweet Shop I've been able to add to my collection of Aurifil 40wt threads. Blue-throated Macaw is this month's selection and these turquoise threads - shades 2835, 1148 and - 4093 really are beautiful and are great for machine quilting.
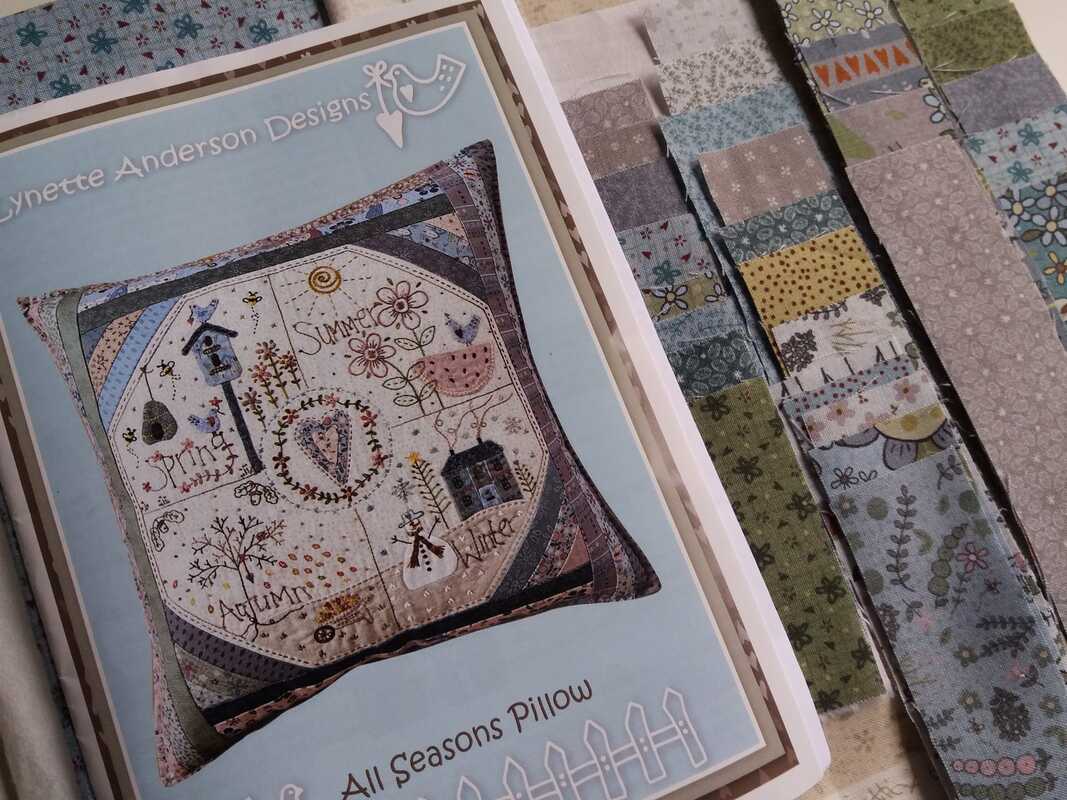
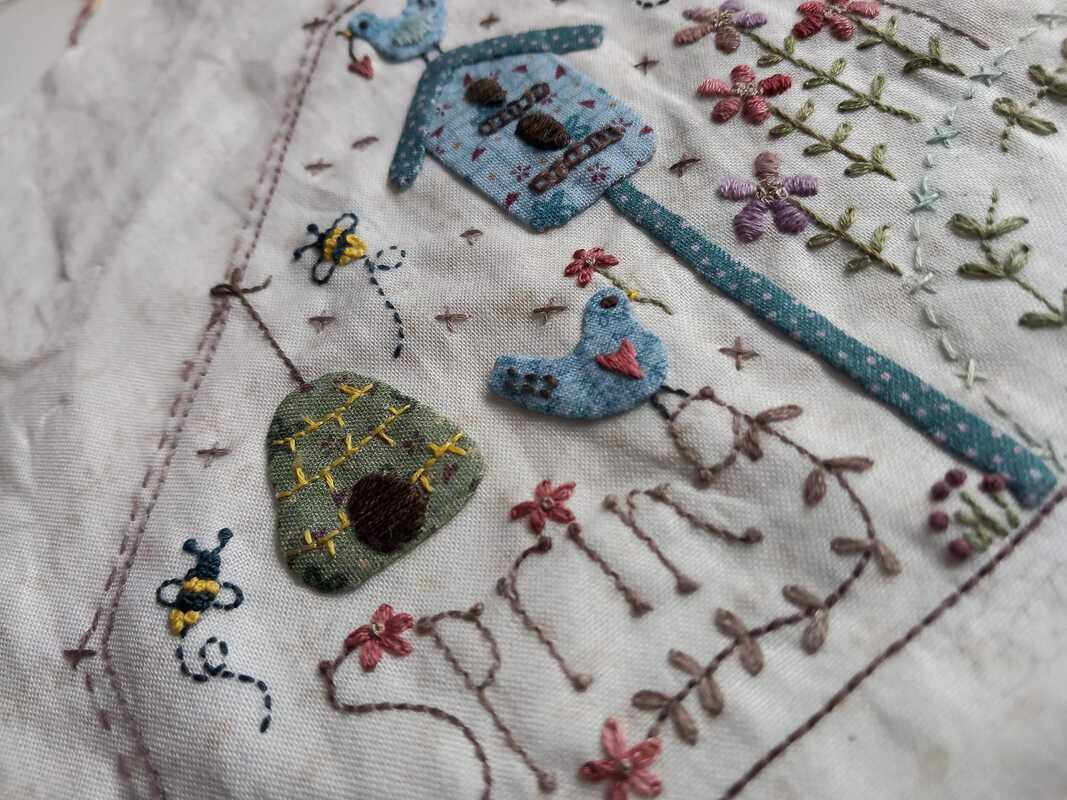
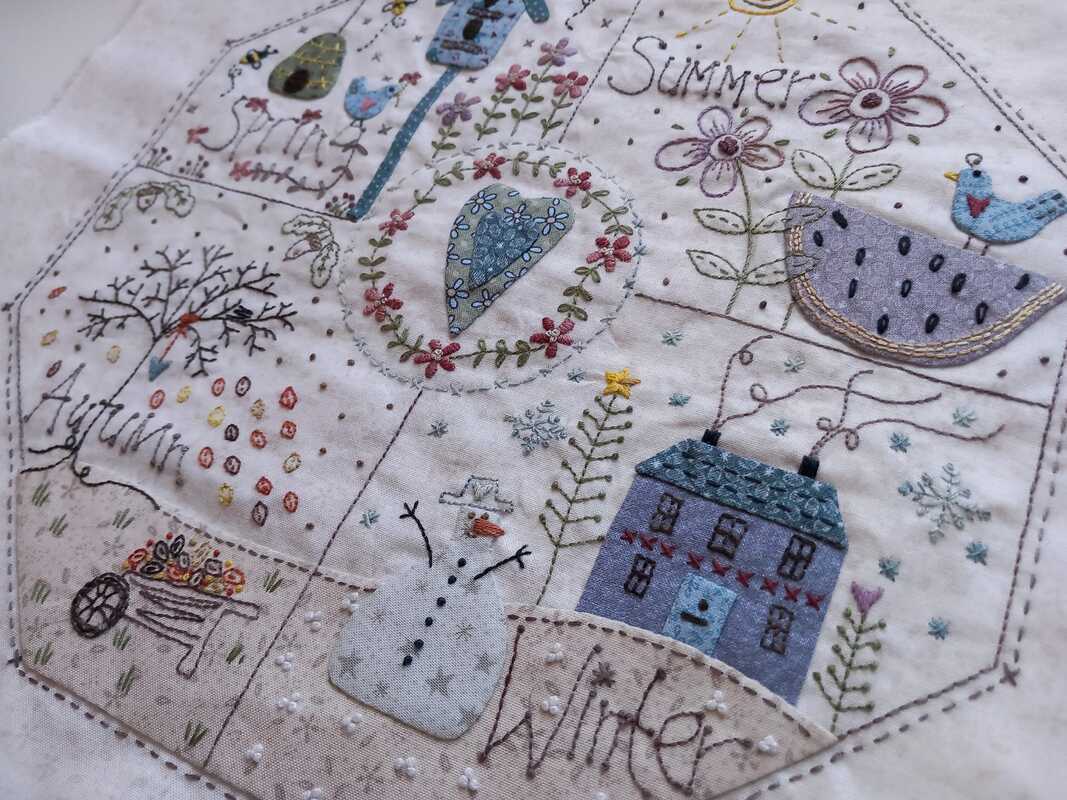
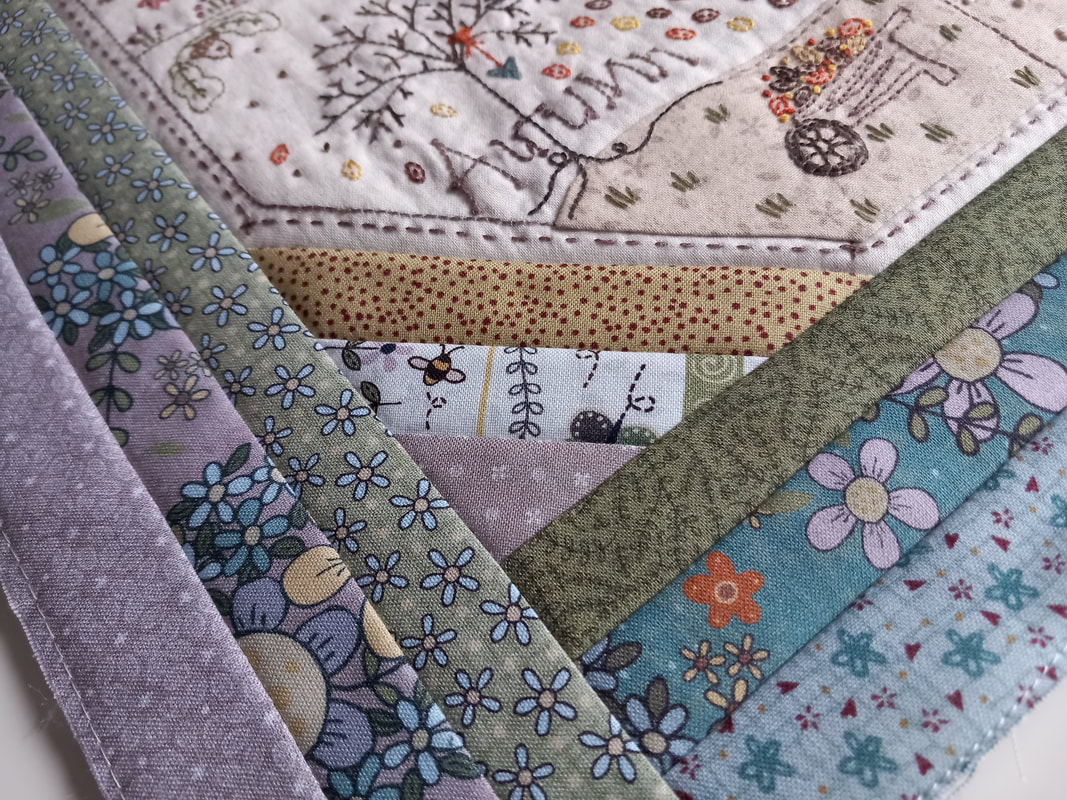
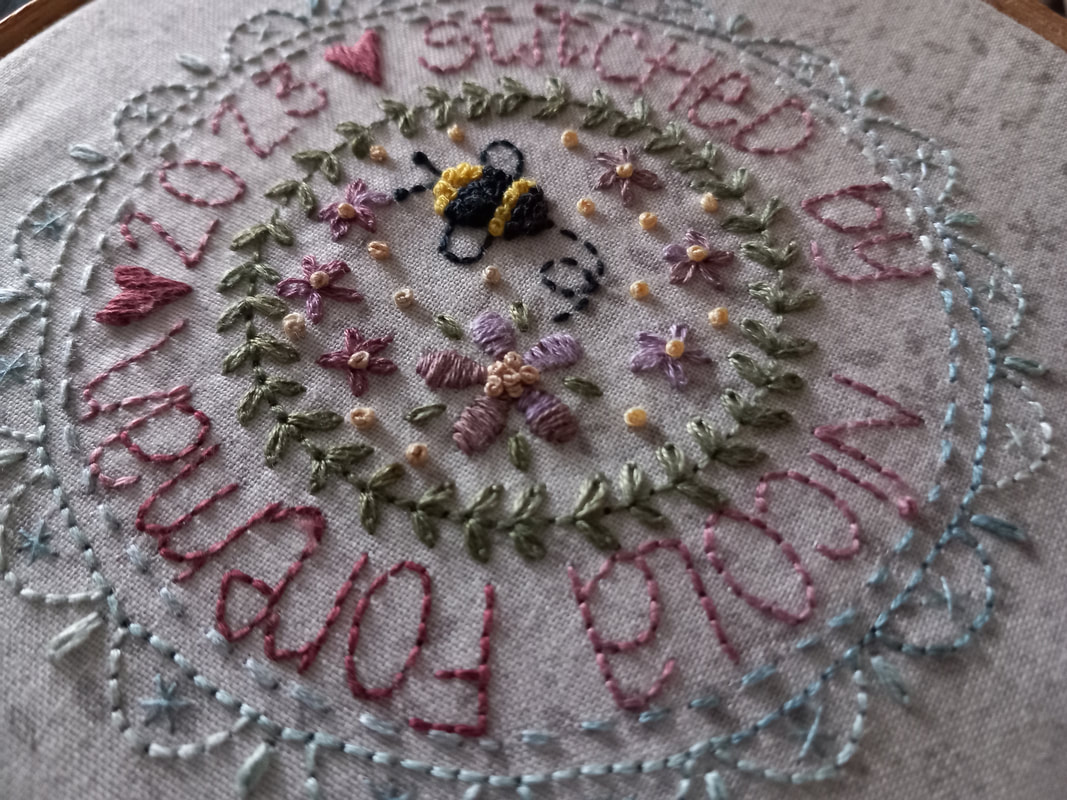
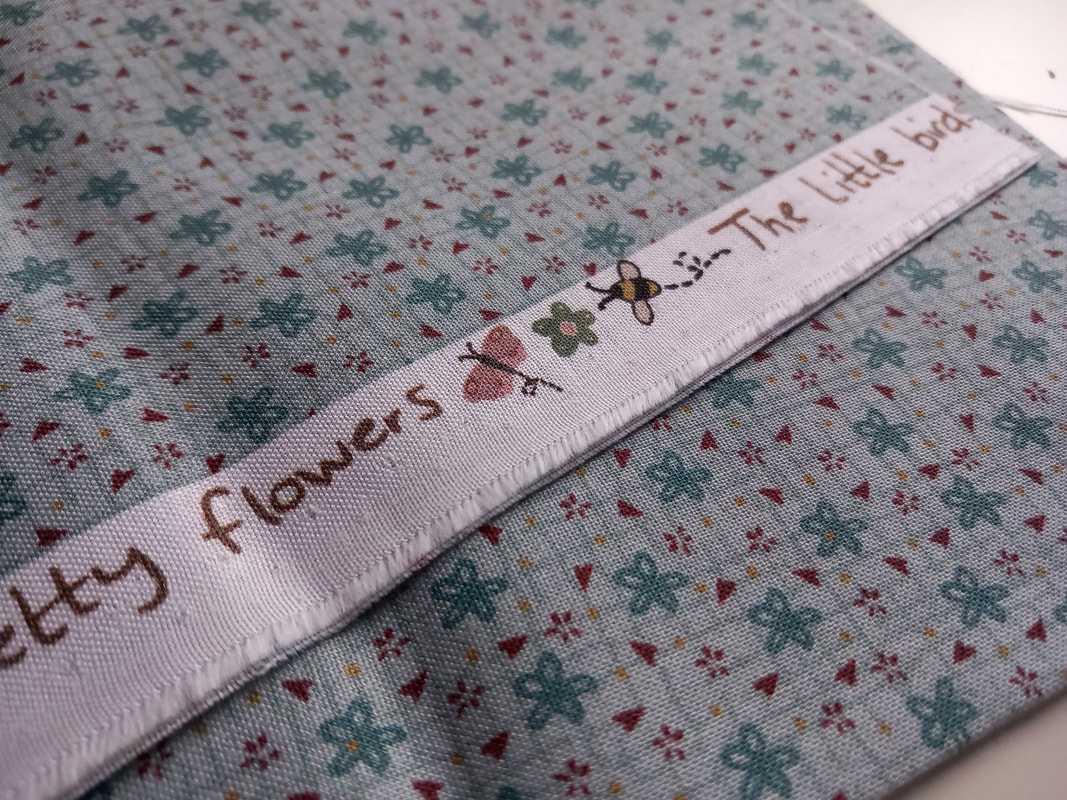
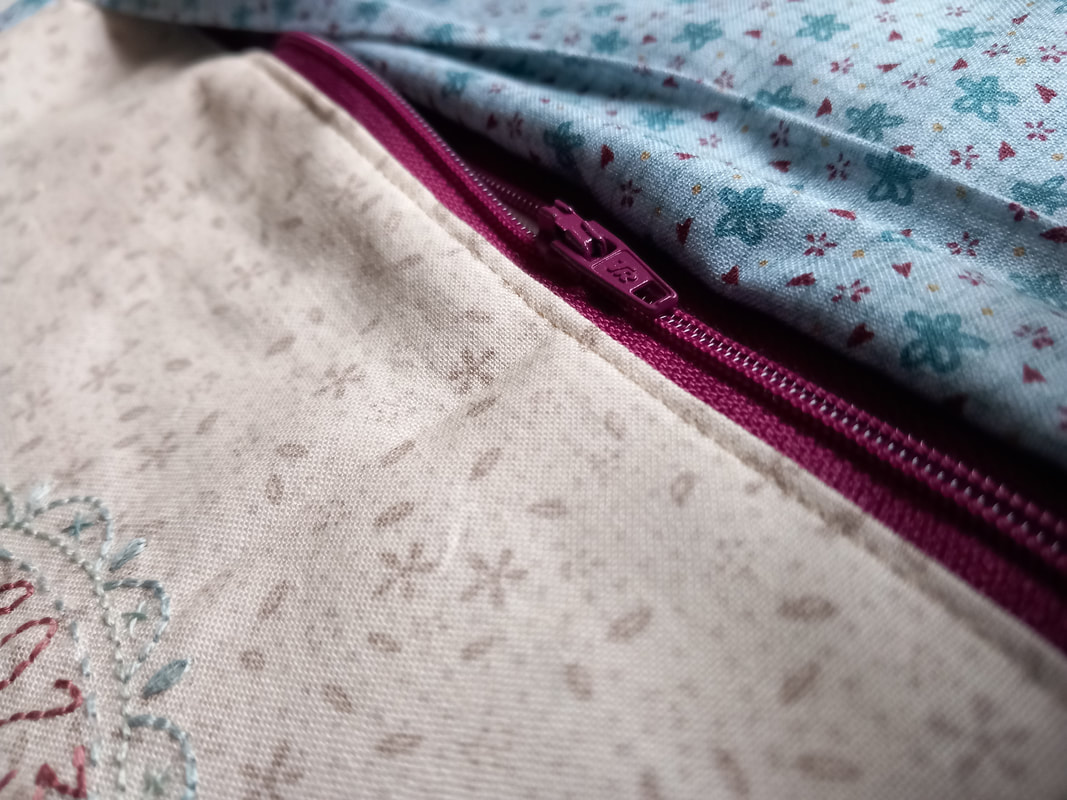
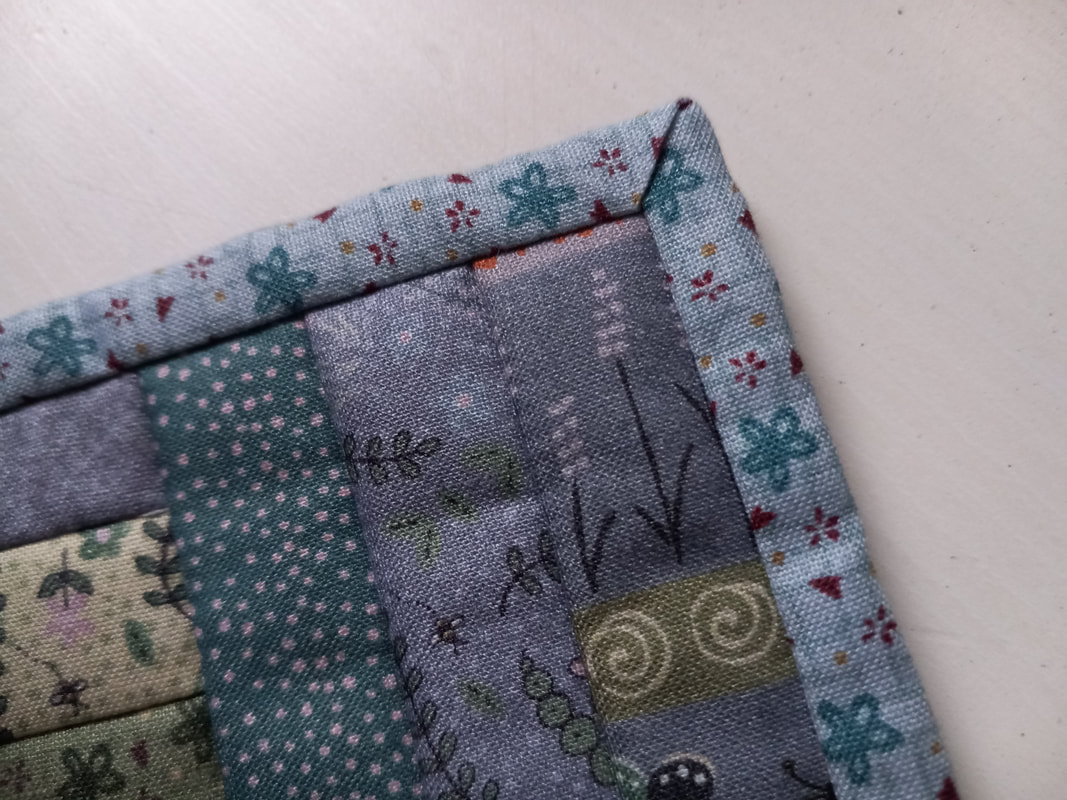
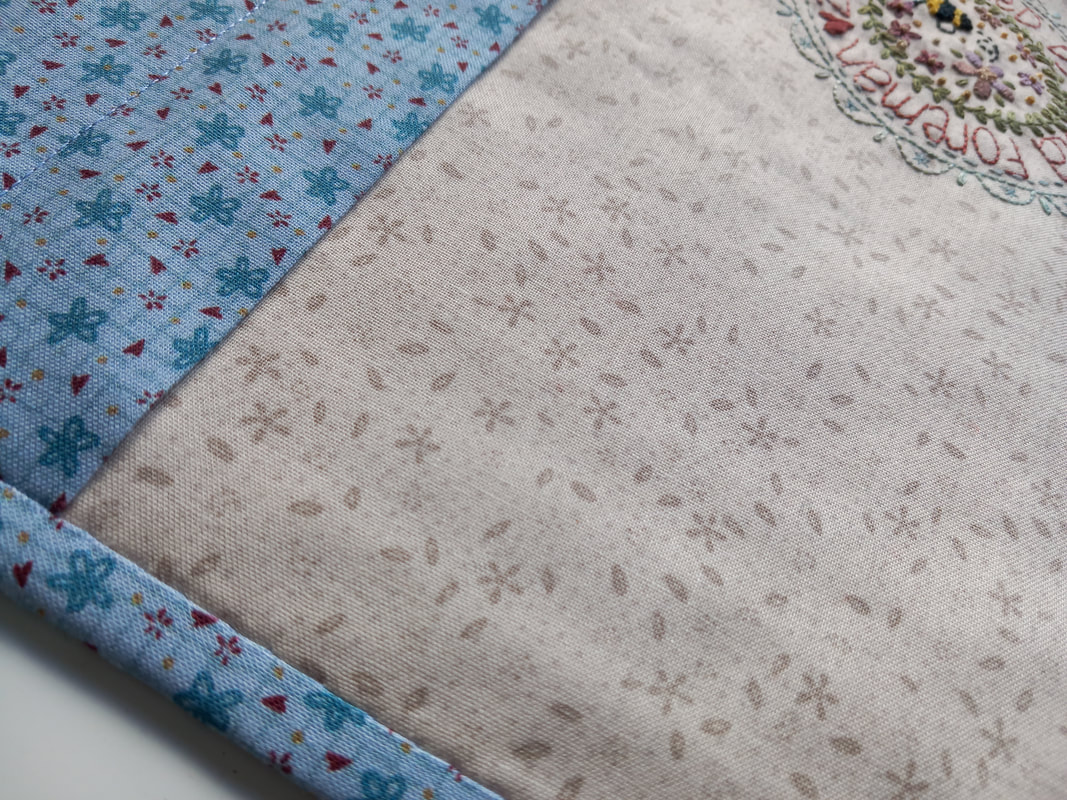
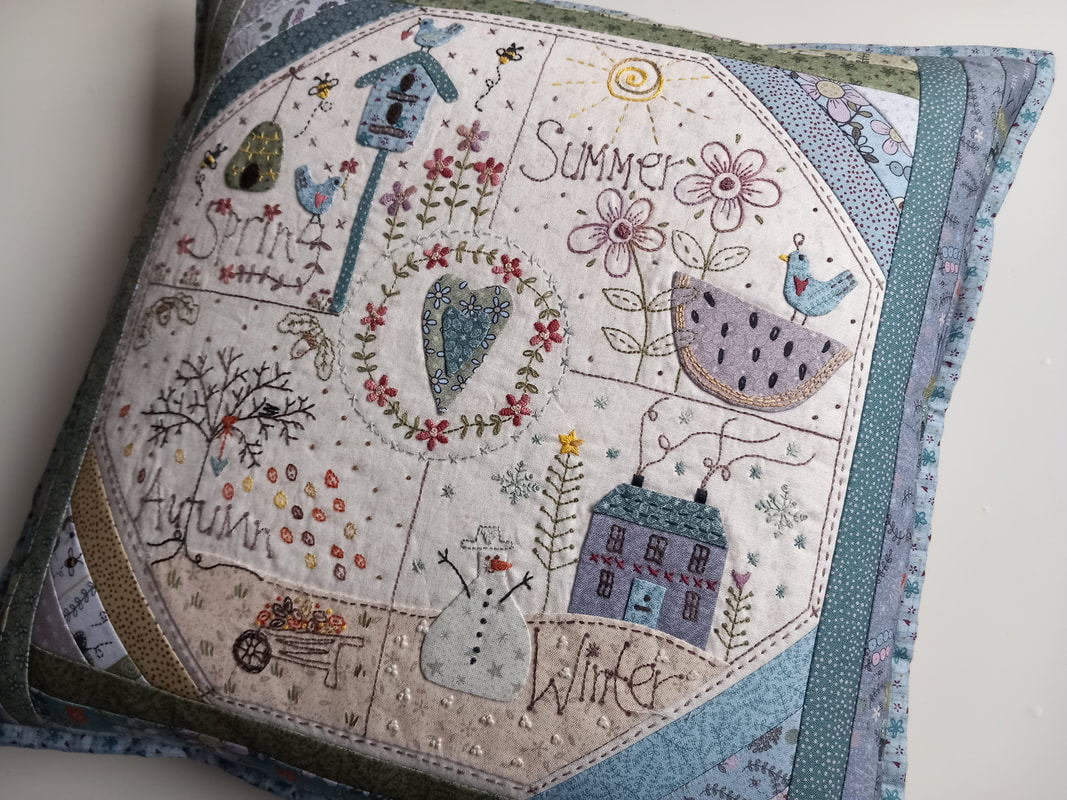
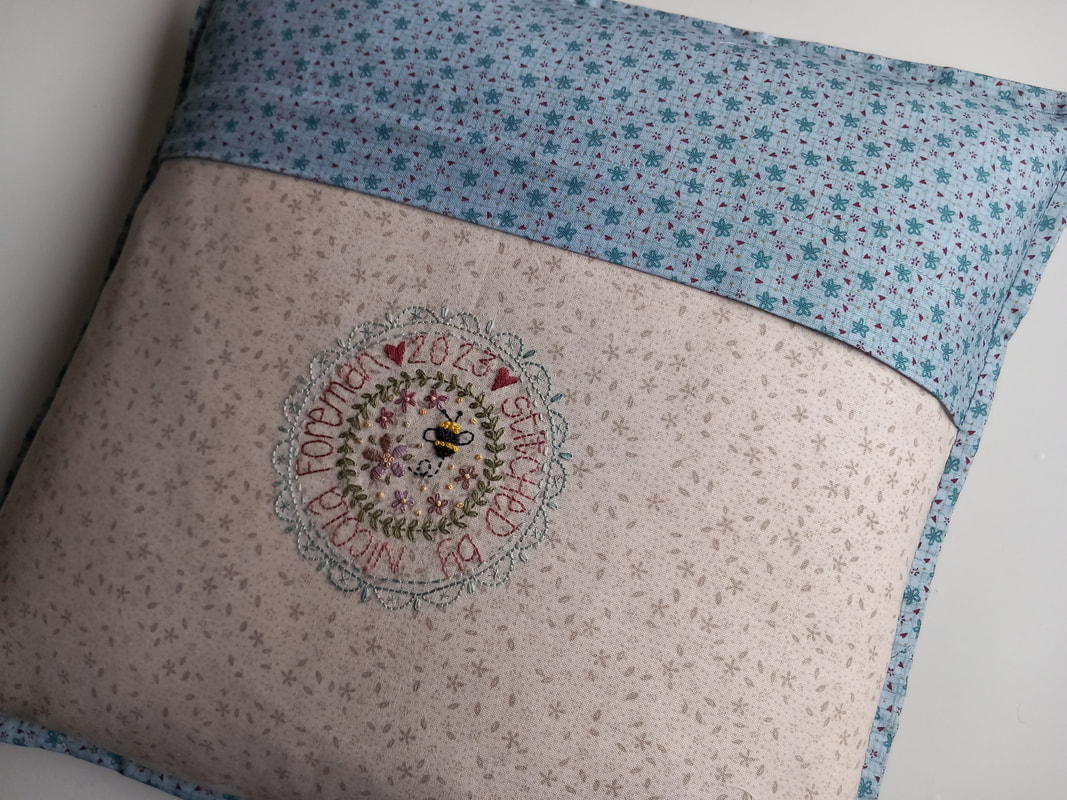
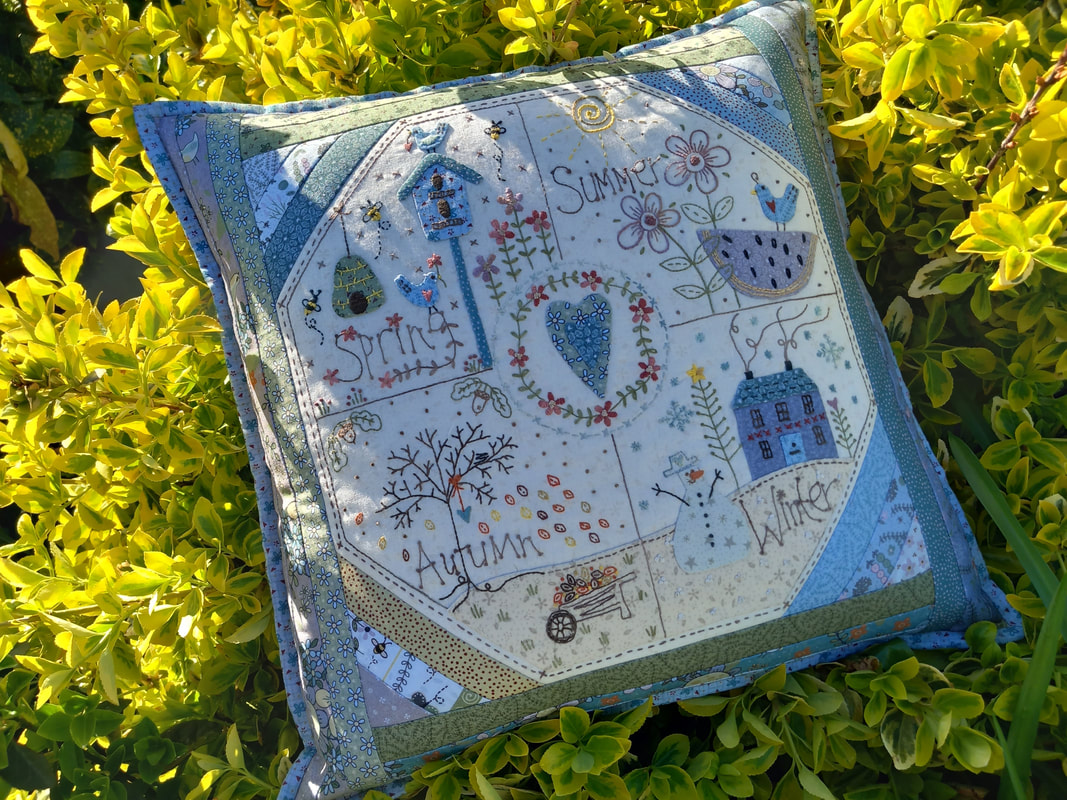
As a member of the Poppy Patch Posse I get the chance to review some beautiful sewing projects, and I couldn't wait to try this one! This kit contains the pattern All Seasons Pillow by Lynette Anderson Designs along with the wadding and all the fabrics required, which are from Lynette's latest fabric collection - Botanicals. Using a fine nibbed Micron Pigma pen and a lightbox, I traced the stitchery design onto the background fabric that was supplied in the kit. I've used a lightweight fusible interfacing on the back, which will prevent shadowing of threads and gives a bit of body to the fabric when the applique is stitched in place too... ...this kit included all the fabrics for the applique, and it was great fun playing around with them to decide which ones to use for which applique shape. I prefer to use the Apliquick method of hand applique, using Apliquick tools and Hugs n' Kisses brand of applique paper, although you can use whatever method of applique you like for this project. I've been using a fine 60wt Bottomline thread in a mid grey colour for the applique, the stitches practically melt into the background and are almost invisible. Once the applique and hand embroidery are completed, the centre piece is trimmed to size, and the fabric strips are stitched into place. All the instructions on how to do this are included in the pattern, however I changed things up a little bit and stitched these using the quilt as you go method. I layered a piece of calico, then the wadding supplied in the kit, and finally the cushion front, machining through all layers as each strip was added. This meant I didn't have to do any further quilting once the cushion front was constructed. Finally, using a longer stitch length than normal, I machine stitched about an eighth of an inch all around the outside edge to hold the layers together... ...I like adding a hand embroidered label to my "pretty" projects, and this one was no exception. I traced the main part of the label directly onto a pale background fabric (one of my many fabrics from my "Lynette" box) again using a lightpad and a fine nibbed Micron Pigma pen. Using Valdani stranded embroidery threads in the same colours that are used for the front of the cushion, I embroidered directly on the lines I'd drawn, then I filled in the centre of the label using flowers and a bee that are very typical of Lynette's designs, finally filling in the space with a few colonial knots... ...the kit also included a pretty blue floral piece of fabric for the back of the cushion cover. The original pattern has details of how to complete this cushion cover, and the inner pad is completely enclosed with top stitching around the edge to finish it. However I like adding a zipper so I can remove the cushion pad if I need to, so I made a seperate cushion back using the fabric provided for part of this, along with the fabric that I'd used earlier when embroidering the label... ...once the back of the cushion was completed, the front and the back were then pinned together, both with right sides facing outwards, and I've machine stitched a scant quarter inch around all 4 sides taking care when machine stitching over the 2 ends of the zipper tape. I used some 1.5" strips of the pretty floral backing fabric to make some binding, to cover the raw edges of the cushion, the same way you would bind a quilt. I added these using the single fold binding method, with mitred corners. The raw edge is folded under, so when the binding strip is folded to the back of the cushion, all the raw edges are neatly enclosed. I've hand stitched the binding in place, but you can machine stitch it if you prefer... ...and here's both the front and the back of the completed cushion cover. Filled with a nice plump feather pad, it will have pride of place in my lounge, where it can be displayed all year round. This really was such a pretty cushion to stitch, and the kit supplied by Poppy Patch really is lovely. These fabrics are from Lynette's Botanicals collection, but any of her fabrics would work well for this cushion... ...thanks to some glorious sunshine over the early part of the Easter weekend, I was able to take a few photographs outside in the garden before the rain arrived! If you'd like to make one of these cushion covers too, the patterns and kits are available on the Poppy Patch website, along with a super selection of Lynette's patterns and fabric collections.
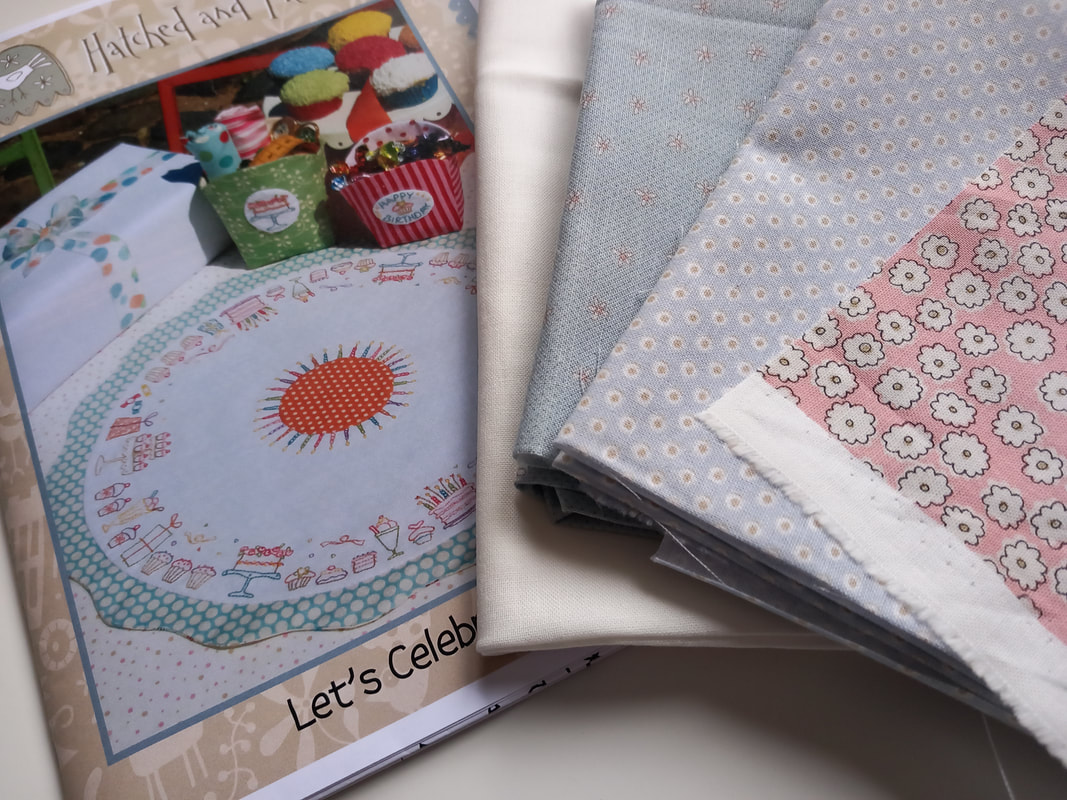
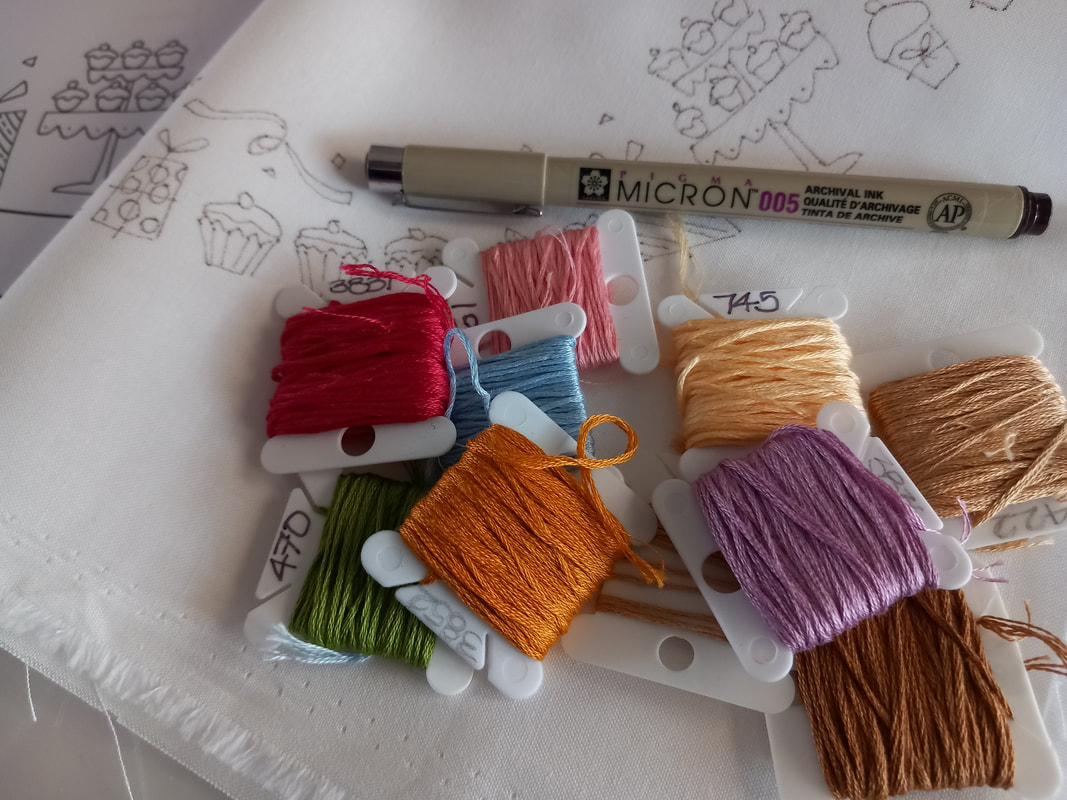
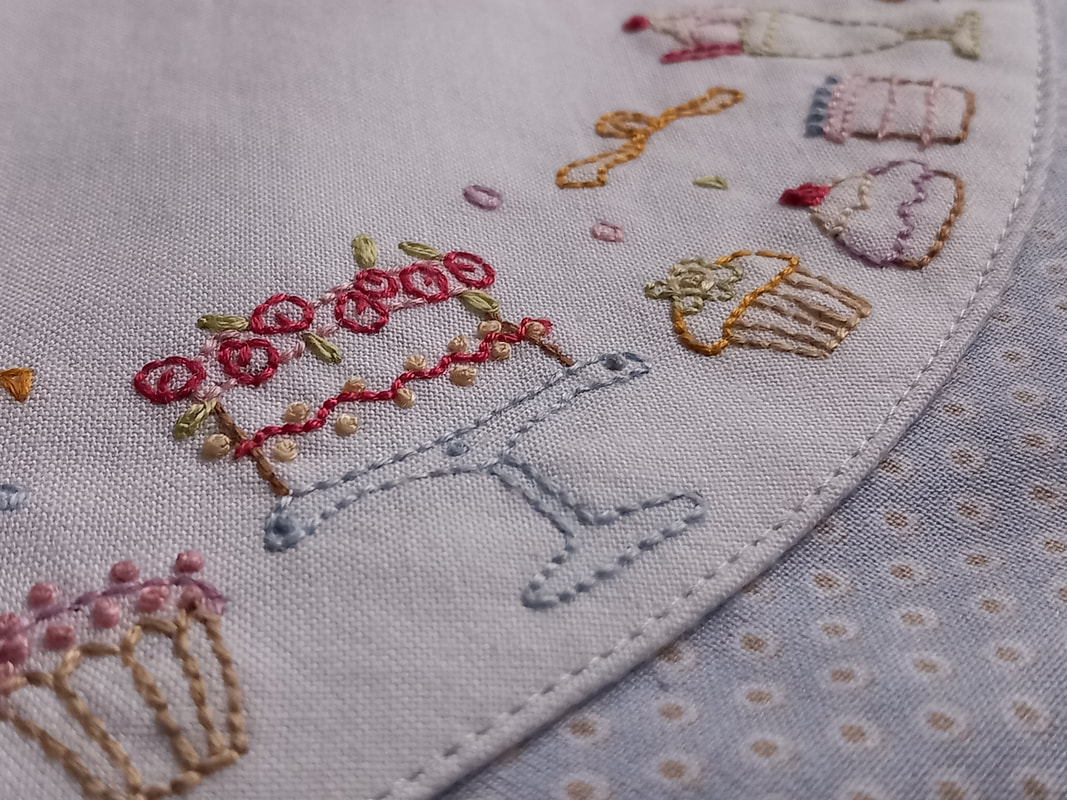
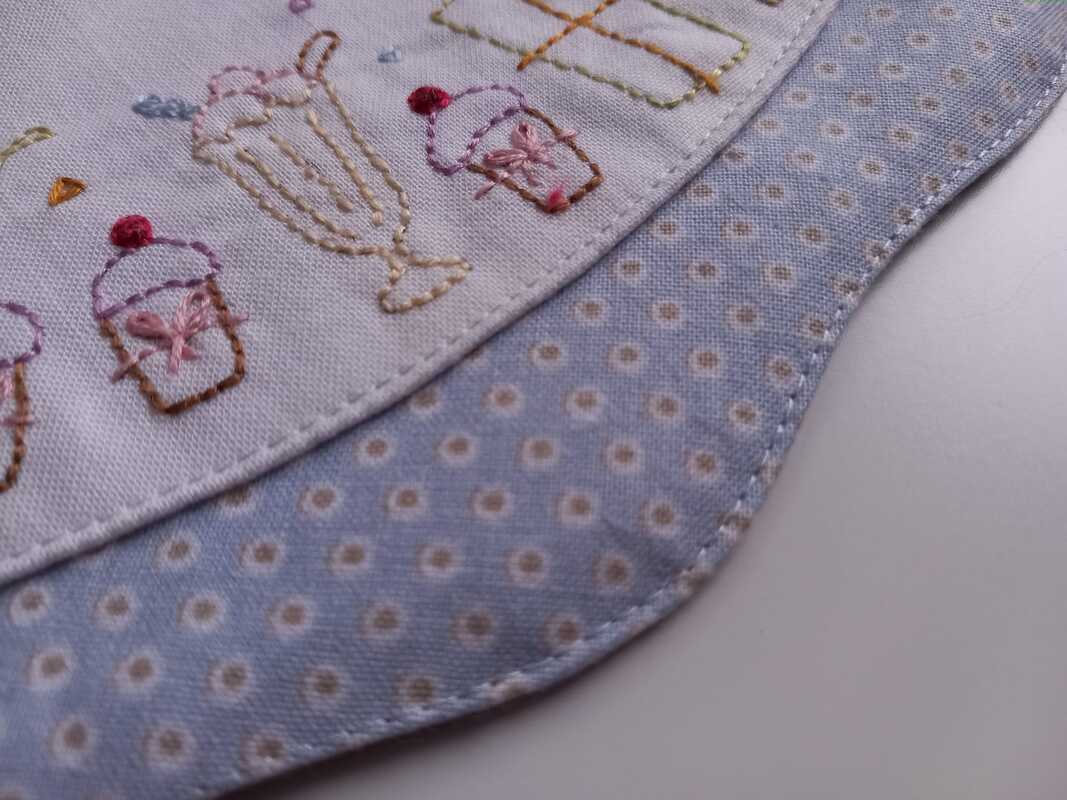
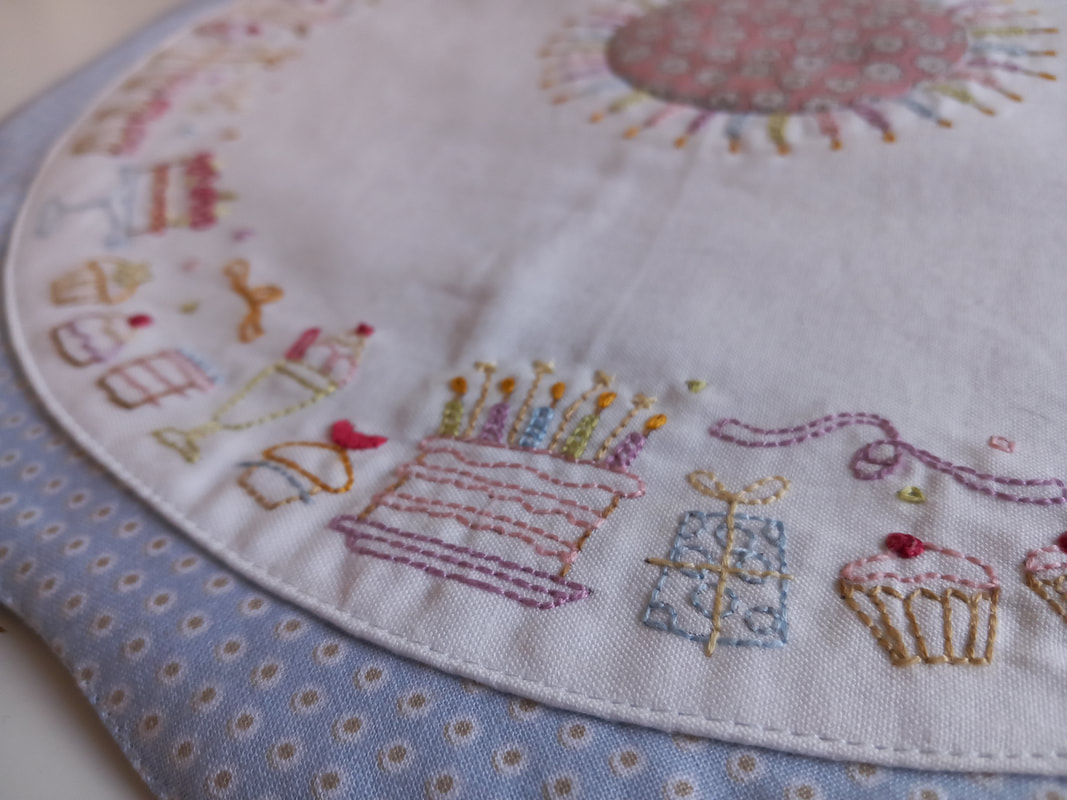
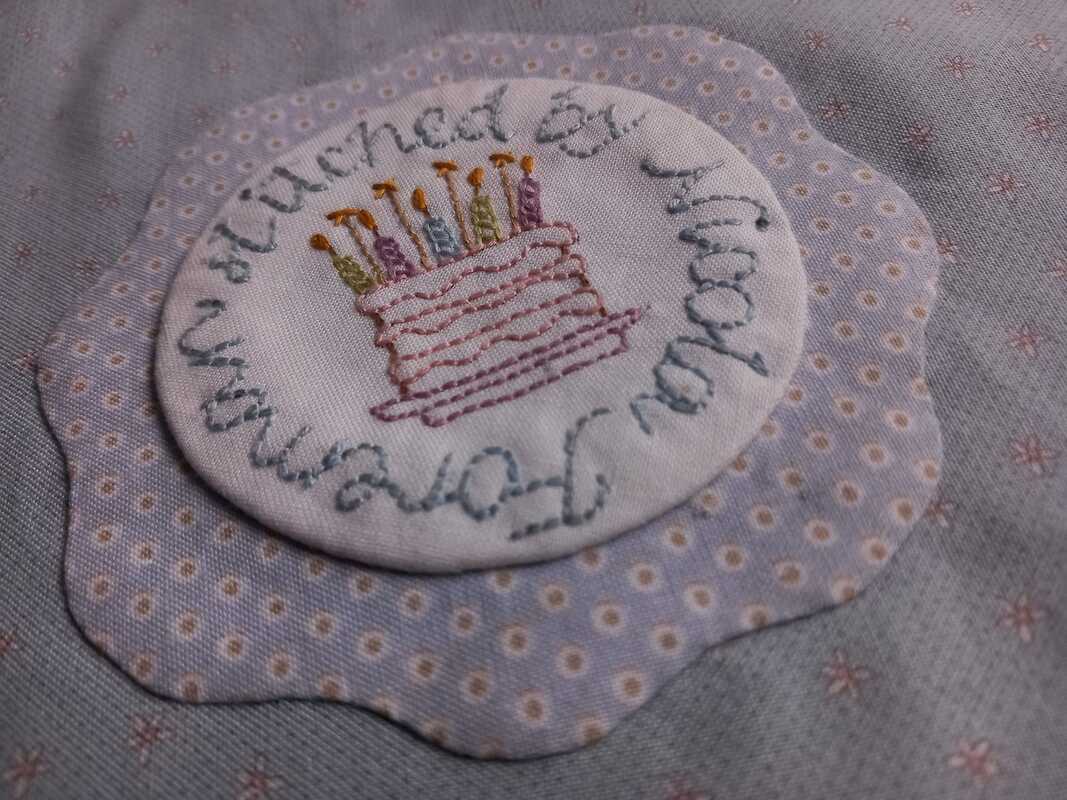
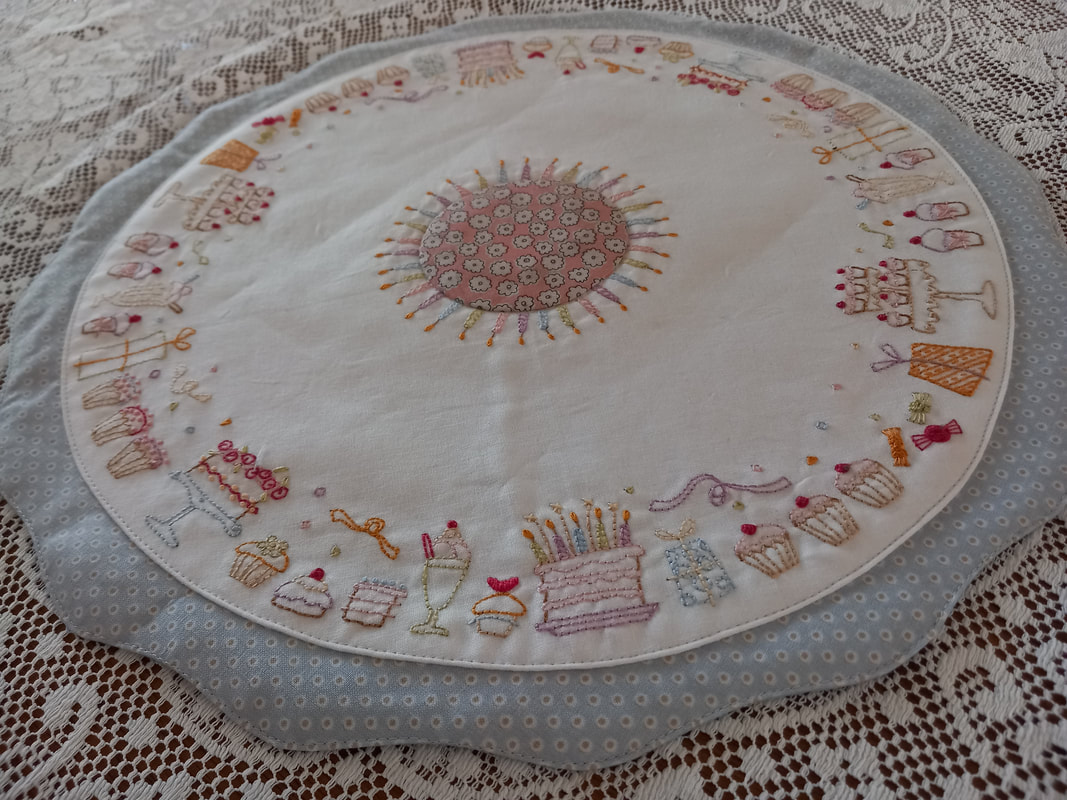
My little grandson recently celebrated his first birthday, and was having a very special family birthday party, and to mark this special event, I decided to make a very special project for it! When I saw the Let's Celebrate tablemat by Hatched and Patched on the Poppy Patch website, I knew it was just what I was looking for! This pretty kit contained these pretty fabrics also designed by Hatched and Patched - all I had to do was add the embroidery threads and interfacing. A very fine nibbed Micron Pigma pen was used to trace the stitchery design along with a lightpad, then I was ready to pick out the thread colours that I wanted to use. I did change a couple of colours from the ones suggested on the pattern, to match the muted tones of the fabrics... ...using very simple embroidery stitches, these cakes look rather delicious don't they! Once the hand embroidery was completed, using the circular template provided with the pattern, and leaving a generous quarter inch seam allowance, the top was cut out. The edge was turned over and initially slip stitched to the blue spotted fabric. The blue fabric has a scalloped edge, the template for this is also provided in the pattern. Once the table mat was constructed and tuned the right was through, I decided to topstitch along the scalloped edge, using a 50wt Aurifil thread to match the fabric... ...I chose a finer thread than usual for the topstitching as I wanted it to blend in rather than be too obvious. As you can see, I also topstitched around the edge of the appliqued circle, stitching through all the layers. I didn't use any wadding for this project, however I did add a layer of fusible woven interfacing to the back of the blue spotted fabric which added a bit of "body" to the table mat. The only thing that was left was the label - I used a couple of small scraps of fabric leftover from the table mat, along with a few leftover embroidery threads. The label was then hand appliqued to the back of the mat... ...unfortunately I didn't manage to take any photographs of the bithday cake or the table mat at the birthday party, but as it's a mat that can be used for all our future celbrations, it will also be used for a family tea party on Easter Saturday afternoon.
|
About me...Hi - welcome to my quilting blog! My passions are my family, my dog, my friends and sewing, not necessarily in that order! Archives
July 2023
Blogs I followUK shopsThese are the UK shops that I use to purchase my quilting supplies - fabrics and threads etc.
Australian linksScandinavian links |



 RSS Feed

