|
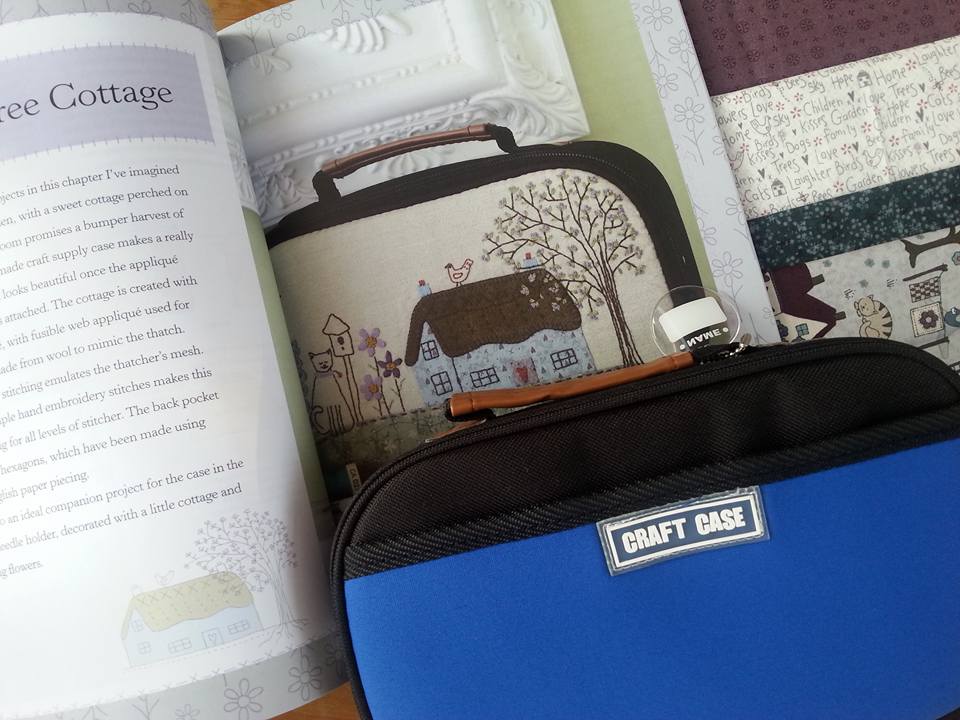
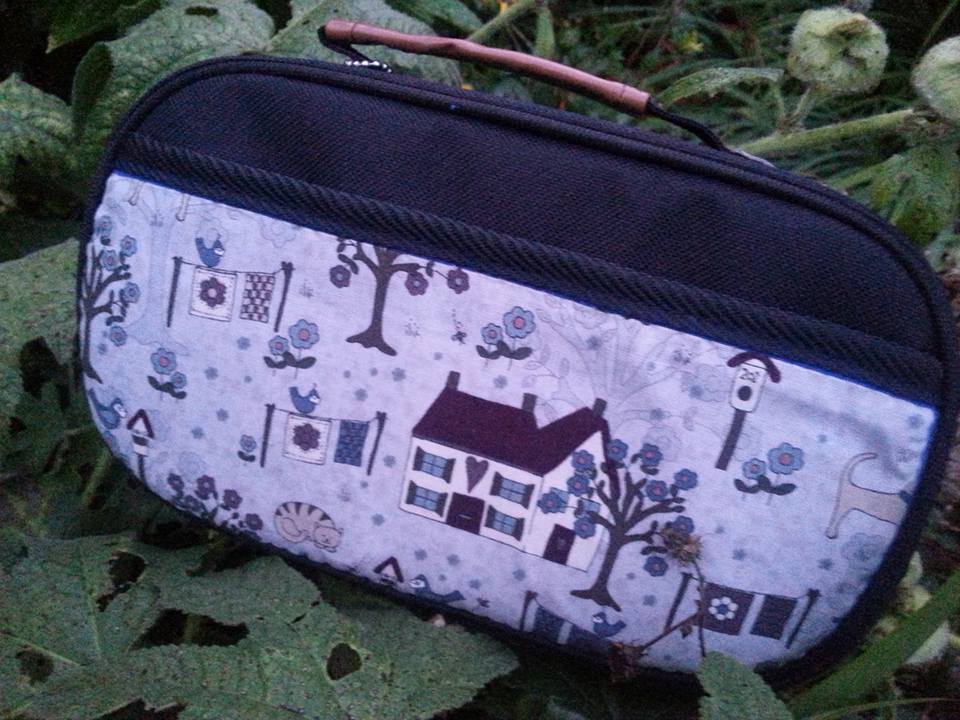
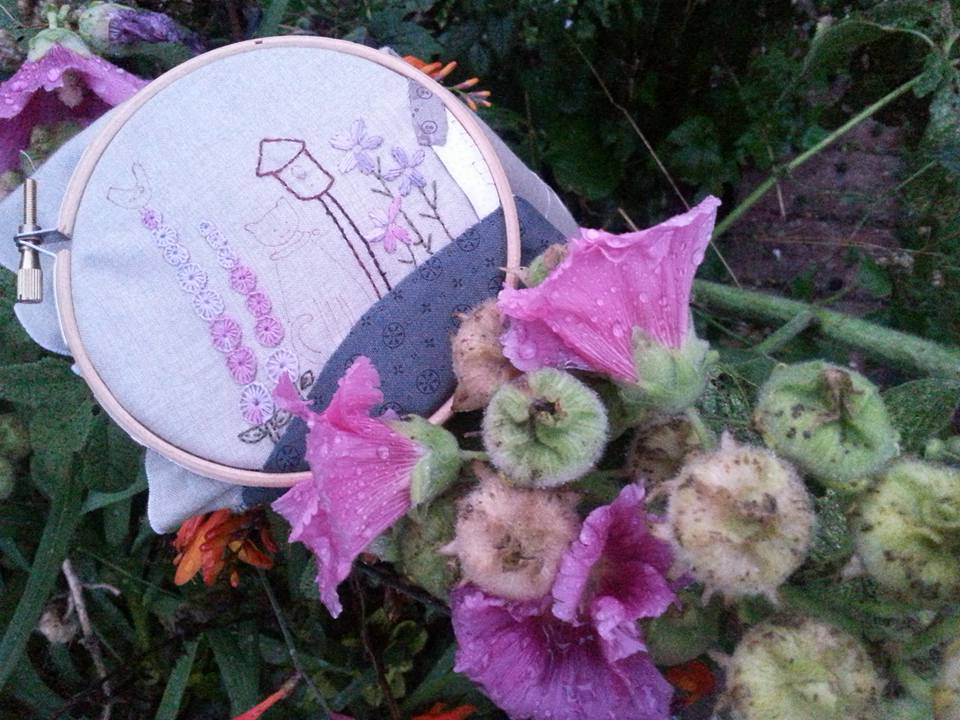
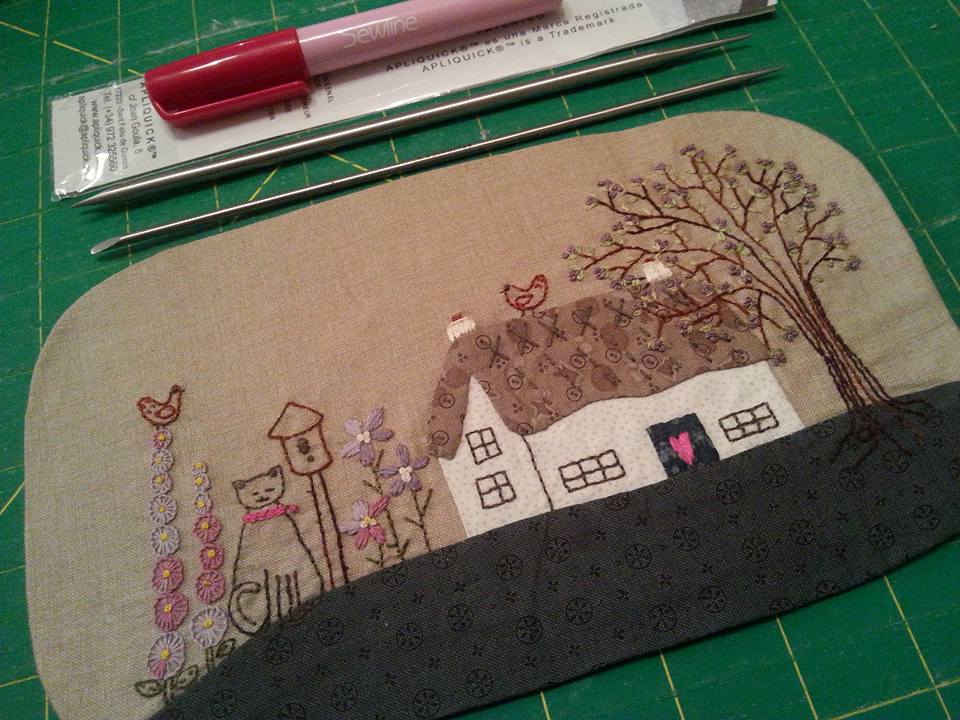
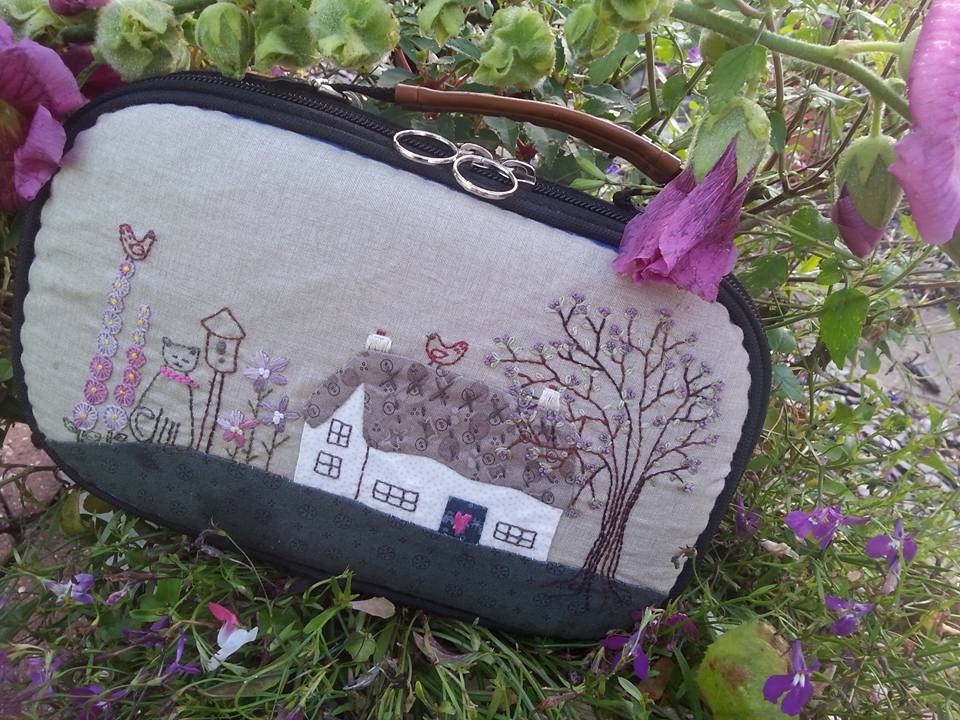
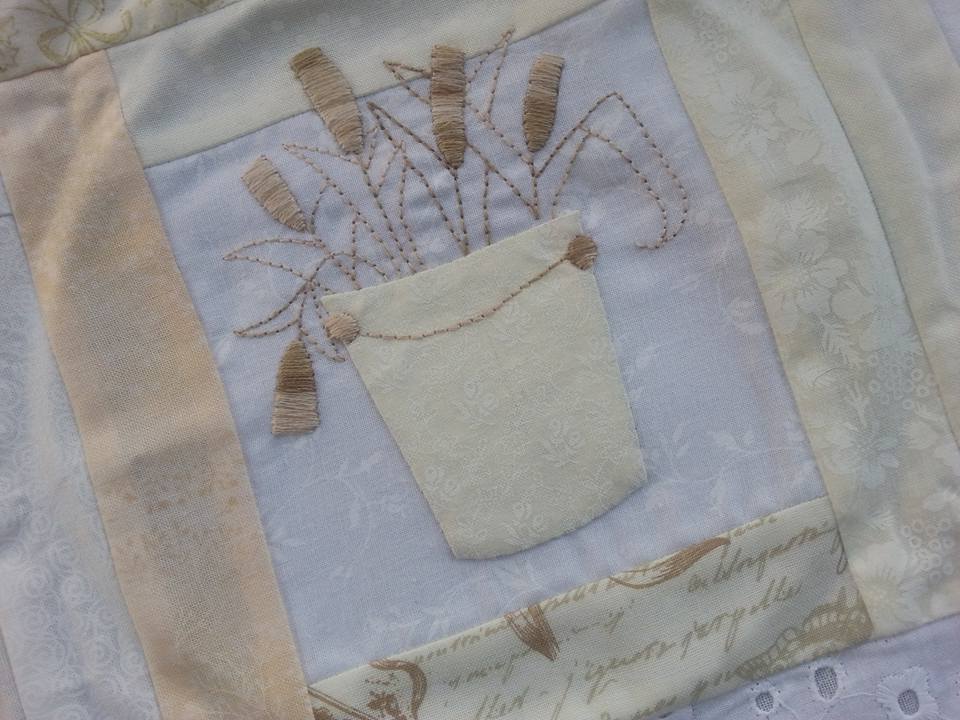
.A couple of years ago I bought this sewing case from Lynette Anderson's stall at the Festival Of Quilts. I'd already been given Lynette's book "Country Cottage Quilting" which had a pattern for a cover for the sewing case called "Walnut Tree Cottage", so I gathered together some scraps of Lynette's beautiful fabrics and getting ready for another project. I decided to use this pretty feature fabric for the pocket cover rather than stitching together lots of hexies, and I'm really pleased with how this looks... ...the cover for the front of the cover is made with a combination of applique and stitchery. I traced the stitchery design using a Micron Pigma pen and a lightbox for this. The applique was completed using the applique paper and glue stick method, then used a YLI silk thread to secure it into place. I used some Valdani embroidery threads for the hollyhocks, the daisies and the tree trunk/branches. These are hand dyed skeins of embroidery threads that are part of the Thread Club (sign ups on Lynette's website). The embroidered hollyhocks are similar in colour to the hollyhocks in my garden! The remainder of the stitchery was completed with DMC embroidery threads. Once the stitchery was completed, I trimmed the cover using the template provided in the book, and was ready to applique it onto the front of the sewing case. The edges have been turned over using the appliqué paper and glue stick method and apliquick rods. Next stage is to fix it to the sewing case with a few dots of Roxanne's Basting Glue and then secure it into place with hand sewing... ...and here's the finished case. It really would have been much easier to stitch the applique with a curved needle, but I'd had a bit of a disaster with a previous project, an managed to break 2 needles and resorted to using an ordinary one, which was more than just a bit tricky. My fingers will never be the same again!
3 Comments
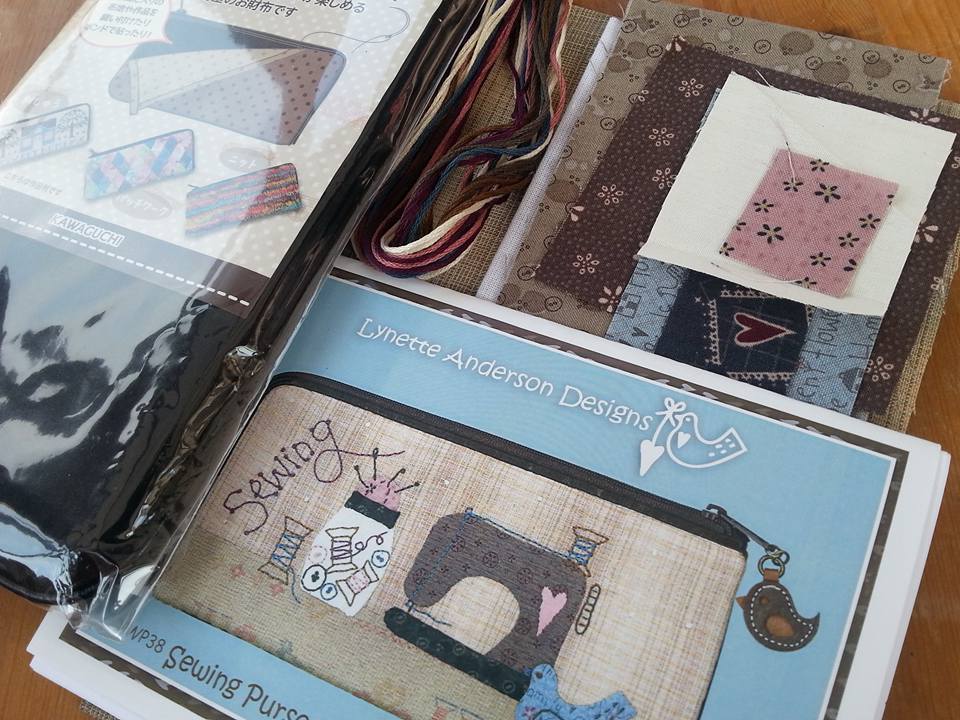
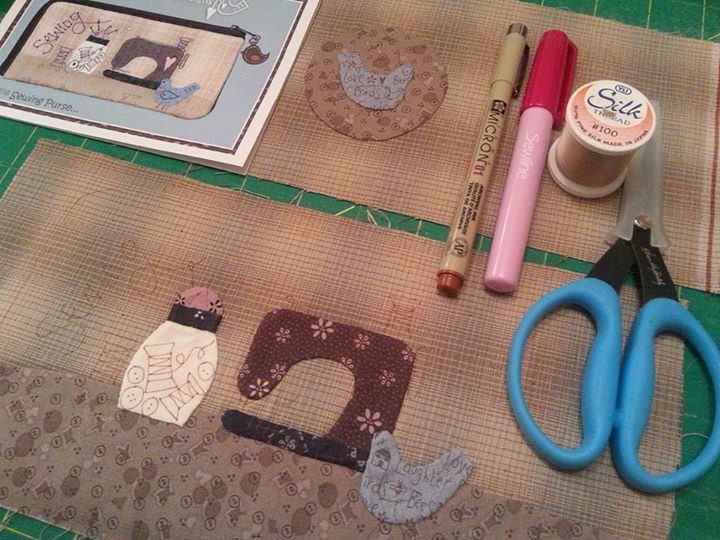
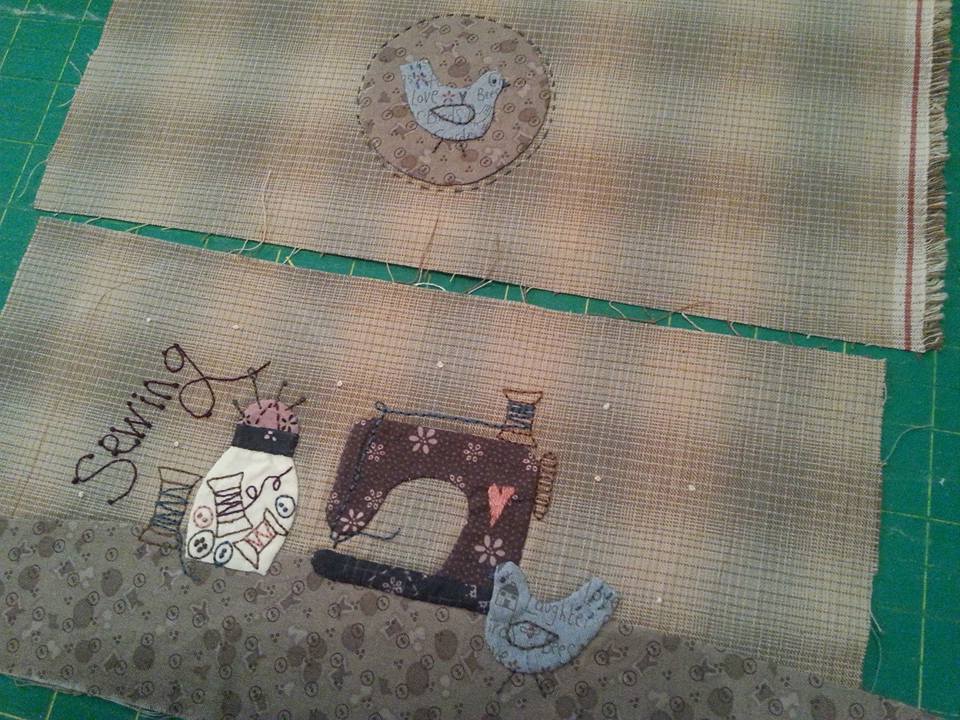
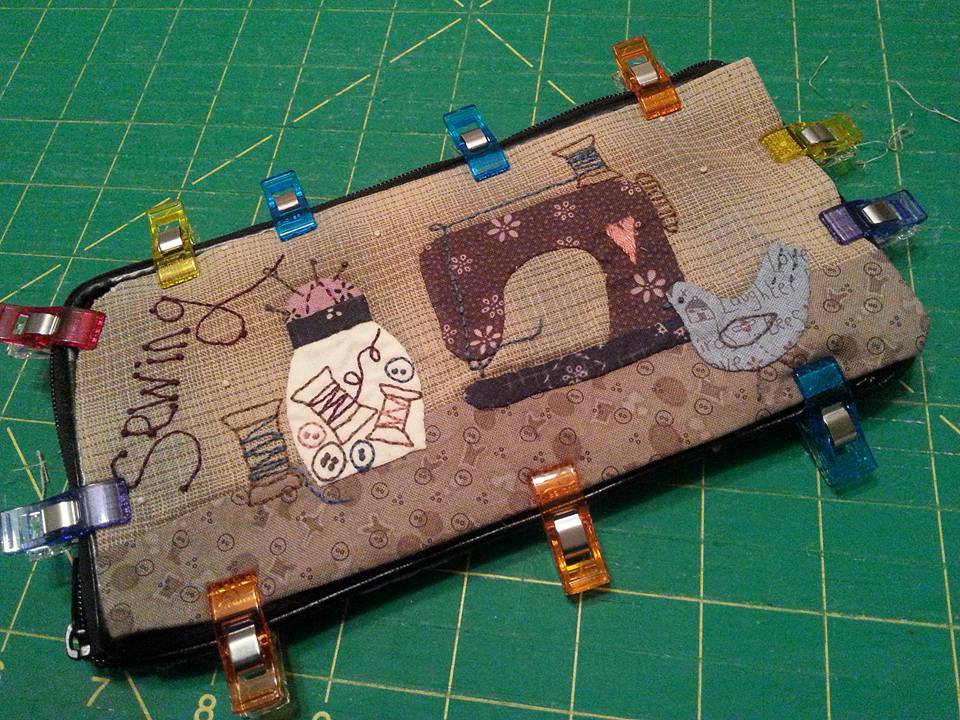
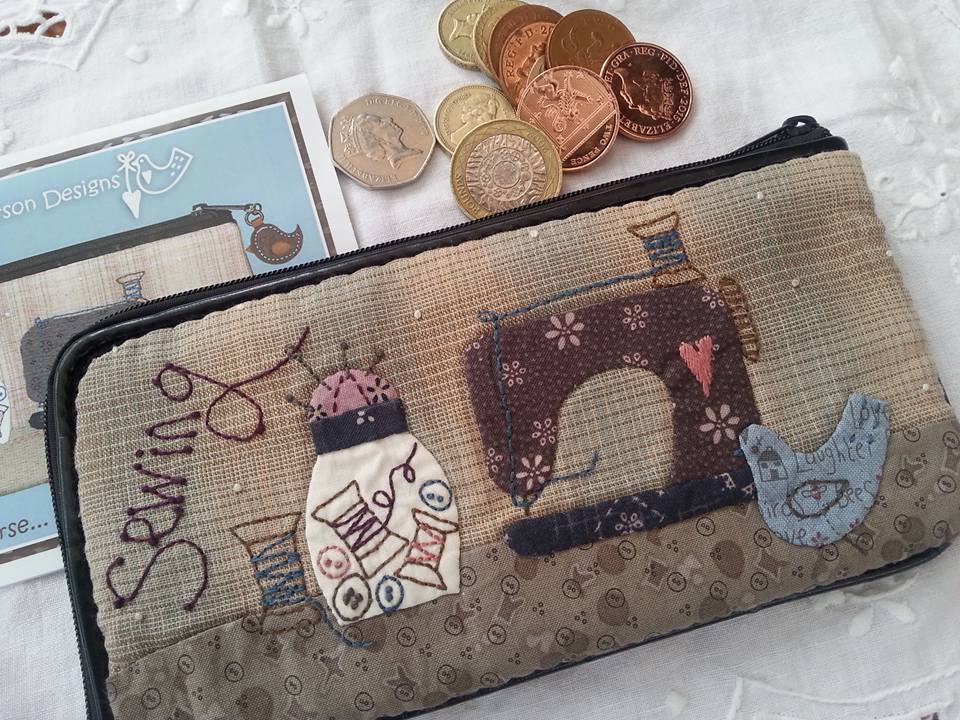
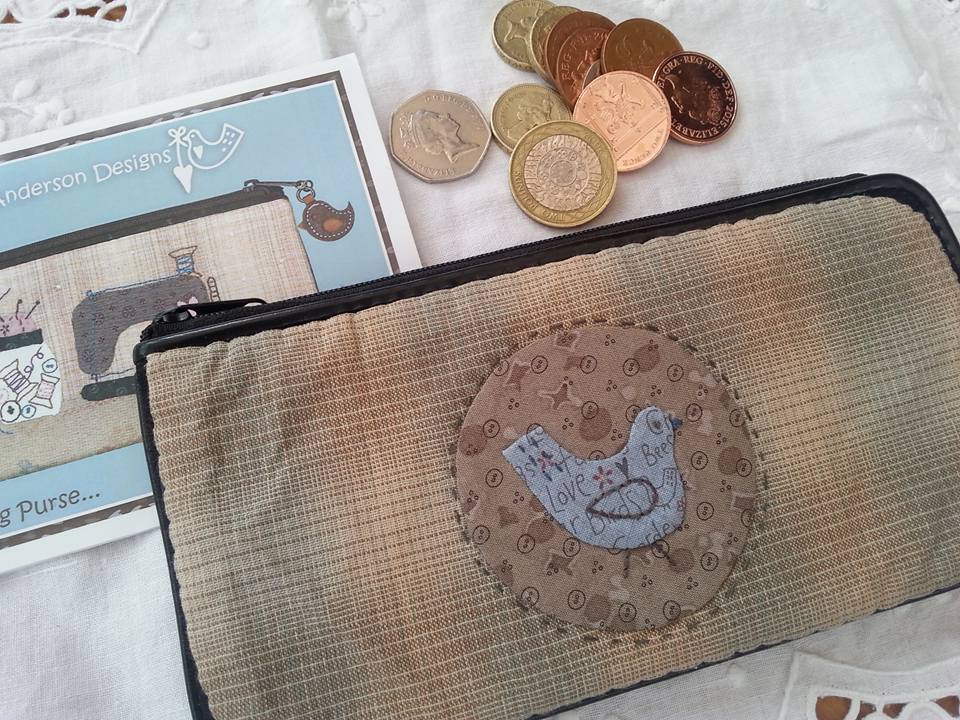
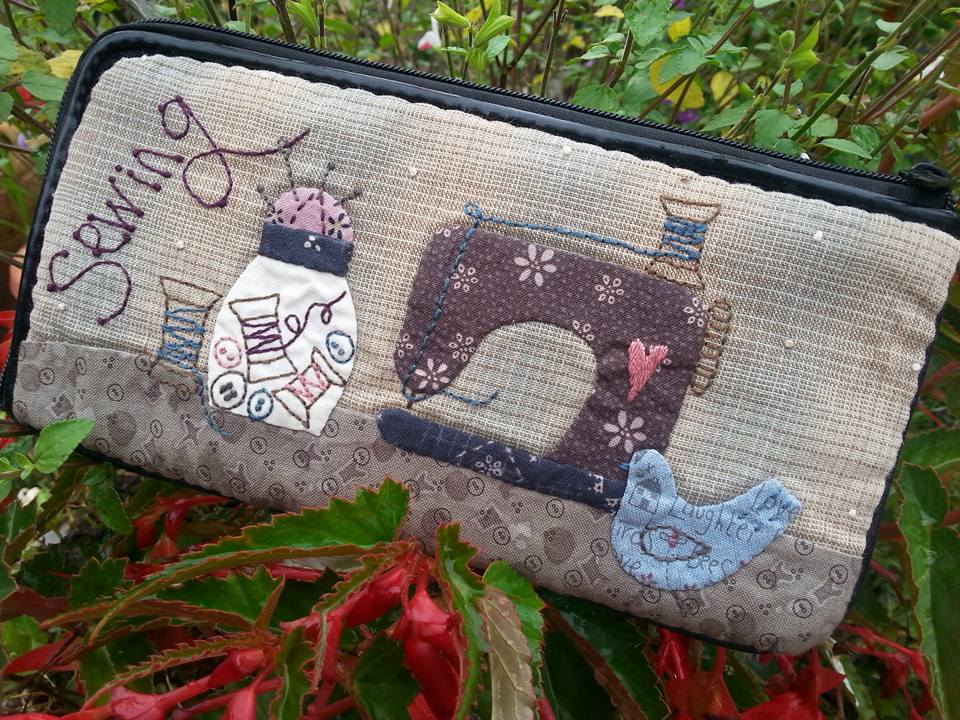
Ohhh look here - "Sewing Purse" by Lynette Anderson Designs. This kit from Patchwork Chicks here in the UK is perfect for me to use to save my pennies in ready for FOQ 2016!!! It includes the pattern, all the fabrics and threads and stabiliser for the appliquéd front and back of the purse and even includes the pre-made purse too. It didn't take long to trace the applique shapes onto fusible applique paper, and using the apliquick rods and glue-stick method, the applique was soon hand stitched to the background fabric... ...the stitchery design was traced onto the background fabric with a Micro Pigma pen, fused a piece of weaveline to the back of the fabric, and embroidered the design with back stitch, satin stitch and colonial knots. I used a few Clover Wonder Clips to hold the appliquéd purse front in place before securing it with hand sewing. I used a curved needle, which was quite tricky, then I managed to break 2 and resorted to an ordinary hand sewing needle which was even more tricky... ...and finally this is the result of 3 evenings spent hand sewing. The purse measures 7.75" x 4" and the pictures below show the front and the back of the purse. I really am addicted to applique! I'm saving my pennies in this special purse ready for the Festival Of Quilts 2016.
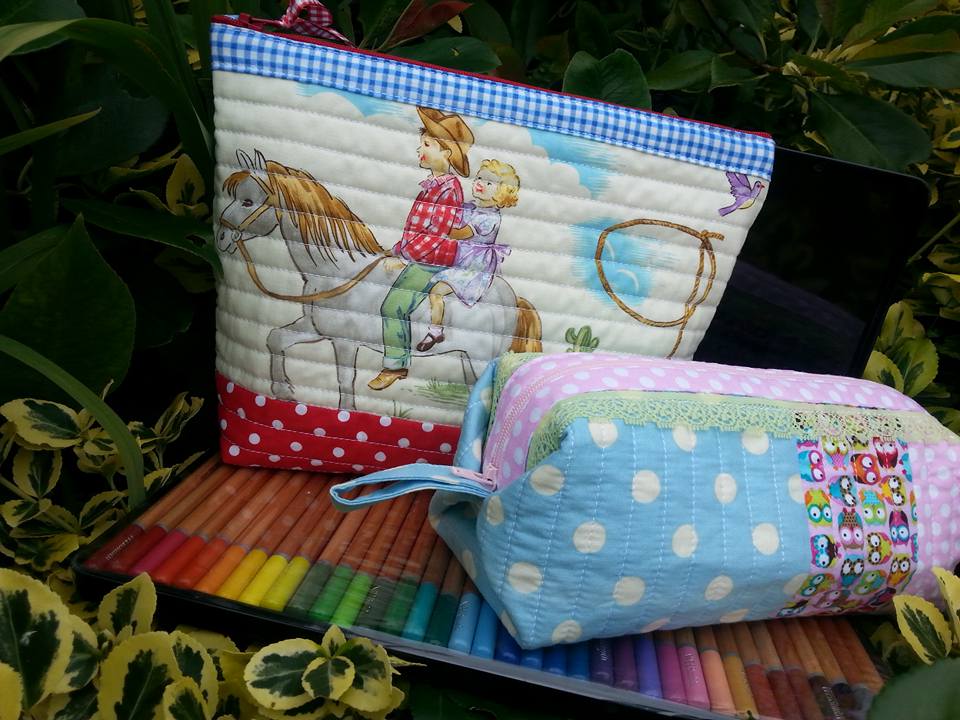
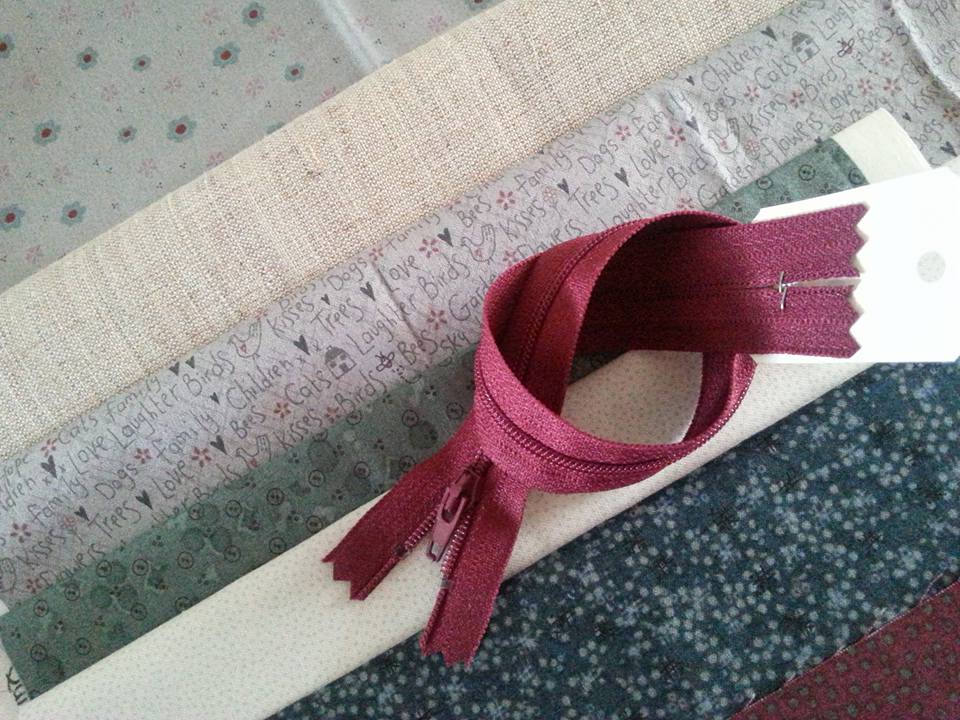
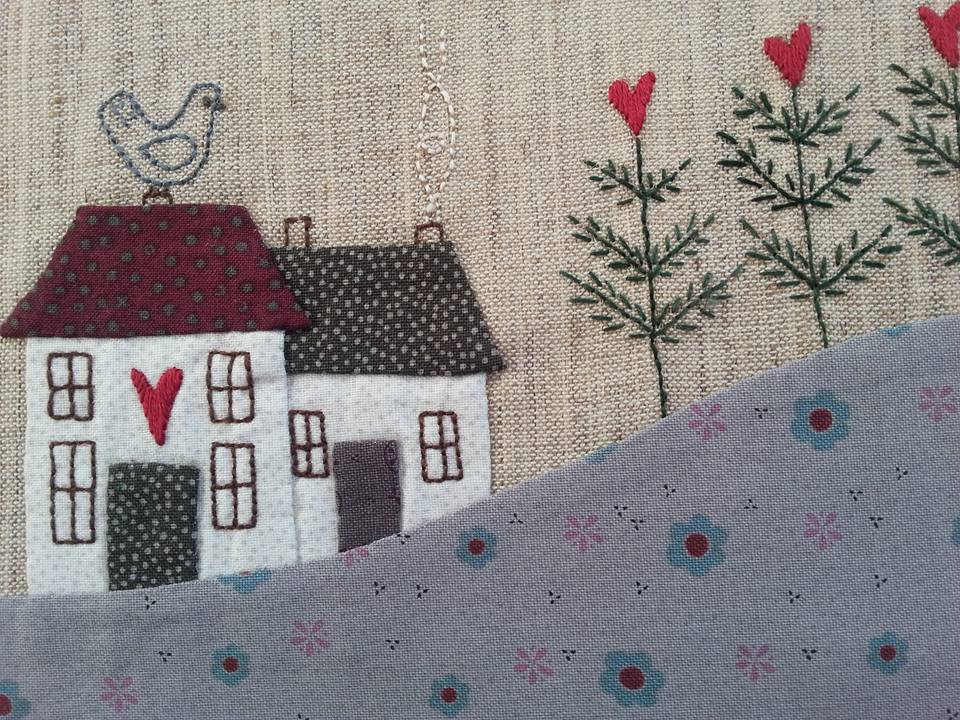
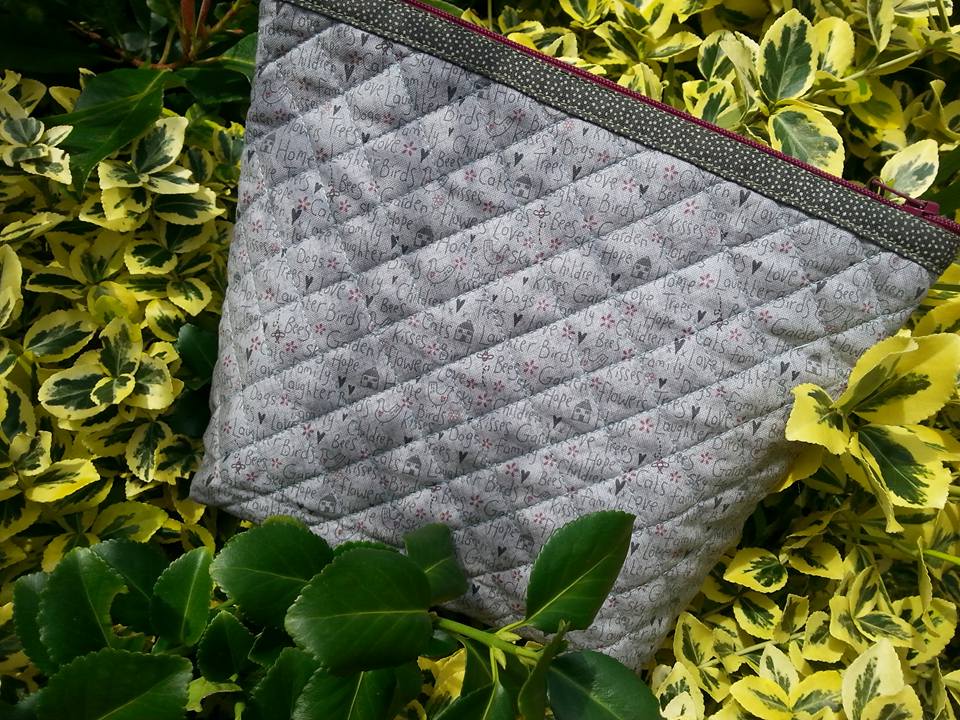
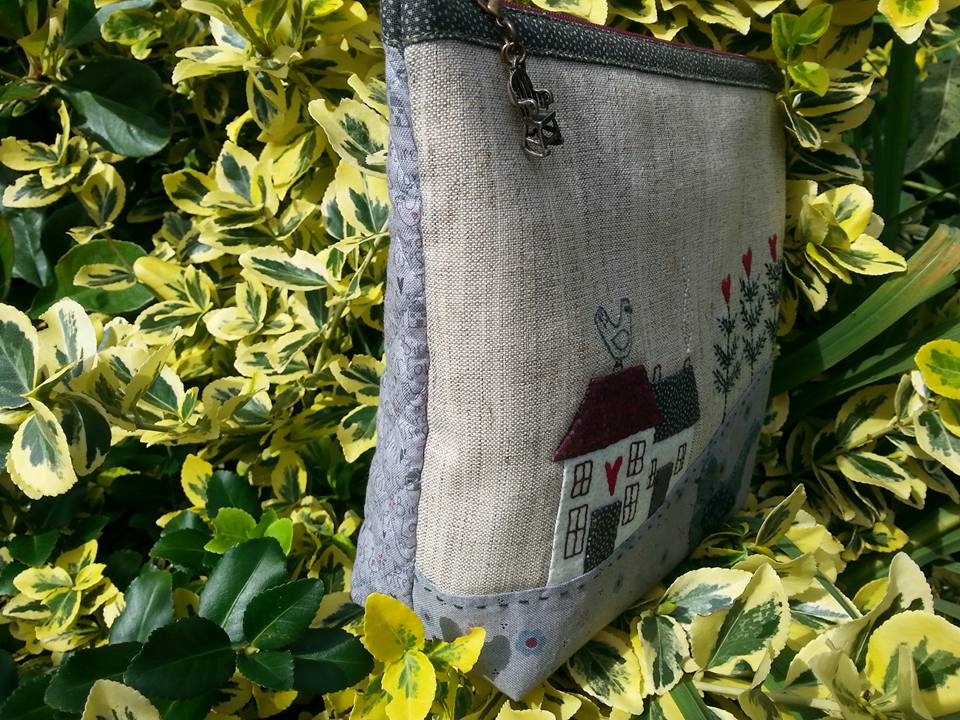
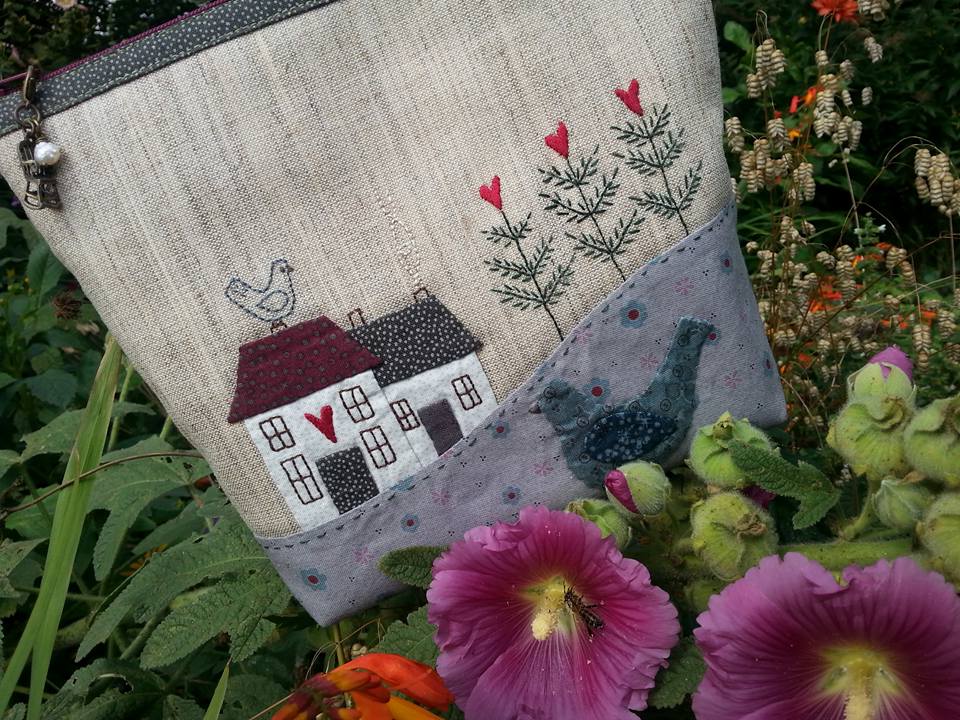
Do you think these look cute? One of my colleagues has two little girls that love bags, and I'd promised her that I'd make something for them as a surprise. These can be used for keeping pencils and hair accessories and bits and bobs and all sorts of girlie stuff. Hope they'll be pleased with them! There is a tutorial over here that I wrote a while ago on how to make one of these bags. Maybe I should write a tutorial on how to make the other one ;) Both of these bags were made with some fabrics from my scrap box, and the cowboy one is is "Westward Ho" by Michael Miller Fabrics that I bought simply ages ago from my local quilt shop. My latest project is "Country Cottage Purse" by Lynette Anderson Designs. I gathered together a selection of scraps that were left over from some of my other "Lynette" projects that I'd made with her fabrics, and added some rather nice linen. Linen can be tricky to work with, and I usually fuse some very light weight interfacing to the back of it, as it makes it much easier to handle. However, as I was going to hand embroider this, I fused a piece of weaveline to the back of the linen after I'd traced the stitchery design. The applique was completed using the applique paper and glue stick method, and stitched the applique shapes to the background fabric with a neutral coloured YLI silk thread. I used some Valdani hand-dyed embroidery thread for the trees, and love the gentle shading of these threads... ...I played around with the pattern, and made it a little bit larger than the original. The back of the purse was quilted with a grey Aurifil 40wt thread in a cross-hatch pattern. The top edges of each side were bound with single fold binding, and the zipper was machined into place. A cute little rocking chair charm was added to the zipper pull. I finished this purse with boxed corners... ...an here is the front of the purse - this is just the right size for keeping some of my sewing notions in! Once I'd tidied my sewing corner, I did a quick photoshoot this afternoon, and there are more pictures of this purse on my FB page Nicola Foreman Quilts.
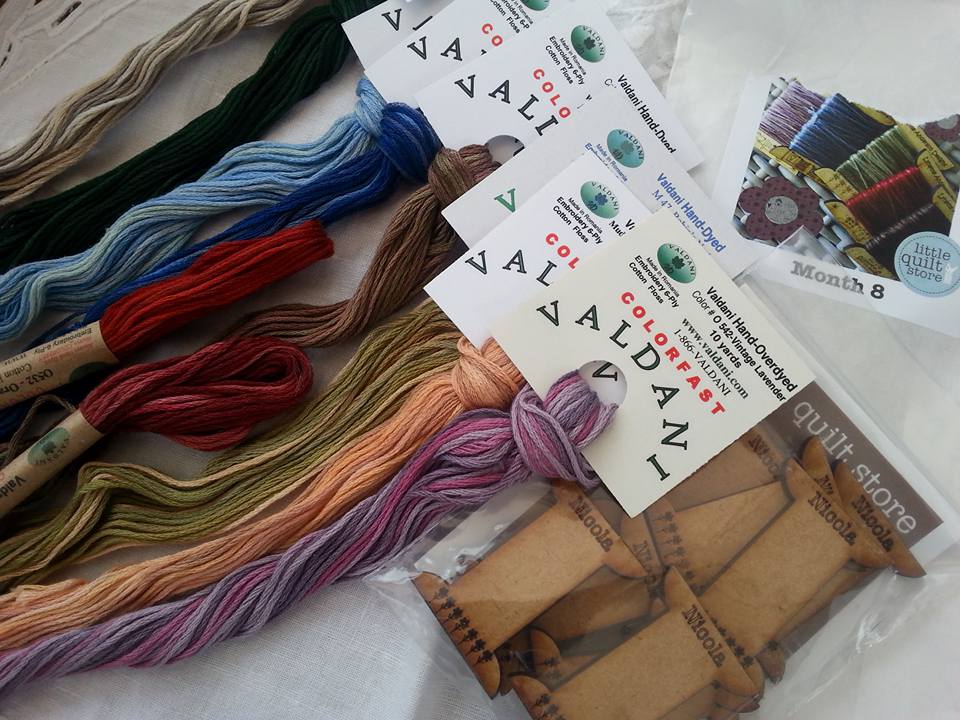
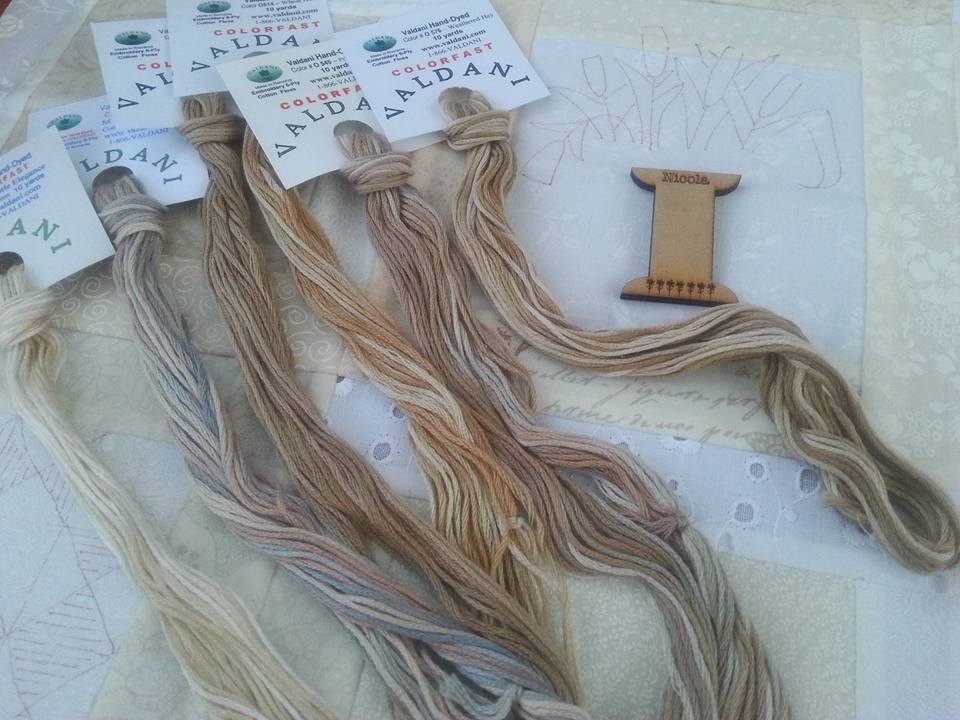
I can't believe it's month 8 already! These gorgeous hand-dyed Valdani embroidery threads are from the Thread Club organised by Lynette Anderson Designs and these cute personalised wooden spools are perfect for storing them on.If you want to take part in this scheme, it's running again in September and you can sign up for it on Lynette's shop website. Each month for a whole year, you'll receive 10 skeins of these beautiful threads, with an added option to buy these wooden spools I'm in thread heaven!
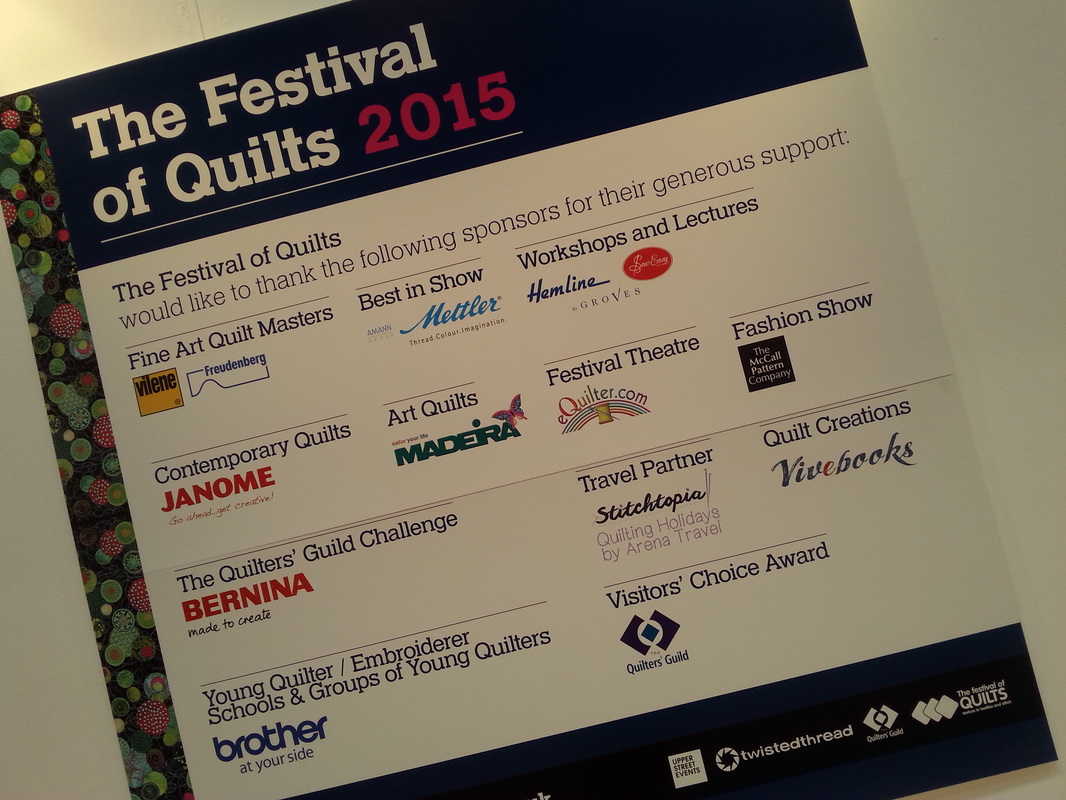
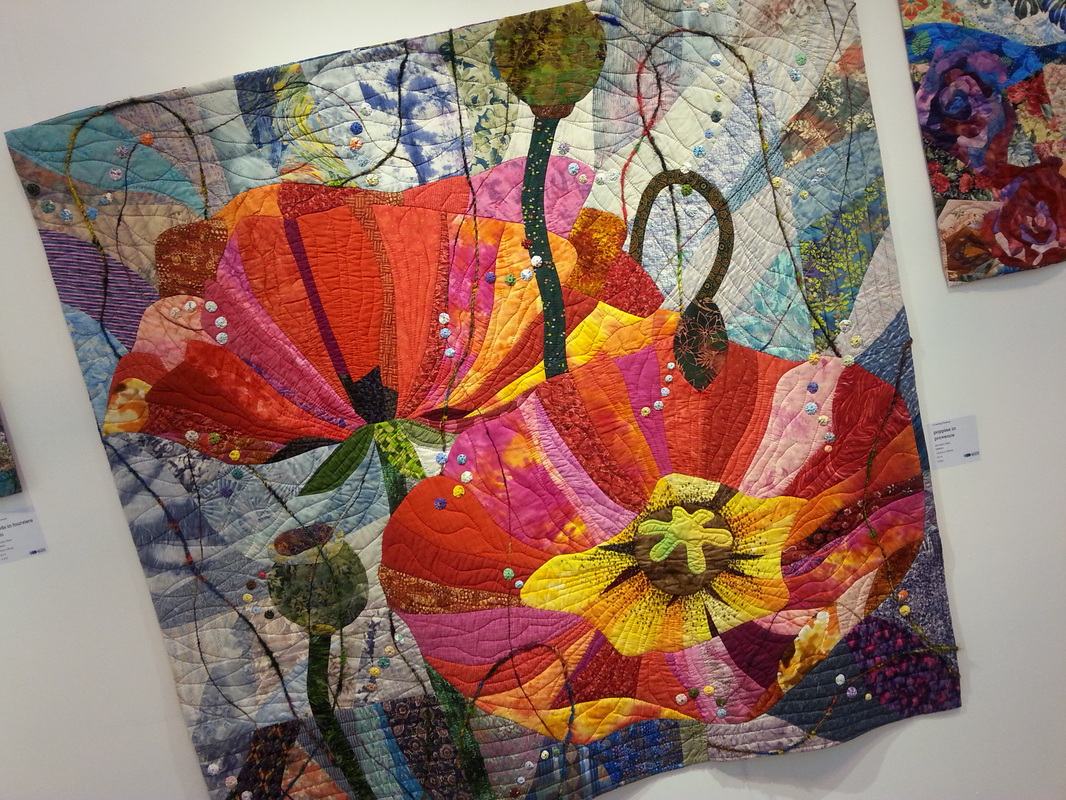
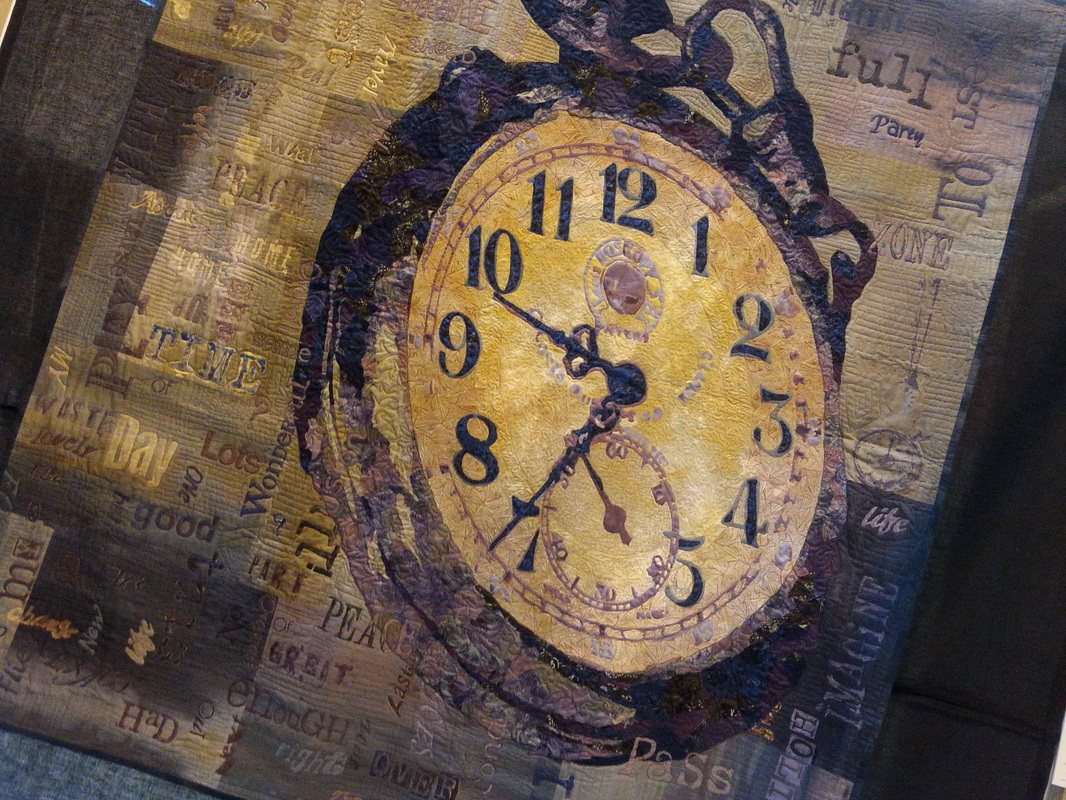
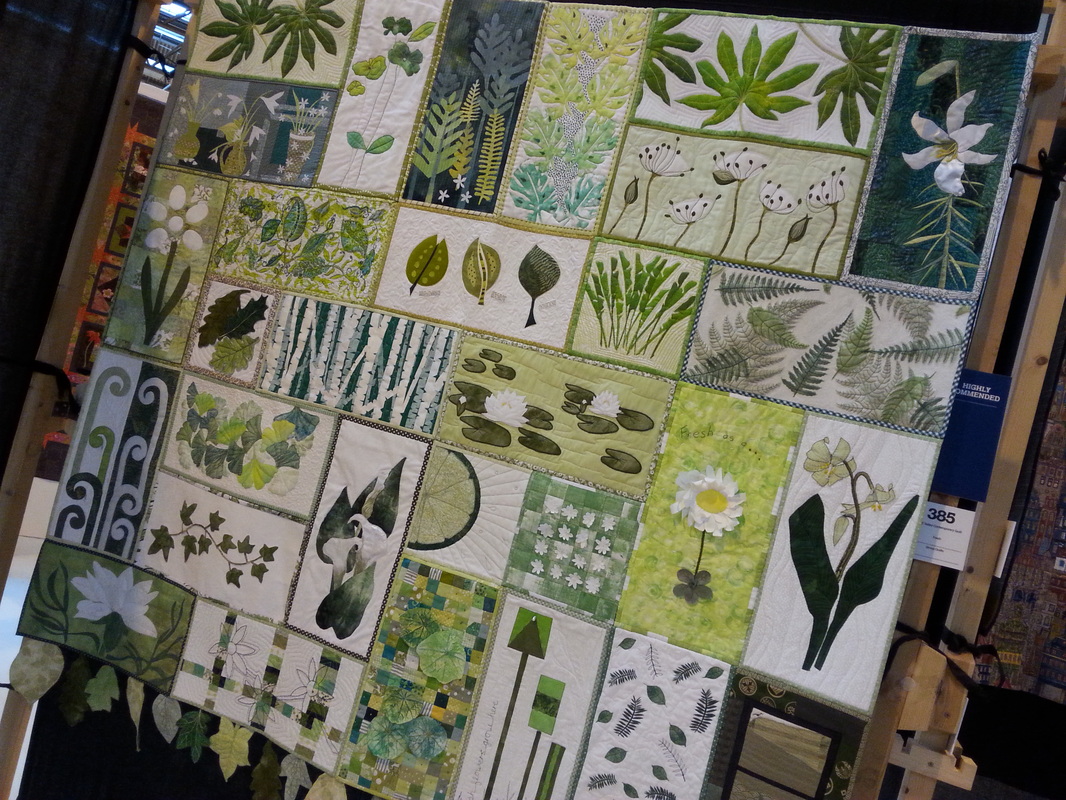
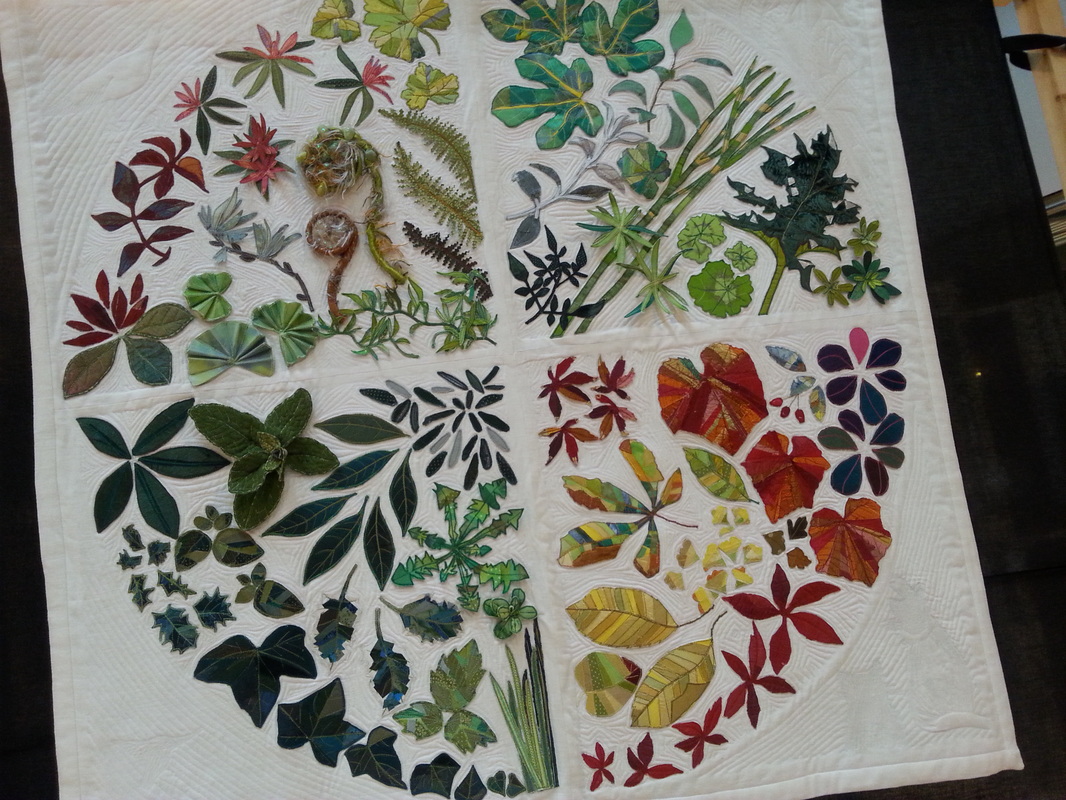
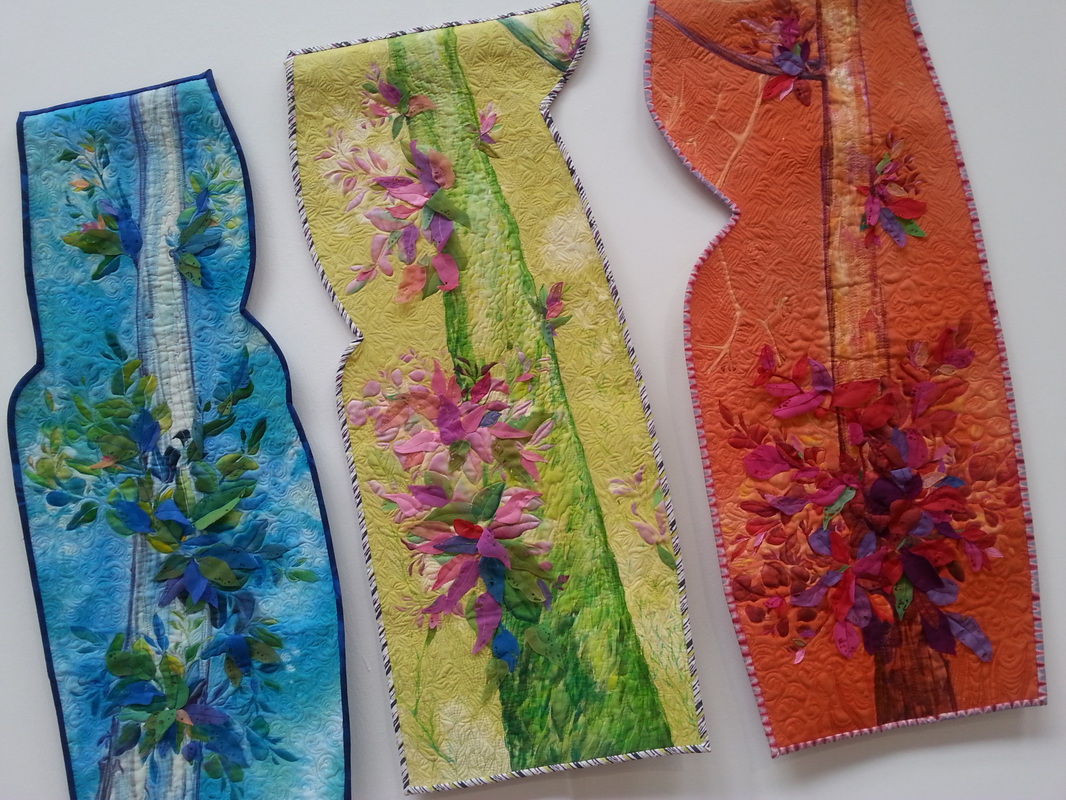
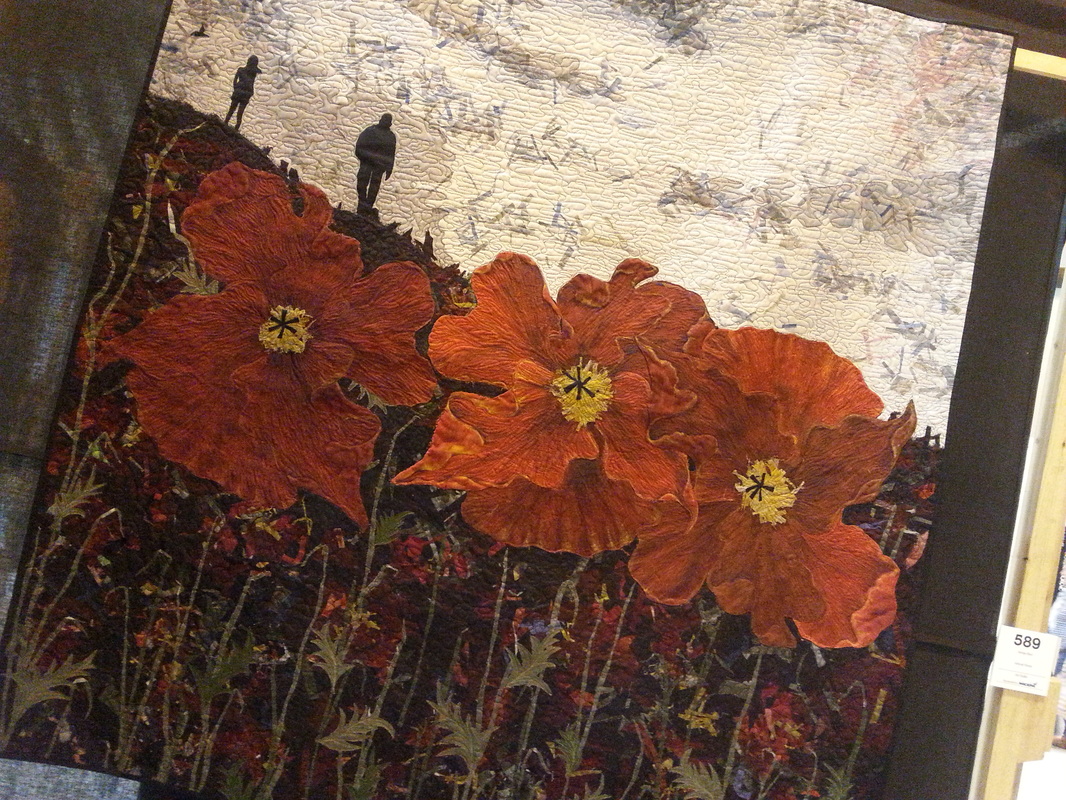
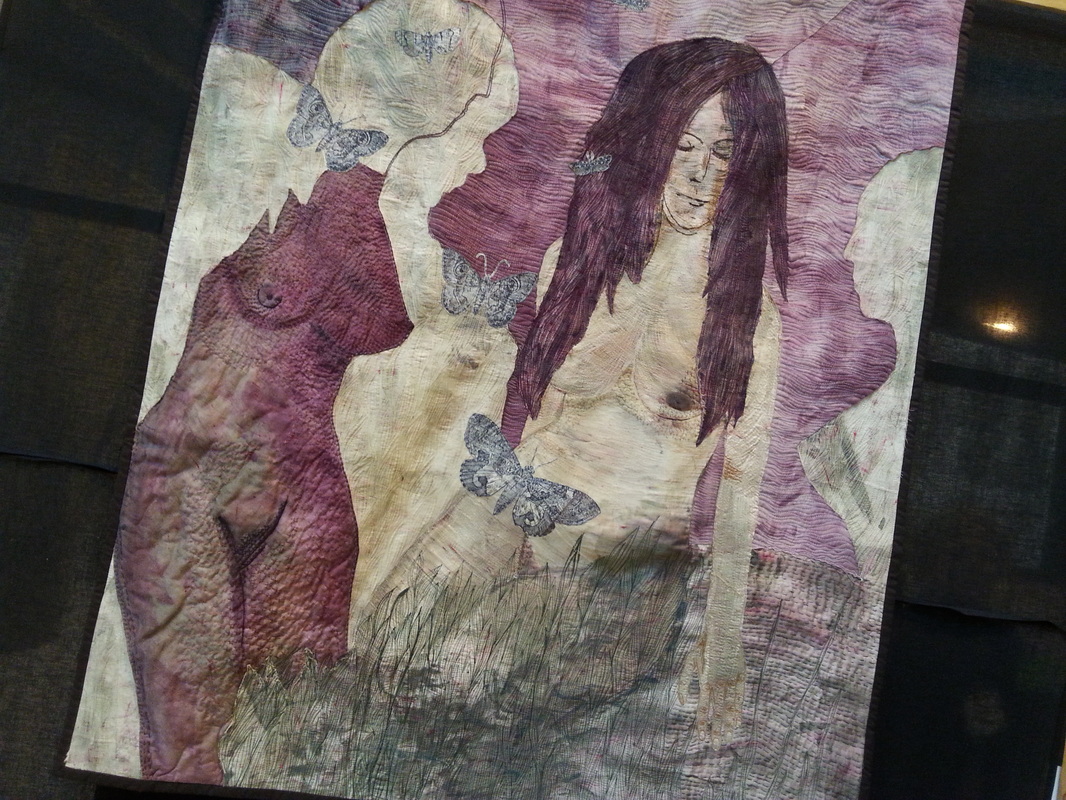
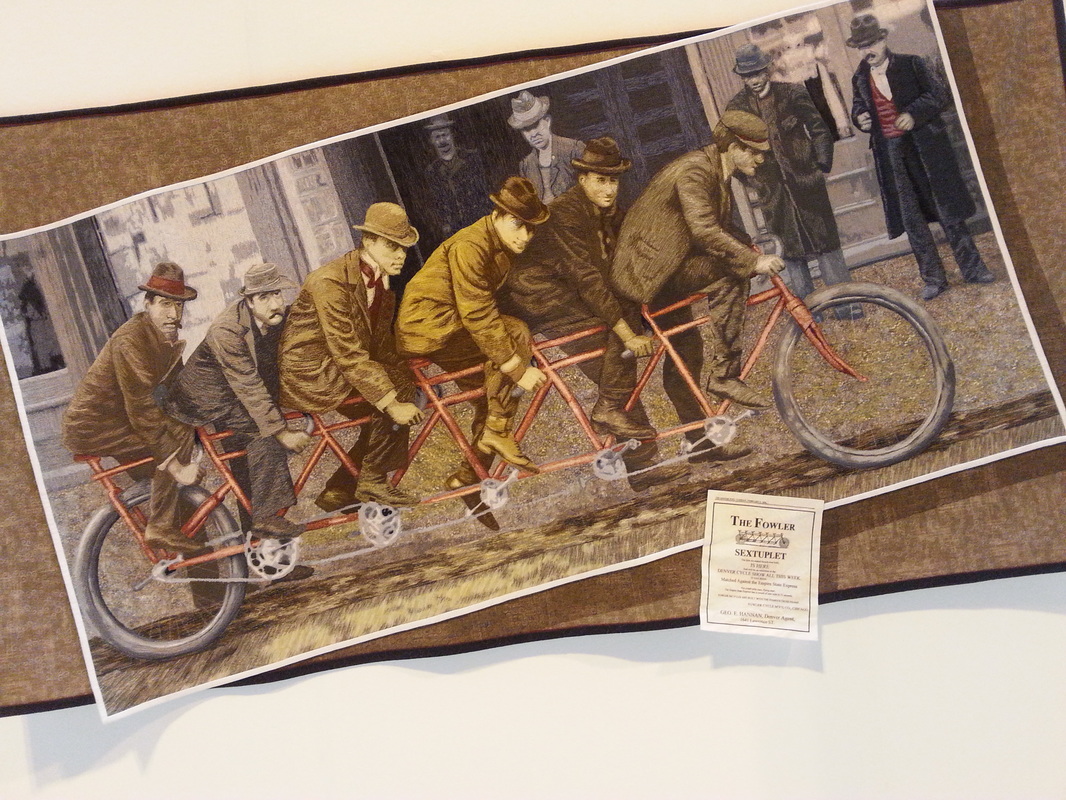
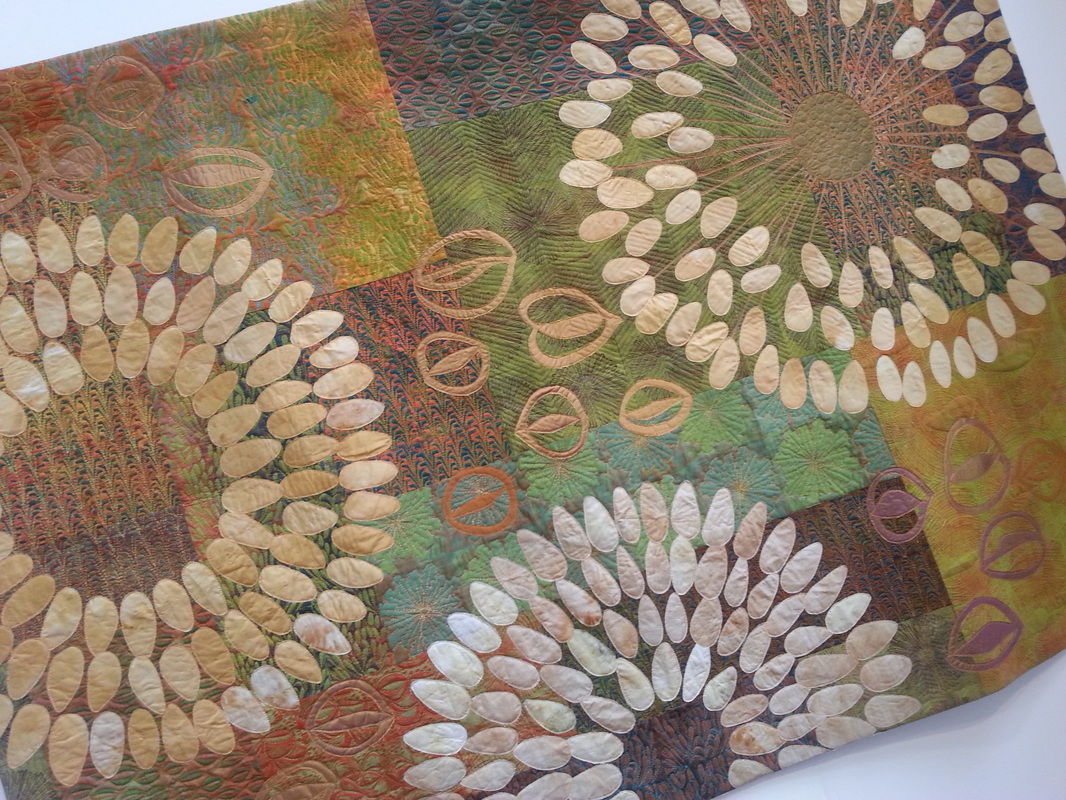
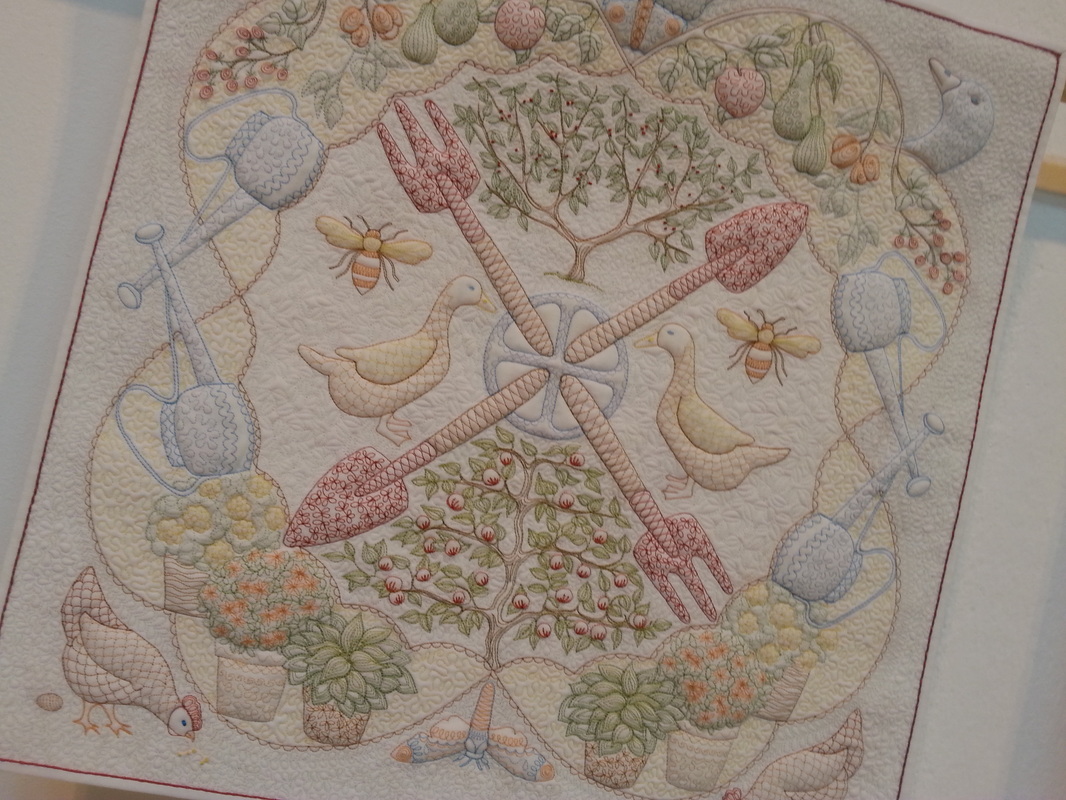
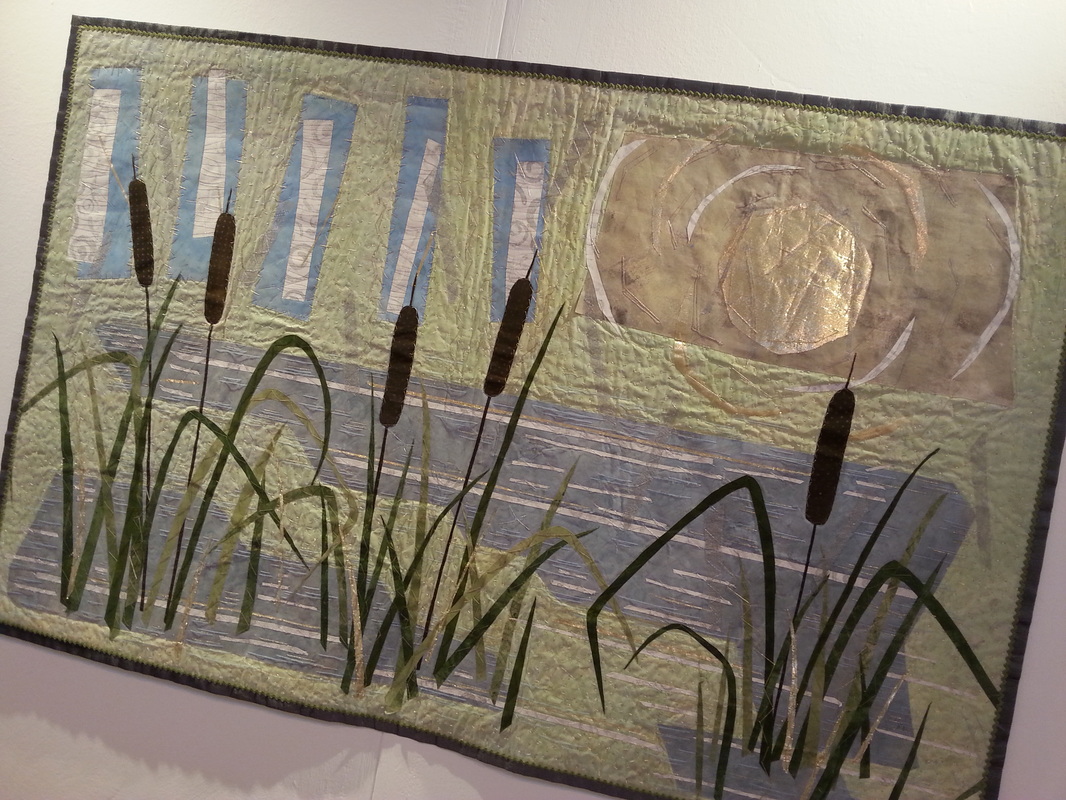
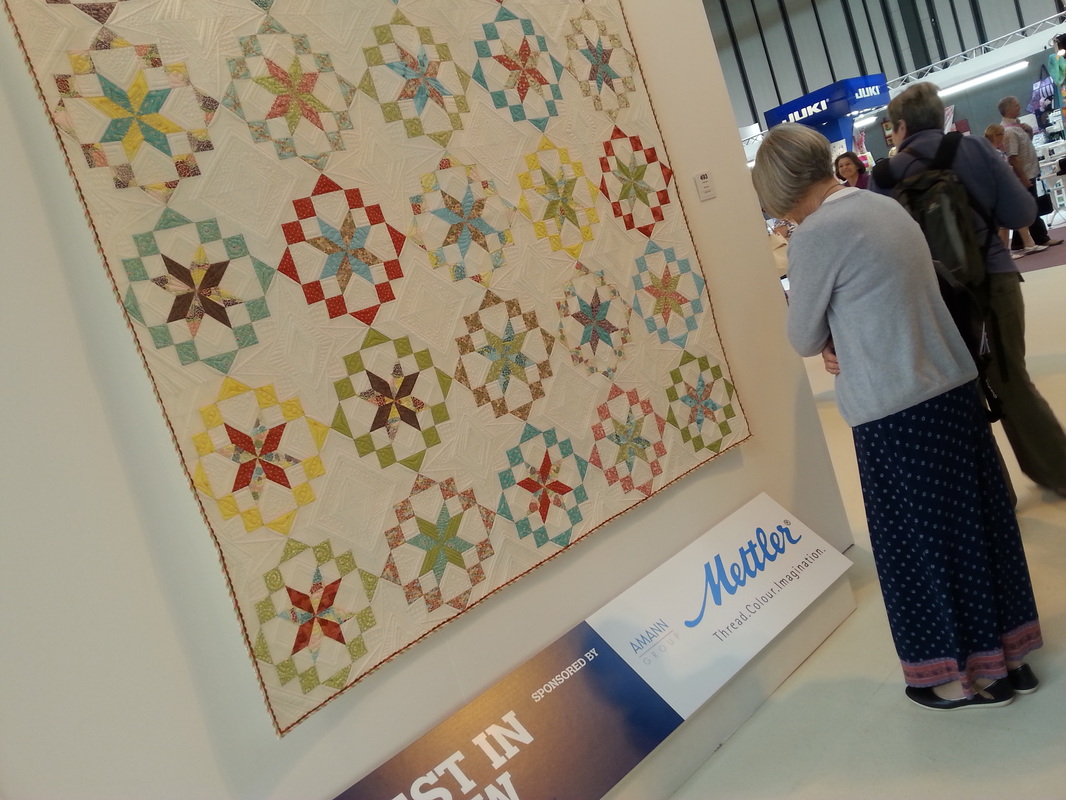
I had a super time on Sunday at the Festival Of Quilts in Birmingham. There were some amazing quilts on display, and here are some of my favourites. If you follow me on FB, have a look on my page as there is an album of pictures "Festival Of Quilts 2015" where there are lots more pictures. Anyway, here are my favourites, with information on the class, the name of the quilt, and the quilter. Crossing Oceans... Poppies in provence by Lin Hsin Chen Art Quilts... Time by Sue De Vanny Group Quilts... Fresh by EXE Valley Contemporary Quilt Art Quilts... My Garden by Janie Harvey-Douglas Golden Textures of Australia... 3 Spring Ladies - Cox's Scrub by Alvena Hall Art Quilts... Almost Home by Senga Bain Art Quilts... Moonlight Bathing Girls by Barbora Bartoova .Art Quilts... Bike Boys by Lea McComas Golden Textures of Australia... Coastal Life by Susan Mathews. Miniature Quilts... Back to the Garden by Philippa Naylor Crossing Oceans... Bull rushes 5 by Hilary Beattie ...and finally - the quilt we were desperate to see. Best in show. This is "Kaleidoscope" by my very talented friend Janette from J-Quilts, which had won the Traditional quilt class and was declared best in show. Janette is an incredibly talented quilter, who longarm quilts my quilt tops for me. I am so lucky to have my work quilted by such an amazing quilter. She is such a nice person too!! I was absolutely thrilled for her, as her work really is spectacular.
Well I've just about recovered from a very hectic day at Festival Of Quilts! I went along on Sunday, on a coach trip organised by a local quilt shop and it was great to meet up with some friends that I hadn't seen for absolutely ages! I had a good old natter on the coach with my friend Julie, and we seemed to arrive at the NEC in no time at all! I had got a very short wish list this year, and managed to get everything on my list AND I stayed under budget too! Mr F was very relieved!
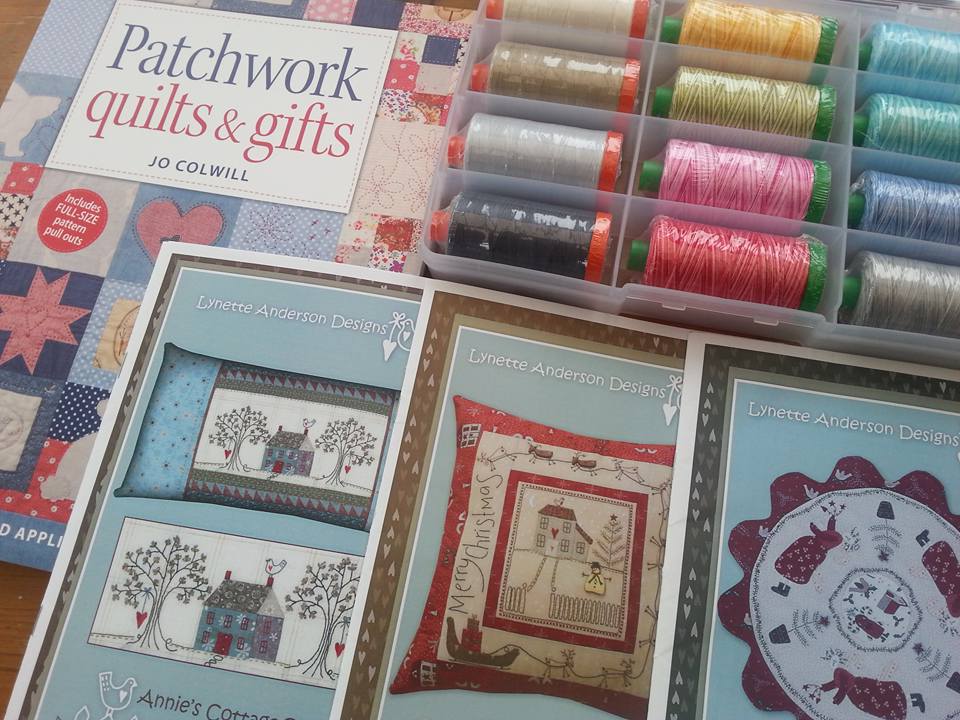
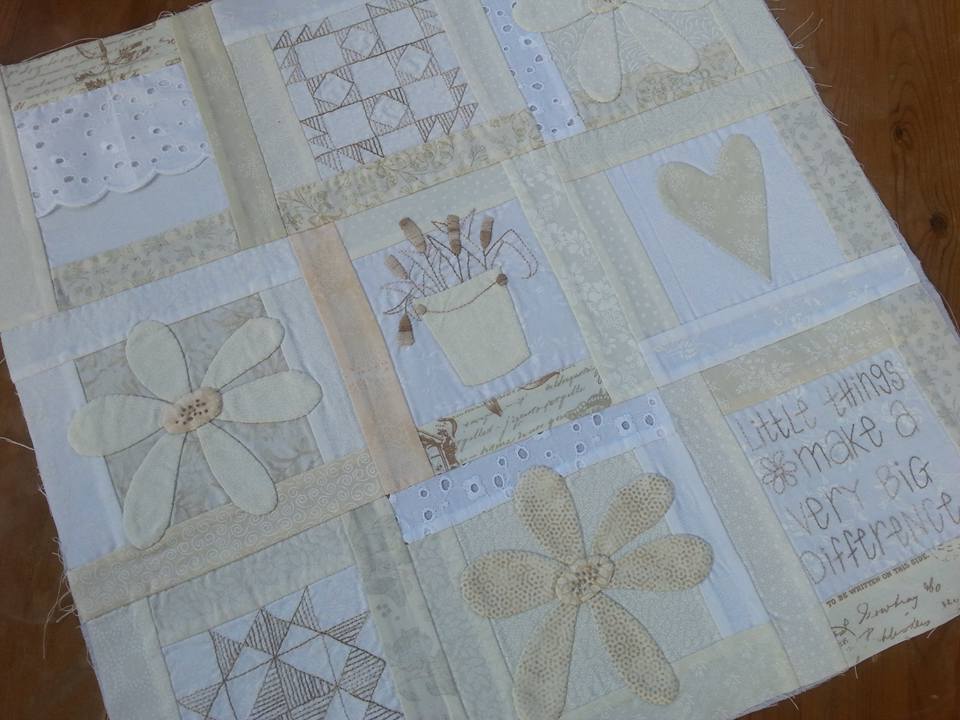
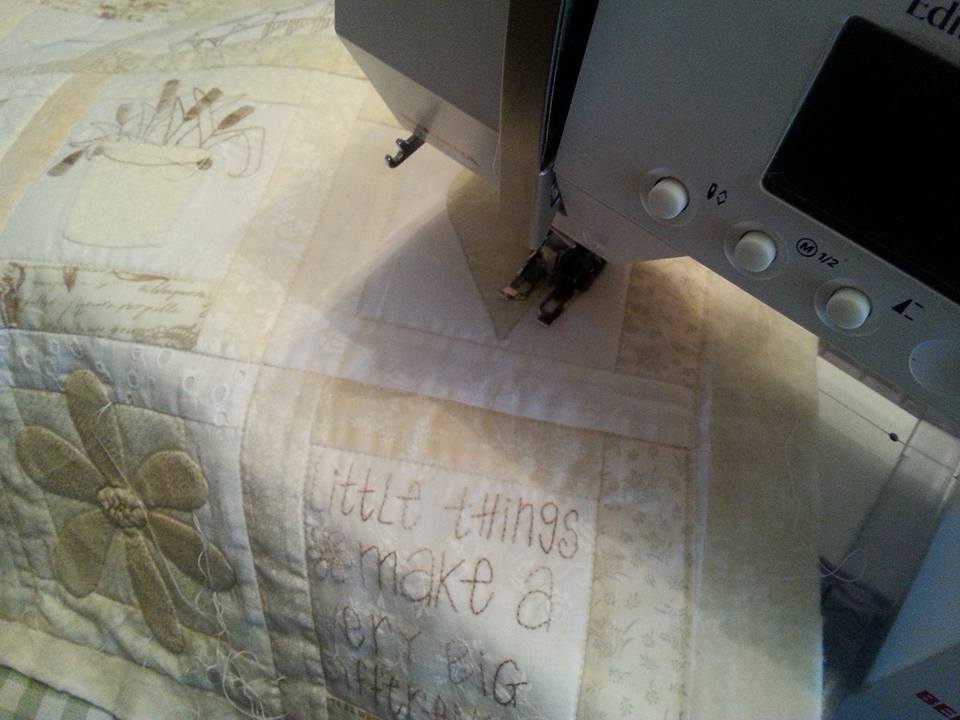
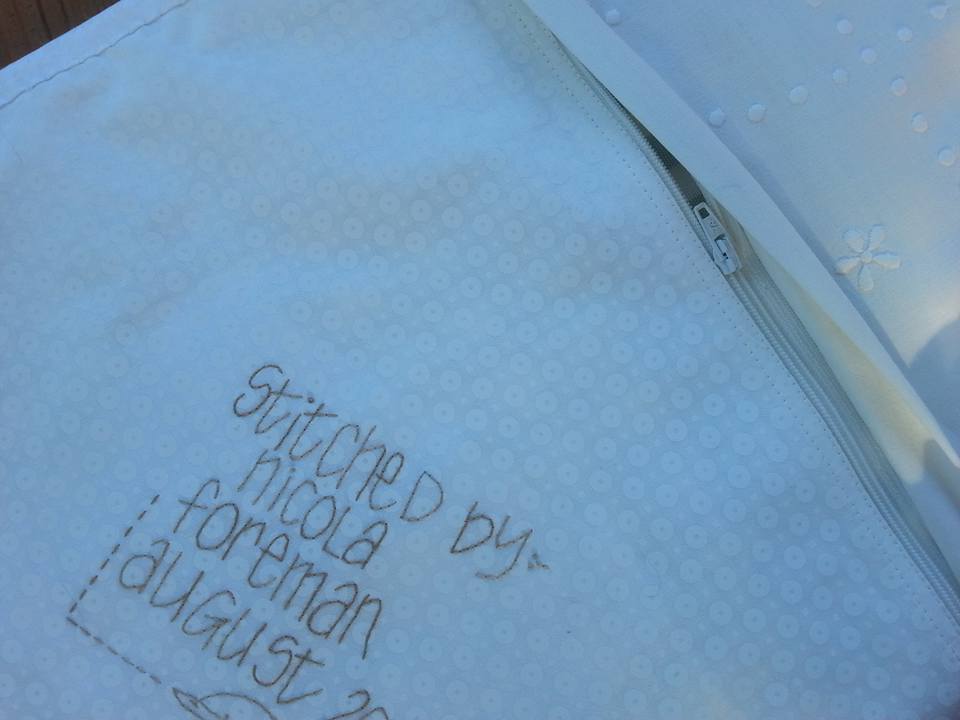
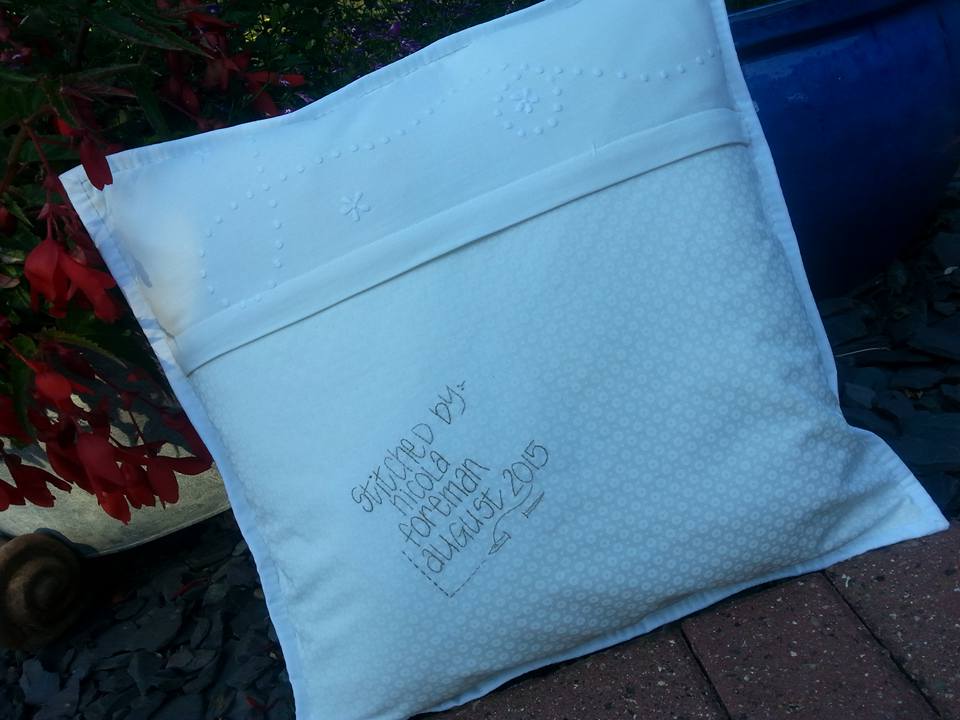
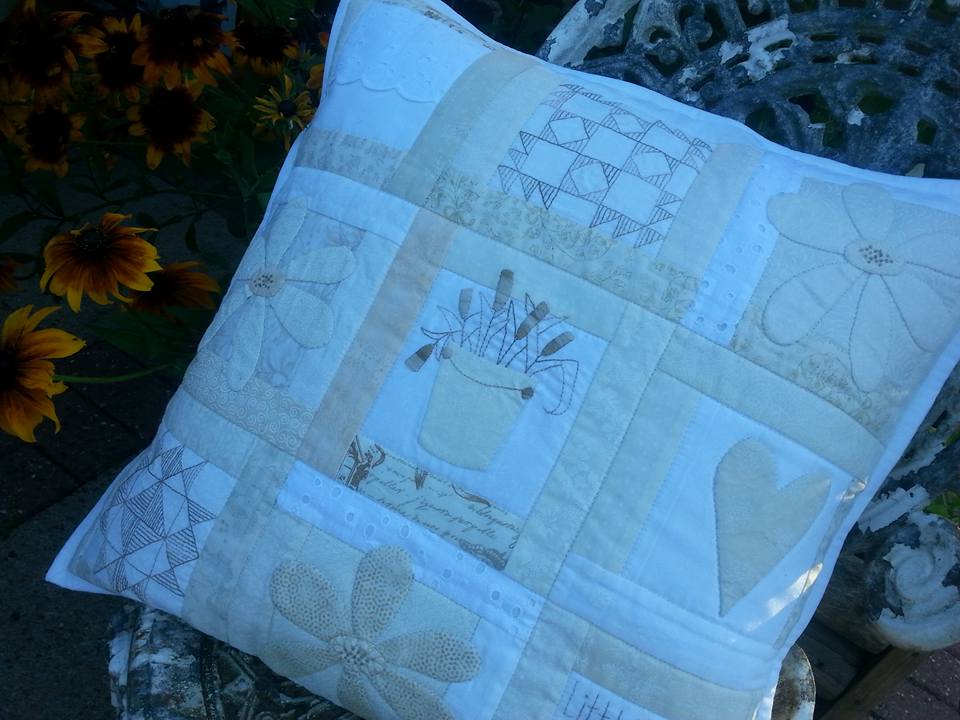
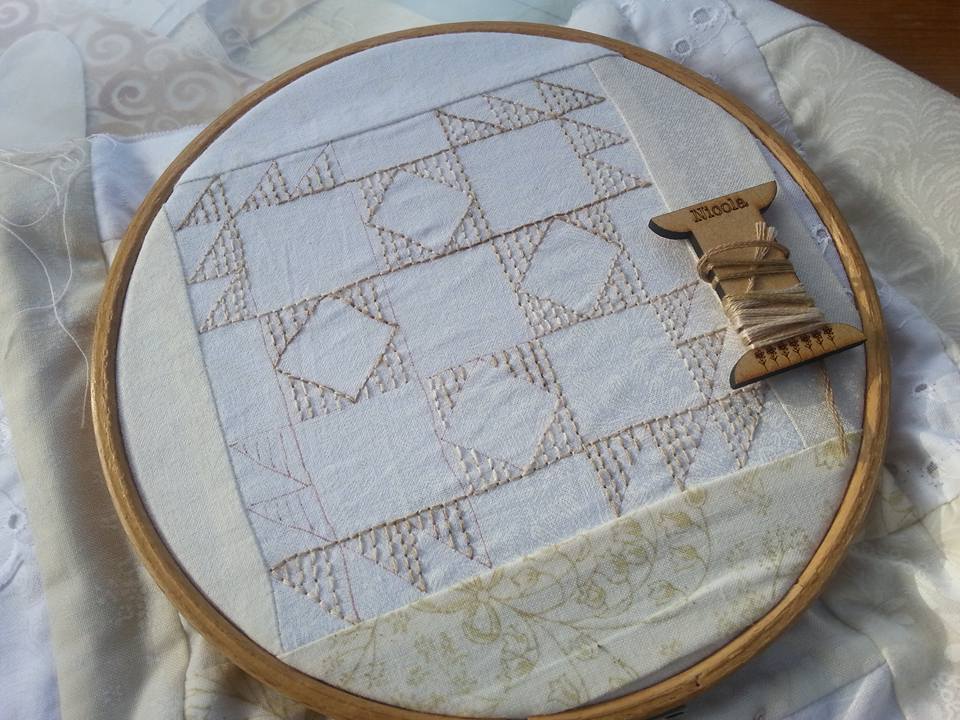
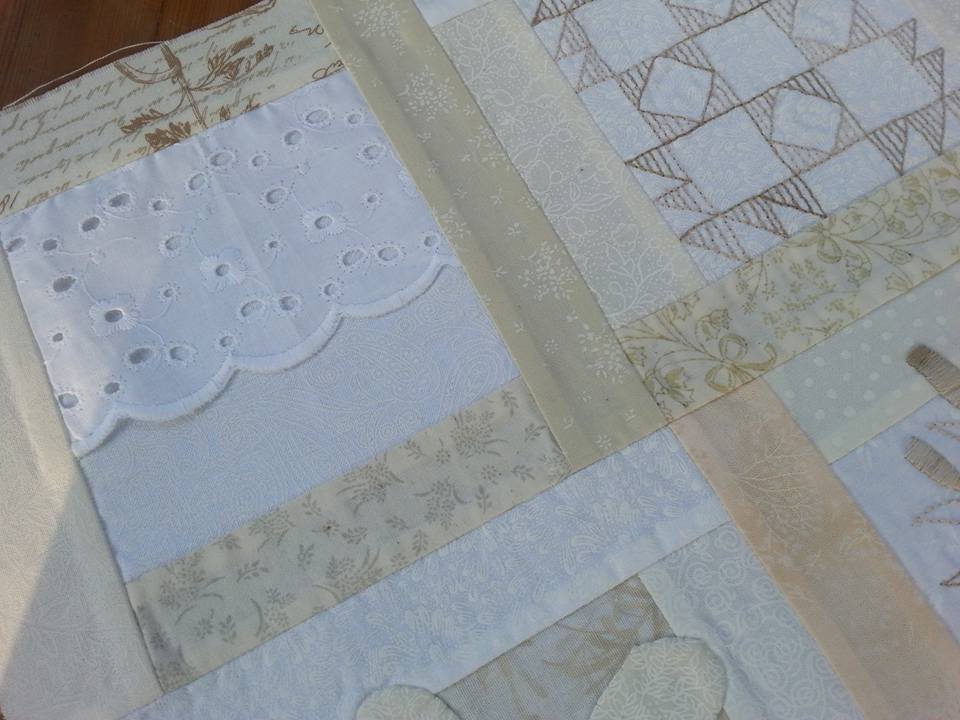
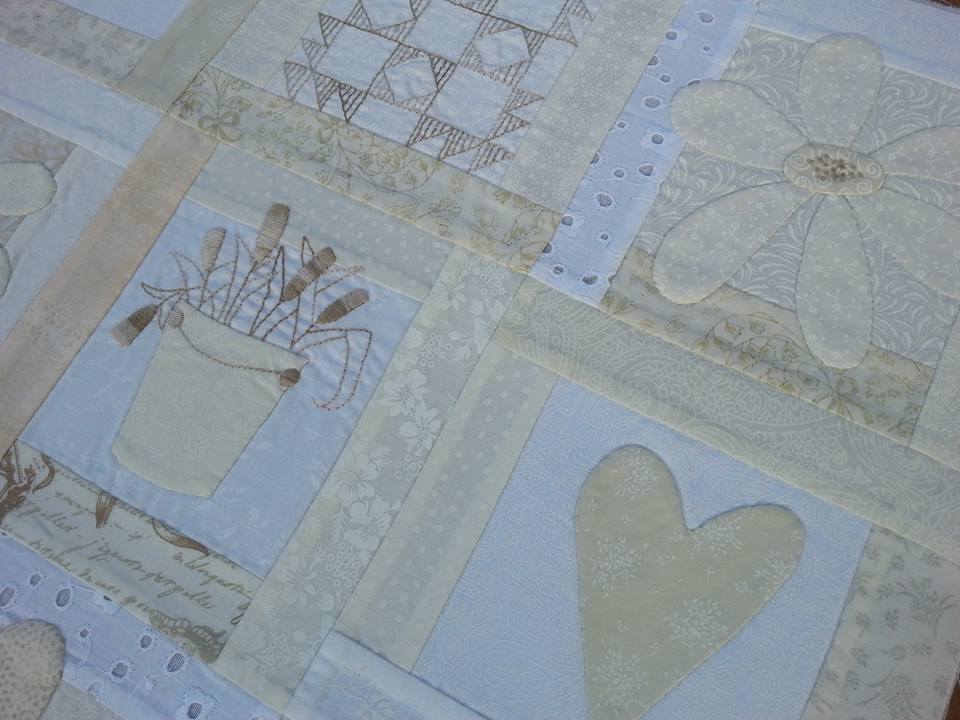
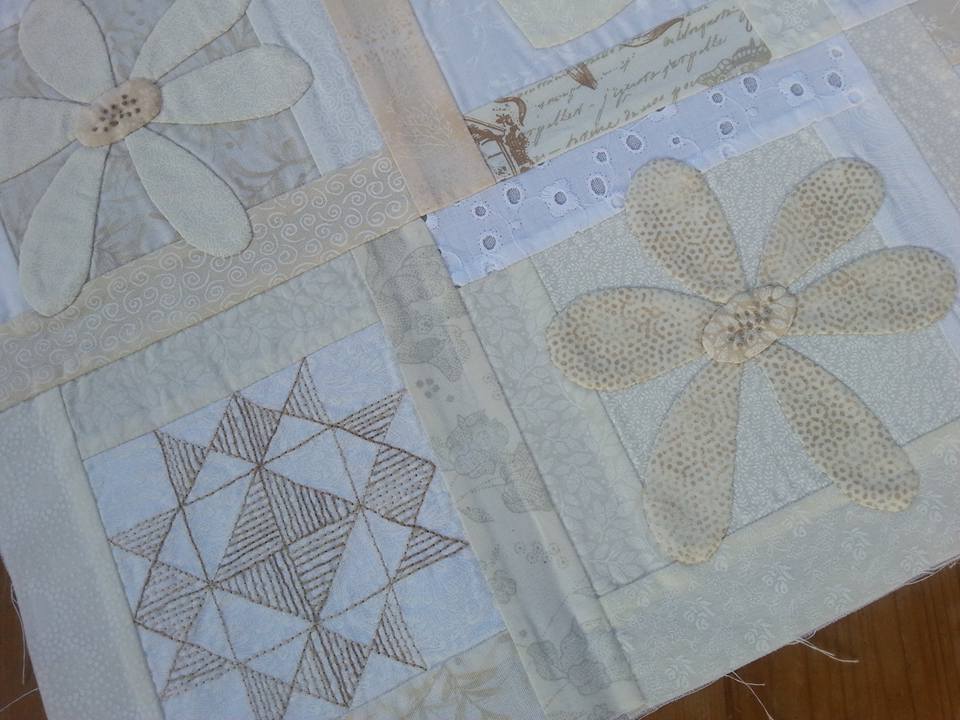
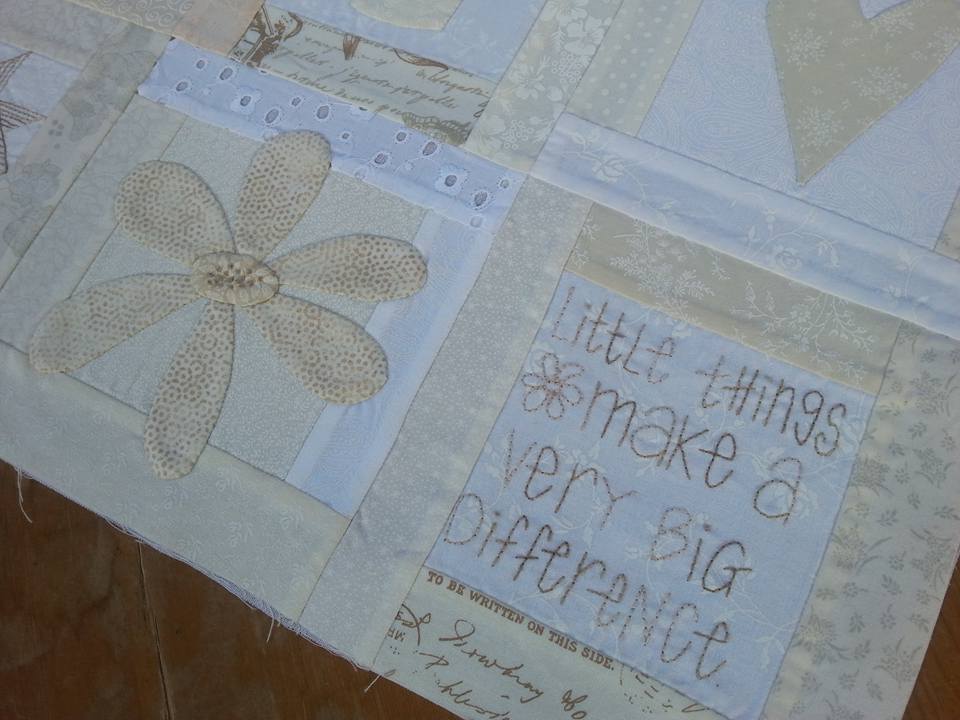
I couldn't resist Cowslip Workshops Jo Colwill's new book, "Patchwork quilts and gifts". I'd bought her first book a couple of years ago, and this one is just as fab! And this super selection of Aurifil thread from New Threads Quilt Shop was on the top of my wish list! A festive kit "Christmas Eve" and a gorgeous pillow pattern "Annies Cottage Pillow" from Lynette Anderson Designs was a must-buy, and a visit to Cross Patch resulted in a kit for a festive "Candy Cane Angels" table topper. Once all the shopping was done, I had plenty of time to look at all the gorgeous quilts! Yesterday I shared some pictures of my latest project, a cushion that has been made with a selection of neutral coloured scraps from my fabric box. The pattern is actually "Waverley Bag" by Leanne Beasley, but as you can see I've made a "Waverley Cushion". This has been made with a variety of techniques - machine piecing, hand applique (using the applique paper and gluestick method) and hand embroidery, using beautiful hand-dyed Valdani Threads (these were part of the Thread Club, organised by Lynette Anderson designs). Today I've machine quilted the cushion front. This was layered with cotton wadding and backing, using 505 spray to baste the layers together. King Tut quilting thread in a variegated cream was used, together with a Schmetz Topstitch needle size 70. I quilted around the mini-blocks stitch-in-the-ditch first, then stitched around the centre squares, and finally around the appliqued daisies and hearts... ...I also embroidered a "label" on the back of the cushion, based on a design from Leanne's book "Living The Dream" again stitched with a hand-dyed Valdani thread. Then I inserted a zipper, using a tried and trusted method that I learnt many years ago at school. I was going to write a tutorial for this, but found one that uses exactly the same method, over here on this blog S.O.T.A.K Handmade. A single-fold binding was added to keep everything looking neat, and then it was time for a quick photoshoot outside in the garden... ...and here's the completed cushion. This looks fabulous on my bed with a pile of other neutral coloured cushions. It's my peaceful haven!
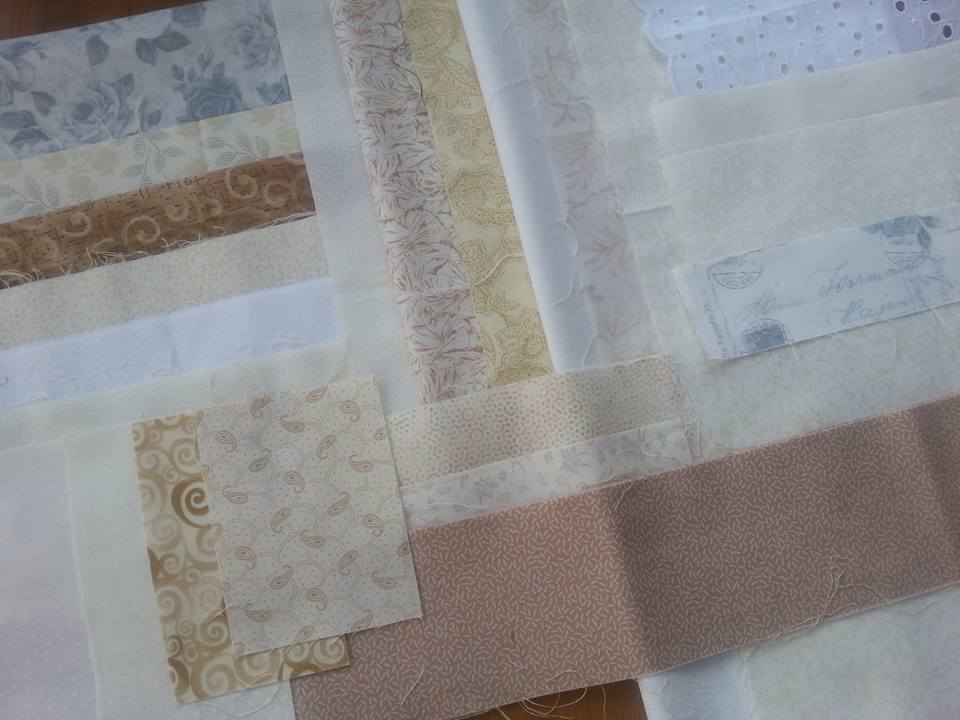
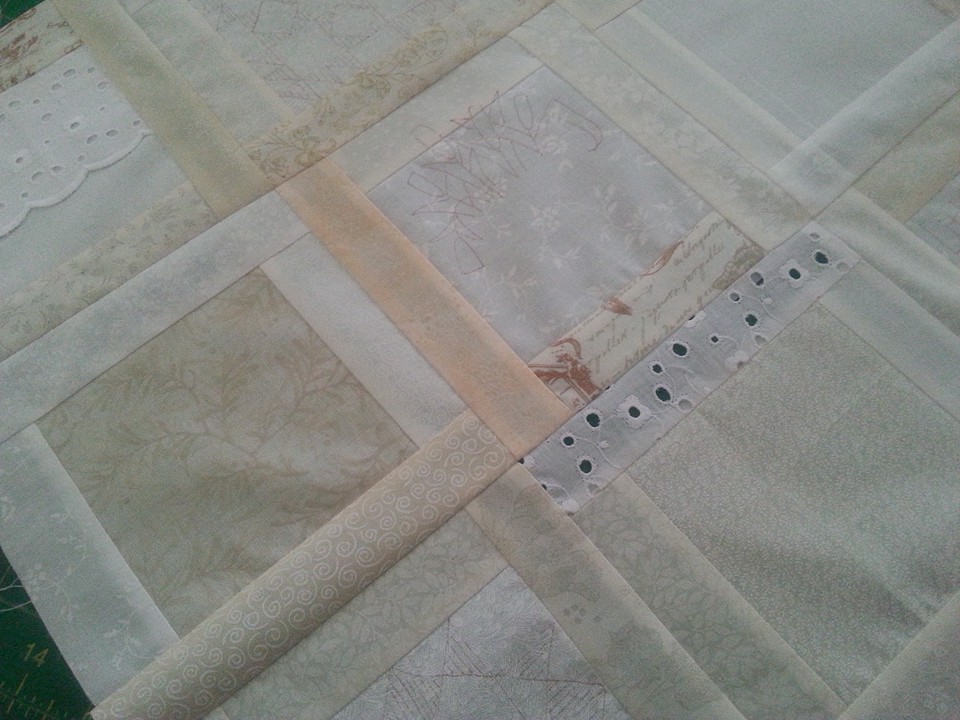
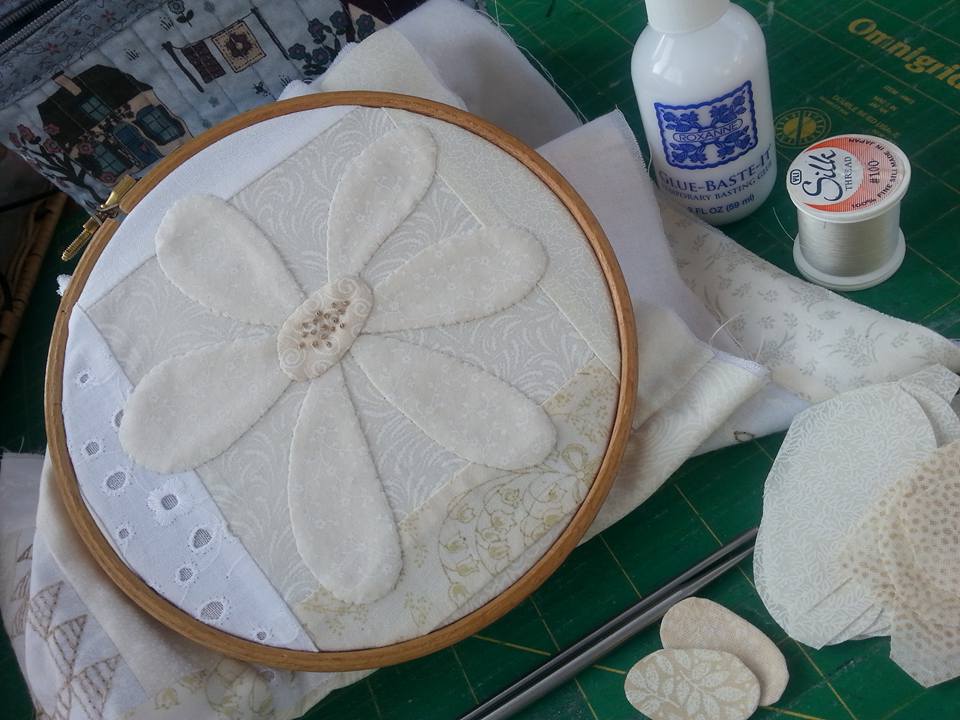
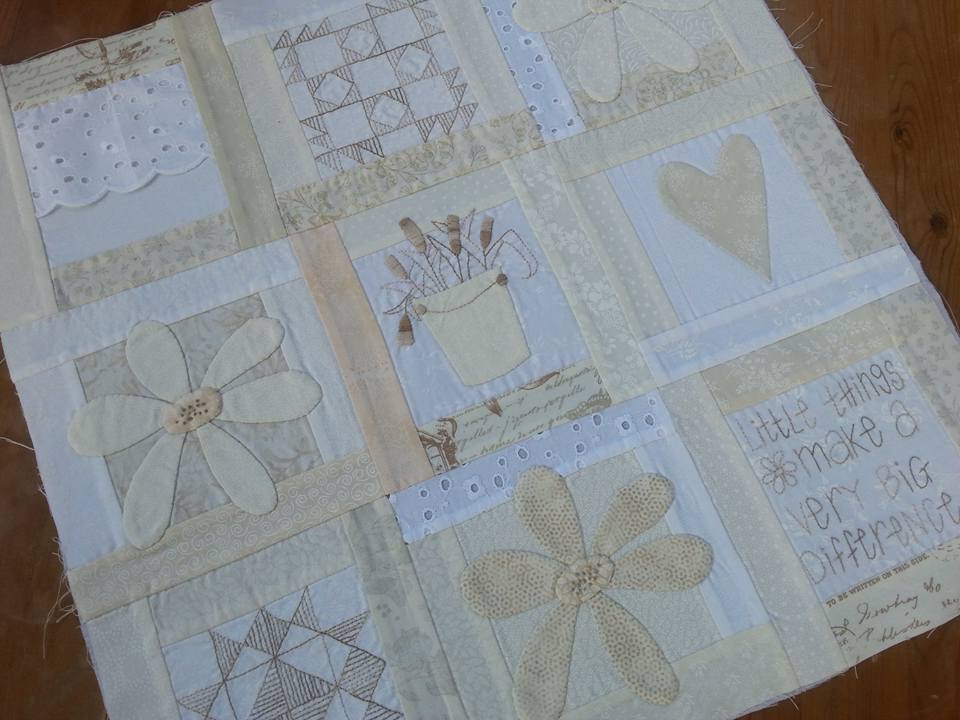
I've been sorting out some neutral coloured scraps for my next project. I just need to get them cut and pieced together, ready for some hand embroidery and appliqué. I didn't take long to get my next project pieced and prepped ready to take along to Sewing Group on Monday evening. I've used this design several times before (Waverley Bag pattern by Leanne Beasley, except that I'm making a Waverley Cushion though). I've traced the stitchery designs with a brown Micron Pigma pen, and fused a piece of weavline on to the back of this large block ready for the stitchery. I spent ages trying to decide what colour embroidery threads to use. Neutrals or pastels?? Oohh decisions. Decisions... ...after lots of dithering about, I decided these beautiful hand-dyed Valdani Threads were perfect for this project. From L to R these ones are Elegance, Vanilla Sky, Skin Tones, Wheat Husk, Primitive White, and last but not least Weathered Hay which is the skein that I've chosen to use. These were part of the Thread Club from Lynette Anderson Designs that I've been taking part in. This is the centre mini-block, embroidered and appliqued using the applique paper and glue stick method. I made a start with the embroidery using a variegated skein of Valdani hand-dyed embroidery thread... ...these variegated embroidery threads are simply beautiful to stitch with, and as you can see I wound the thread onto one of the personalised wooden thread spools. The appliqued daisies have embroidered centres, and these colonial knots are so much simpler than French knots. A few dabs of Roxanne's Baste-it glue keeps the petals in place while they are stitched securely with a YLI silk thread and a Clover Black Gold applique needle... ...I used lots of neutral fabric scraps for this project, and chose a piece of broderie anglais with a scalloped edge for the top left mini-block. The embroidered blocks were simple to stitch with back stitch... ...three daisies were scattered over the cushion front, and were really simple to make. I used the apliquick rods for these, and method is so much quicker than when I had a few disastrous attempts at needle turn applique a few years ago... ...the front of the cushion is completed. Next stage is to quilt it. Hopefully I'll get that finished on Saturday, as I'm going to be rather busy on Sunday going to a very special event in Birmingham ;)
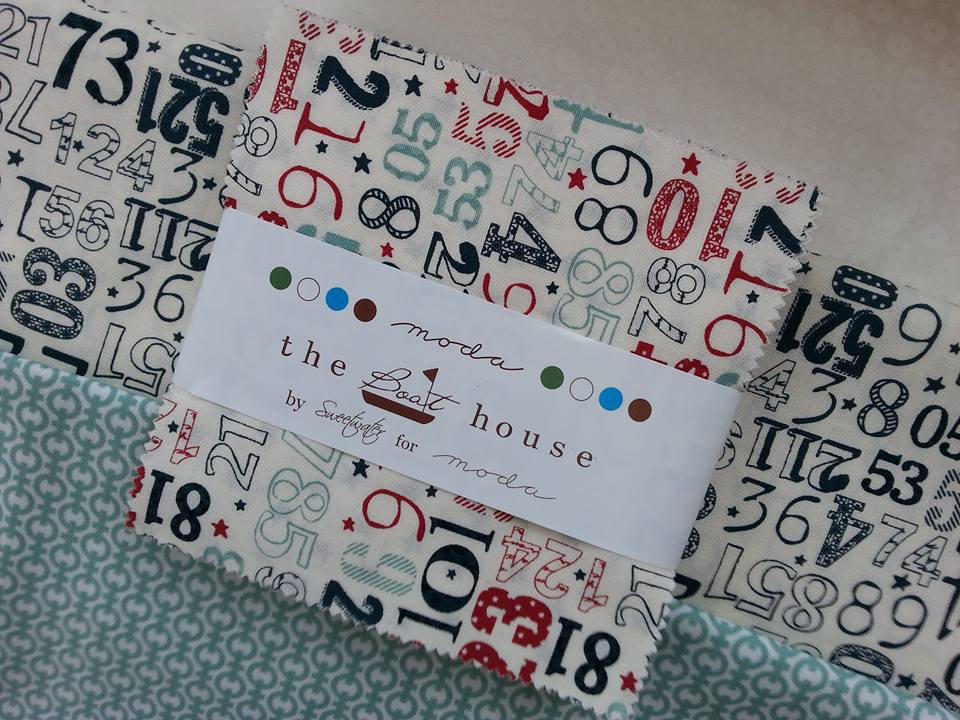
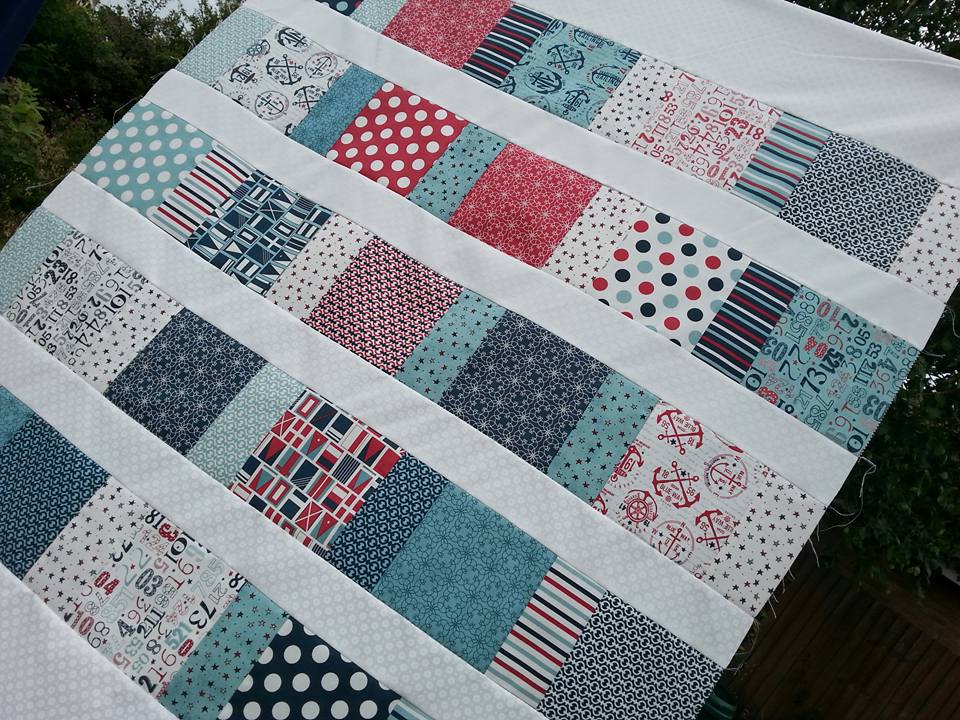
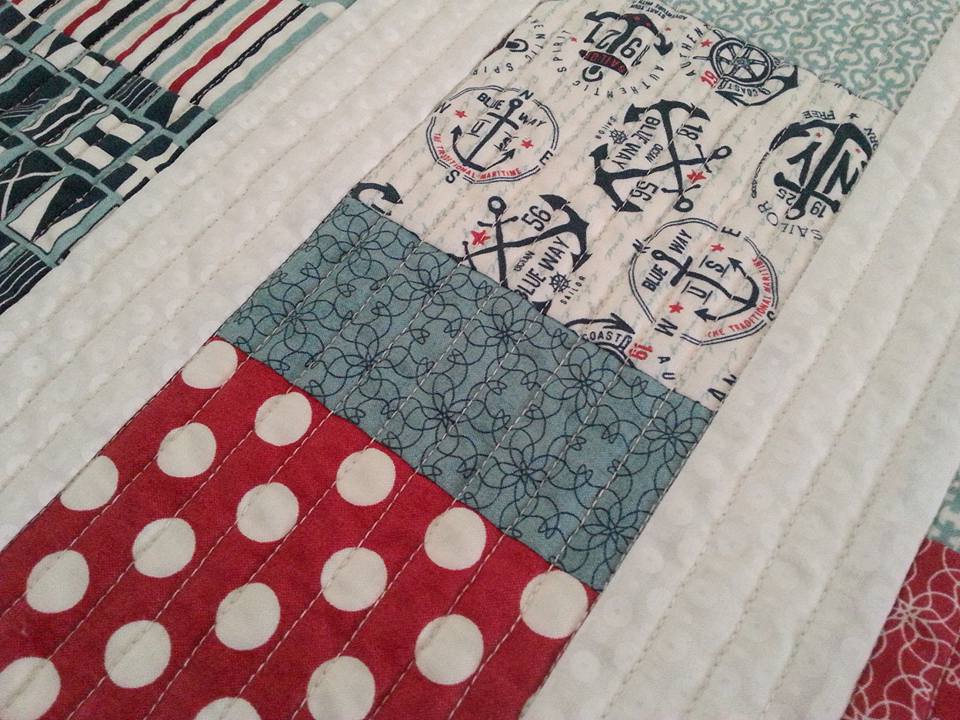
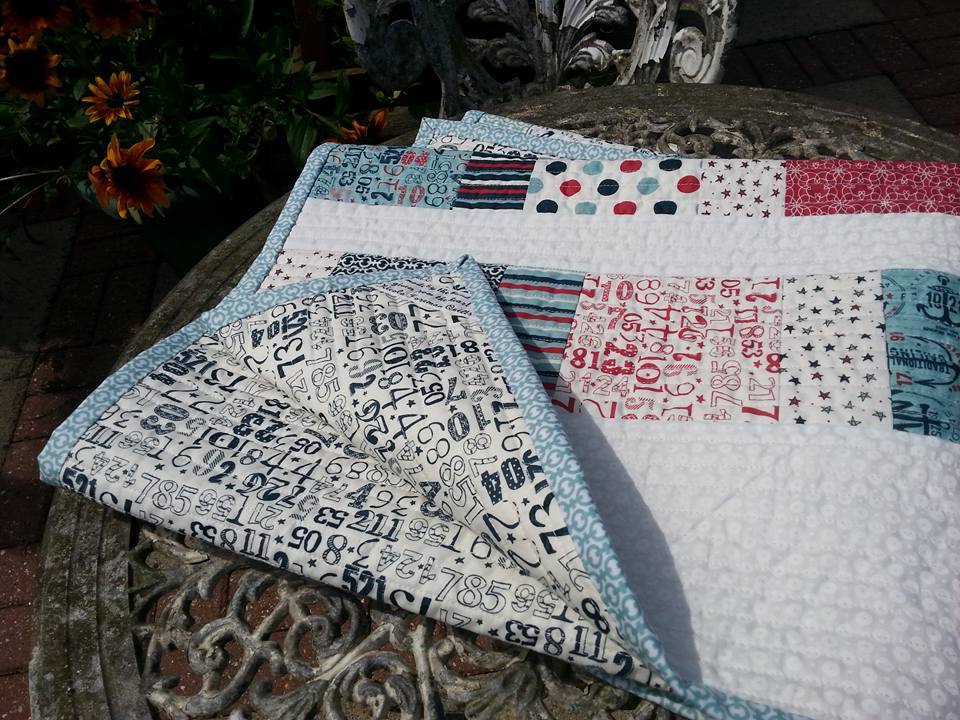
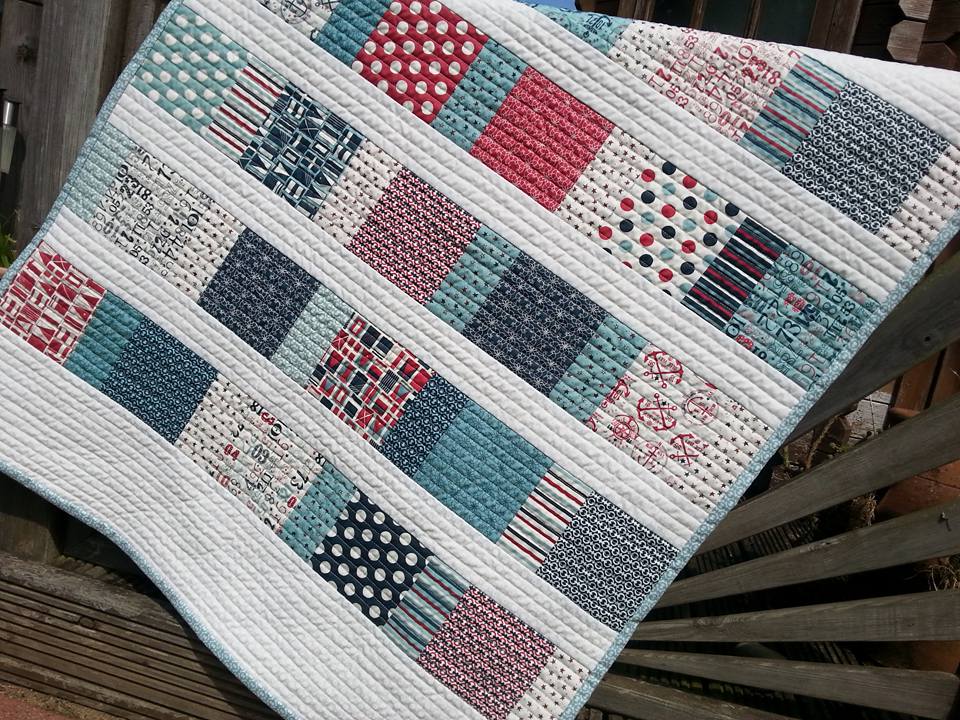
This is my latest project, for a very special baby. I started this a few weeks ago, for a very special baby. The charm pack, backing and binding fabrics are from The Boathouse collection by Sweetwater for Moda, and the sashing and border fabric is from the Daysail collection by Bonnie and Camille for Moda. Let the stitching begin! Rows are pieced together, sashing and borders have been added, and it's time for a quick photo shoot before I layer this ready for quilting. This was made with a charm pack "The Boathouse" by Sweetwater for Moda. The fabric for the sashing and borders is from the "Daysail" collection by Bonnie and Camille for Moda. This quilt pattern is Charm Squares Baby Quilt by Elizabeth Hartman... ...this was quilted very simply in straight rows 0.5" apart, using the walking foot as a guide. I used a Schmetz topstitch needle size 70 with a cream King Tut quilting thread shade 971. Another couple of fabrics from The Boathouse collection were used for the binding and backing. I added one of my labels to the back of the quilt, machining through all the layers to secure it into place. ...and here's the finished quilt. I just need to get this wrapped up and sent off in the post, as the baby was born a few weeks ago. I don't want his mummies thinking I've forgotten about him!
|
About me...Hi - welcome to my quilting blog! My passions are my family, my dog, my friends and sewing, not necessarily in that order! Archives
July 2023
Blogs I followUK shopsThese are the UK shops that I use to purchase my quilting supplies - fabrics and threads etc.
Australian linksScandinavian links |


 RSS Feed

