Wishing all my blog followers a very Happy New Year - I hope 2017 will be filled with lots of sewing time and not too much unpicking!
|
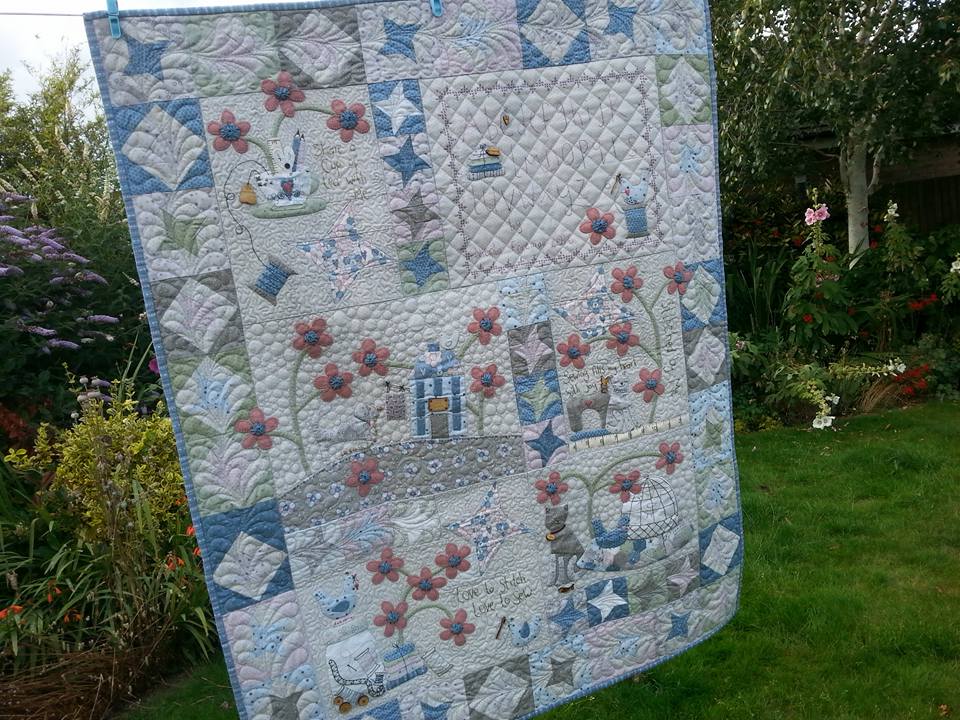
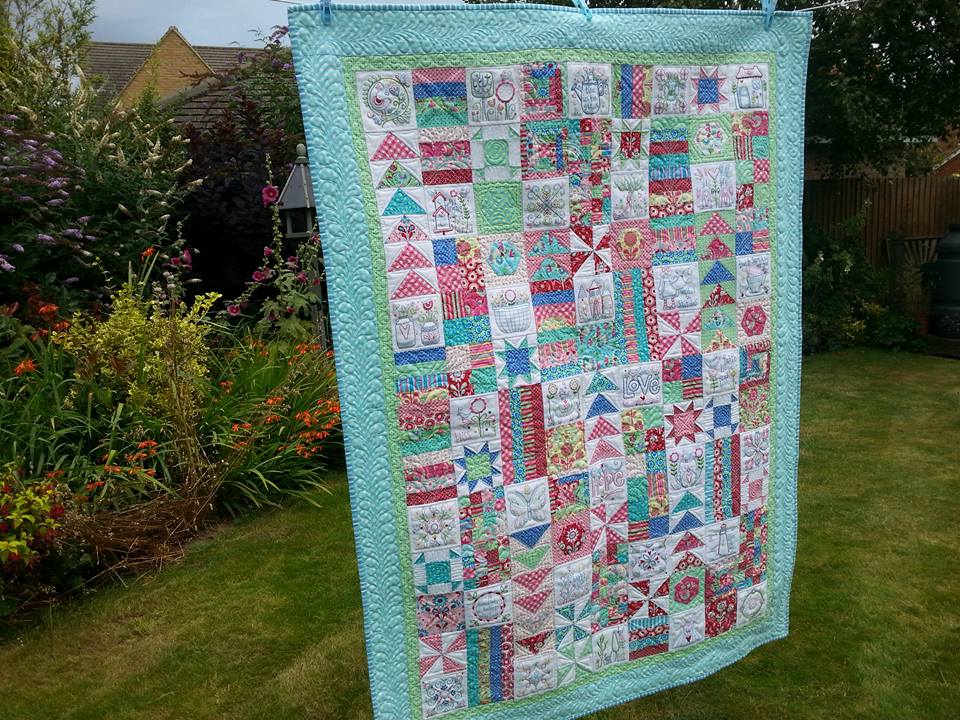
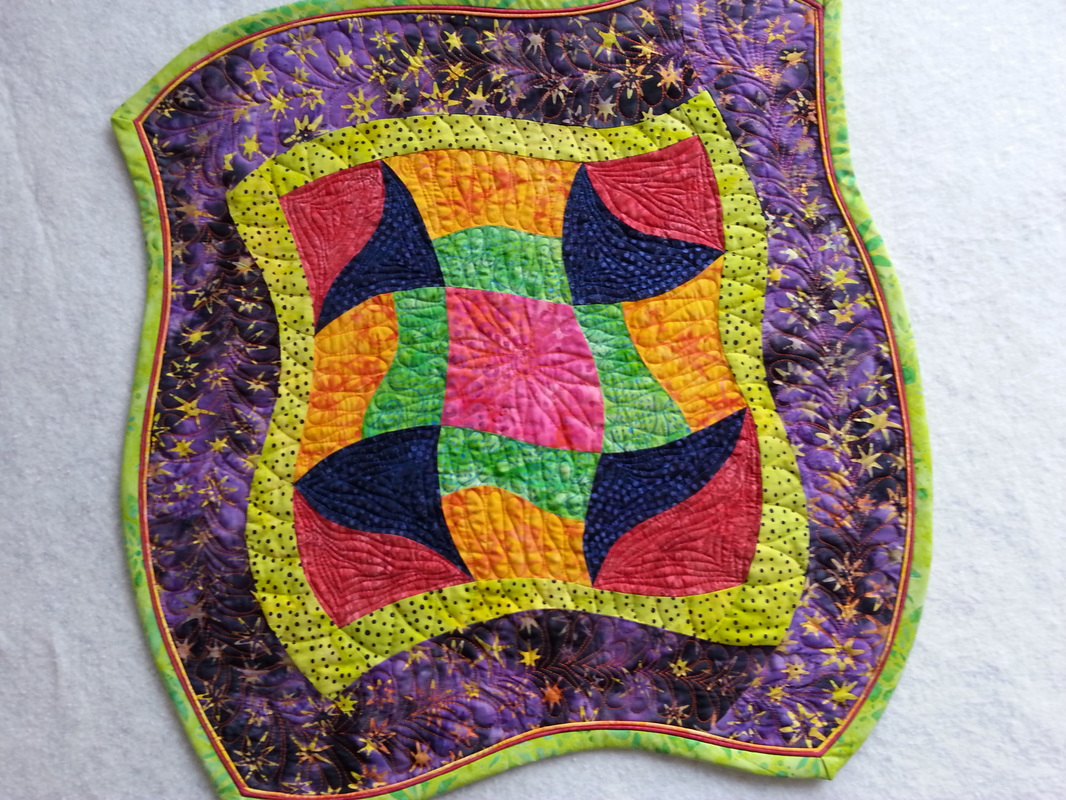
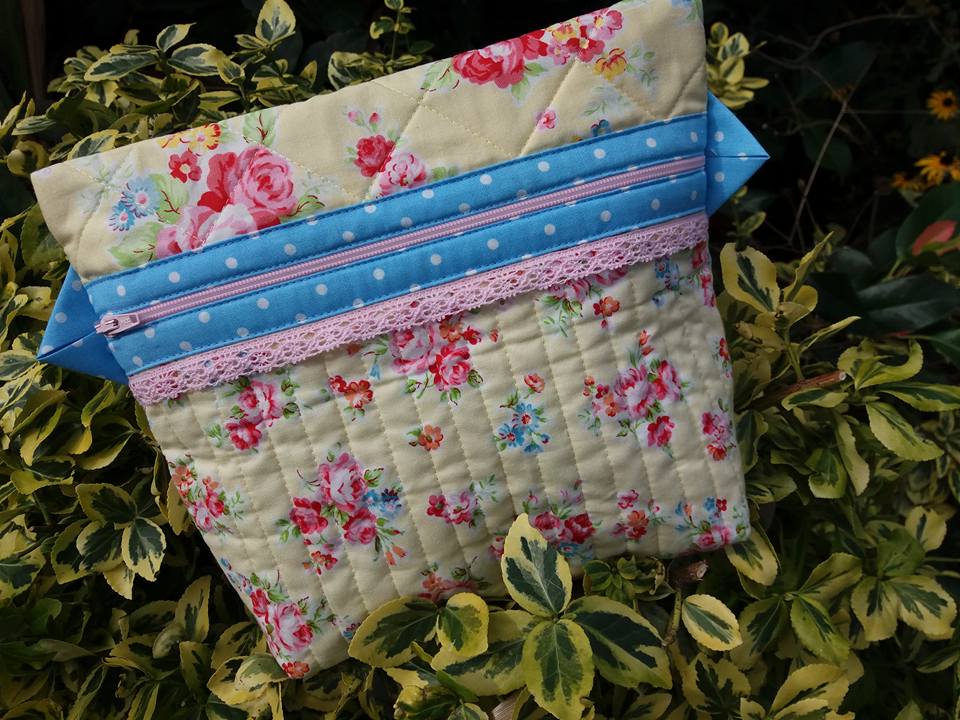
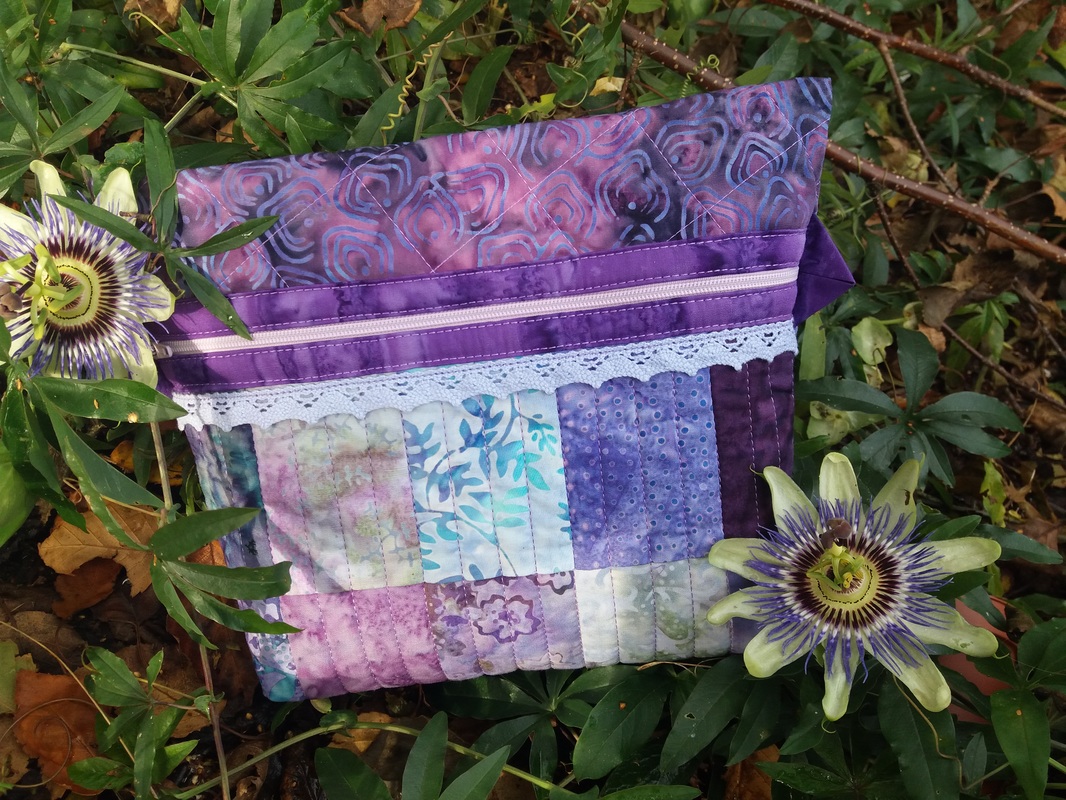
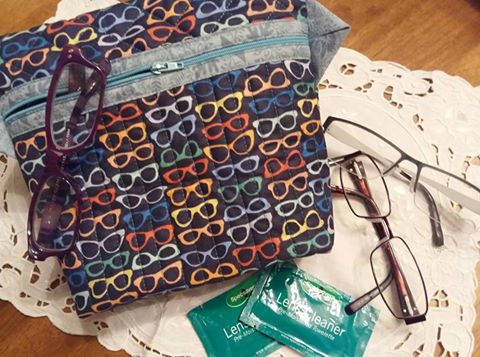
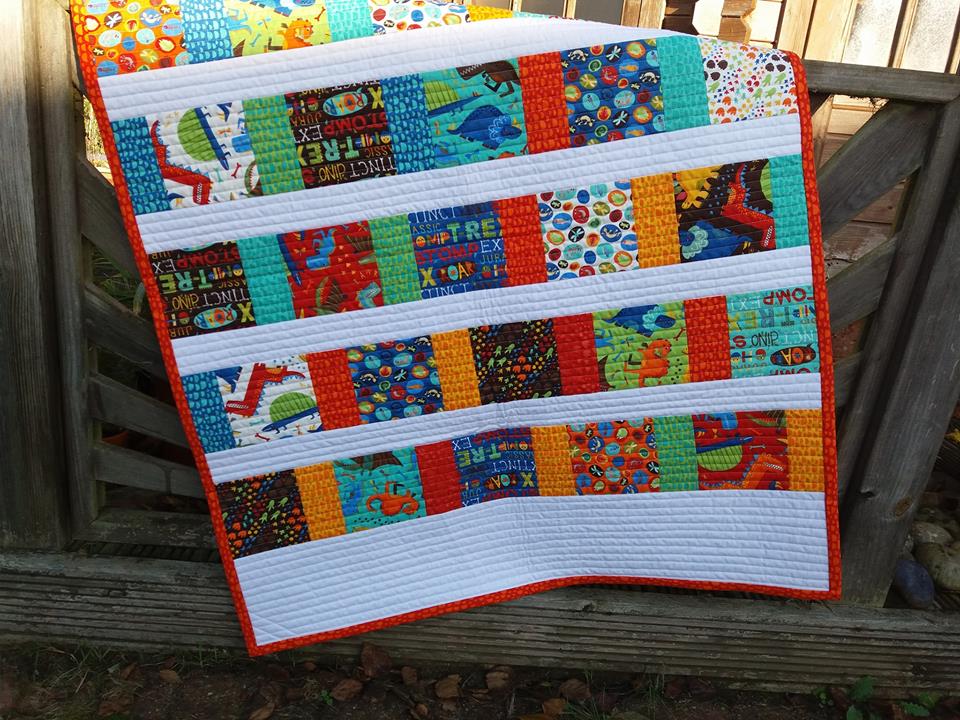
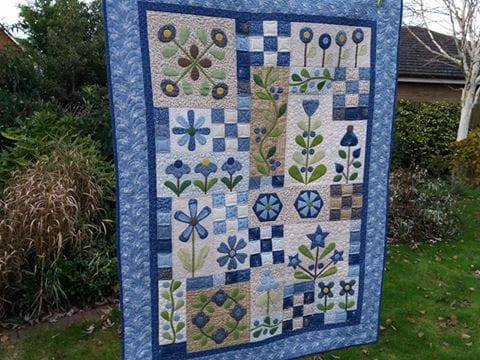
Here's a pictorial showcase of all the projects that have been completed this year. There are a few unfinished projects that I aim to get finished in the early part of 2017 (Leanne's House and Journey of a Quilter are all pieced together, they just need to go to the longarm quilter!) so I'll share them next year when they're finished! I have a few new projects that I've bought this year that I haven't had a chance to start yet (a beautiful quilt for my bed is going to be a MAJOR work that may well take me into 2018!!) so I hope you'll carry on following my blog to see what I've been creating.
Wishing all my blog followers a very Happy New Year - I hope 2017 will be filled with lots of sewing time and not too much unpicking!
10 Comments
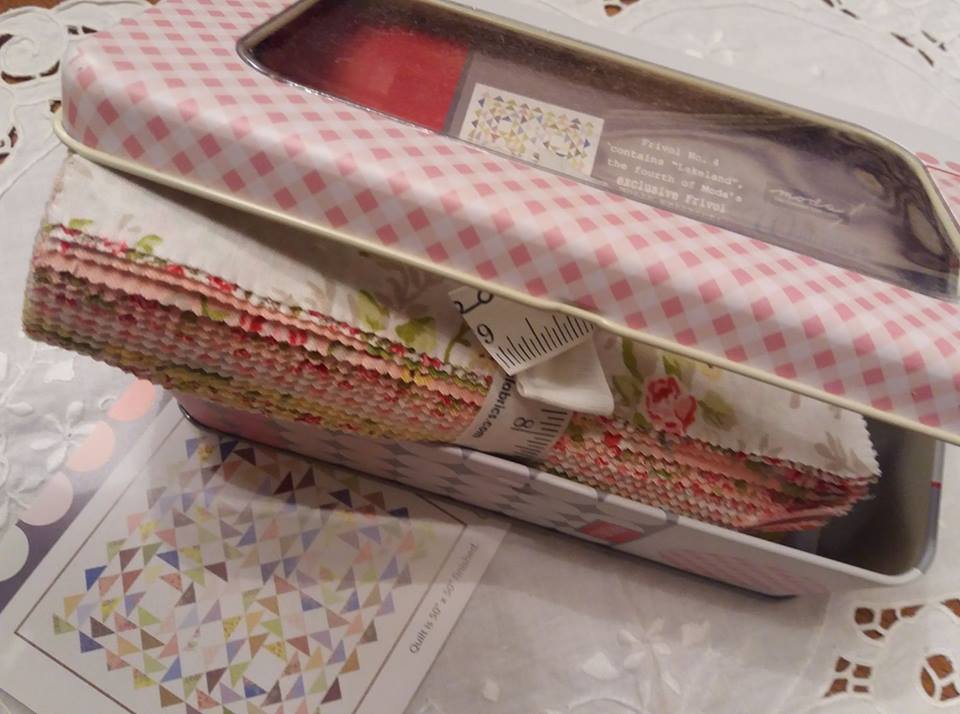
Ohhhh yippee!! Look what was waiting for me when I arrived home from work - just the thing to help cheer me up when I was feeling absolutely awful with the most dreadful cold - this was better than any amount of Lemsip and Strepsils to help with my recovery!! I had taken part in a competition on a FB group that I belong to, and won this gorgeous prize! It's a Moda Frivols tin, and inside is 42x 7" squares of this really pretty fabric, "Windermere" by Brenda Riddle Designs, and a pattern "Lakeland" to make a lovely quilt - all I need to add is some background fabric. This will be so hard to put to one side until I've finished my UFO's! Thanks for my my prize Julia. I simply LOVE it!
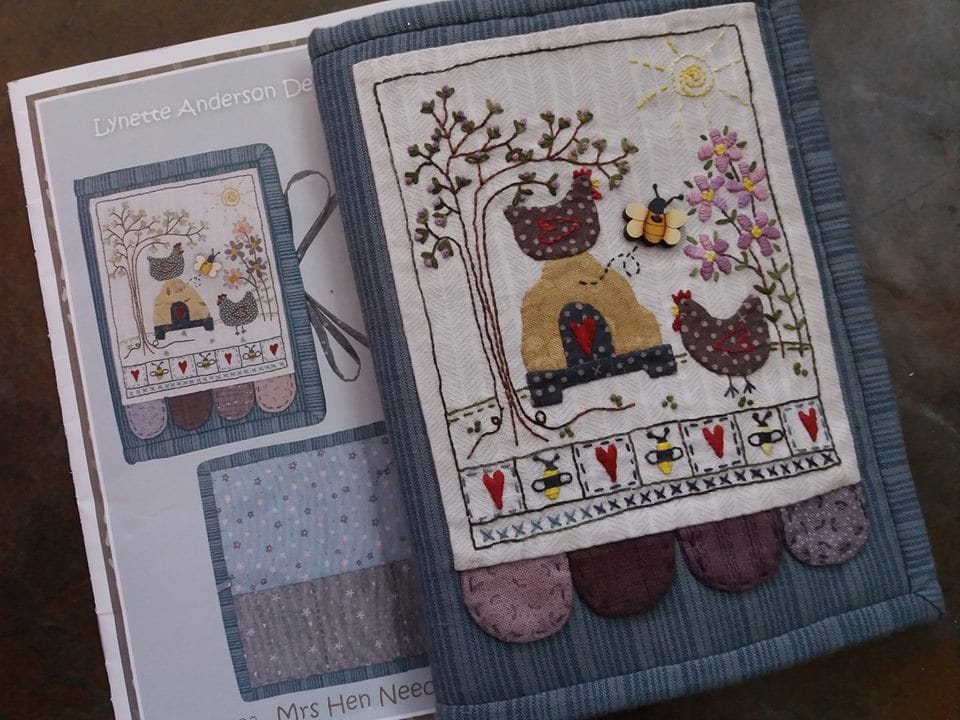
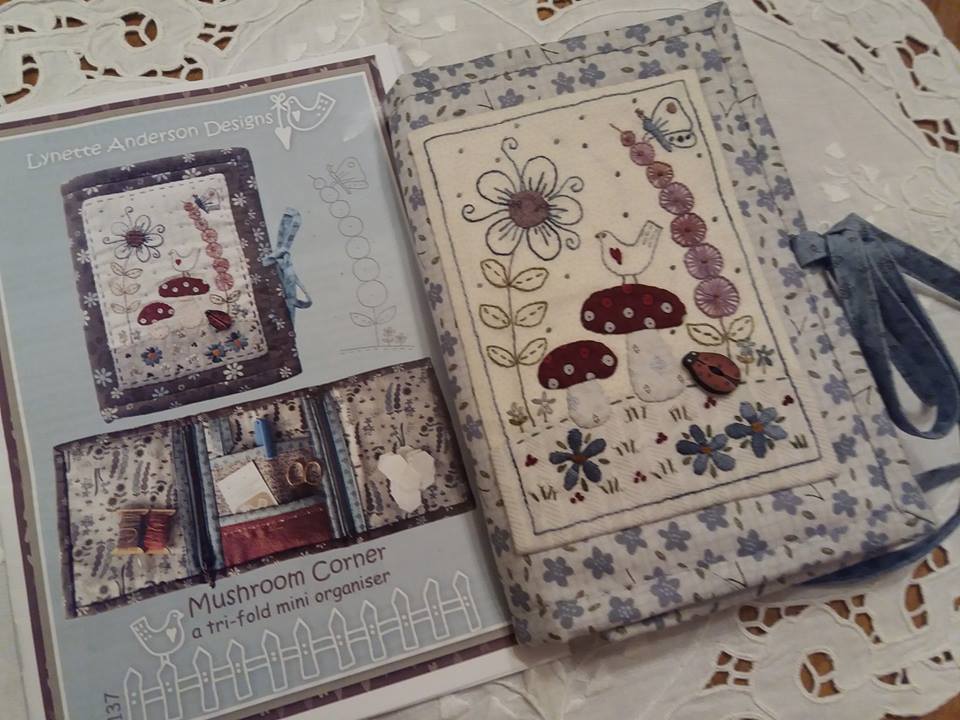
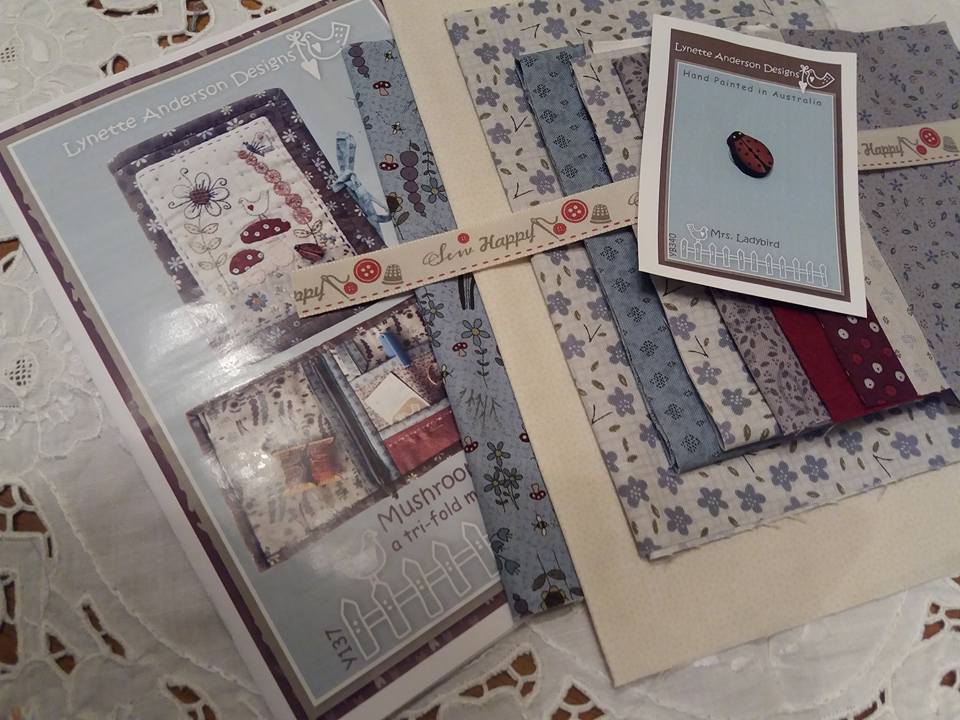
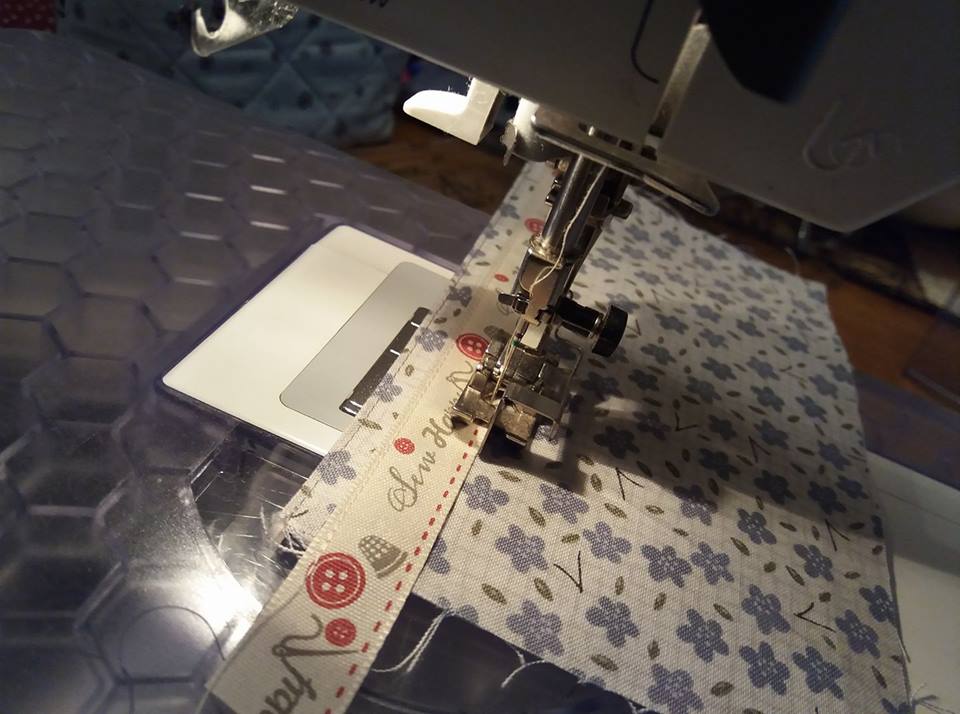
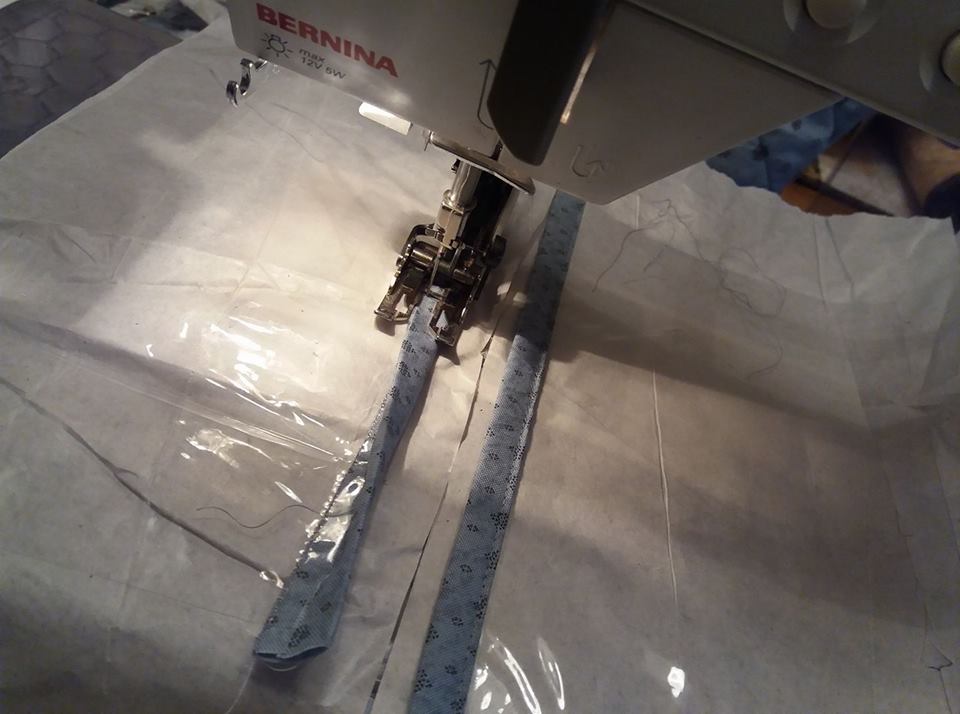
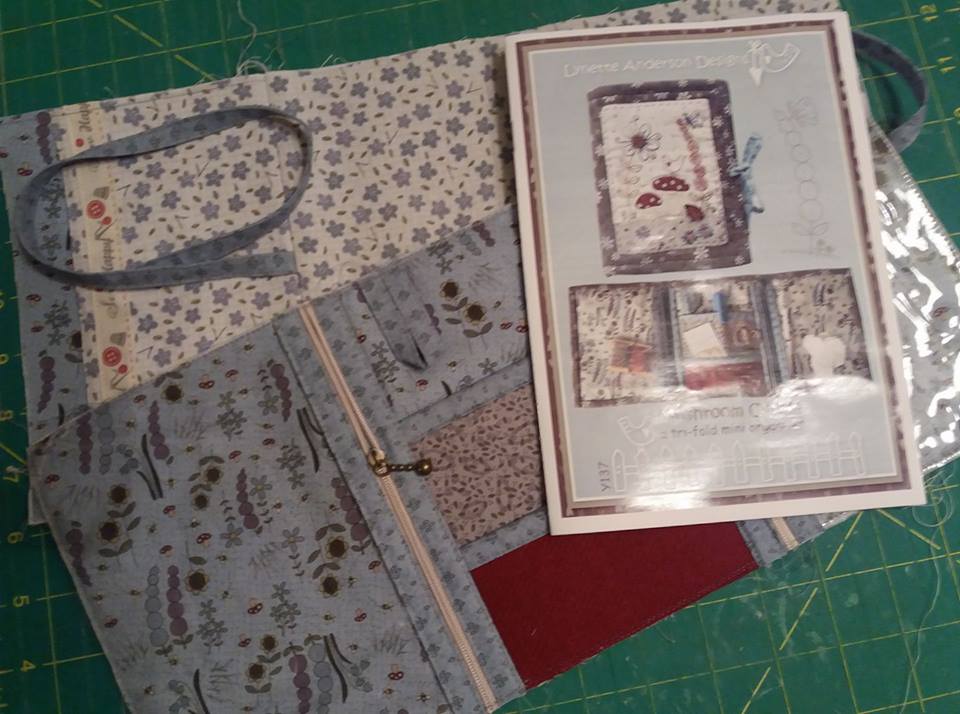
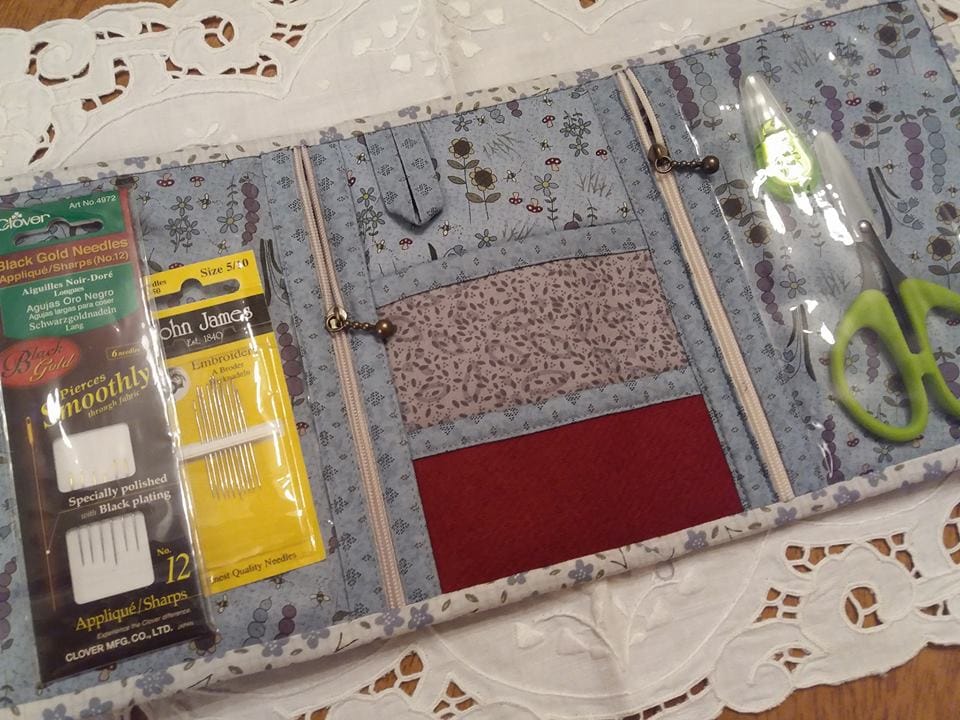
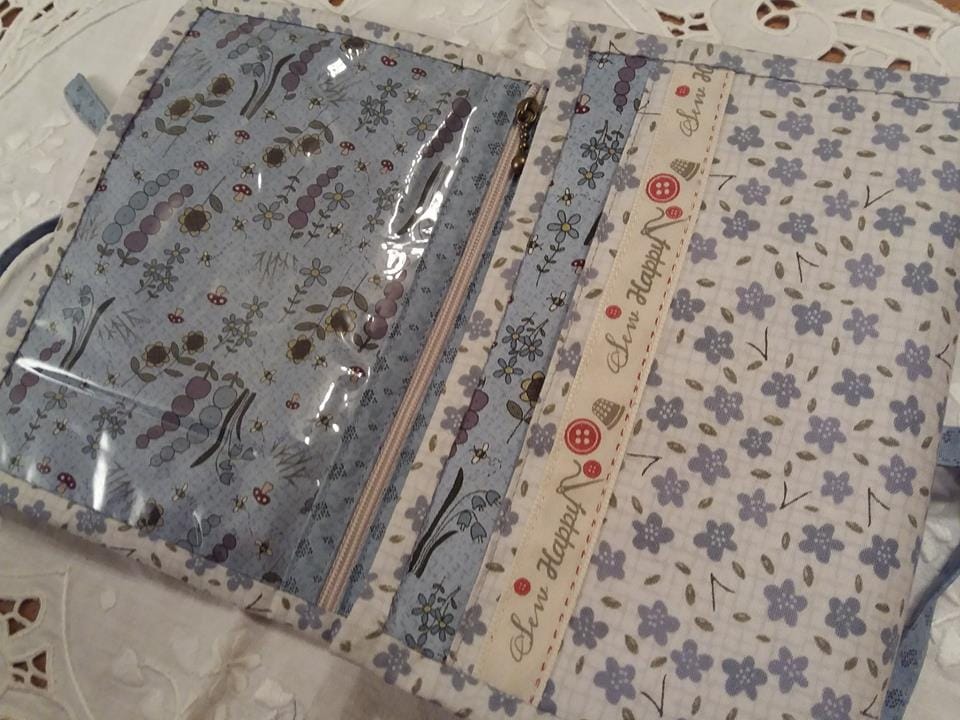
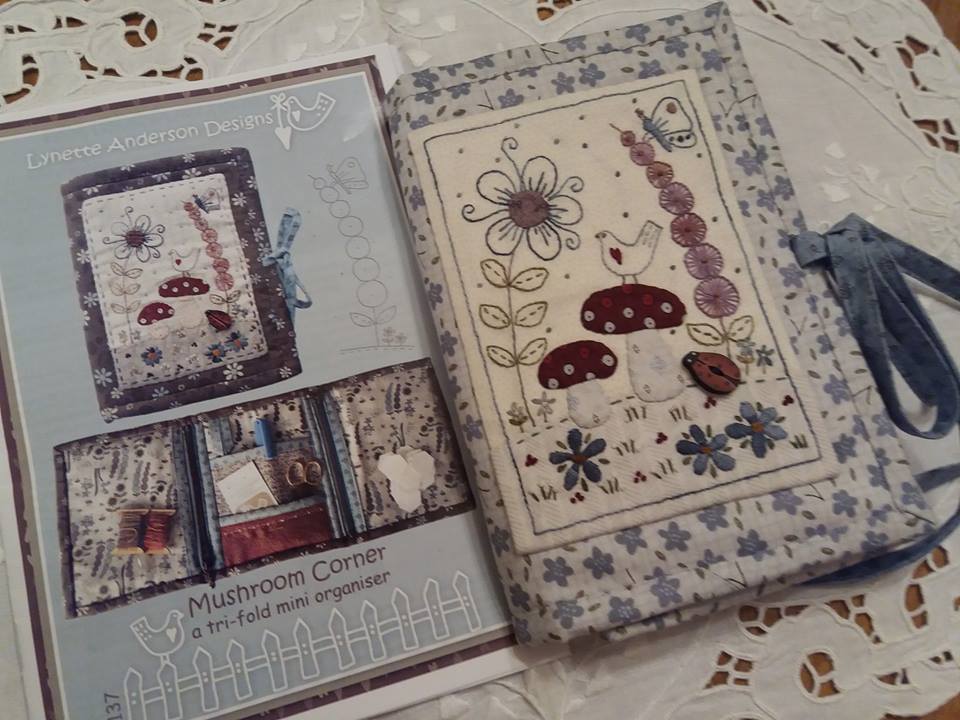
This pretty sewing organiser came as a kit from Cross Patch in Wales, and included the pattern, the fabrics, decorative ribbon and the hand painted wooden button. The pattern is "Mushroom Corner" and is by Lynette Anderson Designs, and the fabrics used are also designed by her. The instructions were really easy to follow, and it didn't take long to get the fabrics cut and to start piecing it together. My top tip for attaching the decorative ribbon trimming is to use a dab of fabric glue (I used a Sewline gluepen) to the back of the ribbon to hold it in place instead of pins - this makes sewing it in place much easier... ...inside there are a couple of plastic pockets that needed to be bound along the edges - my top tip for sewing with this plastic (purchased from Amazon UK for about £2.50 for a metre!!) is to use the thin paper it was wrapped in underneath the plastic to cover the feed dogs - this helps to stop the fabric from getting damaged by the feed dogs, and the walking foot helps to guide it along. Then the paper can be gently torn away. It didn't take long to complete the inside of this organiser - it has a few more pockets, and a wool needle keeper too. The palstic pockets are really useful so you can see what is inside and the zippers make sure everything stayys in place!... ...the front and back are layered up with a soft wadding inbetween, and the edges bound just like a quilt with mitred corners. Lynette suggeted sewing the binding on from the inside of the organiser then folding the binding over to the front to stitch in place as it's much easier to sew the binding in place on the fabric front rather than on the plastic inside... ...the cute design on the front has been hand appliqued using the applique paper and glue stick method, and hand embroidered with Valdani threads, and then embellished with this cute ladybird hand painted wooden button. It fastens with a couple of ties, to keep it secoure. This has already been put to good use, and will be in my sewing bag when I head off to all my sewing groups in the New Year.
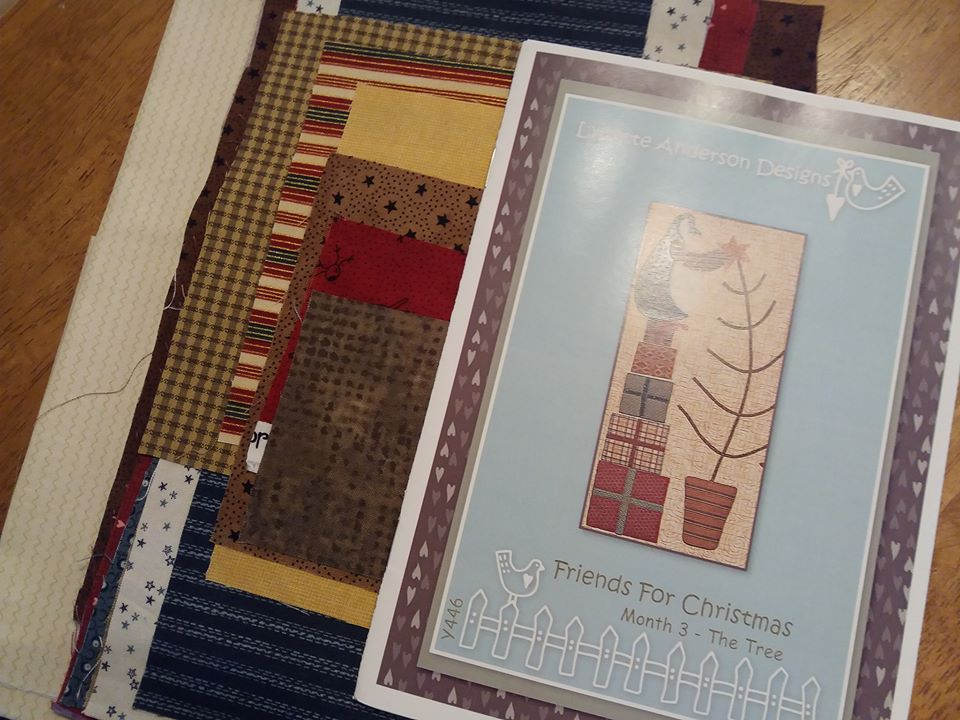
Month 3 "The Tree" of "Friends for Christmas" arrived in the post at the beginning of the month. This festive BOM is from Puddleducks and will be a new project for 2017. I'm really looking forward to stitching this one!
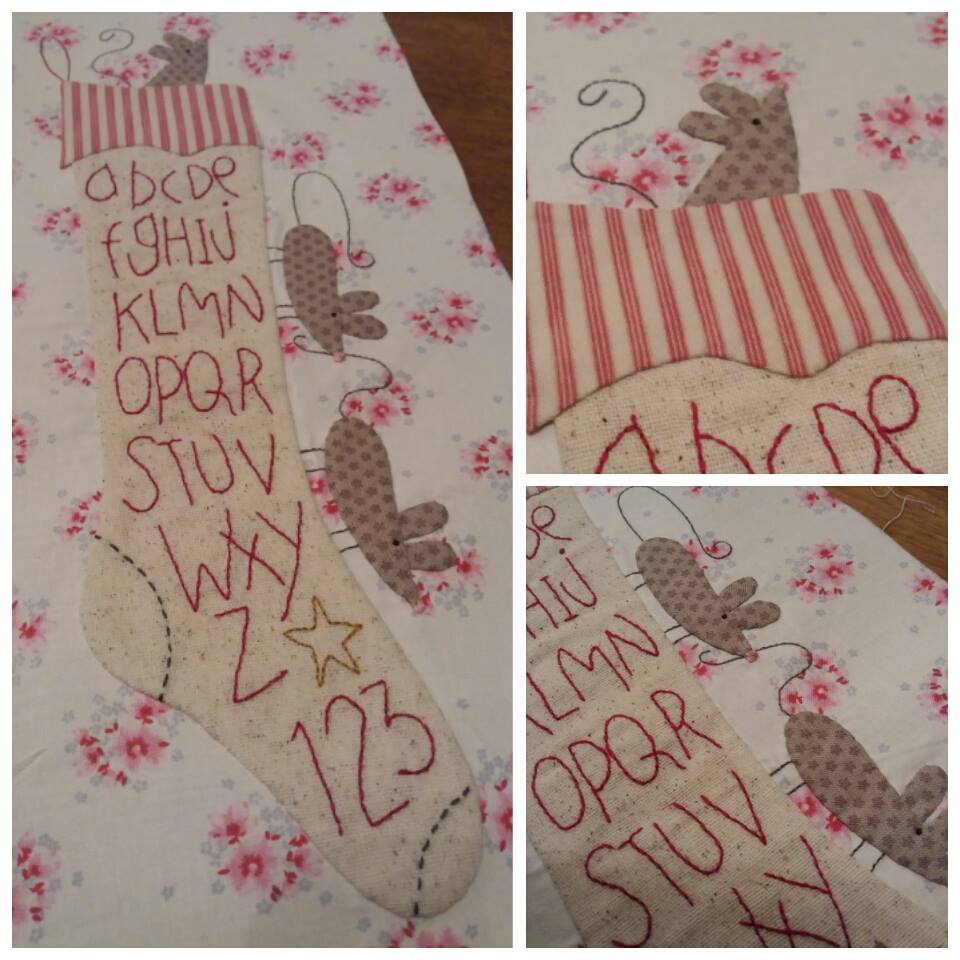
This super cute stocking seemed perfect to share on Christmas Eve! This is the final applique block of "Christmas Blessings" designed by Natalie Bird (her designs The Birdhouse Patchwork Designs are simply lovely - I've been making a few of her designs this year and will probably make a few more in 2017). This was bought as a kit from Cross Patch in Wales and Julia put together the most beautiful selection of Tilda fabrics for this project. No more sewing for a few days, although it won't be long before my dining table is transformed back into my sewing table to I can get busy making the patchwork blocks for this wall hanging. Are you hanging up your stocking this evening? If you are, I hope there are no mice inside!
This sleigh filled with goodies was an absolute joy to stitch! I really do love these designs by the Australian designer Natalie Bird and Julia from Cross Patch in Wales has put a super kit together for this festive project. All the applique was completed using the applique paper and glue stick mmethod, and DMC embroidery threads were used for the hand embroidery. One more applique block to complete, then this will be packed away until after Christmas. It will be the first project I complete in 2017 when I've got my dining table back and can get my sewing machine out ready to stitch lots of pachwork blocks for this wall hanging!
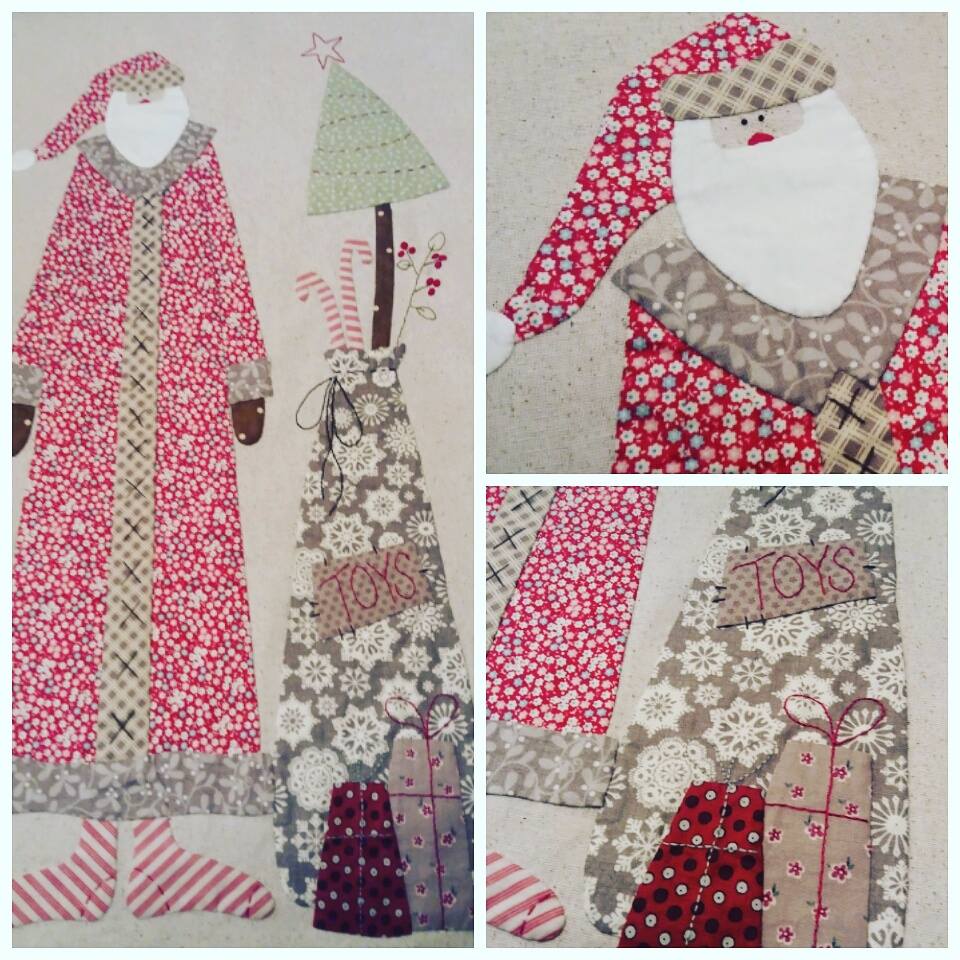
This Santa was so lovely to stitch! He's made from the most gorgeous Tilda fabrics, and I think he's my favourite Santa I've ever seen! This is a pattern by the Australian designer Natalie Bird, and the [attern and fabrics were bought as a kit from Cross Patch in Wales. Cross Patch has a super collection of patterns and kits that I absolutely adore - when I do a little bit of browsing on that website, I'm very easily tempted! Anyway, this was made using the applique paper and glue stick method of applique, and the hand embroidery was done using DMC threads. Loving this festive project!
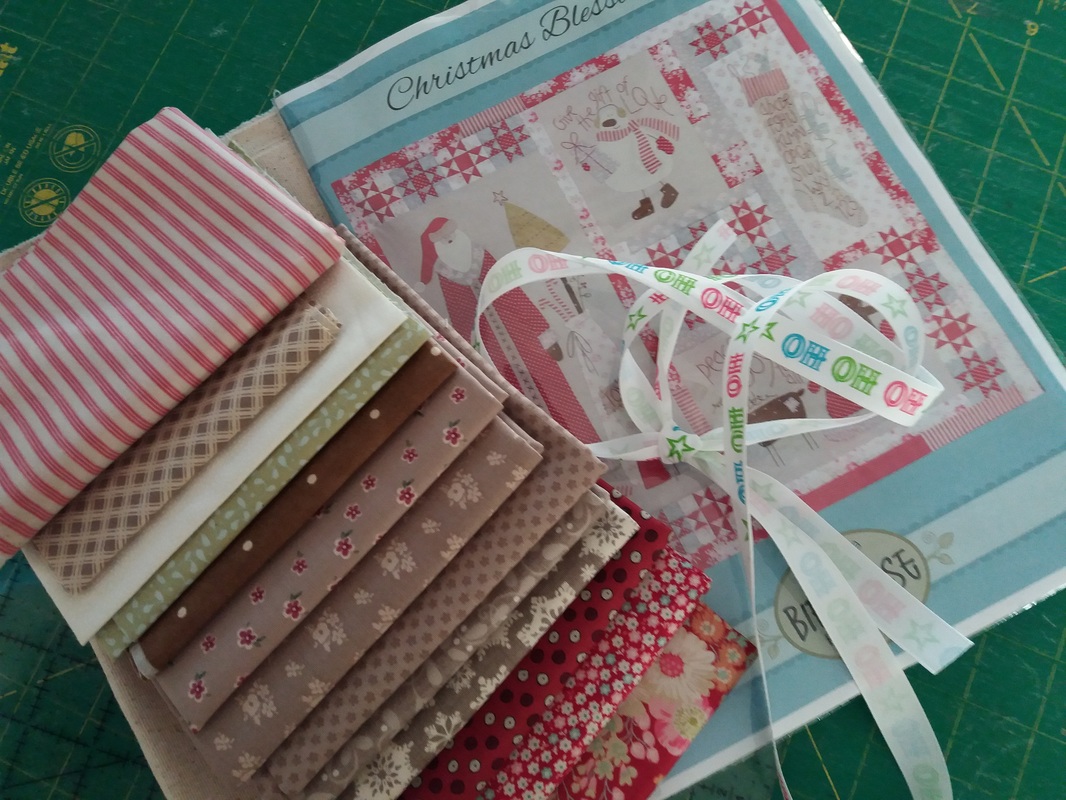
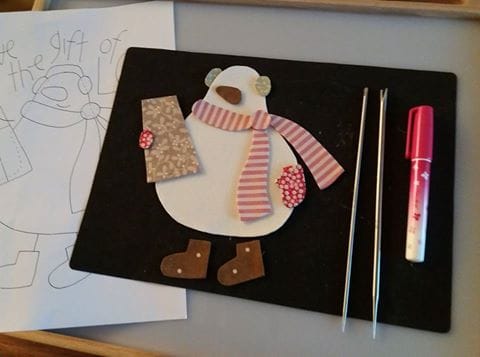
I'd ordered this gorgeous kit from Cross Patch in Wales a few weeks ago, when I I was sfull of good intentions of getting Christmas projects underway. Well life gets in the way sometimes, and I was just too busy so this got left to one side. Anyway, last weekend I finally made a start on preparing the applique for one of the blocks, and had a productive time getting all the shapes traced onto applique paper and fused to the back of the fabric... ...I used those wonderful Apliquick rods to turn the edges of the fabric over the applique paper, then used a few spots of Roxanne's basting glue to hold the shapes in place. The shapes were then stitched down by hand using a very fine thread - I'm using Bottomline thread at the moment, and used a neutral shade for this project. I usually use a Micron Pigma pen to trace stitchery designs, but mine had run out so I tried a Frixion pen - I hadn't had much success with these in the past, but thought I'd try them one more, and I'm really pleased with the results - especially as they are available in my local supermarket! The hand embroidery was completed with DMC threads. This just needs to be trimmed to size, and put to one side ready for piecing together in a few weeks. This pattern is "Christmas Blessings" and is by Natalie Bird, of The Birdhouse Patchwork Designs - another Australian designer whose work I'm very fond of. I've prepped a bit more of the applique, and hope to get more of these applique blocks done over the next couple of weeks if I have a quiet evening or two, although the patchwork star blocks will have to wait until January. At least it will be finished ready for Christmas 2017!!
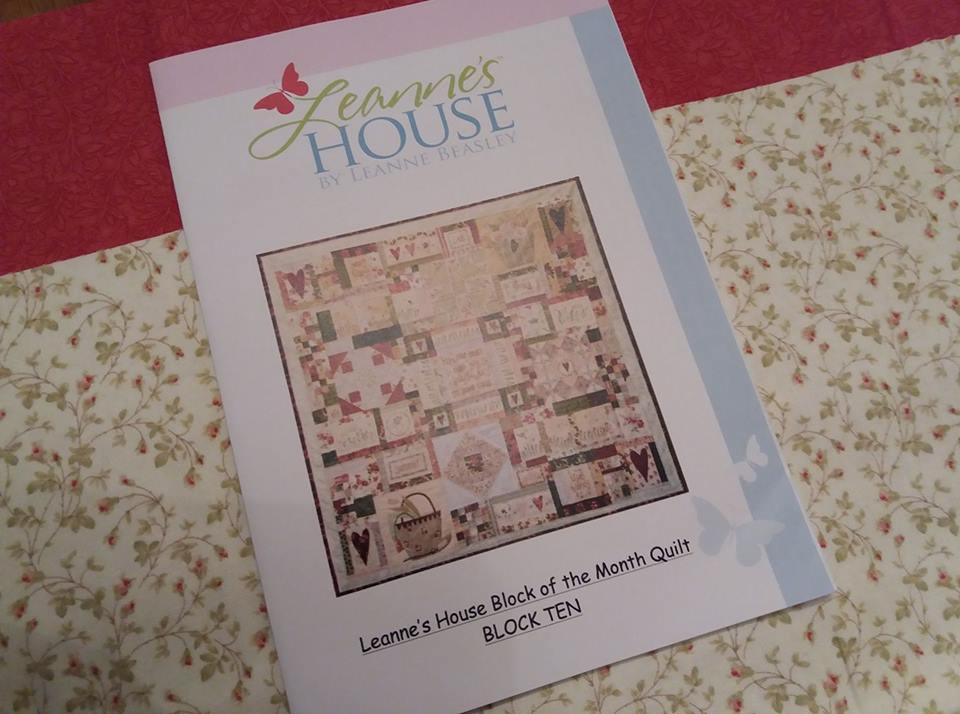
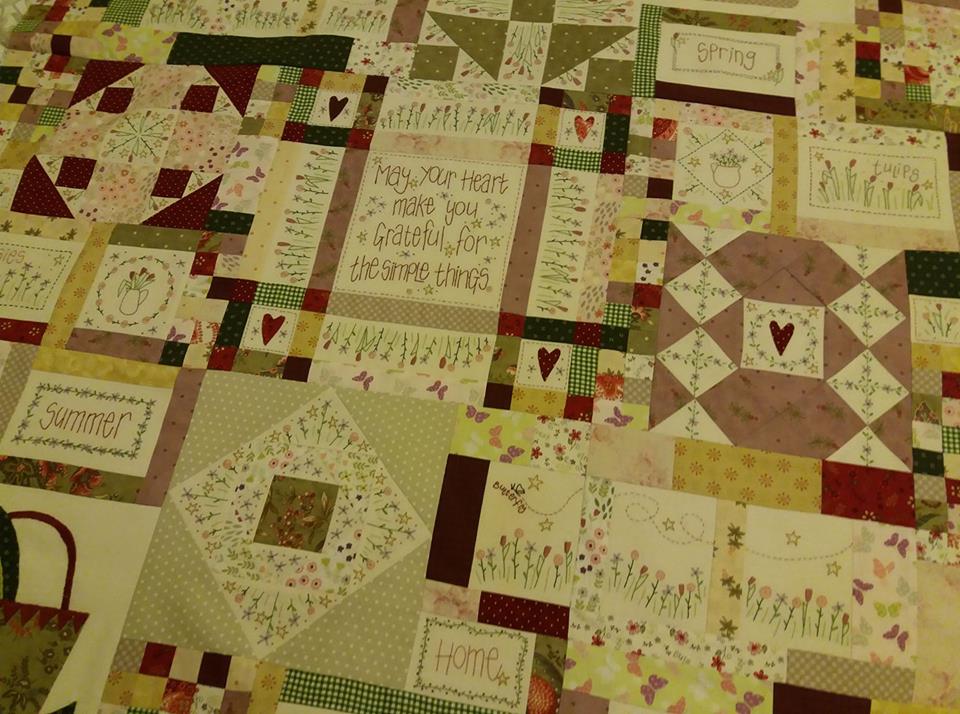
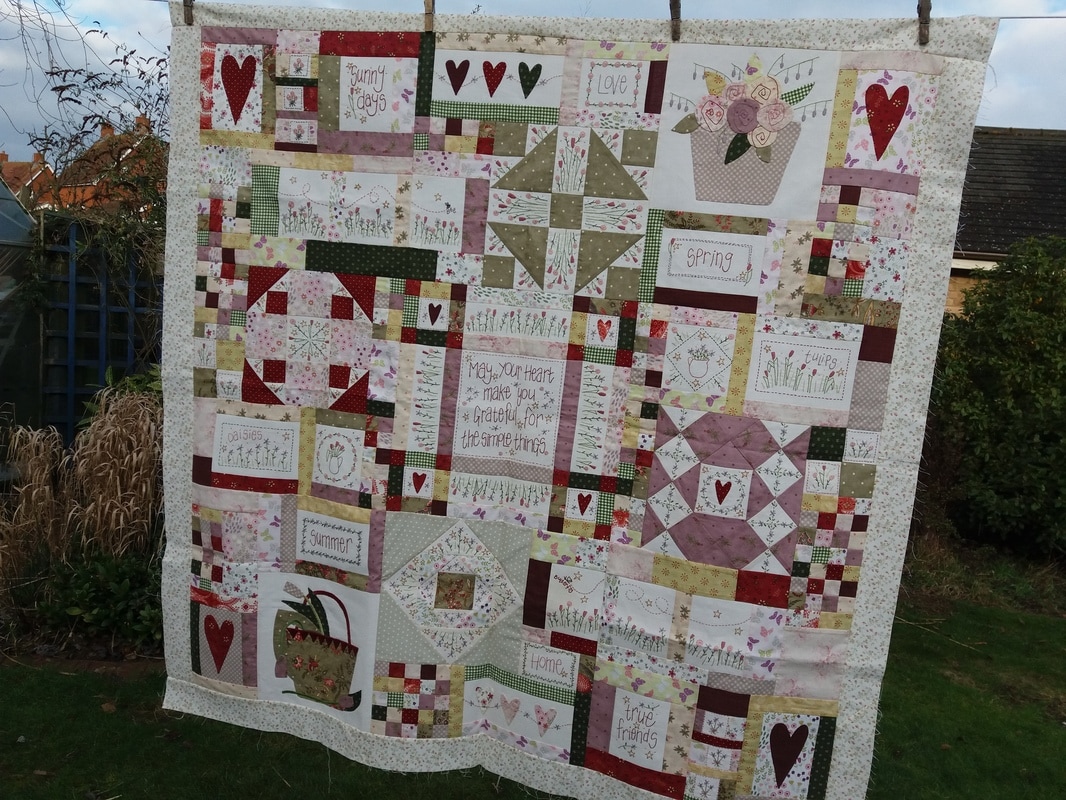
This gorgeous fabric arrived in the post from Cross Patch in Wales, for the borders and binding for Leanne's House. I'd been busy over the past few months getting each block pieced together, adding some hand embroidery and hand applique. Finally all 9 blocks were pieced together and they really did look very pretty all sewn together. There are some ideas for quilt labels in the pattern for month 10, so I shall use some left over fabrics and threads to make a very personalised label for this very special quilt... ...I'd planned on packing my sewing machine away for the Christmas holiday, but couldn't resist getting these borders cut and machined into place. I'm so glad I've got this quilt top completed - it's on a pile along with Journey of a Quilter, ready to go off to the longarm quilter in 2017. I'm certainly going to keep her very busy next year!
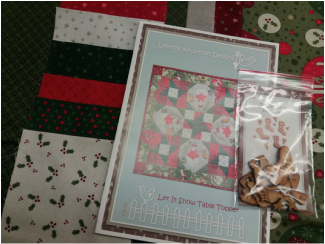
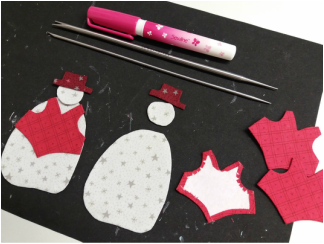
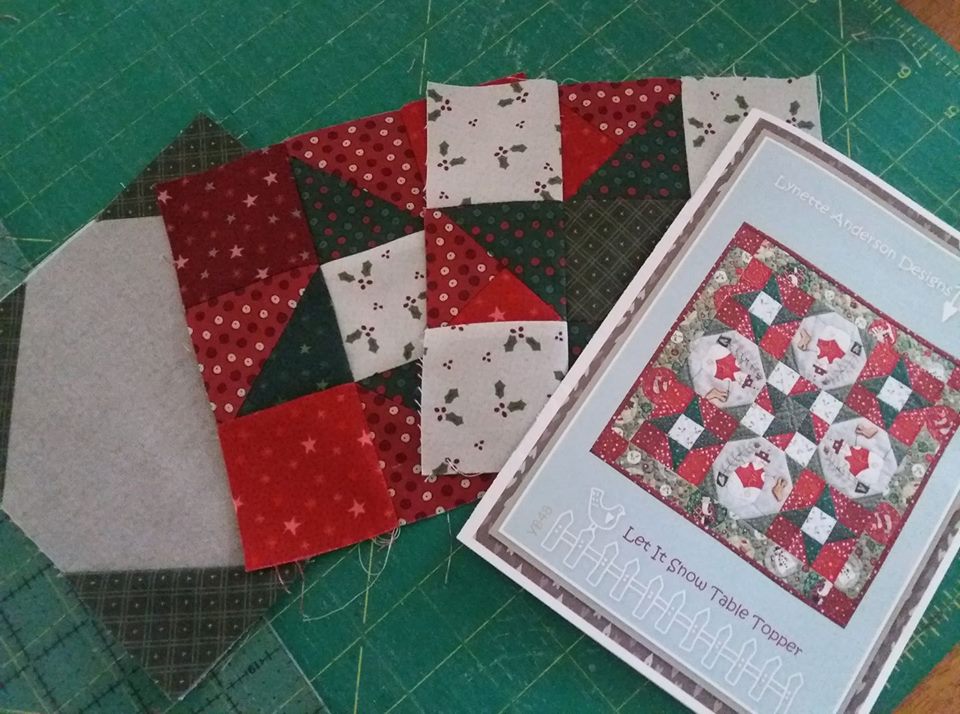
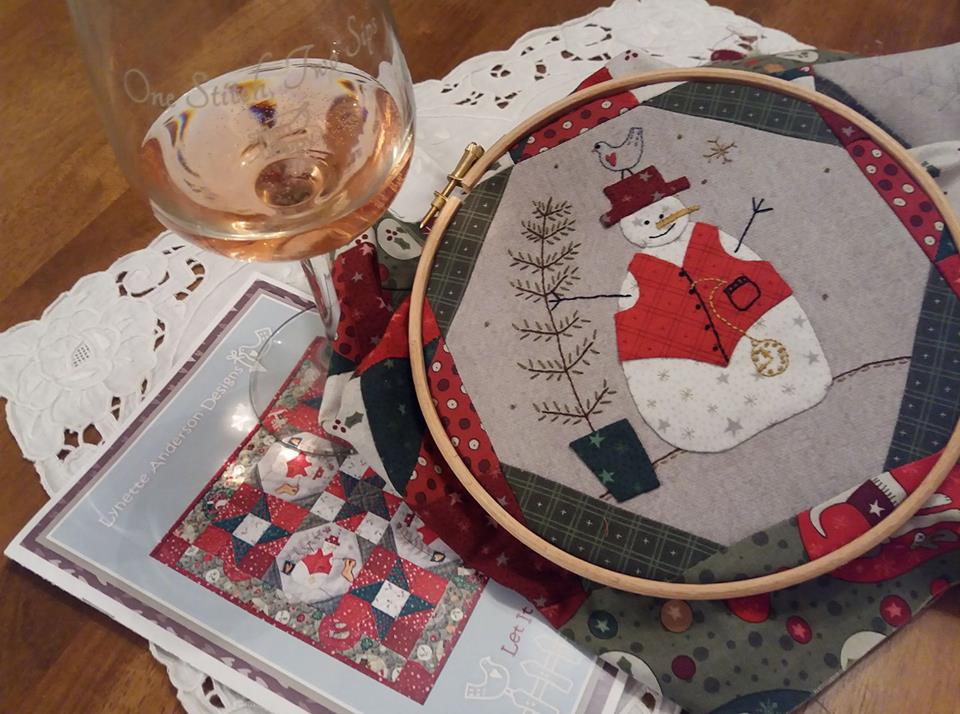
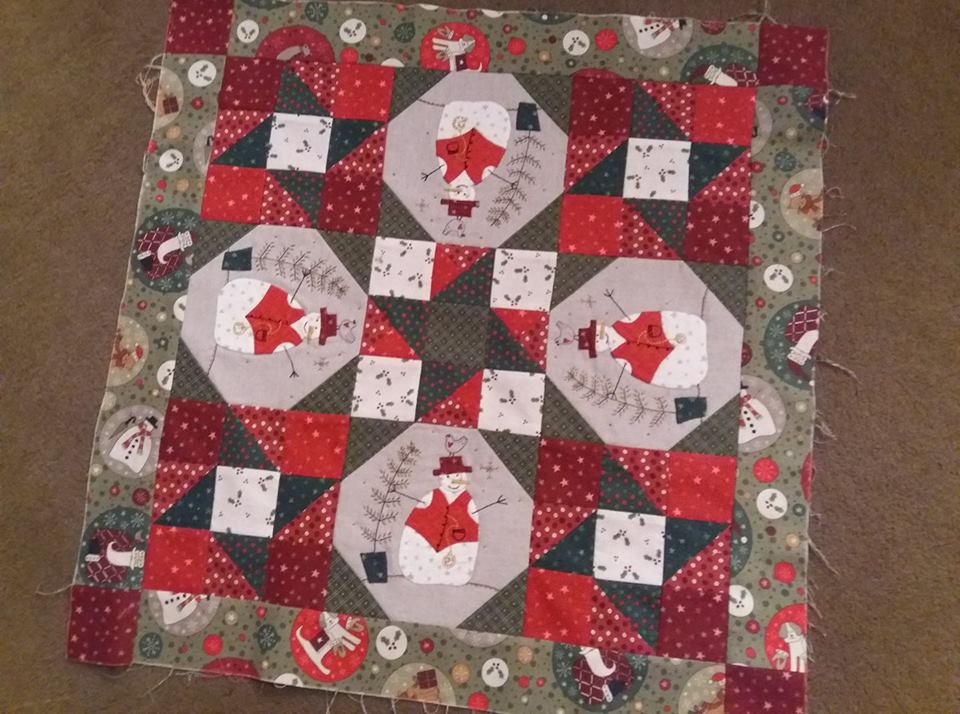
Let it Snow Table Topper is a gorgeous festive pattern by Lynette Anderson Designs, and I'd bought this kit from Lynette in the summer at FOQ, The kit uses fabrics from Lynette's latest range of Christmas-themed fabrics, "Festive Fun". I made a start on the applique last Tuesday evening at a sewing group that I belong too, and these snowmen will look so cute in their smart red waistcoats... ...the 3 patchwork blocks were machine pieced together using Aurifil 50wt thread. Finally the borders and corner stone blocks were added, and the topper was ready to be embellished with applique and stitchery. Using a Micron Pigma pen, I traced the bare minimum of the stitchery design. I spent a couple of very relaxing evenings at the weekend hand sewing these rather handsome snowmen into place. I was wondering if Mr F would like me to make him a smart festive waistcoat like these ones!... ...once all those suave looking snowmen had been appliqued into place, it was time for a final press, and the table topper was almost complete. I just need to get some backing fabric for this - the binding fabric was included in the kit, and I suppose I could have had a pieced backing with the leftovers, but I really wanted to use them for another project! This will be the first project that I finish in January, ready for Christmas 2017. At least I'll be one stepp ahead for next year!
|
About me...Hi - welcome to my quilting blog! My passions are my family, my dog, my friends and sewing, not necessarily in that order! Archives
July 2023
Blogs I followUK shopsThese are the UK shops that I use to purchase my quilting supplies - fabrics and threads etc.
Australian linksScandinavian links |




 RSS Feed

