|
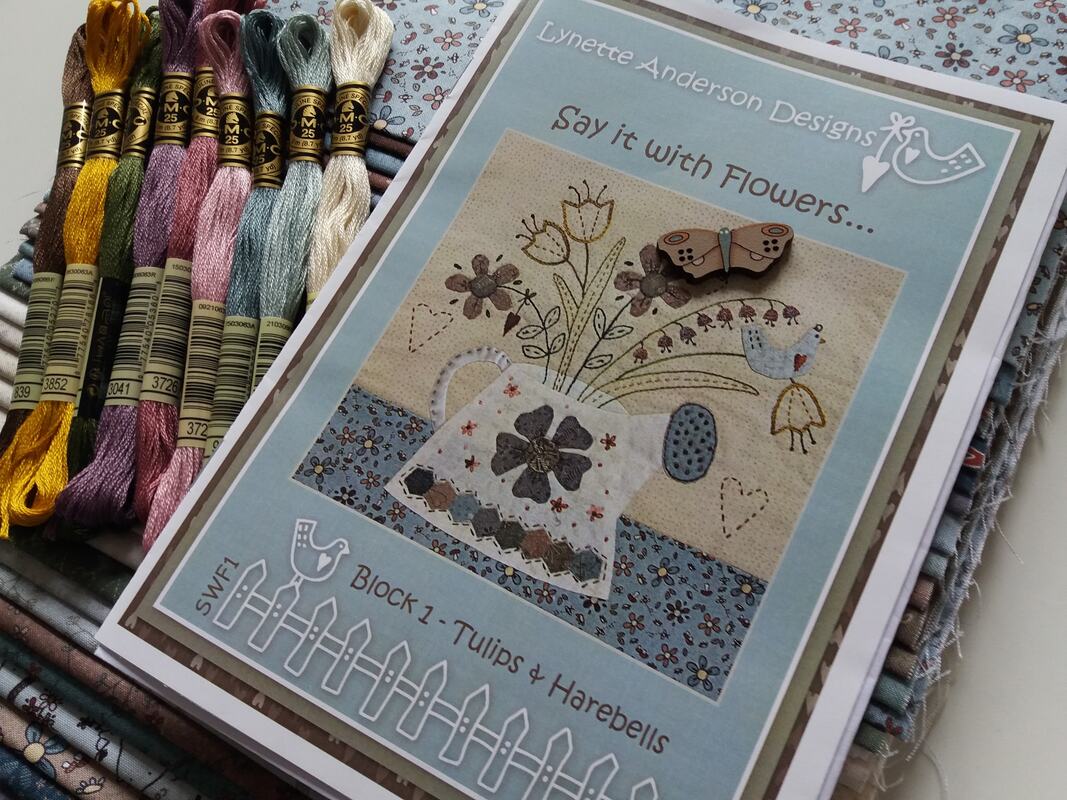
I was so excited when this arrived in the post this morning from Coast and Country Crafts and Quilts - this is the 2022 mystery BOM by Lynette Anderson Designs. Say it with Flowers, this is a four-part mystery quilt, each month you receive a pattern with full size tracable stitchery designs and templates, plus a beautiful hand painted wooden button. the finished size will be 25" x 25" however as it's a mystery quilt, you won't know what it looks like cuntil month four! I chose to have a fabric pack and a DMC thread pack - the original pattern suggests using variegated Valdani threads, which I already have a large collection of, so I may swap one or two of my threads, I'll decide as I'm stitching it. Well I just need to complete acouple of simple projects, so as soon as they're done I'll get this one prepared!
0 Comments
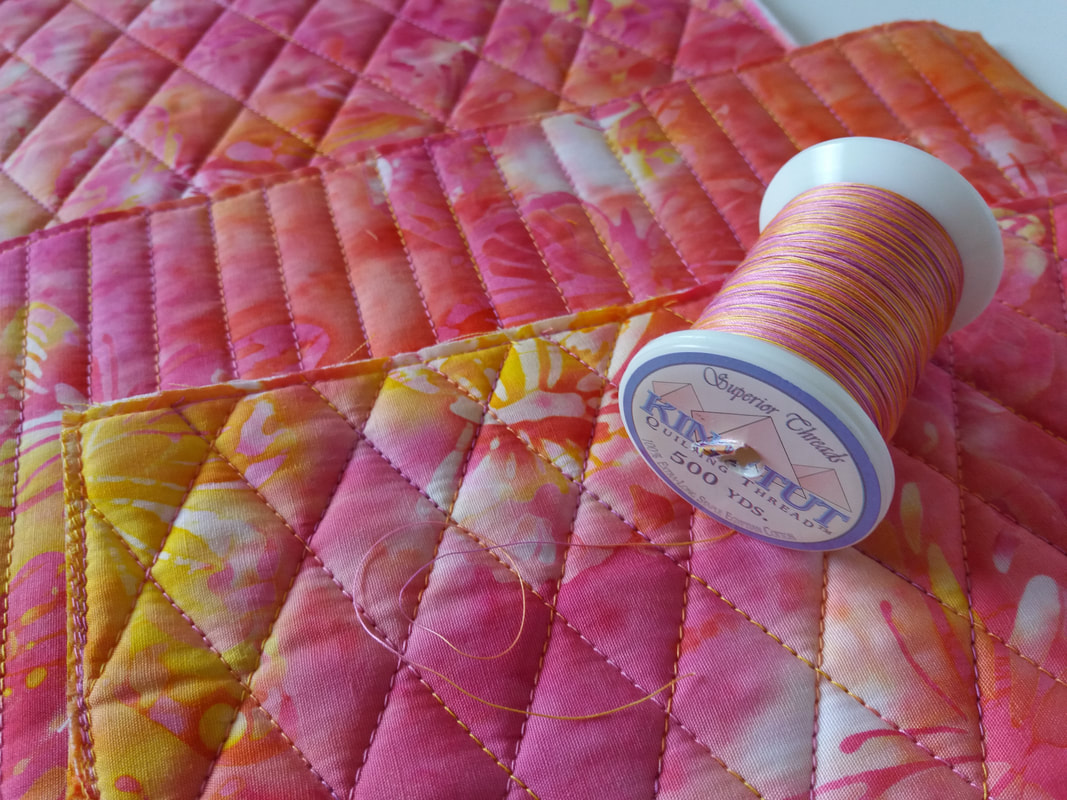
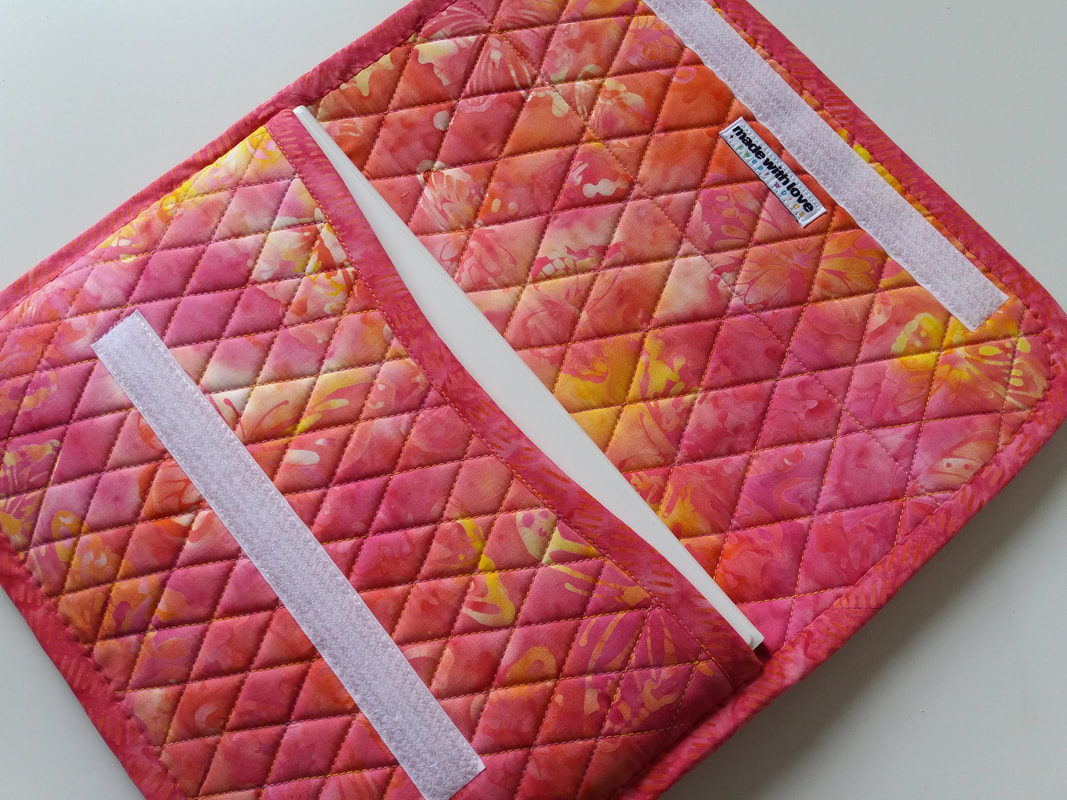
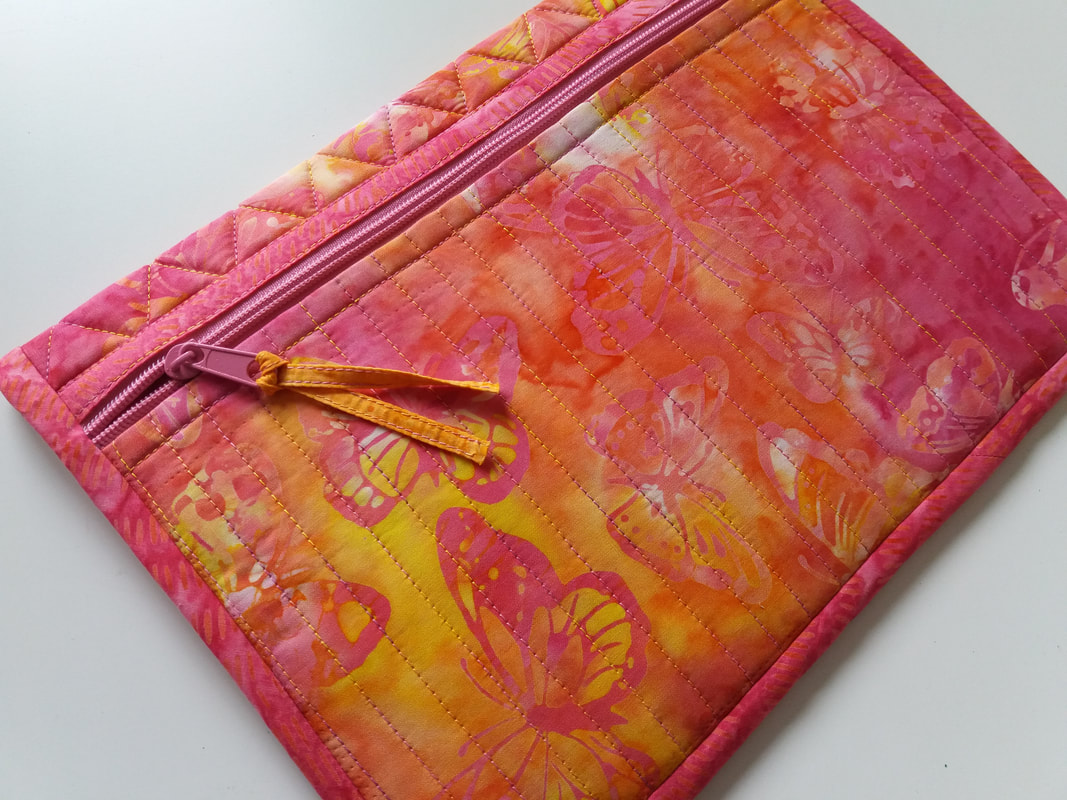
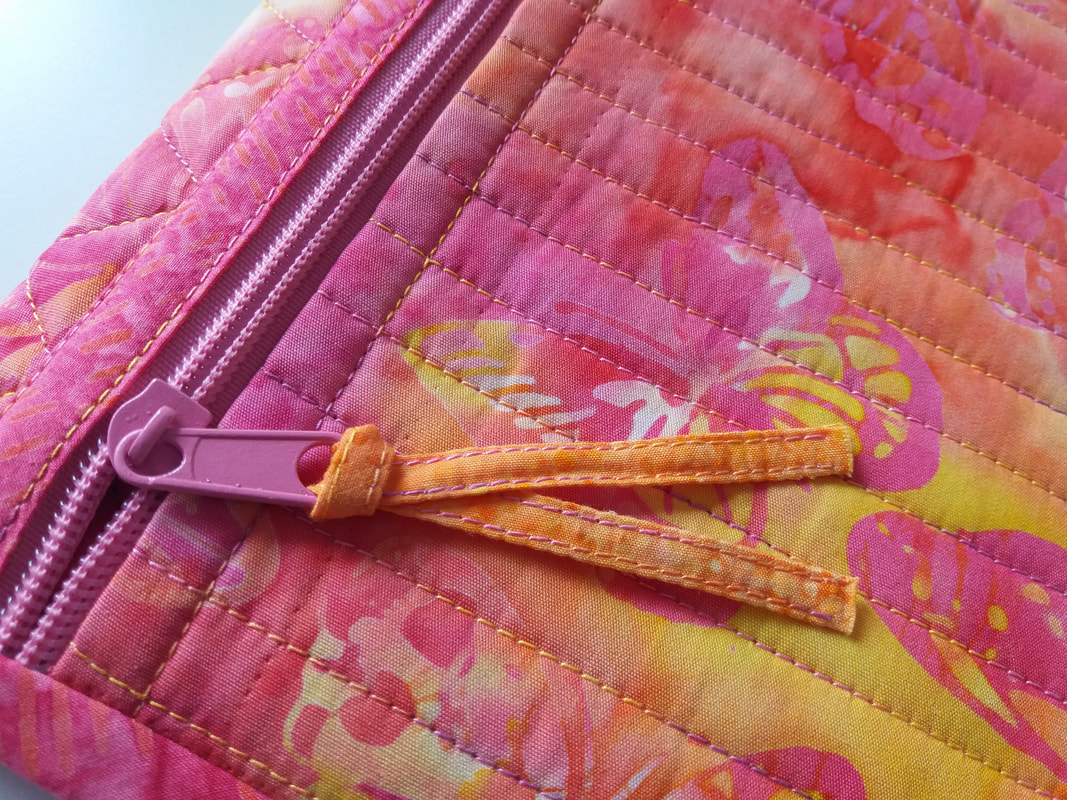
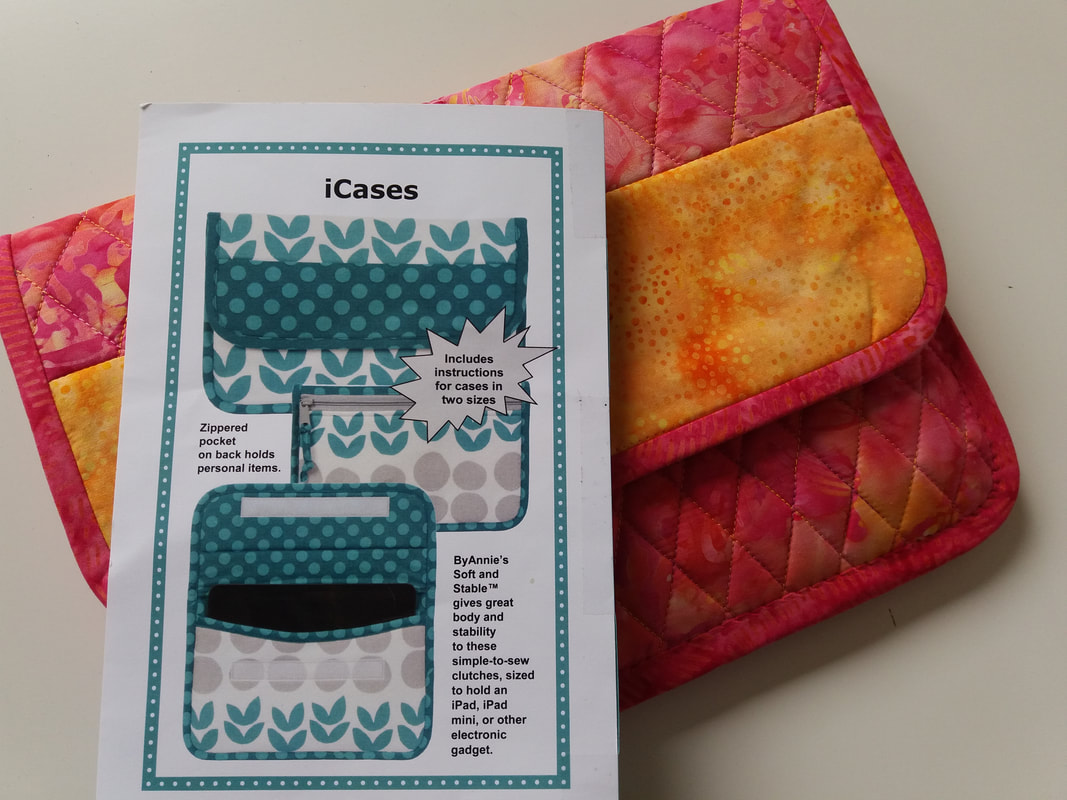
I'd promised a friend a case for her iPad and decided to use these bright hot colours of pink and orange. I love using batiks and this King Tut thread worked perfectly with the colours I'd chosen. Sometimes simple straight lines of machine quilting really is all you need!.. ...I've used a piece of continuous zipper from Zipper Station - I deliberated for ages over the colour but I'm so glad I chose this bright pink as it works well with the orange tab that I made to go on the slider. The main body of the case has been made with ByAnnie Soft and Stable wadding... ...and here's the completed case, all ready for my friend to take on holiday with her!
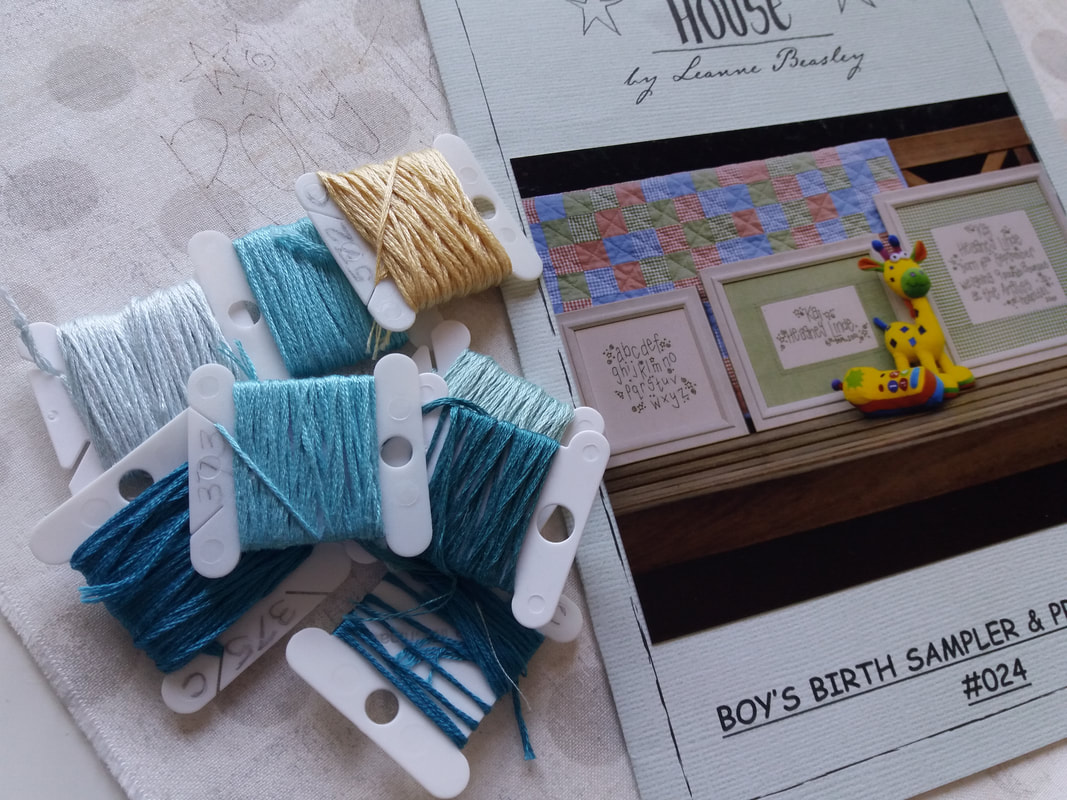
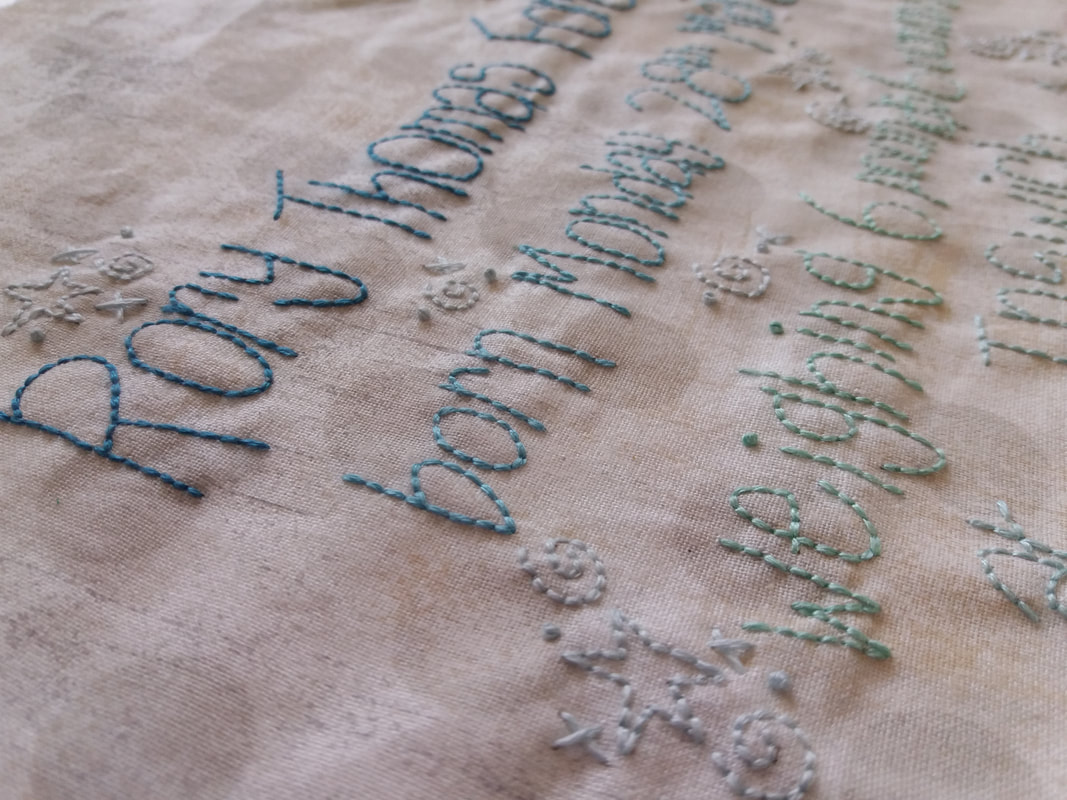
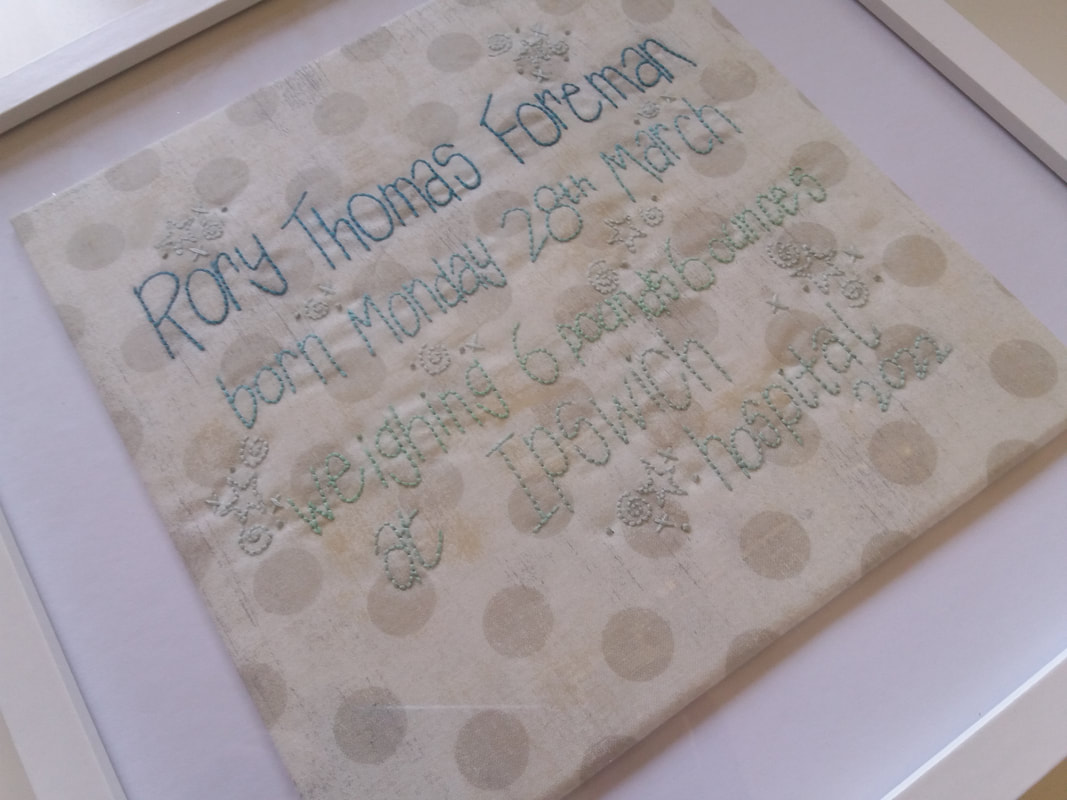
A few weeks ago my eldest daughter gave birth to a beautiful baby boy and I have been making a few handmade goodies for him. This pattern, Baby Boy Birth Sampler is by the Australian designer Leanne Beasley, and is perfect for a new baby. I used a piece of Moda Grunge Spot for the background fabric and picked out some of these gorgeous Cosmo stranded embroidery threads. The main pattern is traceable, and includes alphabets to enable the sampler to be personalised. I drafted the details of my grandson's name, date of birth and weight onto a piece of paper, then traced it onto the background fabric with a fine Micron Pigma pen. Using 3 strands of the embroidery threads, I stitched over the letters using a simple backstitch... ...once the embroidery was completed, the fabric was pressed and wrapped around a piece of stiff card which had already been covered with a piece of wadding. This has then been framed very simply (I purchased this one from Hobbycraft) and is now ready to put on display in Rory's nursery.
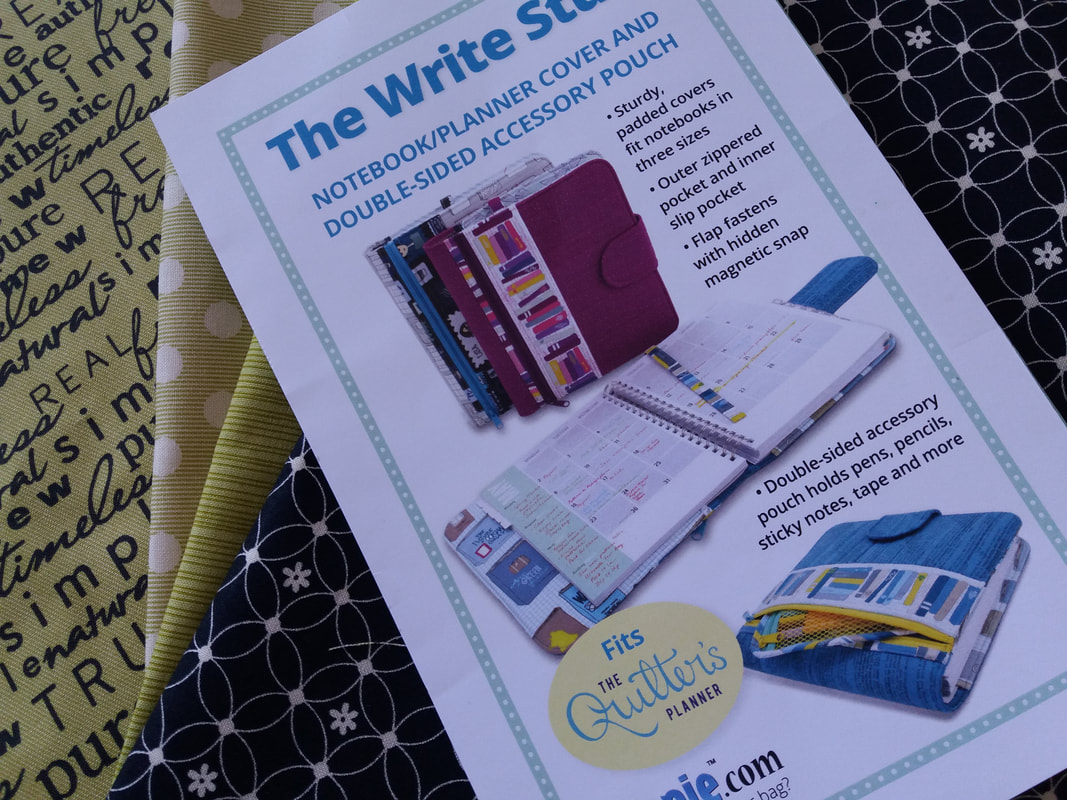
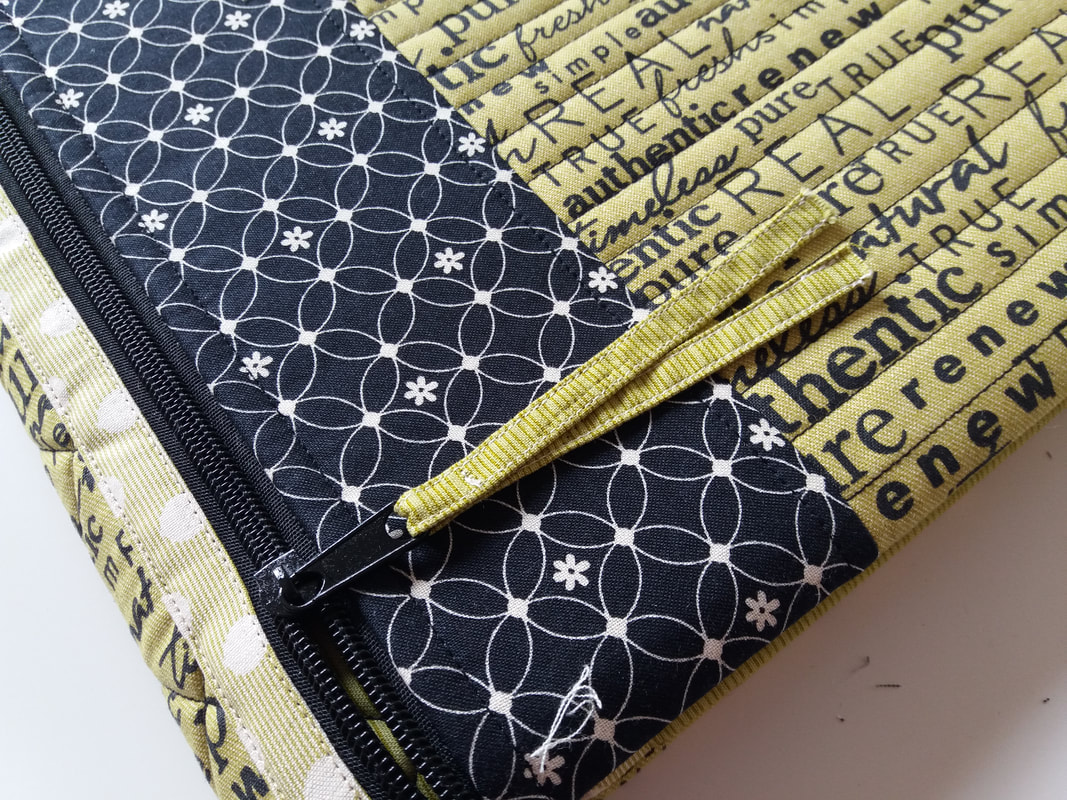
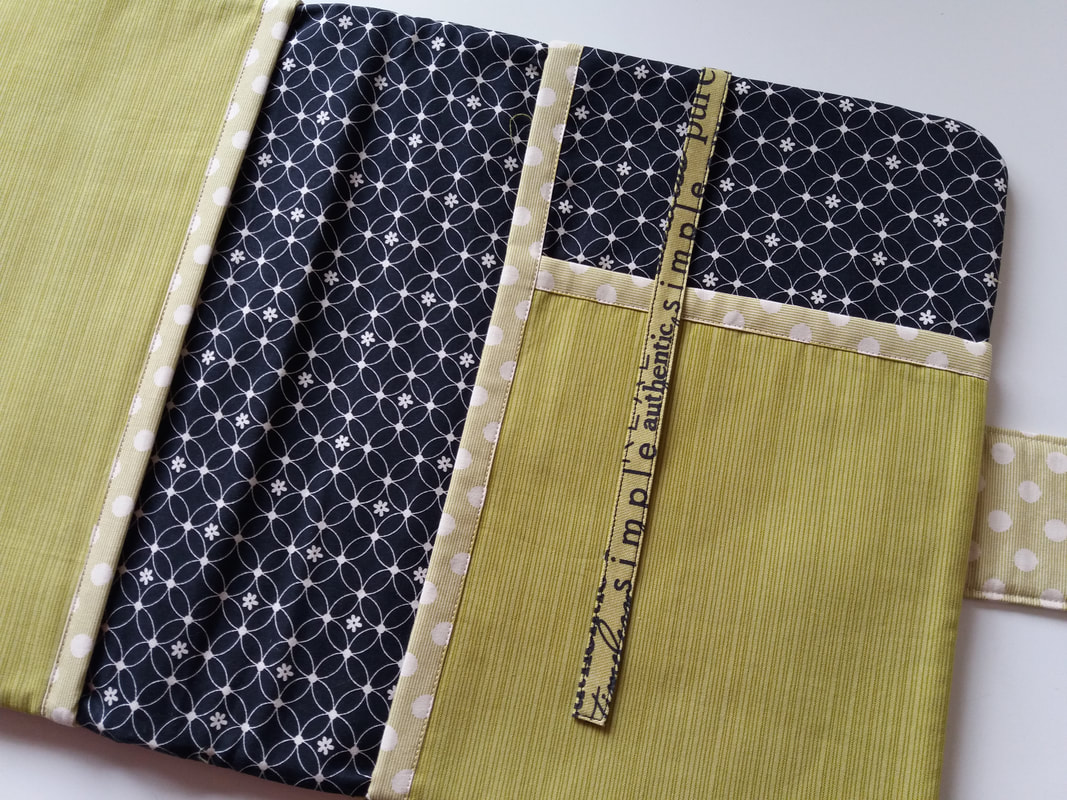
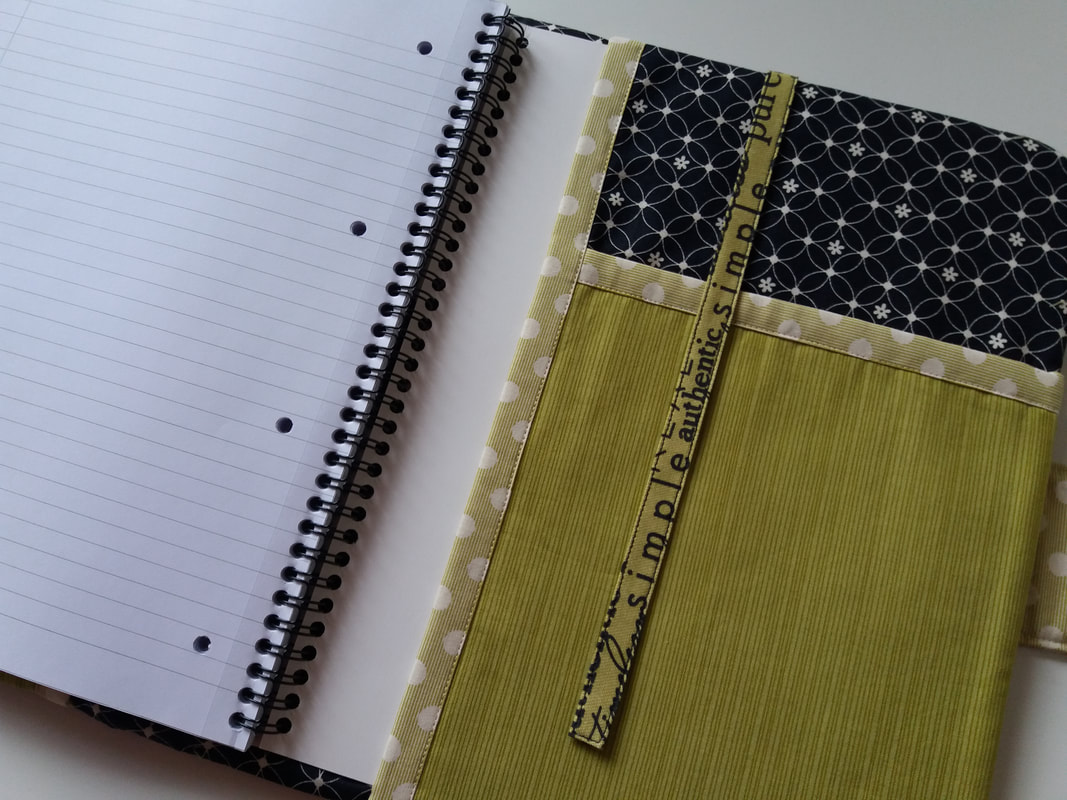
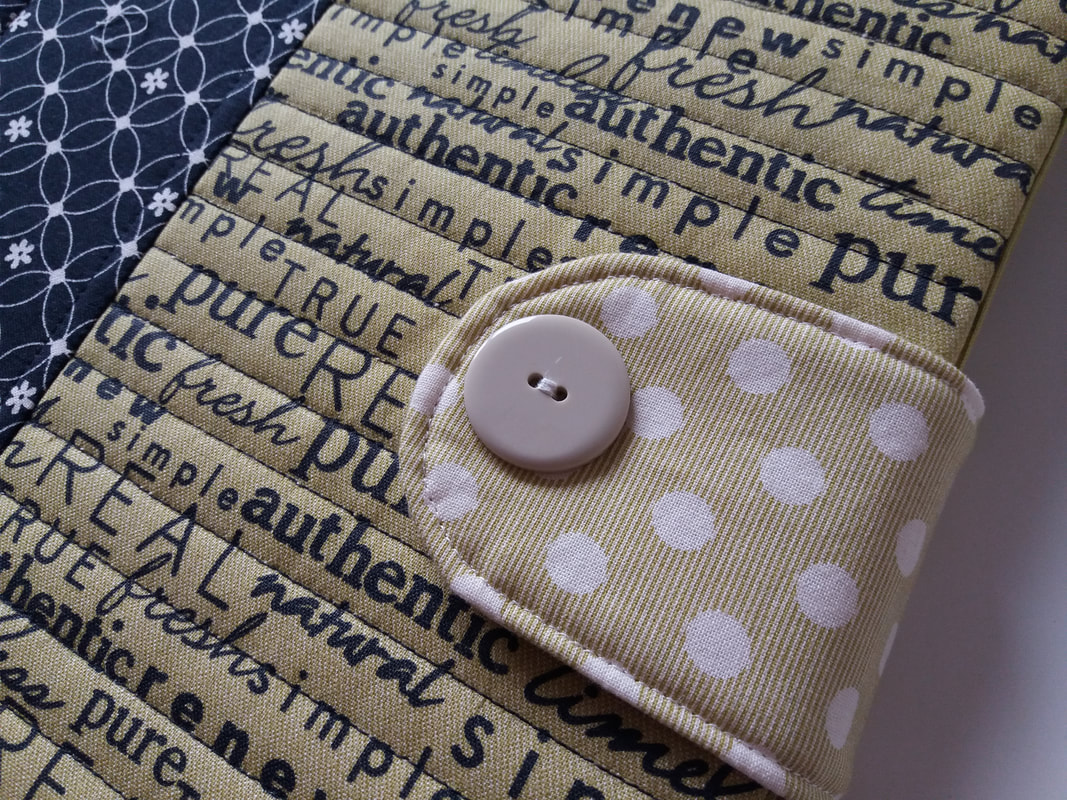
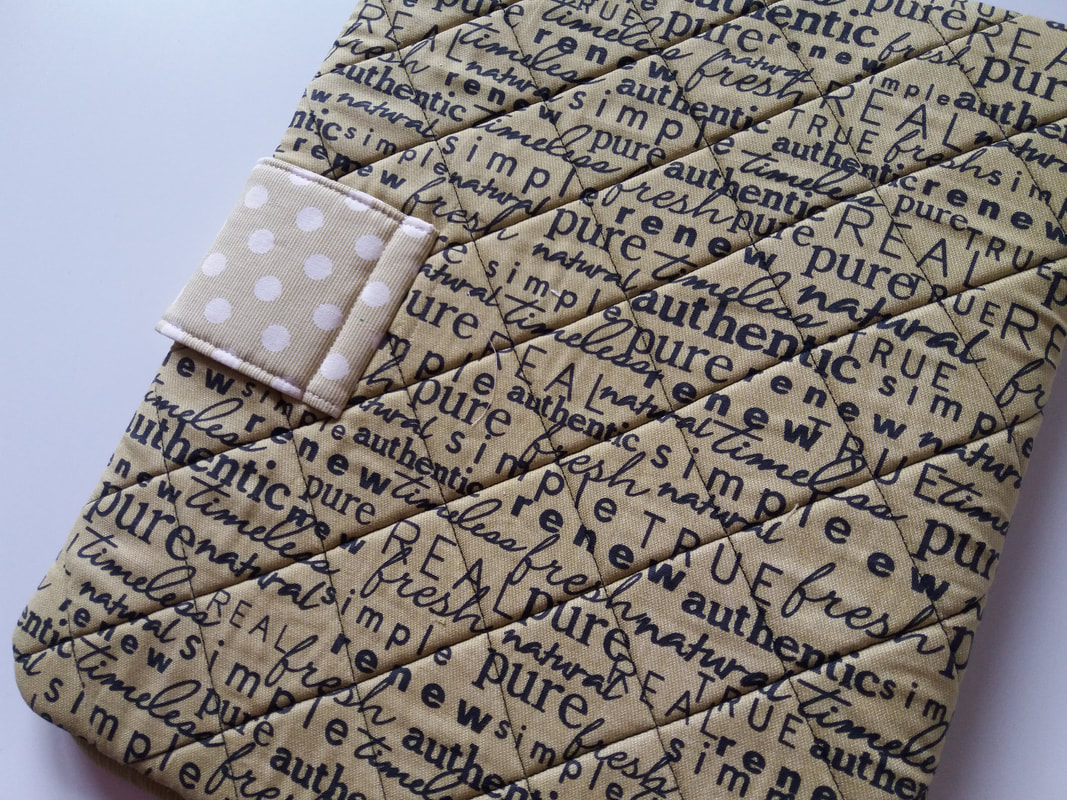
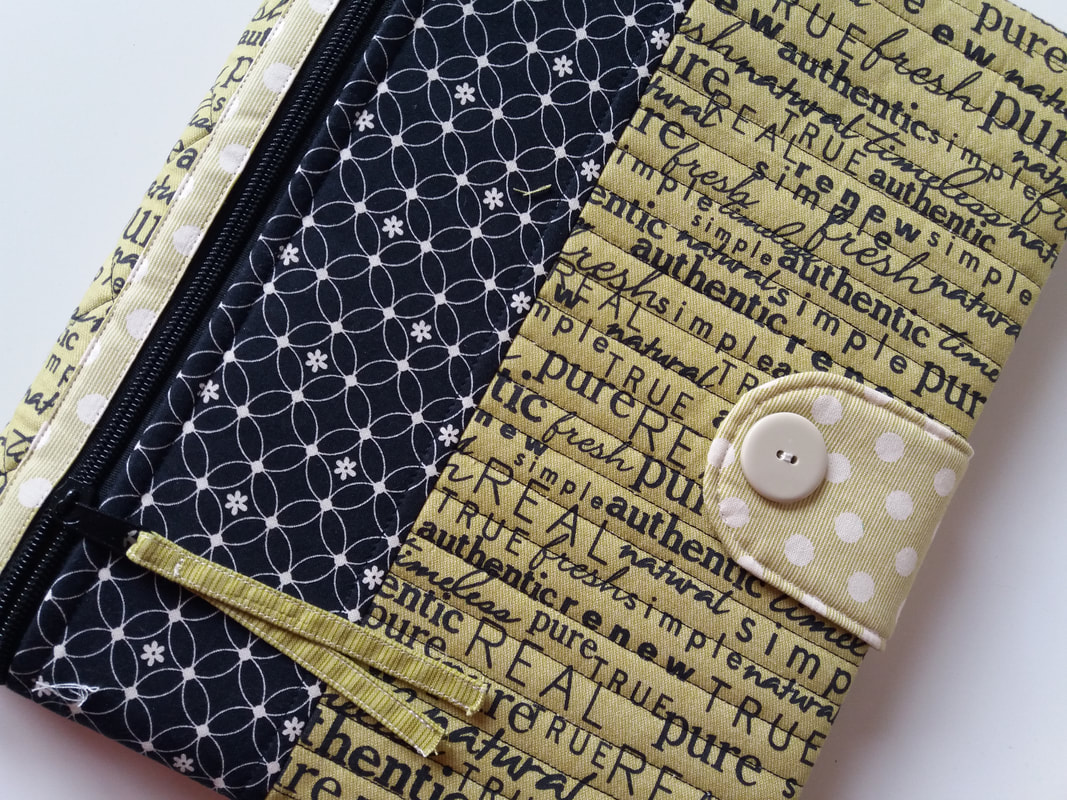
I'd bought these fabrics from the Authentic collection by Sweetwater for Moda, about 12 years ago. Goodness only knows what I'd originally planned to make with them, but they were perfect for teaming up with The Write Stuff pattern. I'm a huge fan of ByAnnie patterns, and this one is easily adapted to fit journals of other sizes - although the pattern has instructions for 3 different sizes, the ones we have here in the UK are different to ones from the US. This folder was adapted to hold an A4 notepad. There's a large zippered, quilted pocket on the front of the cover. I used ByAnnie Soft and Stable for the main body of the folder, but substituted it for a piece of Pellon H630 for the front pocket to eliminate bulk. The front pocket was layered and quilted very simply in straight rows, using the edge of the walking foot as a guide... ...inside the folder there are pockets for slipping a journal inside and also for storing other documents. There's also a bookmark attached to the lining... ...I used sew-in magnets on the flap closure, and added a large vintage button on the top of the flap to cover the stitches. As you can see from the pictur below, teh main body of the folder was machine quilted in a simple cross hatch design. I'd marked the pattern out with a Clover Hera marker in a grid of 1.5" squares... ...and here's the completed journal cover. I'm really pleased with how this one turned out - itwa sinitially going to be a gift, but I'm deliberating over whether to keep it for myself!
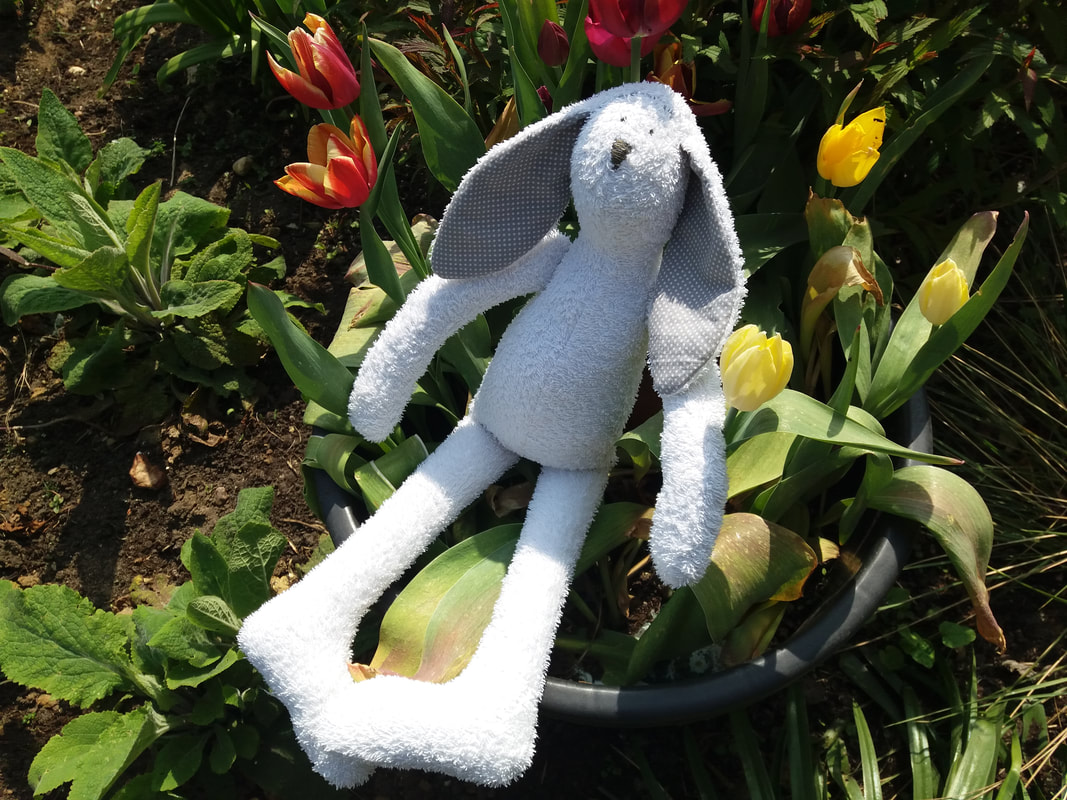
This bunny pattern is from the book Crafting Springtime Gifts by Tone Finanger. We had a very important little gentleman visit us yesterday. As he was too young for an Easter egg, I'd made him a special bunny, using an old towel that belonged to his great-grandma. When I cleared my mum's house a couple of years ago, after she'd passed away, I'd used a few of her towels to wrap some vases in while I was packing up her possessions. I'd kept this towel for sentimental reasons really, and it was perfect for making this. My mum had 4 daughters and 3 granddaughters so would've been thrilled to bits with her great-grandson.
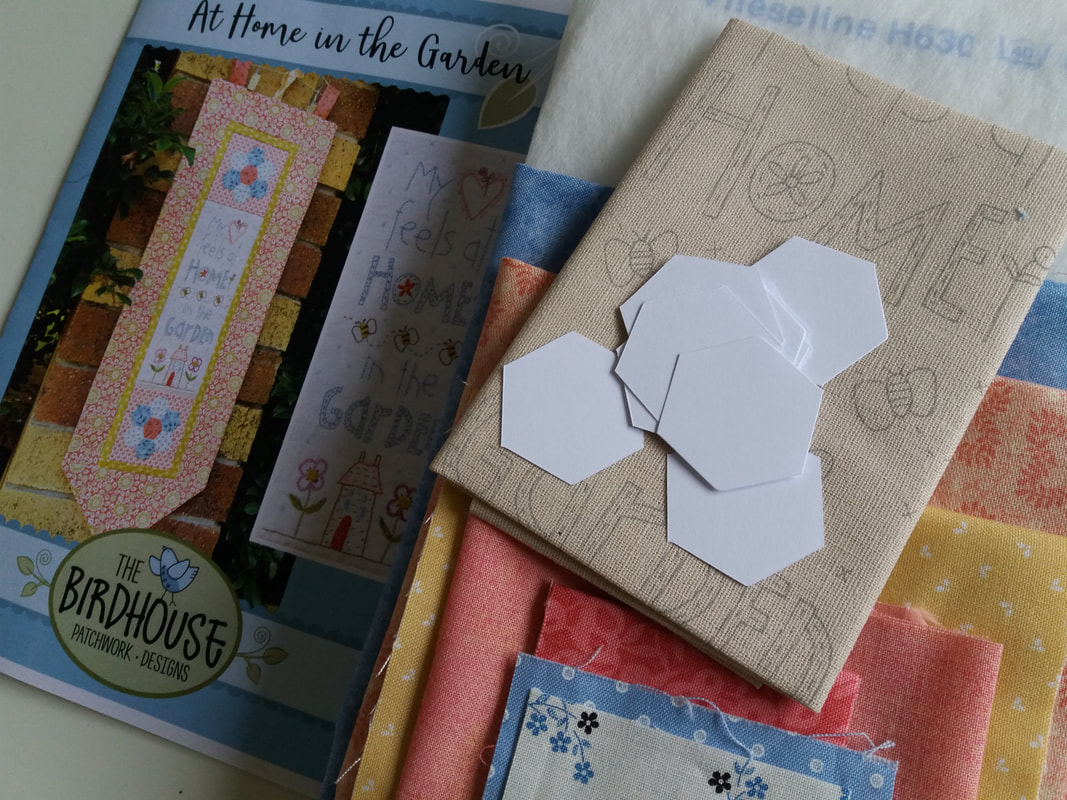
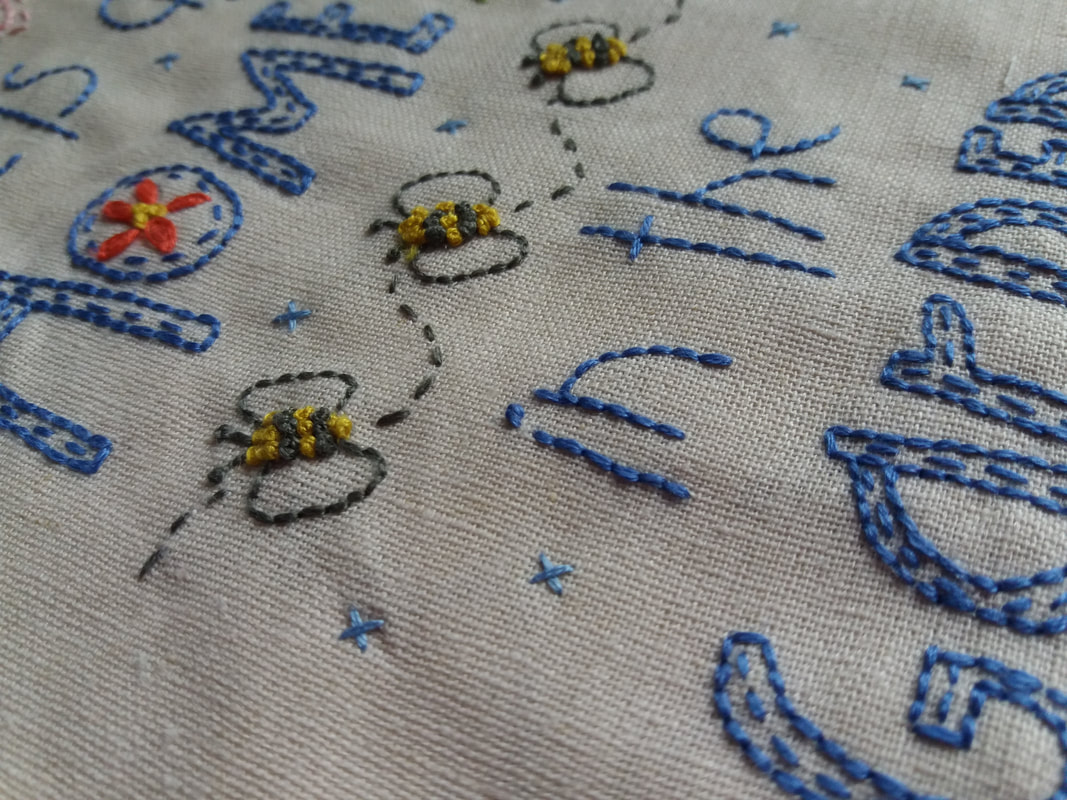
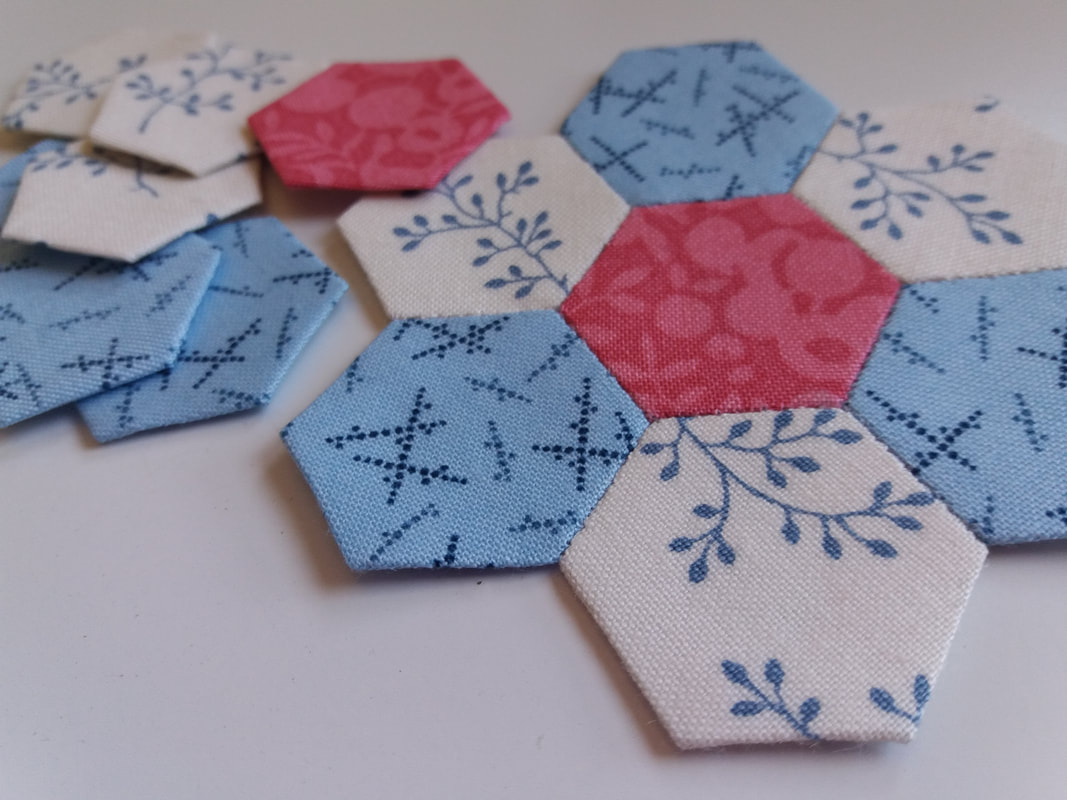
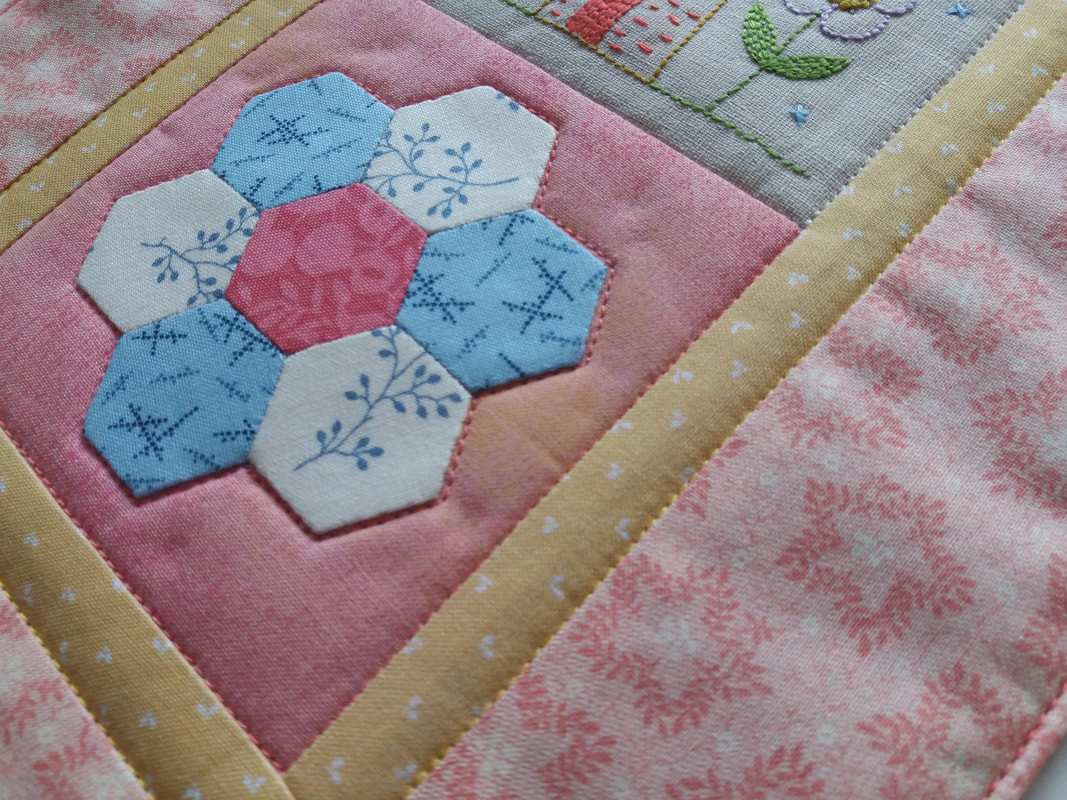
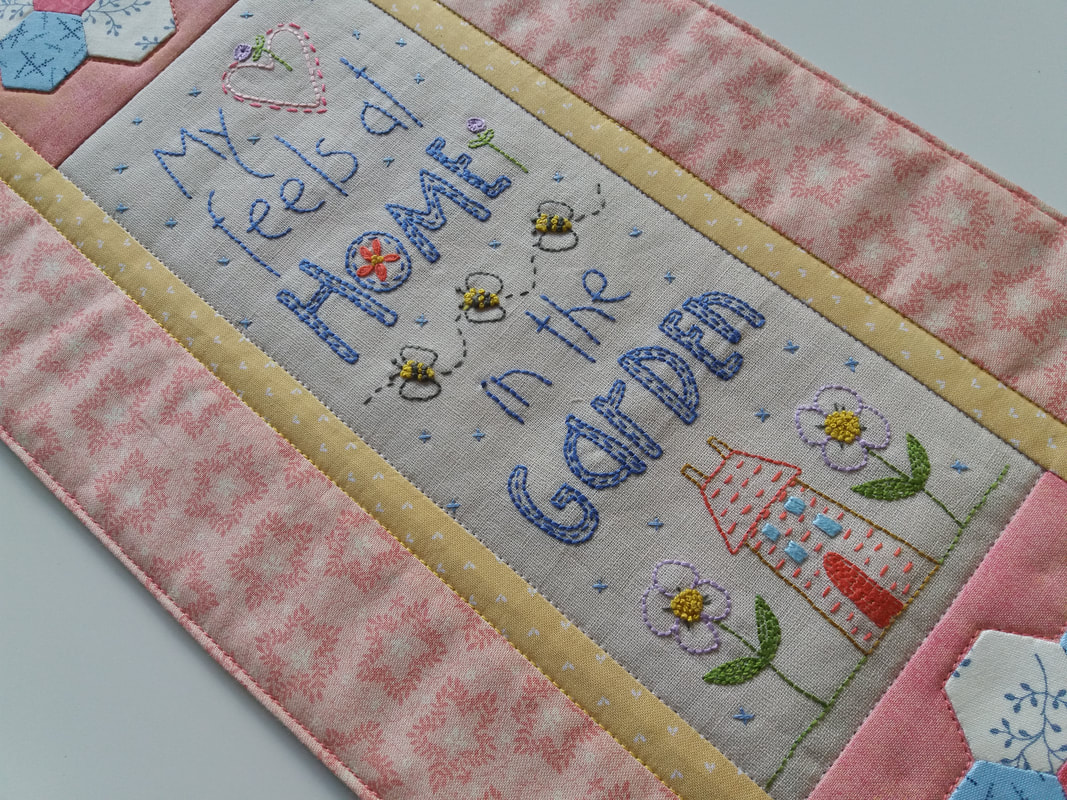
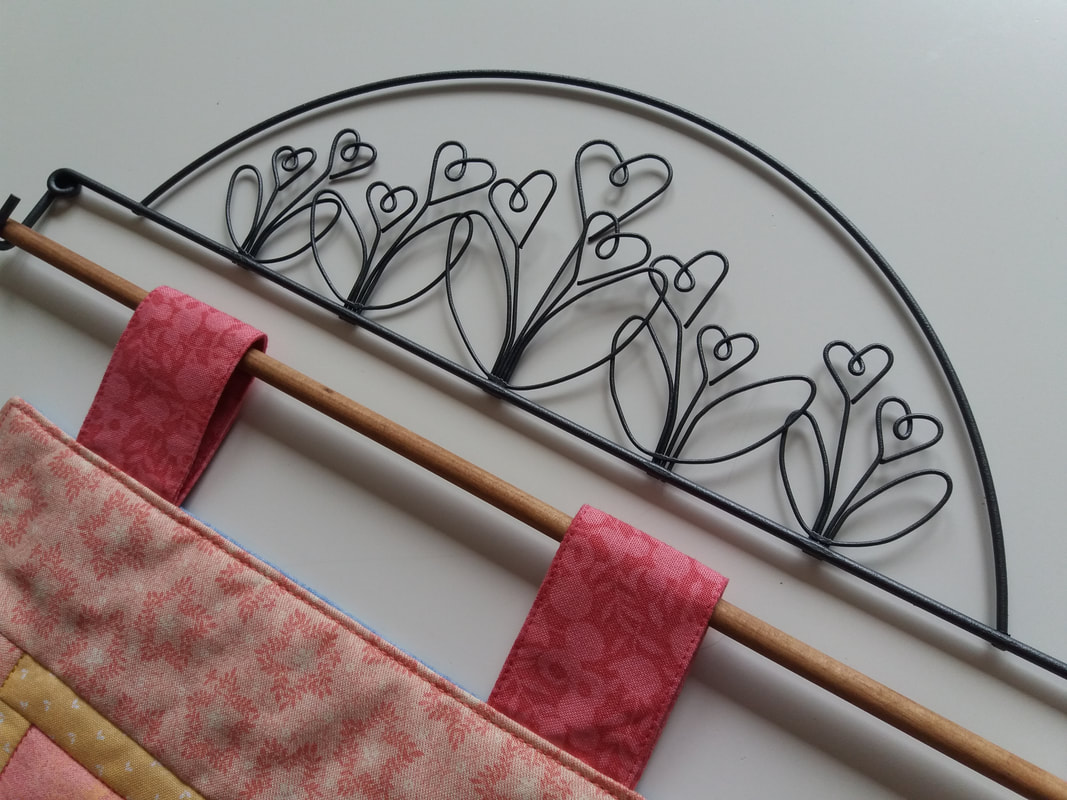
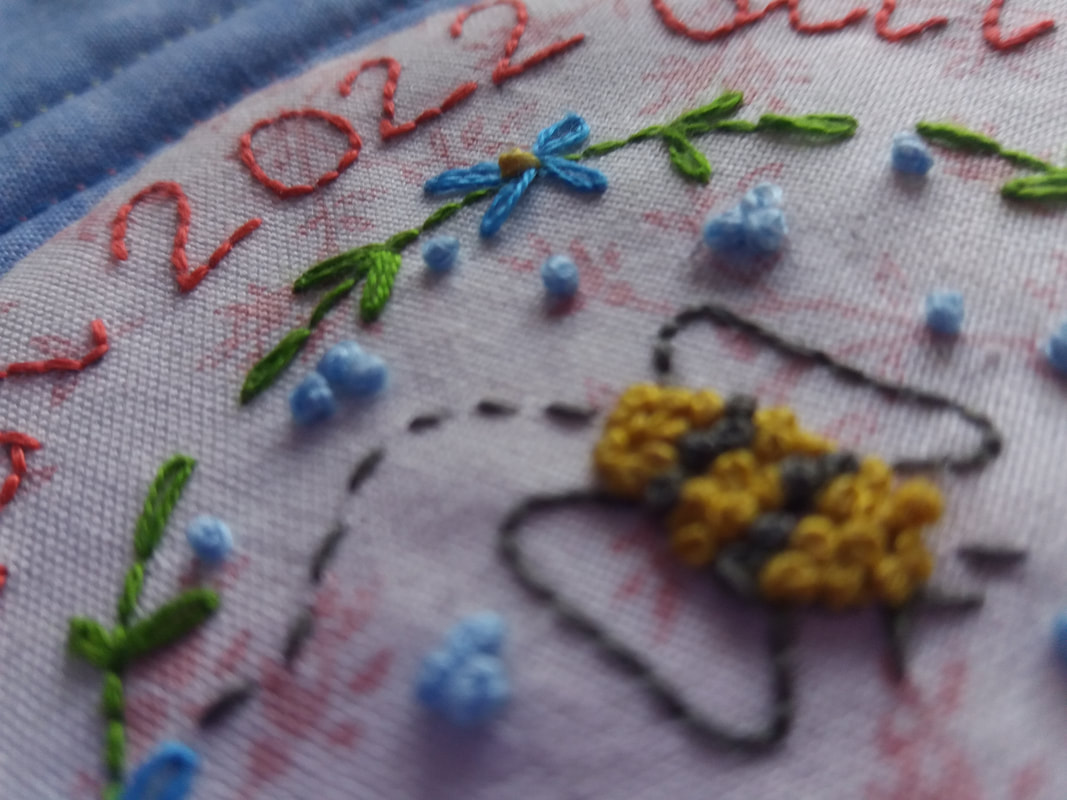
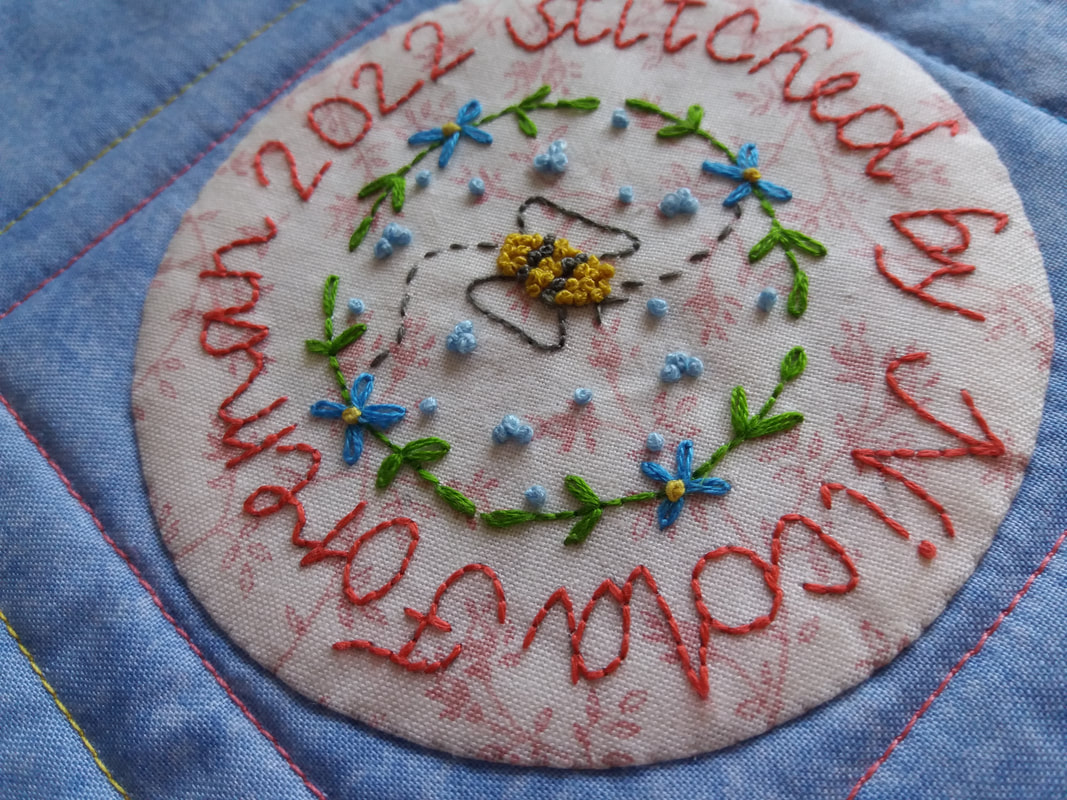
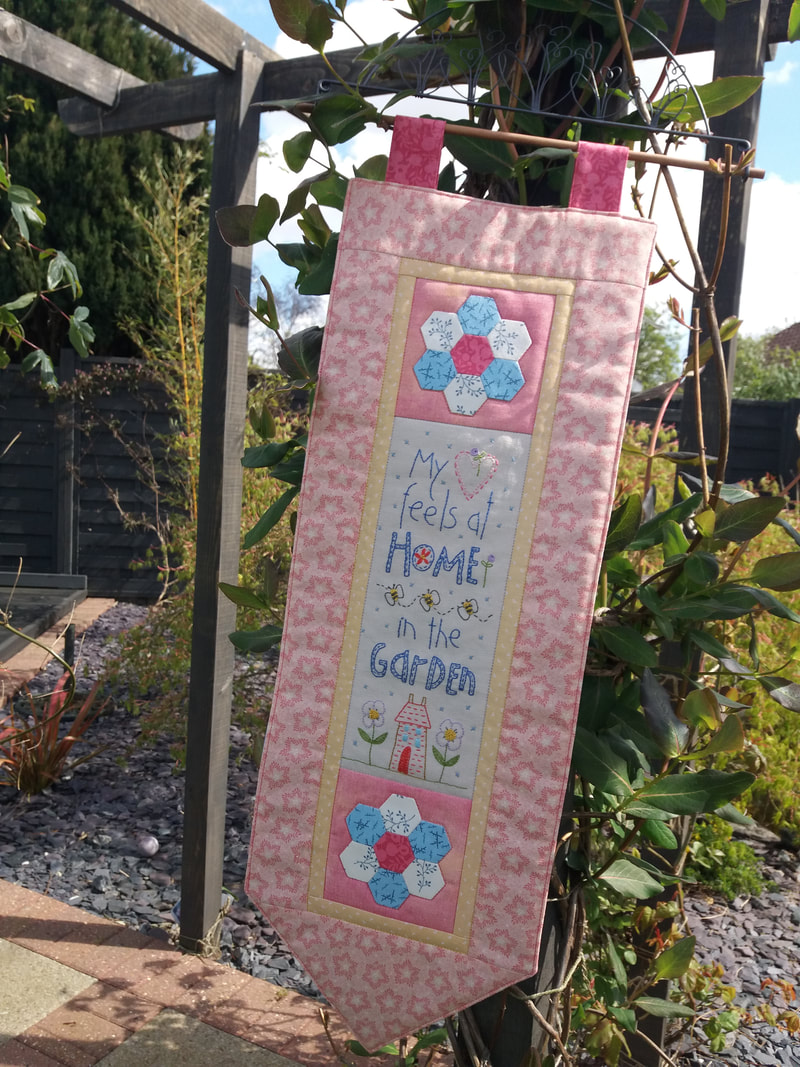
A few weeks ago, another Poppy Patch Posse project arrived in the post from Poppy Patch. I'd chosen a sweet kit called At Home in the Garden, which is designed by the Australian designer Natalie Bird of The Birdhouse Patchwork Designs. This small wall hanging is made with a combination of hand embroidery and English Paper Piecing. As well as a traceable stitchery design, the pattern also includes a pre-printed panel which I've hand embroidered with a selection of Cosmo embroidery threads. Simple stitches are used, including back stitch, lazy daisy stitch, running stitch, satin stitch and a few French knots - although I've used colonial knots as I find them easier. Pre-cut 5/8" hexie templates were included in the kit. Once these templates were covered with fabric they were stitched together using a fine thread - my favourite is Aurifil 80wt in a mid grey shade... ...two completed hexie flowers were hand appliqued onto a square of background fabric, again using Aurifil 80wt thread. These blocks were machine stitched to each end of the stichery panel and both inner and outer borders were added. Two fabric tabs were added to the top of the completed front. The front of the wallhanging was layered with a thin piece of fusible waddng. The backing fabric was added on top, right sides together, and was stitched all the way around, leaving a small gap for turning through to the right side. The opening was closed by hand (I prefer ladder stitch for this) then it was pressed ready for quilting. I chose a selection of threads from Aurifil Superior Threads and Mettler for machine quilting this sweet wallhanging, in colours to match the fabrics. I machine quilted this very simply around the embroidered panel, around the hexie flowers, and between the inner and outer borders. Finally I edge stitched all around the outside of the wallhanging... ......this decorative quilt hanger by Ackfeld Design, purchased from Coast and Country Crafts and Quilts was perfect for this garden-themed project. A slim dowel slips through the two fabric tabs at the top of the wallhanging and fits onto the front of the wire hanger. I really like to finish my hand embroidered projects with a final flourish - a sweet little hand embroidered label, with my name and the date. I simply doodled a few ideas onto a piece of paper which I then traced onto fabric and hand embroidered. These colonial knots are perfect for a fuzzy buzzy bee in the centre of the label, which was hand appliqued to the back of the wallhanging... ...obviously the perfect place for a photoshoot was in my garden! This really was a super project to make and as always the ladies at Poppy Patch have put together a lovely kit. If you'd like to make one of these too, kits and patterns are available on the Poppy Patch website.
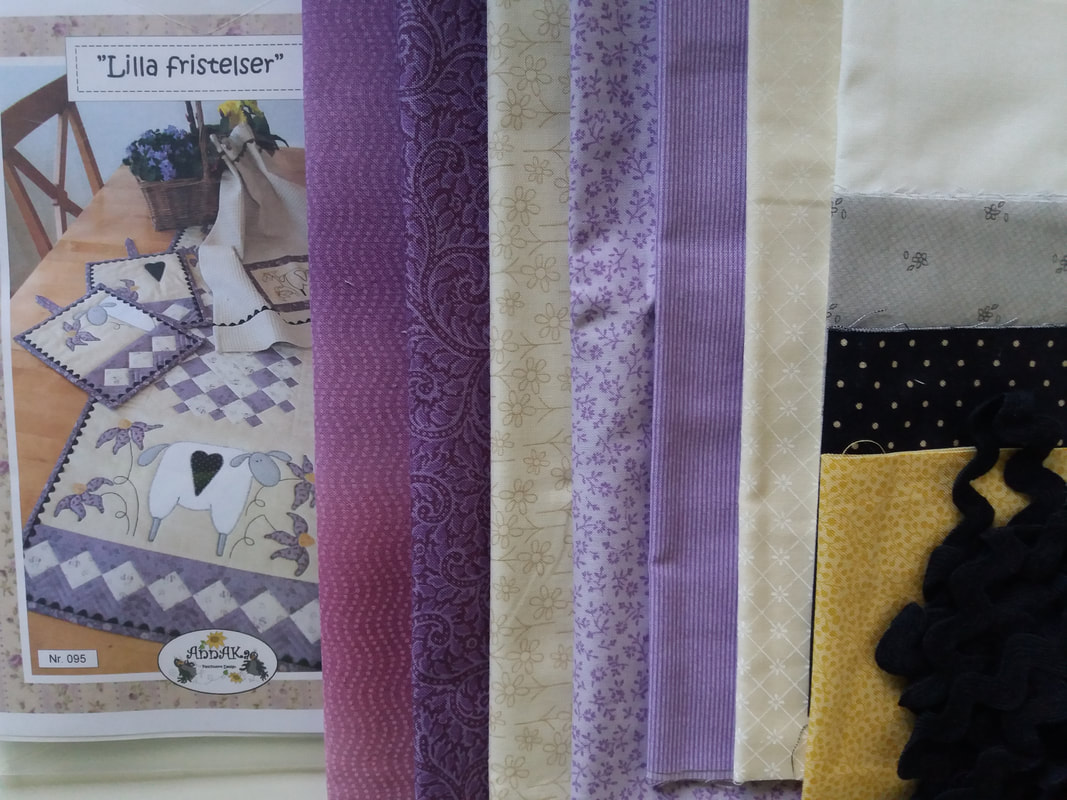
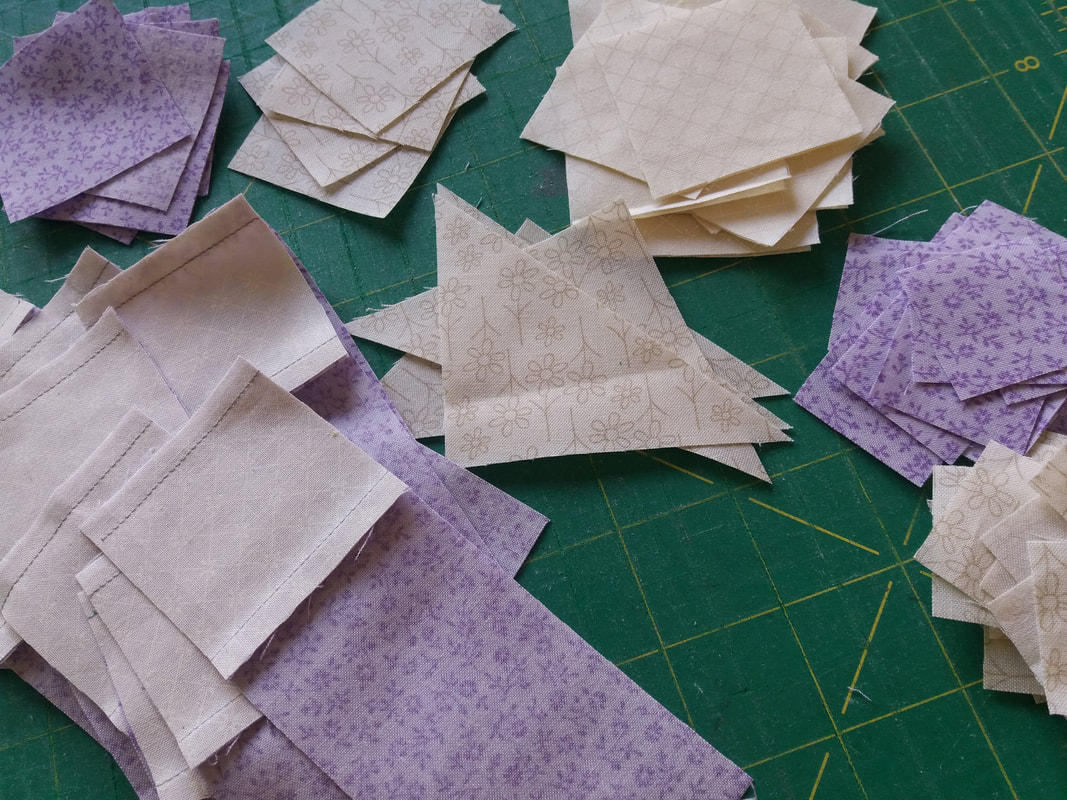
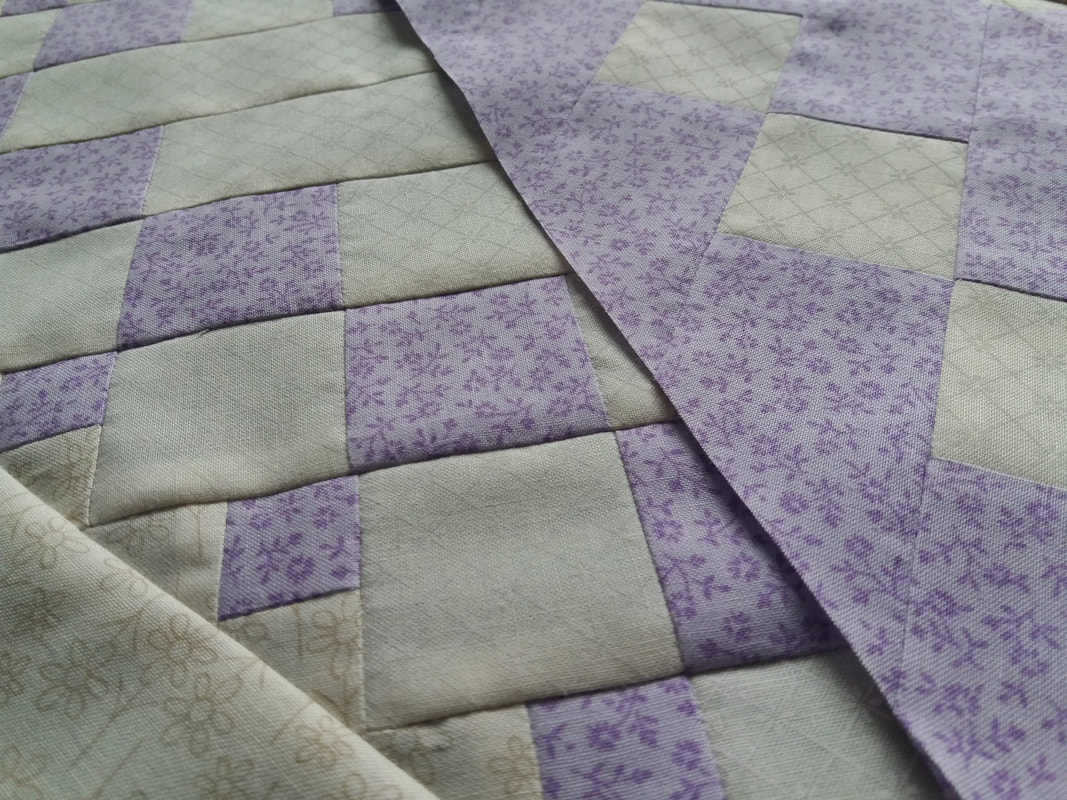
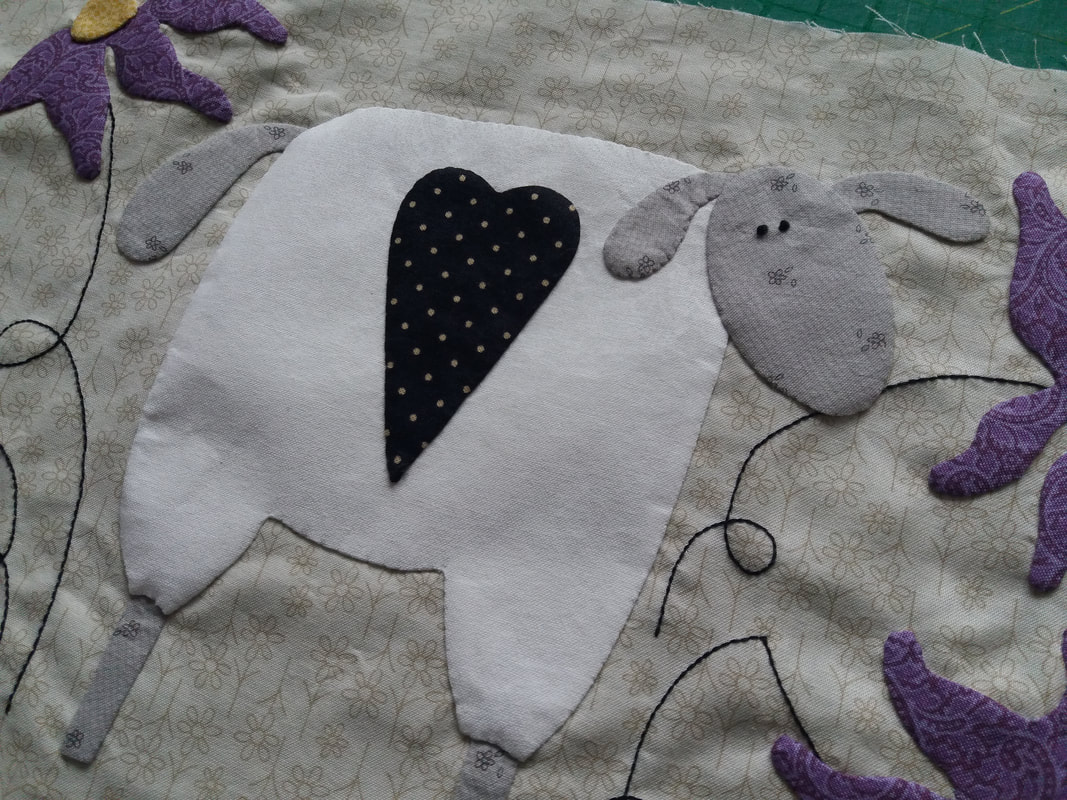
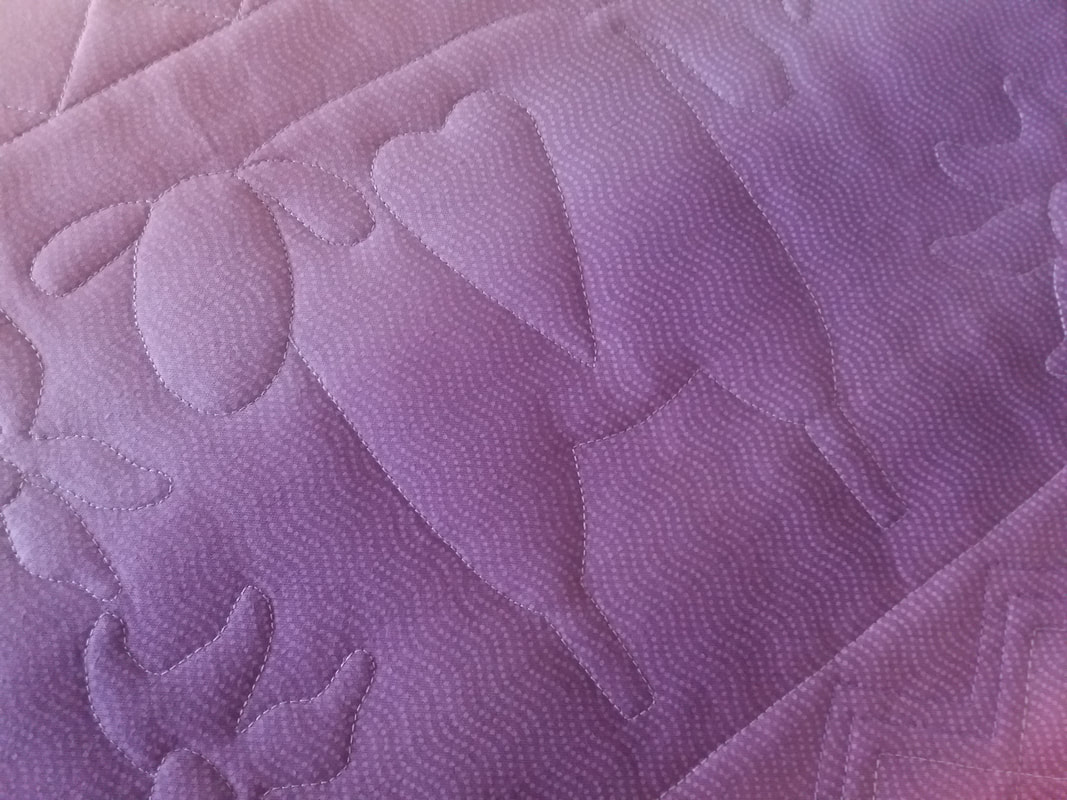
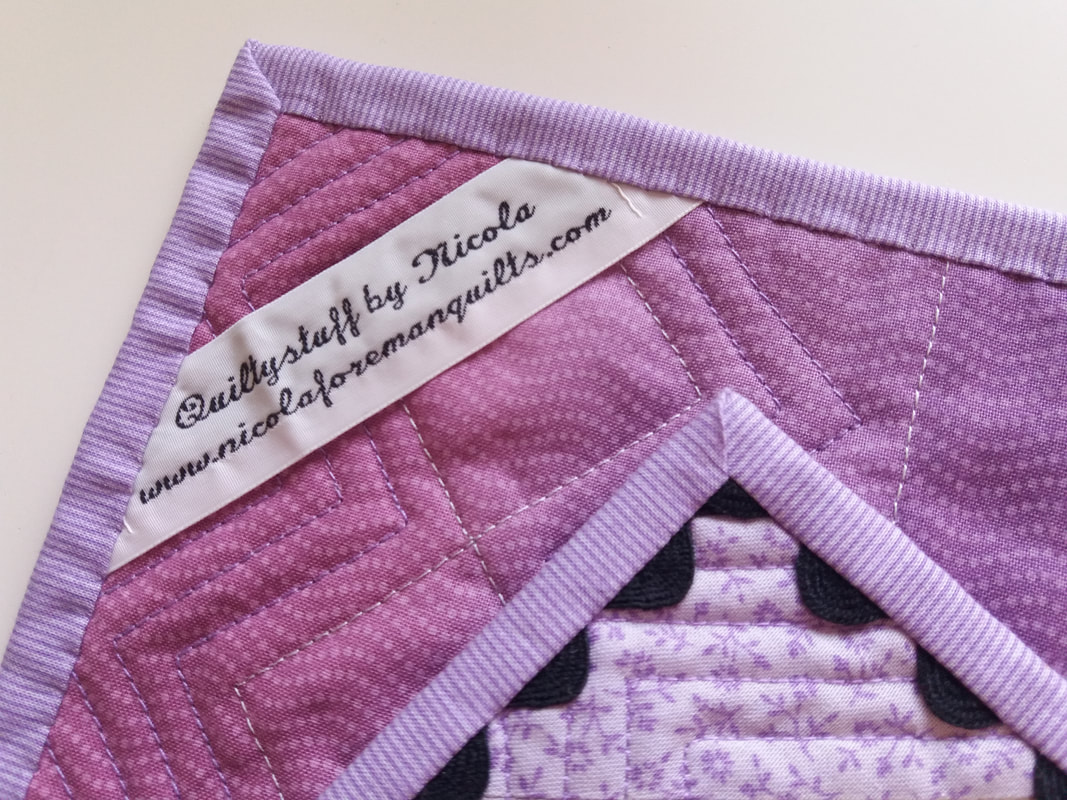
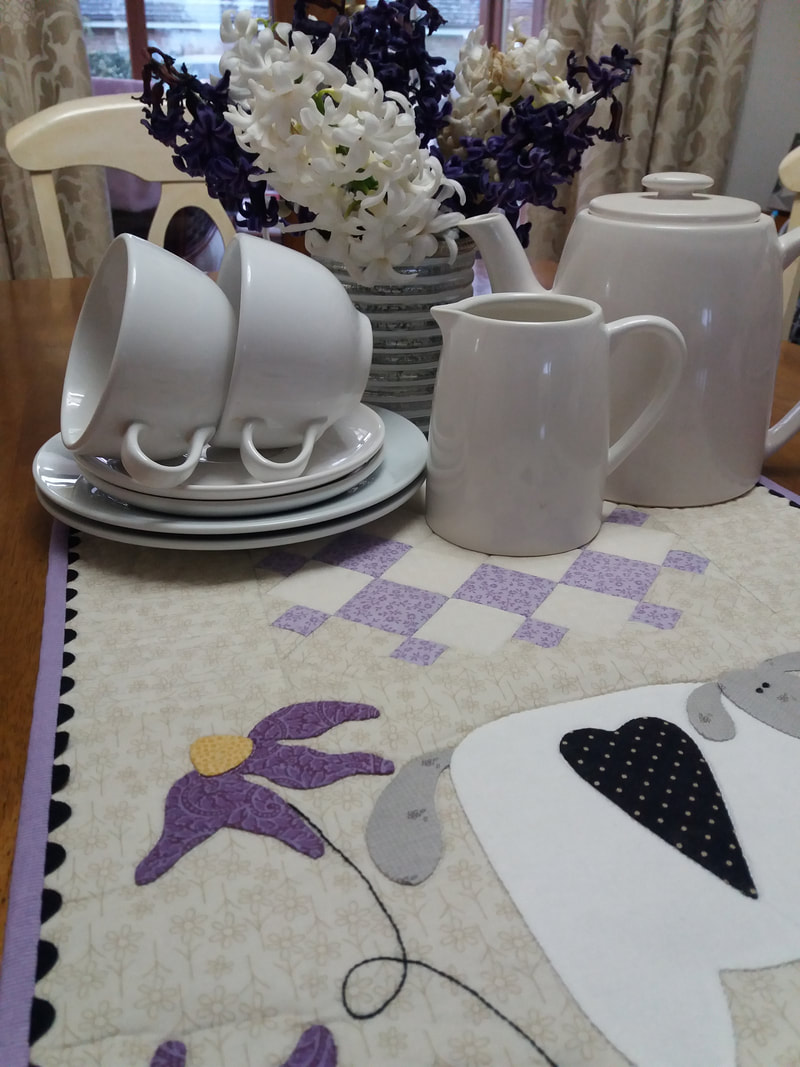
My long list of kits that I needed to complete has had to wait for a few weeks as I had some secret stitching to complete, but I was finally able to start another one! This kit, Lilla Fristeler (Purple Temptations) is by the Norwegian designer AnnAKa and was bought online form Lappedilla back in 2011. Included in this kit was the pattern, all the fabrics including those for the applique, binding and backing, and the decorative ric-rac trimming. Although I don't actually speak Norwegian, this pattern was clearly illustrated with excellent line diagrams so I was able to follow the instructions quite easily. Lots of cutting and piecing was required for the centre panel and the end panels... ...the pattern included the full size apple templates in reverse which made tracing the shapes very simple. Although the pattern suggested machine applique, I preferred hand applique using the Apliquick method. Once the shapes were traced onto applique paper, they were cut out on the traced lines, fused onto the wrong side of the fabric and the edges turned over to the back of the applique paper. These shapes were then stitched by hand using an Aurifil 80wt thread in a mid-gry shade. The flower stalks were hand embroidered using DMC embroidery thread. Using a pale silver grey Aurifil 40wt thread for free motion quilting around the sheep and flowers. I absolutely LOVE the Moda variegated fabric was is used for the backing! The centre panel and sides were machine quilted in straight lines using a walking foot. Decorative ric-rac trimming was machined in place around all 4 sides of the runner. A narrow single fold binding was used to cover the raw edges - the was machined to the front, a quarter of an inch from the edge, then folded over and stitched by hand to the back of the runner using ladder stitch in a matching thread. Finally one of my pre-printed labels was stitched to the back of the runner... ...and here's my completed runner, all ready to be used on my dining table over the Easter holidays. I'm back on track now as I'd hoped to make at least one kit per month - and this is kit number 4 - as well as a few other projects that seem to have slipped in!
|
About me...Hi - welcome to my quilting blog! My passions are my family, my dog, my friends and sewing, not necessarily in that order! Archives
July 2023
Blogs I followUK shopsThese are the UK shops that I use to purchase my quilting supplies - fabrics and threads etc.
Australian linksScandinavian links |



 RSS Feed

