|
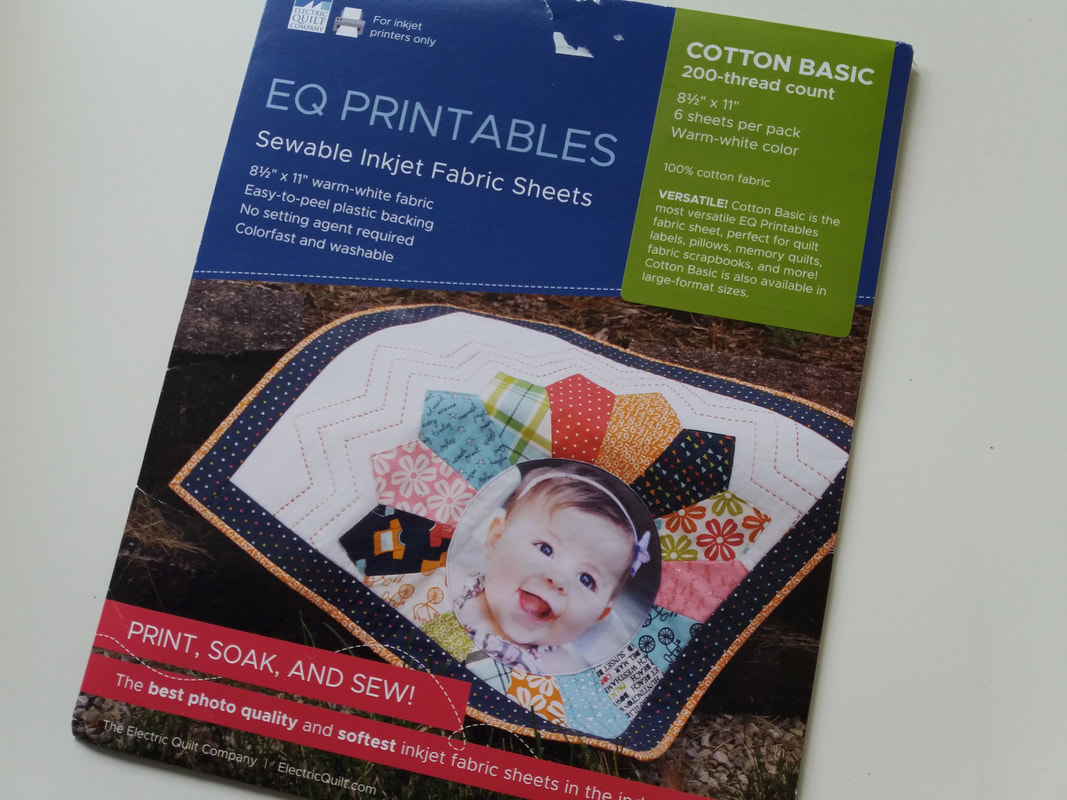
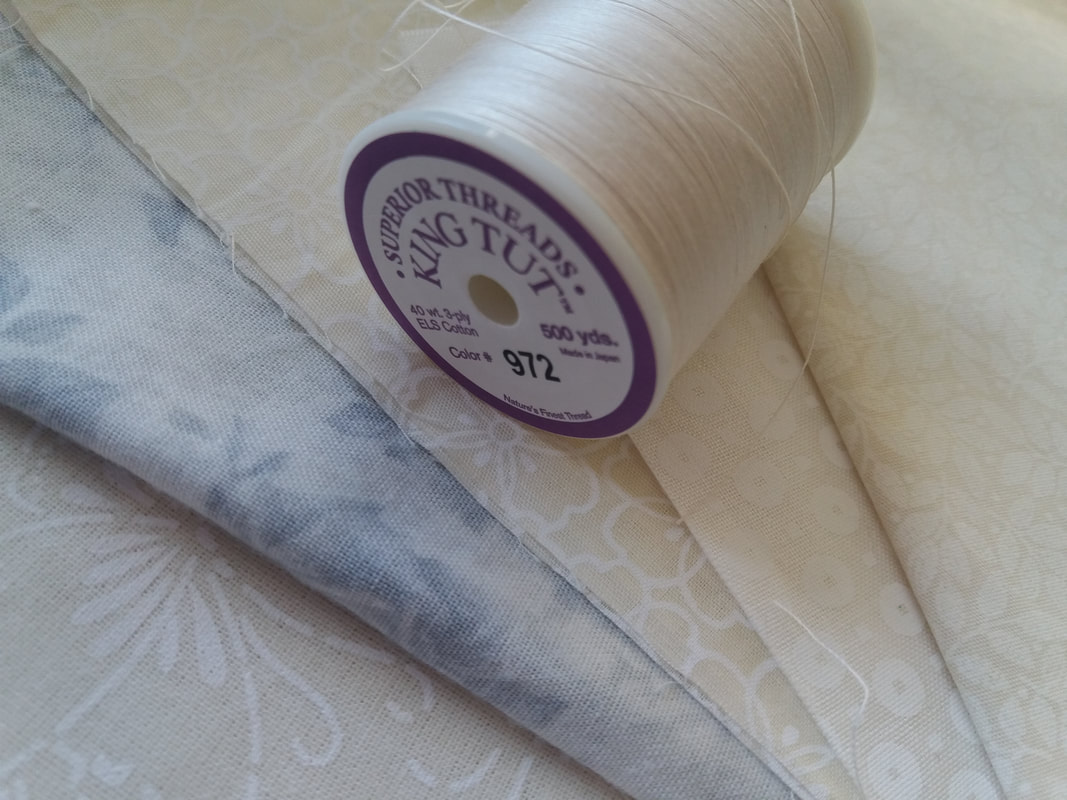
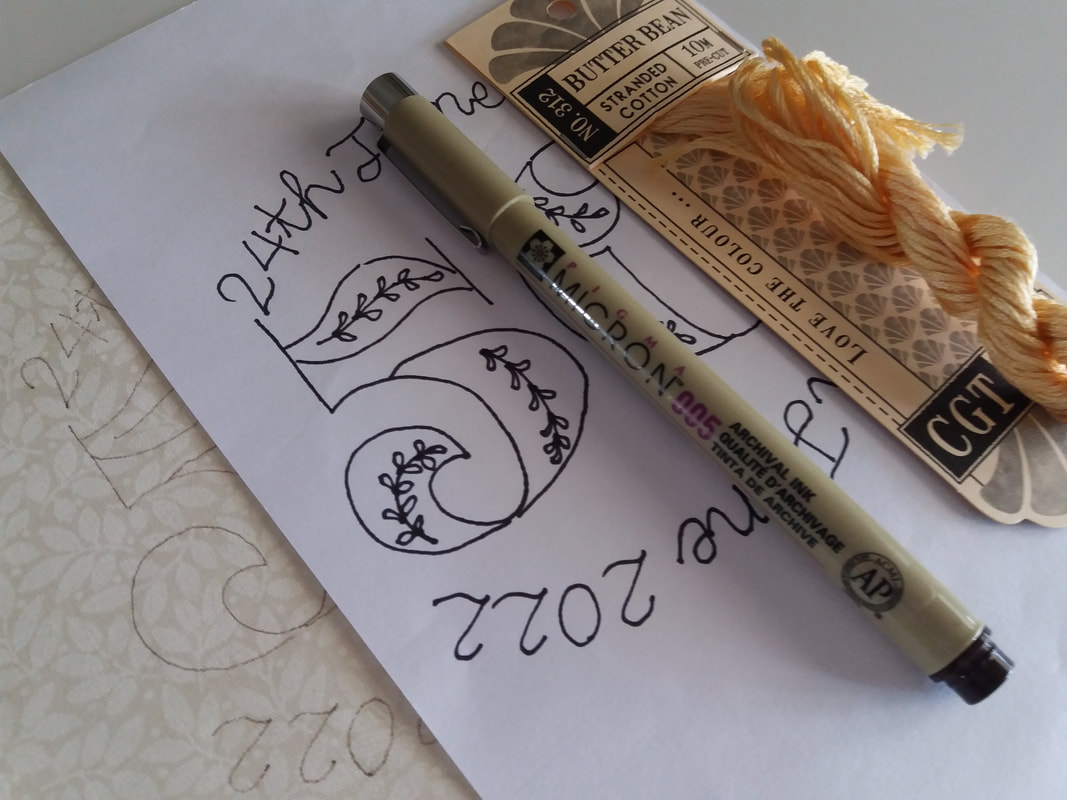
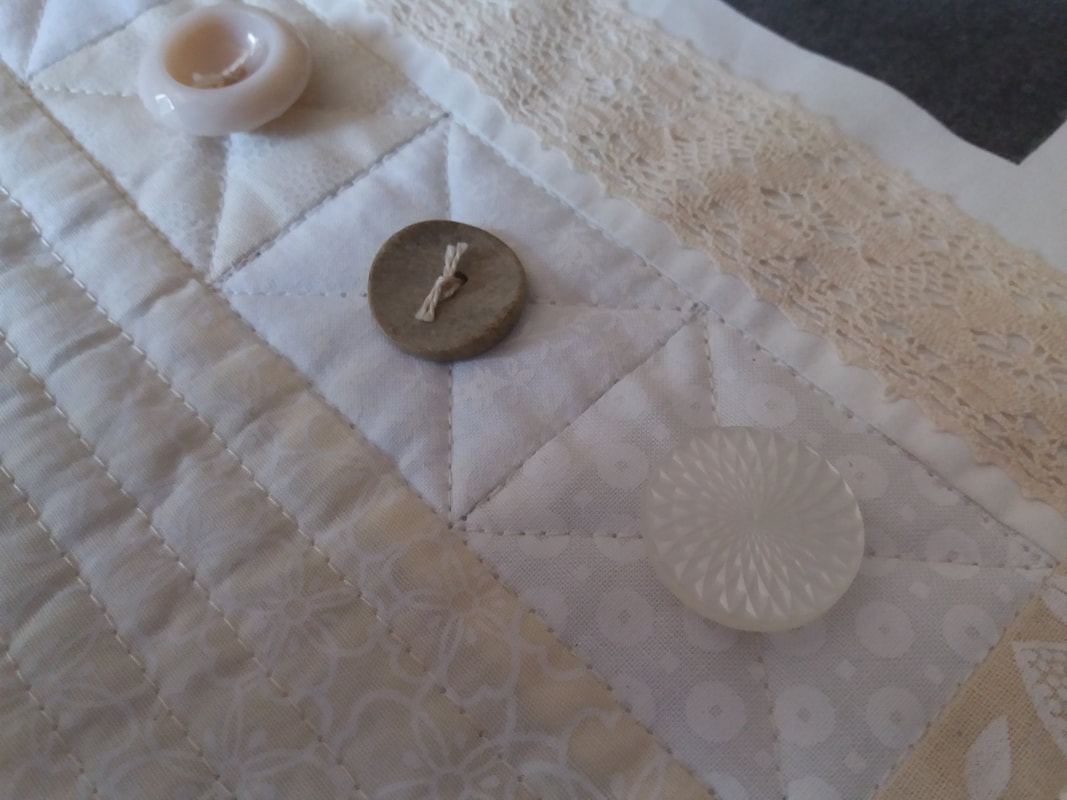
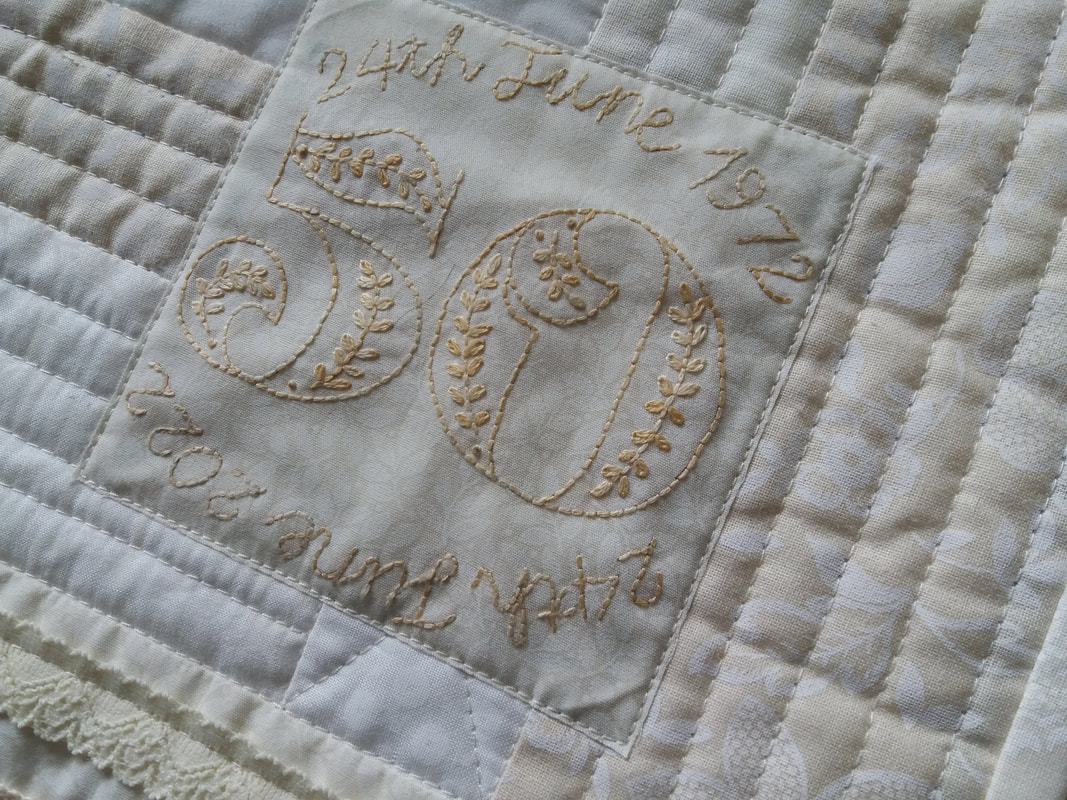
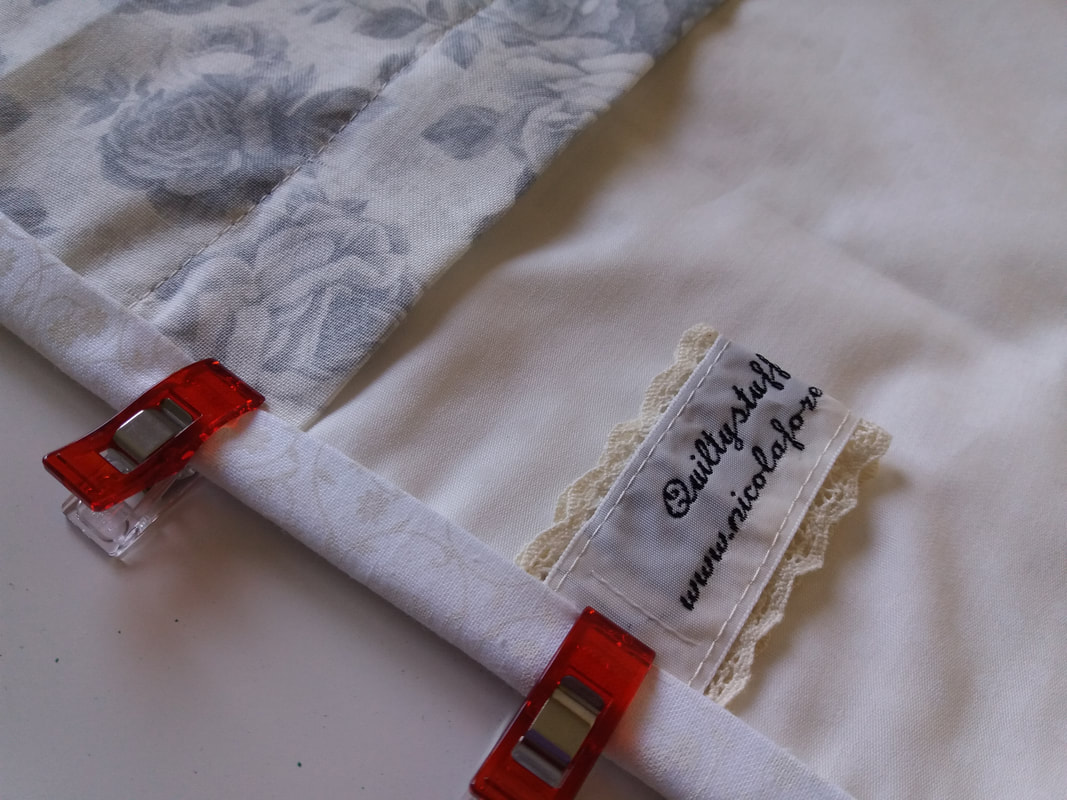
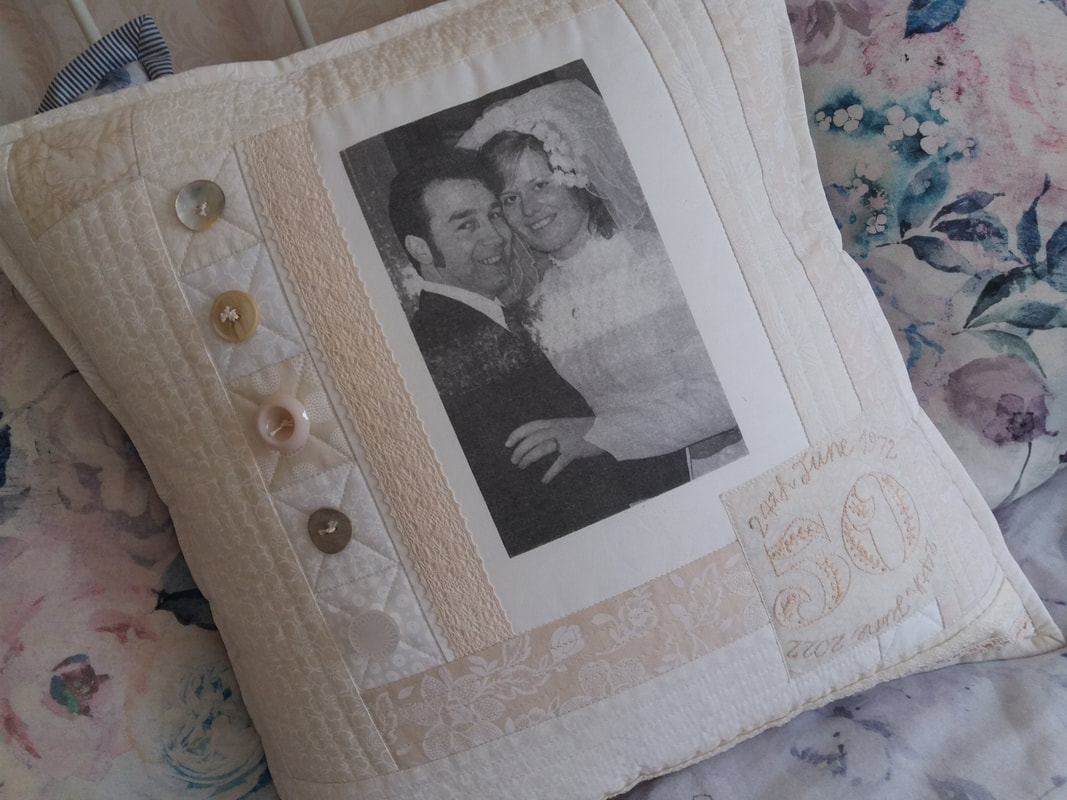
A few months ago, a very special friend commissioned me to make a cushion for her sister-in-law's 50th wedding anniversary. She emailed me a wedding photograph, which was then printed out onto a sheet of EQ Printables - all the instructions are on the packet - which I purchased online from Cotton Patch here in the UK. I haven't made one of these "photo" cushions for ages, and I'd forgotten how much fun it was to delve into my box of cream and white fabrics, and choose some lace trimmings and vintage buttons for embellishments. I also designed a special label to applique on the front of the cushion with the date of both the wedding and the anniversary, and included a very fancy 50. This was then traced onto a piece of fabric using a lightpad and a Micron Pigma pen, ready to be hand embroidered using a skein of Cottage Garden Thread in a golden colour... ...once I'd pieced and quilted the front of the cushion, I stitched a few vintage buttons in place along with some lace trimming (I've learnt from past experience it's much easier to stitch the buttons on at this stage rather than when the cushion is completed). The hand embroidered label was machine appliqued onto the front of the cushion, and I added some lace trimming to one of my "quiltystuff" pre-printed labels that was stitched onto the back of the cushion. Two different fabrics were used for the back, a a zipper is covered by a flap from one of the fabrics. I stitched the front and the back of the cushion wrong sides together, and used a dnarrow double fold binding to cover all the raw edges. This gives a nice "frame" to the cover... ...and here's the compled cushion, filled with a nice plump inner. This was gifted at a special celebratory party at the weekend. Apaprently my friend's sister-in-law was absolutely thrilled to bits with it! I hope she enjoys having it as much as I enjoyed making it!
1 Comment
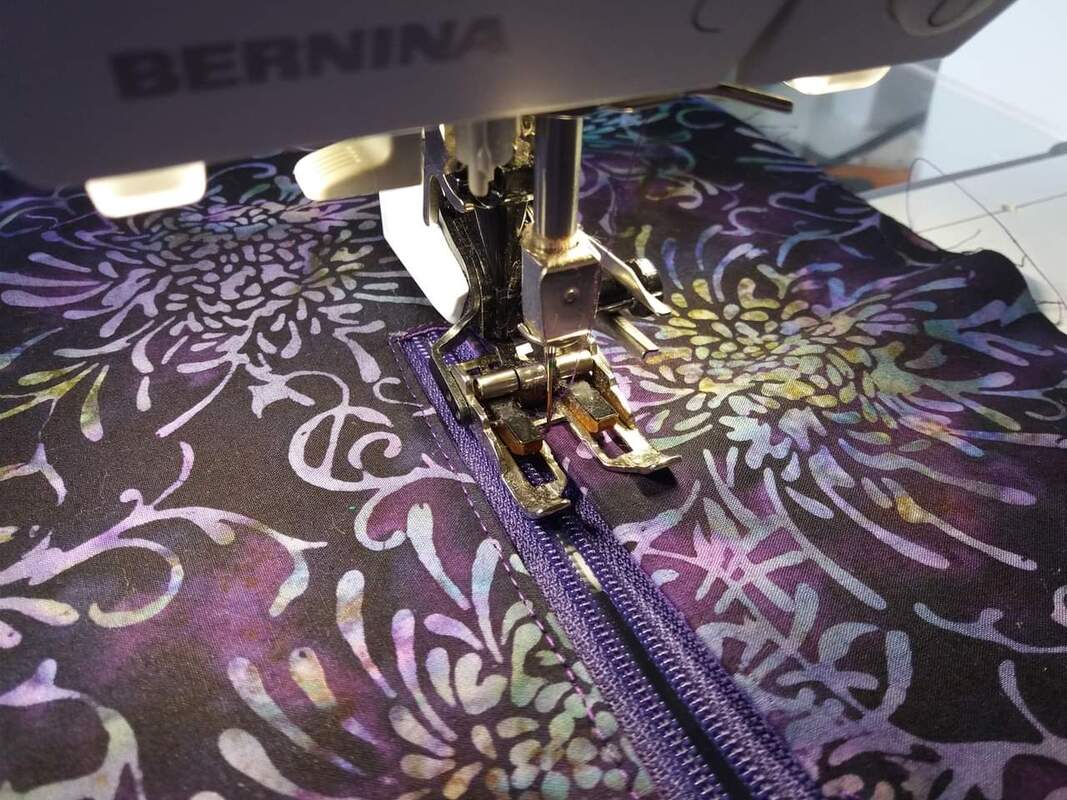
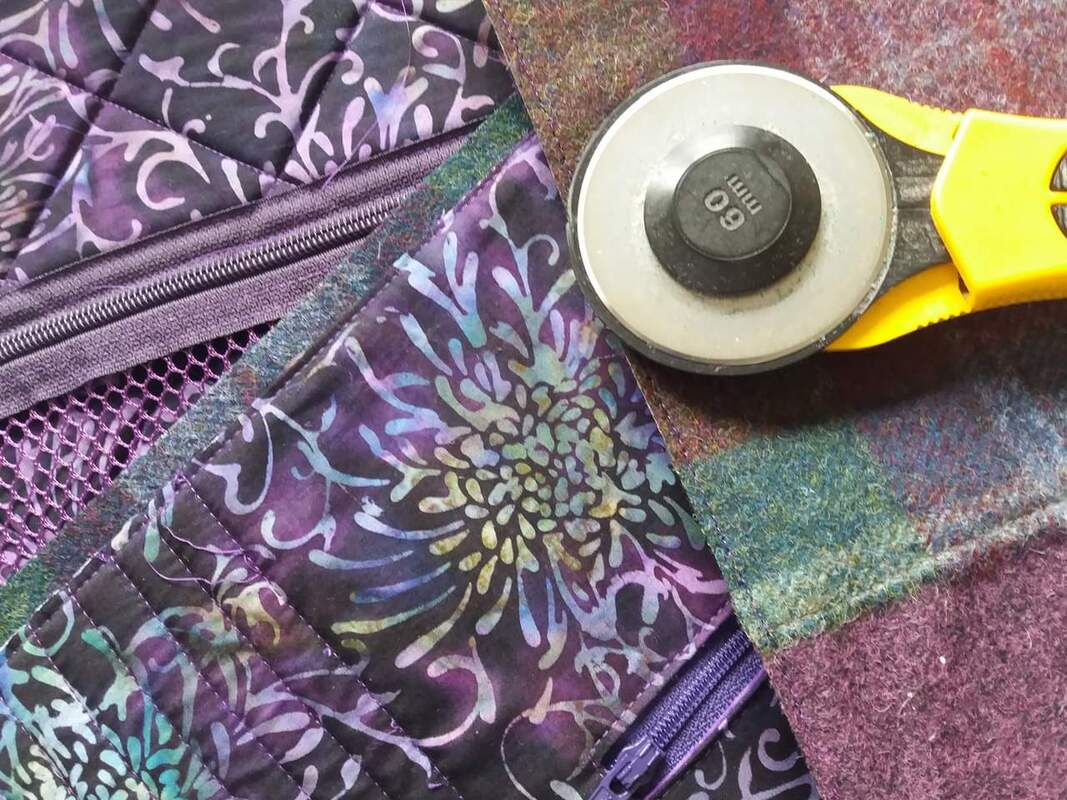
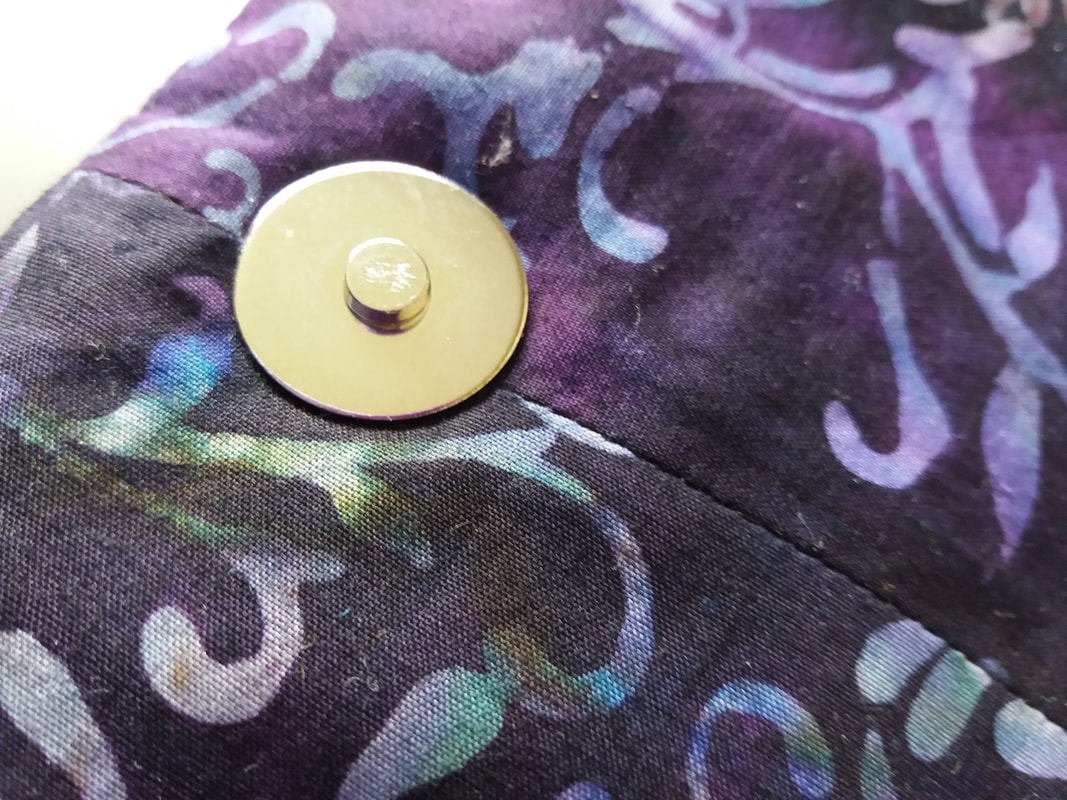
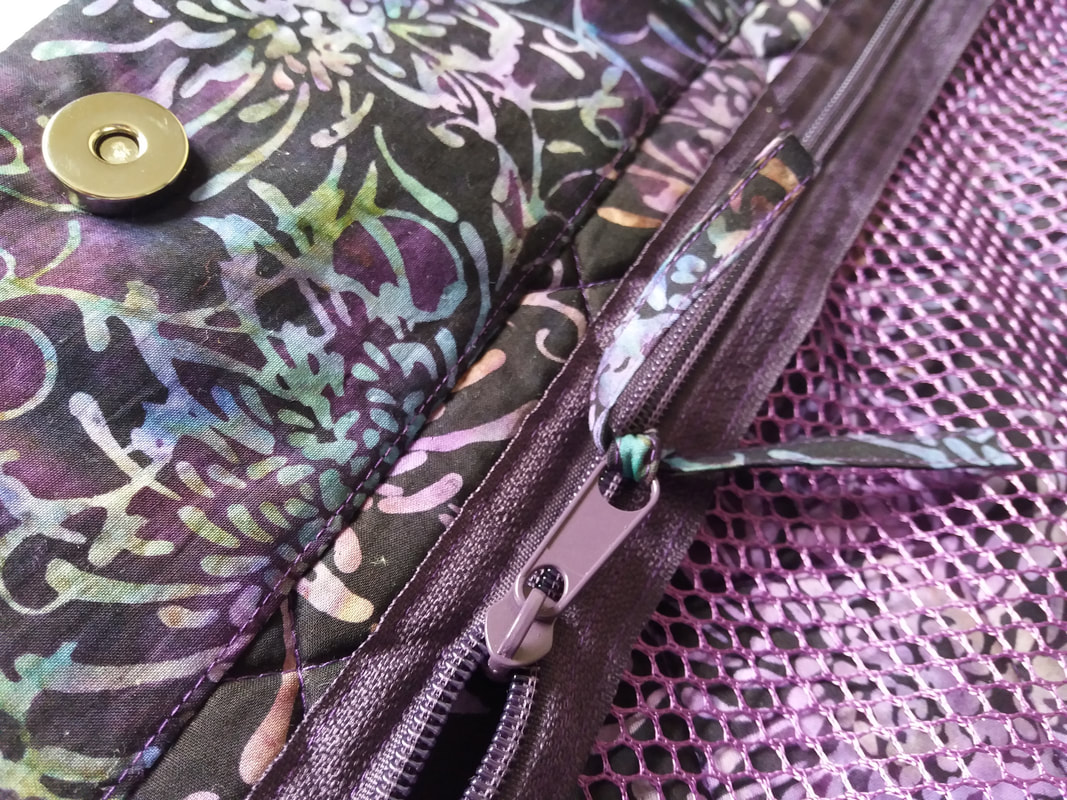
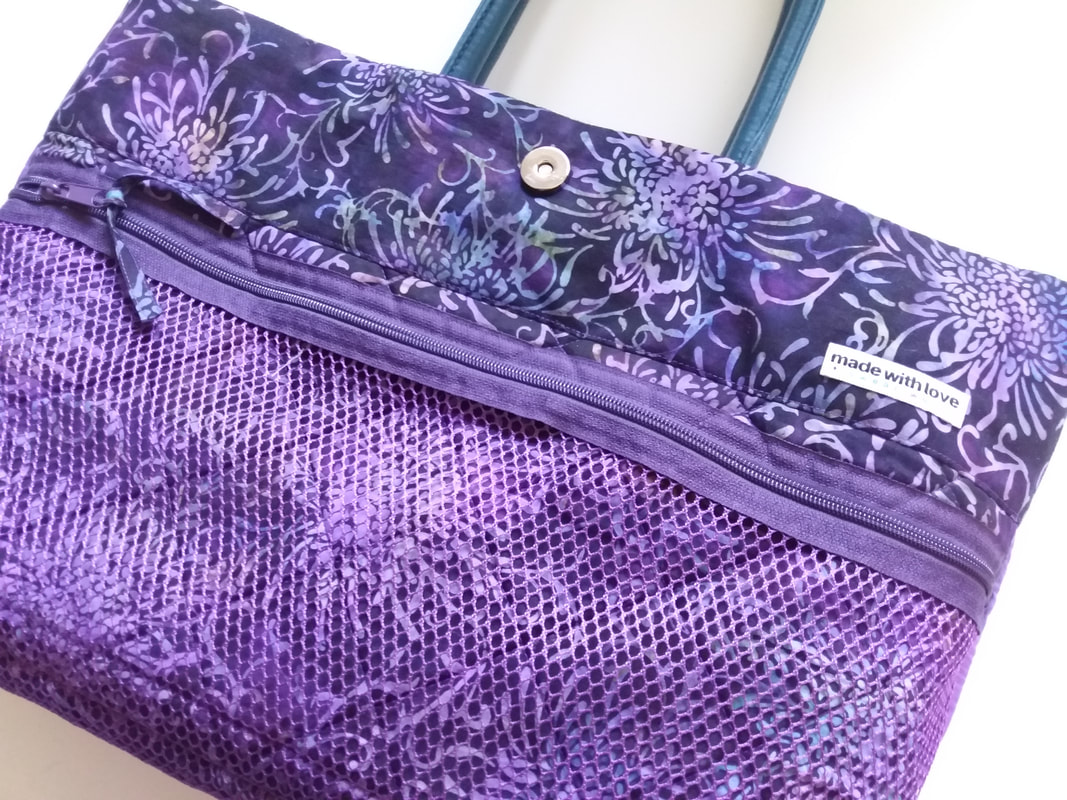
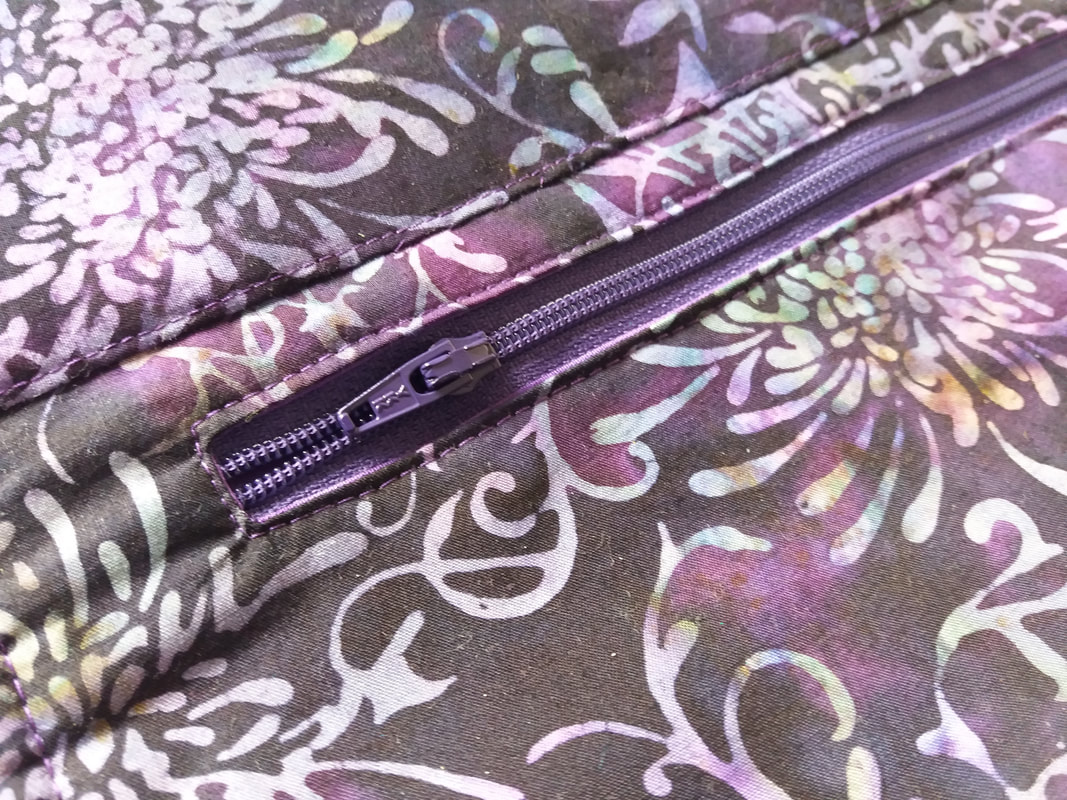
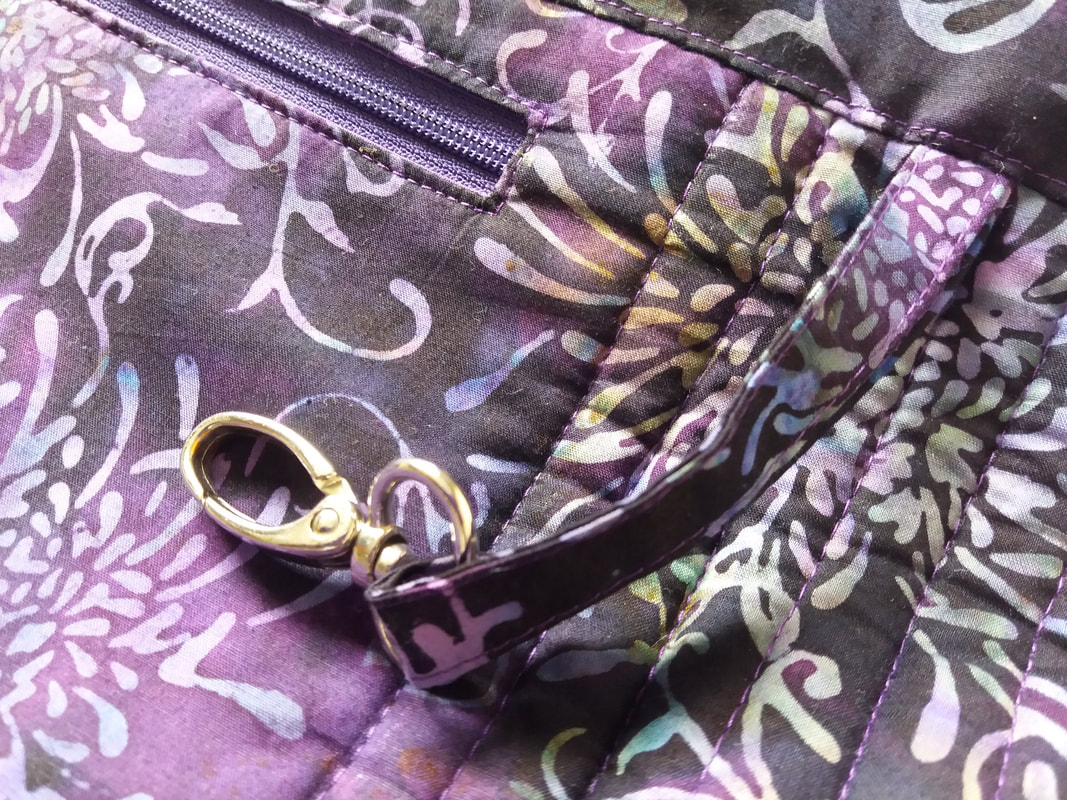
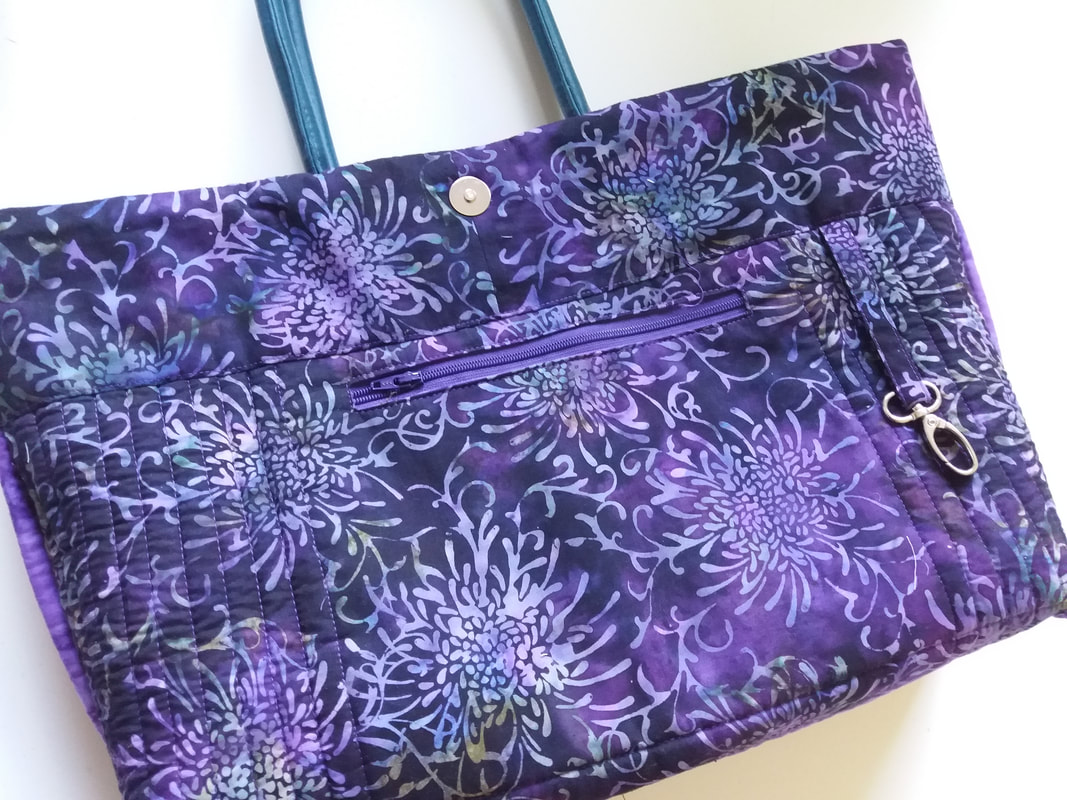
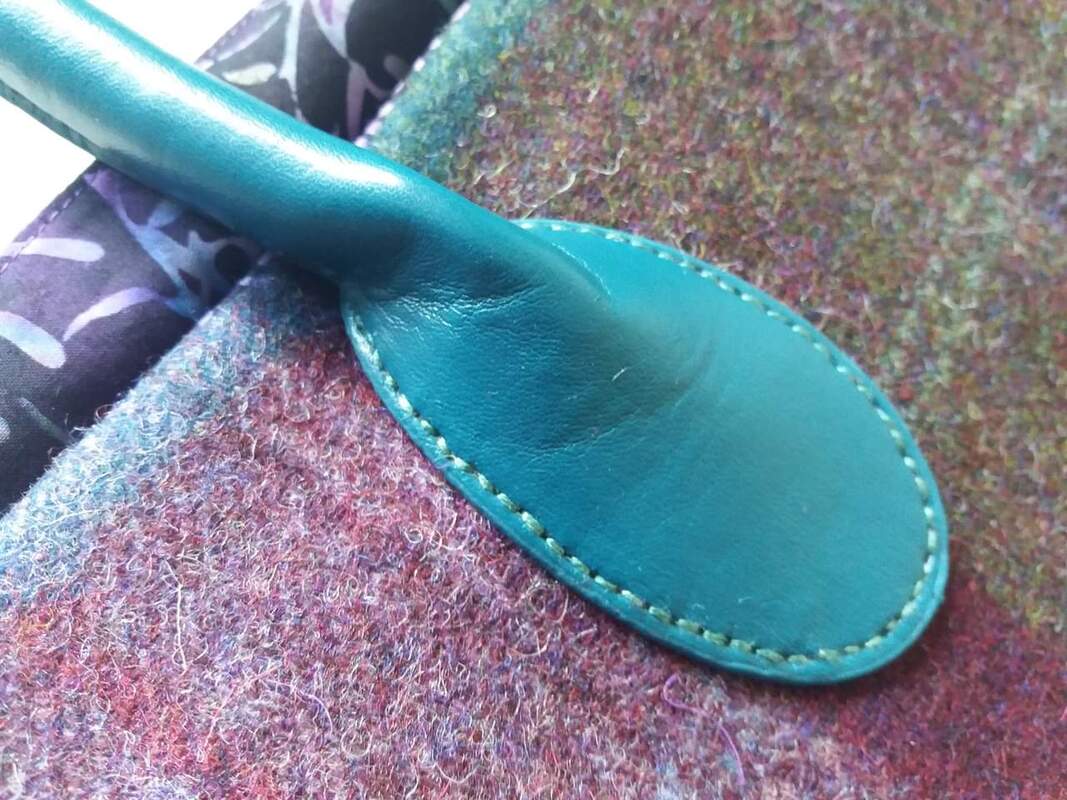
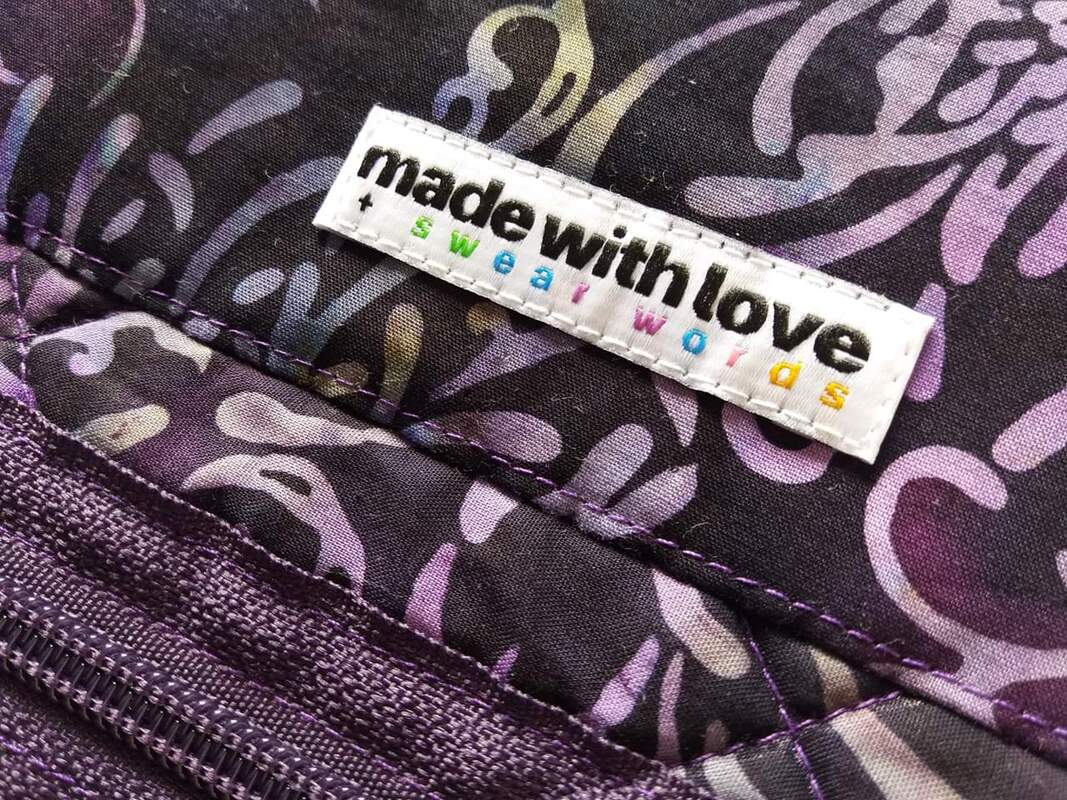
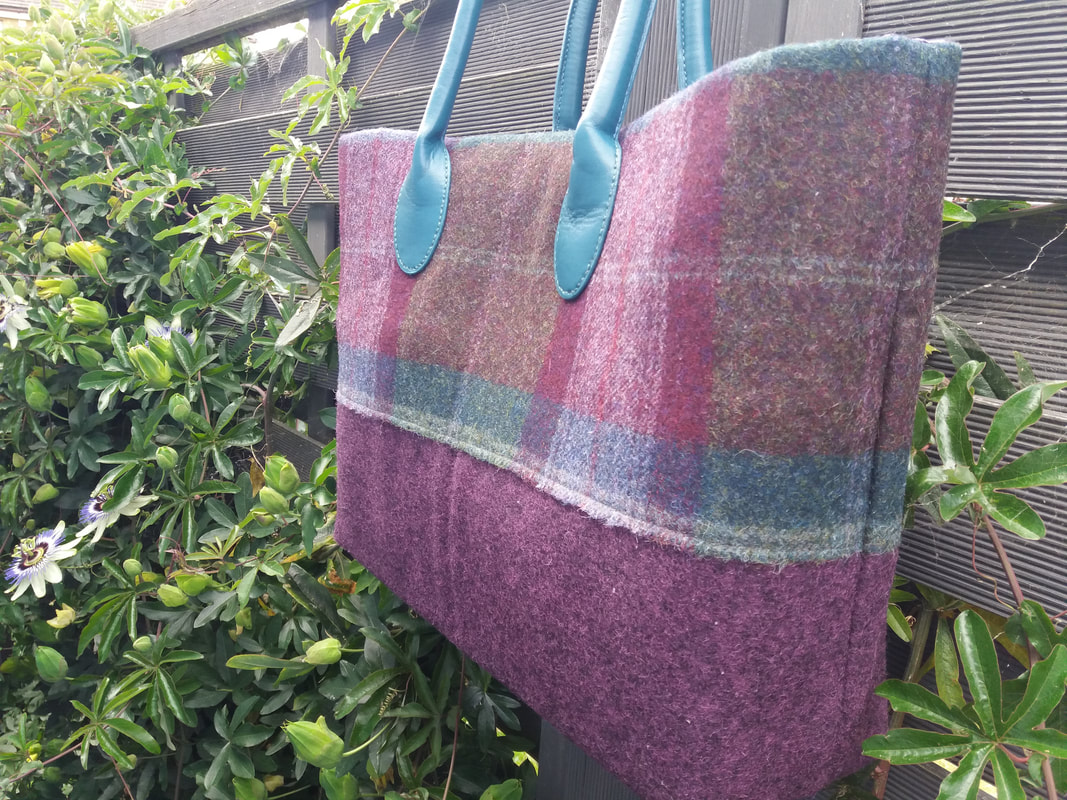
I've busy in my sewing studio the past couple of days,making a tote bag. Using a combination of tweed and batik fabrics from my stash, I've inserted a zipper pocket in the lining fabric, and added a large mesh pocket. I used a purple ByAnnie mesh which I bought from Oh Sew Sweet along with a matching purple zipper from Zipper Station. The fabulous British wool tweed was bought from Quilting Antics about 3 years ago, which I teamed with a purple batik bought from Sew and So's - again, this was bought a few years ago... ...a magnetic fastener was insterted at the top of the bag to keep it closed. I'd added a facing to cover the stitches where the handles were hand sewn in place. I'd top stitched the lower edge and then hand stitched this to the bag lining, using ladder stitch a fabric pull was added to the larger zipper slider on the mesh pocket. A fabric pull was added to the larger zipper slider on the mesh pocket. As usual, the larger zippr was zipper by the the meter, purchased from Zipper Station along with the zipper sliders... ...as well as the mesh pocket, a smaller zippered pocket was inserted into the lining which is handy for storing smaller items. I also added a useful key clip, so you don't have to rummage in your bag for your keys! ...the teal leather handles were hand stitched in place - although getting through all these layers was a bit tricky. The photo makes the handle look very green, it's actually teal, and looks fab with the purple wool fabric! Finally a small "made with love and swear words" label was machined on the facing. I'd bought a selection of the lables, made by Labels for Kylie and the Machine a while ago from Tangled Yarn - they have a great selection of KATM labels... ...and here's the finished tote bag, photographed in my garden! I'm really pleased with how this looks, and the ByAnnie Soft and Stable ensures the bag will stand up on it's own. And I've really enjoyed sewing with tweed and batiks combined, infact I've already pulled some more fabrics from my stash to make another tweed bag!
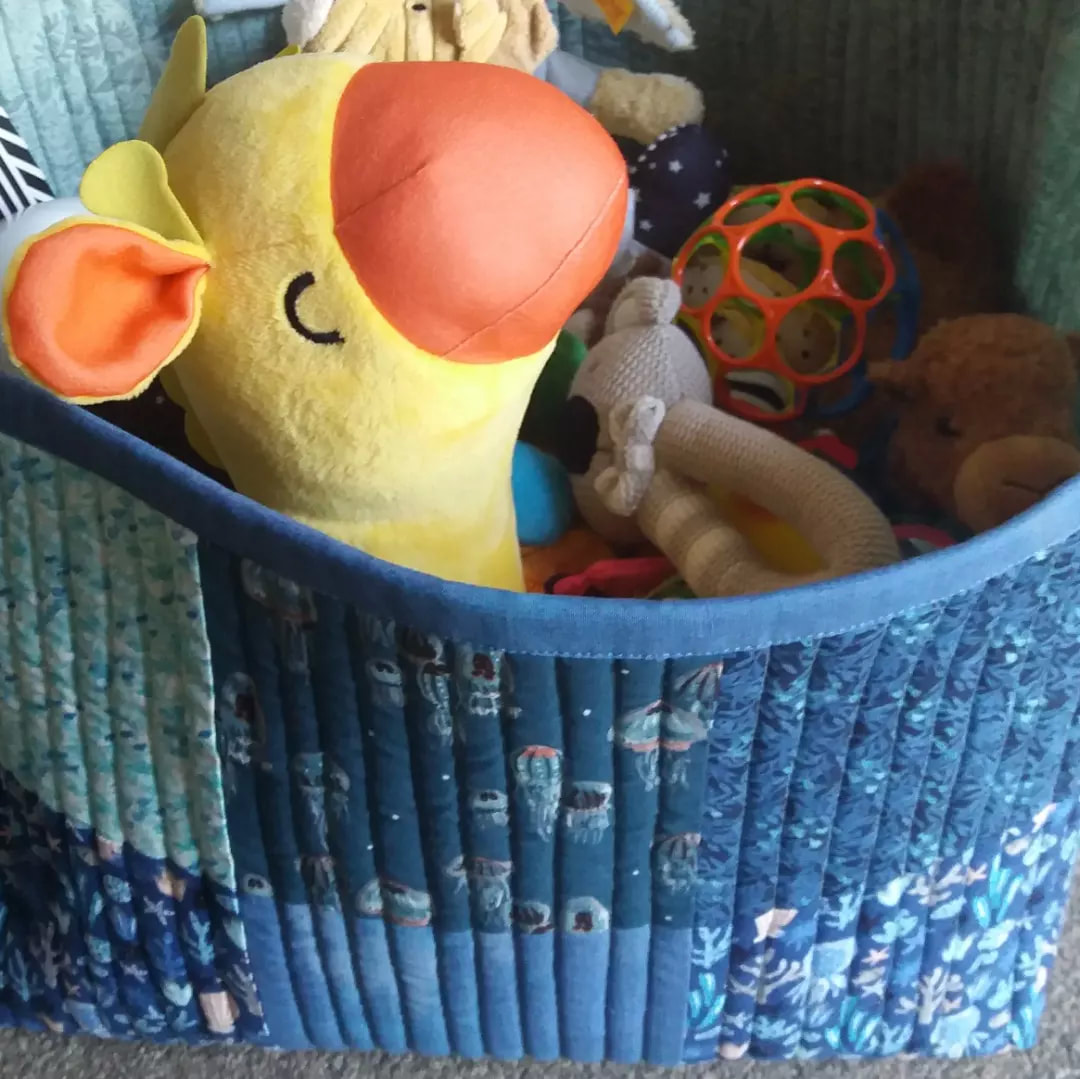
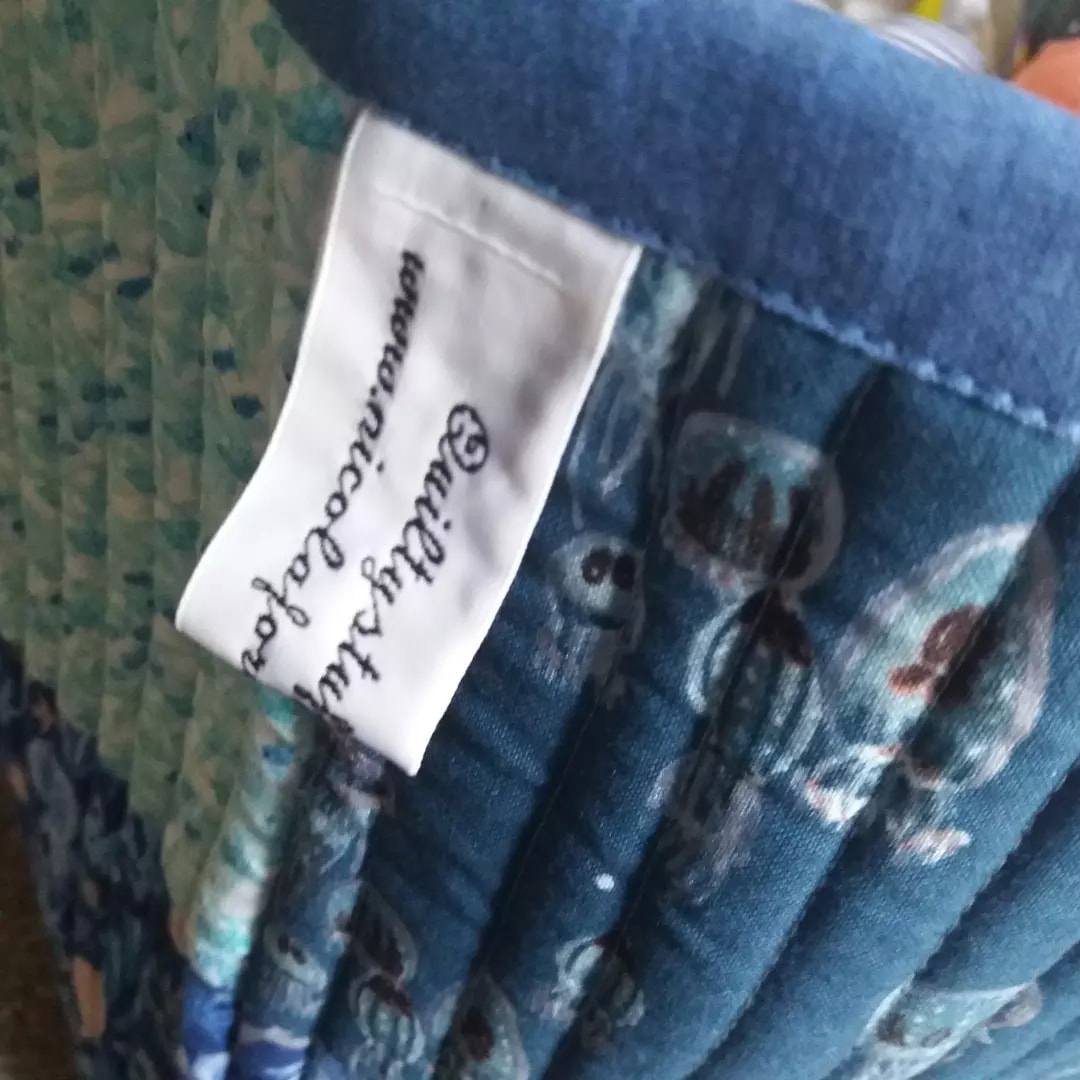
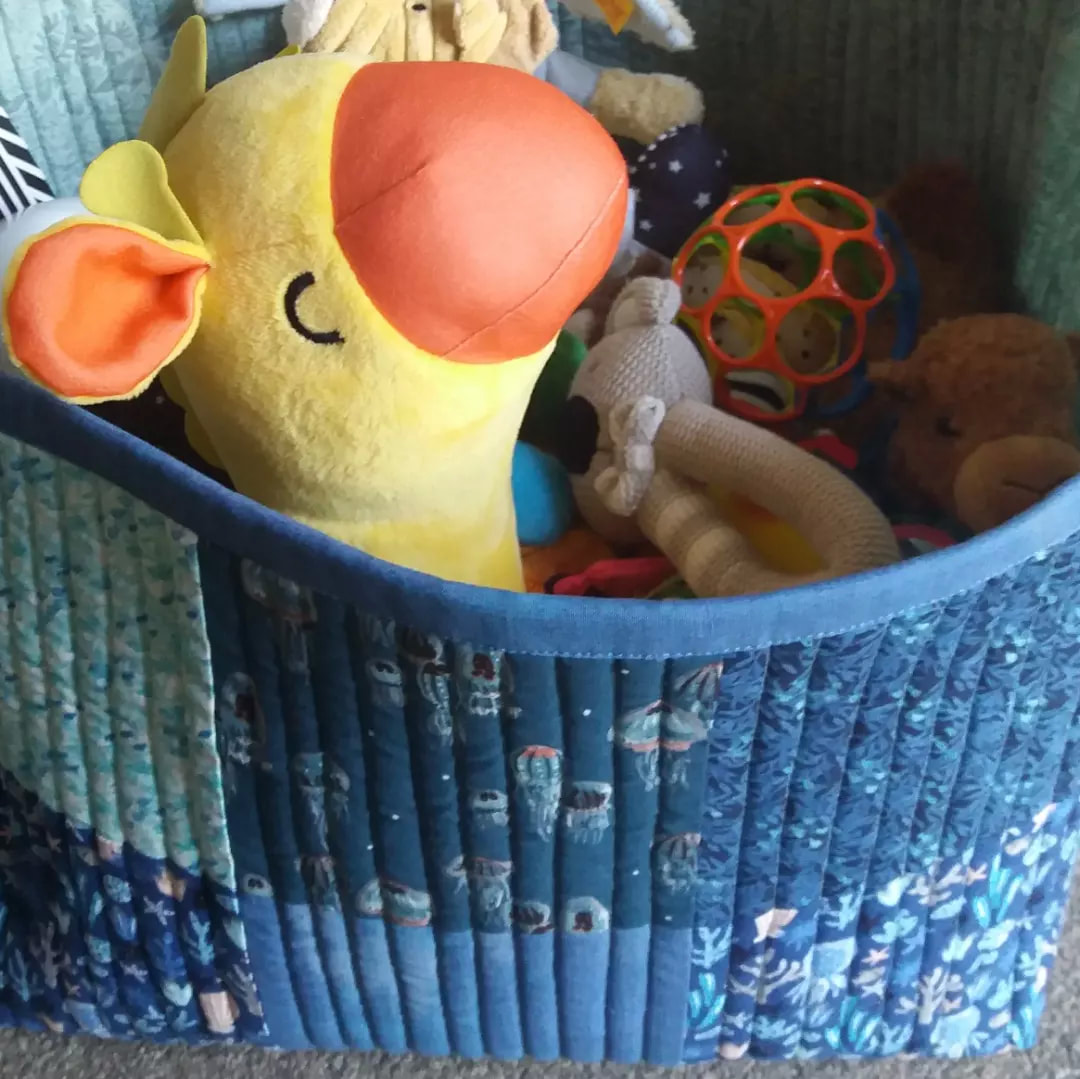
I've made a very simple fabric basket using the leftovers from the baby quilt I'd made for my grandson and it's ideal for storing his cuddly toys! Although I didn't use a commercial pattern, I did follow the construction method that Little Patch Pockets uses in her fabric baskets - I've made a few of those before, and they are much easier to make than this huge beast! For the sides and base, which I wanted to be structured, I used some ByAnnie Soft and Stable wadding whch I then quilted the fabrics onto. The fabrics were from the Kaikoura collection by Jessica Zhao for Cotton+Steel which I'd originally bought online from Bobbie Lou's Fabric Factory and the lining fabric was from my stash. I really need to get some cuter labels for future projects for my grandson, so he knows they were made with love by his Nanny! The binding was machined to the inside of the basket, then folded over and machined onto the outside. It may just need a few more toys ready for a soecial little boy's playtime!
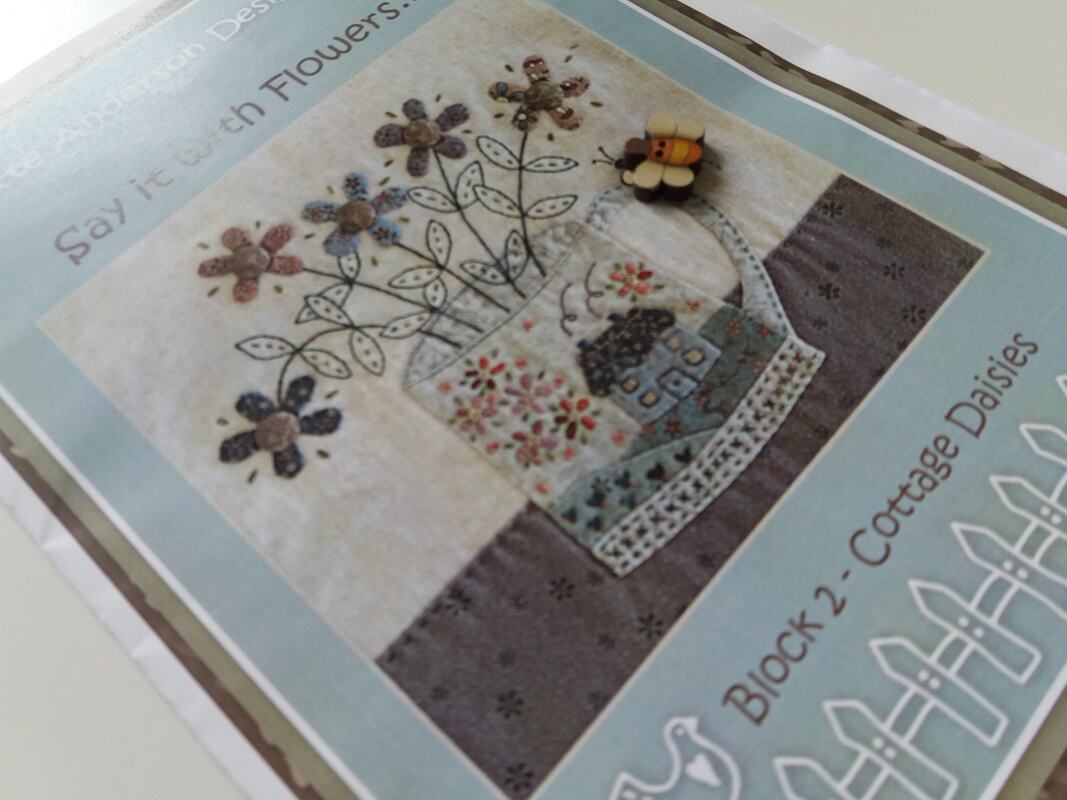
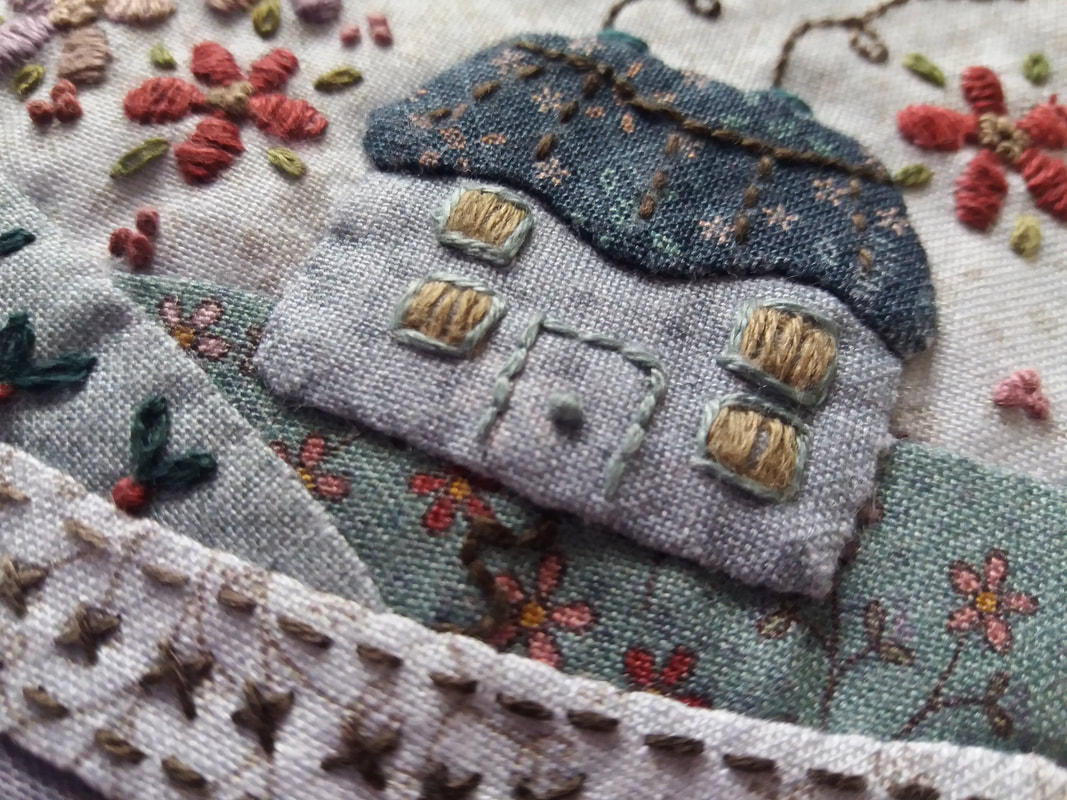
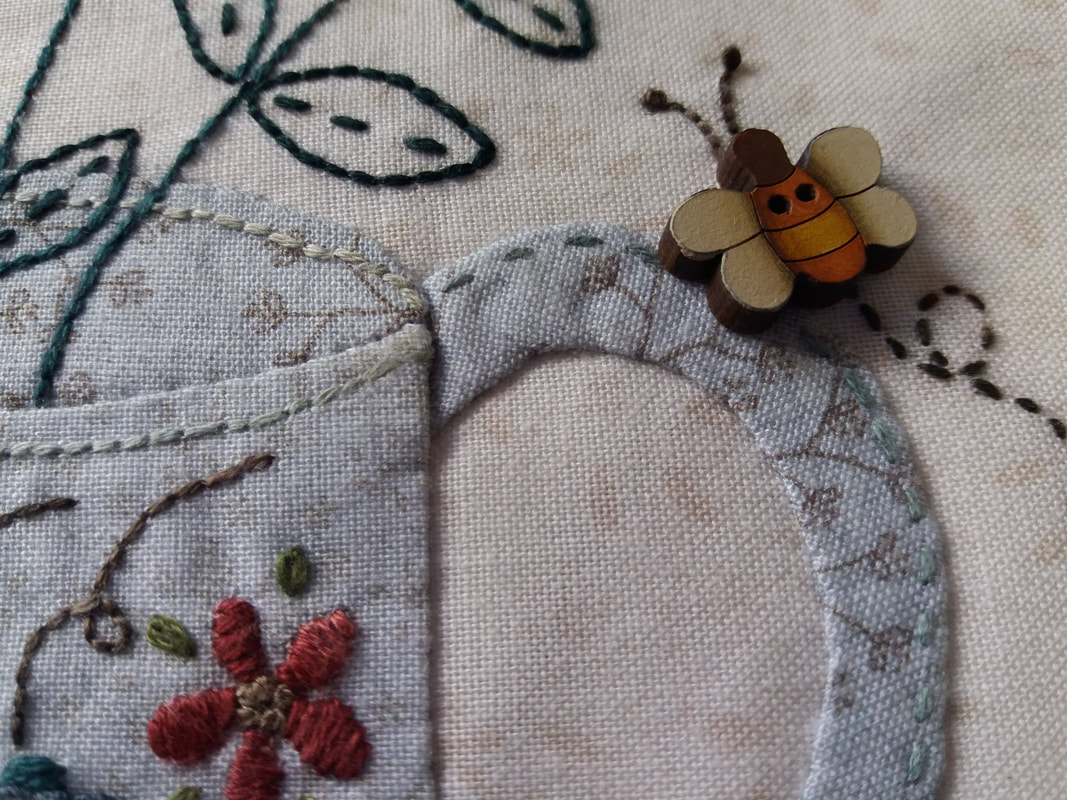
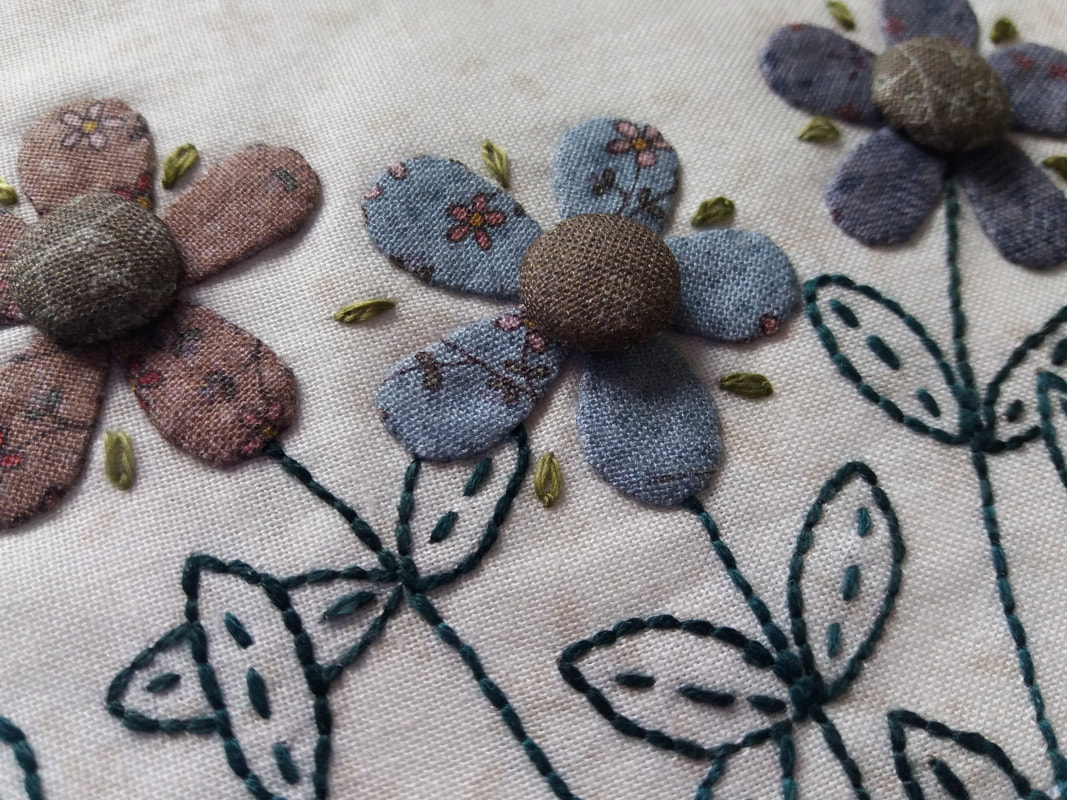
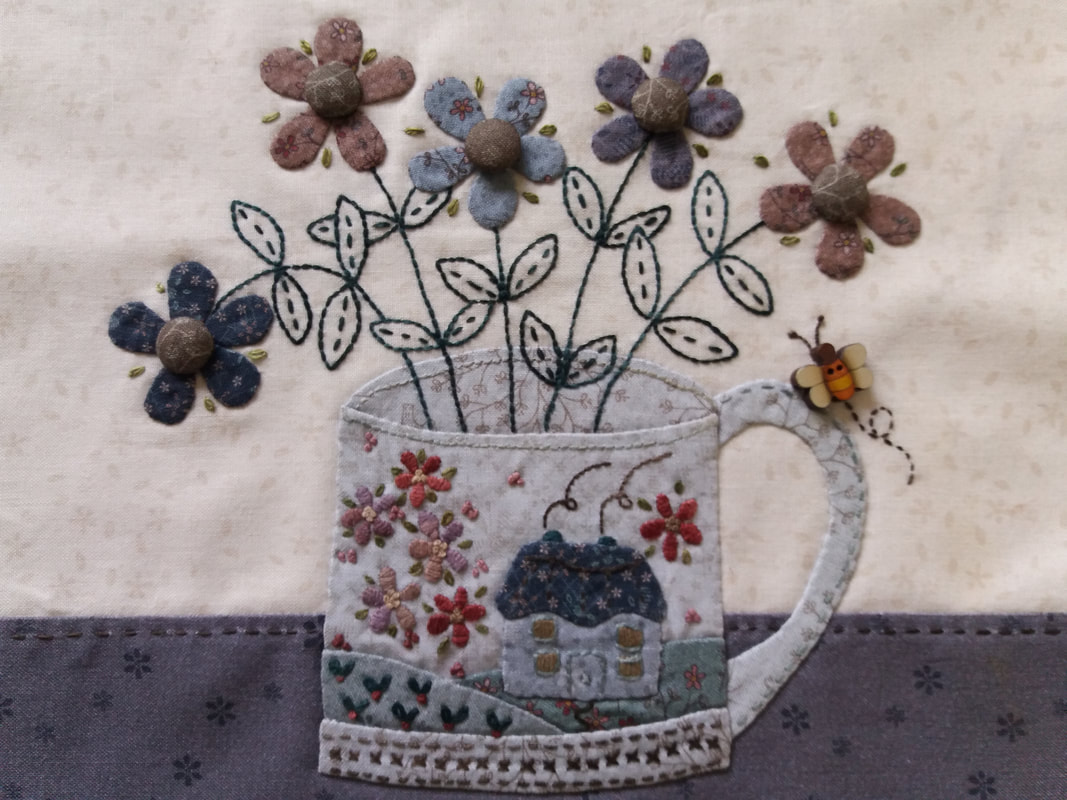
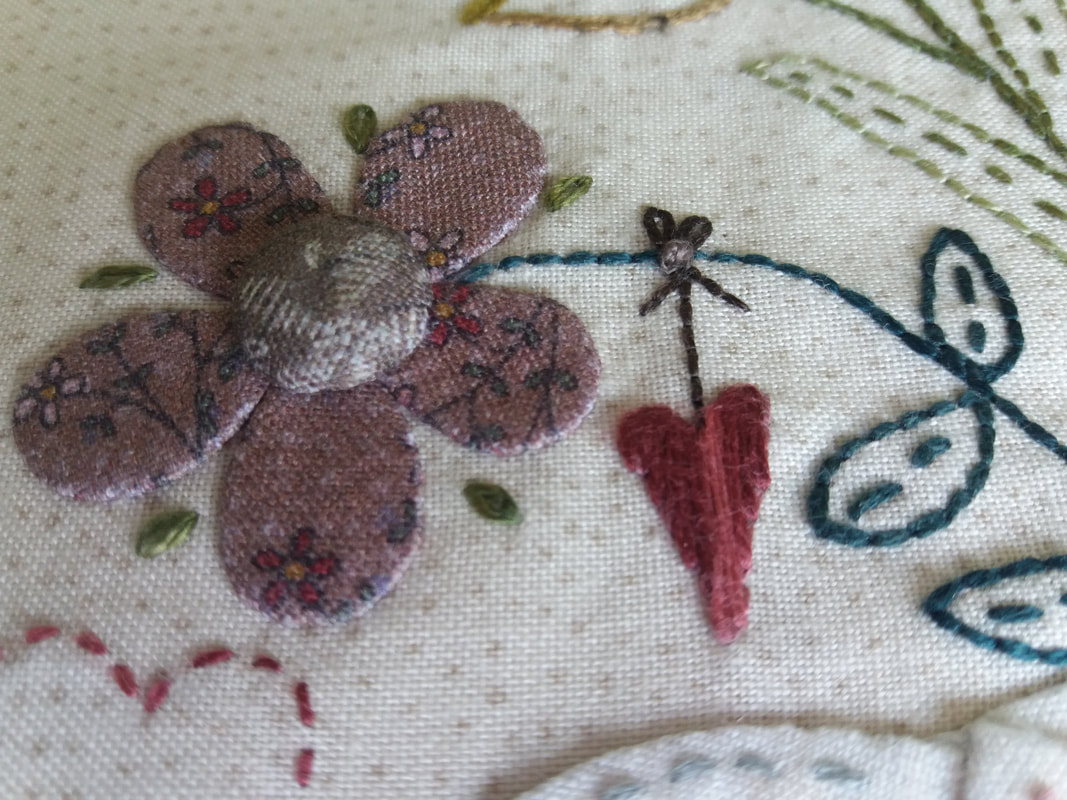
The pattern for the second block of Say it with Flowers - this year's mystery button club BOM by Lynette Anderson Designs - arrived in the post from Coast and Country Crafts and Quilts before I'd managed to complete the first block! I was determined to get this one finished on time though, so set about preparing the applique shapes and the background embroidery design. I'm using the Apliquick method of applique for this project, which gives me perfect result especially for some of these tiny applique shapes... ...I've used a selection of Valdani variegated stranded embroidery thread for the hand embroidery, the soft syubtle shades work perfectly with Lynettes fabrics. The embroidey stiches that Lynette uses are very simple too, so even a beginner would be able to manage this project... ...and here's block 2, called Cottage Daisies. The fabric covered domes and the hand painted wooden button will be secured in place one the quilt is assembled and quilted. It really is such a pretty block, I've enjoyed stitching this one so much and I can't wait for block 3 to arrive in the post!
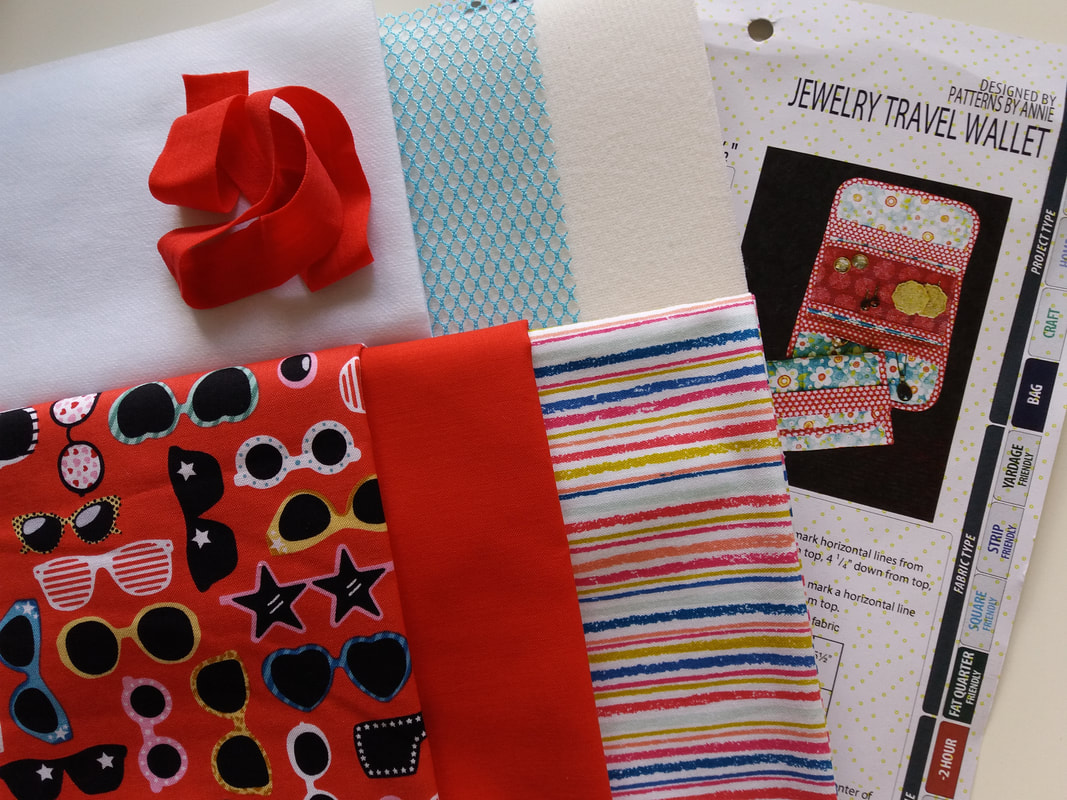
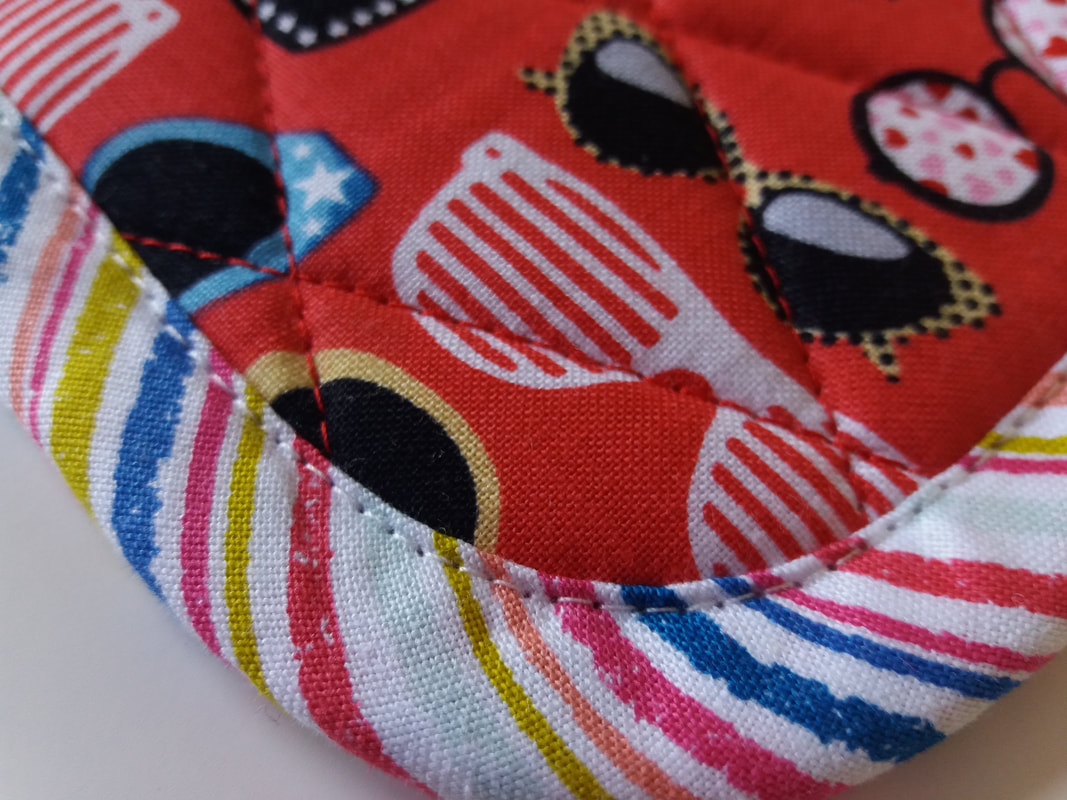
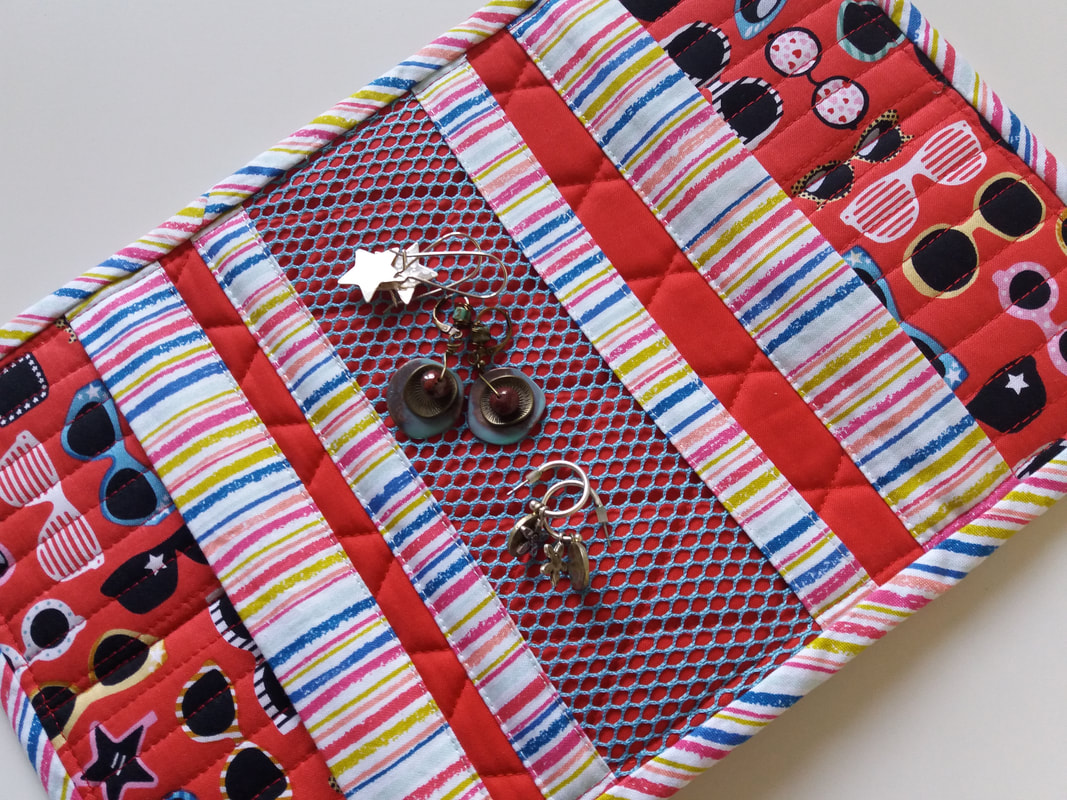
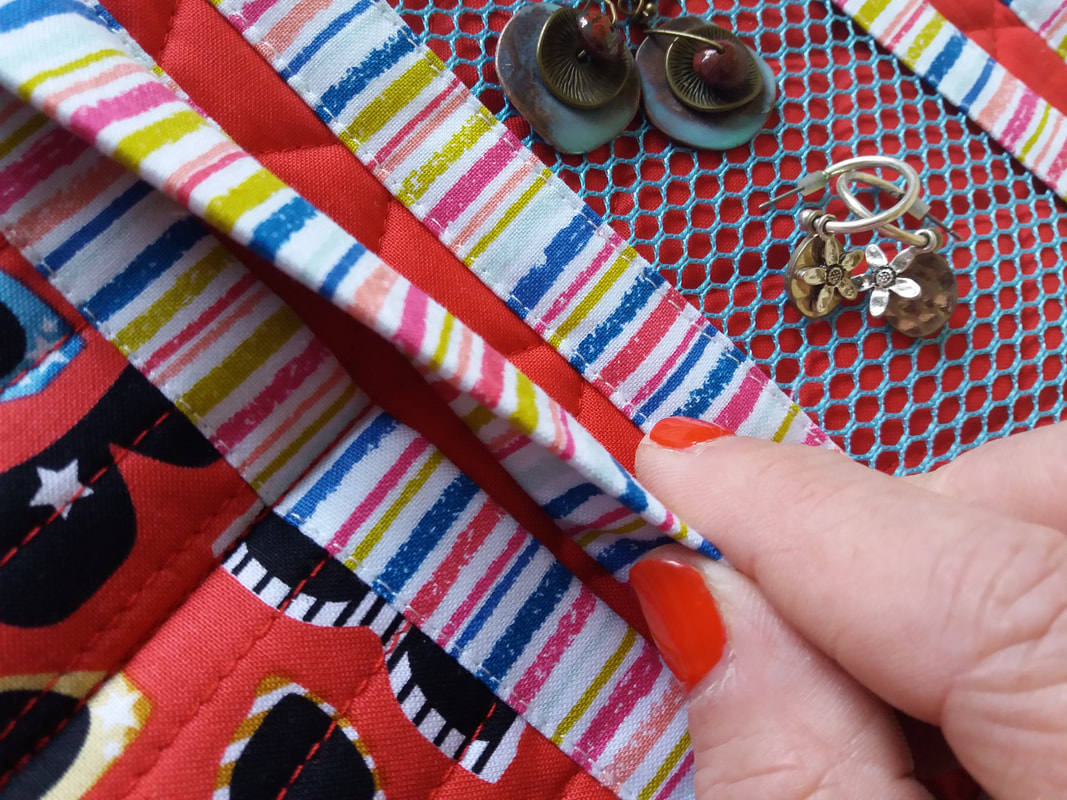
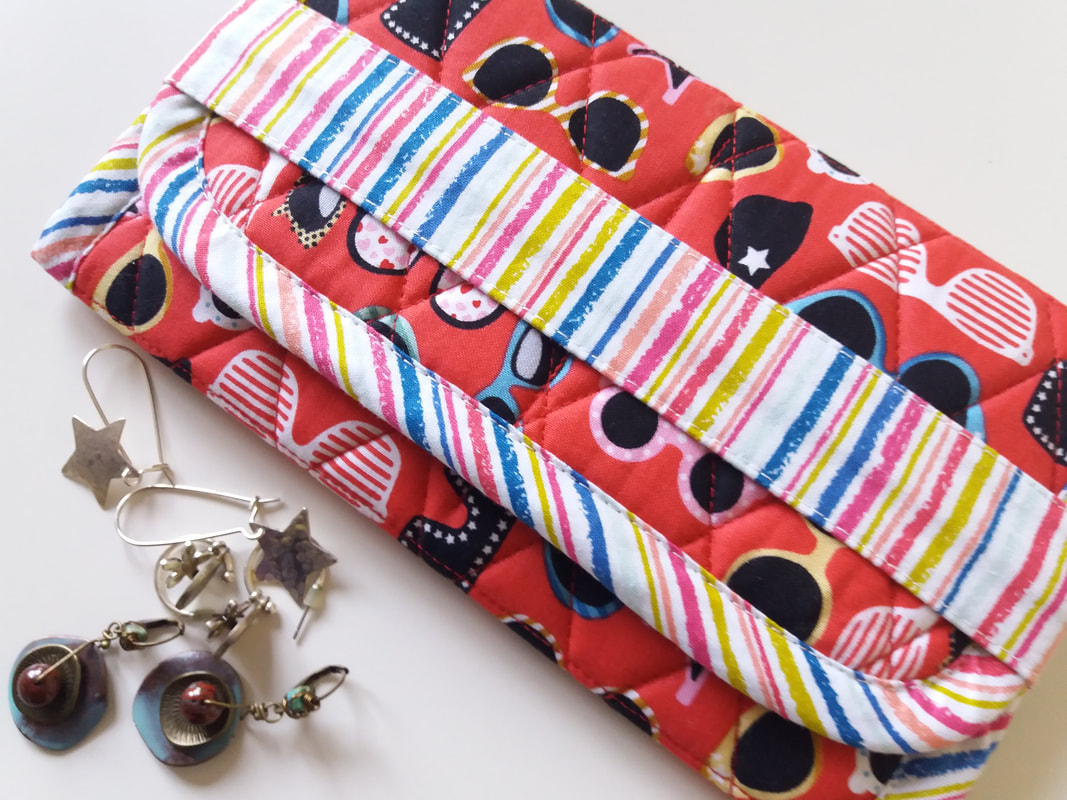
Last week I purchased a couple of kits from Oh Sew Sweet - this one is the ByAnnie Jewelry Travel Wallet - this kit included everything I needed, including the fabric, mesh, elastic and the soft and stable wadding. I quited the wadding in a simple cross hatch design, marking the lines with the 60 degree angle on my ruler and using a Clover Hera marker. I simply quilted along the indentations using a walking foot, a Micotex size 70 needle and red Aurifil 40wt thread. The construction was really simple, and the final part was stitching on the stripey binding. I used a white thread in the top of my machine for the topstitching... ...inside there are some useful pockets for storing rings and necklaces, and a mesh pocket that earrings can be clipped onto... ...this really is going to be very useful, and I'' pack it in my bag ready for when I'm off on my holidays in a couple of weeks.
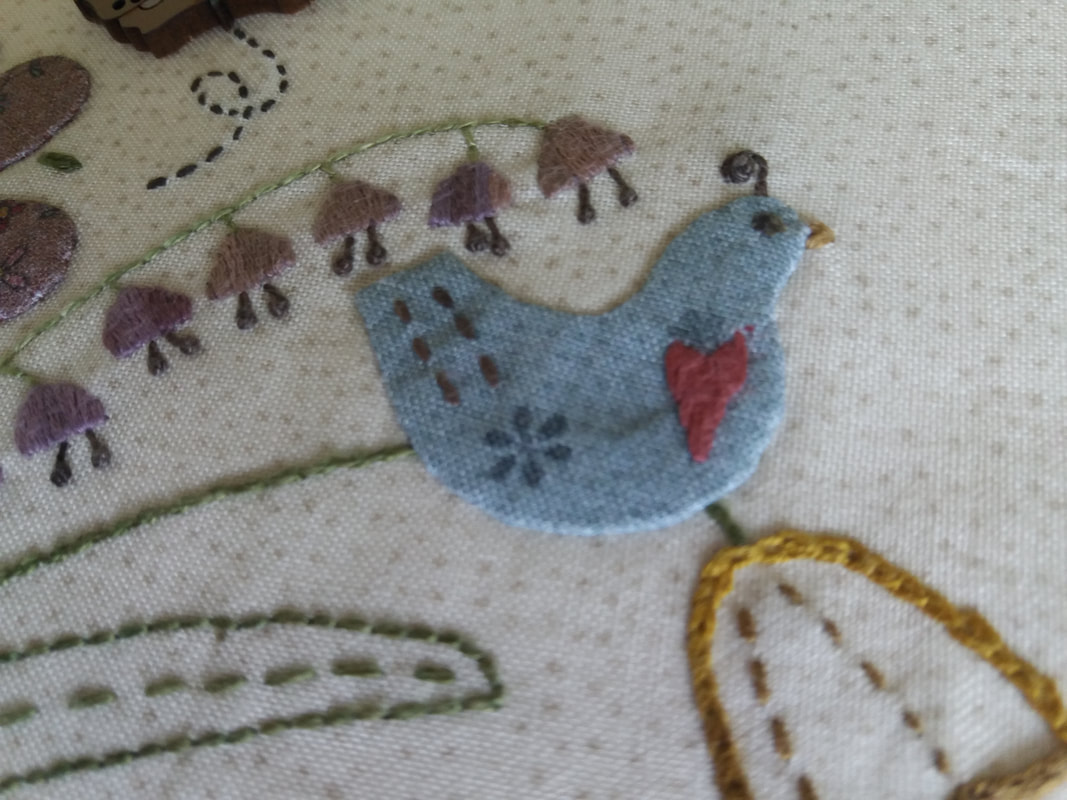
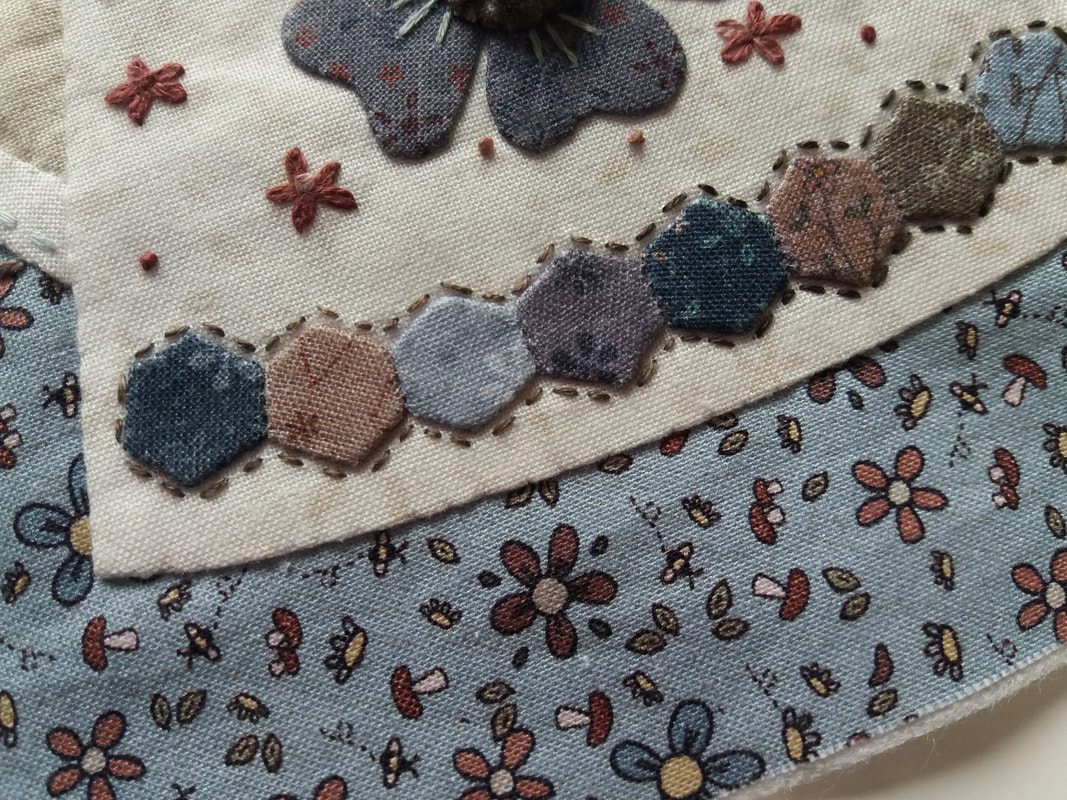
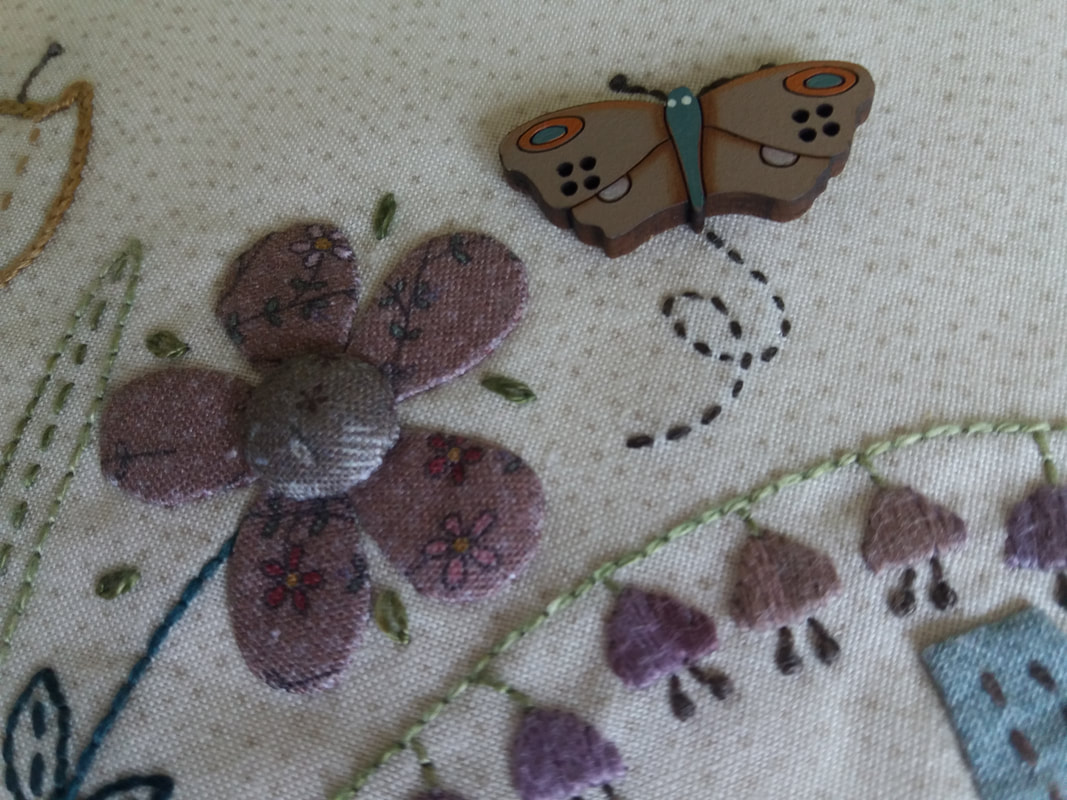
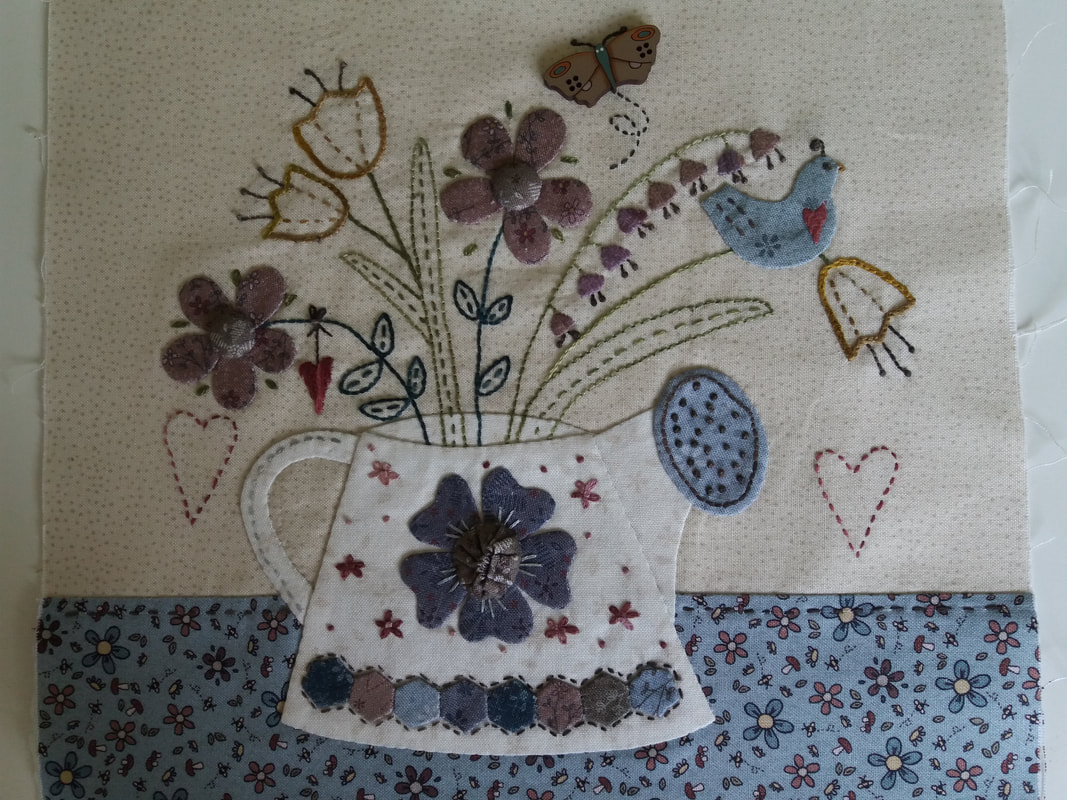
Despite the pattern and fabrics arriving at the end of April, I had a rather slow start to this year's mystery button club BOM - Say it with Flowers - by Lynette Anderson Designs. Anyway, I've finally stitched the first block - Harebells and Tulips - and I couldn't be more pleased with it. The hand embroidery has been stitched using a selection of Valdani variegated stranded embroidery threads. I'm using the Apliquick method of applique, and I'm so pleased with how neat the appliqued shapes are. These have been stitched in place using Aurifil 80wt thread in a mid-grey shade. This fine cotton thread just melts into the fabric so it's almost impossible to see the stitches... ...once I'd made the teeny tiny quarter-inch hexies that are used to embellish the watering can - (templates purchased from Sew & Quilt - they were joined together and hand appliqued onto the watering can, which was secured in place last of all. I prefer to prepare as much of the applique as I can, stitching the surface embroidery onto individual pieces, rather than stitching through lots of layers. The hand painted wooden button and the fabric covered domes will be secured in place once the quilt is assmebled and quilted... ...and here it is, block 1 - tulips and Harebells - it really has been a delight to stitch. Coast and Country Crafts and Quilts have put together a beutiful fabric pack for this BOM, using fabrics from Lynette's Corner of the Woods collection. Now this one just needs a final press on my wool pressing mat before trimming to size, and then I can start to prepare the next block, as the pattern for that one arrived a few days ago and I want to get up to date before block 3 arrives!
|
About me...Hi - welcome to my quilting blog! My passions are my family, my dog, my friends and sewing, not necessarily in that order! Archives
July 2023
Blogs I followUK shopsThese are the UK shops that I use to purchase my quilting supplies - fabrics and threads etc.
Australian linksScandinavian links |


 RSS Feed

