|
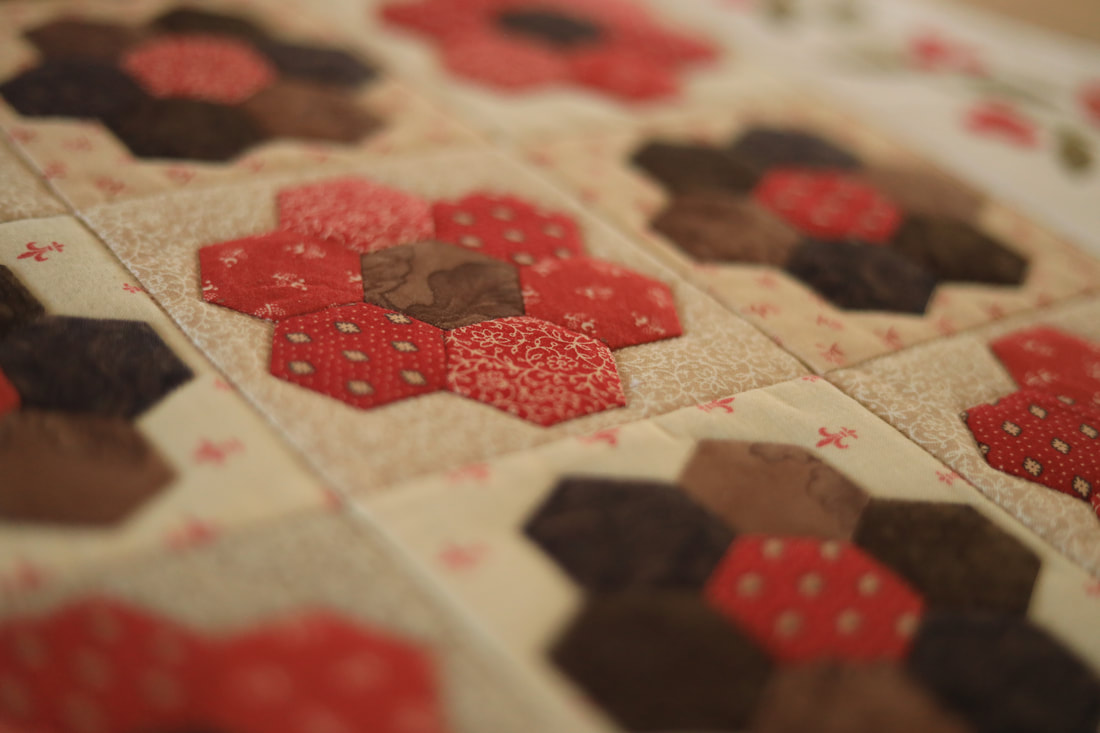
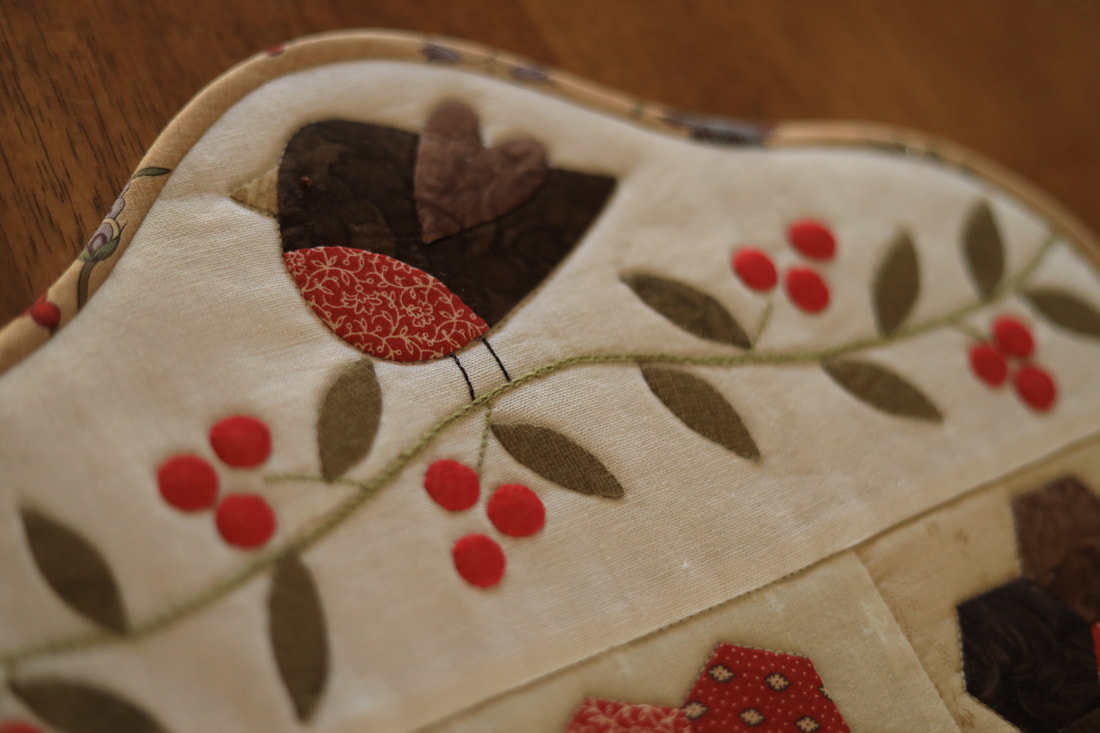
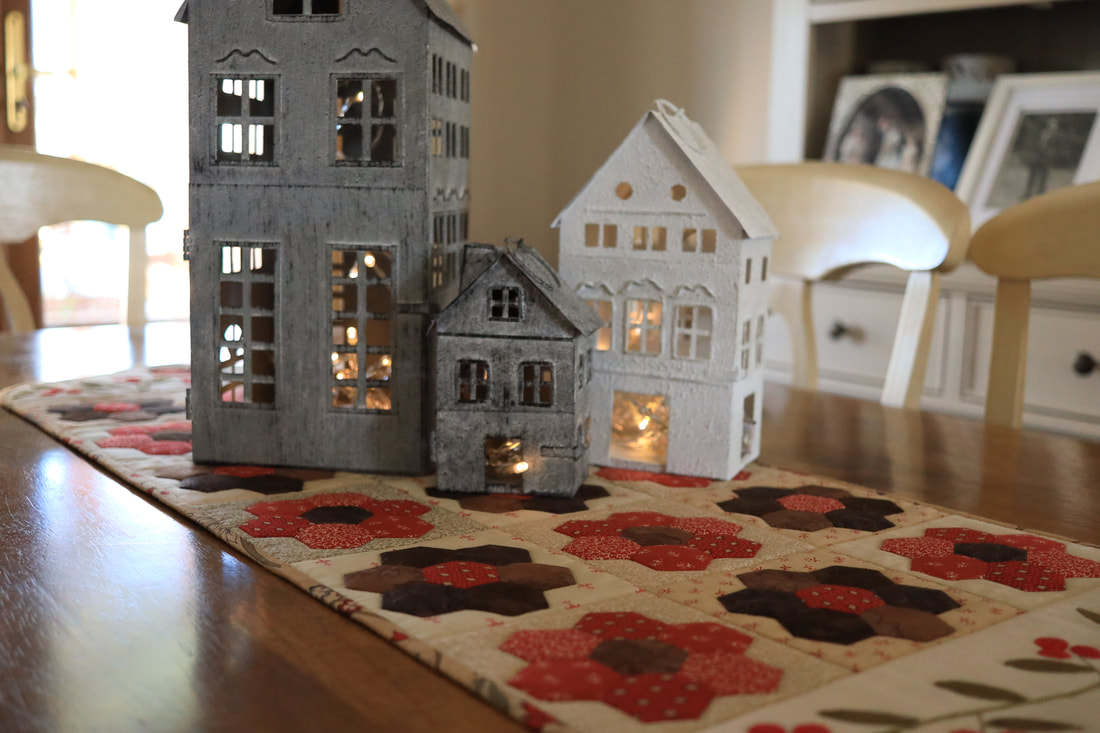
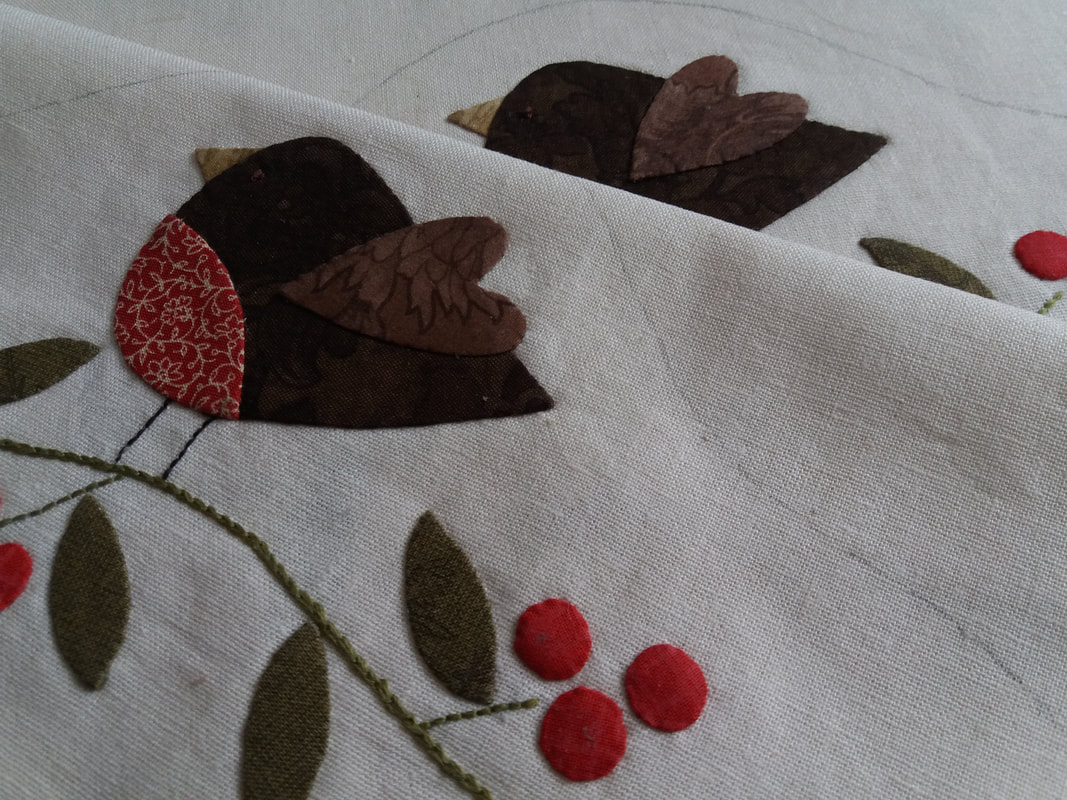
The Red Robin Runner is finally finished and ready to go on my dining table, although it will probably be used more at Christmas! This was originally bought as a kit from Cross Patch (a successful shopping day at the Festival of Quilts) back in 2017. It's made with a combination of applique, hand embroidery and EPP (English Paper Piecing). This has been machine quilted very simply around the hexagon flowers. This was stitched very slowly so the quilting lines are clean, without any wobbles... ...and I've also machine quilted around the hand appliqued robins which perch on a hand embroidered vine at each end of the runner. The binding was cut on the bias so it goes smoothly around the curved ends with no wrinkles! This has been machined to the front, turned over and hand stitched to the back... ...this has been quite a labour of love, as I always say hexies aren't my favourites but I'm sure my technique is improving and I'm rather pleased with the finished runner.
0 Comments
Now the Red Robin Runner (pattern by The Birdhouse Patchwork Designs) has finally been pieced together and pressed, it's layered up ready for quilting. I've used a thin fusibe wadding, Pellon H630 for this - it's ideal for table runners, placemats, small bags etc - and it quilts really well. I'll machine quilt this runner quite simply, just in the ditch, around the hexies and around the robins - I just need to sort through my neutral coloured quilting threads to find the right colours!
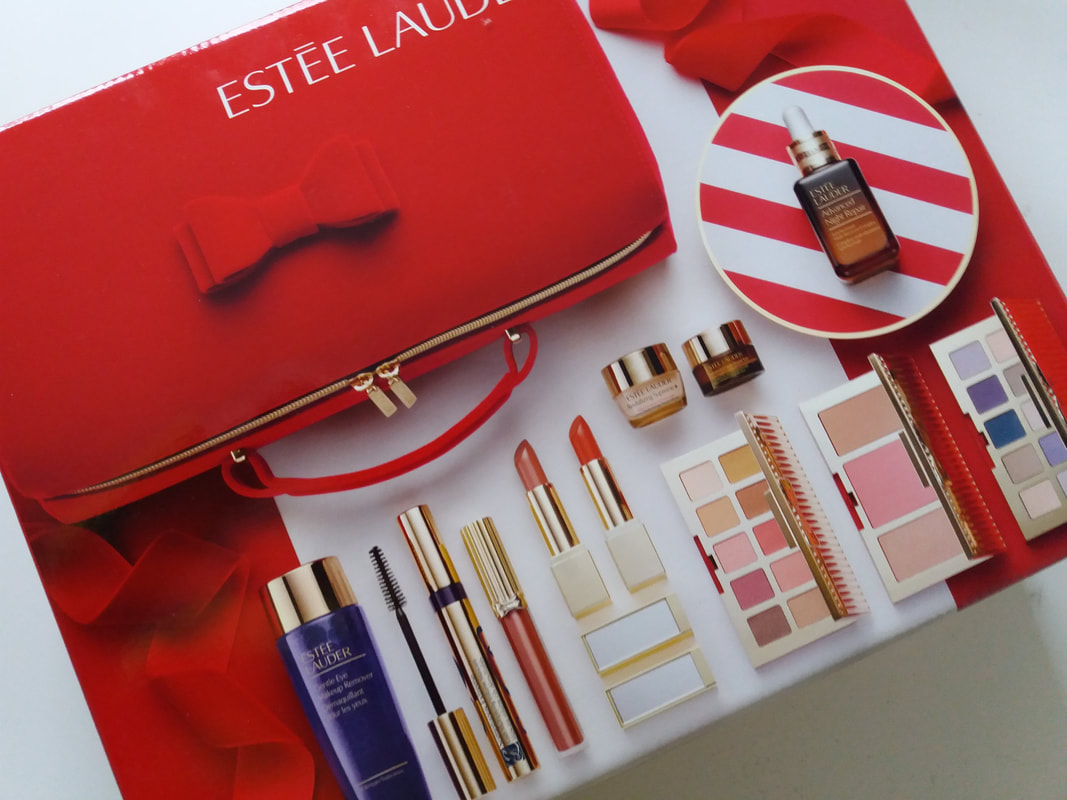
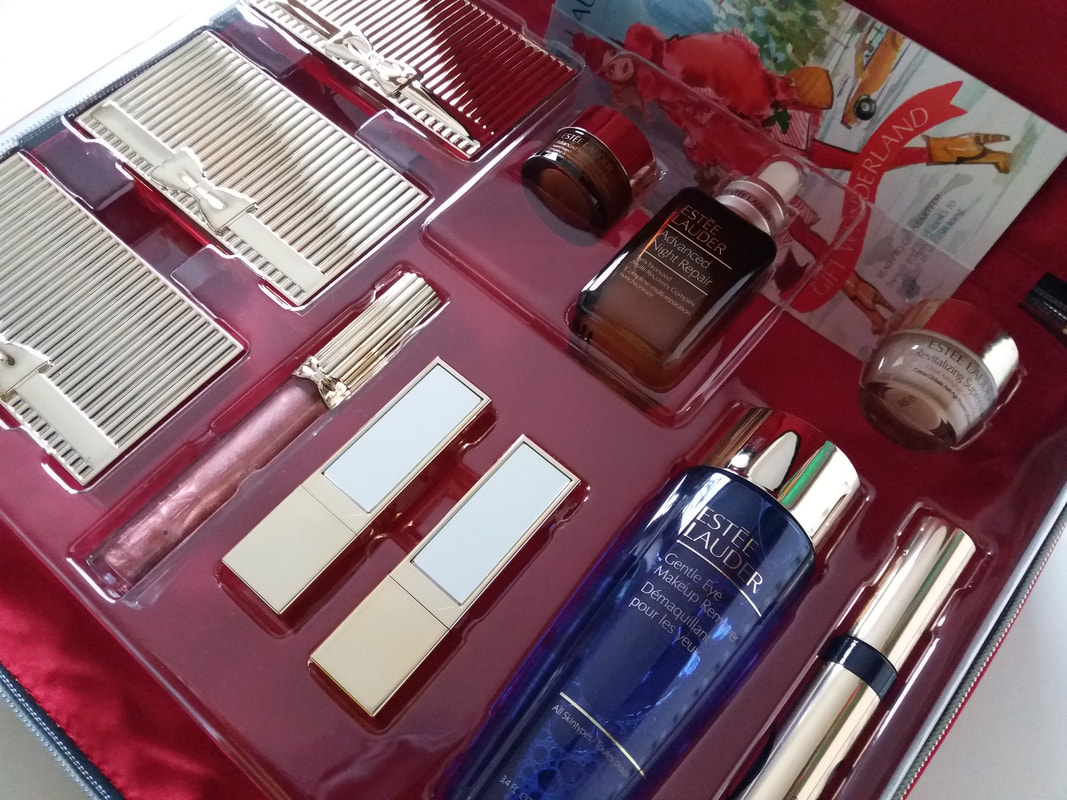
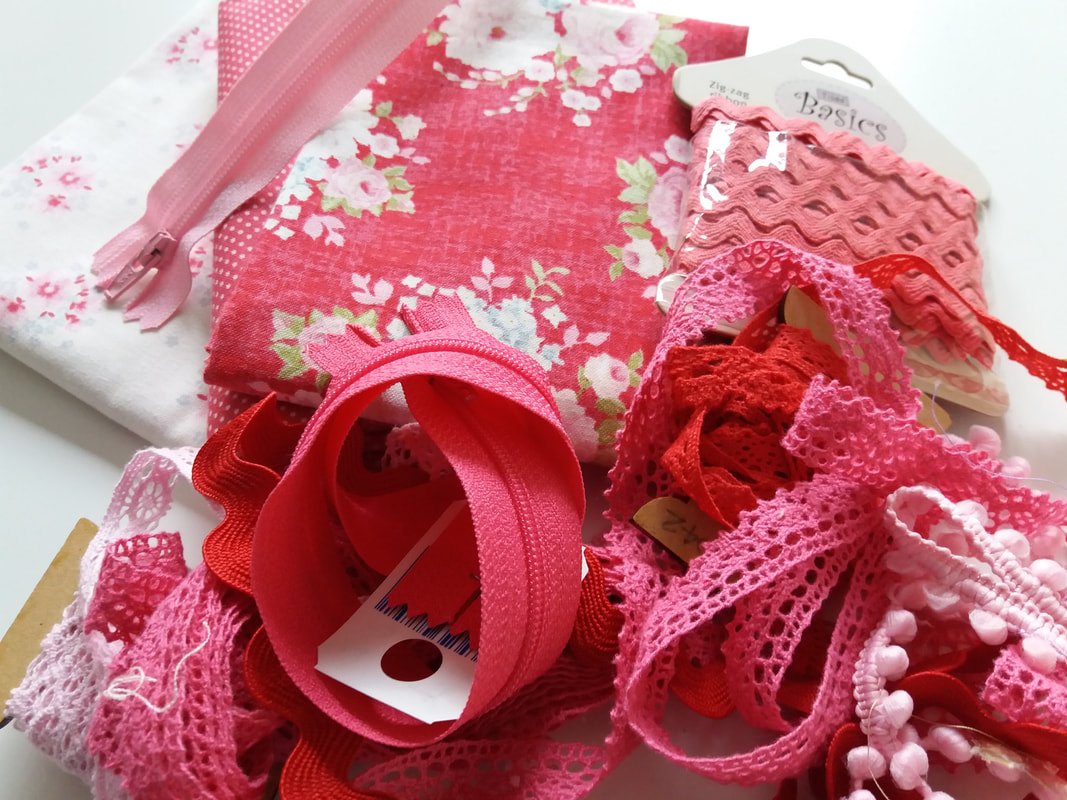
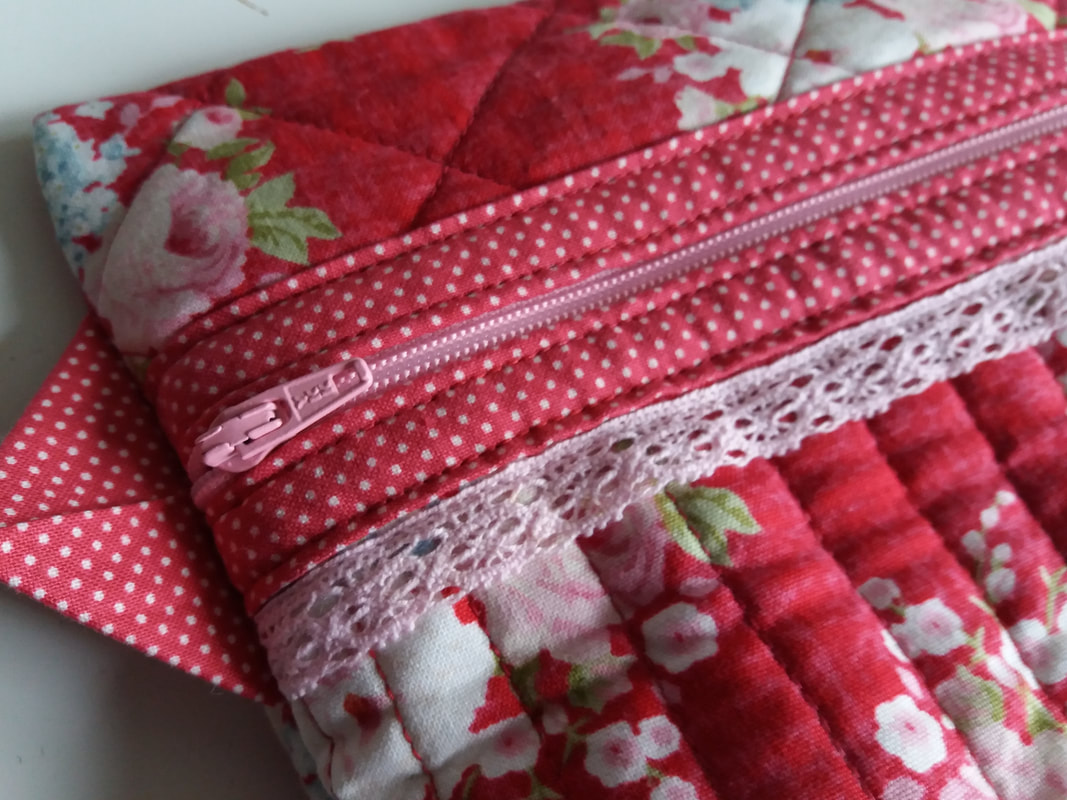
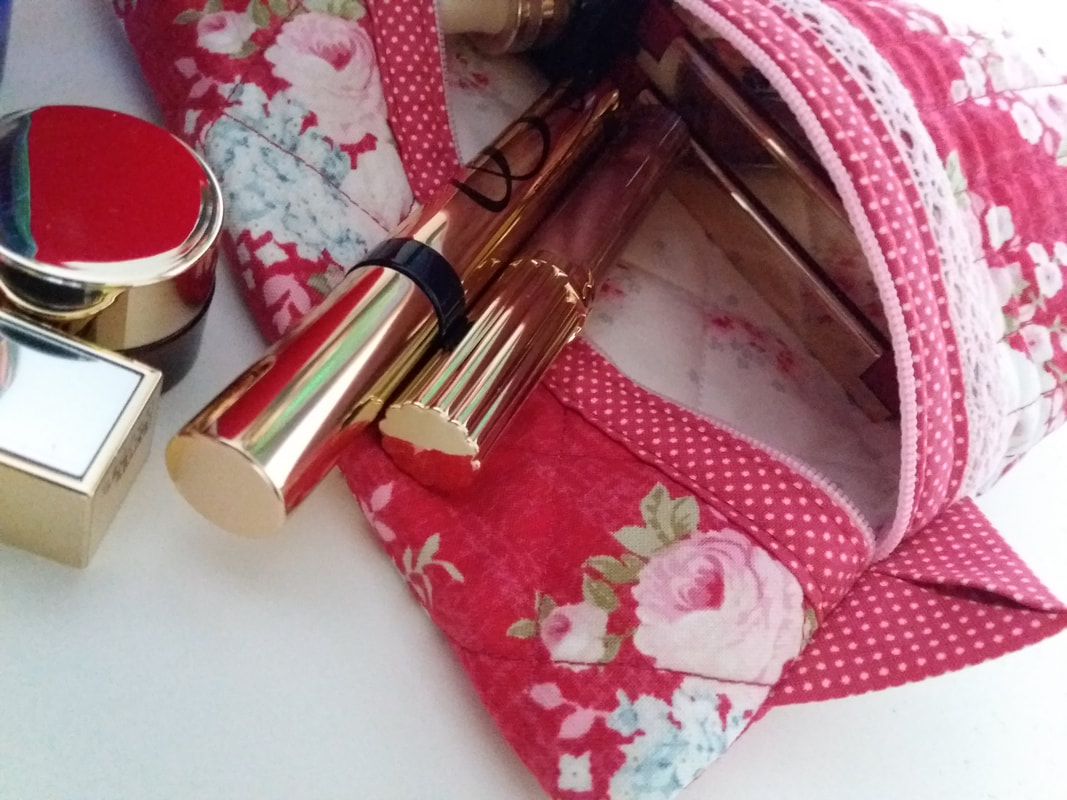
Mr F bought me a gorgeous Estee Lauder cosmetics and skin care gift set for Christmas. It was the perfect excuse for making a new cosmetic bag to keep some of these goodies in! I've used my favourite pattern for this bag, Anna's Sminkepung by the Norwegian designer AnnAKa. This time I've teamed some precious Tilda fabrics with some vintage lace trimming. I've even used some Tilda fabric for the lining - how decadent is that! This cosmetic bag has been layered with a fusible felted polyester wadding, Pellon H630, which is great for small bags. I've quilted it very simply using a variegated King Tut quilting thread, and I'm really pleased with the finished pouch. Life really is too short to save those precious fabrics and trimmings, so I shall probably make a few more Tilda bits and pieces this year.
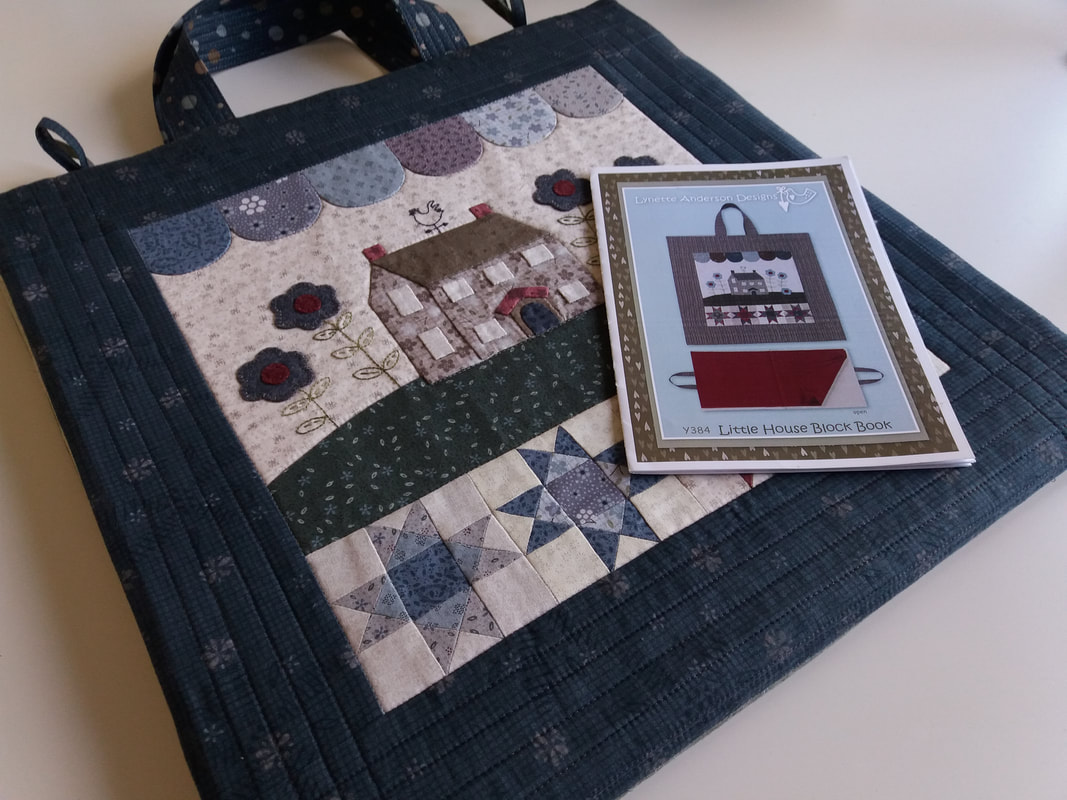
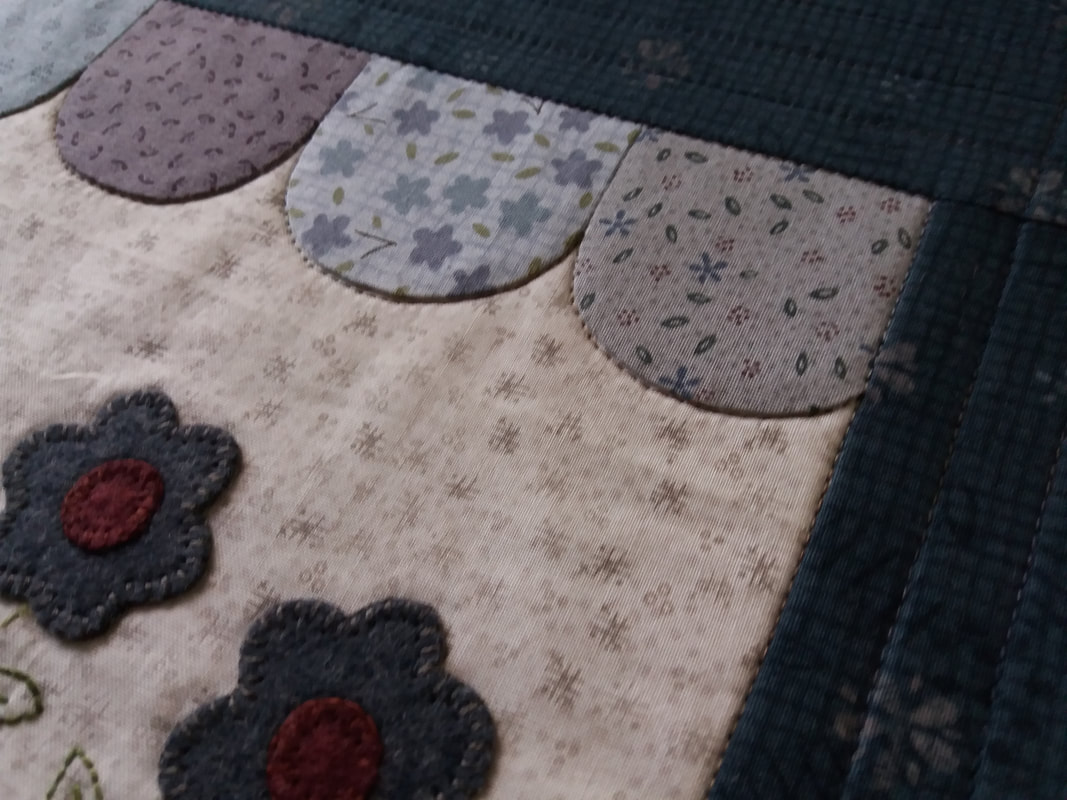
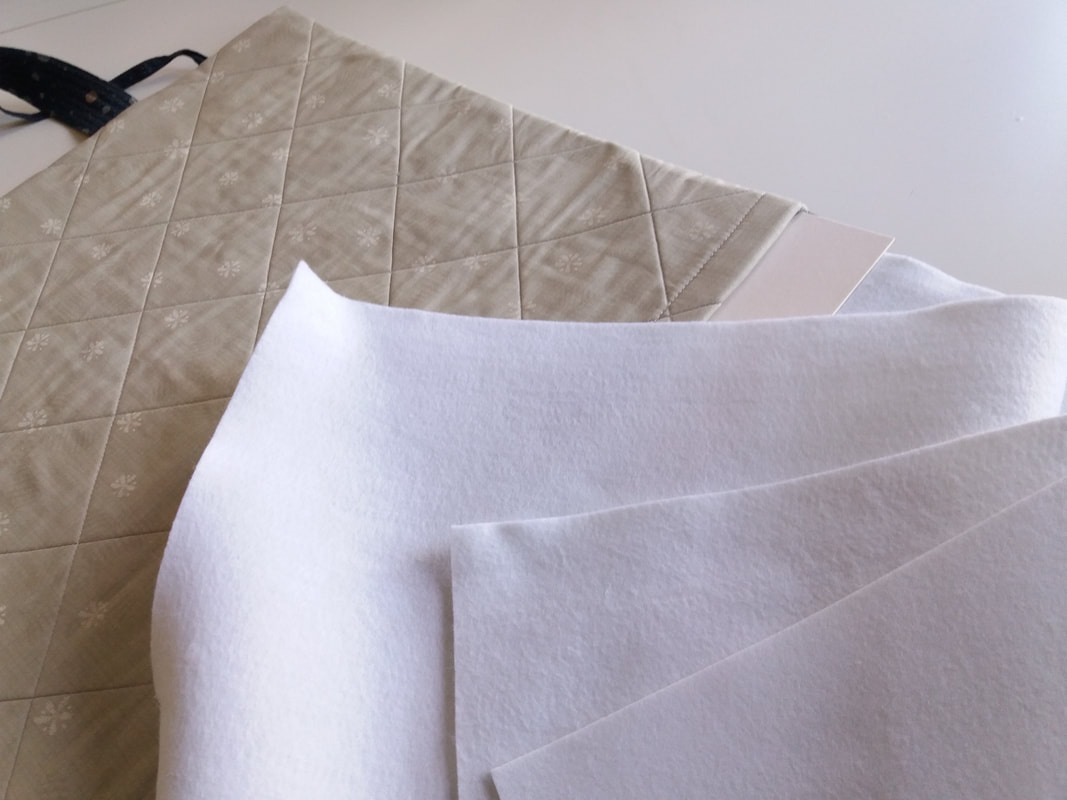
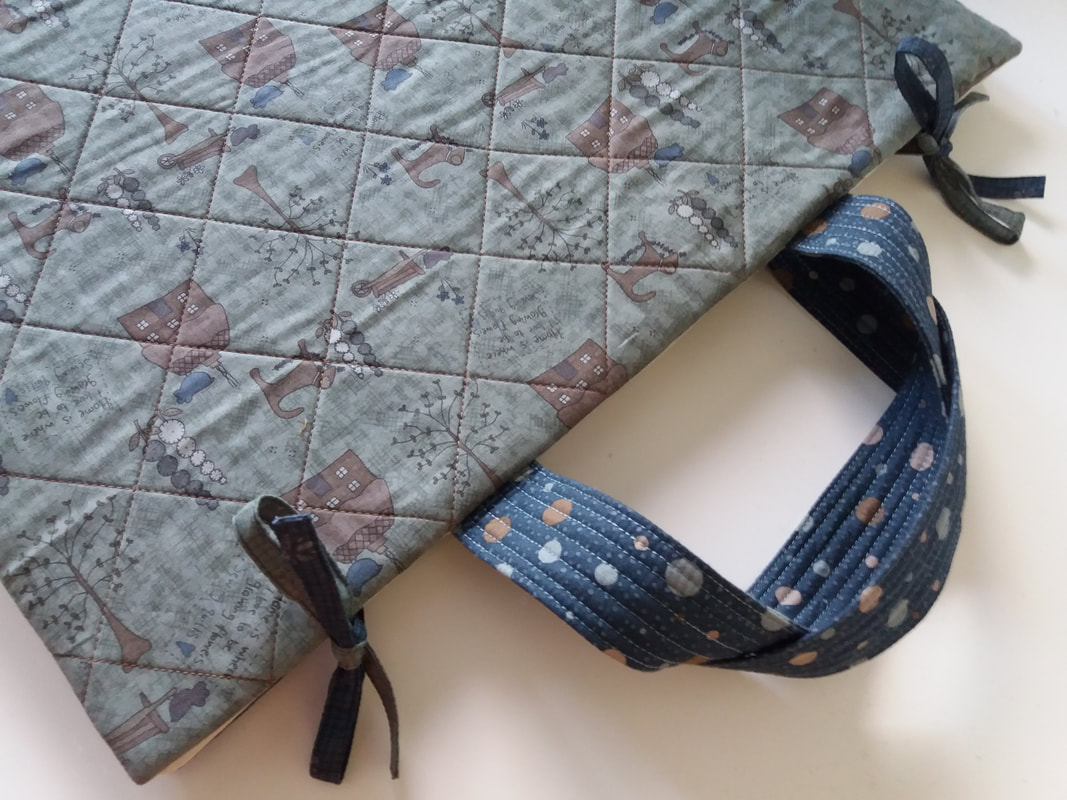
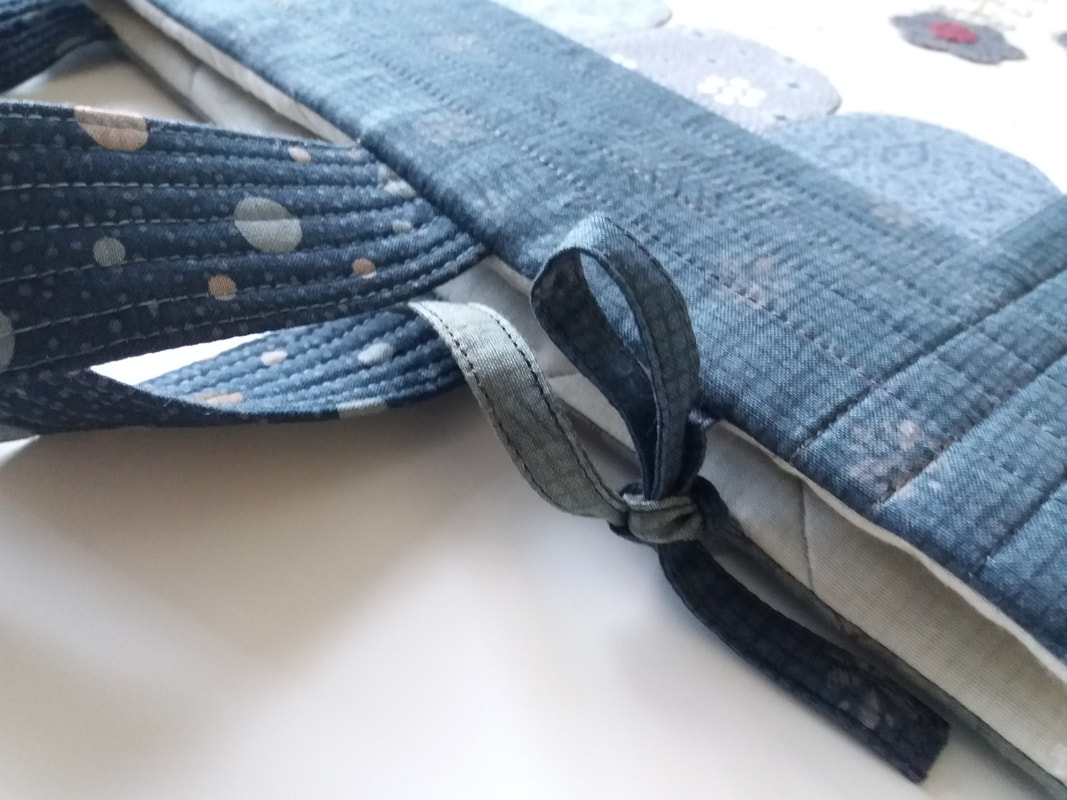
I'd originally made this block keeper a couple of years ago (the pattern is Little House Block Book by Lynette Anderson Designs) but unfortunately, due to frequent use, it was beginning to show signs of wear. I really didn't want to get rid of it, especially as there was so much hard work invested in piecing those tiny 3" Ohio Star blocks, not to mention the hand applique! So after a lot of deliberation, I set about giving it a much needed revamp... ...I carefully unpicked all of the seams and gave both the outer and the lining a good press. The original pattern doesn't suggest any form of quilting, however I decided that this would be a good idea to give ait a bit more structure and prevent the cardboard inserts from rubbing on the fabric. The wadding I've used is a fusible felted polyester wadding, Pellon H630. The outer part of th e block keeperwas then machine quilted very simply, using threads to match the colours of the fabrics. The lining was also quilted, again with a layer of Pellon H630. However I changed the construction slightly so the 2 cardboard inserts could be put in from the middle of the block keeper rather than from one end - it was one of those "Eureka moments" and I used the same technique that I use for making my journal covers. I also used half inch seams this time, so the worn edges are neatly tucked inside! My original block keeper was made with wadding pages - I was too desperate to get it completed but found they really were a bit too floppy. So this time around, I used some white felt and these were machine stitched in place once the block keeper had been reassembled and turned the right way through. I used a longer stitch length for stitching the felt pages and my Bernina stitched through all of those layers with no problems at all... ...another issue with the original block keeper was that it didn't always keep closed and due to the floppy wadding pages the blocks being stored inside would end up in a mess on the floor. So another little design tweak and I added some fabric ties to keep it closed. The original handles were still ok so I was able to re-use them, inserting them between the layers when it was reconstructed. Before it was turned the right way through, as there are lots of layers, I graded the seams and folded the corners as if it was a facing, securing it with a few hand stitches, so the corners are neat and square. Now I have a much more usable block keeper that should hopefully last me a bit longer!
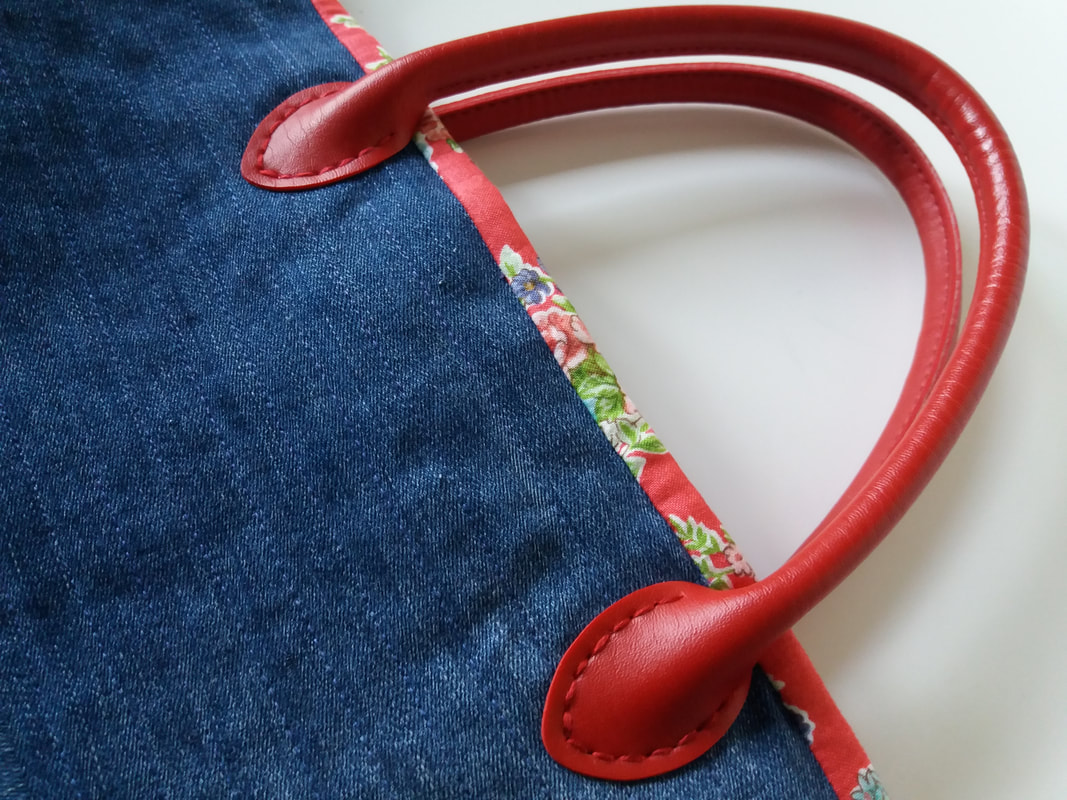
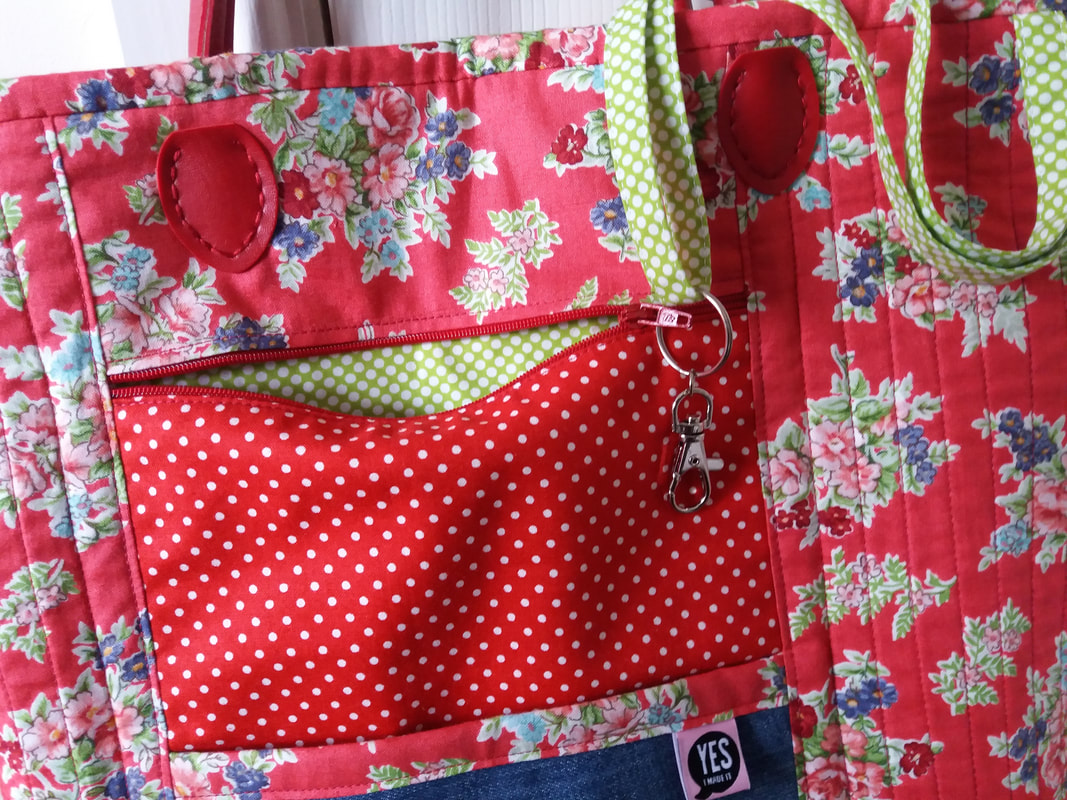
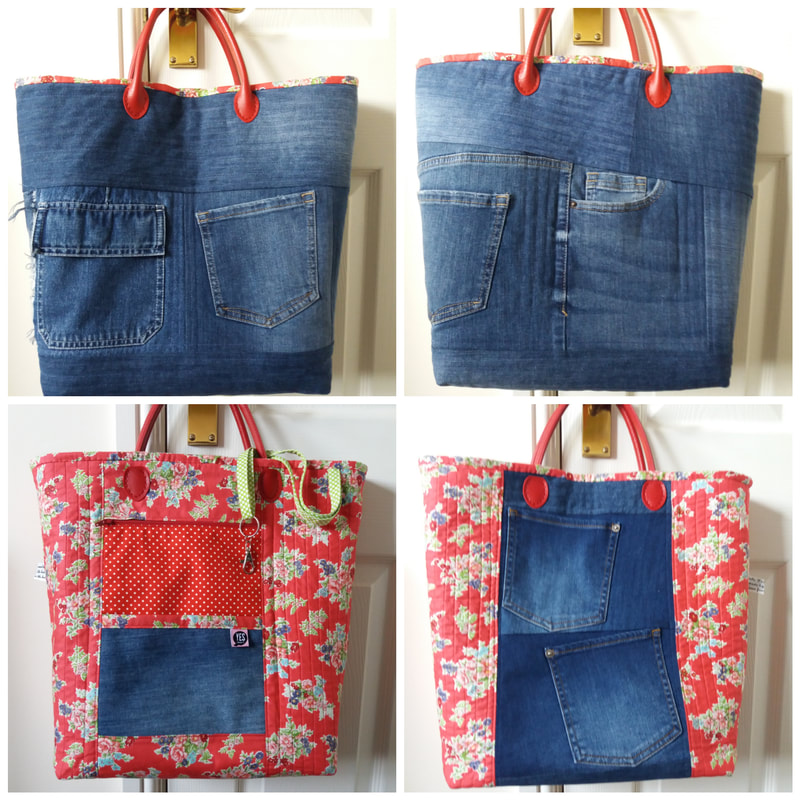
Attaching the red leather handles to my denim tote bag was really easy - they were simply hand stitched through all the layers - the handles on the outside and tabs on the inside. I usually put a few tacking stitches in place first to make sure the handles are in the correct pisition, measuring carefully to ensure they're equidistance from the centre of the bag. These particular handles already have holes in them to guide where the stitches need to go... ...this picture shows the tabs that are on the inside of the bag, keeping everything looking neat and tidy. Although the handles are placed correctly, the pocket panel is deliberately off-centre as I was using left over pieces of fabric for making this bag and didn't have any other pieces big enough. The lining has been quilted to give added structure, and as you can see, a bright pop of lime green is inside the zipper pocket as well as being used for the strap with a clip for attaching to my keys!
This denim bag really does have pockets galore! Rather than buy fabric specifically for this project, I used up scraps of denim mixed with this pretty red floral print. I didn't use a pattern for this tote bag either, instead I drew a large squareonto a piece of fusible Pellon H640, stitched the pieces of denim directly onto it to cover the outlined square, then machine quilted it in a navy thread to add texture and structure. Once it was quilted, I cut out boxed corners and repeated the process for the lining, inserting a pocket panel with a zippered pocket and a slip pocket for one side and pieced some scraps together that already had pockets on for the other side. To finish it all off, I've teamed it with some smart red leather handles... that have been hand sewn into position. The pictures below show the front, the back and inside the bag. I've also added a clip to keep my keys on too.
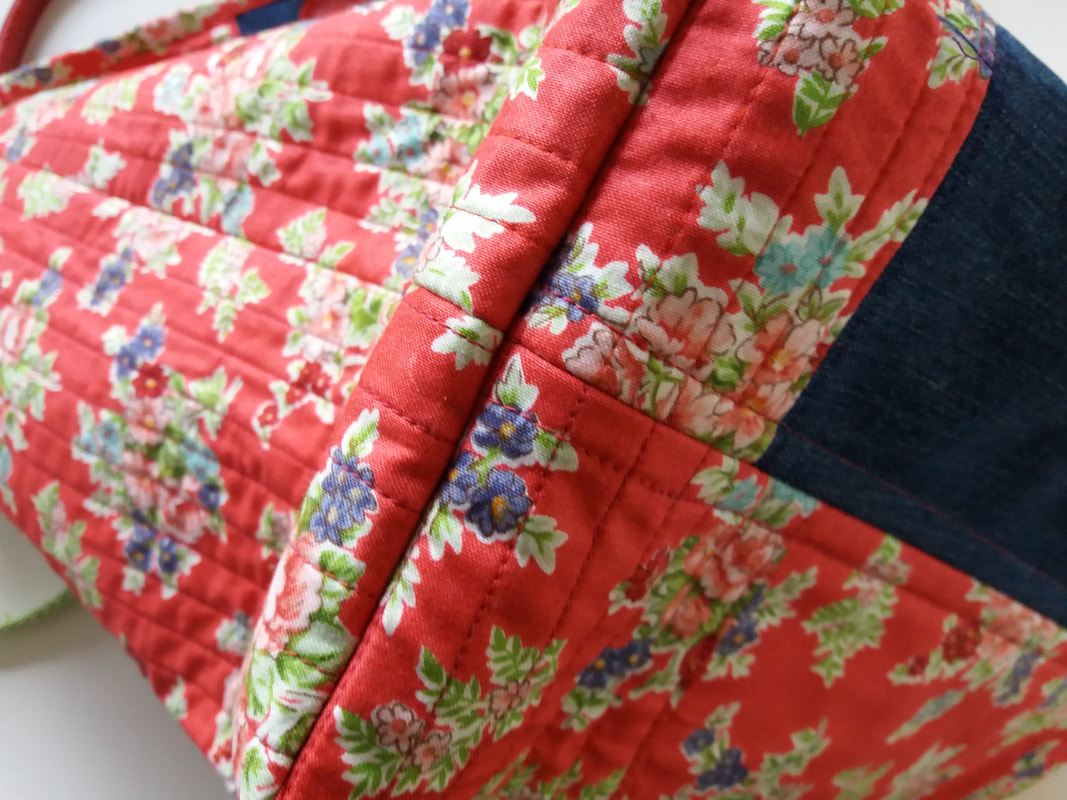
I'm rather pleased with my seam matching on these neat boxed corners. Once each corner seam had been stitched on the outer bag and on the lining, both parts were attached wrong side together using Clover Wonder Clips and machined together along the same seamline to keep the lining in place and to help keep the shape of the bag.
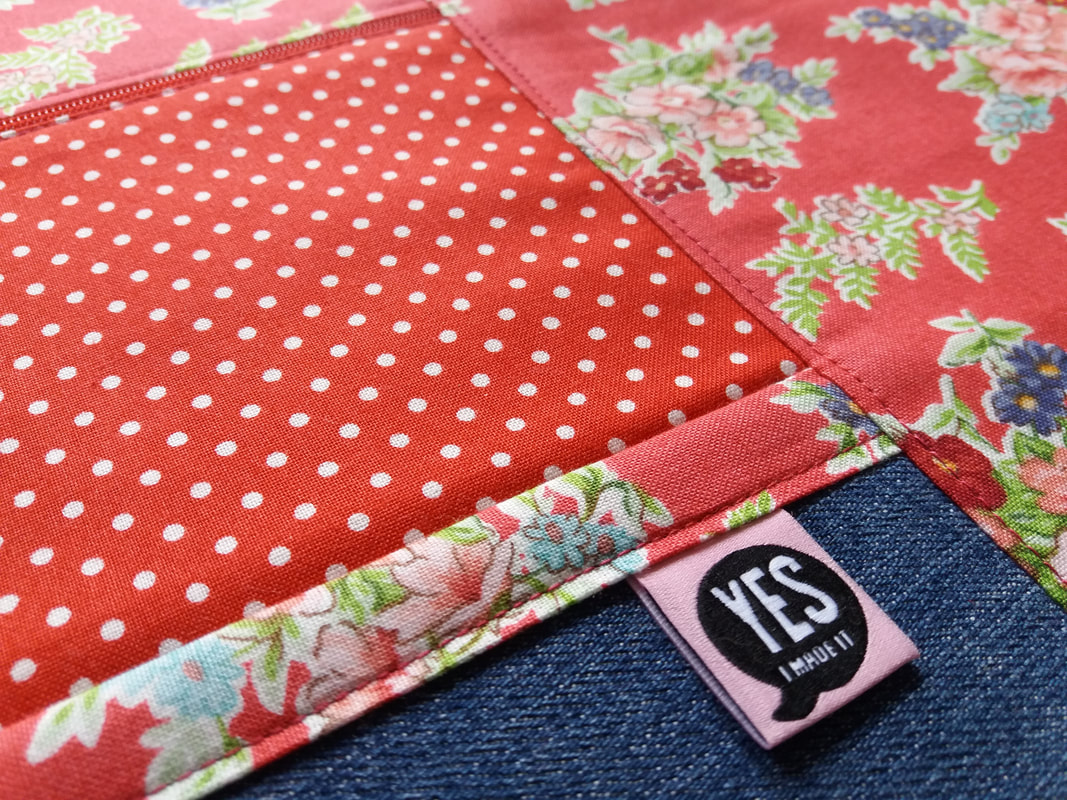
Yes I made it! These ready-made labels are from Kylie and the Machine. I've been using up some scraps of denim, mixing it with this pretty red floral print and a few spots. Really loving the red topstitching, which is a variegated red King Tut quilting thread. My Bernina 570QE stitched through several layers of fabric, denim and wadding with no problems at all. Under this pocket panel is a layer of Pellon H630 fusible wadding and a calico backing.
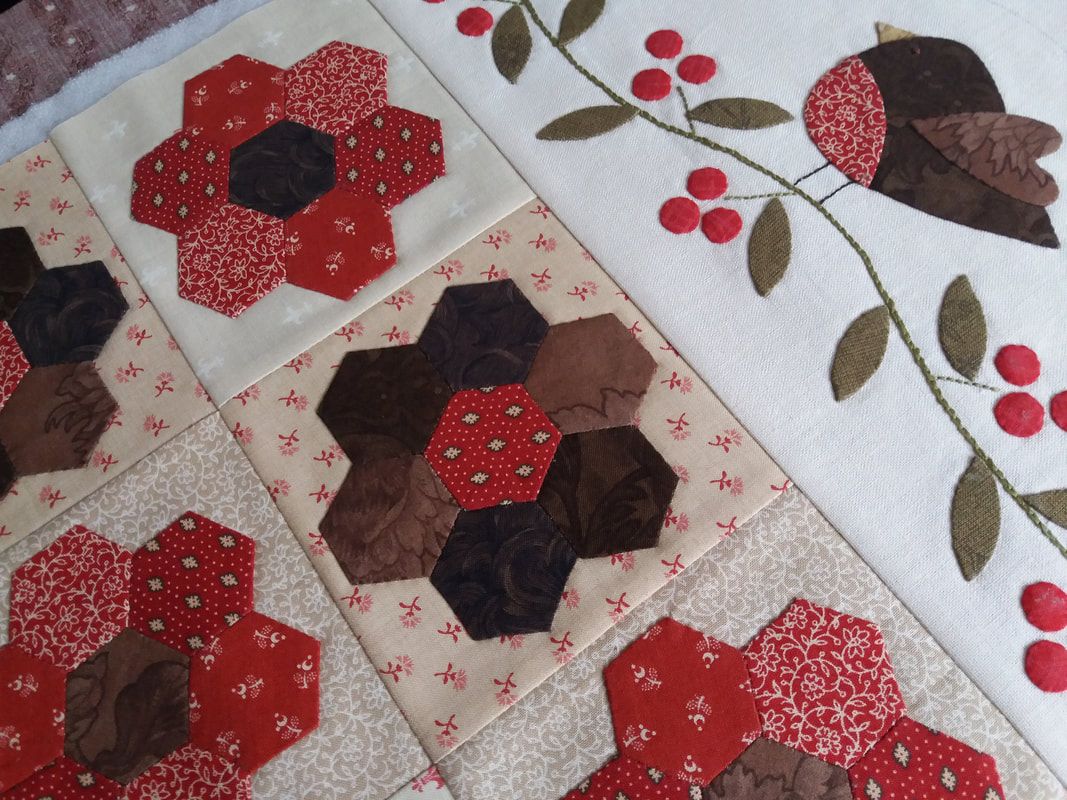
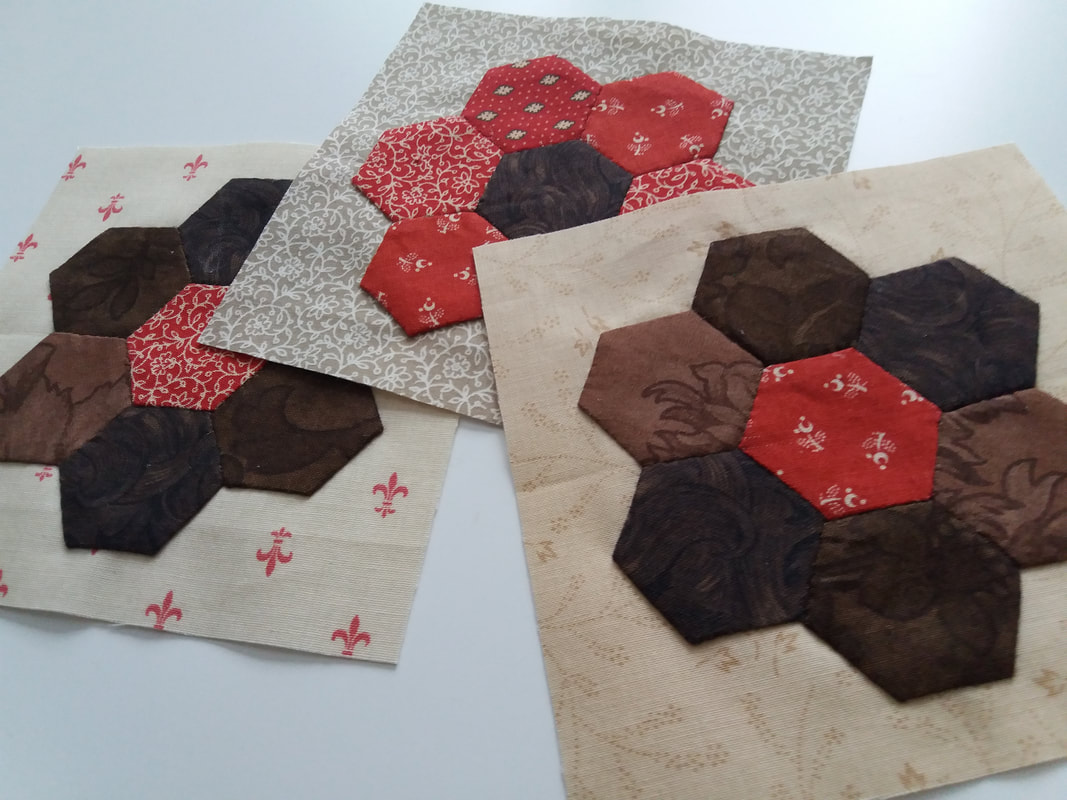
These hexie flowers have now all been appliqued to background squares, which have then been trimmed to size, ready for piecing together. These will form the main part of the Red Robin Runner, designed by The Birdhouse Patchwork Designs... ...I've used a piece of linen for the runner ends rather than the fabric that was included in the kit (I'll use that for something else!) and added a piece of lightweight interfacing on the back as linen can be a bit tricky to cut and sew with. Each end of the runner has been hand embroidered and hand appliqued. I've used an ordinary pencil to trace the curved outline of the runner ends. Once the runner is pieced together, it can be layered ready for machine quilting.
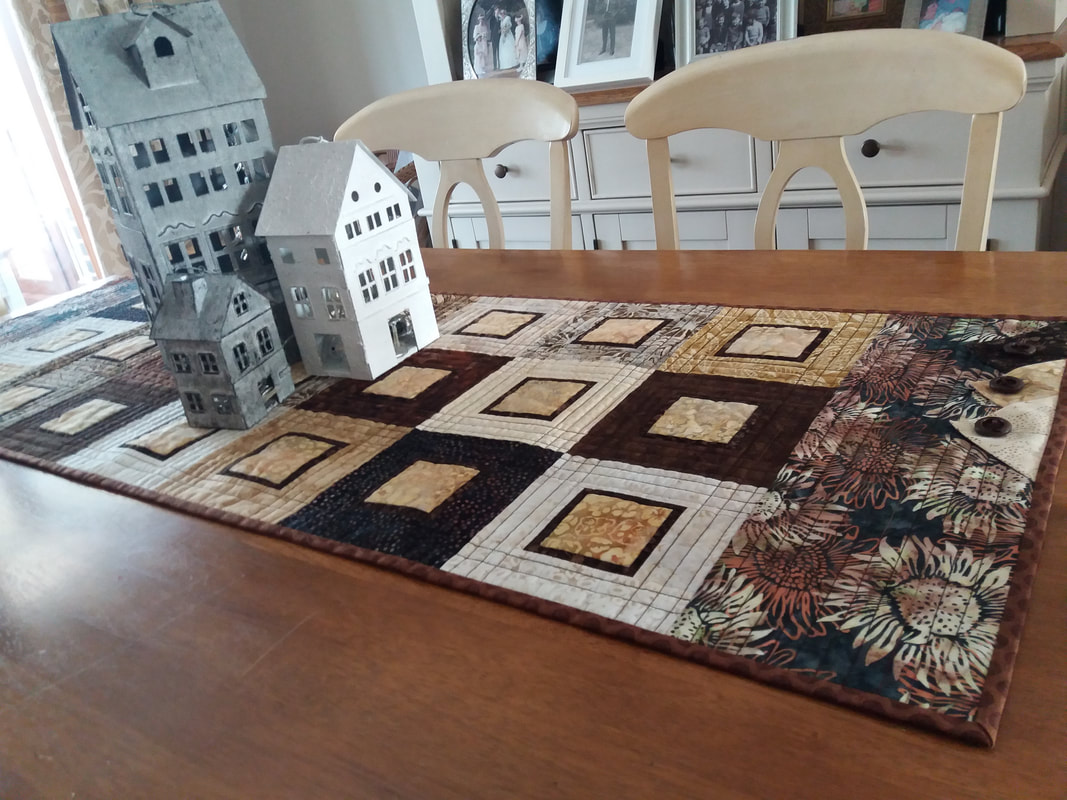
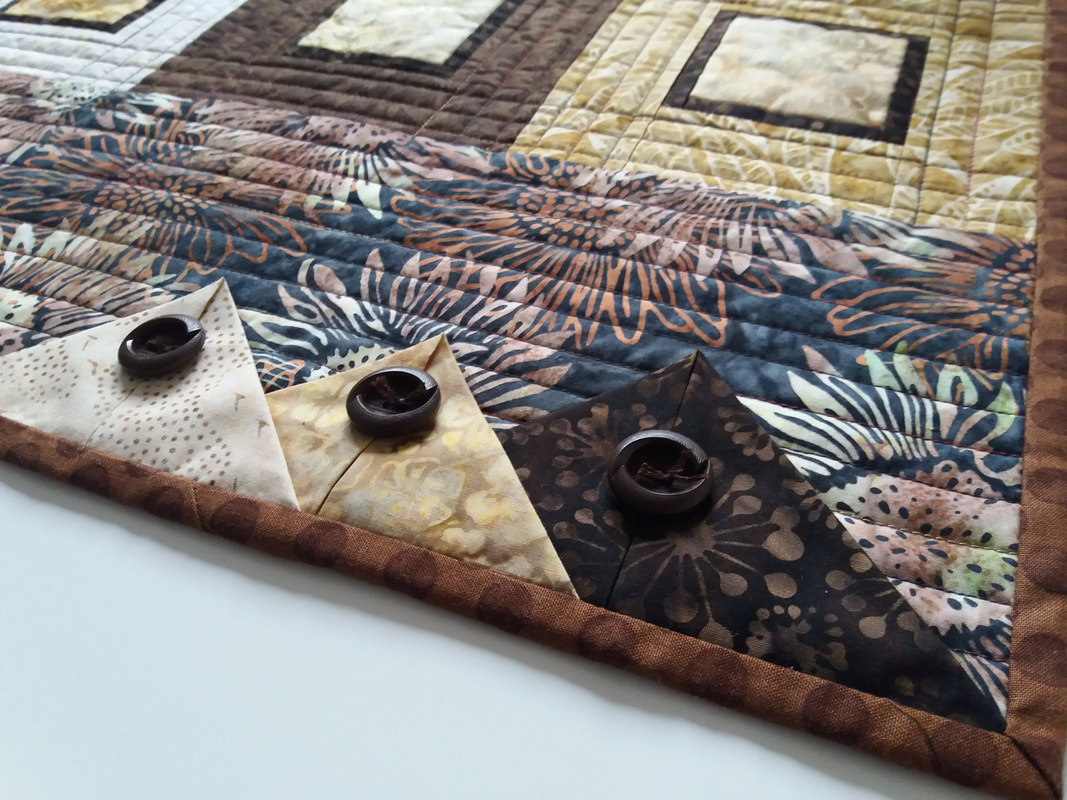
A few days ago when I made a small runner for my coffee table, I made some extra blocks to make a matching runner for my dining table. I've made several tablerunners using this design. The pattern is called Kle kjokkenet i 60-tallsdrakt by the Norwegian designer AnnAKa and was published in the Norwegian quilting magazine, Quiltemagasinet, issue 04/2007... ...once it was machine quilted (very simply in straight rows) using a variegated brown King Tut 40wt thread, Prairie Points are added to each end and some vintage buttons were stitched in place. Thank goodness for my huge button collection!
|
About me...Hi - welcome to my quilting blog! My passions are my family, my dog, my friends and sewing, not necessarily in that order! Archives
July 2023
Blogs I followUK shopsThese are the UK shops that I use to purchase my quilting supplies - fabrics and threads etc.
Australian linksScandinavian links |




 RSS Feed

