|
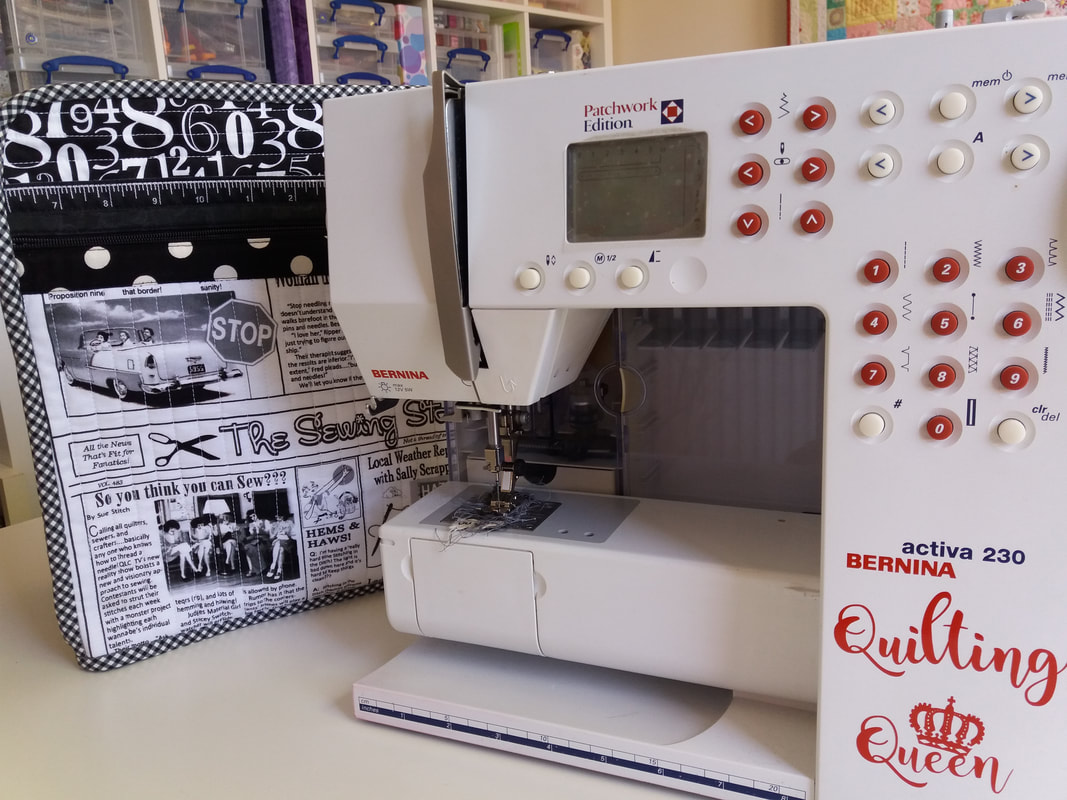
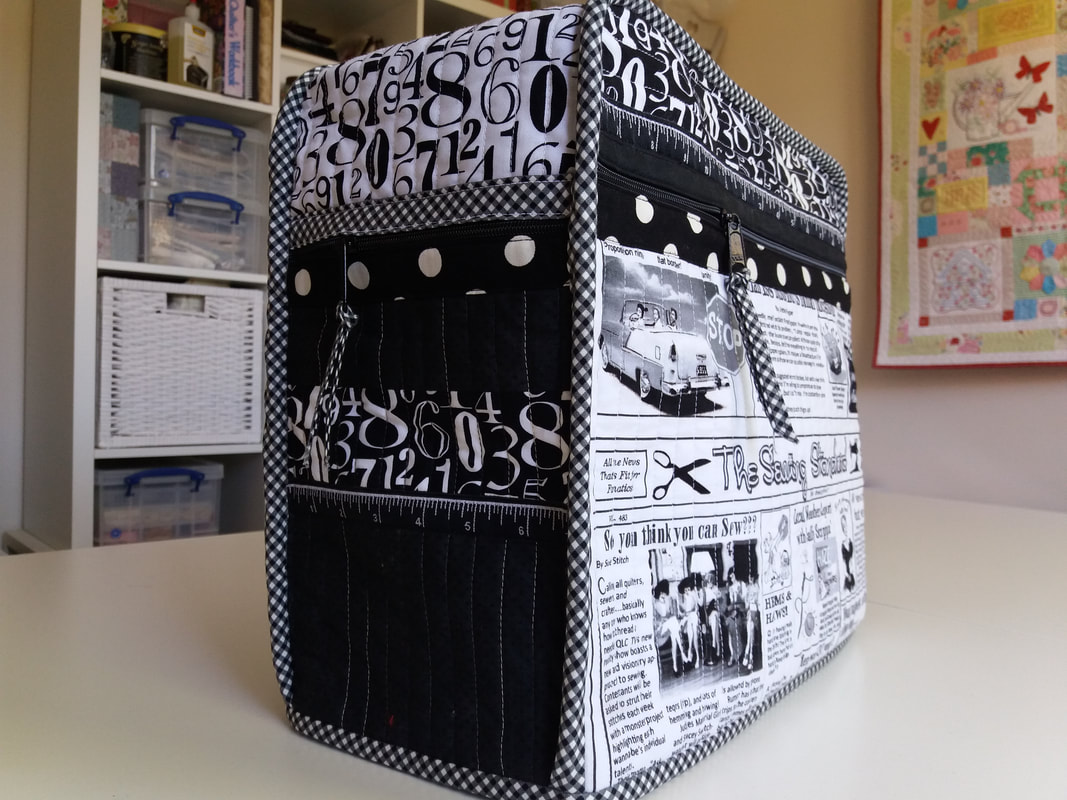
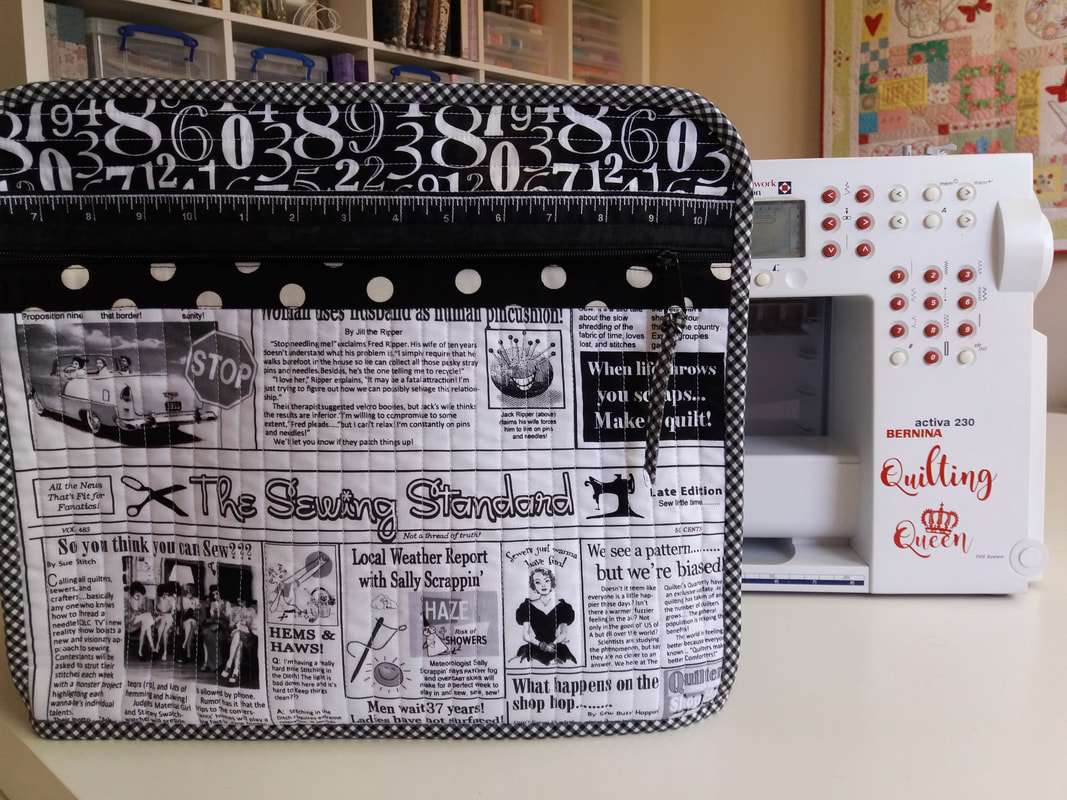
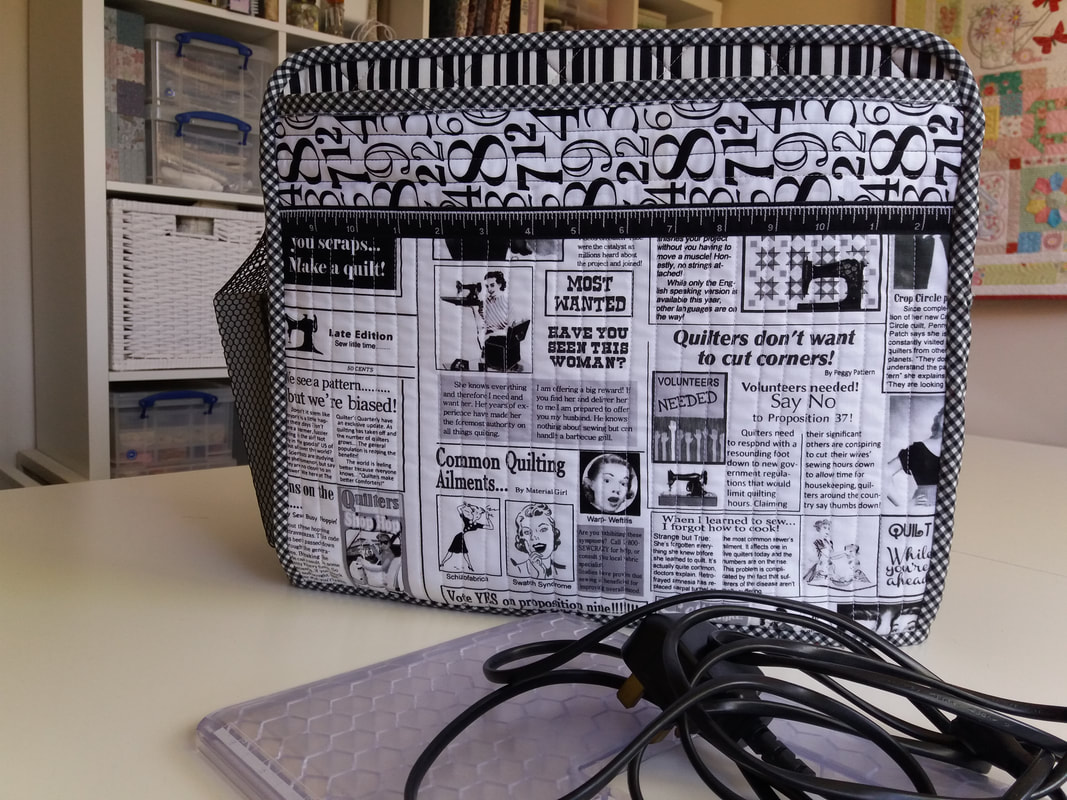
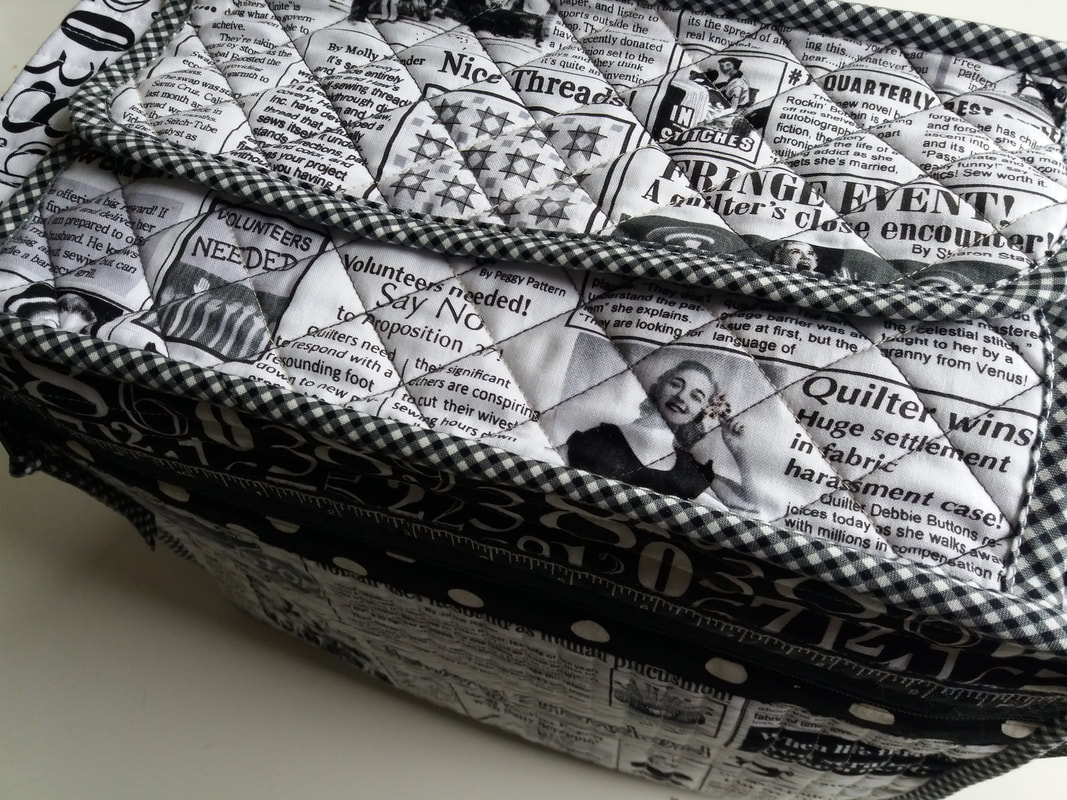
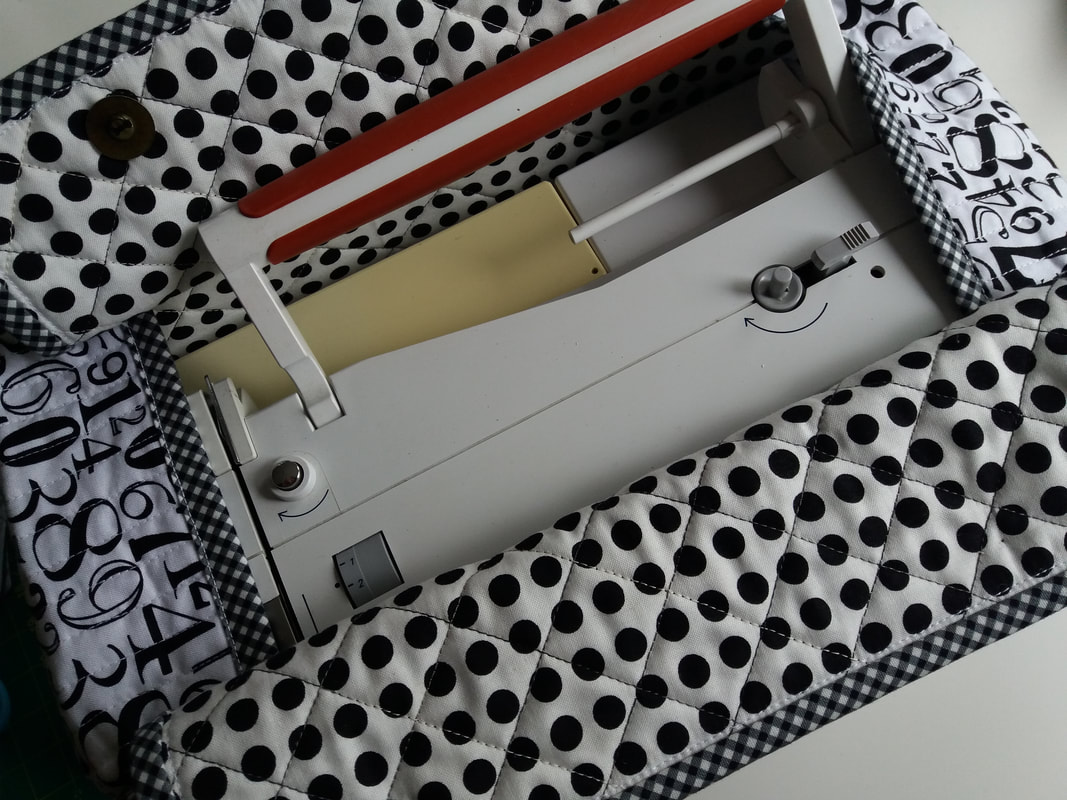
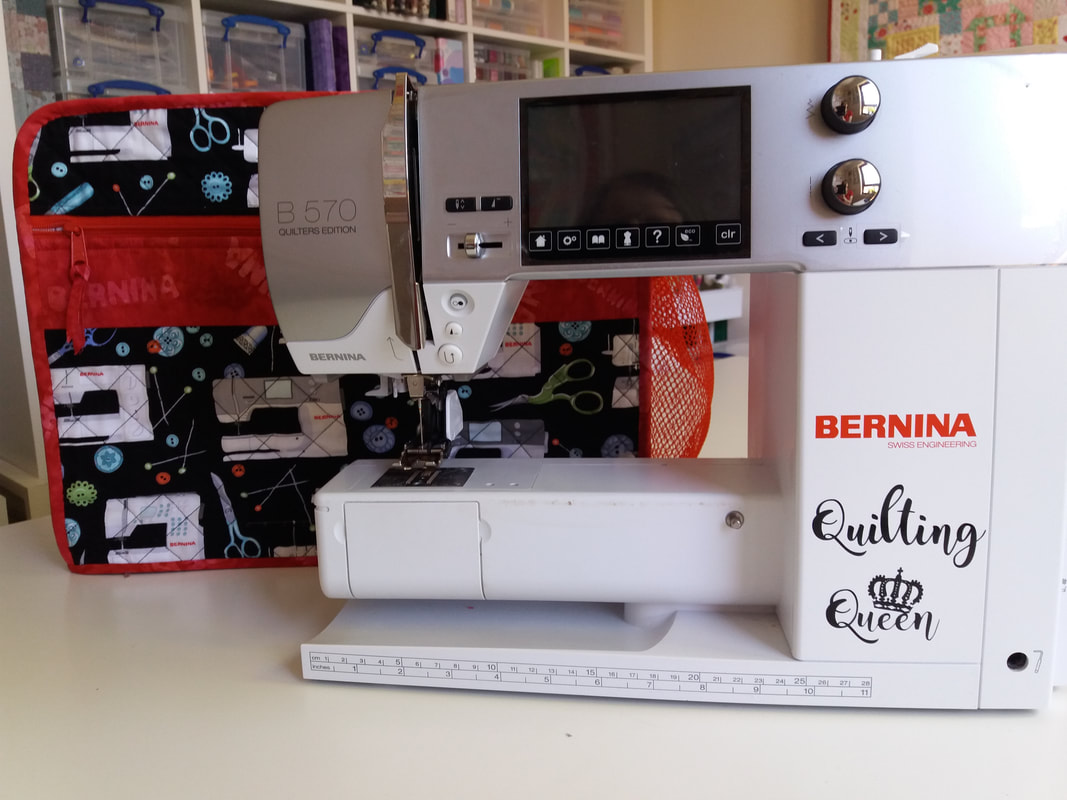
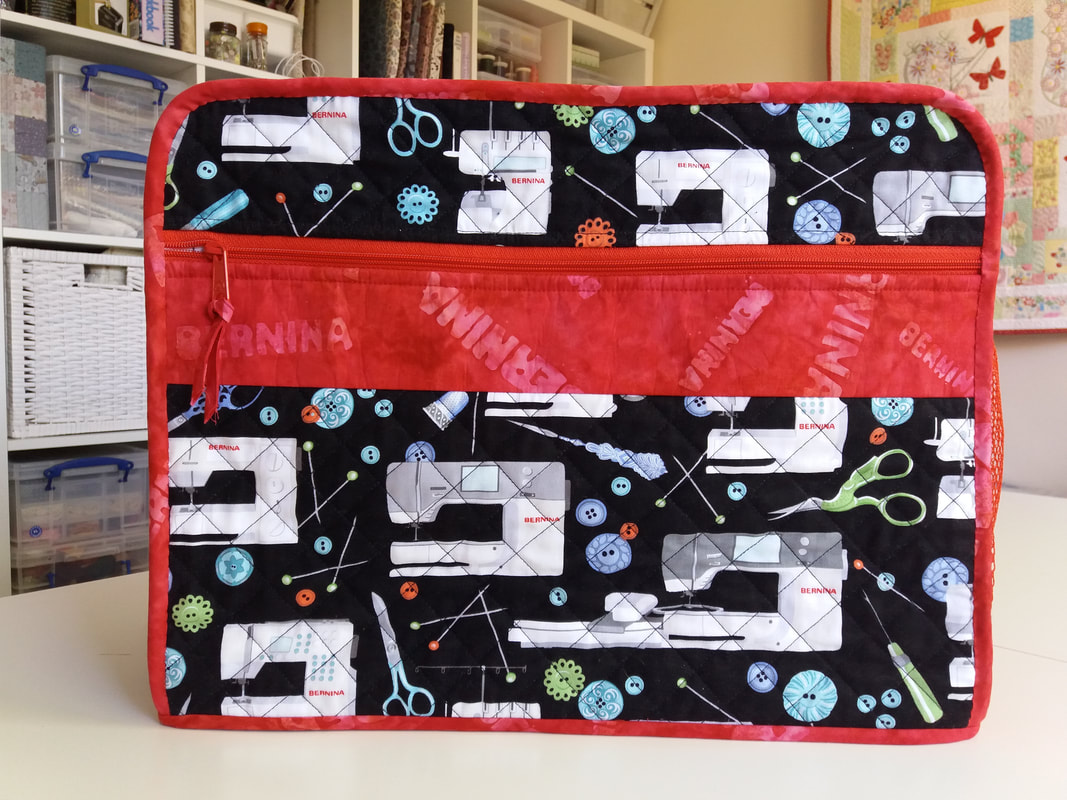
I'd recently made a sewing machine cover for my Bernina 570QE, using Bernina-themed fabrics. As I'm trying to use up fabrics from my stash this year, I've also made a similar cover for my Bernina 230PE using scraps of this fab black and white "Sewing Standard" fabrics. A few back and white fabrics (also from my stash) have been added to go with it. The pattern for the sewing machine cover is Under Cover and is a ByAnnie design which was purchased from Sew Hot, along with some mesh, zippers, and double fold elastic... ...this also has a zippered pocket at the side which I trimmed with "tape measure" ribbon and is the perfect place for storing the power cable. Smart gingham zipper pulls were attached to both the side pocket and the front pocket. The other side has a mesh pocket (with elasticated edging) for storing the foot pedal... ...a zippered pocket on the front is ideal for storing the manual and a slip pocket at the back of the cover is for storing the extension table. This has also been trimmed with some "tape measure" ribbon... ...quilted flaps (trimmed with bias binding made from a black and white gingham) on top of the cover have a magnetic fastening to enable easy access to the handle for lifting the machine. I used simple sew-in magnets for these flaps, so omitted the facing that is in the original instructions. I'm really pleased with it and now both of my Bernina machines look very smart indeed!
0 Comments
I'd recently shared some pictures of "Under Cover" - this a sewing machine cover pattern by ByAnnie which was purchased from Sew Hot. I really enjoyed making it and although it was a great pattern, with excellent instructions and a super video tutorial too, the completed cover was jusrt a wee bit too big for me to be 100% happy with it. So what did I do? That's right - I totally deconstructed the original cover - I very carefully unpicked ALL of the bias binding, carefully unpicked the seams where the front and back are joined to the side panel, then chopped a couple of inches off the width of the front piece, the back piece and each of the flaps and finally stitched it all back together again!... ...I am so much happier with it now as it fits so much better! It looks very smart and my Bernina 570QE is extremely happy with her new coat, especially as it has been custom made to fit!
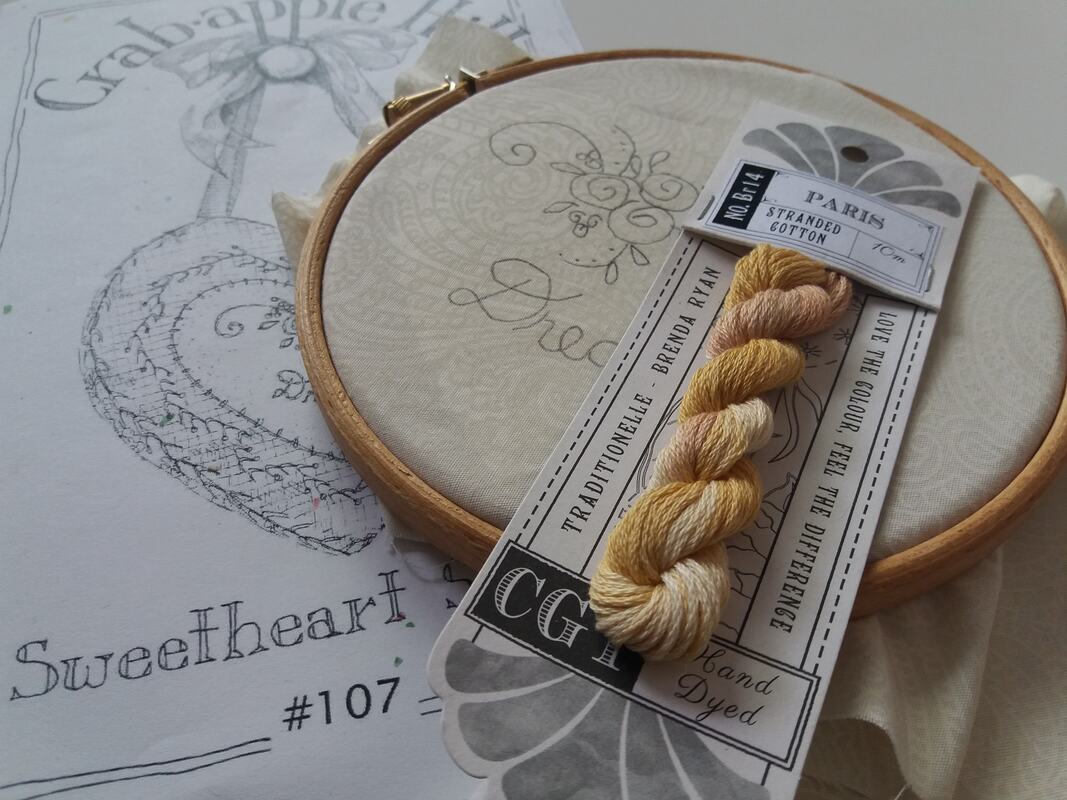
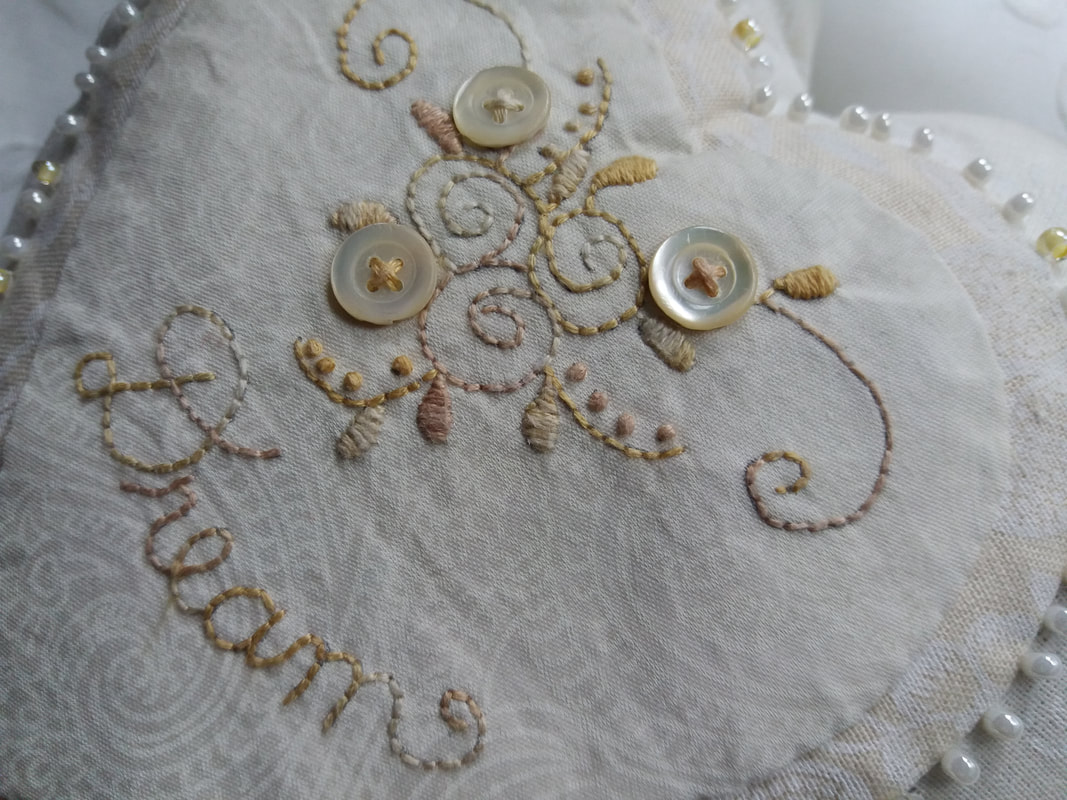
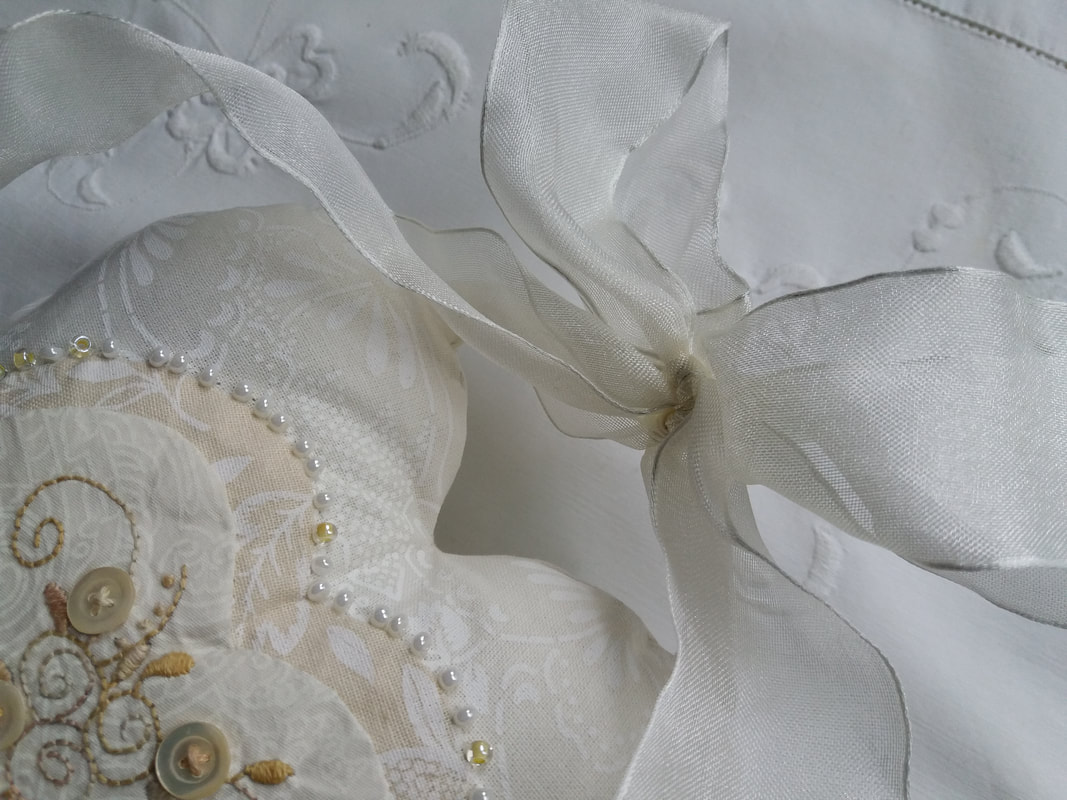
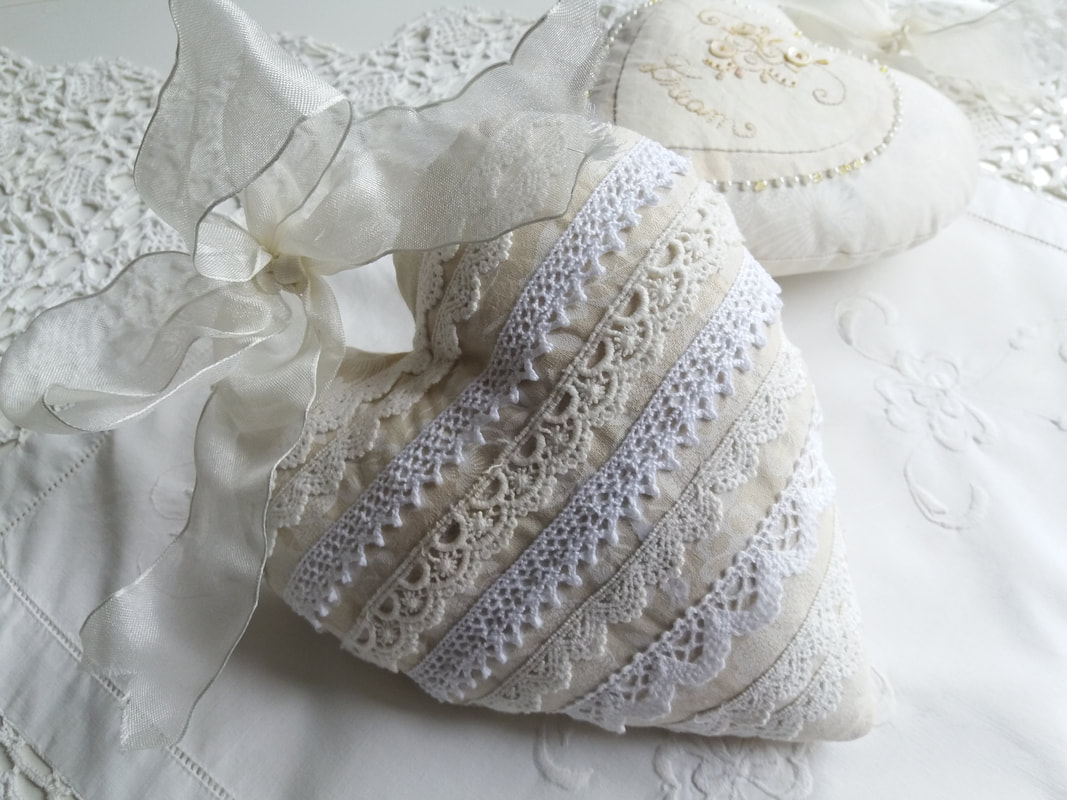
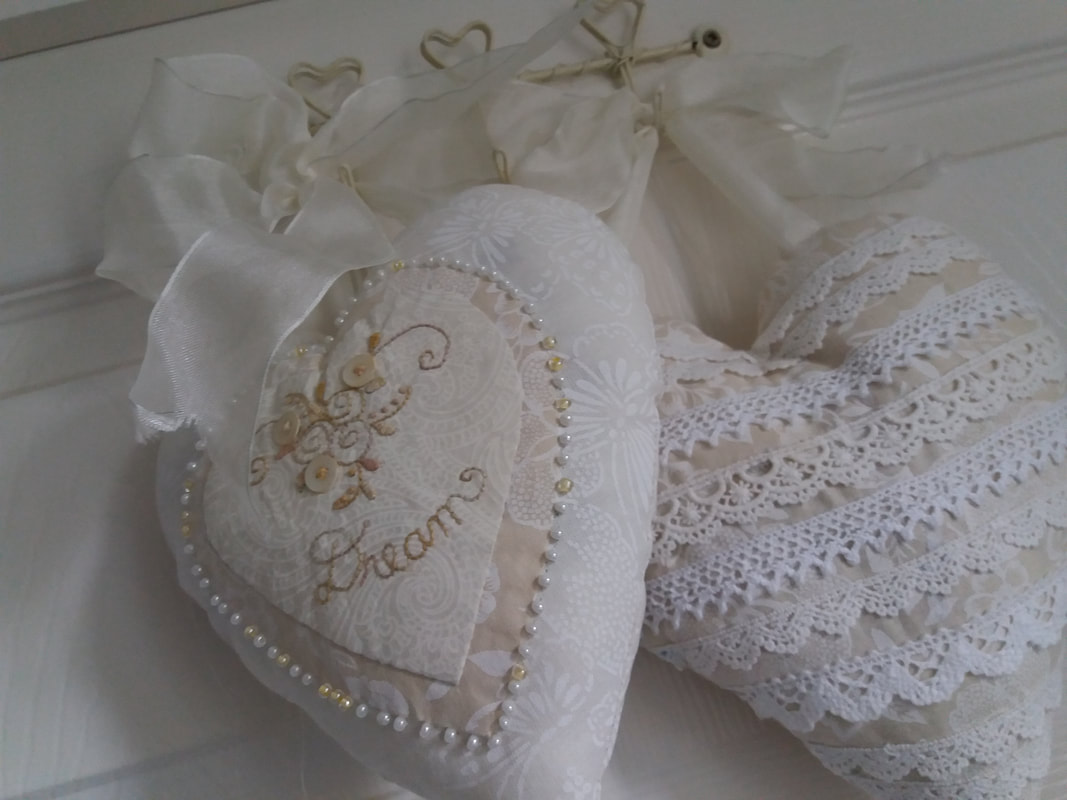
This pattern - Sweetheart Sachet by Crabapple Hill Studio - has been in my pattern box for absolutely years. On Saturday morning I finally decided to make a start on it! So, I traced the stitchery design onto a piece of cream floral fabric, and embroidered the design using a variegated thread by Cottage Garden Threads. I changed the front slightly, using some vintage buttons for embellishments... ...the appliqued heart was stitched into place and it has been stuffed with a mixture of wool wadding and lavendar so it smells wonderful. A selection of beads have been hand stitched around the outside of the middle heart and a decorative bow is made with wired ribbon stitched into the seam, to enable the sachet to hang on a coathanger or door knob... ...I couldn't resist making another one using scraps of vintage lace trimming to embellish the front of the sachet, again filled with scraps of wool wading and lavender. These extra large lavender hearts are the perfect addition to your boudoir! These would make beautiful bridal shower gifts, along with a matching embellished padded coat hanger, which has given me a few more creative ideas.
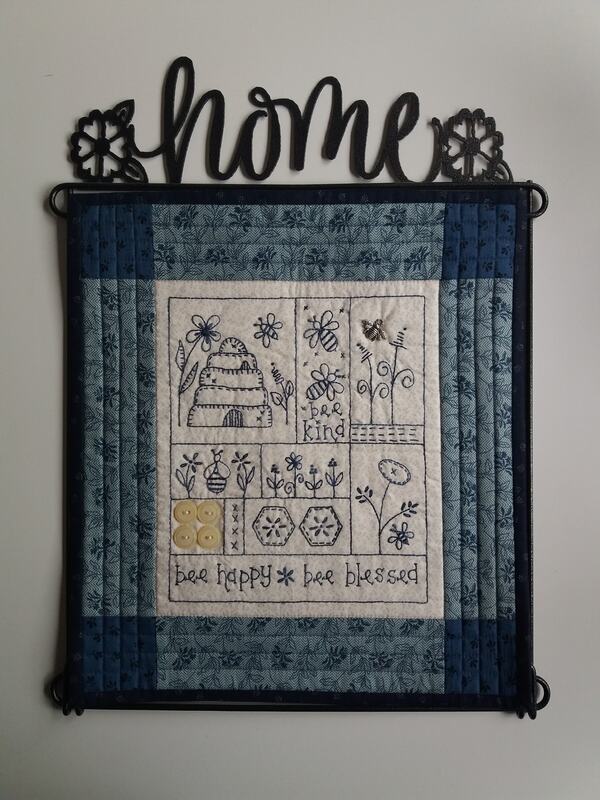
So today is World Bee Day 2021 so I thought it would "bee" appropriate to share a picture of this small hand embroidered wall hanging which is on display in my sewing studio. I'd originally made this back in 2019 - the pattern is Bee Happy by the Australian designer Gail Pan and was bought online as a kit from Cross Patch.
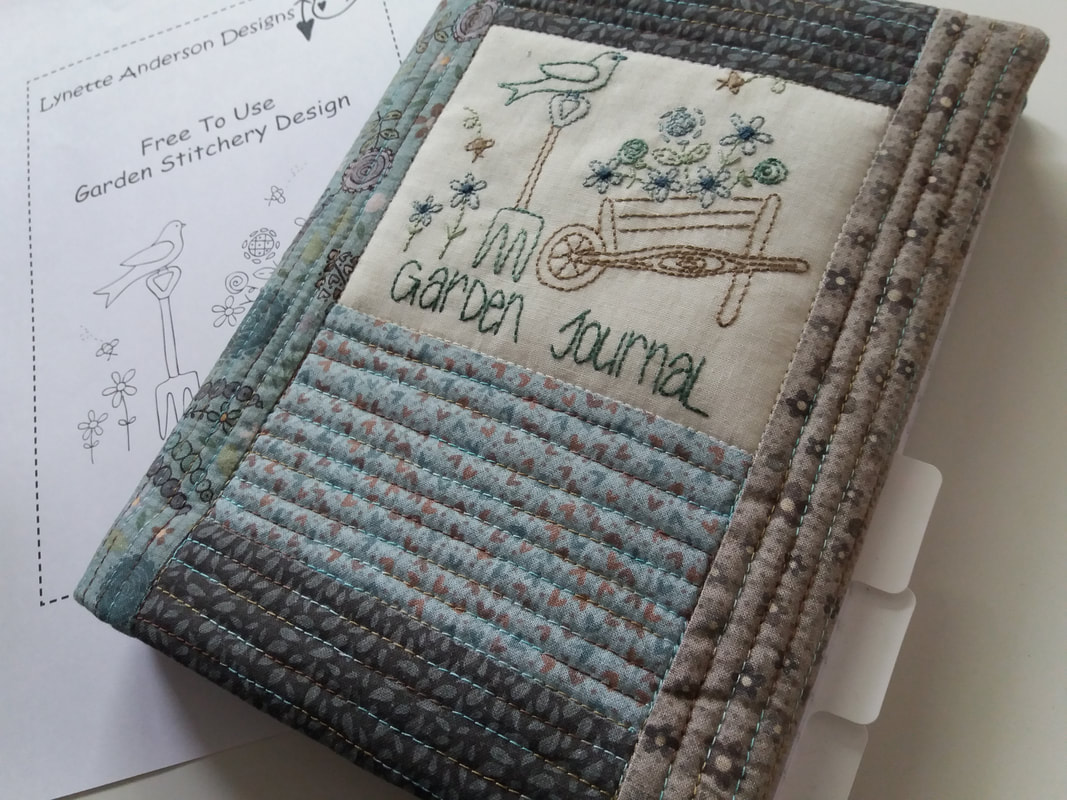
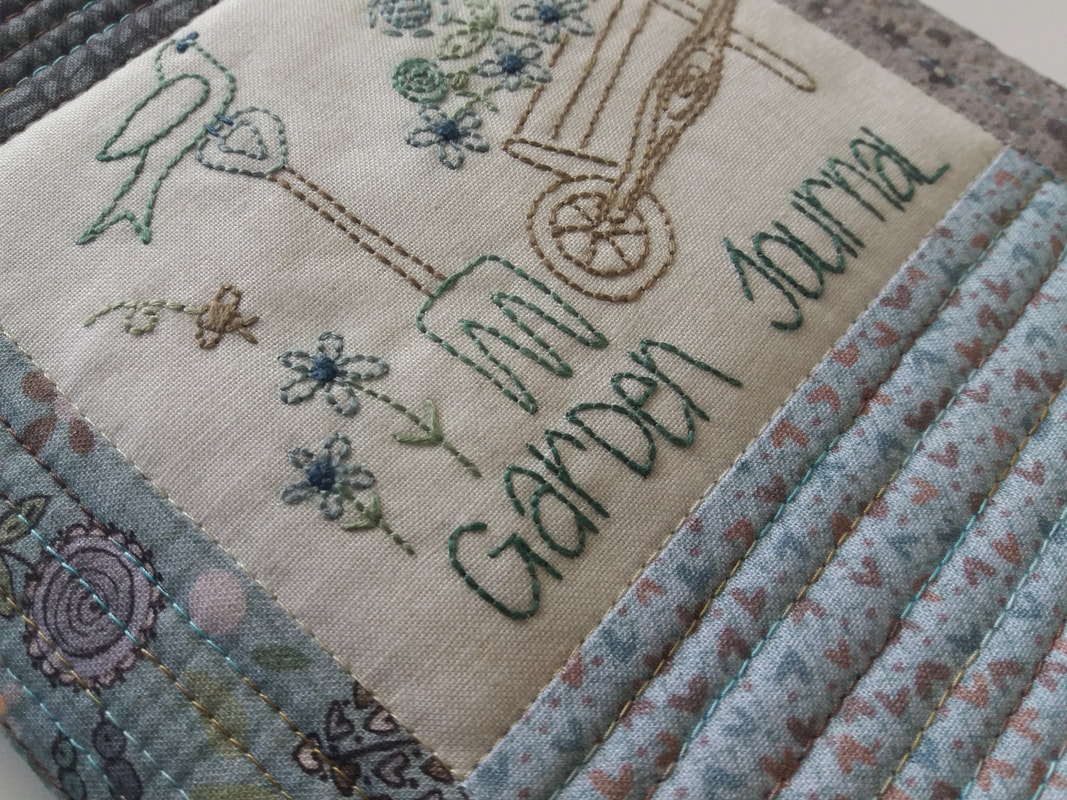
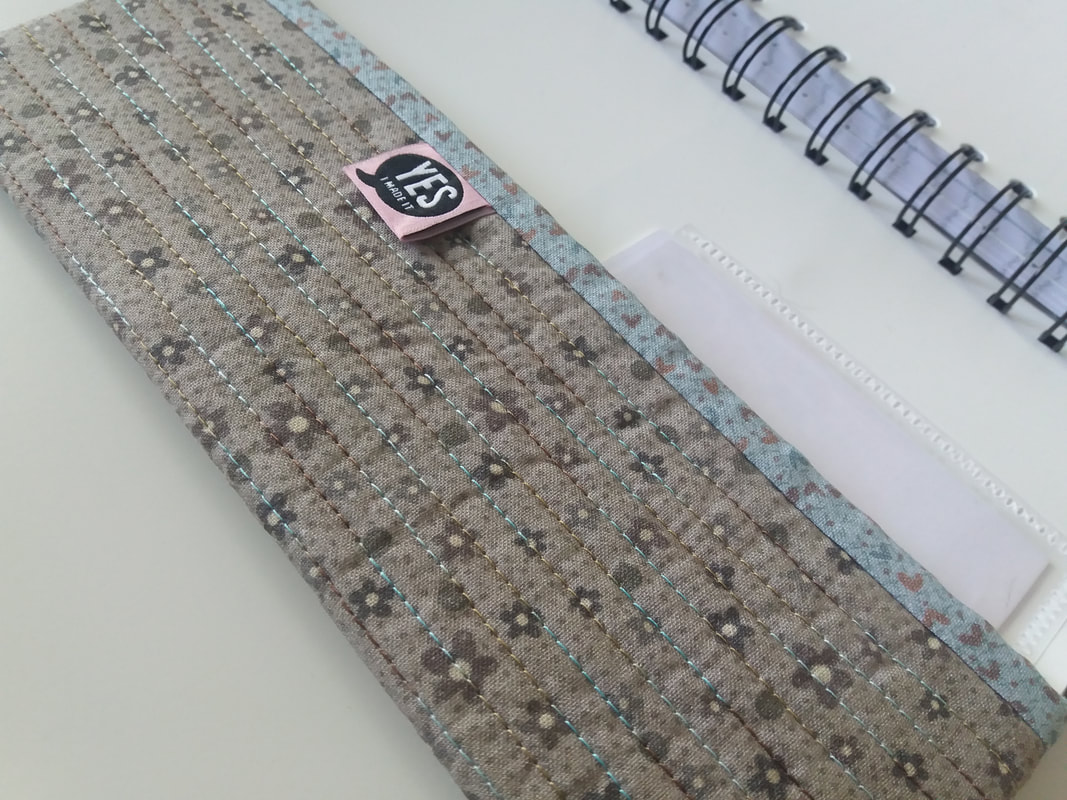
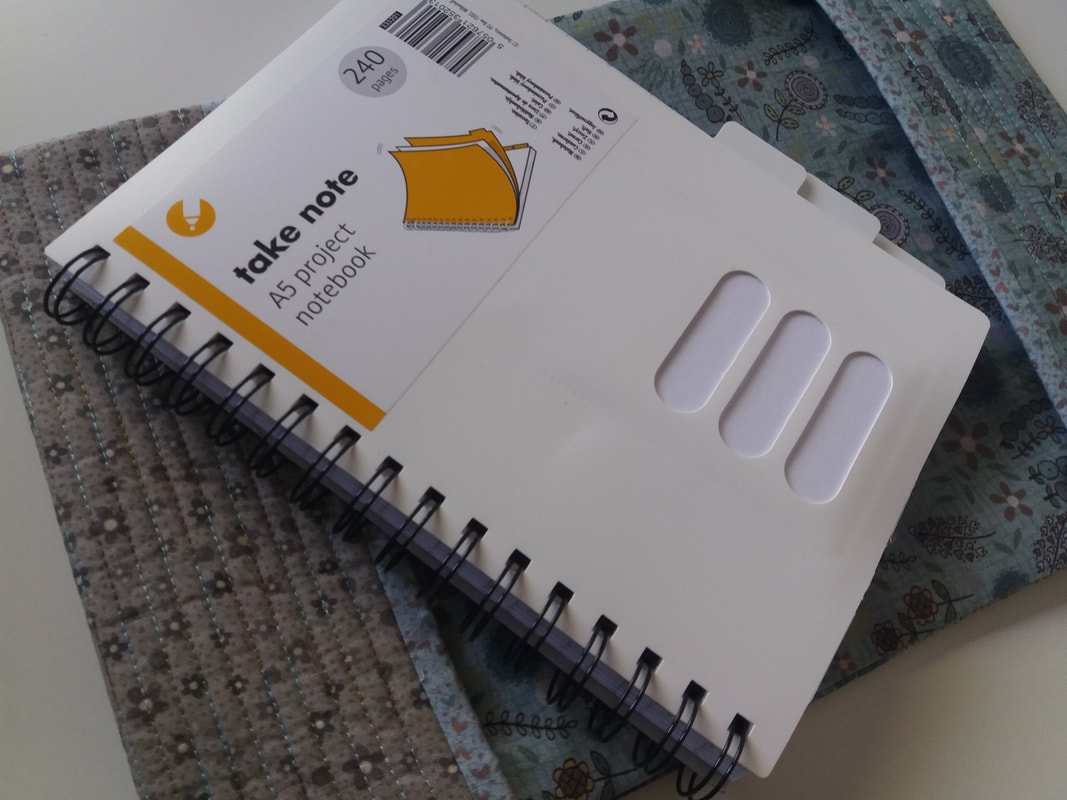
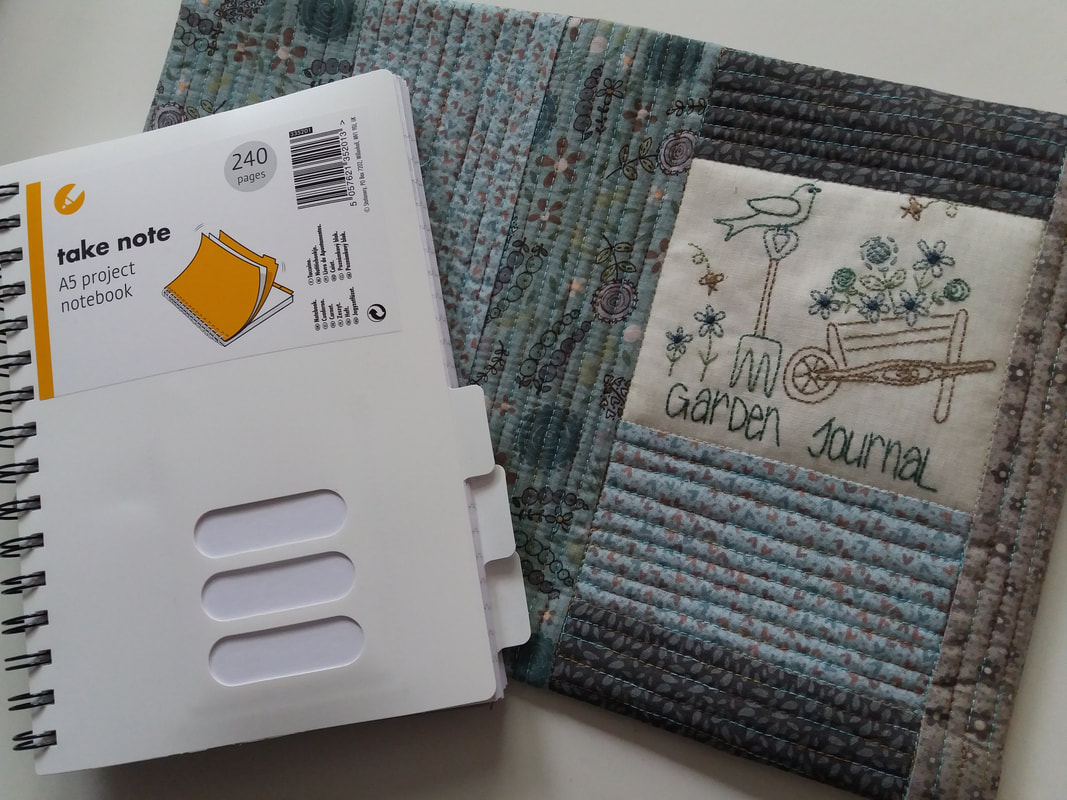
My husband is a keen gardener, and always complains that he can never remember where he's planted stuff in the borders. He needed a notebook to scribble all his gardening notes in... so a journal cover has been pieced together using fabrics from Swan Cottage collection by Lynette Anderson Designs teamed with a free stitchery design, available as a free PDF download from Lynette's blog... ...I chose a selection of embroidery threads in colours to coordinate with the colours of the fabrics. The machine quilting was kept simple, using a variegated King Tut quilting thread... ...the inside is also as neat as the outside, with no raw edges on show! This one has been made to fit an A5 notebook, which is easy to replace when the notebook is full.
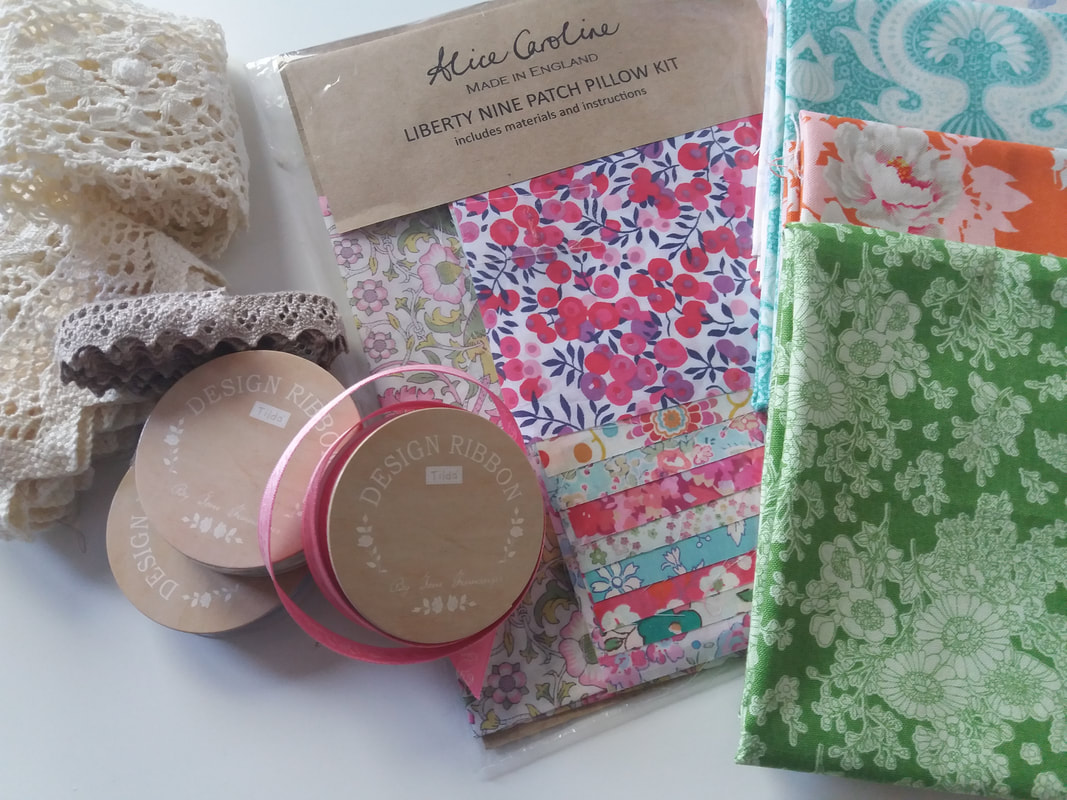
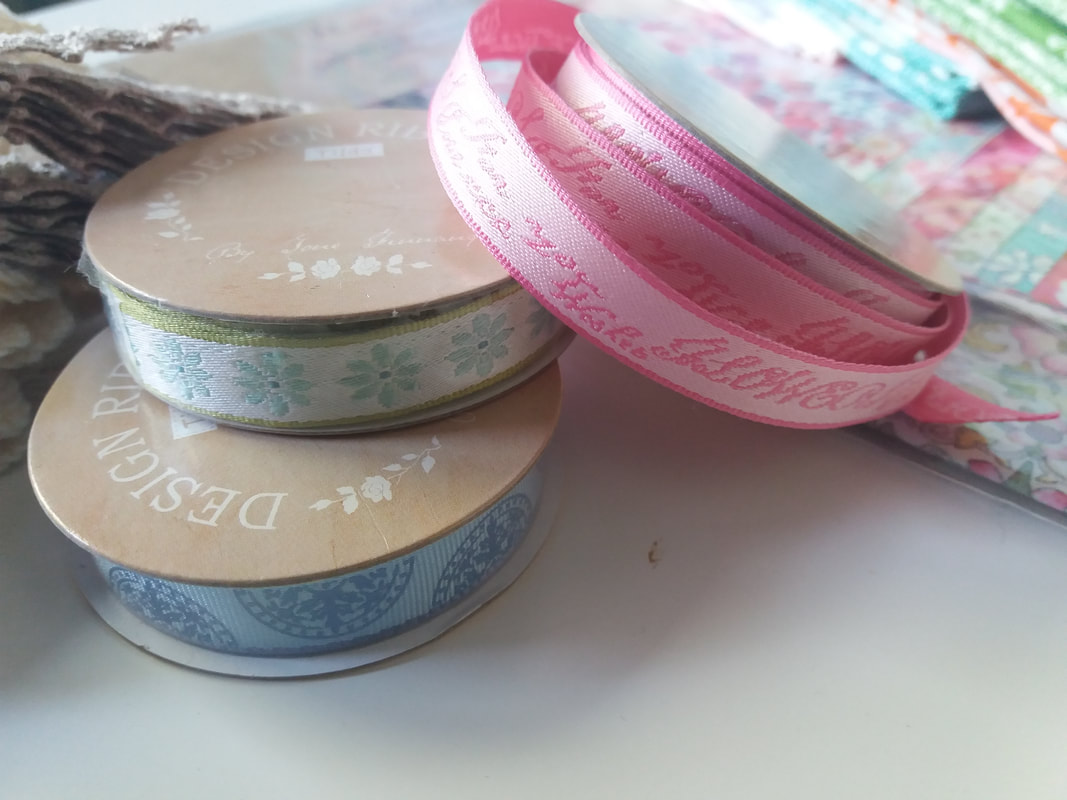
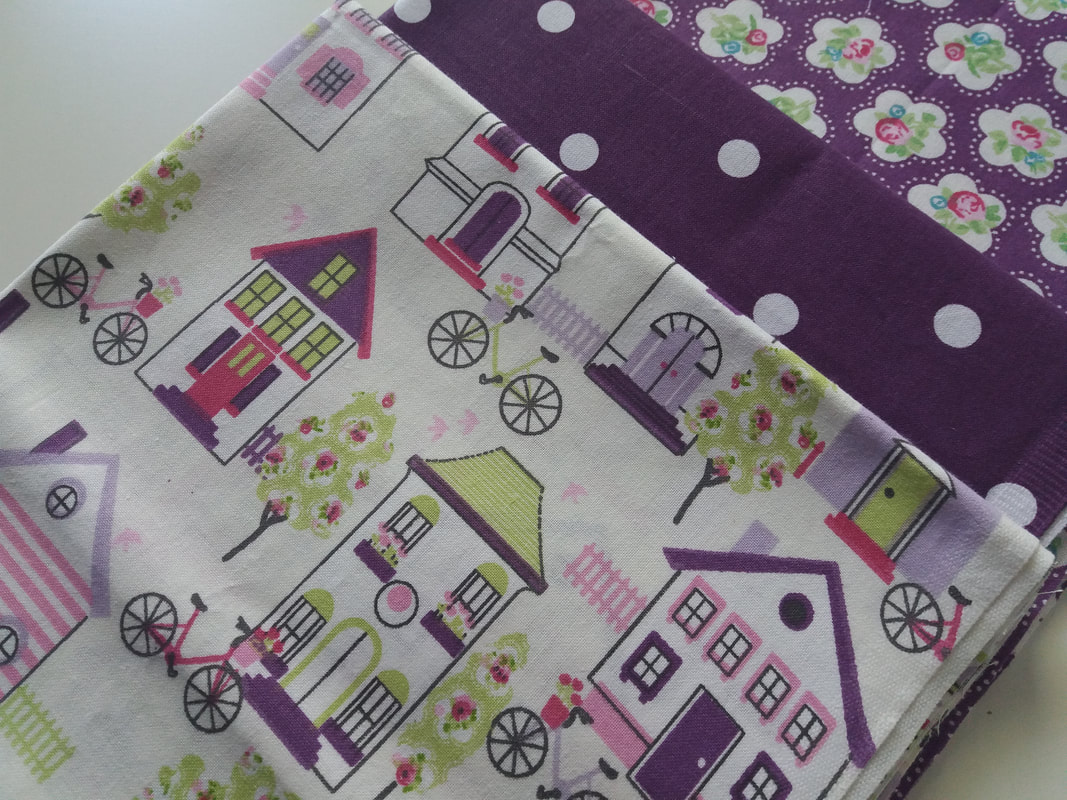
I really am very lucky to have such wonderful friends on social media. A few weeks ago, a lovely parcel arrived in the post from one of my Instagram friends Hilary, with some gorgeous Tilda fabrics and ribbons, vintage lace trimmings and a Liberty fabric patchwork pillow kit. Then this week another parcel arrived from Hilary with some really pretty fabric that would be great for making tote bags. Hilary thank you so much for your kindness - you know me so well!
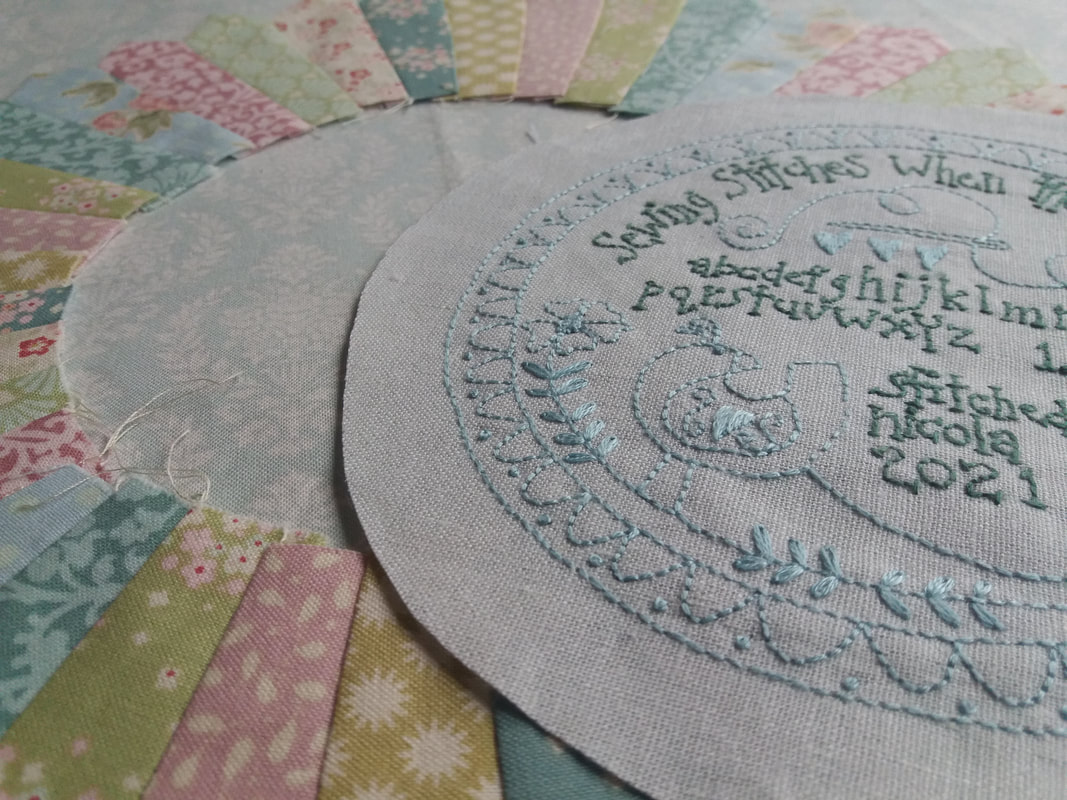
Saturday stitching - this morning I've been playing around with a beautiful Dresden plate that I made with Tilda fabrics about 4 years ago! This was leftover from Flowerville, a pattern by Rosalie Dekker and the stitchery (hand embroidered this week) is a scaled down version of another one of Rosalies designs (Simply Blessed). I just need to applique the centre into lace, then decide whether to turn this into a cushion, a wallhanging, or whether to frame it as a picture.
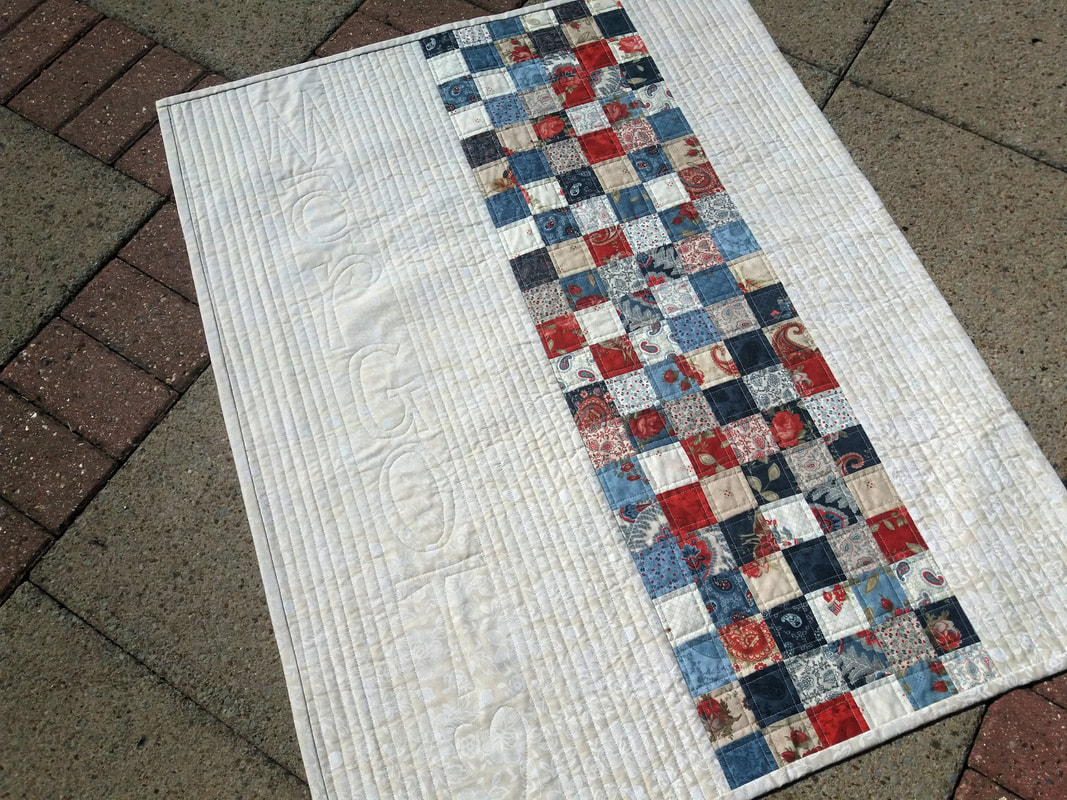
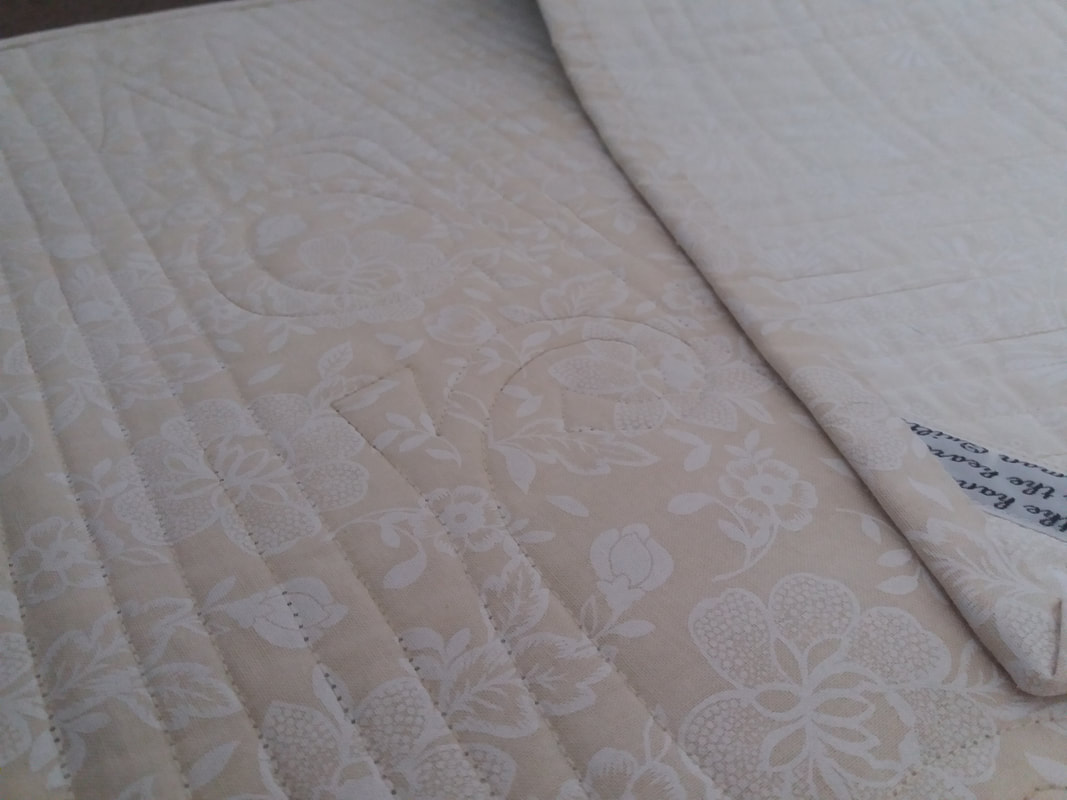
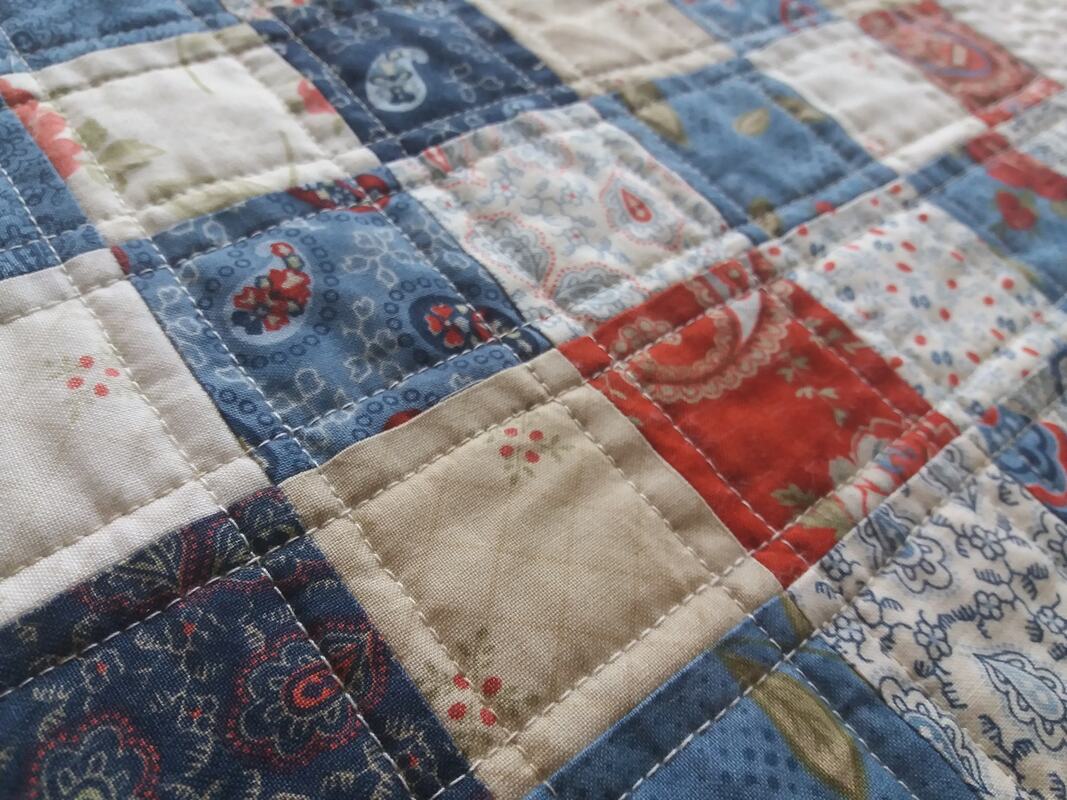
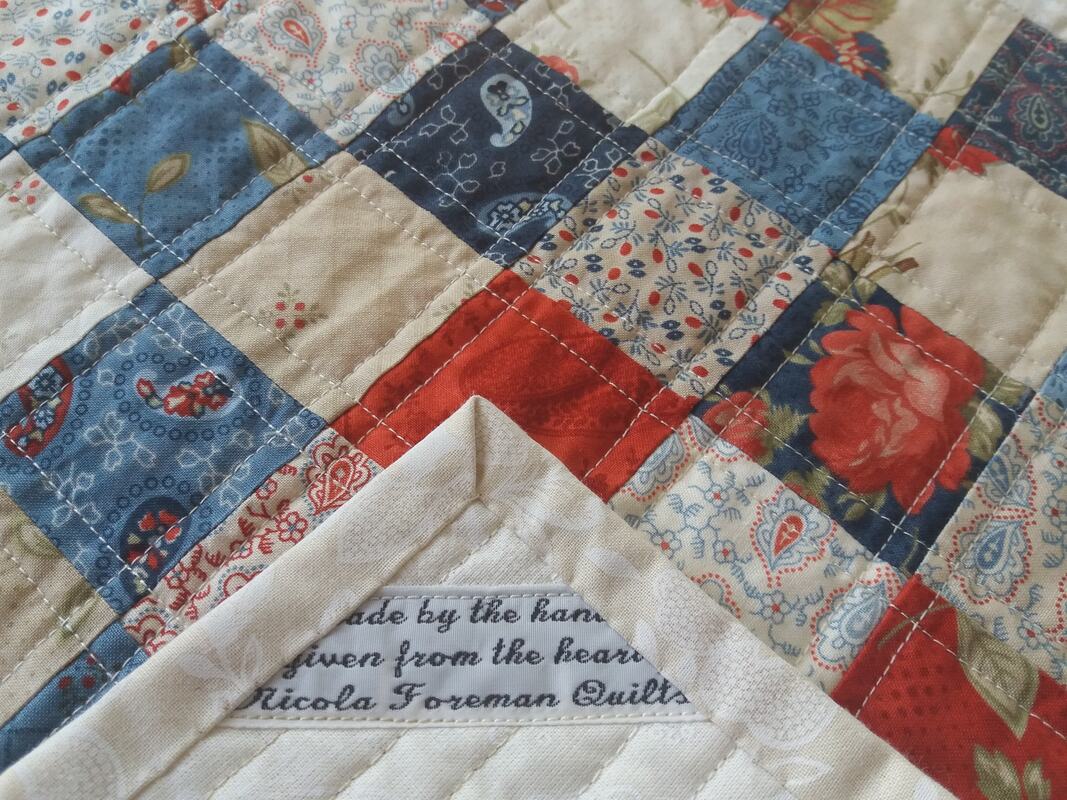
Here's a picture of the completed quilt that I recently made for the newest addition to the family - Margot Florence arrived a few weeks ago, and as usual I've made a quilt for the new arrival. The fabrics are from a charm pack by Minick and Simpson called Prairie Paisley, which have been teamed with a cream floral print for the borders and binding. As well as lots of straight rows of quilting with a walking foot, I've free motion quilted her name on the wider border. The pattern, Pure Baby Boy, is by Teaginny Designs and is a free PDF download from the Moda Bakeshop website. The original pattern uses a Jelly Roll, with strips pieced together for the backing, but I chose a cream butterfly print from my stash. I'm still on track for using fabrics from my stash this year which both Mr F and my bank manager are extremely happy about! I'm sure Margot will have lots of cuddles suggled up under this quilt, stitched especially for her with lots of love from her great-auntie.
Thinking of all my nursing colleagues and friends every day, but particularly on International Nurses Day. You are all, every single one of you, amazing!
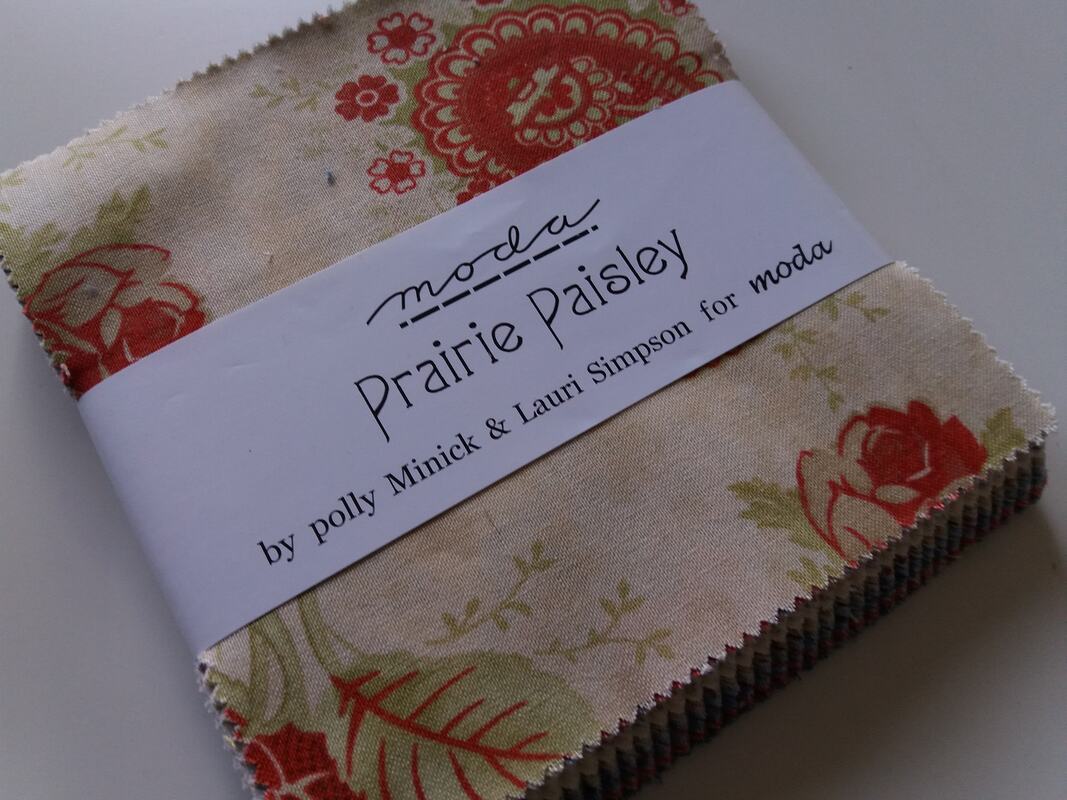
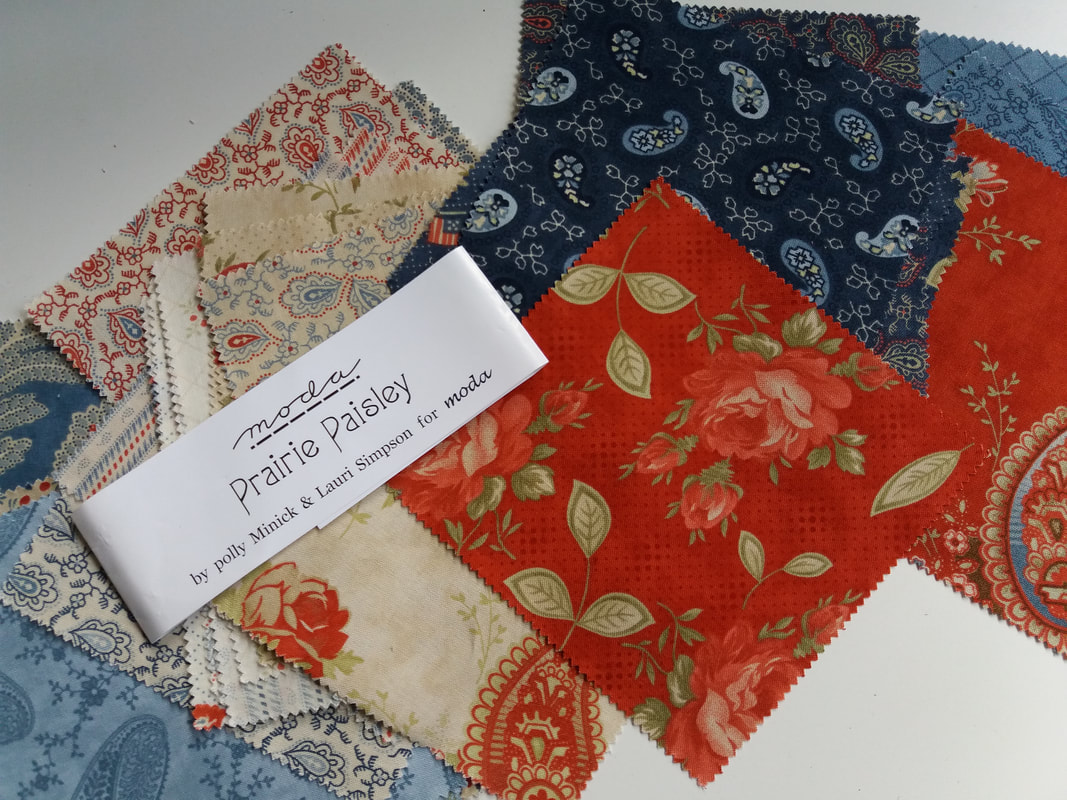
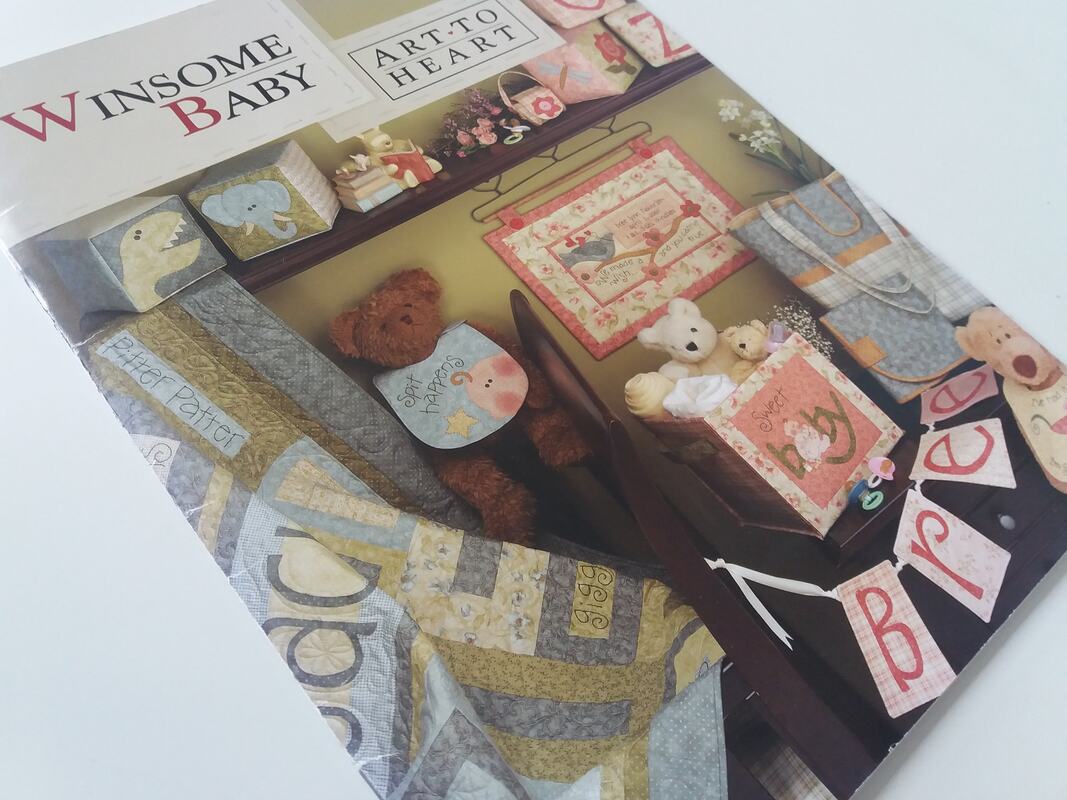
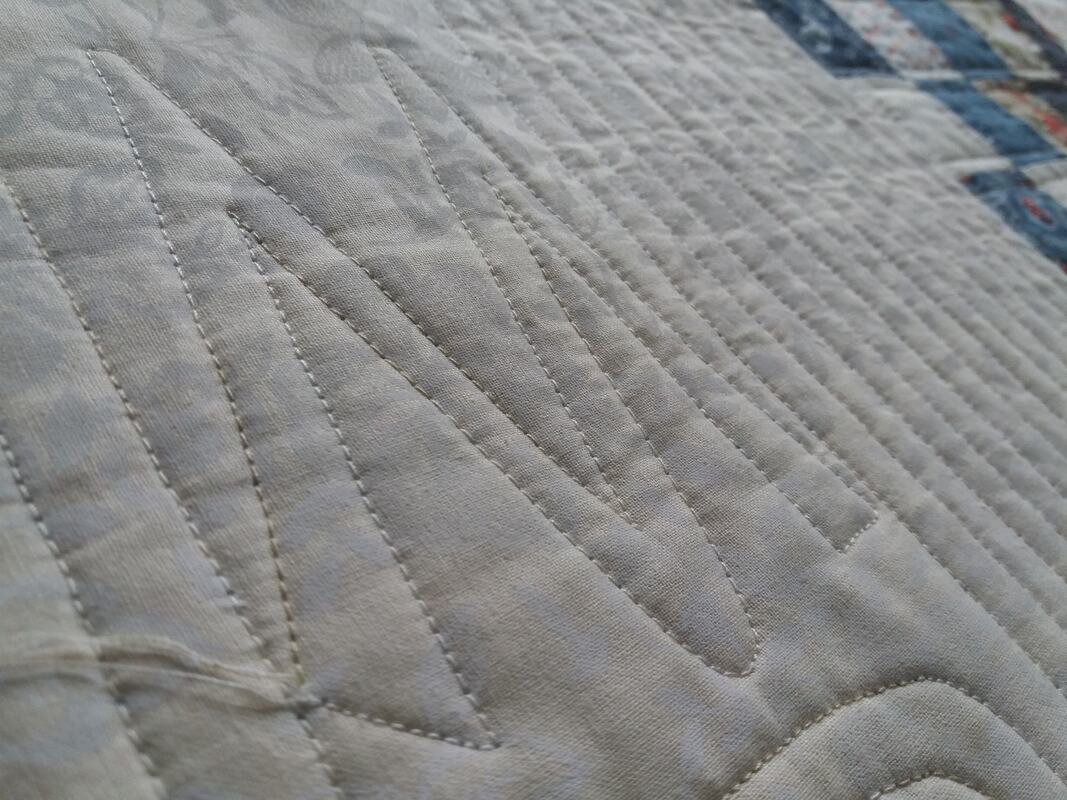
I used to be addicted to Charm Packs. They're ideal for scappy-coordinated quilts - I've got a box full of them, along with Jelly Rolls and don't even get me started on how many Layer Cakes I've got packed away! Anyway, another new arrival into the family means another quilt and a quick look through my box of charm squares revealed this one - Prairie Paisley by Minick and Simpson for Moda, which is a pretty collection of red, blue and cream flowers and paisley patterns. This was pieced together very simply, using a Moda Bakeshop pattern by Teaginny Designs which was a free PDF download... ...I've made this particular quilt pattern several times as it's a simple design and always looks great in whatever fabrics are used. I've quilted it very simply in a variegated cream Gutermann Sulky 40wt thread. Most of the quilting is in straight rows and forsomething a little bit different, I decided to free motion quilt the new arrival's name in the wider side border. The lettering was based on the style that Nancy Halvorsen uses in her Winsome Baby book... ...it was only when I'd pieced the top together and completed the quilting that I realised I'd used the same fabrics for the new arrival's older sister in 2019 - thank goodness this time I used a different quilt pattern! Well this just needs to be wrapped and sent off to it's new owner and I'll share a picture of the completed quilt once it has arrived. ...if you want to see the quilt that I made for Margot's elder sister, Matilda, here's a link to the blog post where I shared some pictures and wrote all about it!
|
About me...Hi - welcome to my quilting blog! My passions are my family, my dog, my friends and sewing, not necessarily in that order! Archives
July 2023
Blogs I followUK shopsThese are the UK shops that I use to purchase my quilting supplies - fabrics and threads etc.
Australian linksScandinavian links |




 RSS Feed

