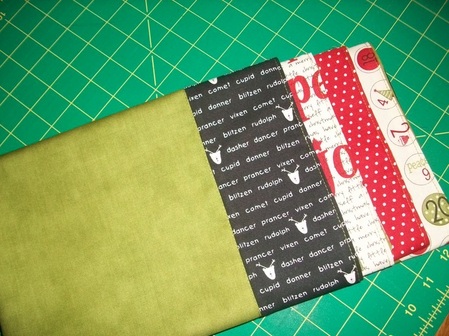
I used the same fabric for both the front and back of the napkins, and I'll use the same fabric for backing of the placemats and the binding.....
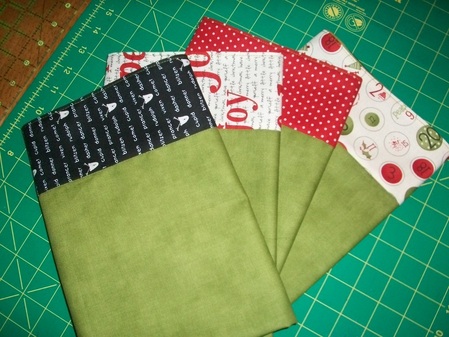
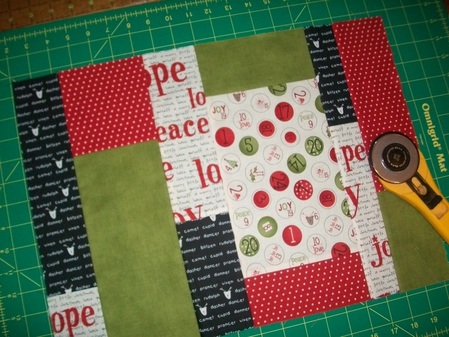
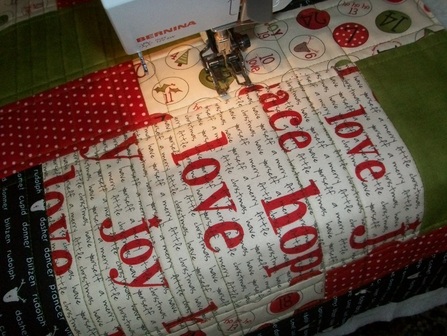
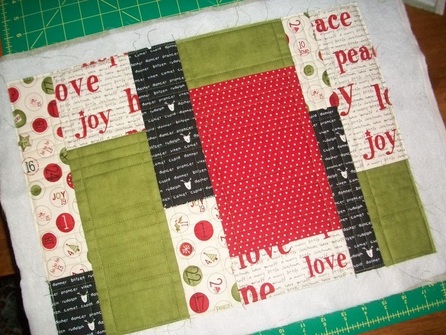
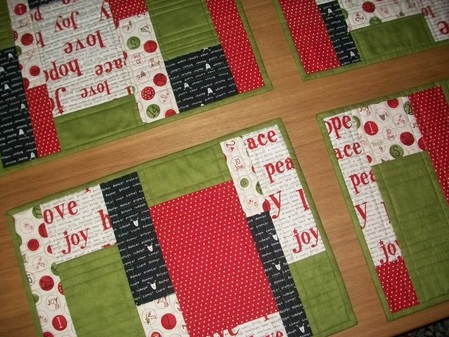
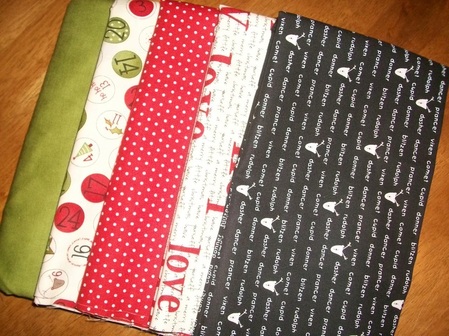
 I am always inspired by Elizabeth Hartman's blog Oh Fransson! - if you hop over there and take a look you'll see she's come up with a fab pattern for some patchwork napkins and quilted placemats. Over 4 weeks she will guide you through the entire process, with simple downloads to help you on the Sew,Mama,Sew! website.....  .....week 1 was all about choosing the colours and cutting out the fabrics, so I decided to buy this fab selection of Christmas prints "Countdown To Christmas", by Sweetwater for Moda, from my local quiltshop as I thought they would be perfect for this project....  .....there's also a flickr pool to see what other sew-alongers have made - be prepared to be inspired!.....  .....anyway, with my fabrics selected I was ready and waiting in anticipation for week 2 of this holiday sew-along - which was all about sewing the napkins. Last night I made a start on these. I used the same fabric for both the front and back of the napkins, and I'll use the same fabric for backing of the placemats and the binding.....  .....I really love these - although they might not actually get used - I would scream if somebody (for instance Mr F hehe) spilt some gravey on these .....  .....then it was on to week 3 and I actually got to sew the placemats. I'm really loving this combination of fabrics. Can't wait to get them quilted! They will look great on a dining table over the festive season.....  .....and finally the instructions for week 4 arrived, and at last I could make a start on the all-important quilting. Luckily for me this pattern suggests using lots of straight-row quilting, which I find really simple and very effective. After I'd quilted "in-the-ditch", I just used the edge of my walking foot as a guide for spacing the rows of quilting.....  .....I've used Pellon, a polyester wadding for these placemats - not the iron-on type this time, but I have spray basted the top and bottom with 505 spray - much quicker than pin-basting! Just got to trim the edges and finally add the binding.....  .....drum roll please - Da-da!! Oh someone will have a very jolly looking dining table on Christmas Day with these - what do you think?....
5 Comments
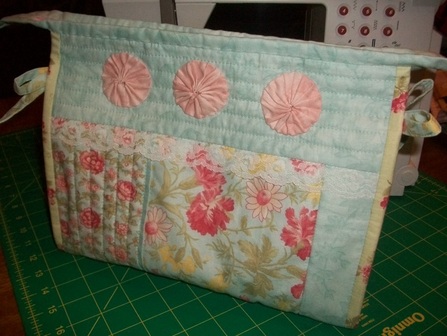 Well look - it's finally finished!! I was really desperate for some help in understanding the instructions. (Yes, this is another Norwegian pattern, this is by Elin R. Roland). Many thanks to Ruth and Eva who very kindly posted some pictures on Facebook of their Toalettveskes (toilettry bags) so I could see how to complete mine - and I am really thrilled with how this has turned out..... 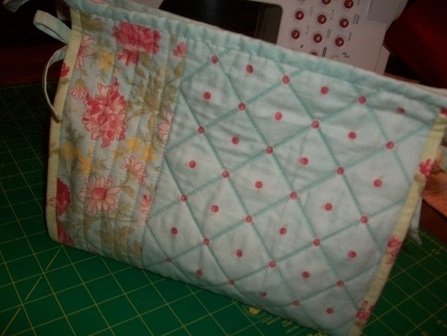 .....this pattern was a bit complicated, but I do like a challenge! This pretty toiletry bag is about 11inches x 8inches. I used the last of my "Simplicity" fabrics, and I really love this scrappy look..... 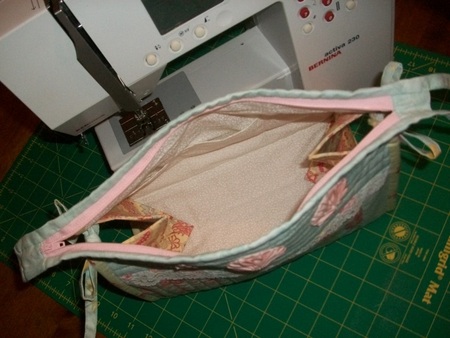 .....as you can see, I decorated the front with some Suffolk Puffs. I'm definately going to make another one using the kit that Eva gave me. Maybe I'll even make one with batiks too! 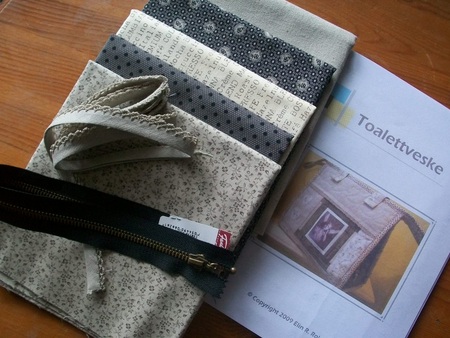 All my quilting friends know how much I love making bags, especially using Norwegian patterns, so you can imagine how thrilled I was when my friend Eva gave me this pattern and kit to making this lovely Toalettveske (toilettry bag). The fabrics are beautiful, and as Mr F was at work today I was able to spend the day sewing..... 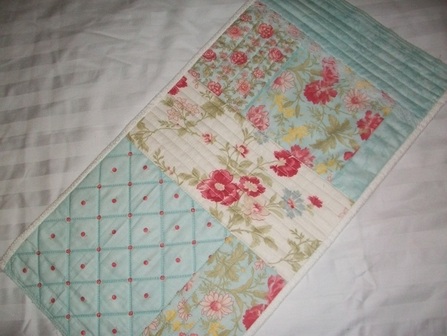 .....I used some fabrics from my stash - "Simplicity" by 3 Sisters for Moda (I didn't want to make a mistake using the ones in the kit!) and the main part was easy to understand, (Eva had helped with the translation) using a "quilt-as-you-go" method. I added some lace trim, and was really pleased with how things were going..... .....then distaer struck!! I spent about four hours trying to work out the sides, the casing, the zipper, the binding - nothing went right! I even cut my fabric wrong - see Sherry - even I have bad days!!!!! (My friend Sherry has just started a beginners quilting course - I think I might've been an inspiration hehe!)
One of my friends from Norway, Ruth, has kindly sent me some pictures of her Toalettveske which was a great help, but I'm stil in a pickle with the sides and the casing. So if any of you can help me, please email me or add a comment - I am desperate to get this finished to I can make it again with the beautiful fabrics in the kit. 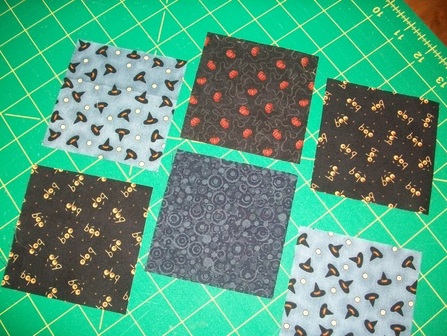 Well I didn't have much time to sew on Friday night as I went out for a meal with friends from work, so sewing meant I had to stay up late - anyway, I was able to cut up some squares of Halloween-themed fabric from my stash, and decided to make some placemats..... 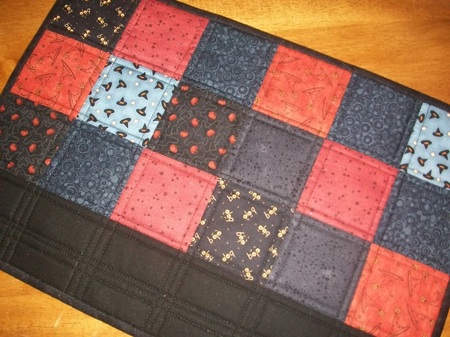 .....and this is how the first one turned out - the rest will be made on my very own session of "Saturday Night Catch-Up"!!..... 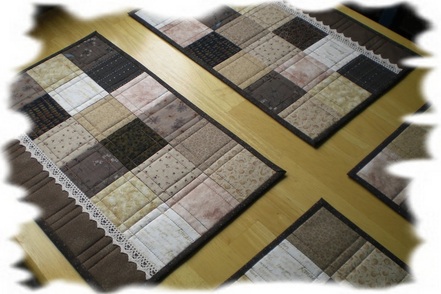 .....I was inspired to make these placemats after seeing my special friend Eva's placemats - hers are really lovely. Right, I'm now off the get the rest of mine finished :) 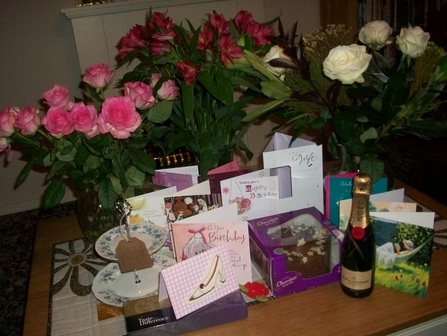 A year ago I had the BEST birthday present ever - my little sister Becky designed my website and my blog and over the last year I have thoroughly enjoyed sharing pictures of my crafty goodies with you all and I haven't stopped blogging since!! Anyway, as it's that time of year already, and today it's my birthday again (can't believe I've had this blog for a whole year) - I thought I'd just share a piccie of my lovely birthday goodies - flowers, choccies, champers AND a fish pedicure..... - 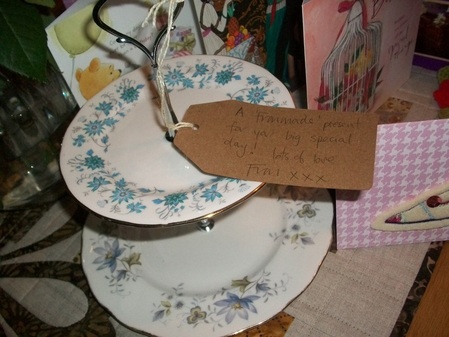 .....ohhh and not forgetting this absolutely gorgeous "Fran-made" cake stand - what a very lucky girl I am. You MUST come round for afternoon tea soon Miss Lapage :) 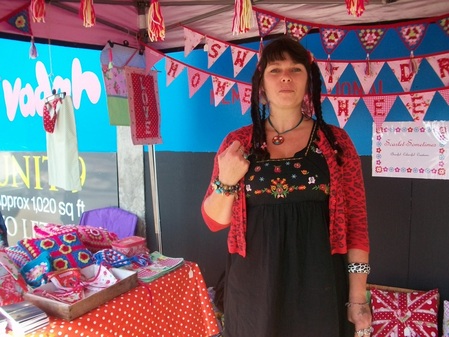 I've had a brilliant day out today - I drove off to Ipswich this morning to the UPMarket at the Waterfront - a fab Vintage and Modern Market - there was a vast array of all sorts of yummy things there. This stall really caught my eye - I really liked these Union Jack cushions.... 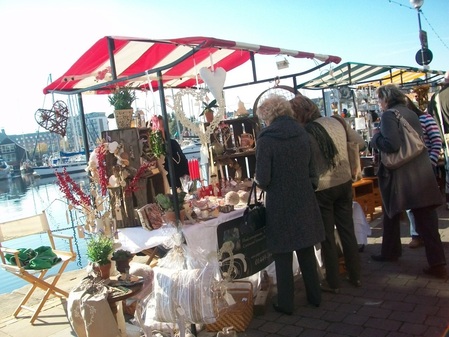 .....and the super weather made sure loads of people were there enjoying themselves..... 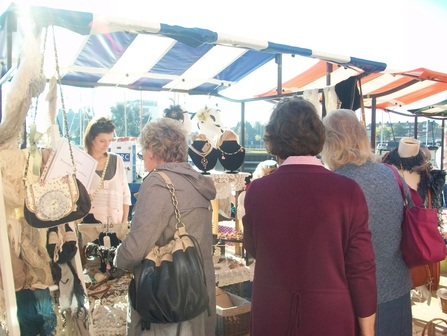 .....I bumpled into my friend Heather who was browsing for inspiration (sorry, didn't get a piccie of you Heather)..... 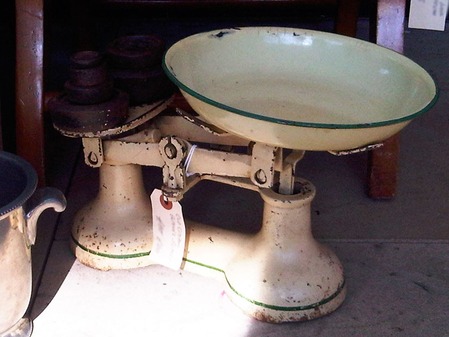 .....and also met up with another friend who bought a fab set of vintage scales for her kitchen (ooops, no piccies of her either - just the scales!) - can't believe she managed to update her blog before I did!..... 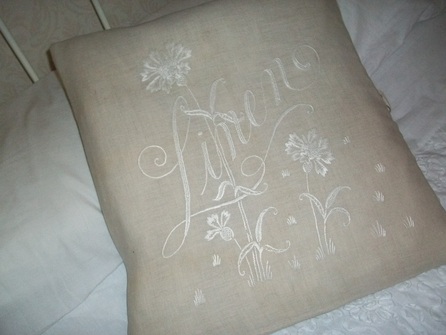 .....and what treasures did I buy? This fabulous vintage linen laundry bag, that is beautifully hand-embroidered, that I have cunningly disguised as a cushion cover - I've just popped a feather cushion pad inside and folded over the top - a crafty idea, no?? It looks great in my new bedroom. All for the grand sum of £10 - an absolute bargain! Obviously ONE day I'll make a proper cushion with a zipper and everything, but it looks fine for now! My trip to Ipswich was finished off by meeting up with another friend in town for coffee, which was the perfect end to a fantastic day out. 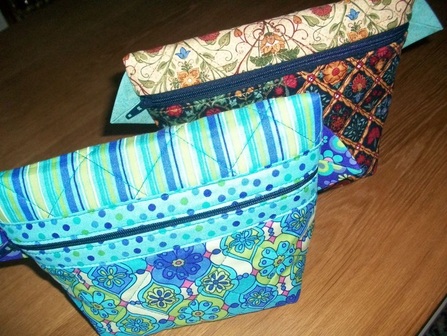 OK so I've had a very busy week, with very little time and energy for sewing. Luckily I had a spare few few hours today to complete these make-up bags - they're both presents, so can't tell you who they are for yet, more details to follow later :)  I was getting terrible withdrawal symptoms from being with my Bernina, and thought I'd lost my quilting mojo! Anyway, at long last I've been able to get back to my sewing machine and get stitching again, just in time for the October Friday Night Sew-In on 21st October which you can read all about over here. Can't wait to get stitching again:) 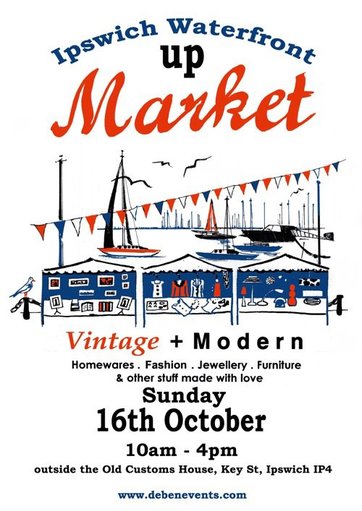 Guess where I'm going to be on Sunday - doing a little bit of oooohing and ahhhhing at all this crafty lovliness. It's hosted by Deben Events - have a look on their website for more details. It's going to be down at the waterfront in Ipswich, from 10am - 4pm. Come along and I might see you there! I might even get started early with a little bit of Christmas shopping. 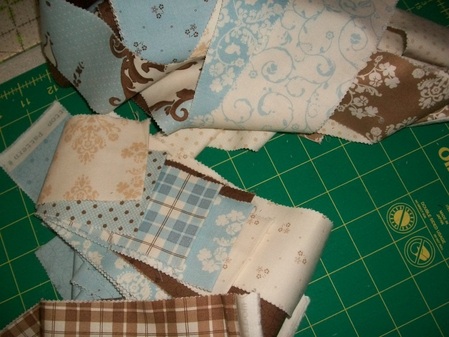 I had so much on before my trip to Birmingham that unfortunately I didn't get this finished in time to hand-deliver when Eva came over from Norway - anyway I have been busy stitching away and can now happily parcel it up and get it in the post..... 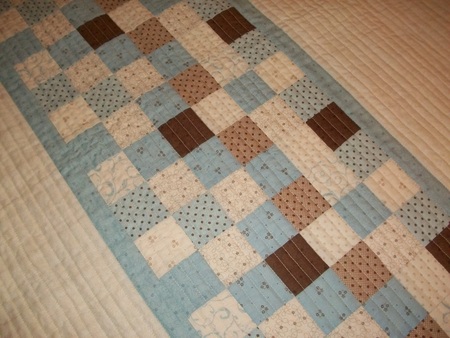 .....at Quilt Club on Thursday evening I managed to get the back pieced (made with Jelly Strips sewn together) and managed to get the top quilted - I used straight row quilting again, with a cream Mettler quilting thread, half an inch apart and it gives it a lovely ribbed effect..... 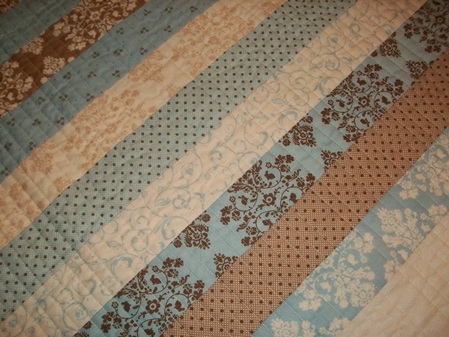 .....I was able to finish the quilting today - the back looks just as nice, made with Jelly Roll strips..... 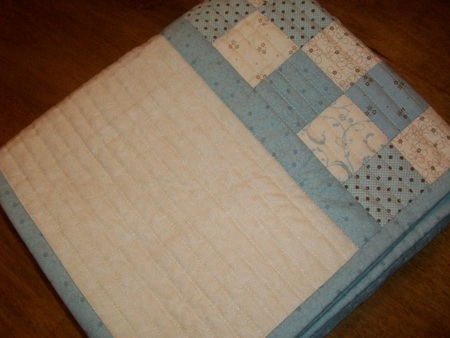 .....and I've sewn the binding on too - and as you can see, I used the same blue fabric from the Lily and Will range for the binding that I had used for the inner borders..... 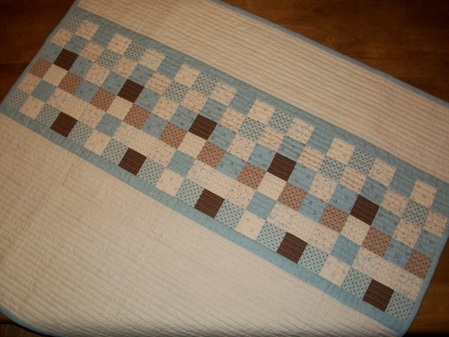 .....now I just need to wrap up this beautiful baby quilt and post it off to Norway. I really hope that Sondre's mummy loves this quilt as much as I do :) |
About me...Hi - welcome to my quilting blog! My passions are my family, my dog, my friends and sewing, not necessarily in that order! Archives
July 2023
Blogs I followUK shopsThese are the UK shops that I use to purchase my quilting supplies - fabrics and threads etc.
Australian linksScandinavian links |