Nicola Foreman Quilts
  • BLOG
  • BAGS
  • CUSHIONS
  • QUILTYSTUFF
  • QUILTS
  • TABLERUNNERS
  • WALL HANGINGS
  • CONTACT ME

Stitchery Tutorial Part 3 - Hand Embroidery

30/7/2021

0 Comments

 
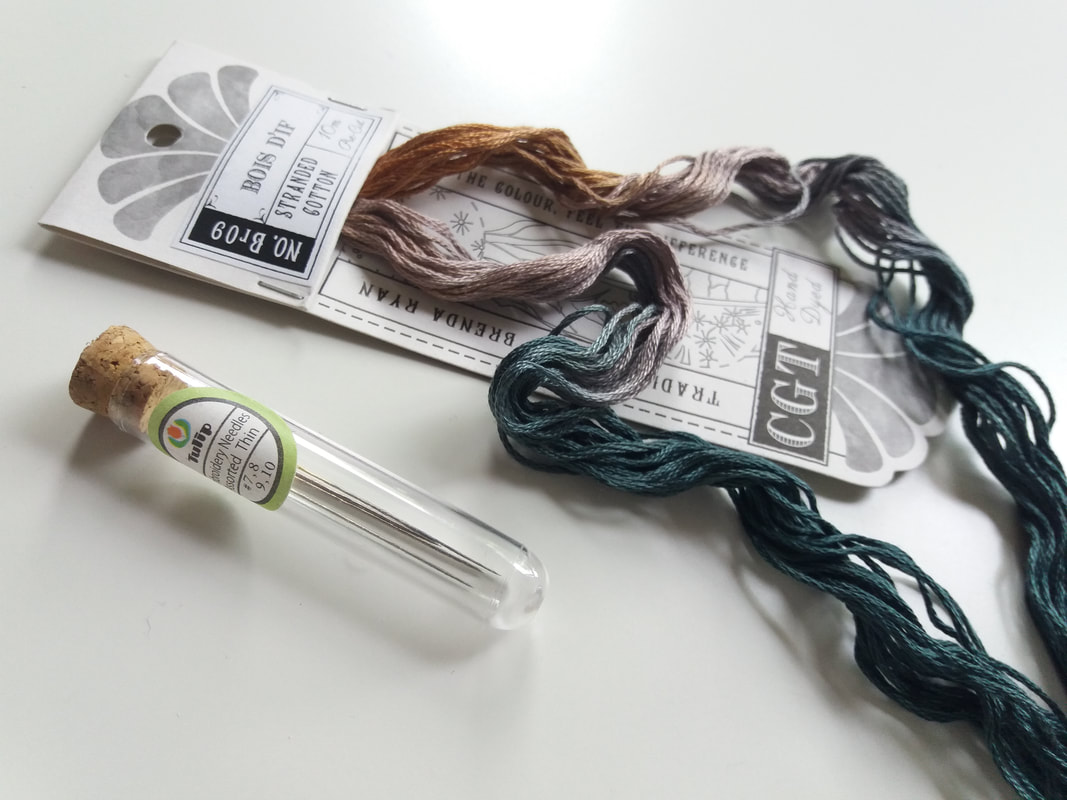
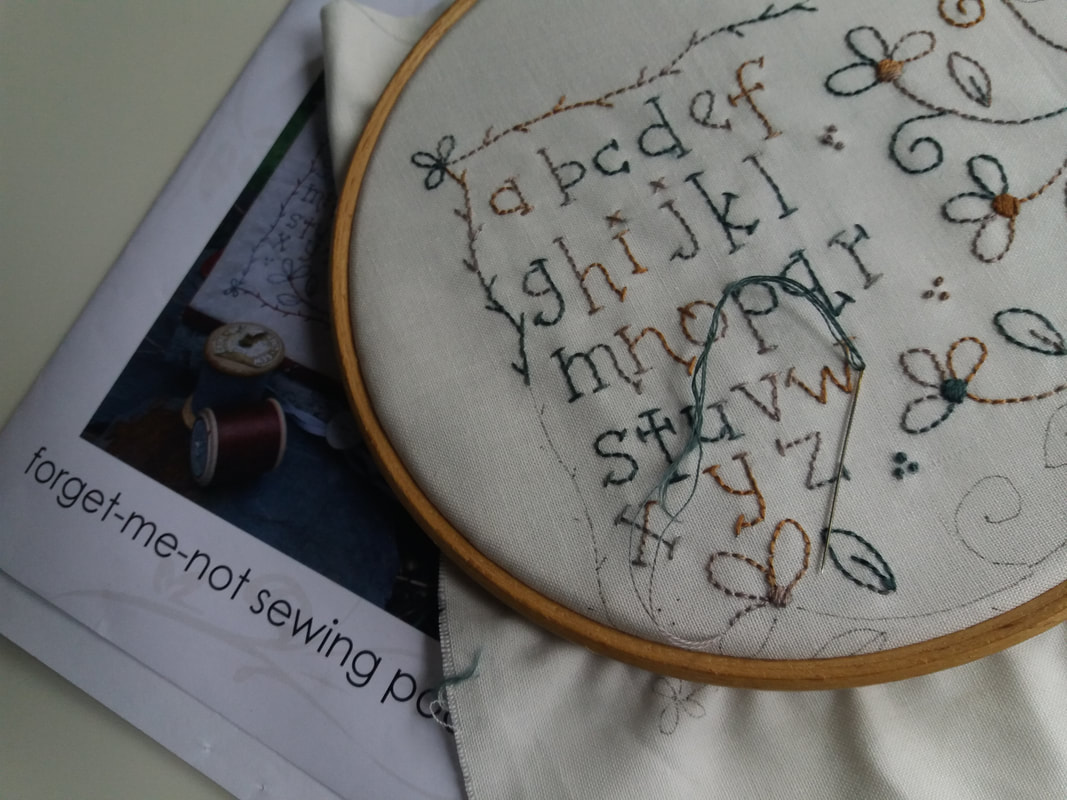
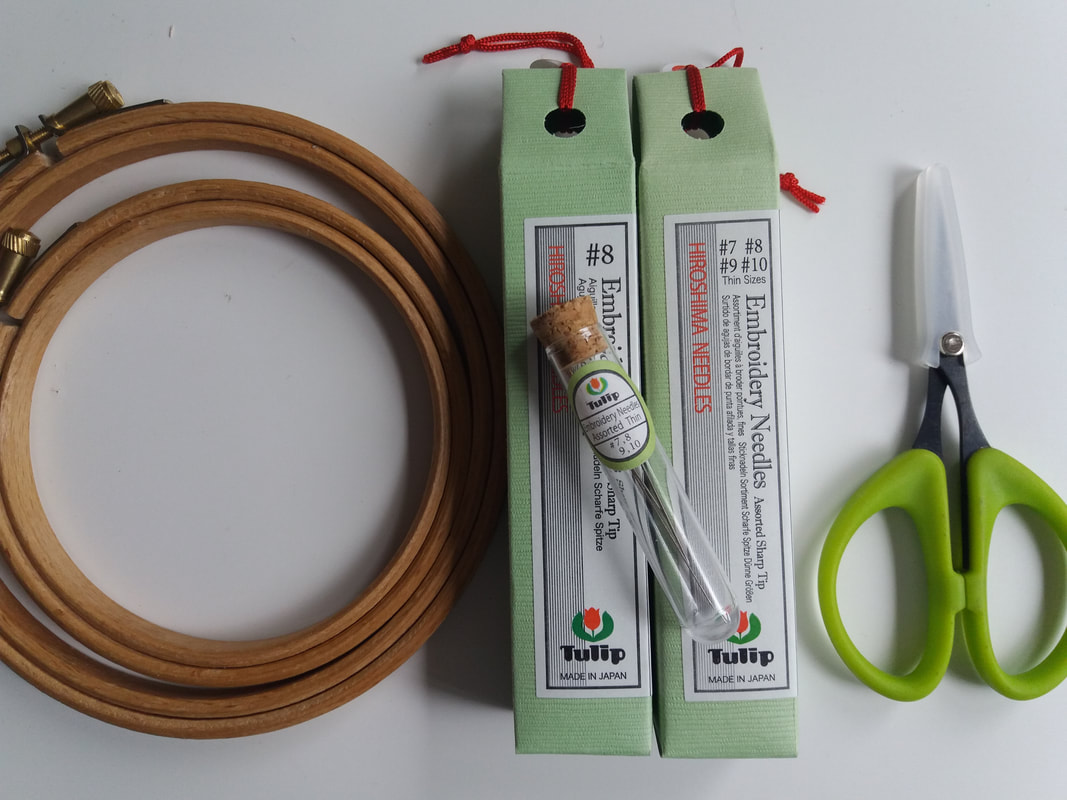
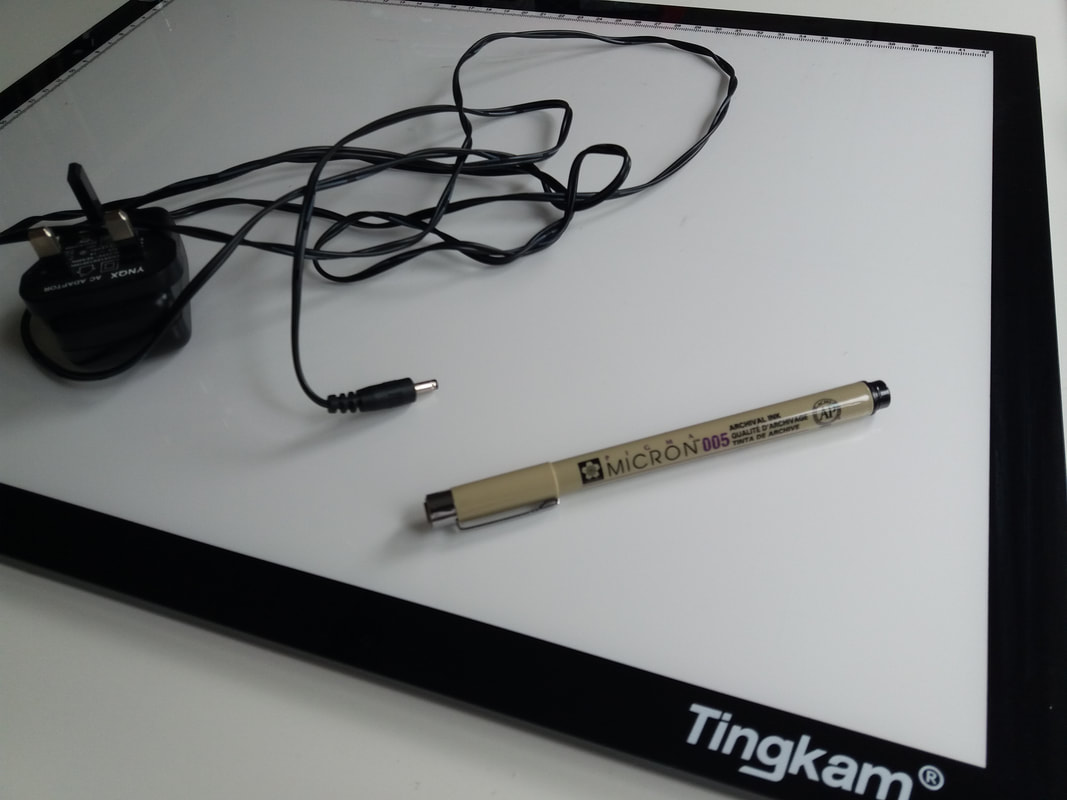
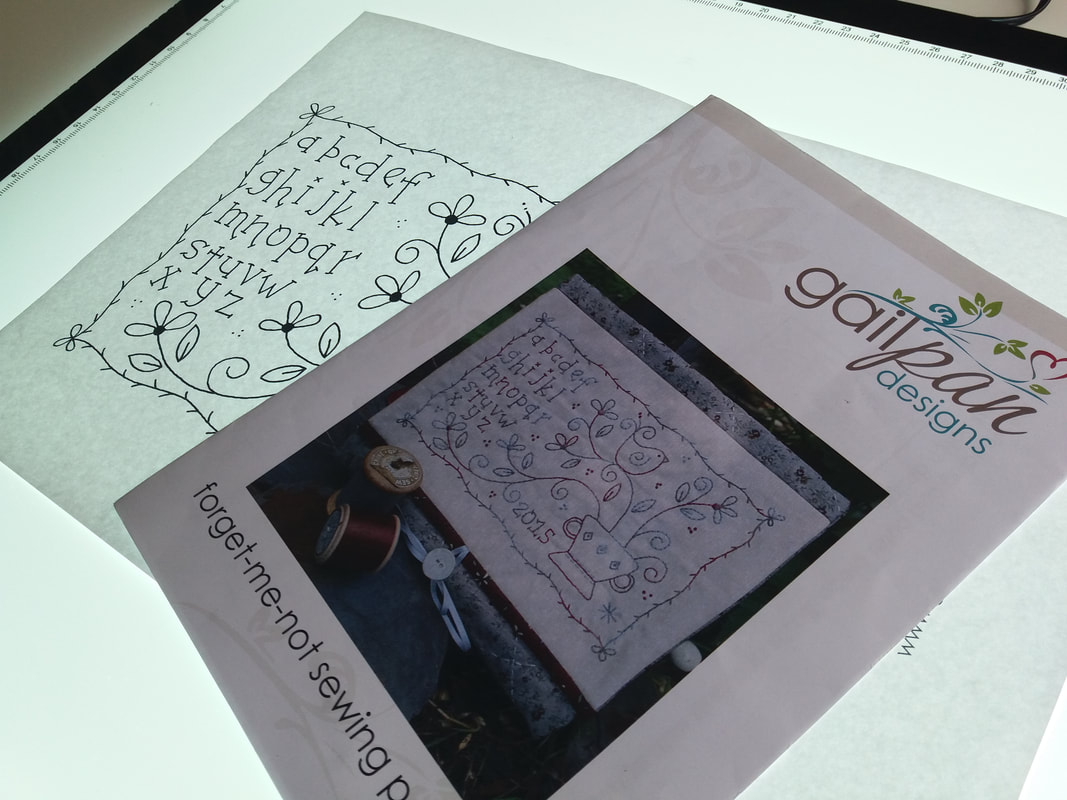
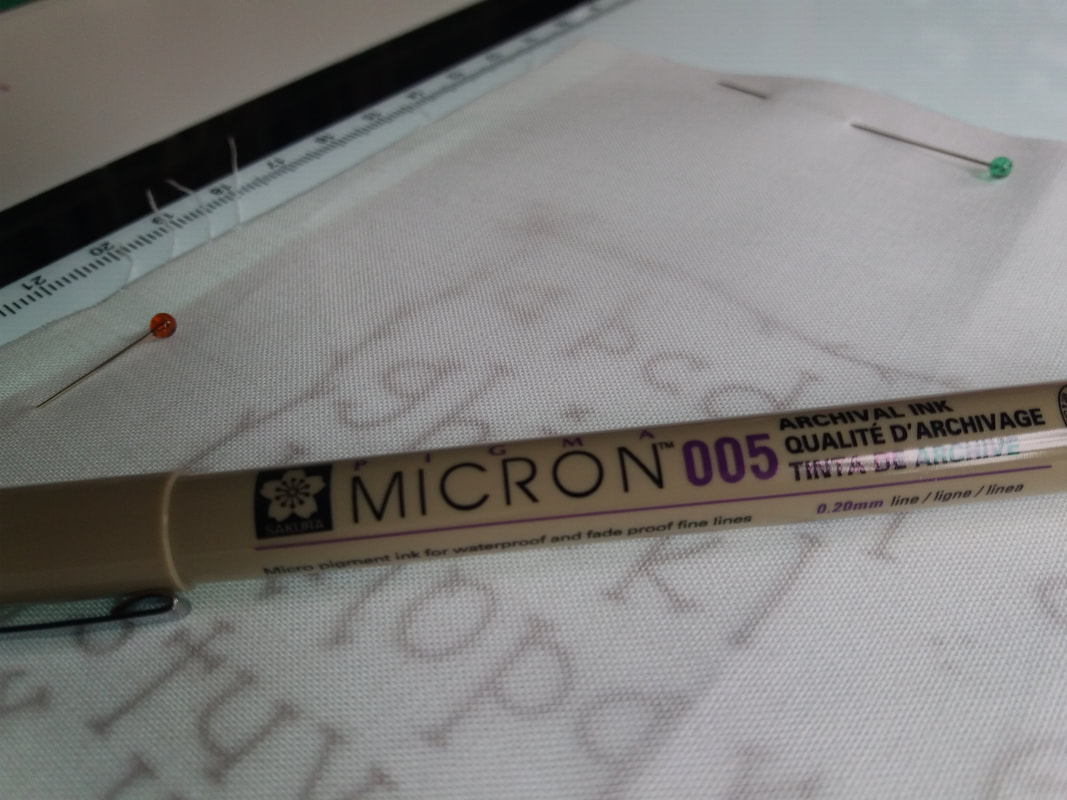
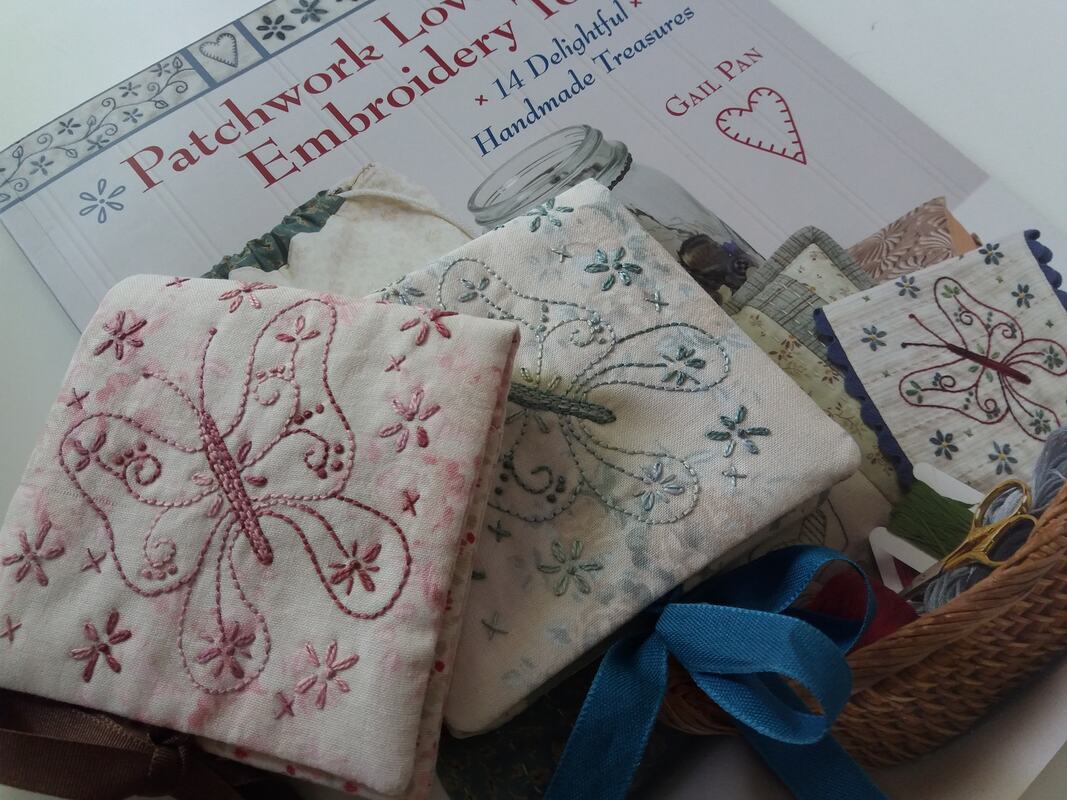
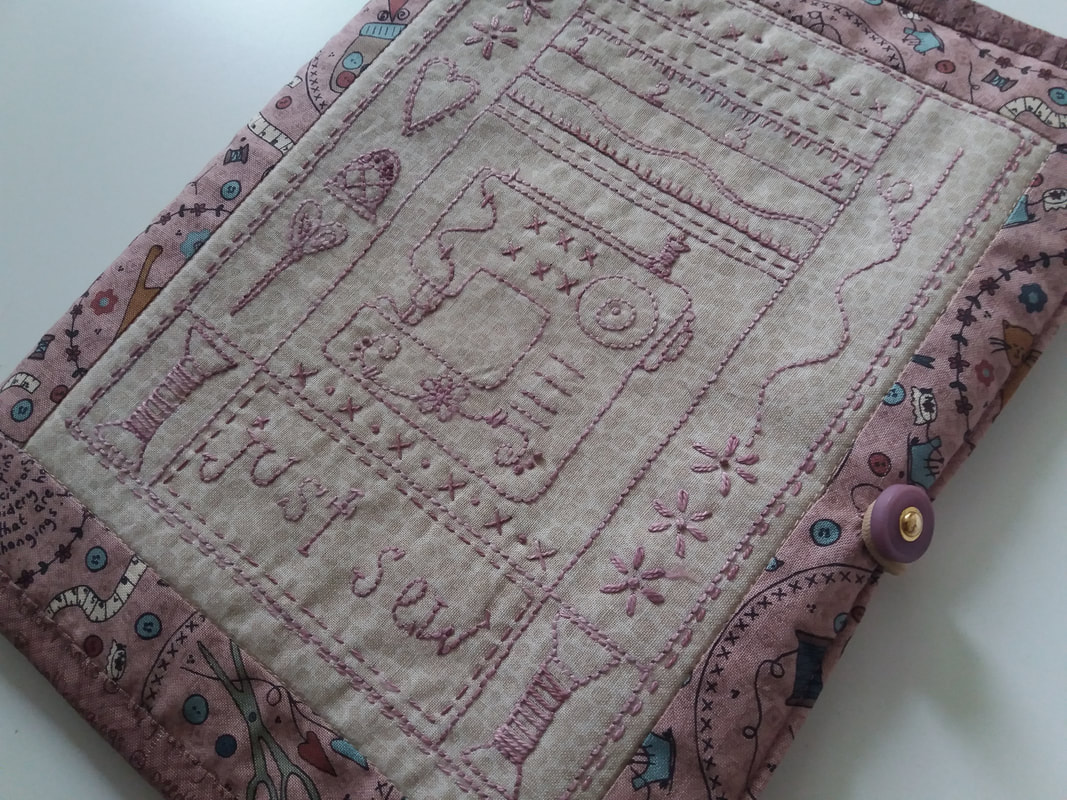
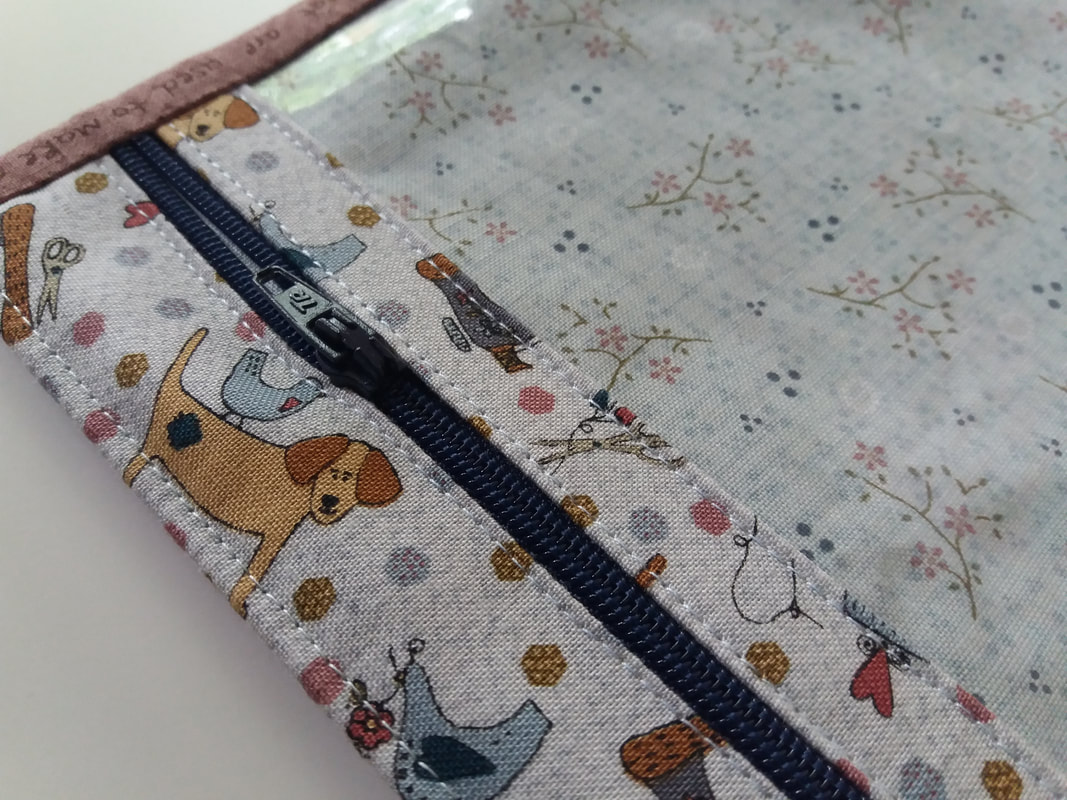
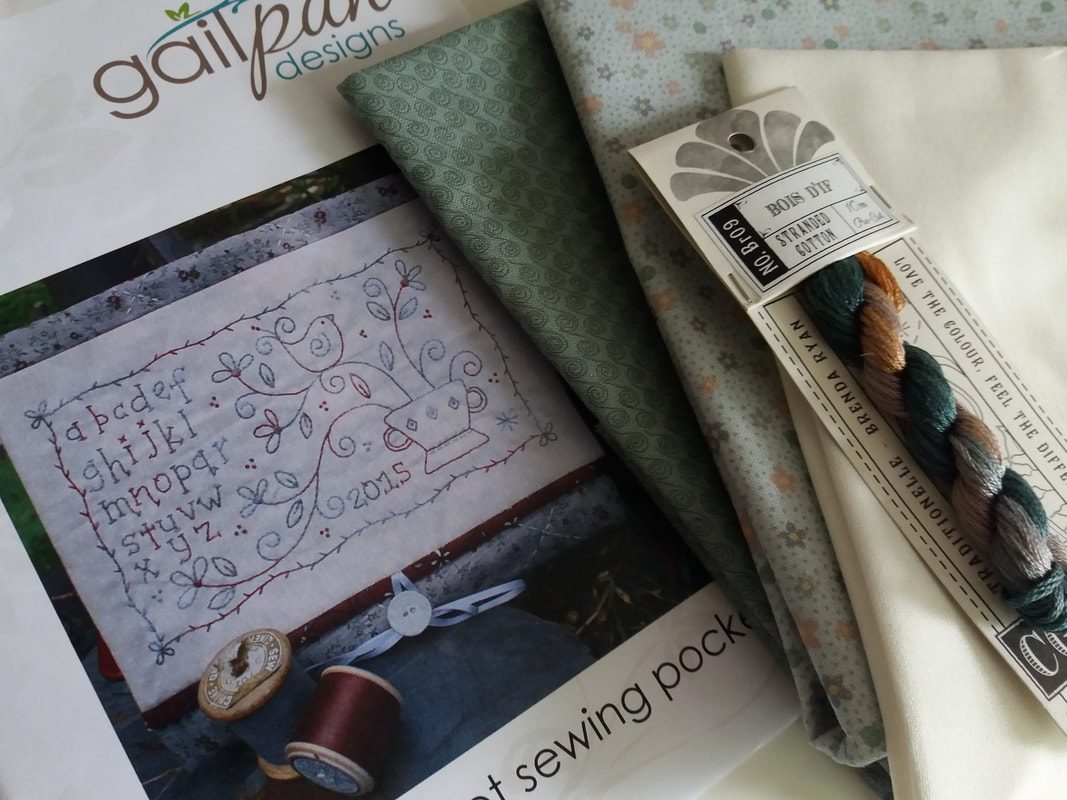
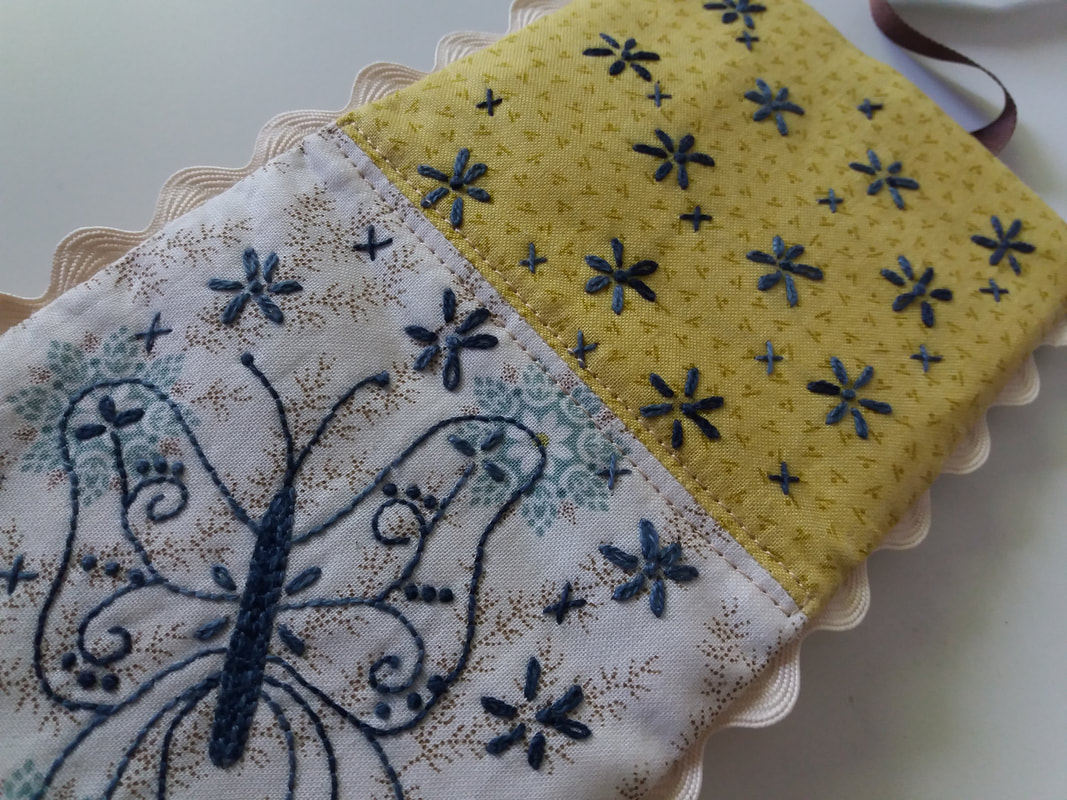
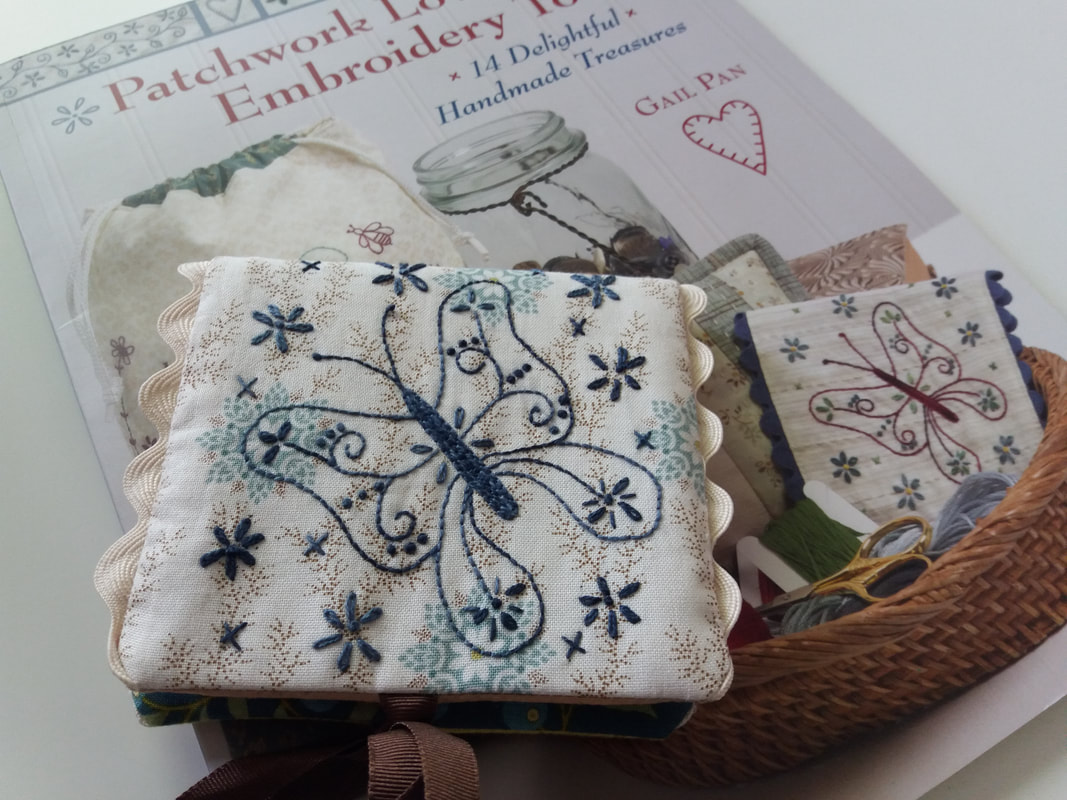
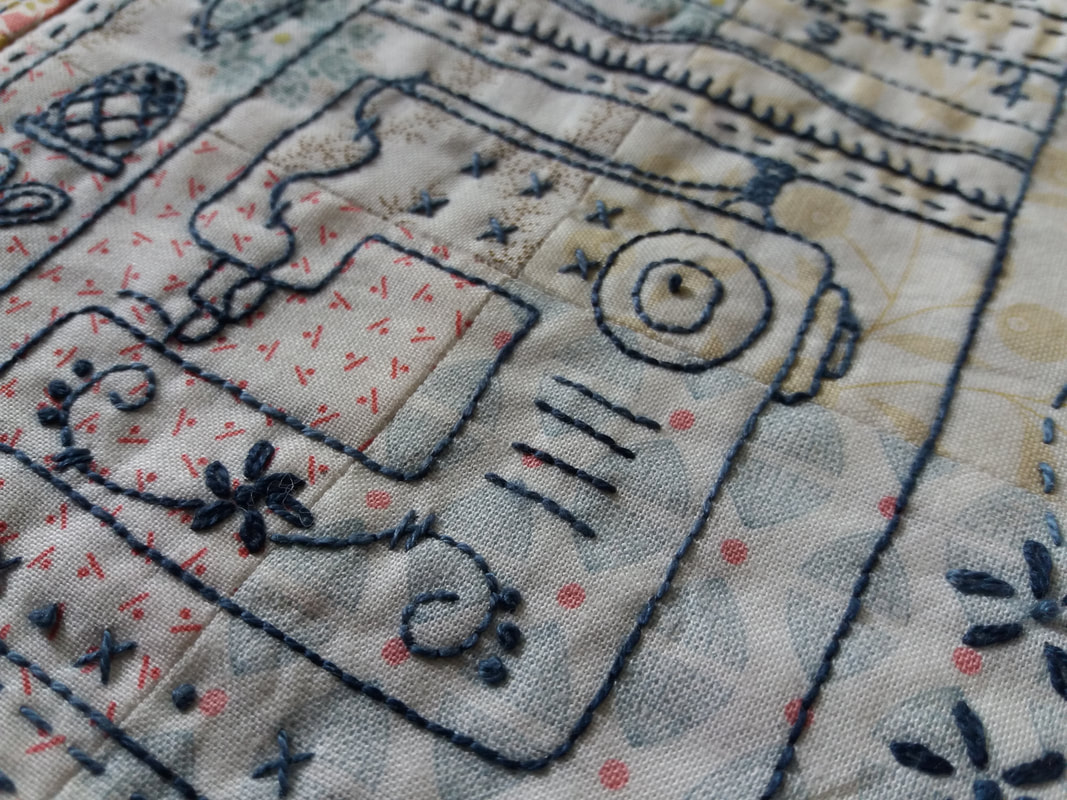
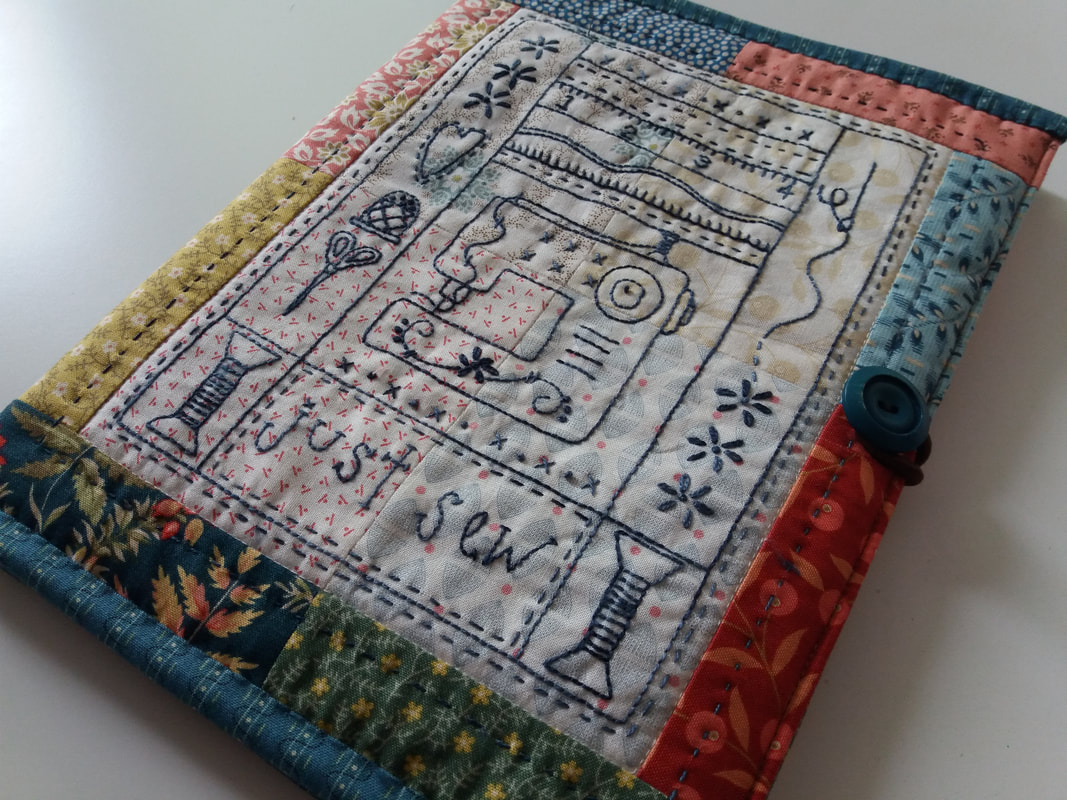
I was going to share this blog post a few days ago, but decided to wait until today, as it's World Embroidery Day! As a member of the Poppy Patch Posse (organised by Poppy Patch here in the UK) I'm currently working on this project - Forget Me Not Sewing Pocket by Gail Pan Designs. Once the background fabric has been prepped and the stitchery design traced, it's time to start the hand embroidery. I prefer to use a wooden embroidery hoop, to keep the fabric taut and help to maintain an even tension with my stitches. The project that I'm stitching at the moment uses Cottage Garden Threads. The packaging system unique to Cottage Garden Threads is designed to retain the information of the thread colour, number and weight as well as eliminating tangles. By just pulling on the left hand side of the skein, the thread will untwist and be ready to use length by length, or strand by strand. 
Picture
Picture
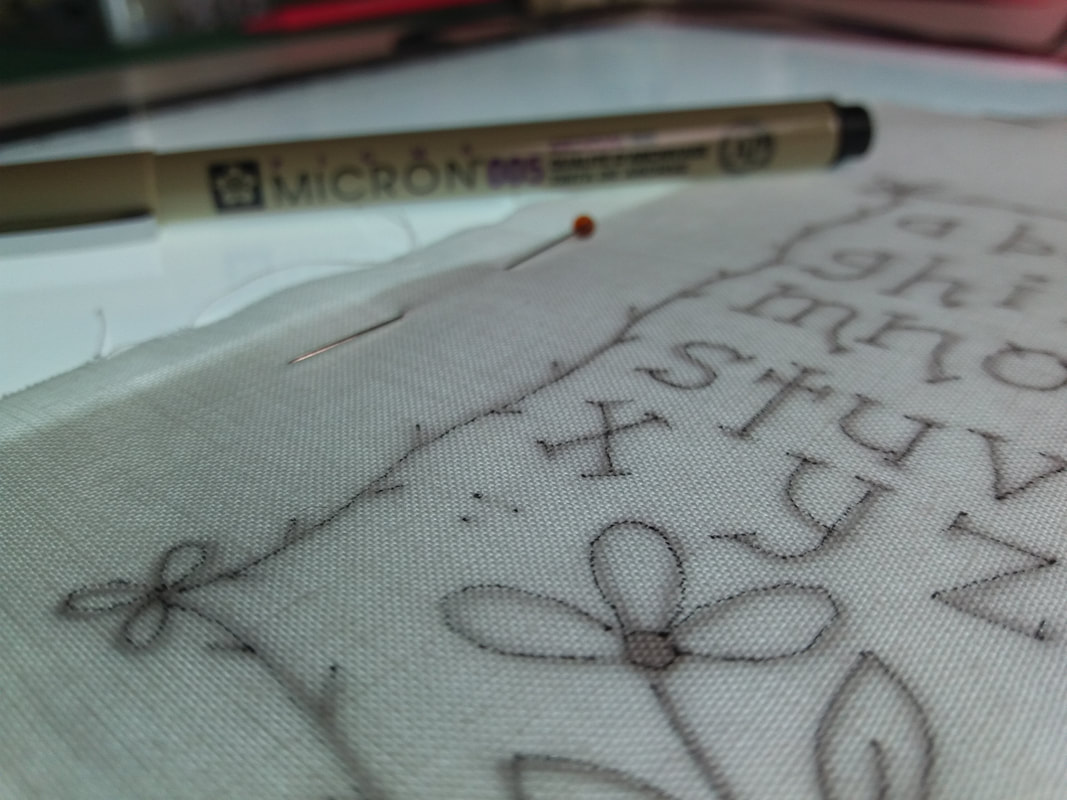
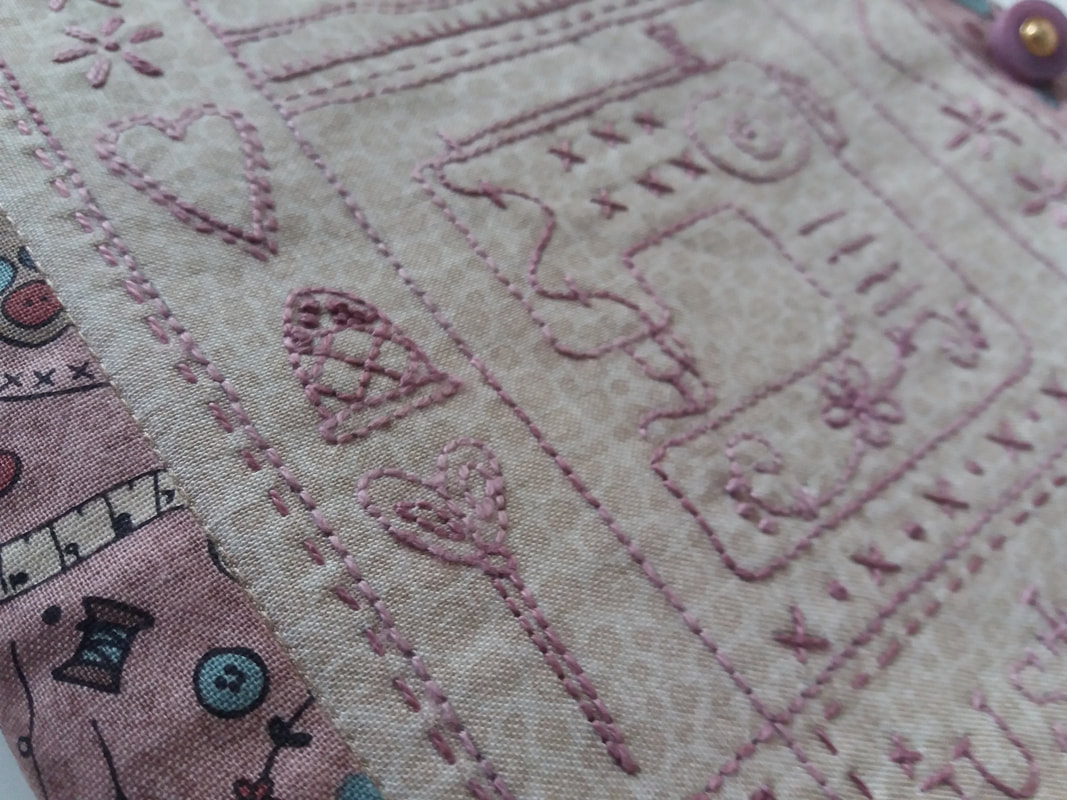
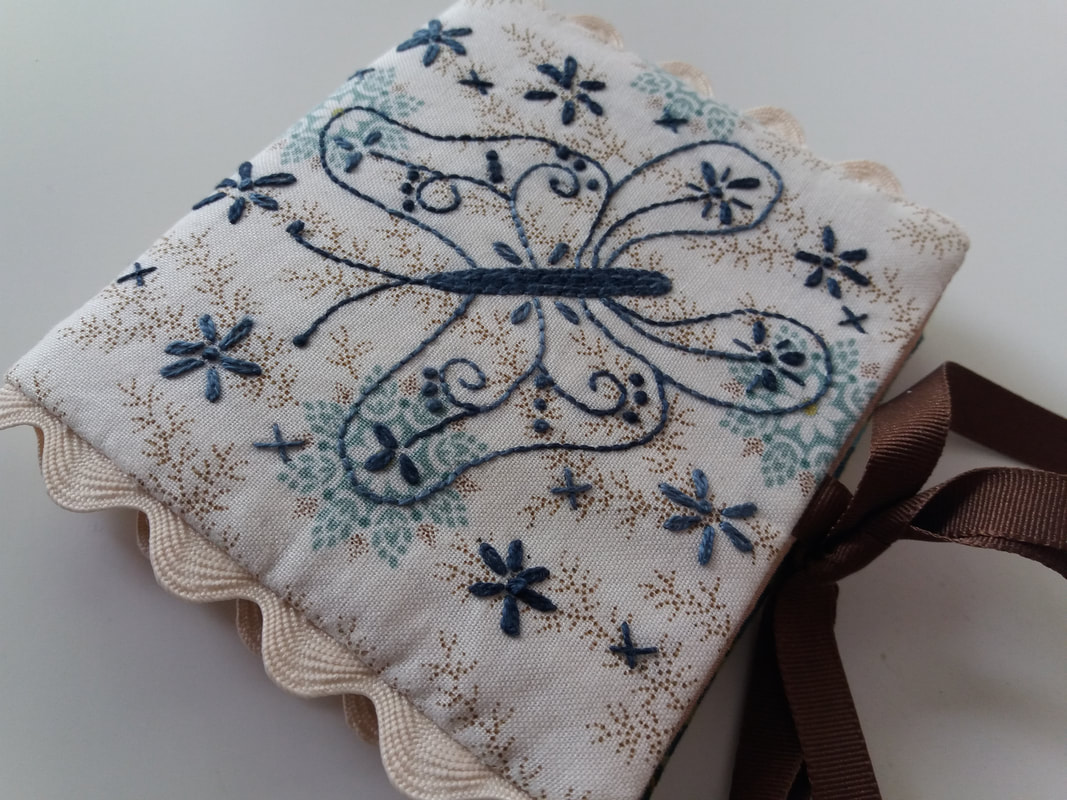
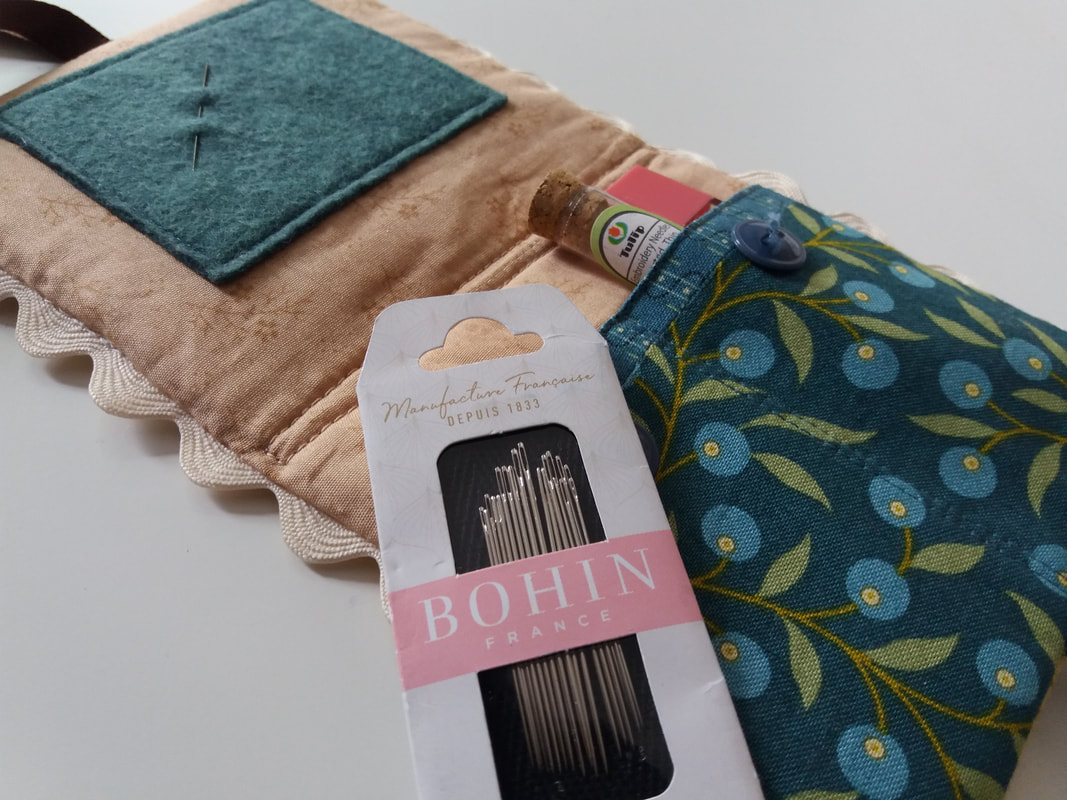
...I've removed one pre-cut length of thread, which you can see is made up of 6 individial strands. My top tip is to gently pull out one length of thead, then pull the strands out one at a time, as this prevents the threads from tangling and knotting. I've used a Hiroshima Tulip embroidery needle - these are available in a variety of sizes. Simple is often the most effective, and this project uses very simple embroidery stitches - back stitch, satin stitch, running stitch and French knots, although I've used Colonial knots as I fnd them easier. As the stitching progresses, the hoop is removed and repositioned until all the embroidery stitches are completed. (If your fabric is too small for the hoop you've got, you can stitch some strips of calico/muslin to the sides of the background fabric, using a longer stitchlength and an eighth of an inch seam, to allow the strips to be removed once the embroidery is completed)...
Picture
Picture
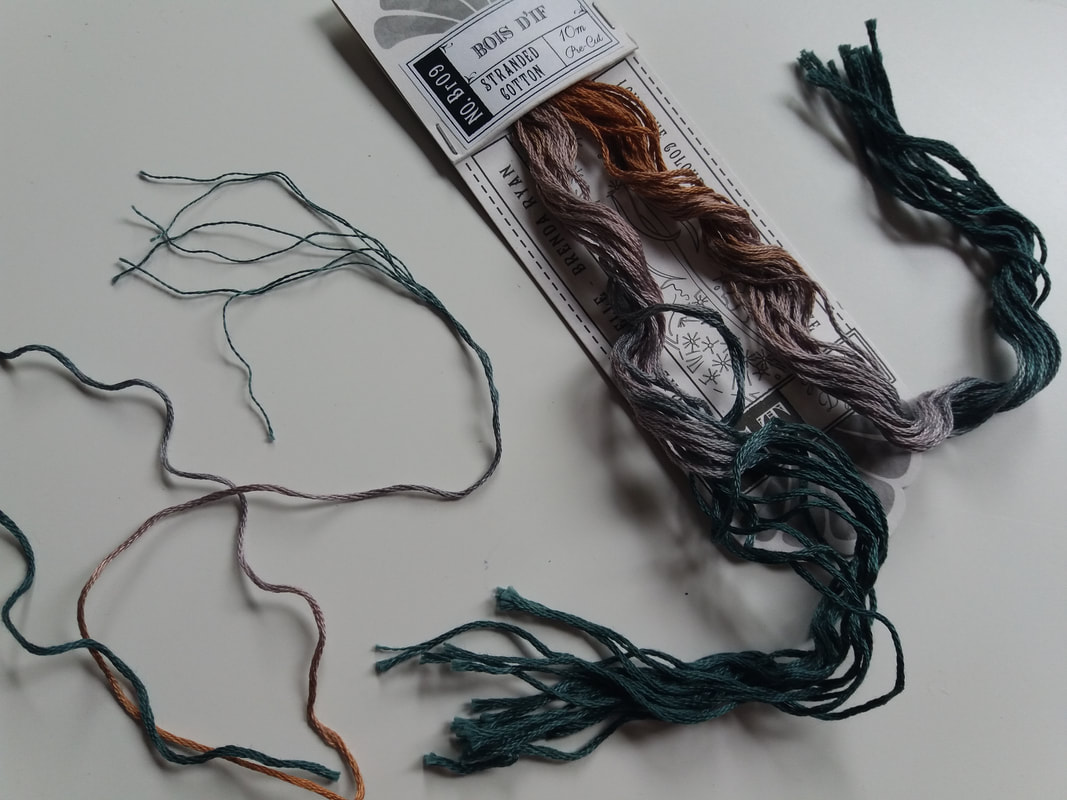
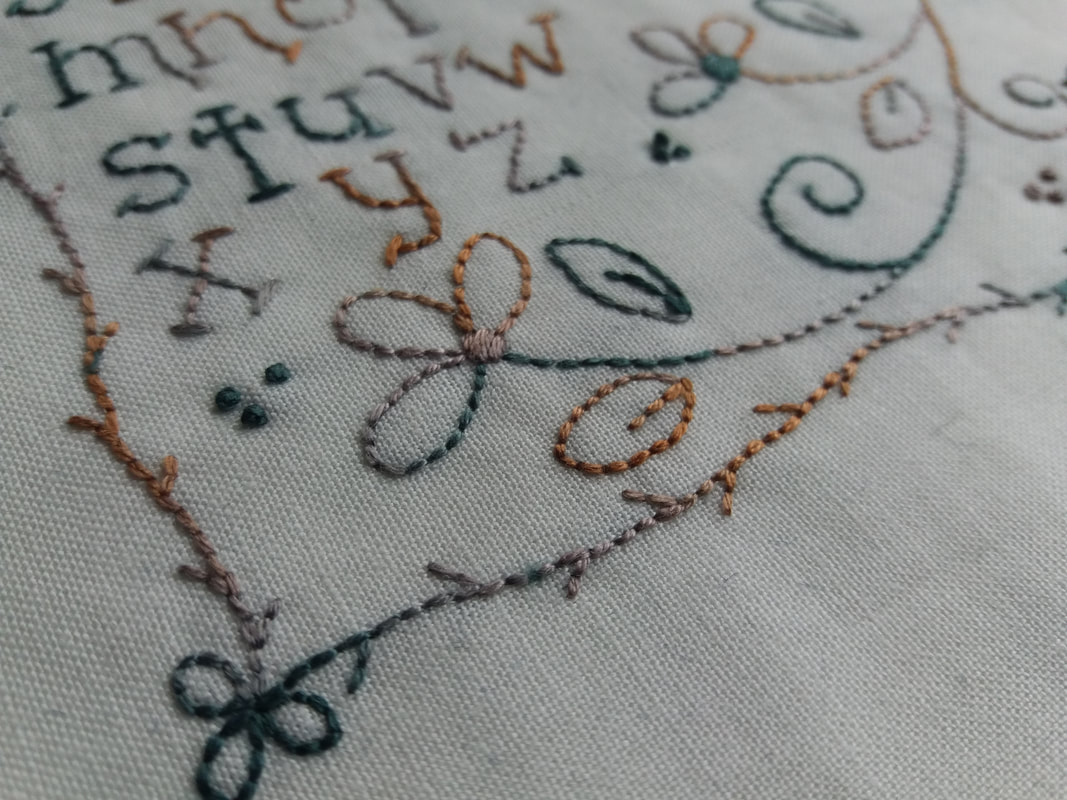
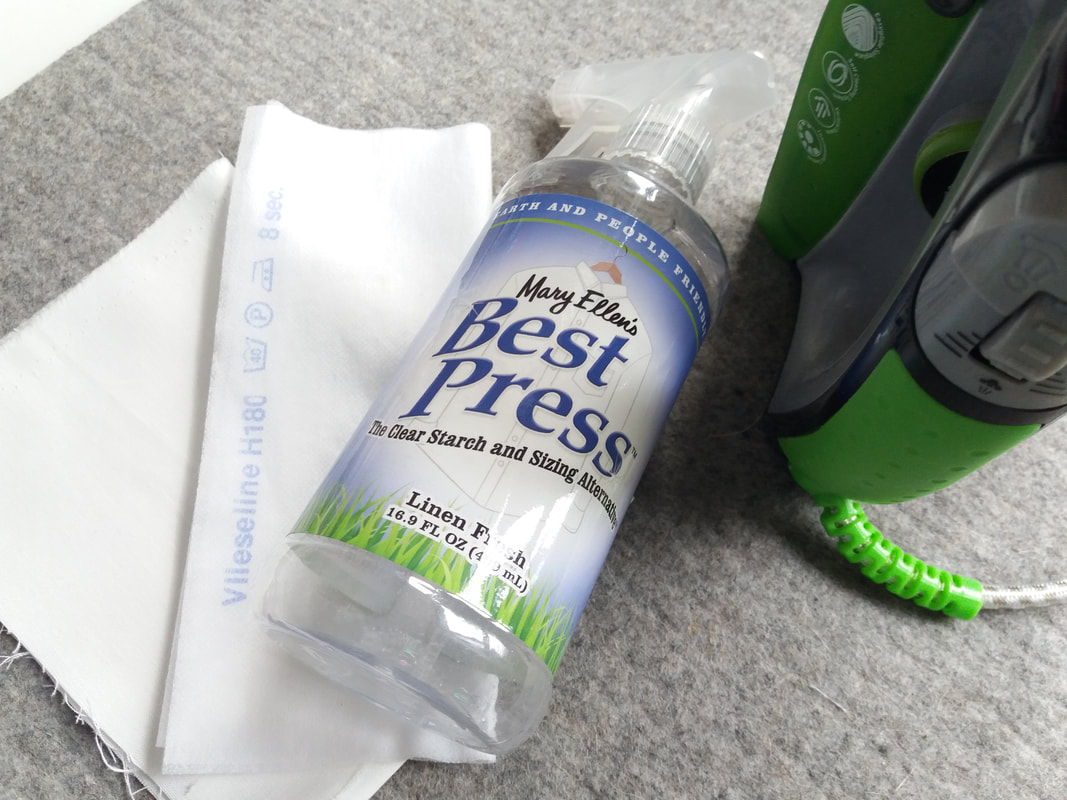
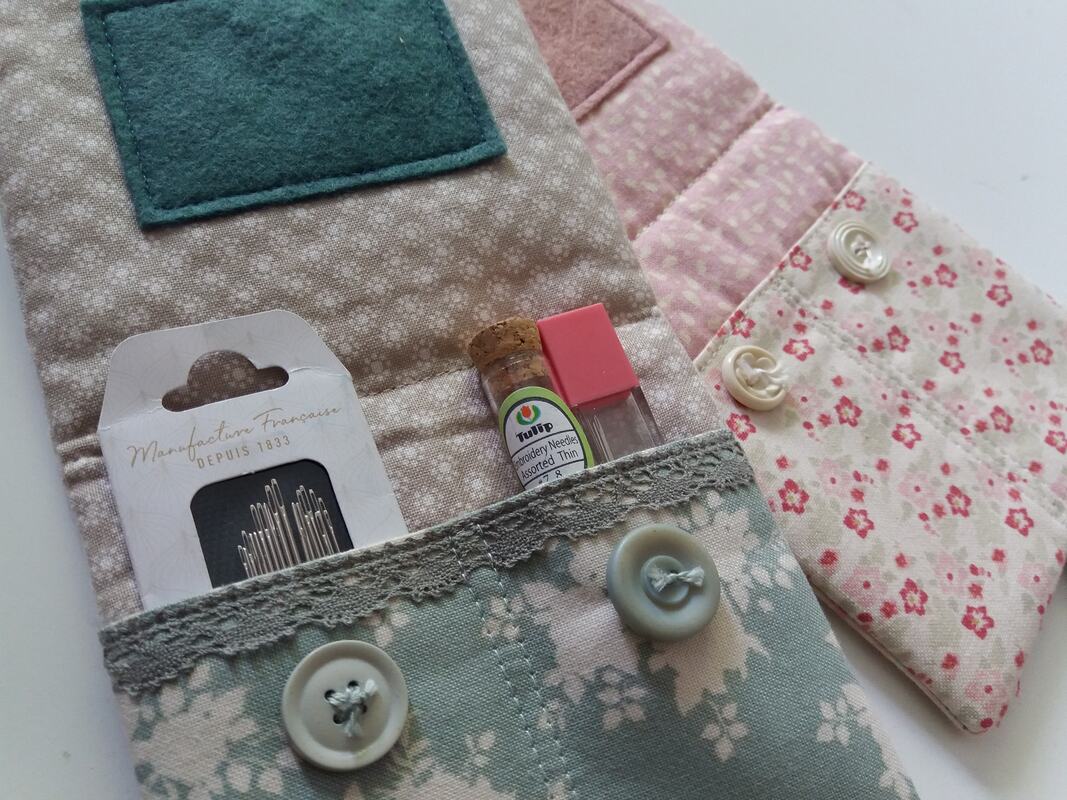
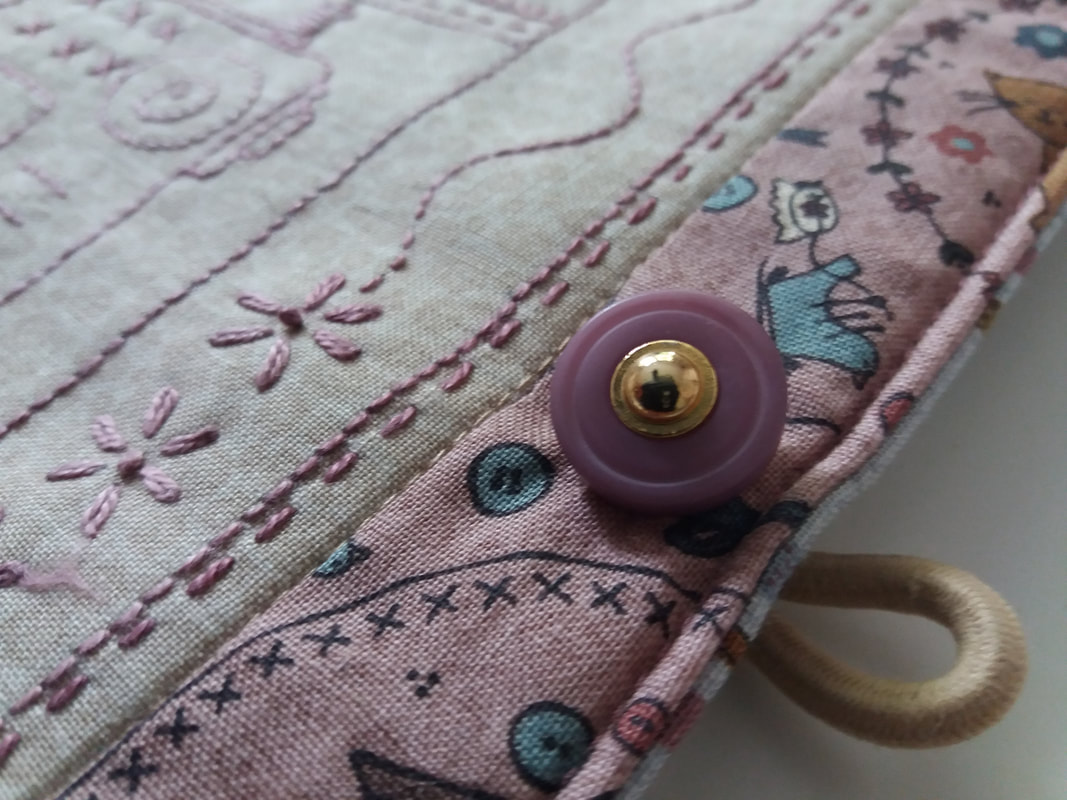
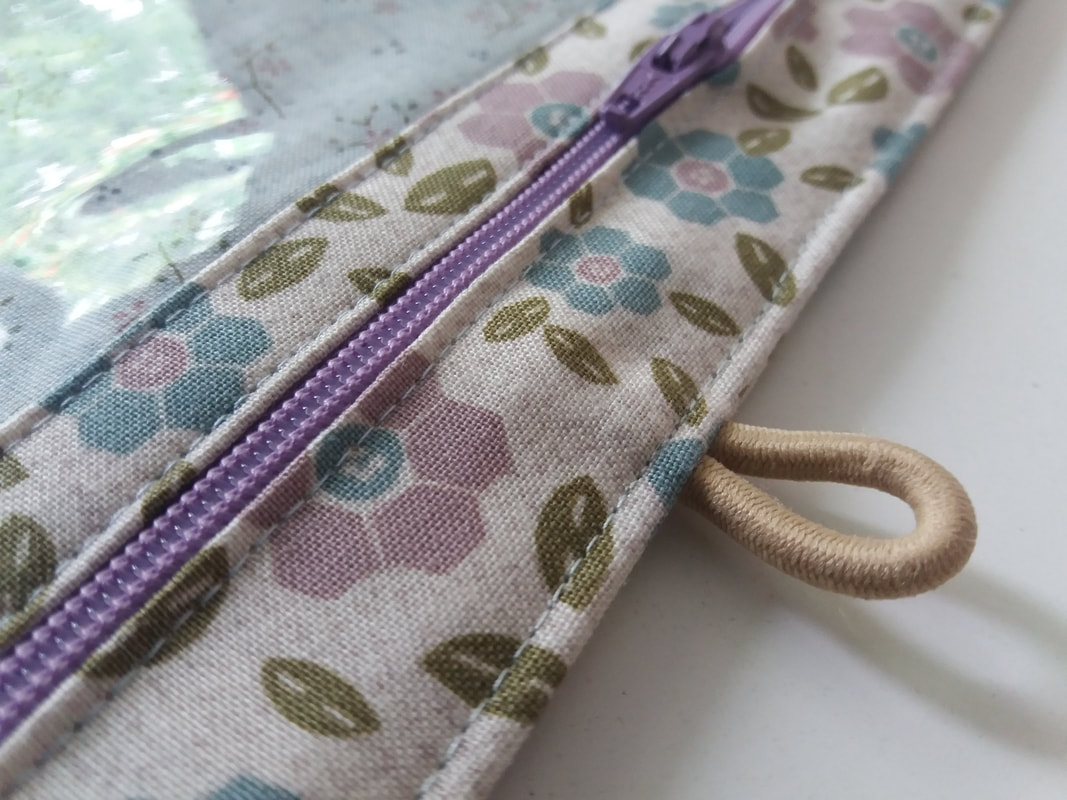
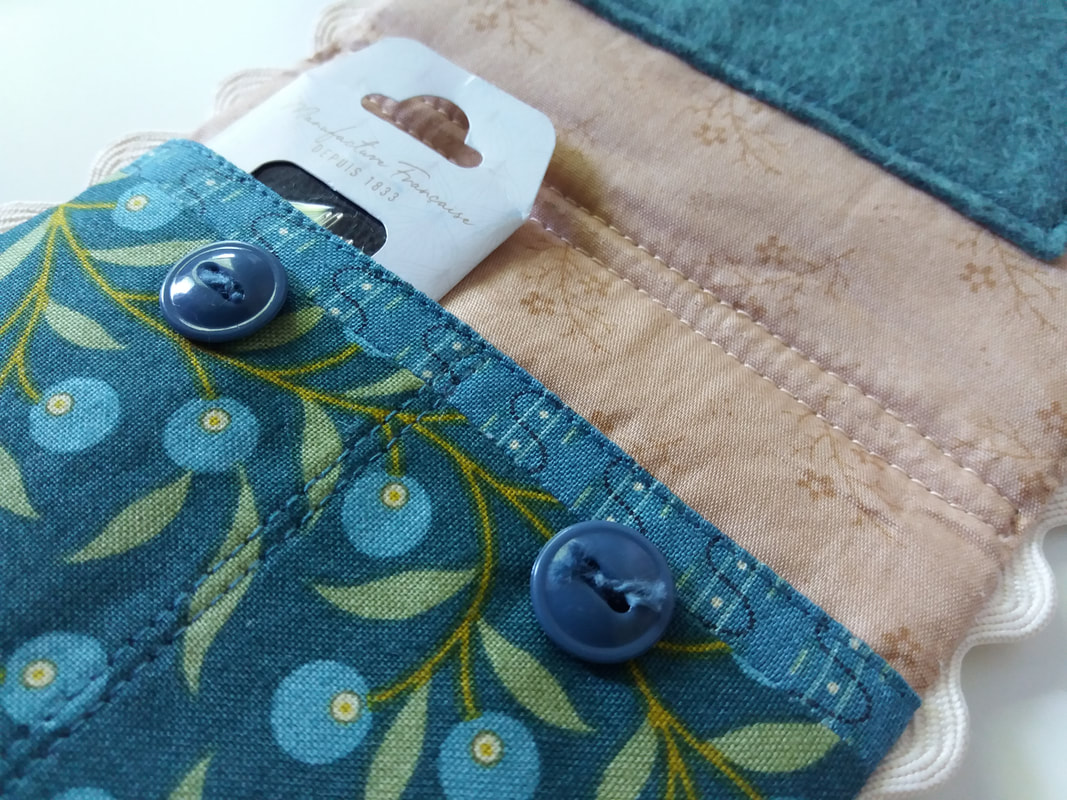
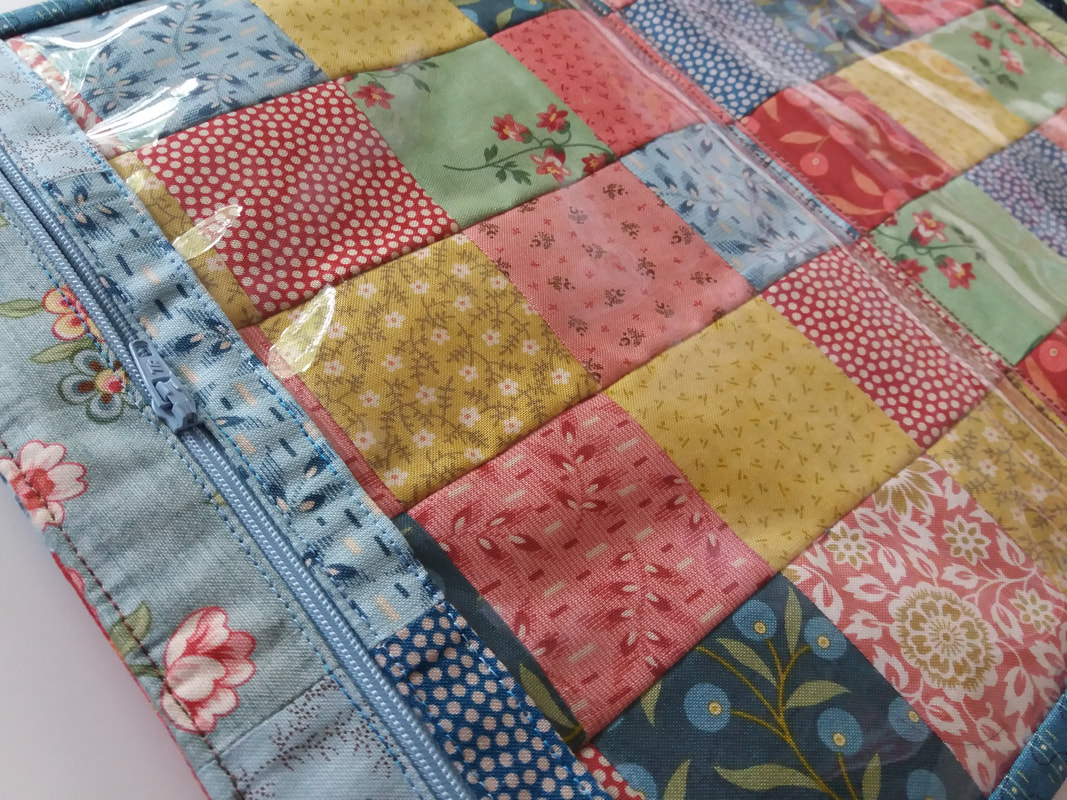
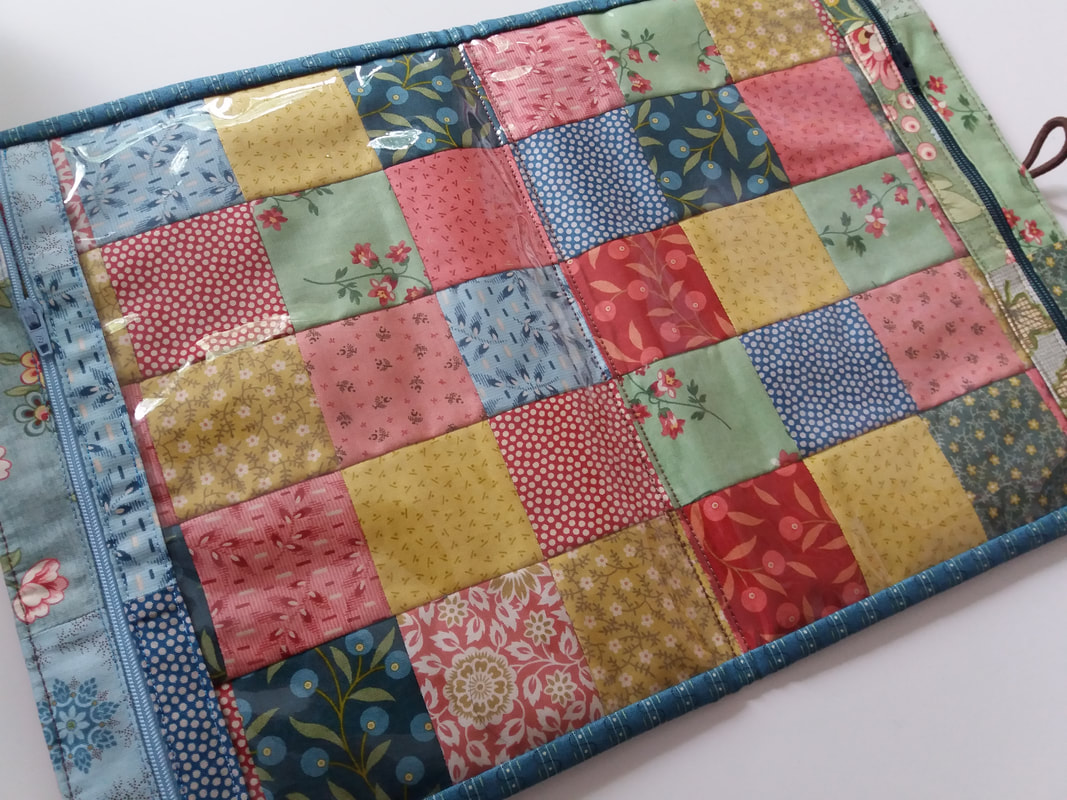
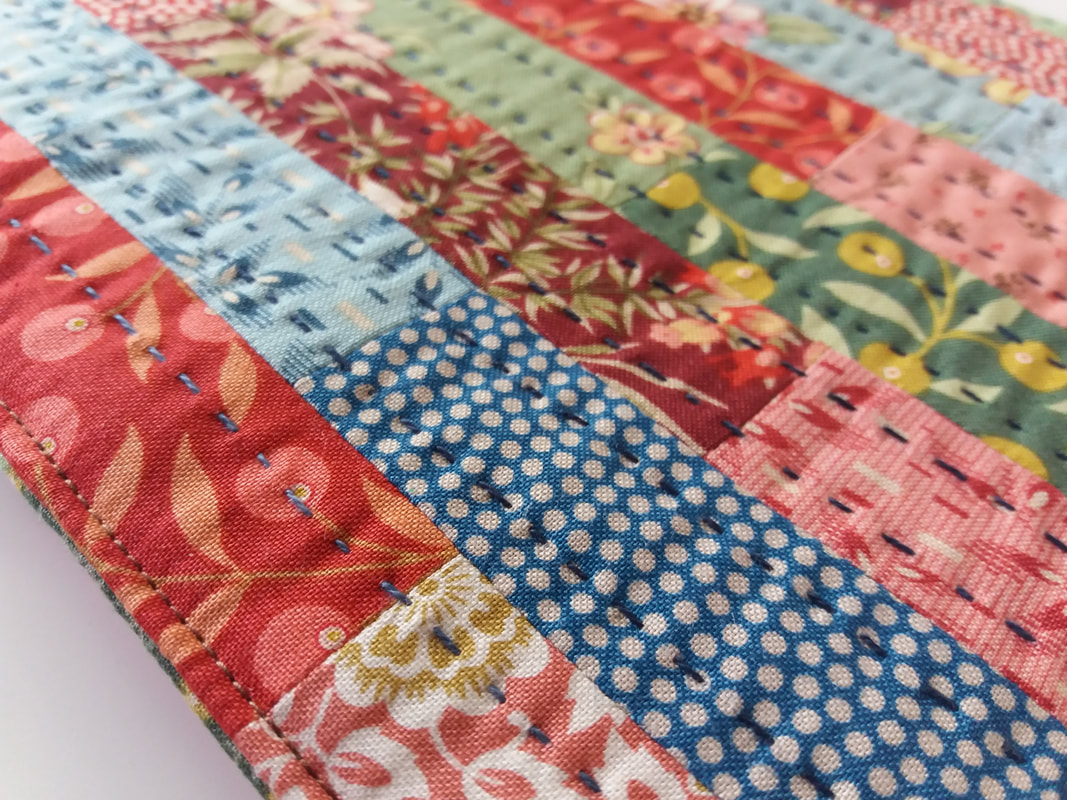
...Cottage Garden Threads are designed with the same colour at either end of the pre-cut lengths for continuity of the subtle colour blend only achievable with hand dying. The short colour lengths within each skein of thread ensure a lovely effect when stitching even small details. Once all the embroidery stitches are completed, the hoop is removed and the finished piece is pressed. I use a wool pressing mat for this - the embroidered fabric is placed face down, covered with a pressing cloth ( I use a piece of calico for this, as I don't want to get a hot sticky mess on the soleplate of my iron) and pressed with a warm iron. Now I've finished the hand embroidery, I can finish constructing this project. 
#poppypatchposse

Picture
0 Comments

Stitchery Tutorial Part 2 - Hoops, Needles, Scissors and Threads

24/7/2021

2 Comments

 
This is the second part of the stitchery tutorial that I'm writing as a member of the Poppy Patch Posse. Following on from yesterday's tutorial, this one deals with embroidery hoops, needles, scissors and threads. To hoop or not to hoop - is really personal preference. I was taught to embroider before I could write my name and a wooden embroidery hoop was instilled in me as being essential. To this day, I find it very awkward to hold my fabric without one so have an assortment of sizes to use, depending on the size of the fabric I'm stitching on. My absolute favourite needles for embroidery are Hiroshima Tulip needles (these are like the Rolly Royce of hand sewing needles) and are available in a variety of sizes. The size needle I use depends on the thickness of the embroidery thread that I'm using. My favourite embroidery scissors are these Perfect Scissors by Karen Kay Buckley. They snip right up to the point and the soft handles means they're really comfortabke to use...​
Picture
...the project that I'm currently stitching (supplied by Poppy Patch a few weeks ago) uses a skein of Cottage Garden Thread - these are beautiful hand dyed variegated embroidery threads. They are available in a huge range of colours and are beautifully packaged on a card. When the skein is untwisted, it stays on the card as the ends are already cut to size. I'm using a size 7 Tulip embroidery needle for this project. Part 3 of the stitchery tutorial will be shared tomorrow, when I'll talk about the simple embroidery stitches that I'm using for this project and my top tips for pressing my finished piece.
​#poppypatchposse
Picture
2 Comments

Stitchery Tutorial Part 1 - Transferring Stitchery Designs

24/7/2021

5 Comments

 
As part of the Poppy Patch Posse, not only am I reviewing some products available on the Poppy Patch website, but I'm also writing a few tutorials about some of the techniques that I'm going to use to create some gorgeous projects. The first product I'm going to review involves hand embroidery, so before I begin stitching, I thought I'd write a few words about the methods I use for transferring stitchery designs onto fabric. There is a lot of information available from various resources about tracing stitchery designs, so I'm not trying to preach to anyone, I'm just offering advice about my favourite "tools of the trade" and why they deserve a place in my list of favourites!

​Preparation of fabric is very important, so I've given my fabric a spray with Best Press, then using a warm iron, I've pressed the fabric on a wool pressing mat to remove any creases. I'm using a lightweight fusible interfacing, Vlieseline H180 on the wrong side of the background fabric. This gives a bit of "body" to finer fabrics and prevents shadowing of threads from the back. When using a fusible interfacing, make sure the fusible side is against the wrong side of the background fabric and take care to read the manufacturers instructions regarding the heat setting you need for your iron and avoid getting the fusible part of the interfacing on your iron - I always press from the right side of my background fabric, to activate the fusible backing, ensuring there are no threads caught between the fabric and interfacing...
Picture
...some sort of lightbox is an absolute must if, like me, you do lots of hand embroidery and I absolutely LOVE my A3 sized lightpad (a very thin lightbox) which makes tracing larger designs so much easier than taping your paper designs to the window to trace!...
Picture
...this lightpad has a large, flat surface and is very easy to use. You just plug it in, switch it on and it's ready. It also has various levels of brightness, which is really useful...
Picture
​
​...once the fabric is pressed, it's centred over the stitchery design, with a couple of inches spare all around the outside edge. I've used some pins to secure it to the paper pattern, followed by a strip of masking tape to hold the layers in place on the surface of the lightpad. Then I can alter the level of brightness to  enable me to be able to see the design through the fabric...
Picture
...there are numerous pens available for transferring designs onto fabric, and believe me I have tried most of them! Personally I don't like Frixion pens - although the lines disappear when heat is applied, "ghostlines" can reappear afterwards. My favourite pen for tracing designs is a Pigma Micron pen in the finest nib size 005 (even 1 strand of thread will cover the traced design). The ink is permanent, so you do need a very steady hand. You don't need to press hard, or the nib will be damaged and drag across the fabric rather than leaving a smooth line. I normally use the brown ink, as this ensures the colour of the embroidery thread stays true, although I do use red ink for redwork. Fine pointed pencils can also work well, especially if the lead is white for using on darker fabrics...
Picture
...once I've traced the stitchery design, I've placed the fabric into a wooden embroidery hoop. This keeps the fabric taut and helps to prevent puckering when I'm stitching. I'll share more information in another tutorial tomorrow regarding hoops, needles and threads. 
​#poppypatchposse
Picture
5 Comments

Puppy Approved Project!!

22/7/2021

0 Comments

 
Last weekend I was very productive, making outdoor seat cushions with boxed corners for my daughter's seating area. Her boyfriend had originally made the seating area with reclaimed pallets. Outdoor fabric was idea for this project which my daughter sourced online from Just Fabrics...
Picture
​...I watched a GREAT video on the Sailrite website, as I wanted to cut the fabric for each cushion as a single piece. The 30 minute boxed corner cushion tutorial is a MUST if you're planning to make some simple cushions. There is also a fabric calculator on the website which is absolutely spot on in calculating how much fabric you need, all the cutting measurements inclding seam allowances and even works out the size of the notes you need to cut out for the boxed corners! ​I used zipper by the metre for these seat covers, which was purchased from Zipper Station - if you order before 3pm, your order is delivered the next day with is fab! Finally, a real game changer is the double sided adhesive fabric tape, a quarter inch wide, which is recommended in the video for basting the zipper tape in place instead of using pins or clips. I'll definitely use that method for inserting zippers in cushions in the future. ​

Picture
0 Comments

More Butterfly Stitches

21/7/2021

0 Comments

 
I've been playing around with some Tilda scraps and I've made another couple of needlecases as gifts for friends. This pattern is Butterfly Stitches from the book Patchwork Loves Embroidery Too by the Australian designer Gail Pan Designs and I've used variegated Valdani perle threads from the hand embroidery, bought from Cross Patch...
Picture
 ...inside the needlecases there is a woolfelt needle keeper and a couple of pockets, embellished with vintage lace and buttons, which are perfect for storing packets of needles. These will make lovely gifts for some of my sewing-friends.
Picture
0 Comments

Faded, Stained, and Frayed

19/7/2021

0 Comments

 
Faded, stained and frayed, this cross stitch herb pillow was feeling very sorry for itself. I'd originally made this cross stitch pillow over 30 years ago - lavender and rosemary were tucked inside and it was on my bed for several years until it finally fell apart. Desperate to preserve it but lost for ideas, it was shoved in a box with an assortment of other tattered bits and bobs, until I recently "rediscovered" it and now it's got a new lease of life! I love these simple wooden frames from Hobbycraft and have framed several of my "crafty" projects to display around my home.
Picture
Picture
Picture
0 Comments

Another Just Sew Sewing Folder

15/7/2021

0 Comments

 
I've been mixing up 2 of my favourite Australian designers for this project! The pattern is Just Sew, from the book Patchwork Loves Embroidery Too by Gail Pan Designs. I'd made one of these sewing folders last week in a different colourway and this time the fabrics are from the One Stitch at a Time collection by Lynette Anderson Designs...
Picture
...the stitchery design was hand embroidered using a variegated Valdani perle thread from Cross Patch, in a colour to match the fabrics. Very simple stitches were used - back stitch, lazy daisy stitch, running stitch and colonial knots. One of my vintage buttons was used for the fastening...
Picture
Picture
...inside the sewing folder there are 2 really useful zippered vinyl pockets. I used a few scraps from the same collection of fabrics for the binding around the vinyl and zippers and co-ordinated the colours of the zippers too. It's always good to have a supply of gifts for my sewing friends, so this will be tucked away with a few other sewing-related handmade goodies.
Picture
Picture
0 Comments

Poppy Patch - The First Kit

12/7/2021

0 Comments

 
Being part of the Poppy Patch Posse involves reviewing products every 3 months, a bit of sewing, writing tutorials, a bit of sewing, taking photographs and a bit more sewing! The first kit thatwas sent from Poppy Patch arrived at the weekend and is the Forget me Not Sewing Pouch by Gail Pan Designs. The kit includes some pretty fabrics from the Swan Cottage collection designed by Lynette Anderson Designs, a piece of background fabric for the stitchery design and a gorgeous skein of Cottage Garden Threads hand dyed embroidery thread. All I need to add is some stabiliser, wadding and a buton. I need to finish one or two other projects first, then I'll make a start on this one. I'm going to write a tutorial detailing how I prepare my fabrics, transfer the stitchery details and some other useful titbits, which I'll share on here in the next few weeks. 
#poppypatchposse
Picture
0 Comments

Butterfly Stitches

10/7/2021

1 Comment

 
You can never have too many needlecases! The pattern for the needlecase is Butterfly Stitches and is featured on the front of the book, Patchwork Loves Embroidery Too by the Australian designer Gail Pan. Still trying to be thrifty, I've used a few leftover charm squares from my previous project for the front, back and the inside pocket. 
Picture
Picture
...inside, there are 2 small pockets embellished with vintage buttons, for packets of needles and small scissors. A wool felt needle keeper was machined into place on the lining...
Picture
Picture
...the needlecase fastens with a ribbon, tied in a bow. The closed needlecase is just 4" square, so will tuck nicely into the pocket of my sewing bag!
Picture
1 Comment

Just Sew

8/7/2021

0 Comments

 
Why use one background fabric when you can use four? I've pieced four charm squares together, pressed the seams open to keep the piece flat and fused a piece of lightweight interfacing to the back. The hand embroidery has been stitched using a variegated Valdani perle thread...
Picture
Picture
...why use just one fabric for a lining when you can make a patchwork lining? I've cut up some charm squares and pieced them together to make the lining. Inside this sewing pouch there are 2 vinyl zippered pockets, the scrappy bindings for the zippers are also made with strips cut from charm squares...
Picture
Picture
...the front cover of "Just Sew" is also pieced together, this time with 1.5" strips. This fabric collection is The Seamstress by Edyta Sitar, available from Cross Patch. Once the outside cover was pieced together, it was hand quilted very simply using the same Valdani variegated blue thread that was used for the hand embroidery. A quick rummage in my box of vintage buttons produced the perfect button to use to fasten this sewing pouch...
Picture
Picture
...the pattern for this sewing pouch, "Just Sew" is in the book Patchwork Loves Embroidery by the Australian designer Gail Pan. This is the first project I've made from this book, and I'm sure I'll make a few more! Meanwhile, this will be used to store a few threads and bits and bobs for my next "big" project, which also uses some fabrics from this collection. 
Picture
0 Comments
<<Previous
    Picture

    About me...

    Hi - welcome to my quilting blog! My passions are my family, my dog, my friends and sewing, not necessarily in that order! 
    ​​I live in Suffolk, not far from the coast, surrounded by the beautiful countryside.  
    ​If you want to share or pin any of my pictures, please link back to my blog.

    Picture
    Picture
    Picture
    Picture
    Picture
    Picture
    Picture
    Picture
    Picture
    Picture
    Picture
    Picture
    Picture
    Picture
    Picture
    Picture
    Picture
    Picture
    Picture
    Picture
    Picture
    Picture
    Picture
    Picture
    Picture
    Picture
    Picture
    Picture
    Picture
    Picture
    Picture
    Picture

    Archives

    January 2023
    December 2022
    November 2022
    October 2022
    September 2022
    August 2022
    July 2022
    June 2022
    May 2022
    April 2022
    March 2022
    February 2022
    January 2022
    December 2021
    November 2021
    October 2021
    September 2021
    August 2021
    July 2021
    June 2021
    May 2021
    April 2021
    March 2021
    February 2021
    January 2021
    December 2020
    November 2020
    October 2020
    September 2020
    August 2020
    July 2020
    June 2020
    May 2020
    April 2020
    March 2020
    February 2020
    January 2020
    December 2019
    November 2019
    October 2019
    September 2019
    August 2019
    July 2019
    June 2019
    May 2019
    April 2019
    March 2019
    February 2019
    January 2019
    December 2018
    November 2018
    October 2018
    September 2018
    August 2018
    July 2018
    June 2018
    May 2018
    April 2018
    March 2018
    February 2018
    January 2018
    December 2017
    November 2017
    October 2017
    September 2017
    August 2017
    July 2017
    June 2017
    May 2017
    April 2017
    March 2017
    February 2017
    January 2017
    December 2016
    November 2016
    October 2016
    September 2016
    August 2016
    July 2016
    June 2016
    May 2016
    April 2016
    March 2016
    February 2016
    January 2016
    December 2015
    November 2015
    October 2015
    September 2015
    August 2015
    July 2015
    June 2015
    May 2015
    April 2015
    March 2015
    February 2015
    January 2015
    December 2014
    November 2014
    October 2014
    September 2014
    August 2014
    July 2014
    June 2014
    May 2014
    April 2014
    March 2014
    February 2014
    January 2014
    December 2013
    November 2013
    October 2013
    September 2013
    August 2013
    July 2013
    June 2013
    May 2013
    April 2013
    March 2013
    February 2013
    January 2013
    December 2012
    November 2012
    October 2012
    September 2012
    August 2012
    July 2012
    June 2012
    May 2012
    April 2012
    March 2012
    February 2012
    January 2012
    December 2011
    November 2011
    October 2011
    September 2011
    August 2011
    July 2011
    June 2011
    May 2011
    April 2011
    March 2011
    February 2011
    January 2011
    December 2010
    November 2010
    October 2010

    RSS Feed

    Picture
    Picture

    Blogs I follow

    A Quilt Lady
    A Quilting Life
    Abyquilt
    Anne-Grethe's quiltblog
    Anne Marie Quilt
    Bente Malm Quilte-Design
    Bloom
    Cinderberry Styitches
    Daisy made it
    Dilly Dimple
    Karis Quilterier
    Evas Quilterom
    Erickaeckles
    Fantasia Yarns
    Gail Pan Designs
    Hanne's Quilt Corner
    Halfpenny Home
    I'm a Ginger Monkey
    J-quilts
    Just Jude Designs
    Kviltstina
    Leanne's House
    Liv Aagots Quilteblogg
    Lily's Quilts
    Litamora's Quilt & Design
    Lynette Anderson Designs
    Merete's Quiltestue
    Mona's quiltblog
    Pam's Paradise Stitching
    Pia Si Sia
    Random Ramblings
    Sigrun's blog
    Sølvi's blog
    U-handblog
    ZewNice

     UK shops

    These are the UK shops that I use to purchase my quilting supplies - fabrics and threads etc.
    Bramblepatch
    Buttonberry
    Coast and Country Crafts
    Craft Den
    Cross Patch
    Emma's Fabric Studio
    Fiona's Fabrics
    Glenroy Designs
    Halfpenny Home
    Hulu
    J-quilts
    KIS Quilting
    Patchwork Chicks
    Quilter's Cloth
    Quilters Haven
    Sew and So's
    The Eternal Maker
    The Fat Quarters
    The Quilt Room
    U-handbag

    Australian links

    Cookies and Cream Craft
    Homespun magazine
    Little Quilt Store
    Quilt Fabric Delights
    Under The Mulberry Tree

    Scandinavian links

    Lapp-Elisa Quilts HB
    Lappedesign
    Lappedilla AS
    Myquilt
    Northern Quilts
    Quiltegården
    Quiltekroken
    Quiltemagasinet
    Quiltespecialisten
    Sy-Sammen