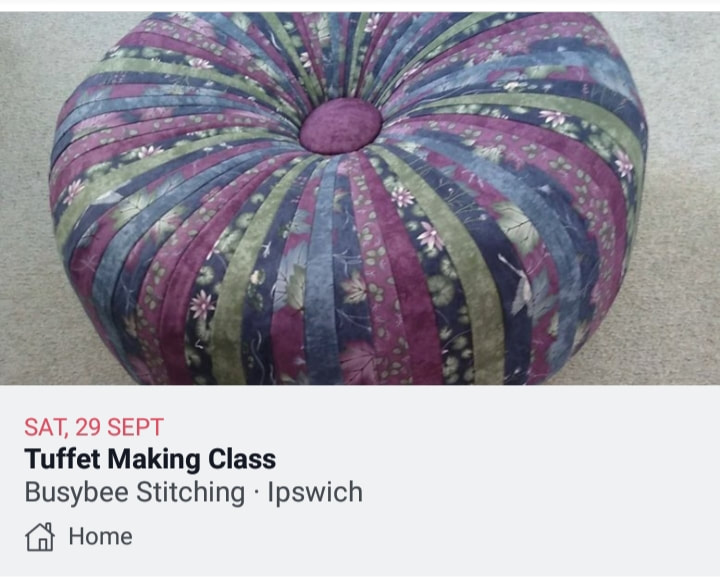
If you're local to the Ipswich area and want to learn how to make a tuffet, the 2 day course will be held again at Busybee Stitching on Thursday 15th Nov and Thursday 29th Nov.
|
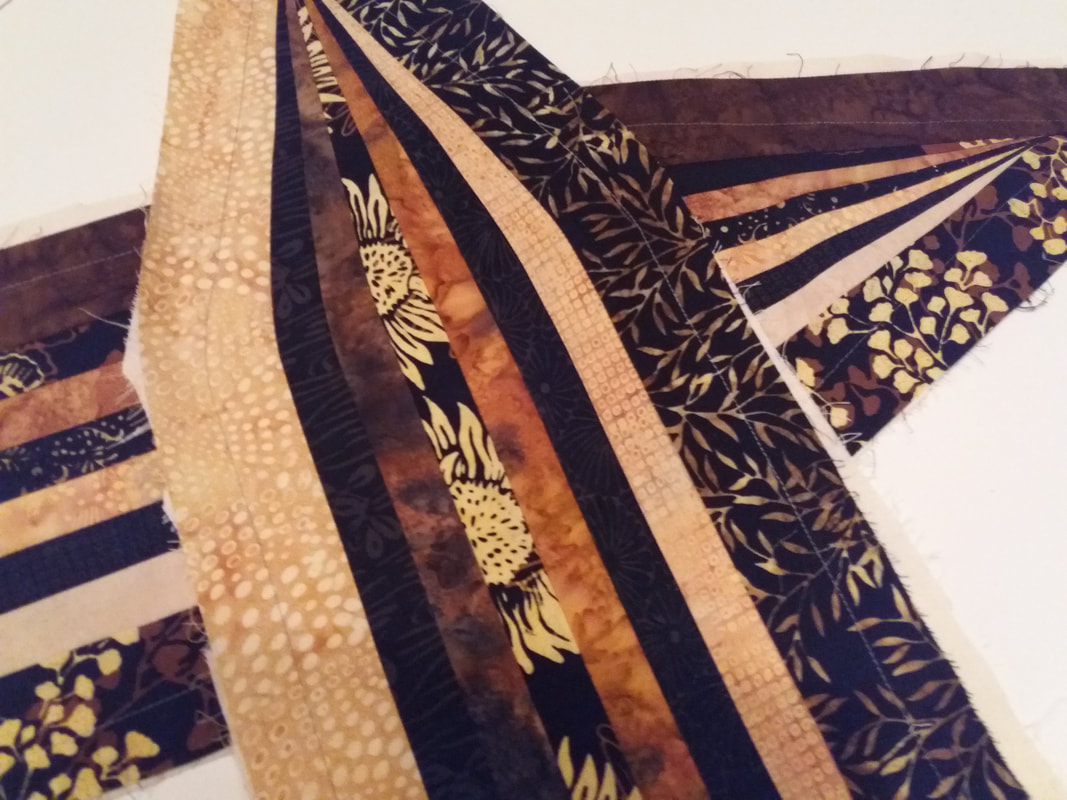
I had a great time yesterday on a tuffet making course at Busybee Stitching. The hardest part was deciding what fabrics to use! Eventually I decided to use a Bali Pop (similar to a Jelly Roll but consists of 40 x 2.5" strips of batik fabrics) in colours to match my lounge. I'd had this Bali Pop for simply ages, waiting for just the right project! Part 1 was spent deciding on a layout, and making the first 2 panels (there are 8 panels altogether). I managed to get the next 2 panels stitched together at home in the evening (they were much easier than the first two were!), but I've got lots of homework to do as I need to get the remaining panels made and pieced together before part 2 of the course in a couple of weeks.
If you're local to the Ipswich area and want to learn how to make a tuffet, the 2 day course will be held again at Busybee Stitching on Thursday 15th Nov and Thursday 29th Nov.
0 Comments
Today I'm off to Busybee Stitching for the first part of a 2-day course to learn how to make a tuffet! I've got all my sewing supplies packed in the car and my Bernina has been cleaned and oiled ready for some serious stitching! I'm sure Little Miss Muffet didn't have such a gorgeous tuffet to sit on. As long as there aren't any eight legged creatures sitting beside me I'll have a great time!
Haha - oh my goodness this really is so true. Maybe I should get this printed on my labels - although having this phrase "handmade with love and lots of swearing" might not be very appropriate for the baby quilts that I make! Maybe I should have a swear jar in my sewing studio - it would probably fund my next project or two!
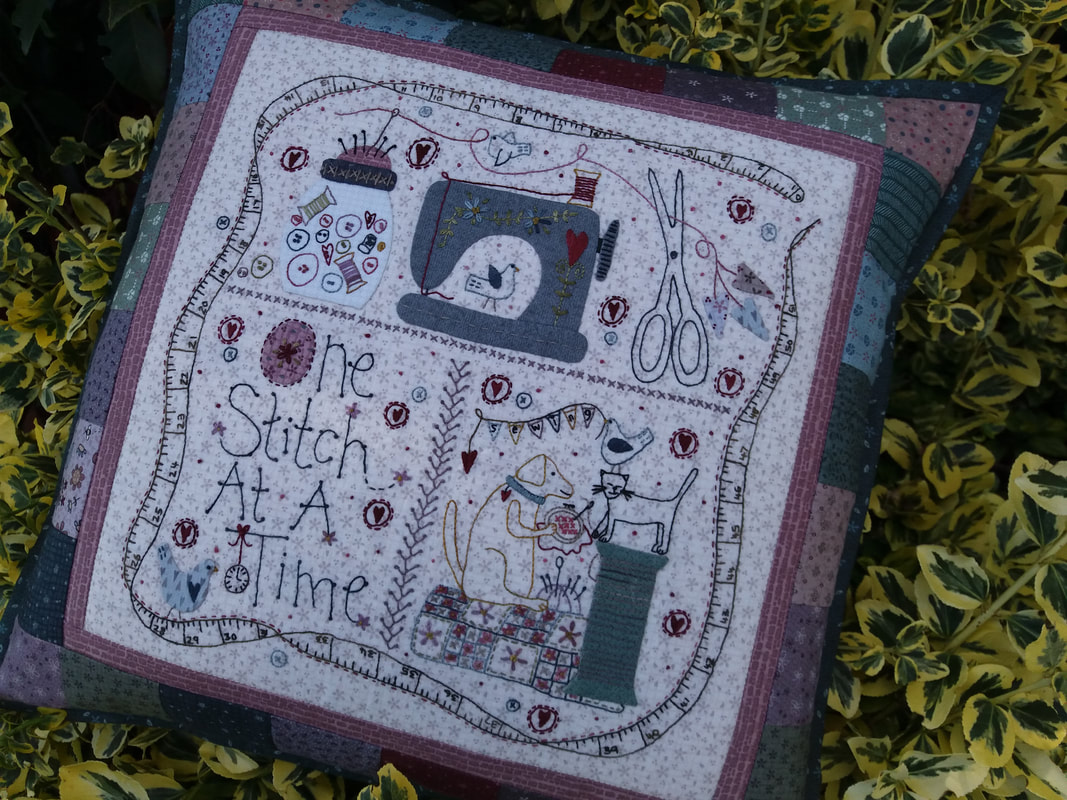
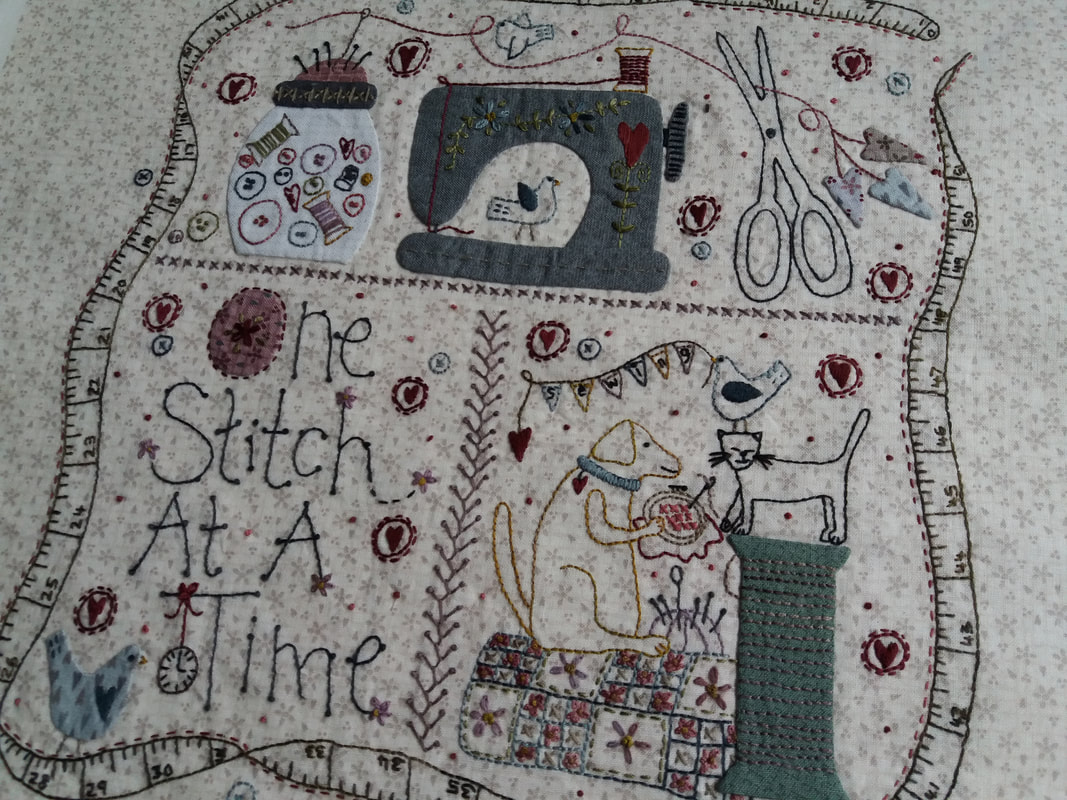
It's finally finished! This is my latest project, a gorgeous cushion that will look really pretty displayed in my sewing studio. This was bought online as a kit from Little Quilt Store - the pattern is One Stitch at a Time, by the Australian designer Lynette Anderson. The centre panel has been hand embroidered using Valdani variegated stranded cotton. The hand applique was app prepared using a method that involves applique paper, a fabric glue pen and Apliquick rods - the applique shapes are then all stitched into place using a very fine Aurifil 80wt thread. A plump feather cushion pad was slipped inside the cushion cover and there was just time for a quick photoshoot yesterday evening before I went to my Tuesday evening sewing group.
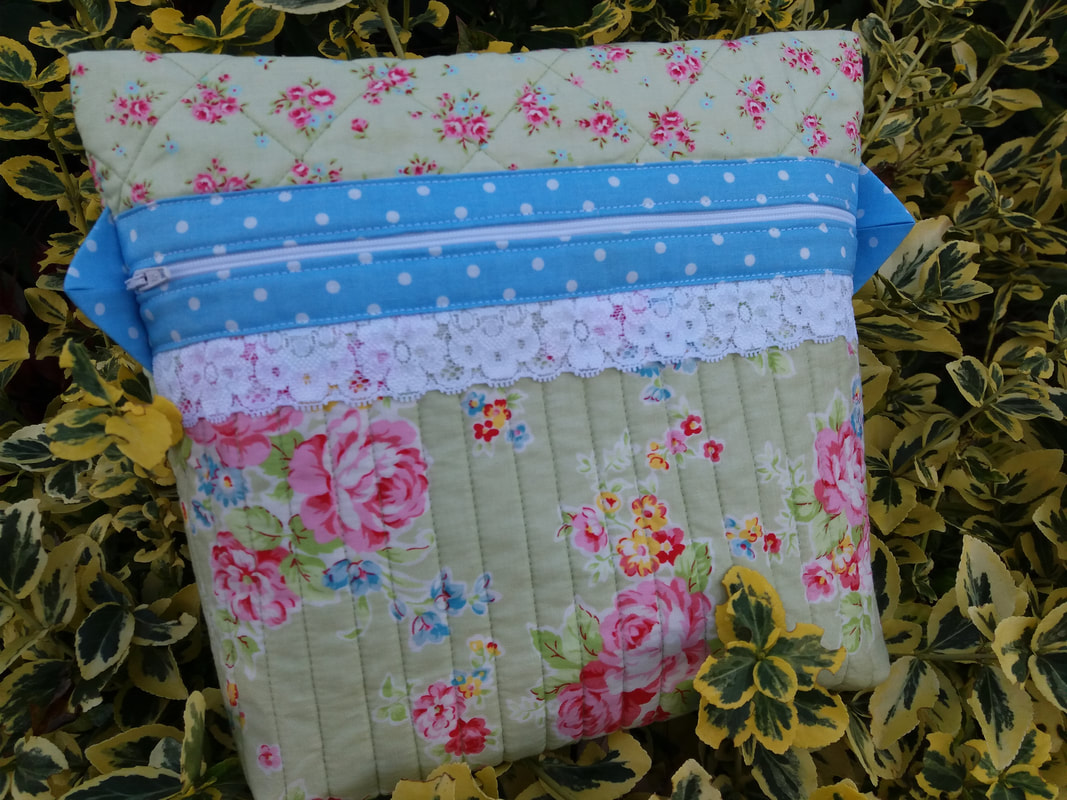
*if you're in the UK, the patterns and kits are available from Cross Patch, an online quilt shop based in Wales. I've used some of this gorgeous Lecien print from the Princess Rose collection to make a toiletry bag for my very special friend.. I used one of my favourite patterns, Anna's Sminkepung, by the Norwegian designer AnnAKa. This was quilted very simply, and I decorated the front of the bag with some lace trimming. This one is a gift for my friend Lesley - she's been on a great adventure travelling around the UK, and we were lucky to have her and her husband staying with us at the beginning and end of their travels around the UK. I needed a gift that wouldn't take up too much room in her suitcase as she'll soon be heading back to New Zealand, and this seemed the perfect choice. I hope she likes it!
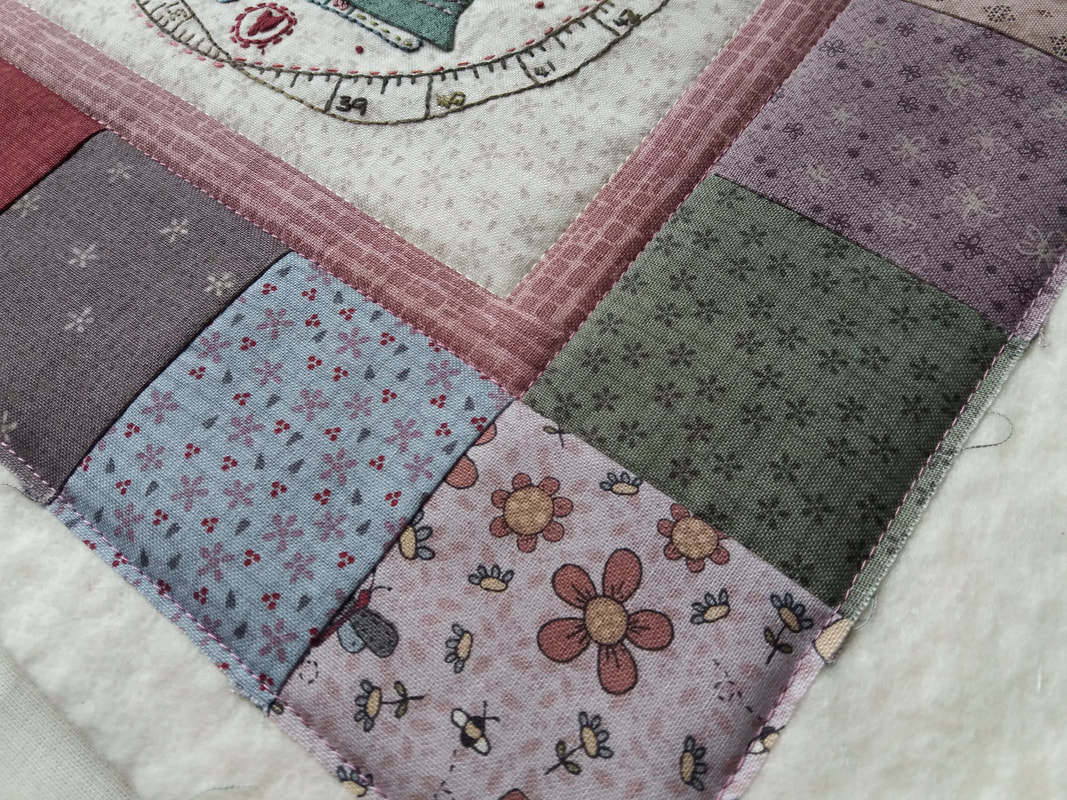
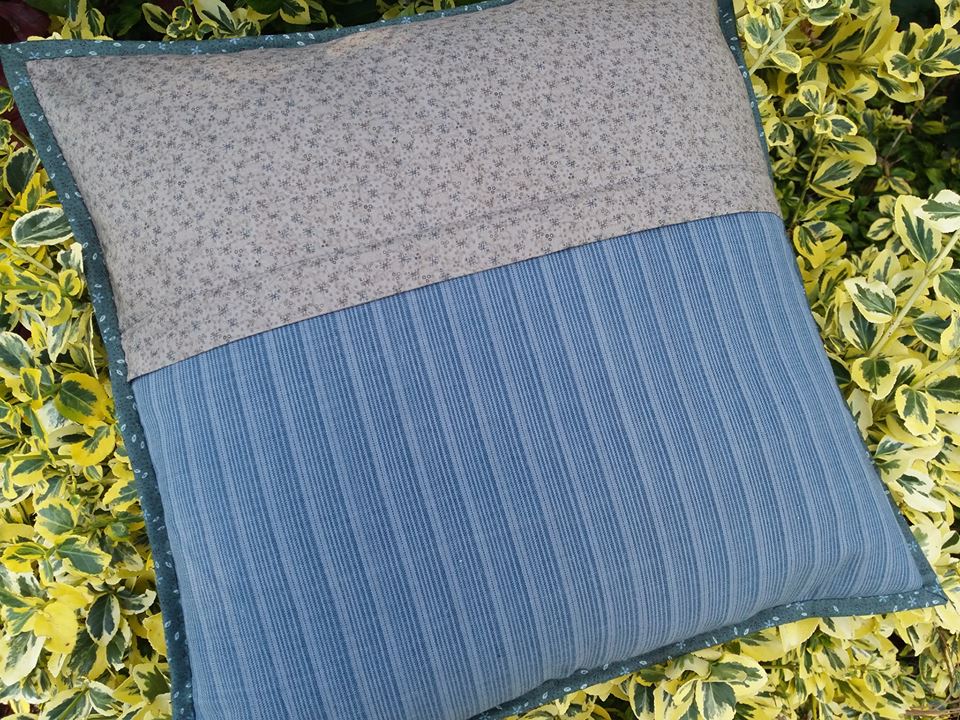
Once the cushion front was hand embroidered and hand appliqued, the inner and outer borders were added, then it was pressed on the back with a warm iron. (When I'm pressing an embroidered piece of work, I always lay a folded fluffy towel on the ironing board, with the embroidery facing down, to prevent the embroidery from being flattened). This was then layered up with a piece of calico and some cotton wadding. I decided to quilt this cushion front very simply, so chose a King Tut variegated cream machine quilting thread and stitched in the ditch around the cushion centre. The inner border was quilted in the same way, but using a dusky pink thread to match the fabric. Finally I've stitched around the outer edge to keep the layers together, before it's trimmed to size, ready for adding a back with a zipper... ...the back of the cushion has a hidden zipper. Once the zipper was stitched into place, the front and the back of the cushion were pinned together, and machined all around the outer edge, stitching 1/8th an inch all around the outside edge. Then a single fold binding was added to over all the raw edges. This is a really simple technique, and the binding frames the cushion nicely. Finally a plump feather cushion is inserted - I always use one that is 2" bigger than the cushion cover, making sure the corners are all filled out nicely.
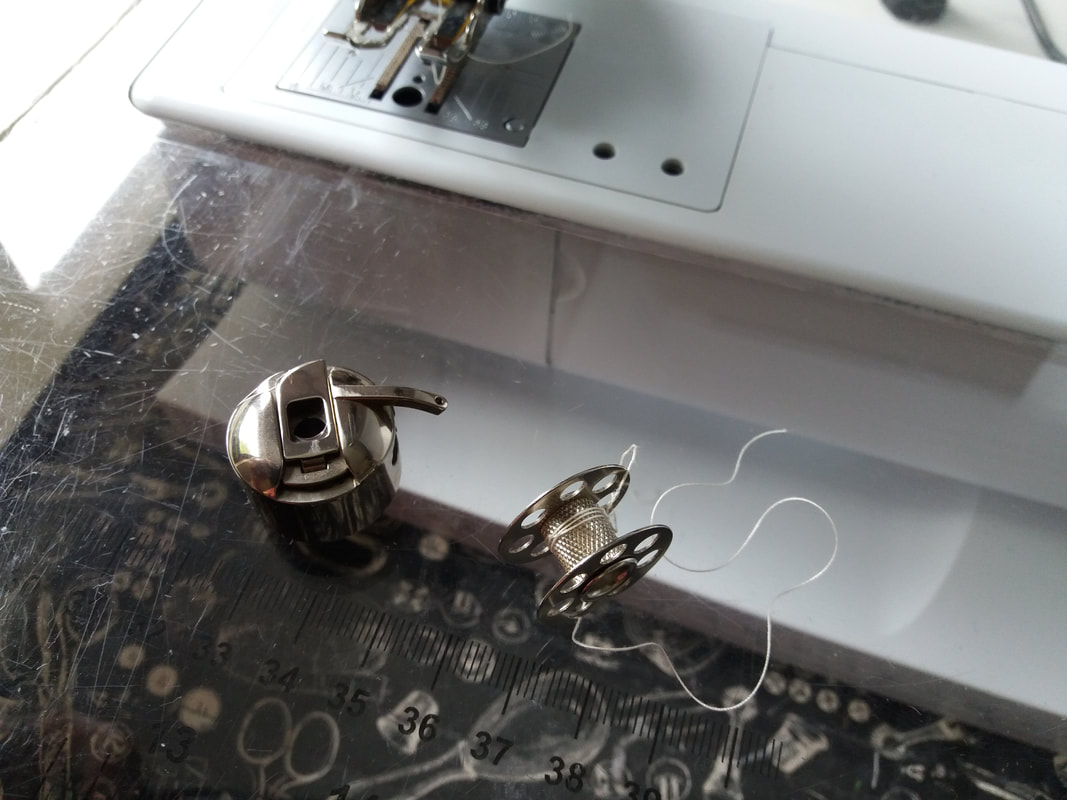
Eeekkk!! That moment when you're almost holding your breath as you desperately try to finish a project before the bobbin thread runs out! I've had a busy afternoon in my sewing studio quilting a couple of small projects, and luckily I was able to finish with just a couple of inches of thread to spare. Have you played thread chicken this weekend?
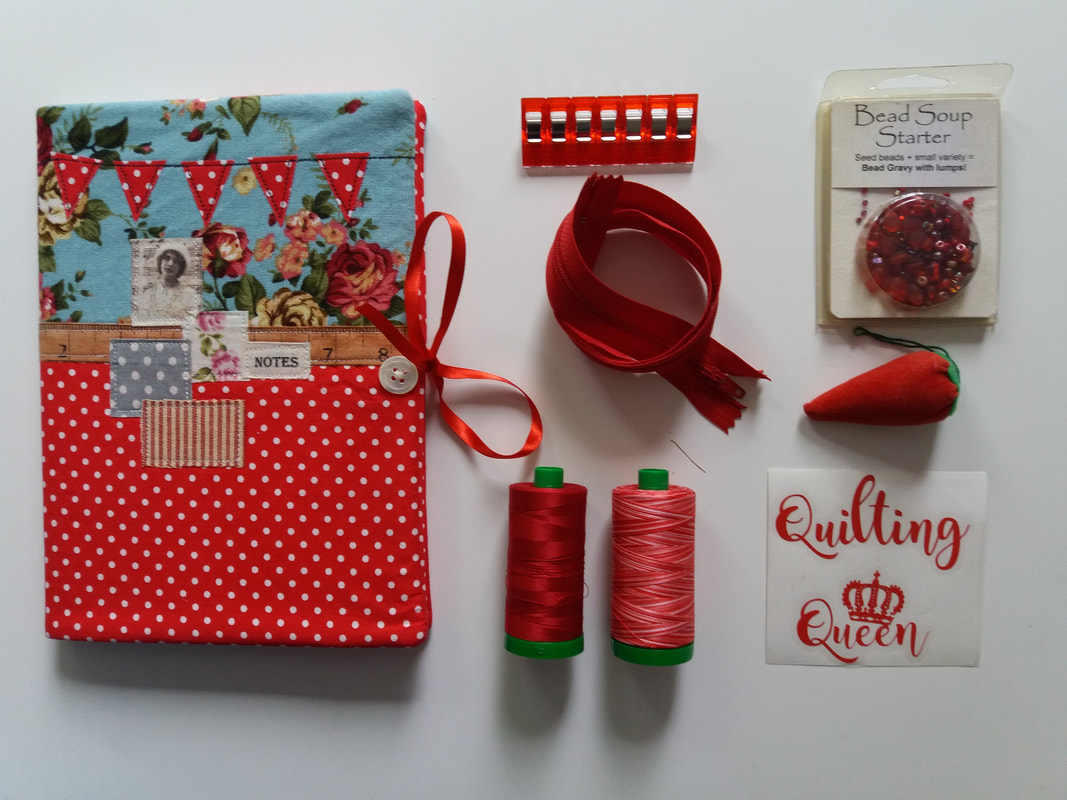
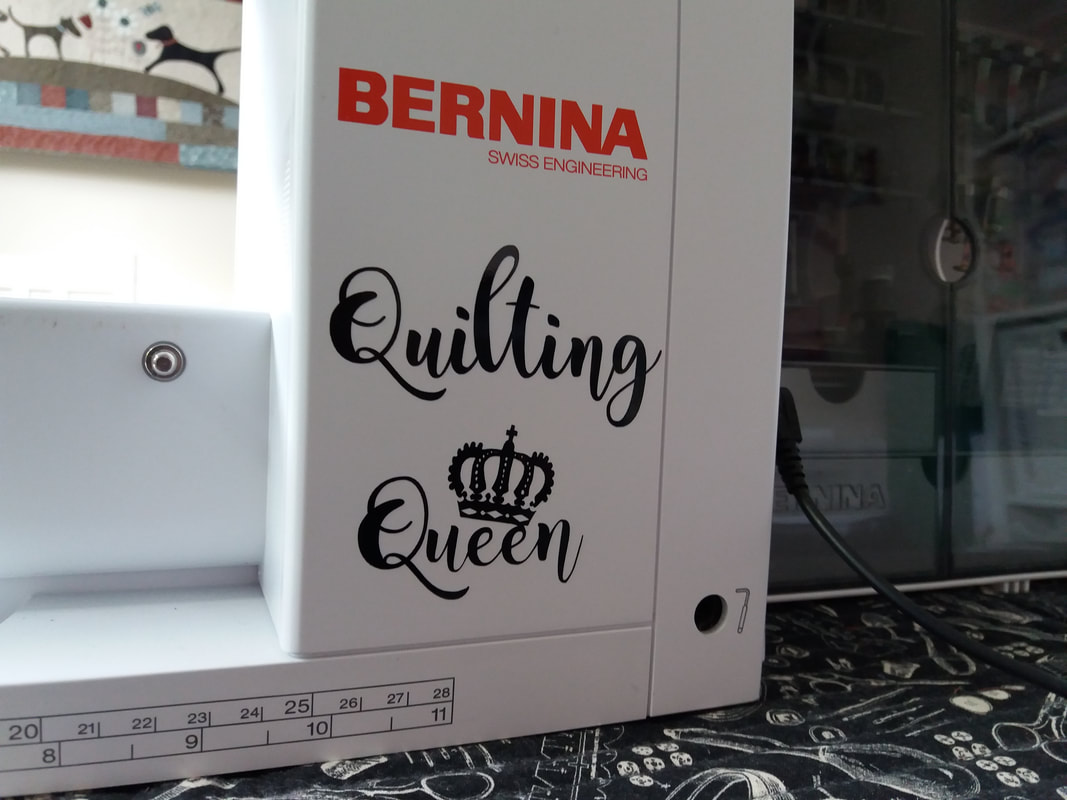
I've already mentioned on my blog that I'm taking part in the #GreatBritishQuilter on Instagram, and couldn't resist sharing today's picture on here too! Today's prompt is Flatlay, and obviously I just had to include one of the decals that arrived in the post a coupler of days ago from the Sarah Ashford Studio etsy shop, and decided to go with the red colour scheme and picked out some red bits and bobs from my sewing boxes - including my favourite thread, Aurifil. This red decal is now adorning my Bernina PE230 - my sewing machine has been given a right Royal make-over!
A few weeks ago a gorgeous cushion kit arrived in the post from the Little Quilt Store in Australia, and the centre panel has finally been completed. The hand embroidery has all be stitched using Valdani stranded embroidery threads - the colours are very soft, with a gentle variegation, and work really well with Lynette's fabrics. The applique has been stitched by hand, using aa technique that I watched Lynette demonstrating at the Festival of Quilts a few years ago. This pattern is One Stitch at a Time, designed by Lynette Anderson Designs, and uses fabrics also designed by Lynette. Now the centre piece just needs a good press, and then I can trim it to size and add the borders.
A few years ago one of my friends jokingly called me Quilting Royalty when I visited her shop - well now it's official - I am a Quilting Queen!! I couldn't resist this decal to decorate my Bernina 570QE with - it was really easy to apply, and I also bought a red one to adorn my Bernina 230PE machine too! I first saw these on the Sarah Ashford Studio Instagram account, when I was taking part in #GreatBritishQuilter Thanks you so much Sarah for your brilliant customer service - my order arrived in super quick time. If you're on Instagram too, hop over and have a look - there have been some GREAT quilting pictures, posted by some incredibly talented quilters. And if you'd like to pimp up your sewing room too, have a look at the decals available on the Sarah Ashford Studio etsy shop.
|
About me...Hi - welcome to my quilting blog! My passions are my family, my dog, my friends and sewing, not necessarily in that order! Archives
July 2023
Blogs I followUK shopsThese are the UK shops that I use to purchase my quilting supplies - fabrics and threads etc.
Australian linksScandinavian links |



 RSS Feed

