|
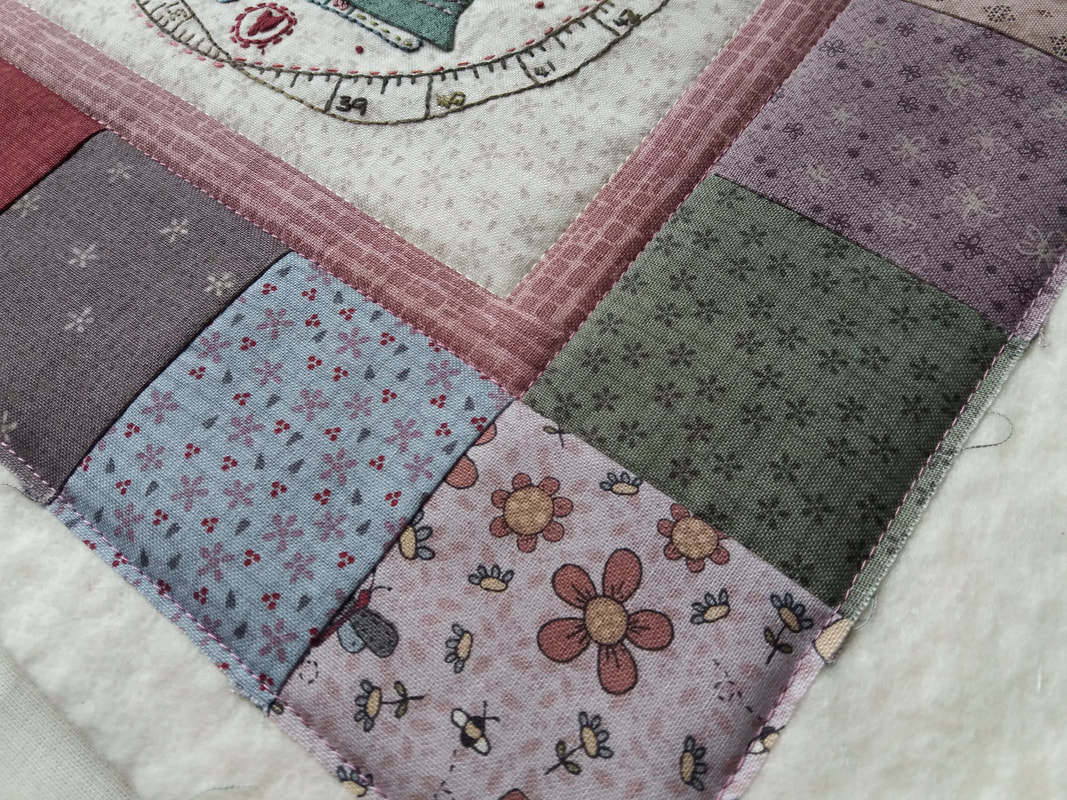
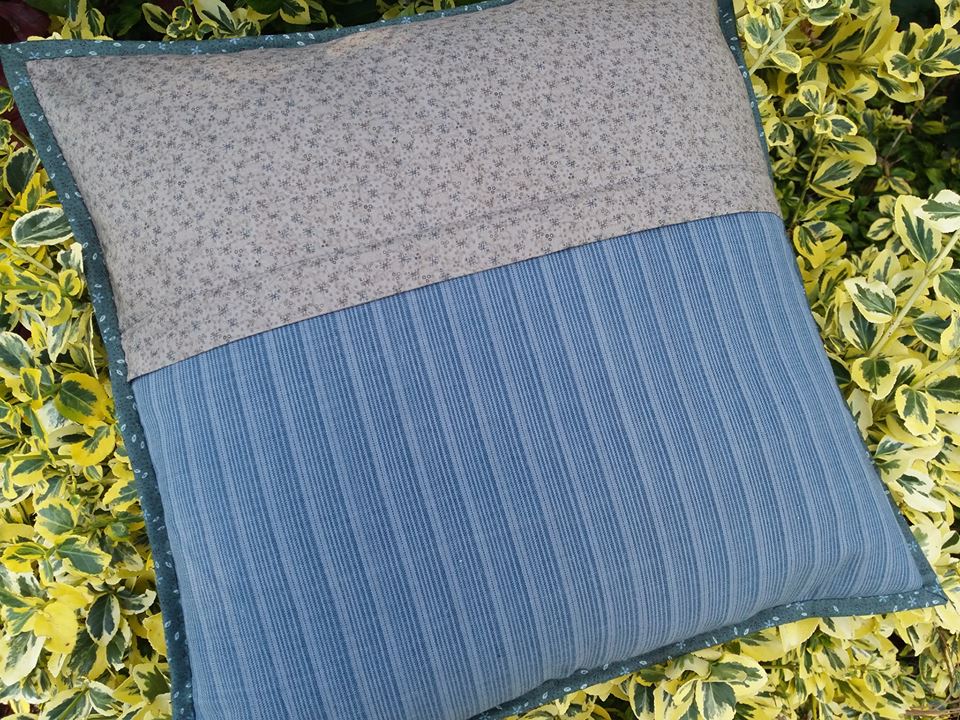
Once the cushion front was hand embroidered and hand appliqued, the inner and outer borders were added, then it was pressed on the back with a warm iron. (When I'm pressing an embroidered piece of work, I always lay a folded fluffy towel on the ironing board, with the embroidery facing down, to prevent the embroidery from being flattened). This was then layered up with a piece of calico and some cotton wadding. I decided to quilt this cushion front very simply, so chose a King Tut variegated cream machine quilting thread and stitched in the ditch around the cushion centre. The inner border was quilted in the same way, but using a dusky pink thread to match the fabric. Finally I've stitched around the outer edge to keep the layers together, before it's trimmed to size, ready for adding a back with a zipper... ...the back of the cushion has a hidden zipper. Once the zipper was stitched into place, the front and the back of the cushion were pinned together, and machined all around the outer edge, stitching 1/8th an inch all around the outside edge. Then a single fold binding was added to over all the raw edges. This is a really simple technique, and the binding frames the cushion nicely. Finally a plump feather cushion is inserted - I always use one that is 2" bigger than the cushion cover, making sure the corners are all filled out nicely.
0 Comments
Leave a Reply. |
About me...Hi - welcome to my quilting blog! My passions are my family, my dog, my friends and sewing, not necessarily in that order! Archives
July 2023
Blogs I followUK shopsThese are the UK shops that I use to purchase my quilting supplies - fabrics and threads etc.
Australian linksScandinavian links |


 RSS Feed

