|
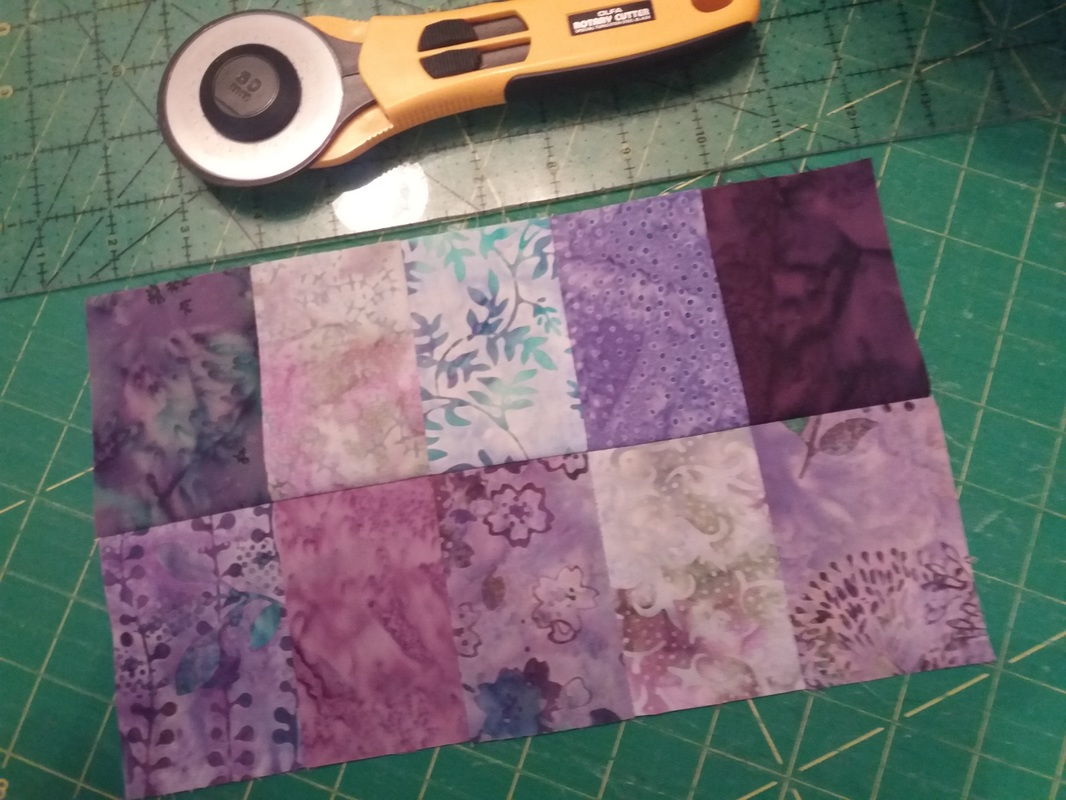
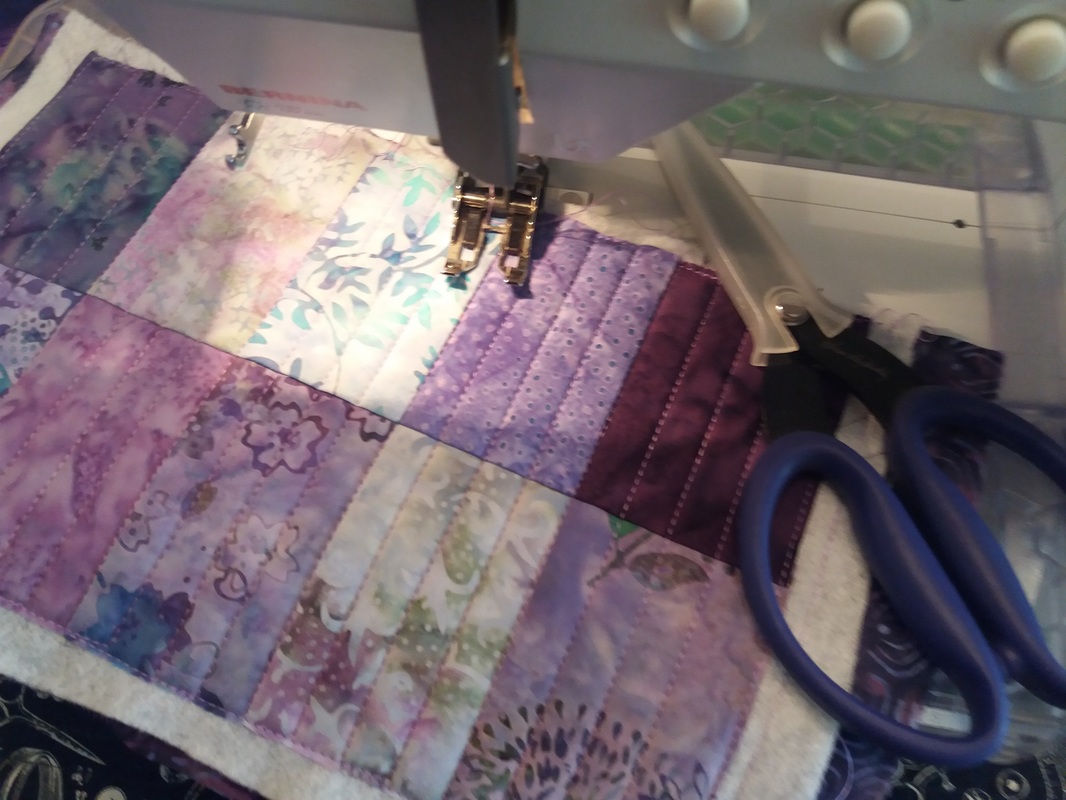
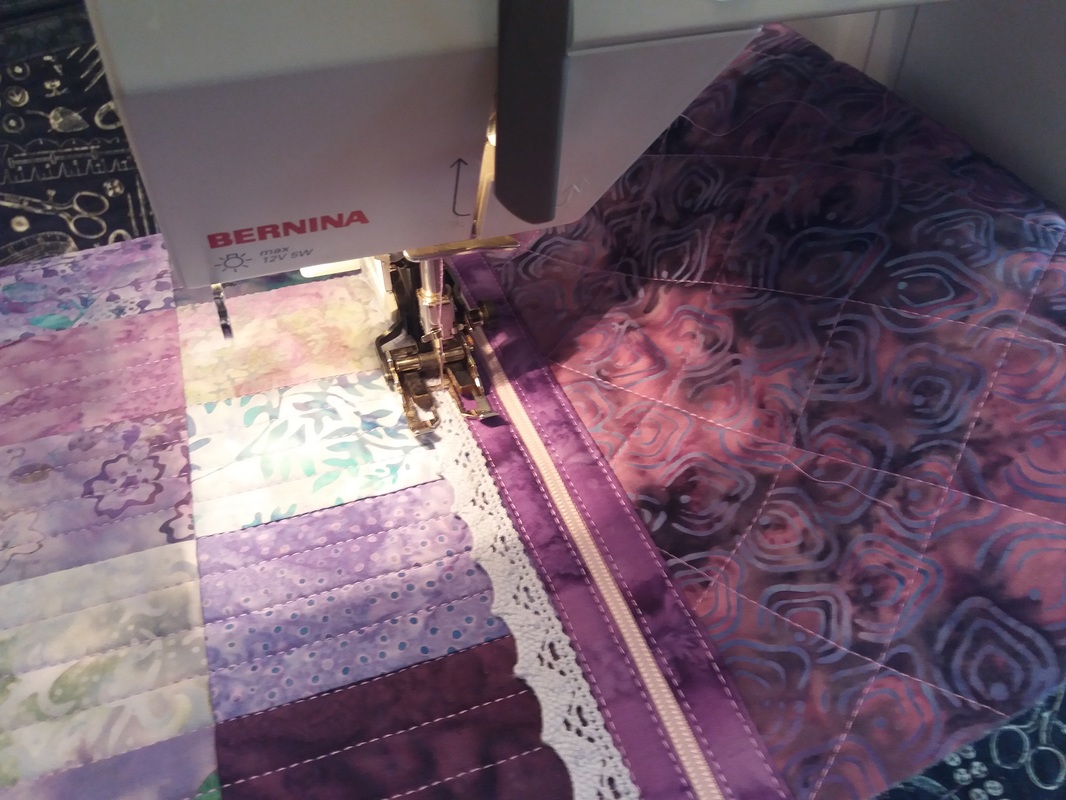
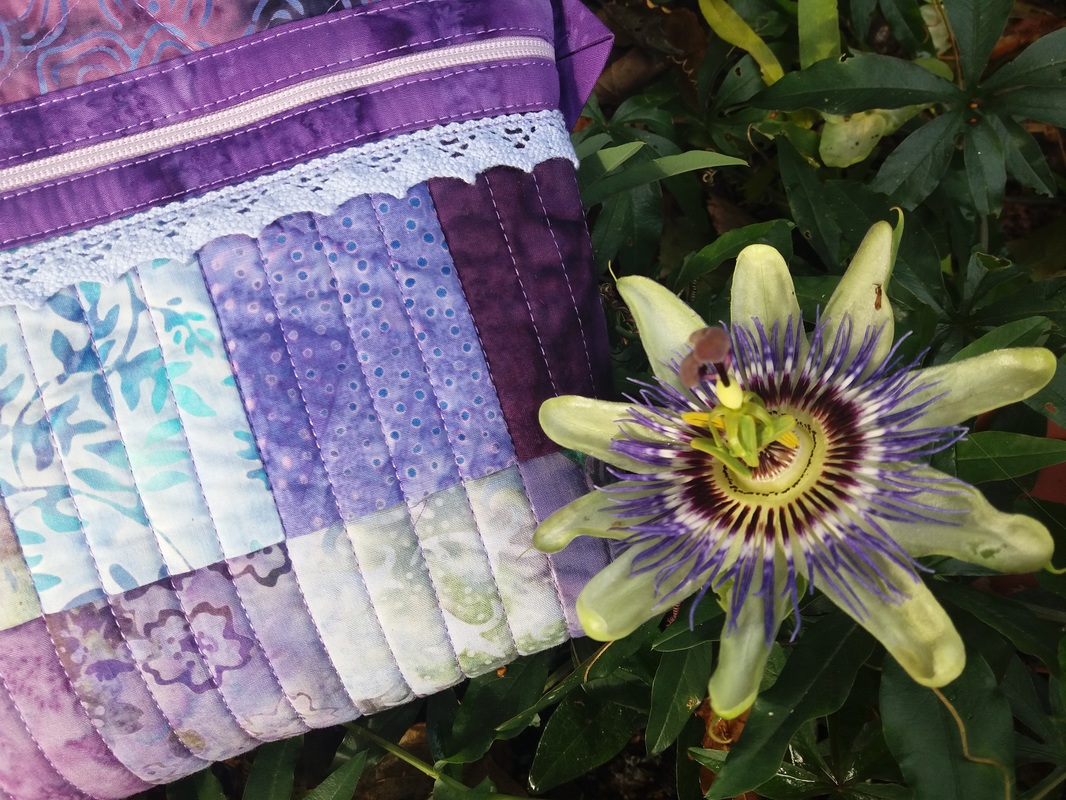
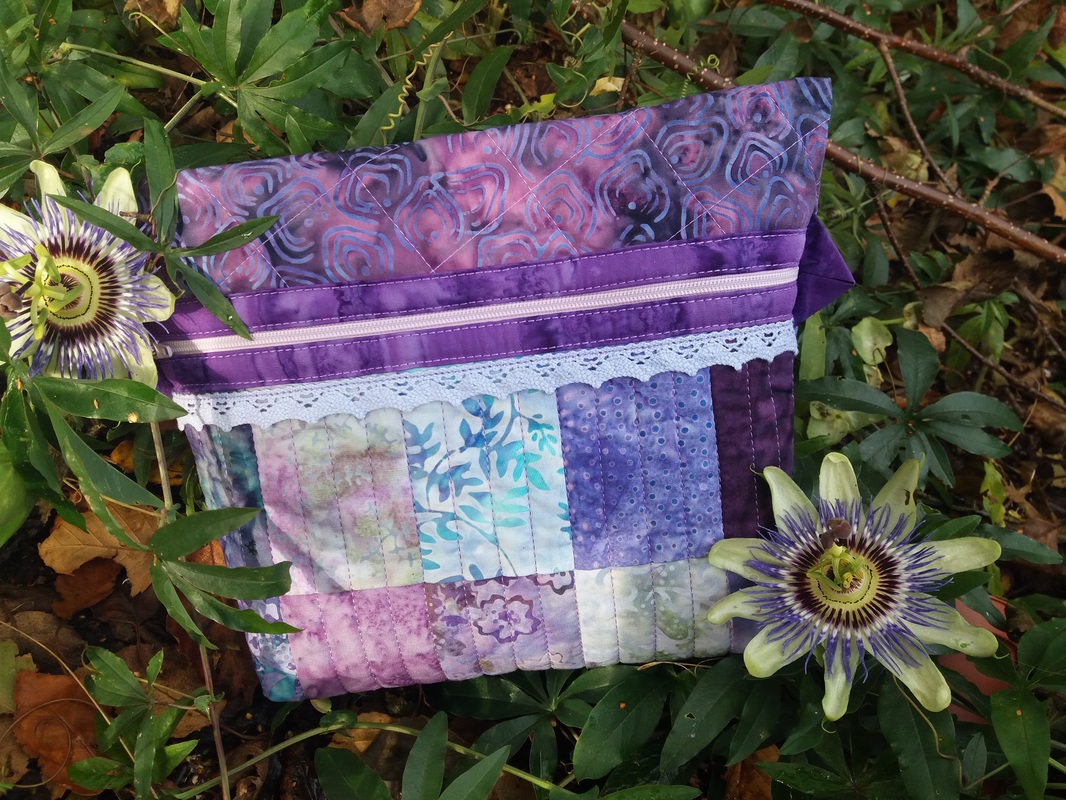
I spent Sunday morning busy with my Bernina and a few scraps of batik fabrics that had been left over from a quilt I'd made a few years ago. A colleague had requested a small pouch for her daughter, the only remit was purple. Well these batiks were perfect for what I had in mind! I simply pieced the scraps together, and then quilted them very simply in rows half an inch apart, using the edge of the walking foot as a guide... ...a little bit of lilac lace trimming was carefully machined into place. Once it was completed, I found the perfectly coloured spot in my garden for a photo shoot!... ...here's the completed bag - the pattern is "Anna's Sminkepung" by the Norwegian designer AnnAKa. As my regular blog followers know, I have made quite a lot of bags using this pattern over the past few years, and I never get bored with this pattern! The instructions are in Norwegian, but there are lots of diagrams which make it very easy to follow. I'll be making a few more of these over the next few weeks, so I need to stock up on a few more yards of lace and zippers and buttons for the trimmings!
3 Comments
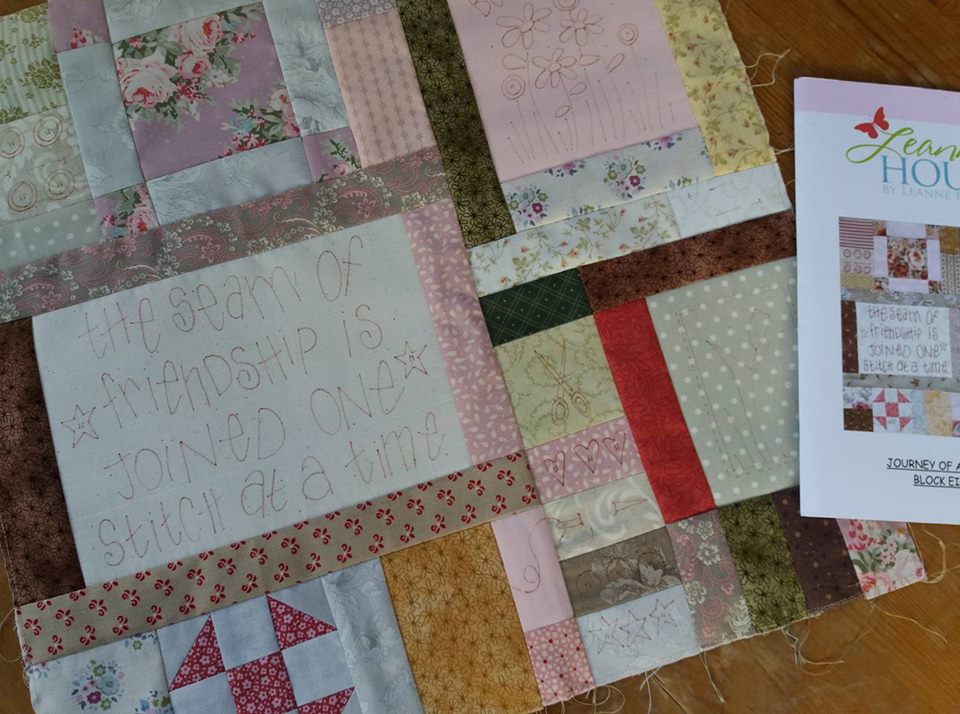
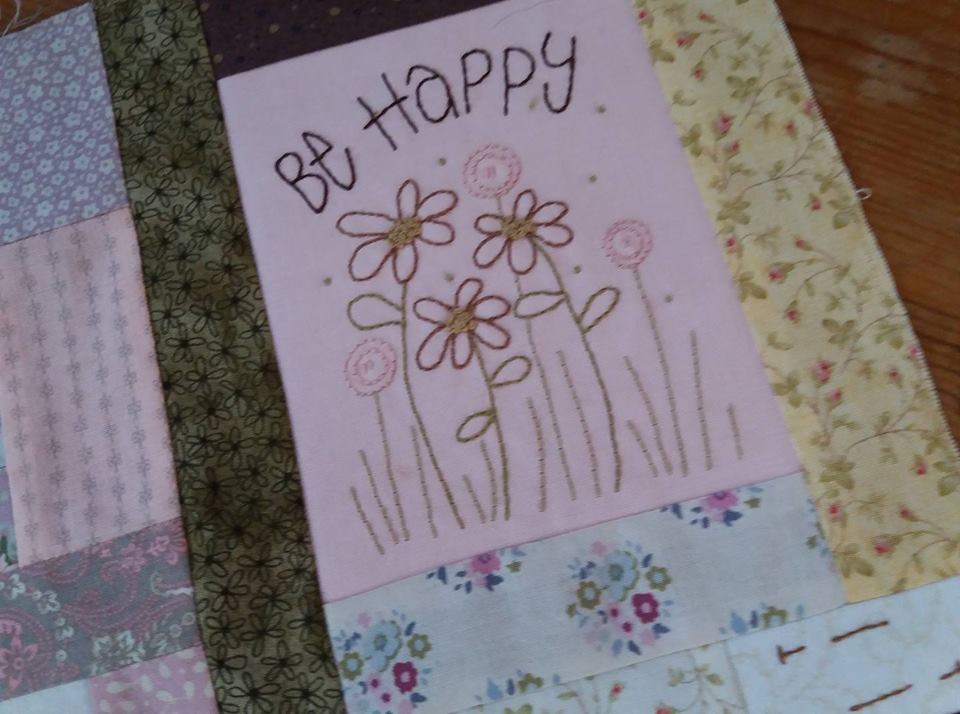
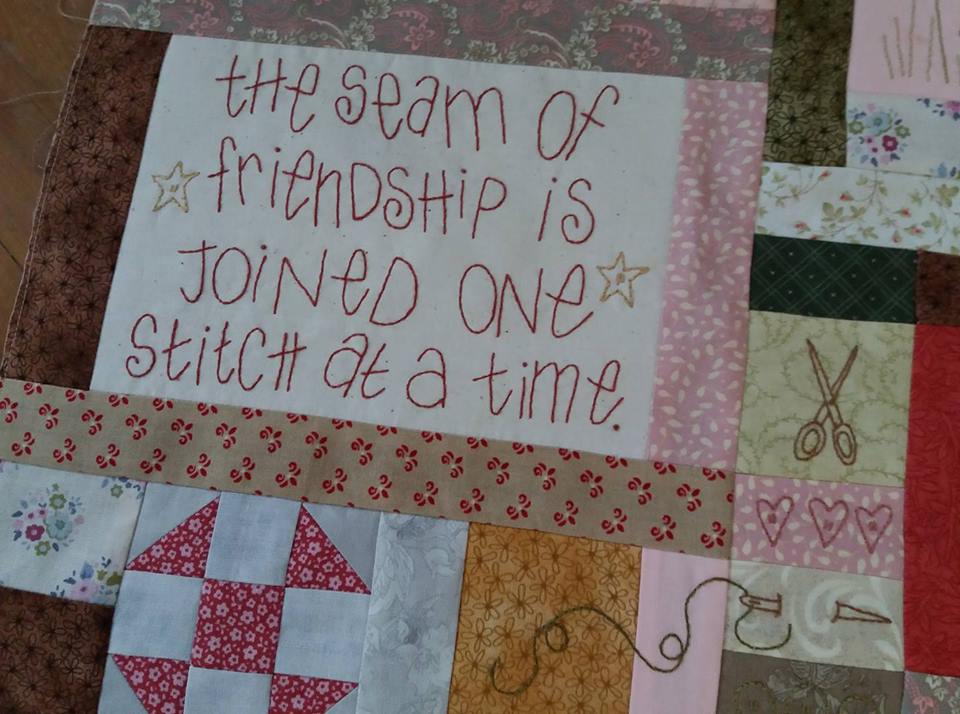
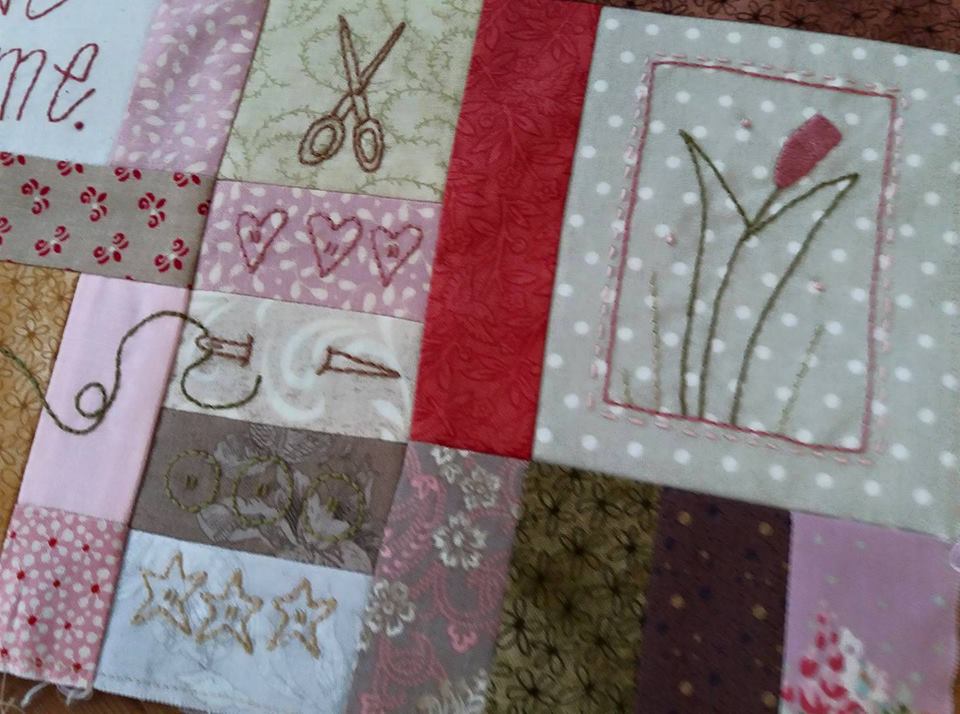
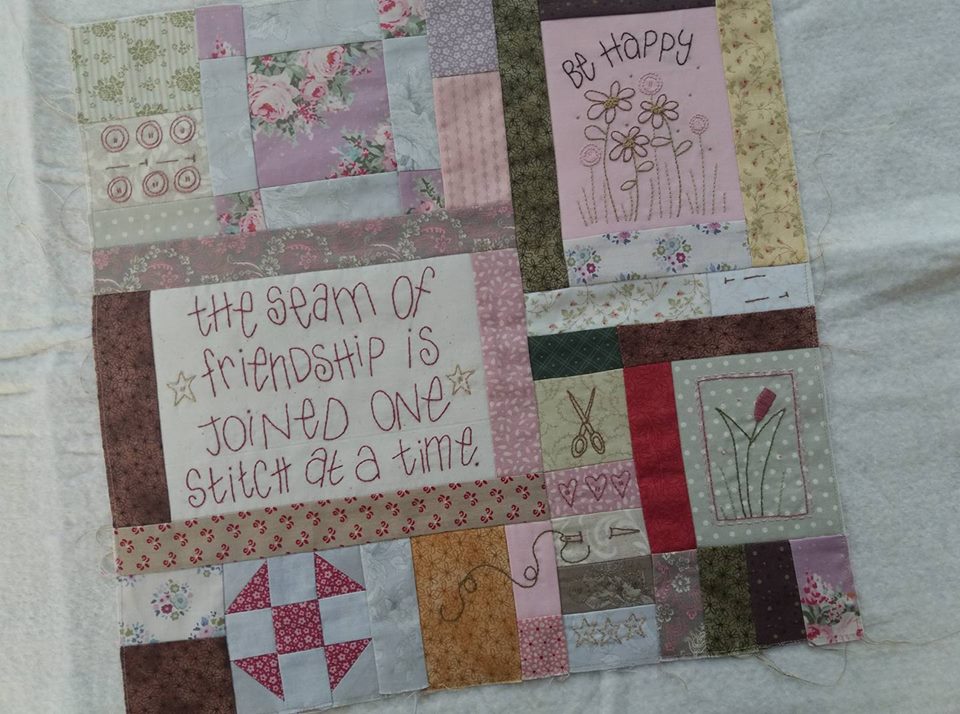
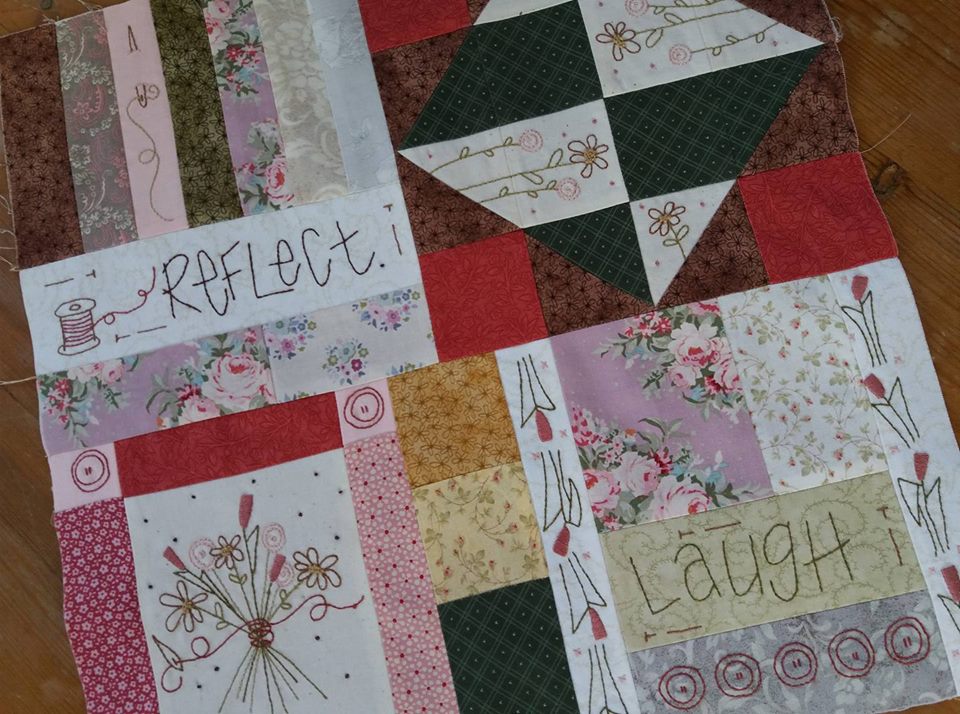
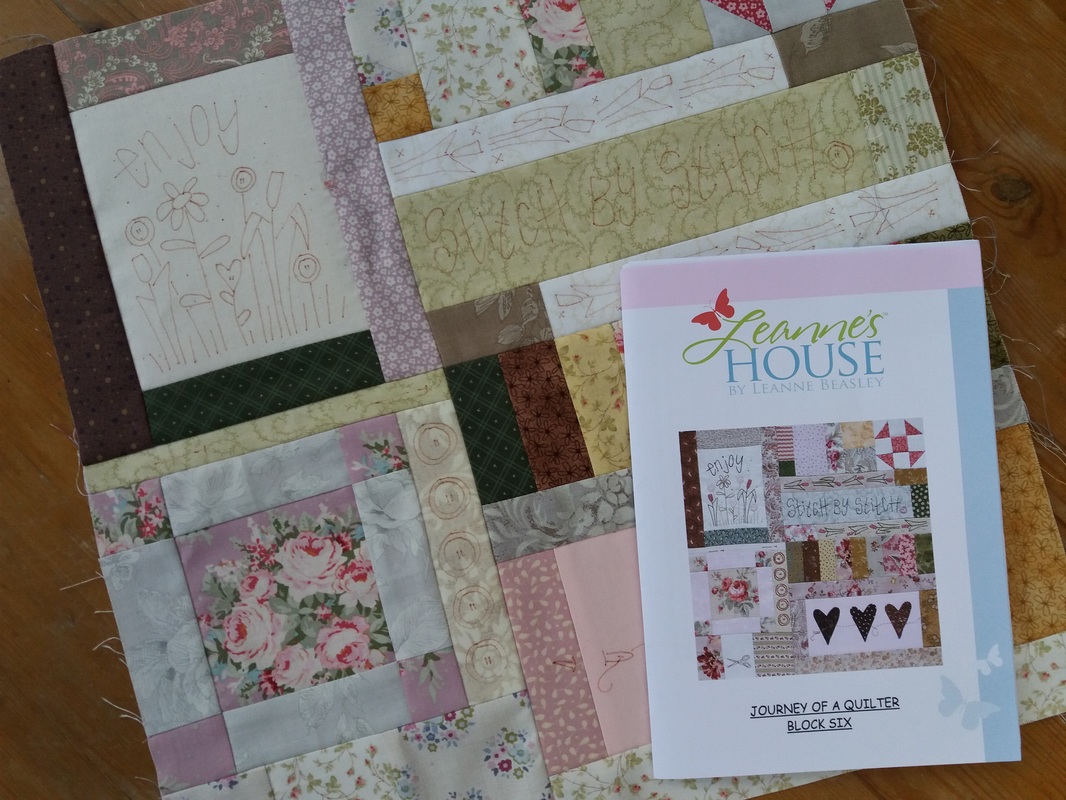
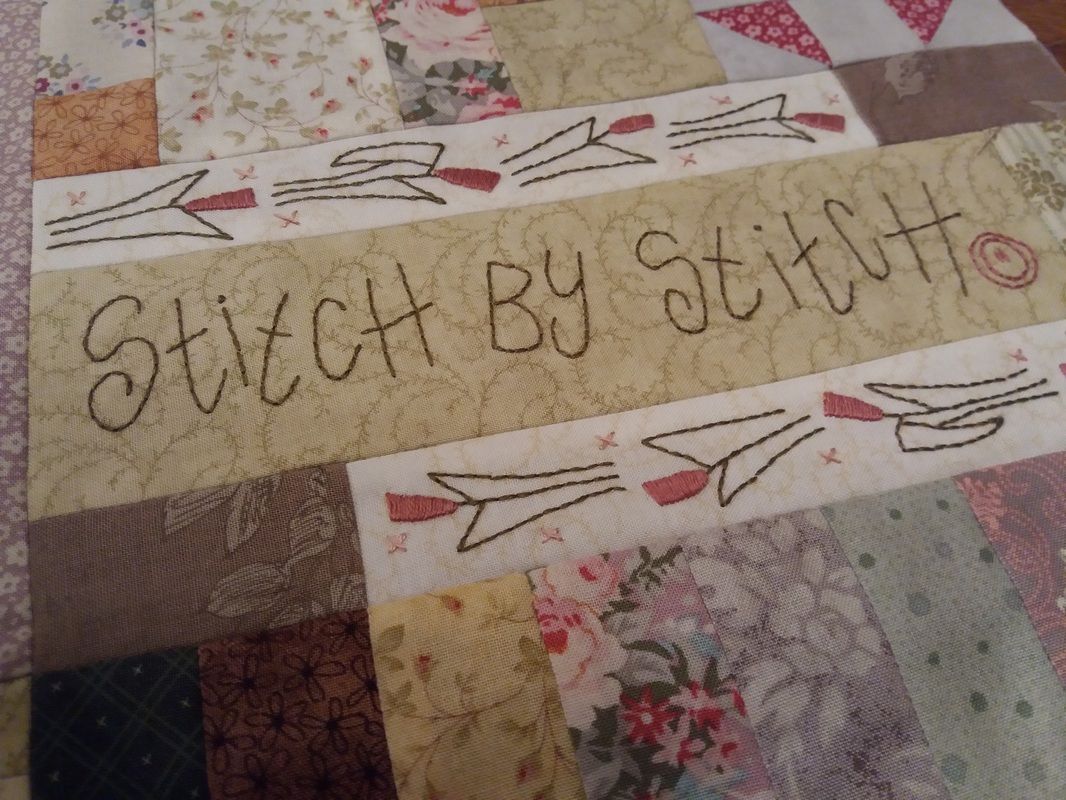
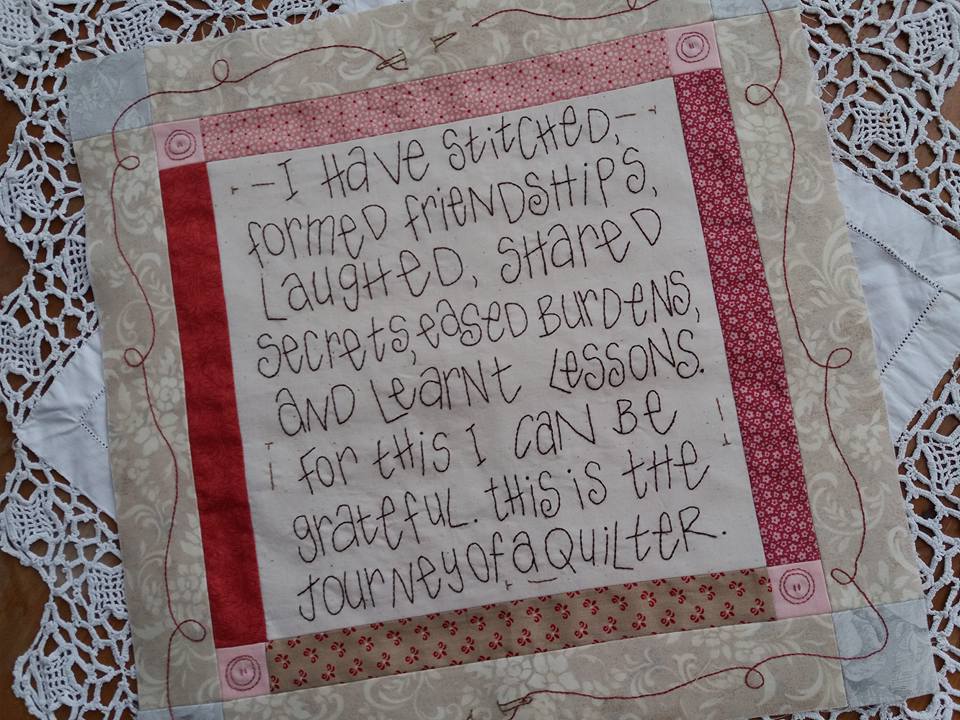
A few weeks ago I had a "sew-cation" and was able to machine piece together the remaining blocks of Journey of a Quilter. (This quilt is designed by one of my favourite Australian designers, Leanne Beasley - I've made several of her designs, quilts cushions and bags over the past few years). My favourite thread for piecing is Aurifil 50wt thread, and together with a size 60 Schmetz Microtex needle and my Bernina straight stitch needle plate for precision piecing, these small pieces went together like a dream. The stitchery designs were traced with a very fine Micron Pigma pen (my favourite is a pale brown colour) and then the fun begins... ...the hand embroidery was completed with 2 strands of DMC threads, using a selection of simple stitches - back stitch, satin stitch and colonial knots. I fused a very soft woven interfacing to the back of the stitchery backgrounds before I pieced the block together - this gives a bit of "body" to the fabric and prevents "shadowing" of the embroidery threads through the fabric... ...I use a nice fluffy towel underneath my finished work when I give it a final press to prevent the embroidery stitches from being flattened down. Here's the finished block - only one more to go, then I can join them together ready for the borders to be added. The set of 10 patterns for the quilt and the gorgeous fabric pack was from Cross Patch in Wales - Julia has a wonderful selection of patterns and kits - she's a terrible temptation!
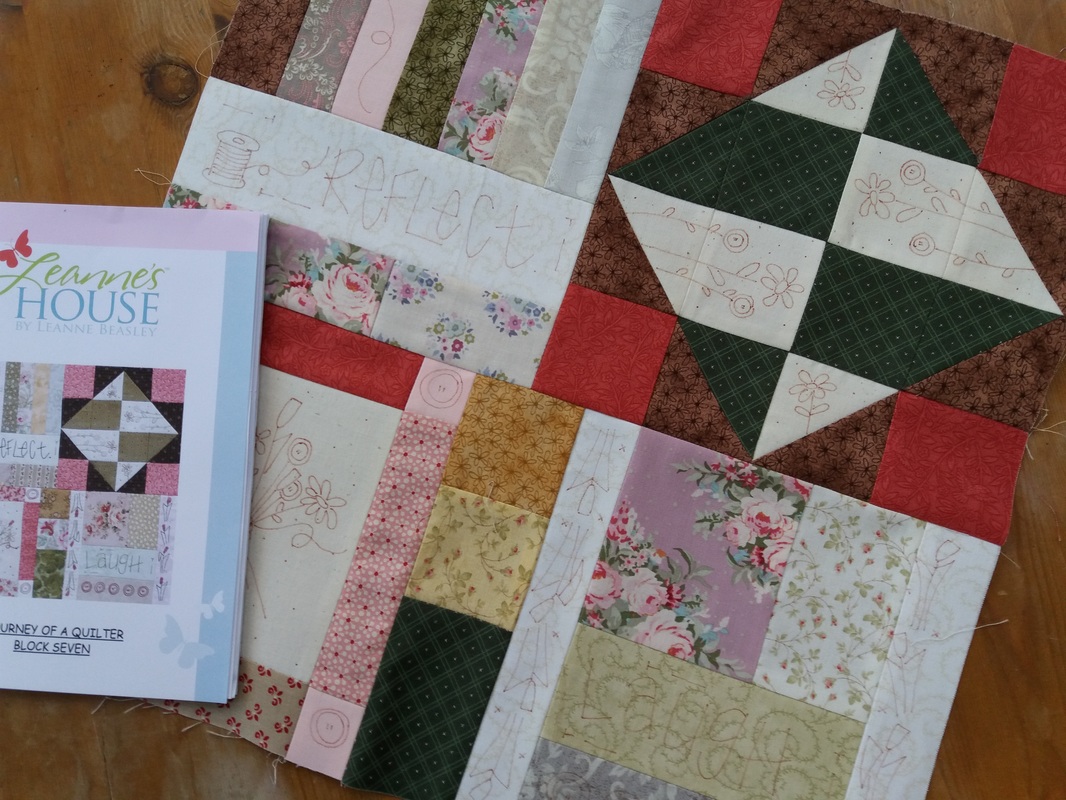
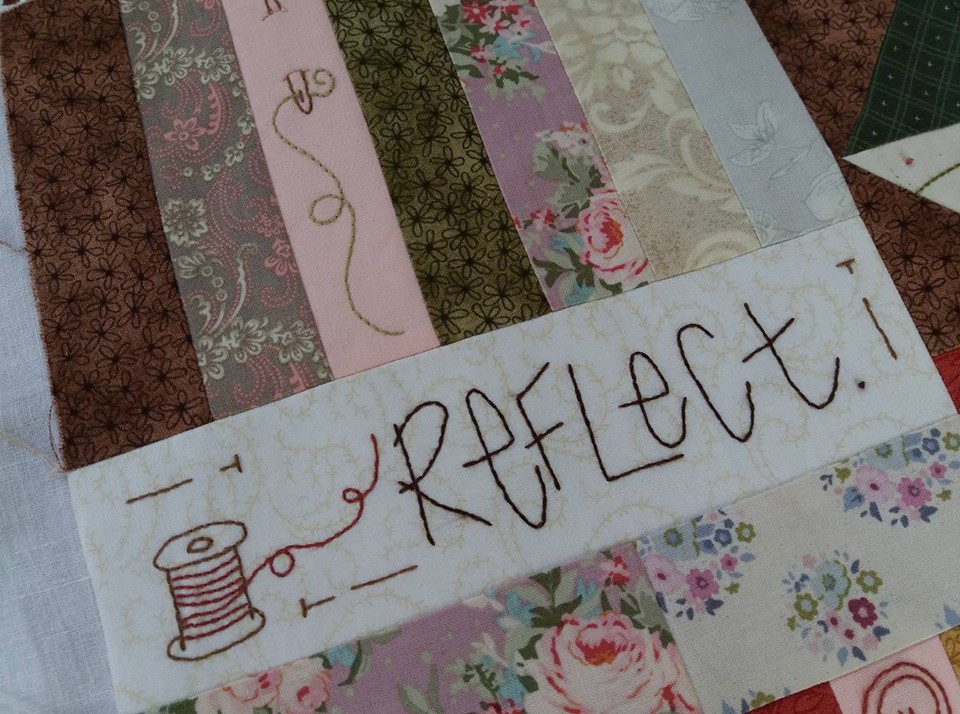
Block 7 of Journey of a Quilter was machine pieced with Aurifil 50wt thread, and the stitchery designs were traced with a Micron Pigma pen. The stitchery designs have been hand embroidered with 2 strands of DMC embroidery thread... ...once the block was completed, it was pressed on the back with a hot iron. The set of patterns and a fabric pack were from Cross Patch in Wales.
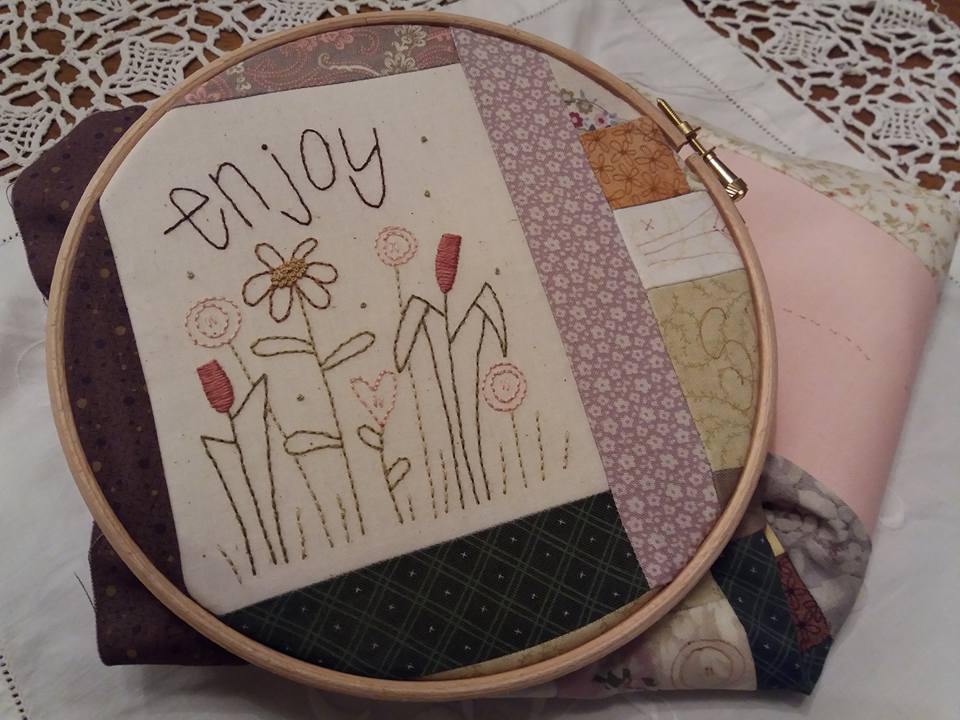
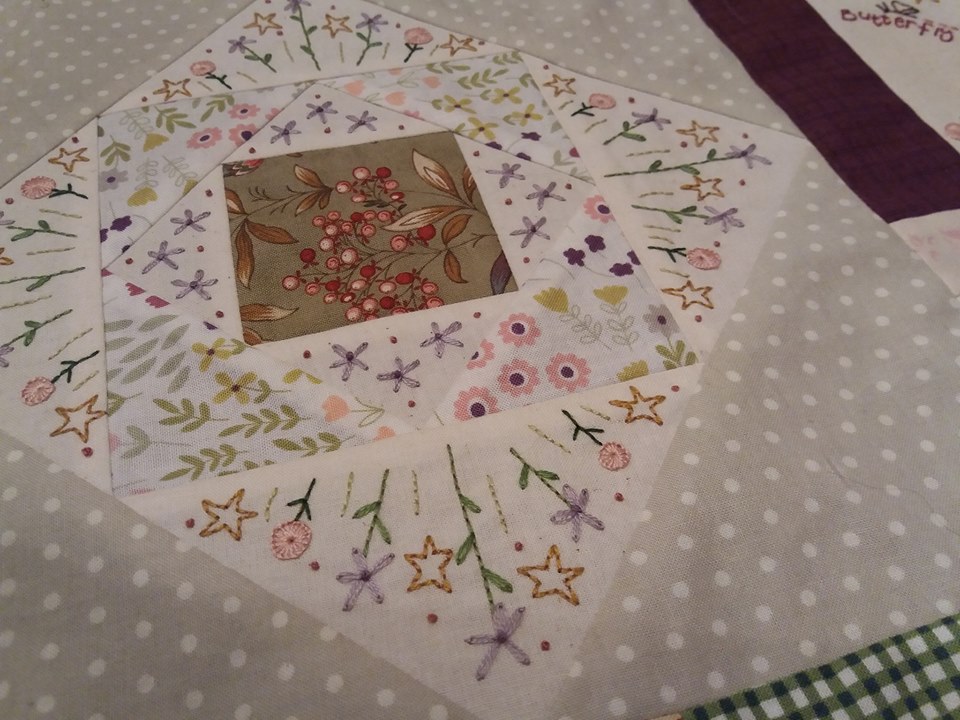
Block 7 of Journey of a Quilter (set of patterns and fabric pack from Cross Patch in Wales, patterns by the Australian designer Leanne Beasley) was prepared a couple of weeks ago, so I had several blocks prepared ready for the hand embroidery and applique. I spent a couple of days prepping several blocks - it certainly saved time from continually setting up my sewing machine and ironing board! The blocks were all pieced together with Aurifil 50wt thread, weave line interfacing was fused to the background fabric that were to be embroidered, and the stitchery designs were traced with a Micron Pigma pen. A wooden hoop keeps the fabric taut and prevents puckering... ...once the embroidery and applique is completed, the block is pressed on the reverse with a hot iron. I always use a thick fluffy towel under the block to prevent the embroidery stitches from being flattened. This project uses DMC embroidery thread, and the stitches are all quite simple - back stitch, satin stitch and colonial knots (the daisy centres are completed with backstitch in the pattern instructions, but I preferred the texture of colonial knots)... ...this block is made up of several mini blocks that once pieced together look fas more complicated than it really is. Some of the seams have been pressed open to reduce bulk, especially on the smaller pieces. This will now be riolled up with the other blocks while I complete the next 2 blocks, before they can all be joined together.
Block 5 of Journey of a Quilter has to be my absolute favourite block of this project so far! Machine pieced using Aurifil 50wt thread, this block has then been hand embroidered with DMC embroidery threads. This BOM was sent to me from Julia at Cross Patch in Wales, and she has put the most gorgeous fabric pack together for this. There is a link to Cross Patch on the side bar of my blog if you want to see all the other gorgeous patterns and kits that she stocks!
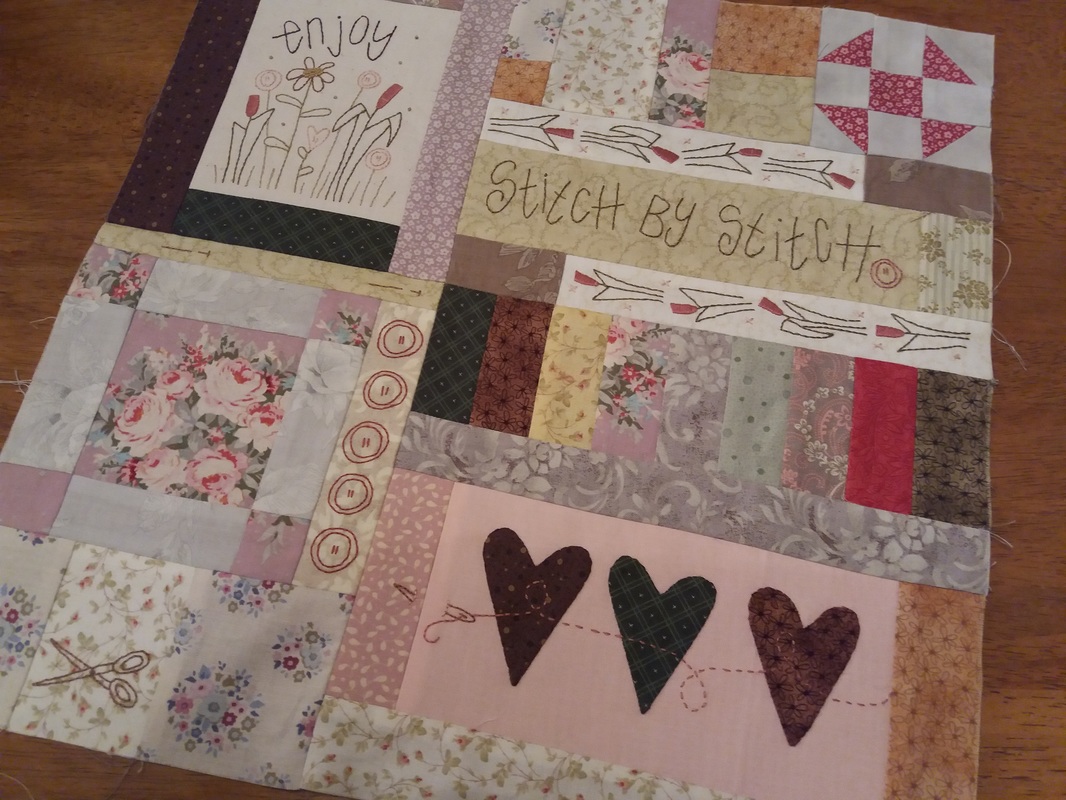
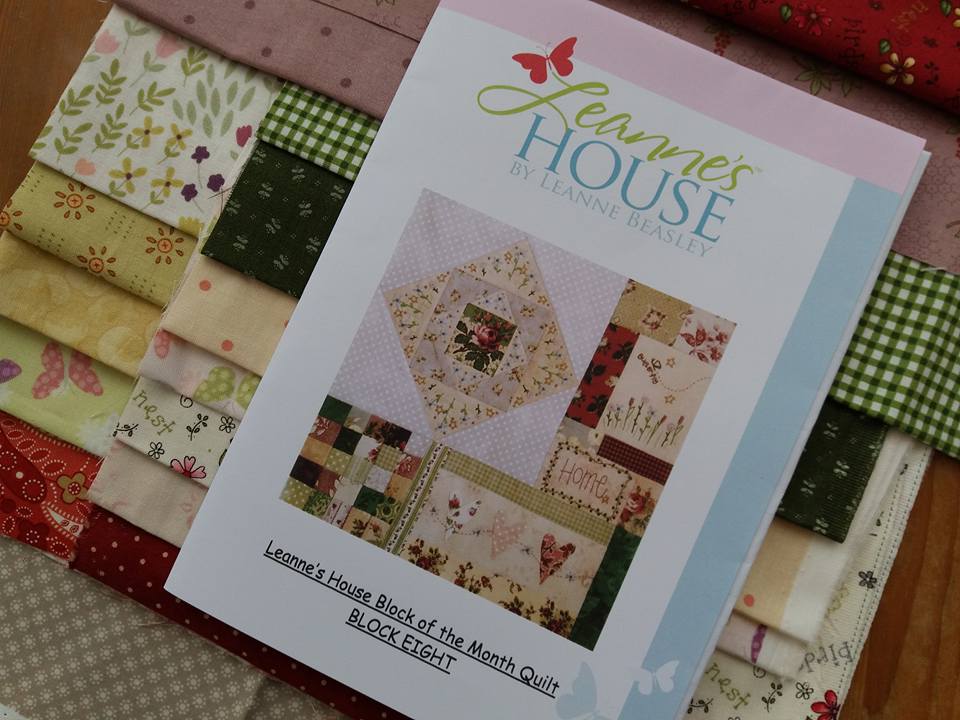
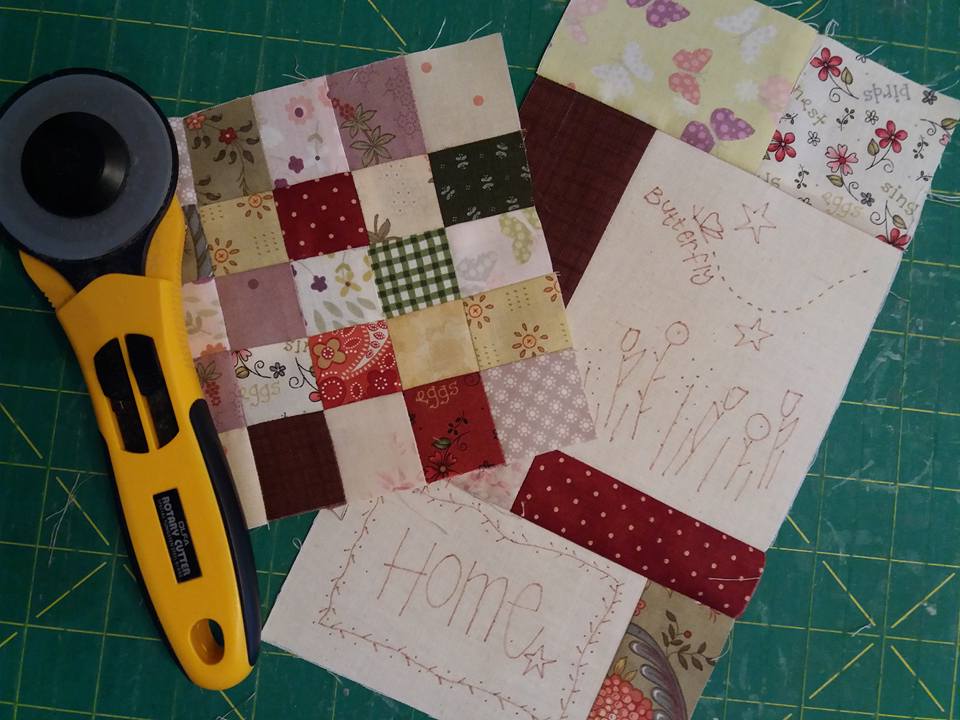
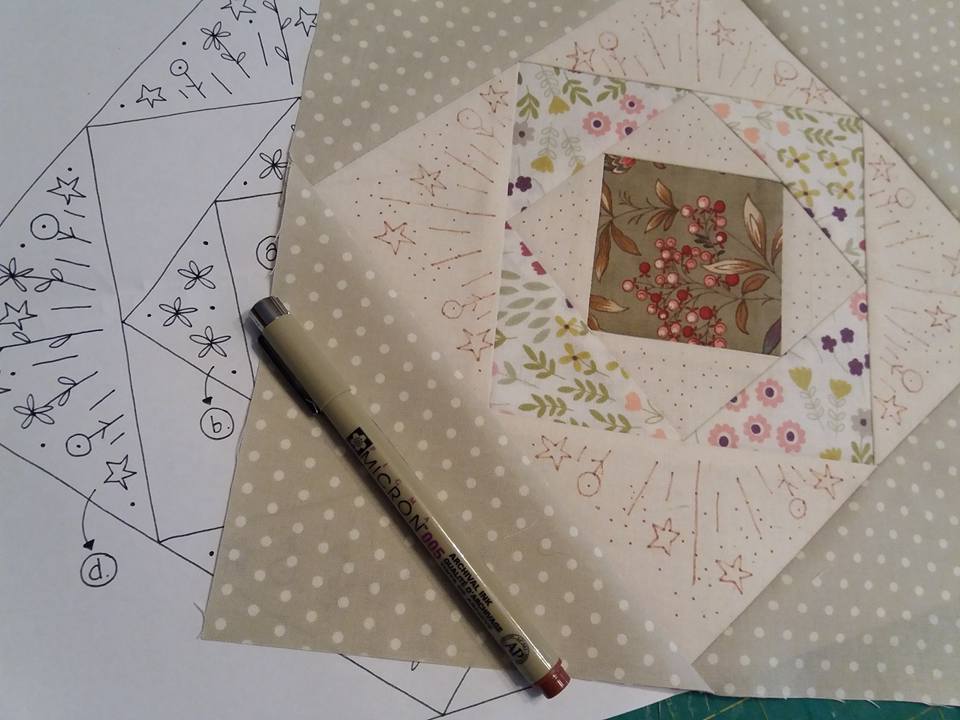
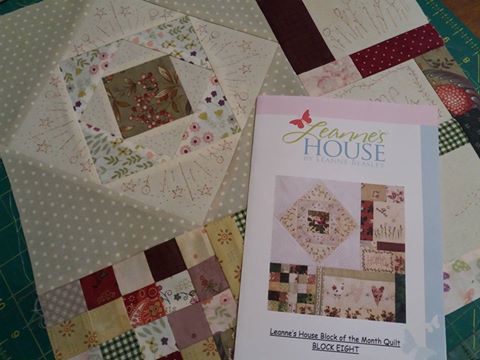
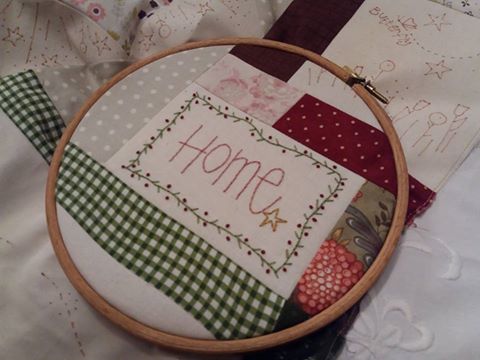
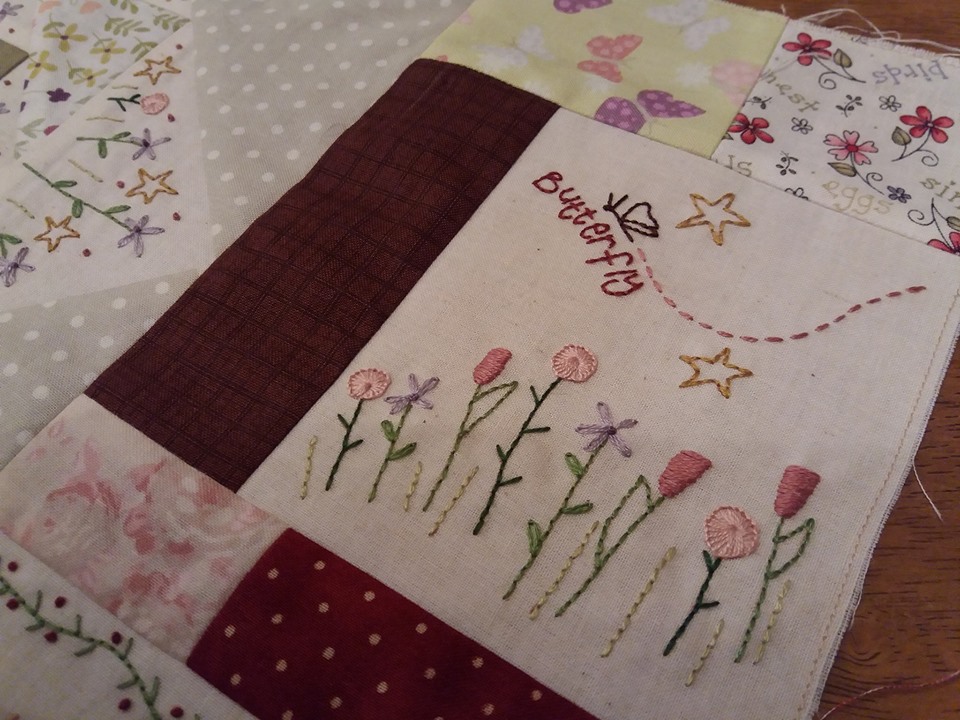
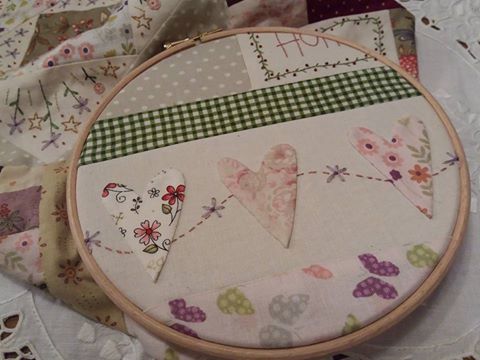
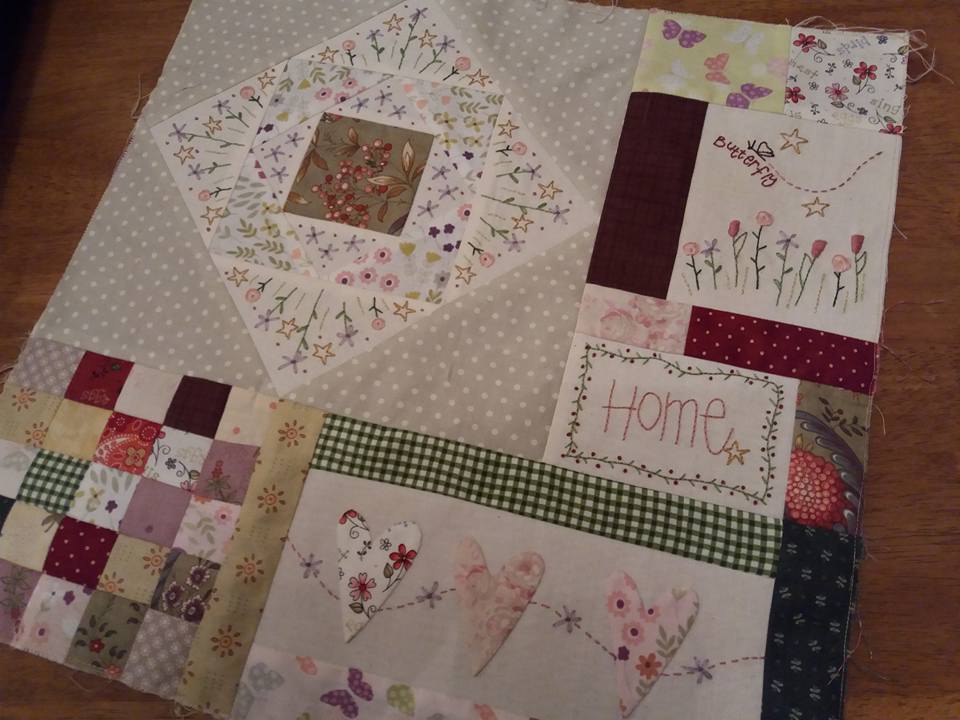
Ohhh I love my postman when he delivers parcels like this! Block 8 of "Leanne' s House" arrived from Cross Patch in Wales. 3 guesses what I was doing on Saturday afternoon! I pieced together several strip sets when I made block 1 and I'm so glad I did! It's much easier when you've already got a set of 1.5" squares already sewn together... ...my favourite marking pen is a Micron Pigma pen, with a very fine nib size 005. I bought a pack of these pens in assorted colours from Sew and So' s in Bungay a few months ago. You do need a very steady hand as the ink is permanent, but 2 strands of embroidery thread covers this perfectly... ...an embroidery hoop keeps the fabric taut, and my favourite is a wooden one (I used a plastic one a few years ago and found that after about half an hour of stitching it became heavy and awkward to hold). The pattern suggests using 3 strands of embroidery thread, but I prefer to use 2 strands, and I use a John James embroidery needle. These are available in a variety of sizes so you can use whatever size you prefer... ...the embroidery on this block is really very pretty, and very simple stitches look very effective. The appliqued hearts were stitched in place after the embroidered line and flowers. These hearts are quite small, approx 2" tall. Again I've used an embroidery hoop to keep the fabric taut while the applique is stitched into place to stop the background fabric from puckering up... ...and finally block 8 is completed! I've stitched the first 6 blocks together, and it's really coming along very nicely! I'll stitch blocks 7 and 8 together over the weekend, and while I'm waiting for block 9 to arrive in the post I'll carry on with Journey of a Quilter, my other project by Leanne Beasley!
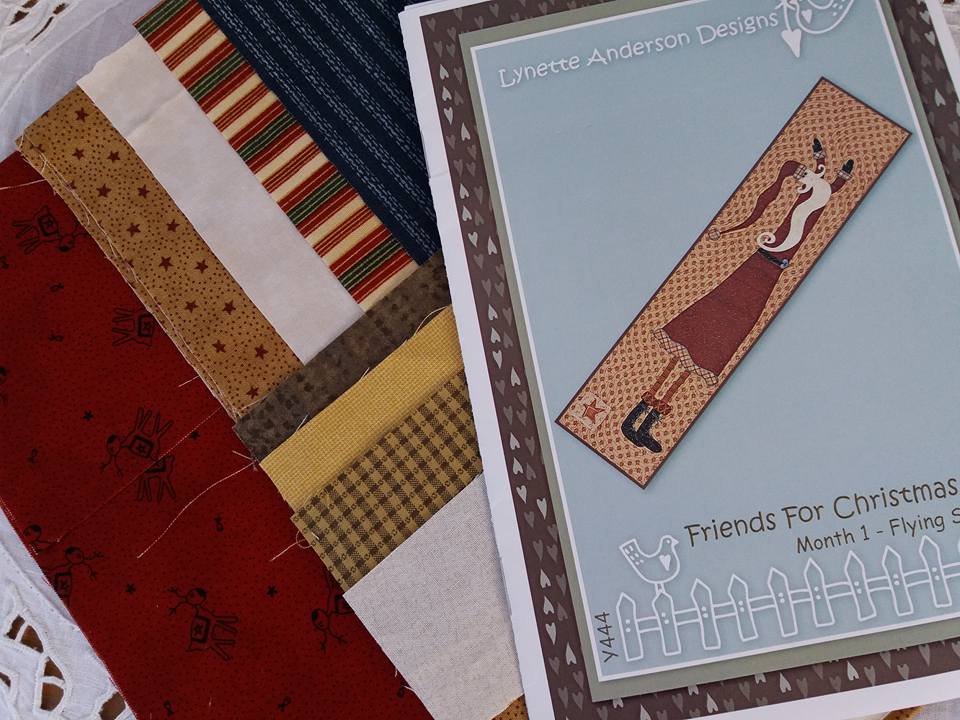
This gorgeous parcel arrived in the post today! Flying Santa is the first block of a super BOM "Friends for Christmas" by Lynette Anderson Designs. I'd seen this at the Knitting and Stitching show, and signed up with Puddleducks to take part in this BOM programme. This is going to be great fun to stitch, once I've caught up with all my other projects!
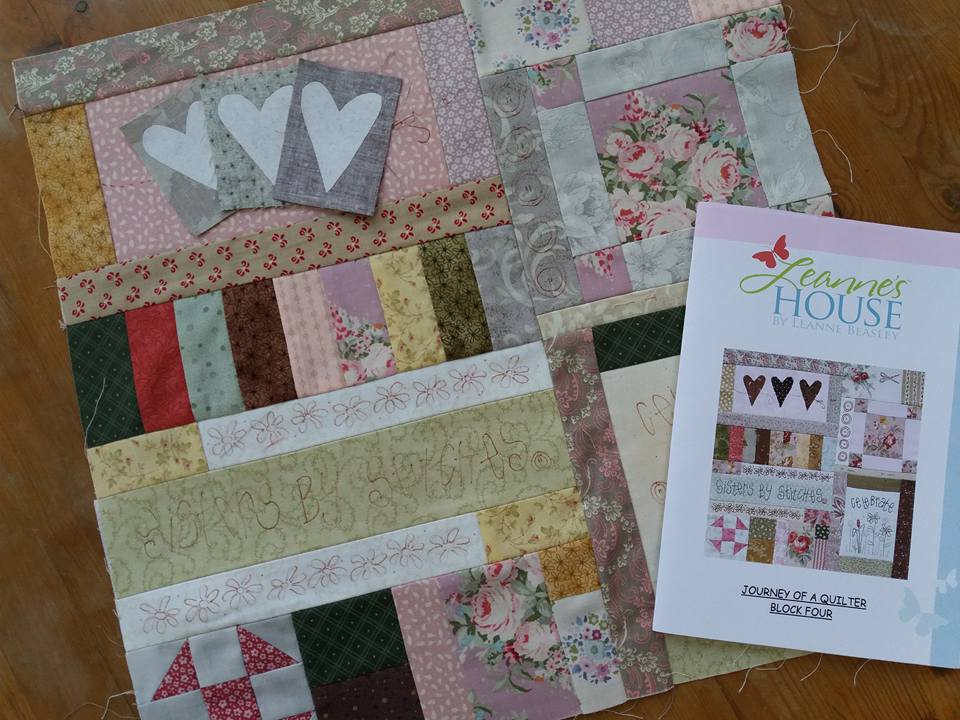
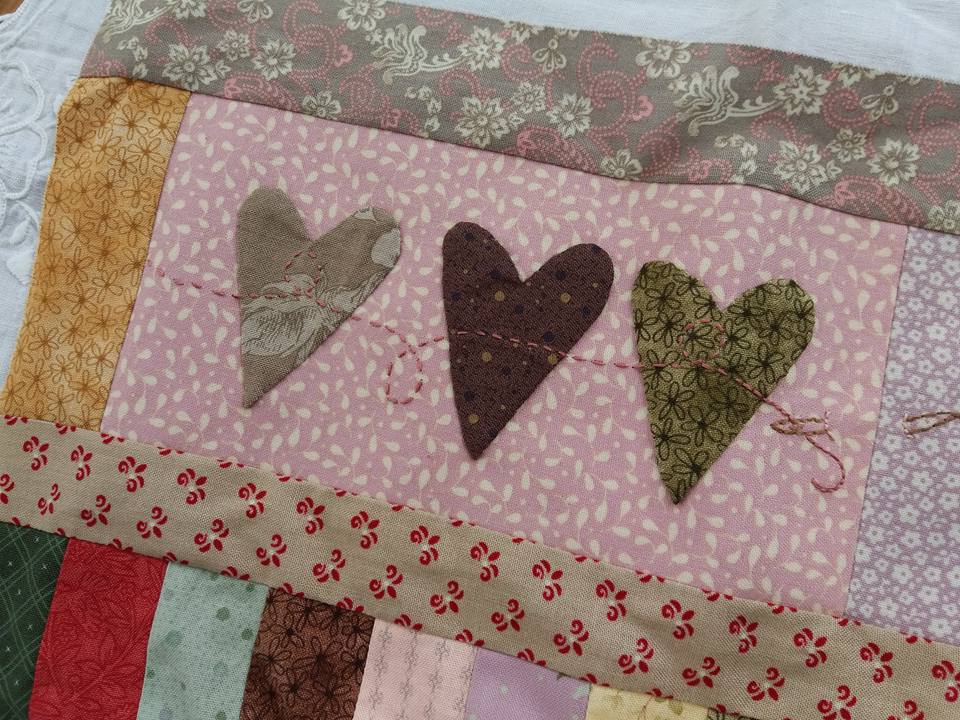
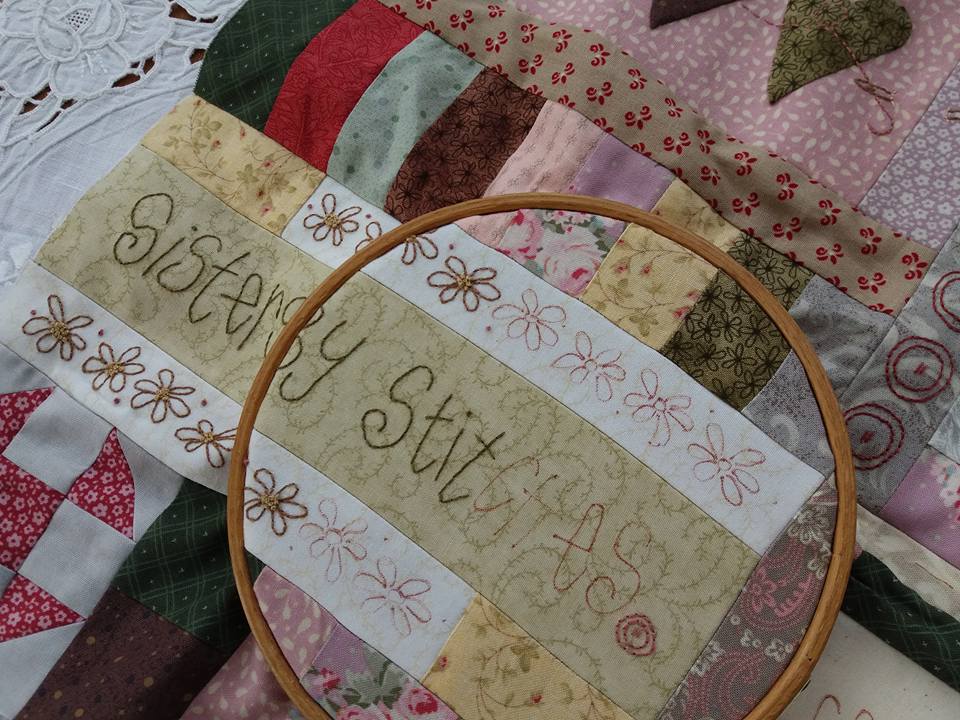
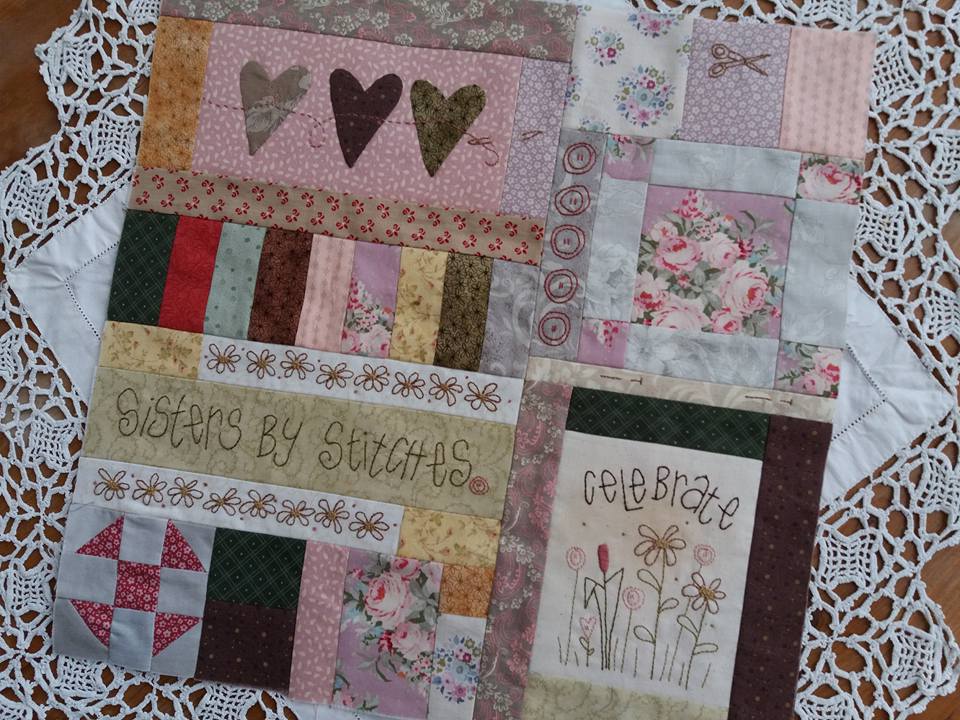
Block 4 of Journey of a Quilter was prepped last week while I was on annual leave (set of patterns and fabric pack from Cross Patch in Wales) and was packed in my sewing bag on Monday evening. (I go to a local sewing group on Monday evenings and always take some hand sewing with me. Last Monday I did an applique demonstration for the 3 ladies who I sit with - I'll do another one with them tomorrow!). This has been pieced together using Aurifil 50wt thread. The appliqued shapes were traced onto appliqued paper, cut out exactly on the traced lines and fused onto the WS of the fabric, ready to be trimmed and have the edges turned over with those apliquick rods... ...weaveline fusible interfacing is my favourite stabiliser, and is fused to the back of each piece of stitchery fabric. The designs are traced using a very fine (005, pale brown) Micron Pigma pen. The design is then hand embroidered using 2 strands of DMC embroidery thread. I always use a wooden embroidery hoop to keep the fabric taut when I'm stitching, whether it's for the applique or for the embroidery... ...I finished stitching this block late last night, so this morning I gave it a final press and it was time for a quick photo shoot. Having some hand sewing projects already prepared means I can just grab my sewing bag and relax with some stitching, whether it's an evening at the Rendlesham Sewing Group or whether it's an evening at home with Mr F!
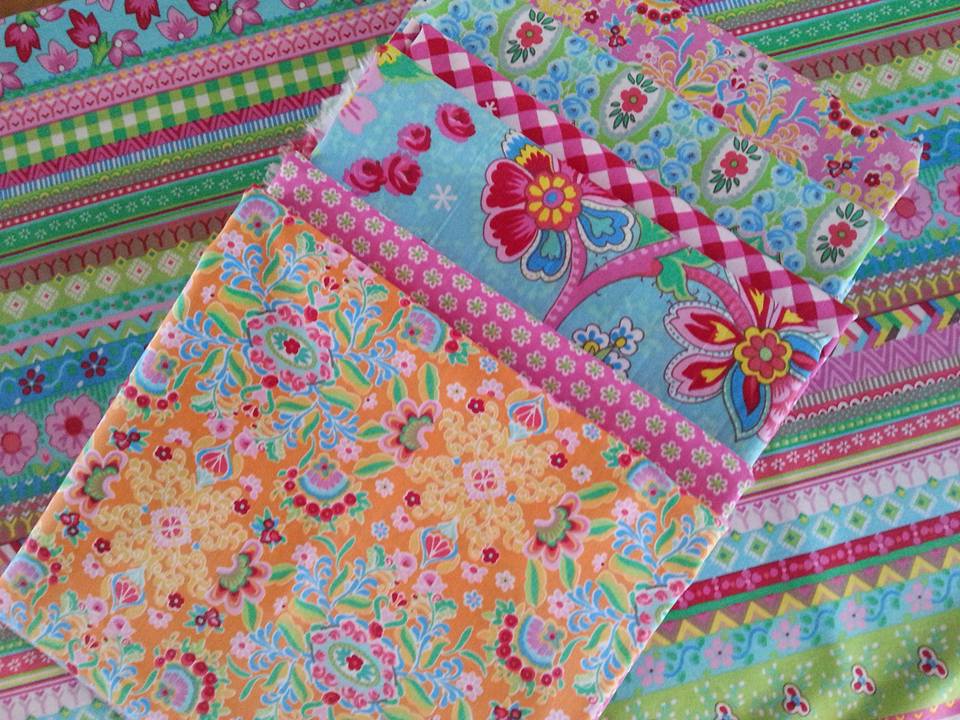
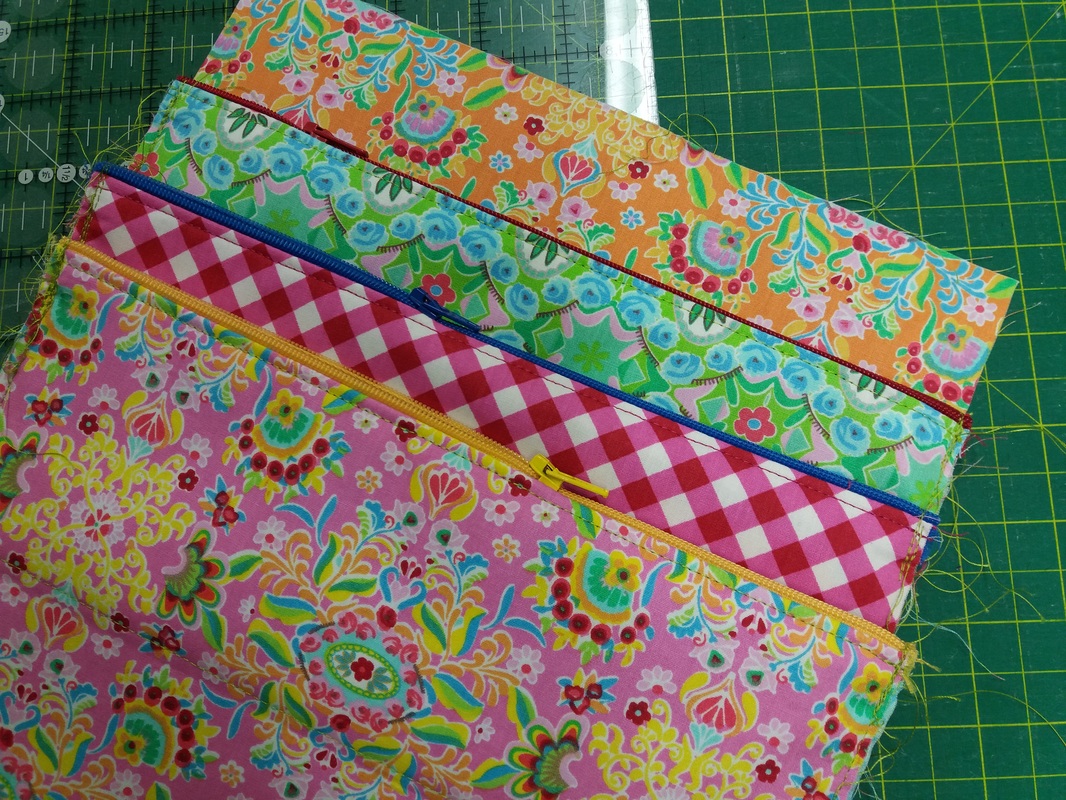
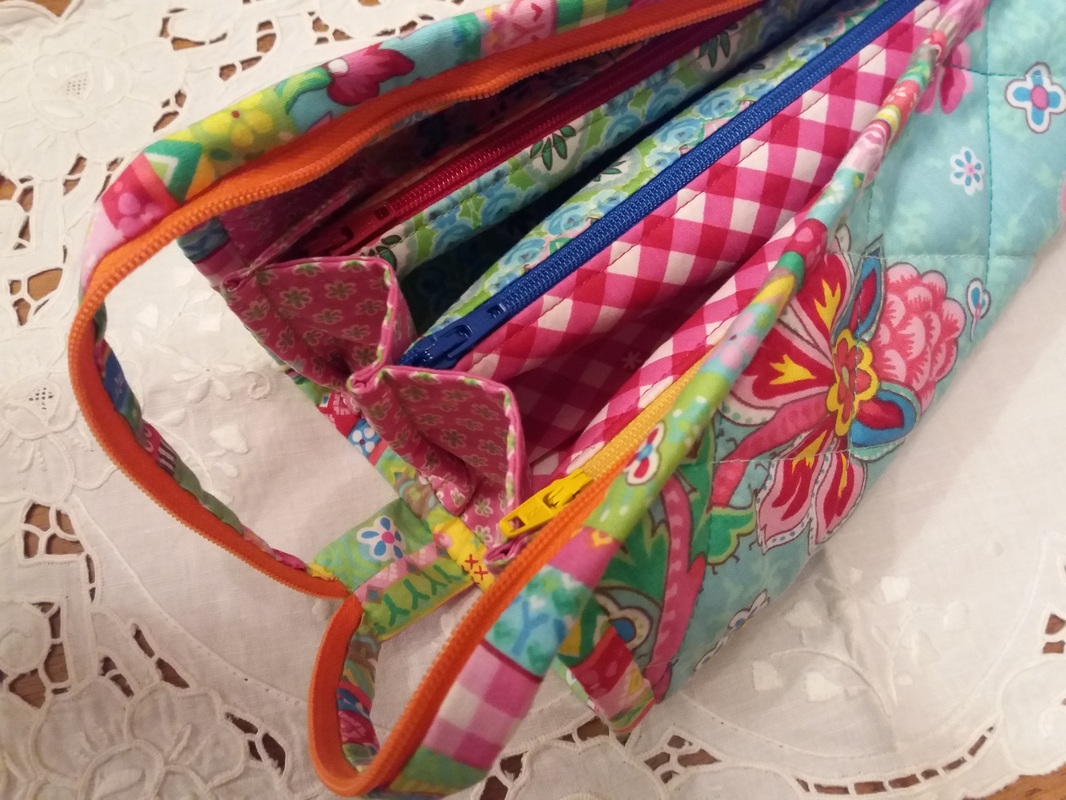
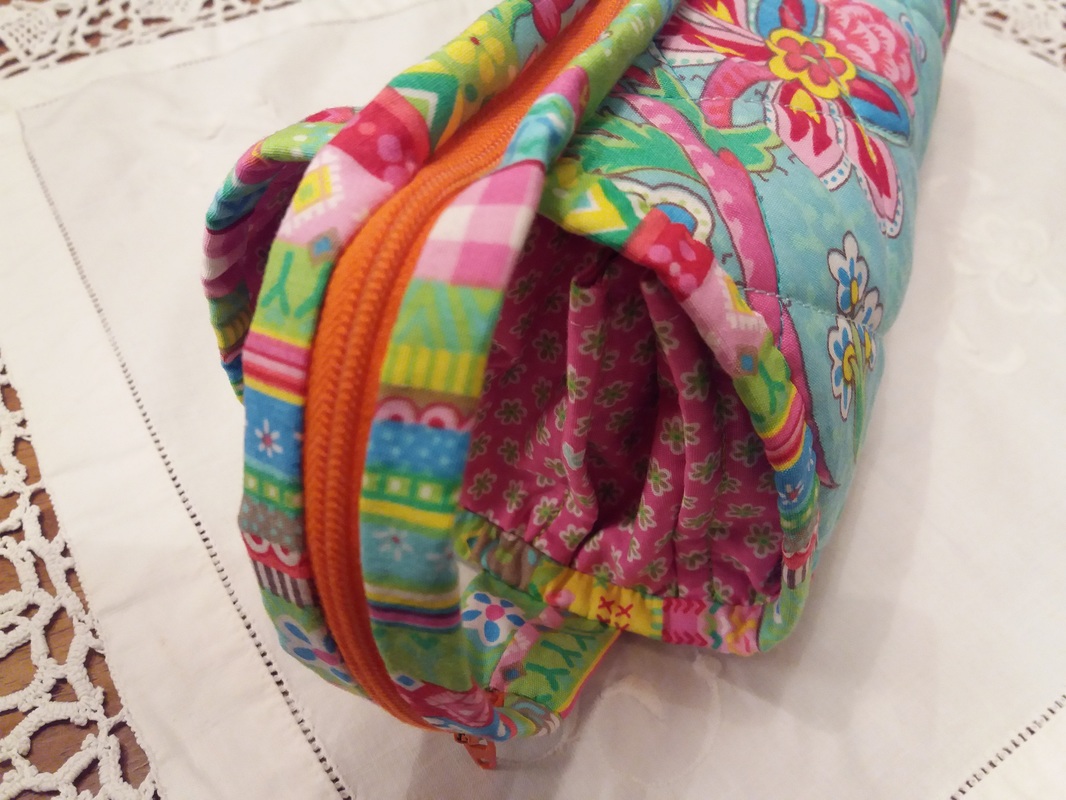
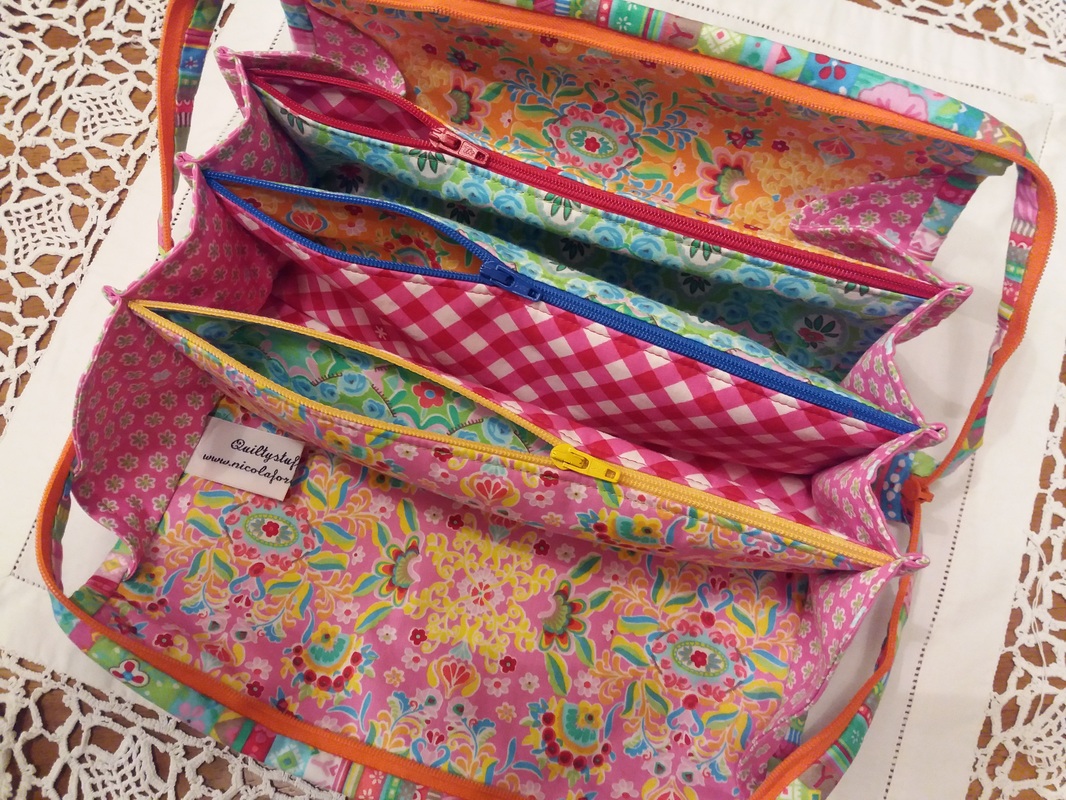
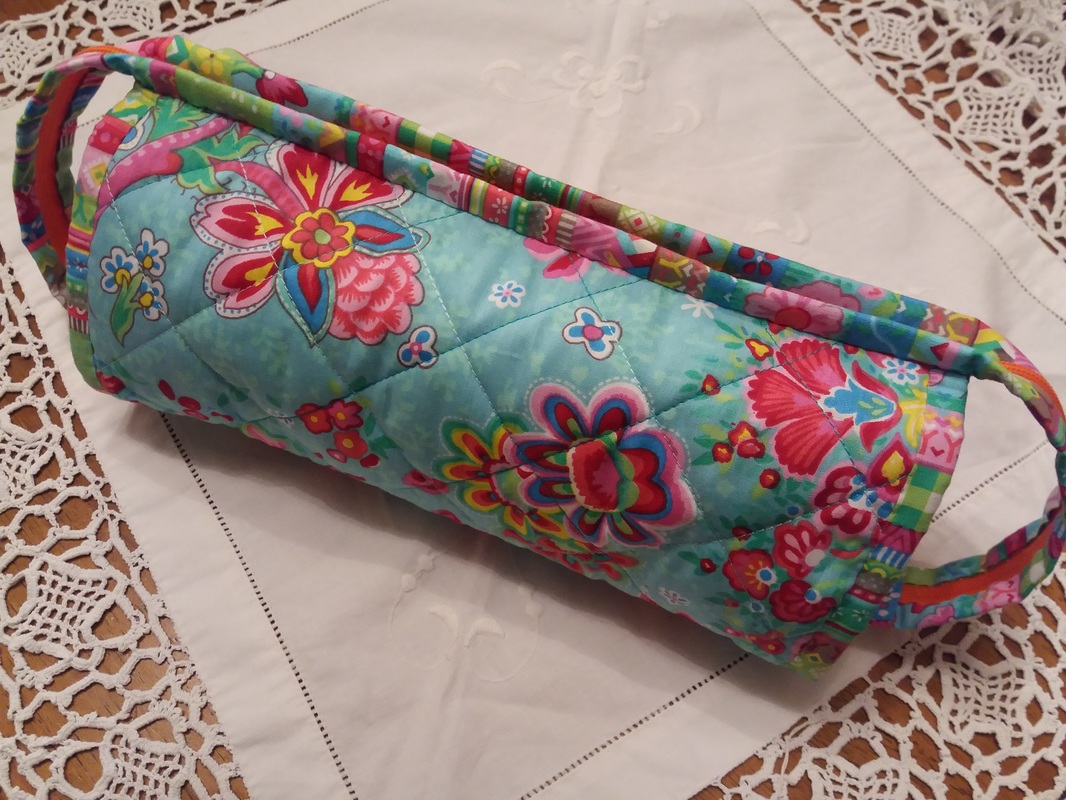
Eeeekkkk!! I popped into Fiona's Fabrics a couple of weeks ago to buy some more zippers, and couldn't resist a few of these gorgeous "Spark of Happiness" fabrics! They were perfect for my latest project - this bag has been popping over the past 3-4 years on several blogs that I follow, and I thought it was time I made one myself. It's called "Sew Together Bag" and the pattern is by SewDemented - you can download it as a PDF file from her website... ...gorgeous fabrics, bright coloured zippers, and a selection of Aurifil threads in matching colours made this a really cheerful project to sew! The pockets are all lined, and once the zippers have been stitched into place a smart row of top stitching finishes it off... ...a long zipper keeps the bag closed, and inside there is plenty of storage place for just about EVERYTHING!... ...this was on my work desk today, and holds a huge selection of stationary - stapler and spare staples, pens, pencils, post-it notes, and just about everything else you can think of! It received lots of admiring comments from my colleagues, so I may have to make a few more for my office buddies!
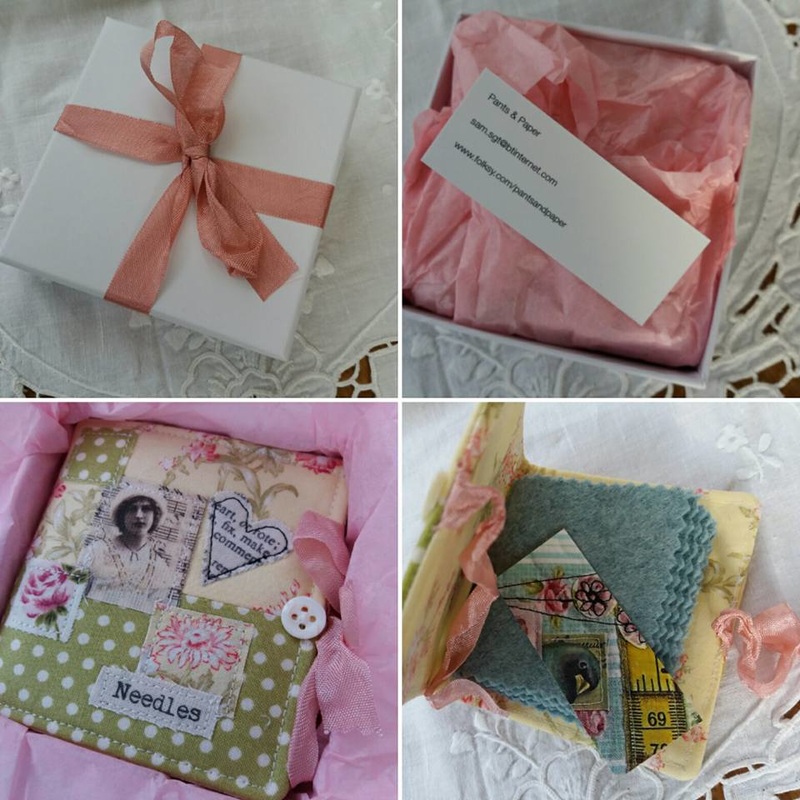
I discovered a fabulous Folksy shop, "Pants and Paper" a few days ago, and couldn't resist ordering this gorgeous handmade needle case. When it arrived it was beautifully packaged, with a pretty pink bow around the box. Inside, it was carefully wrapped in pink tissue paper. This needle case has been made to the highest standard, and is simply LOVELY! This was meant to be a gift but I really don't think I can bear to give it away so I'm keeping it for myself! If you haven't discovered Pants and Paper over on Folksy, then you really must have a look.
|
About me...Hi - welcome to my quilting blog! My passions are my family, my dog, my friends and sewing, not necessarily in that order! Archives
July 2023
Blogs I followUK shopsThese are the UK shops that I use to purchase my quilting supplies - fabrics and threads etc.
Australian linksScandinavian links |



 RSS Feed

