If you'd like to make one of these too, the kit for this pincushion was supplied by Poppy Patch - and includes the pattern, all the fabrics, wadding and embroidery threads. The pattern is designed by Melissa Grant of One Day in May Creations.
|
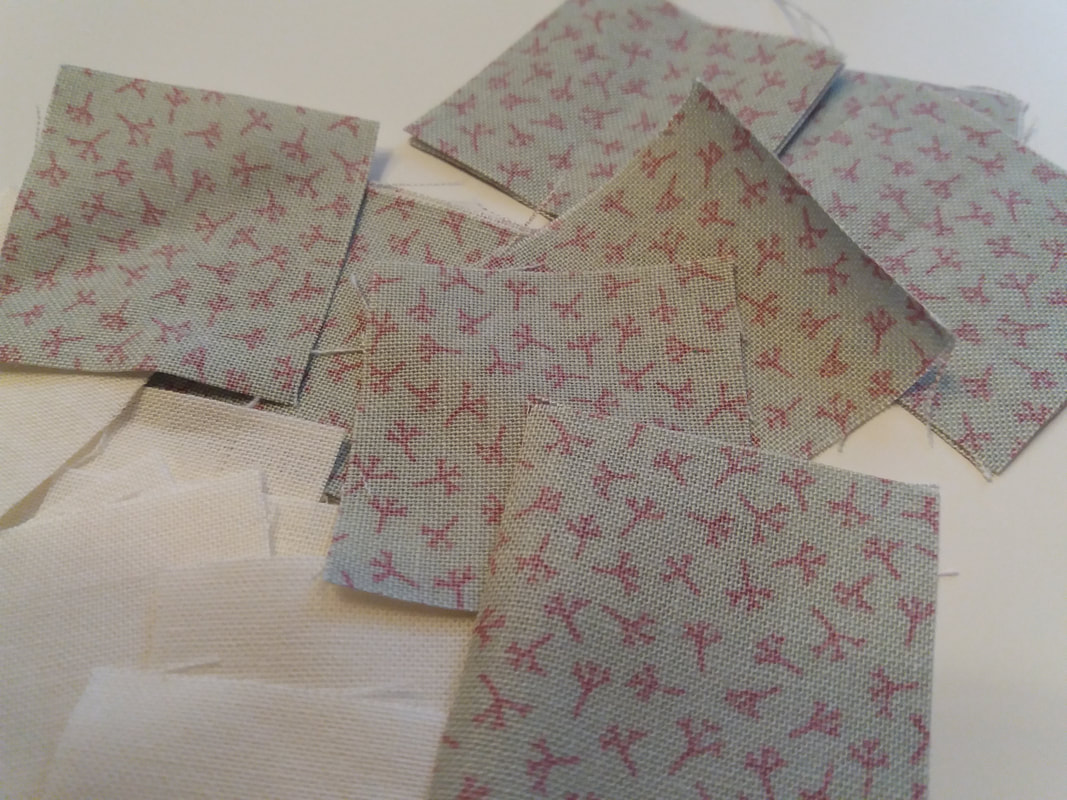
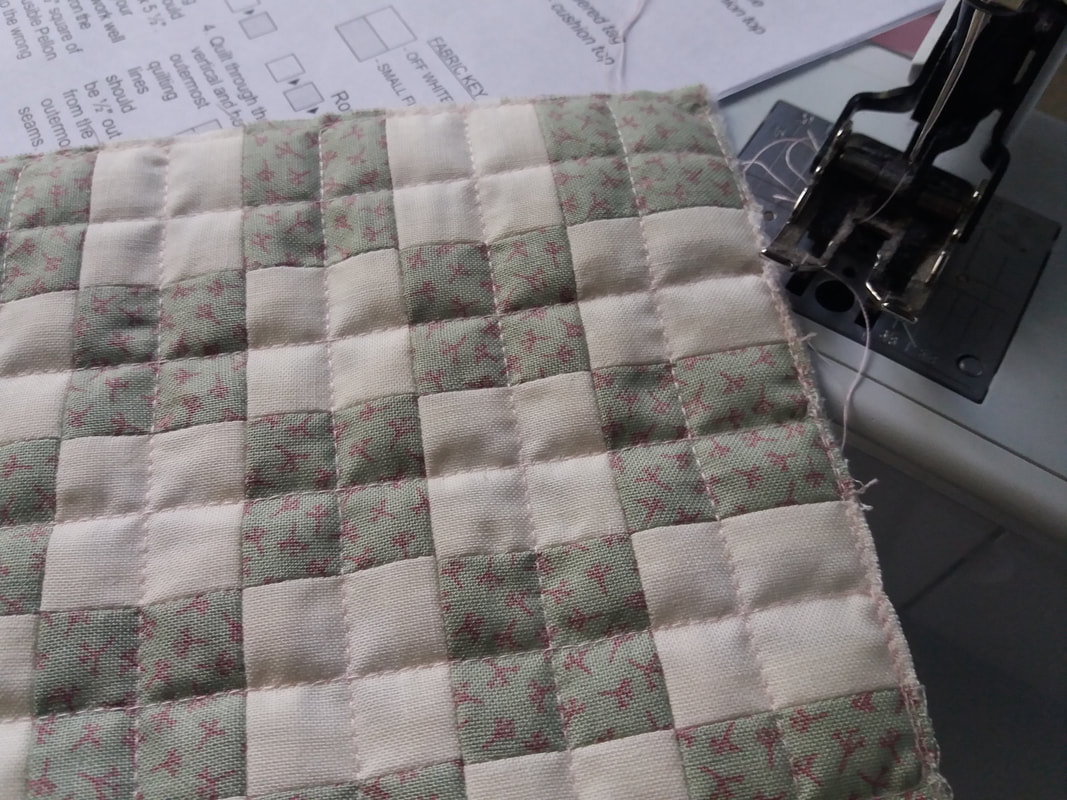
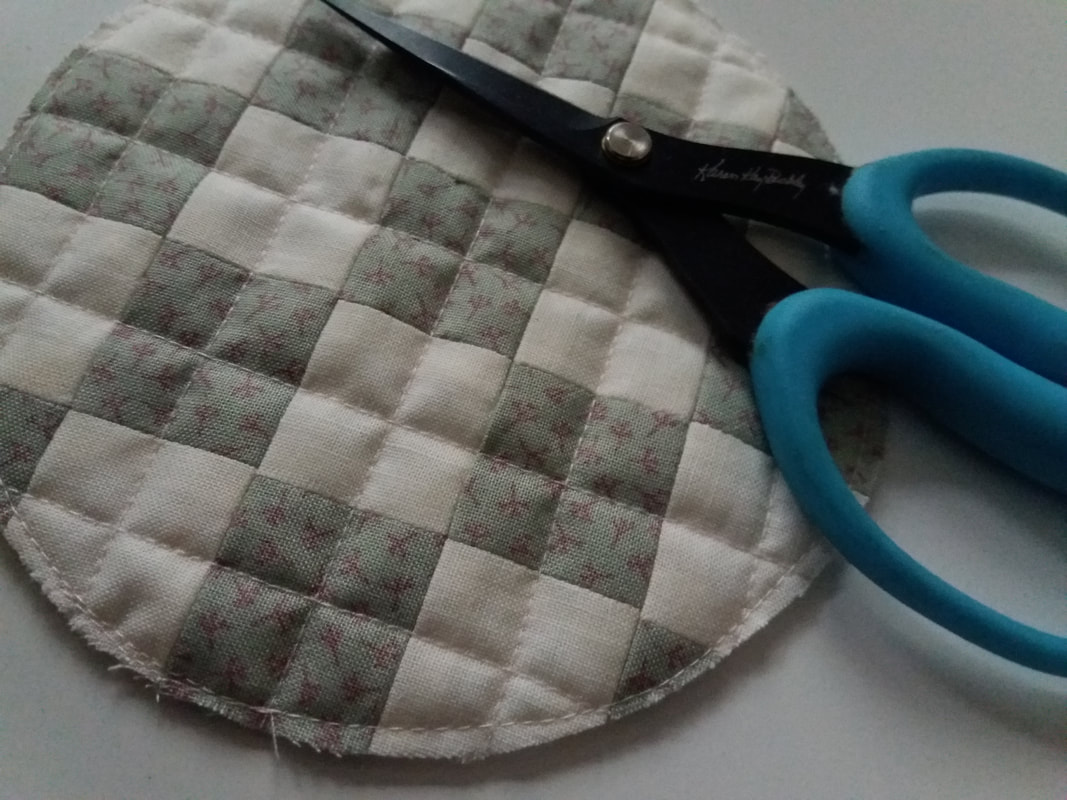
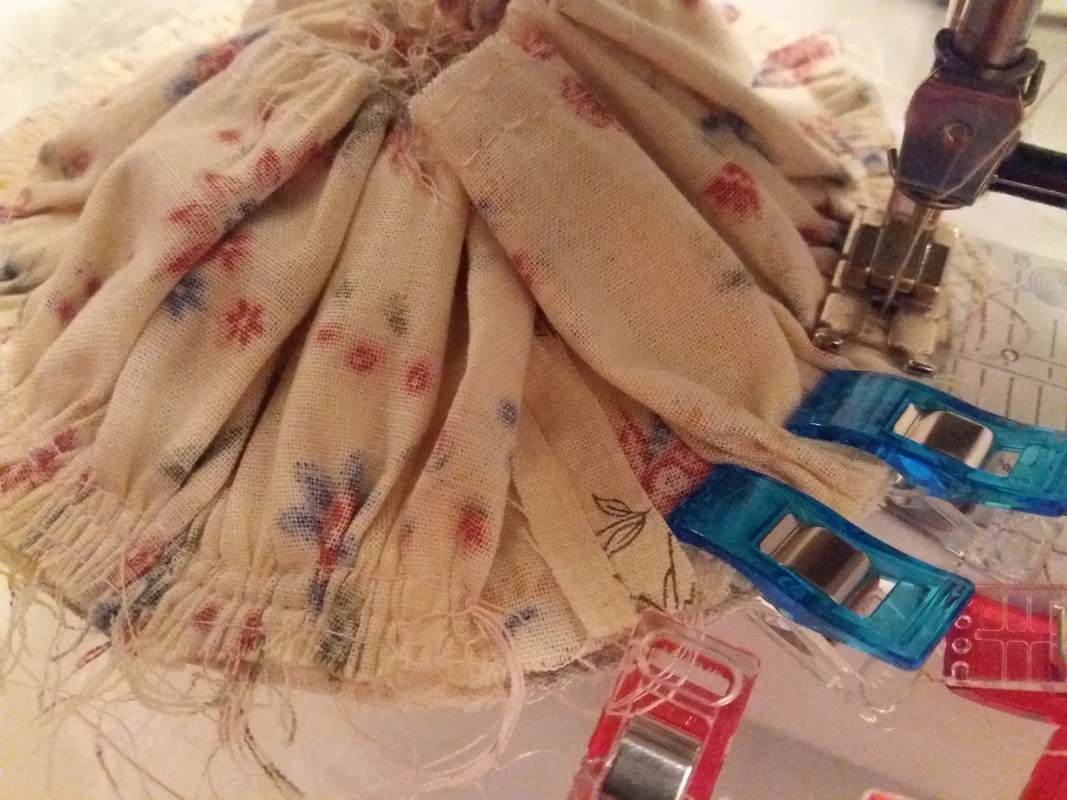
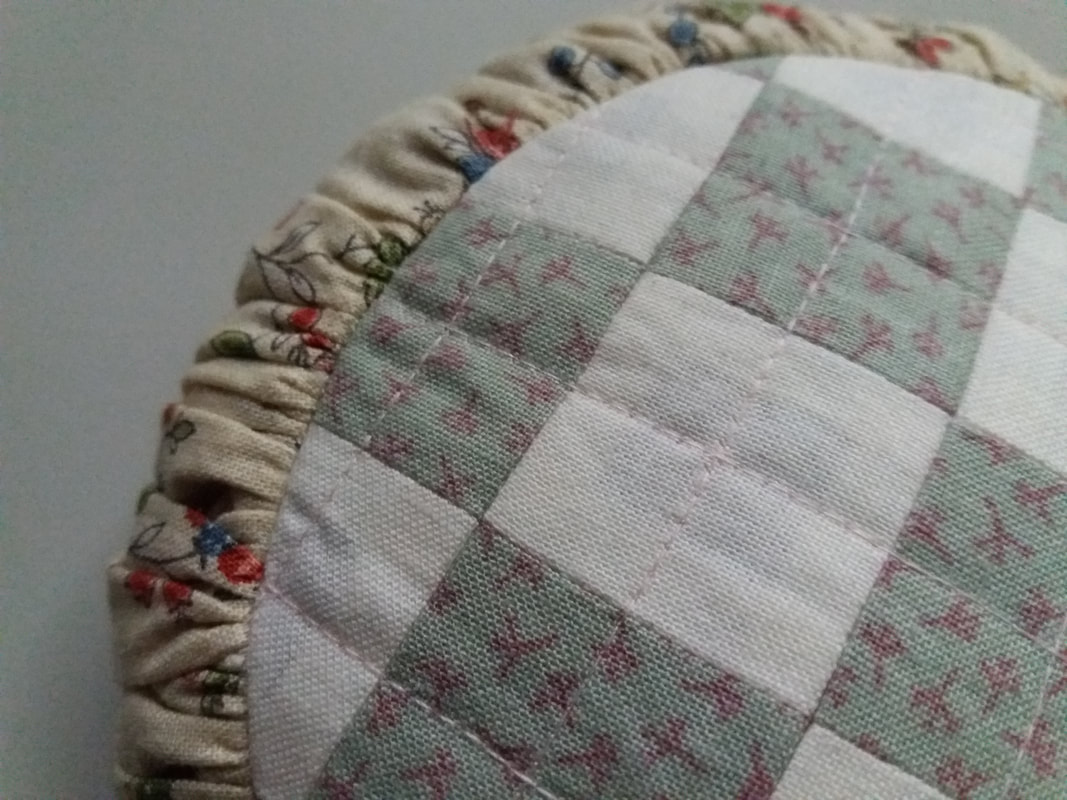
I've made good progress with my second Poppy Patch Posse project, the Roses and Ruching Pincushion. An assortment of 1.5" squares have been cut and pieced together to make the top of the pincushion. Once these are pieced together, they are fused to a piece of Pellon H630 wadding, and quilted very simply... ...using the template (included in the pattern) as a guide, a circle is drawn on the quilted top and cut out along the drawn line. I also made the base in the same way. The side of the pincushion is made with a strip of fabric with the ends joined together, leaving an opening for turning the pincushion through. Using a long stitch length, I've machine stitched 2 rows of gathering threads along the 2 raw edges of the joined strip - these are gathered up and the base and top of the pincushion is pinned in place, with the gathers distributed evenly, before machining all around the base... ...the pincushion is then turned the right way through, ready for attaching the 3D applique, and stuffing with your choice of filling - such as fibrefill or crushed walnut shells.
If you'd like to make one of these too, the kit for this pincushion was supplied by Poppy Patch - and includes the pattern, all the fabrics, wadding and embroidery threads. The pattern is designed by Melissa Grant of One Day in May Creations.
0 Comments
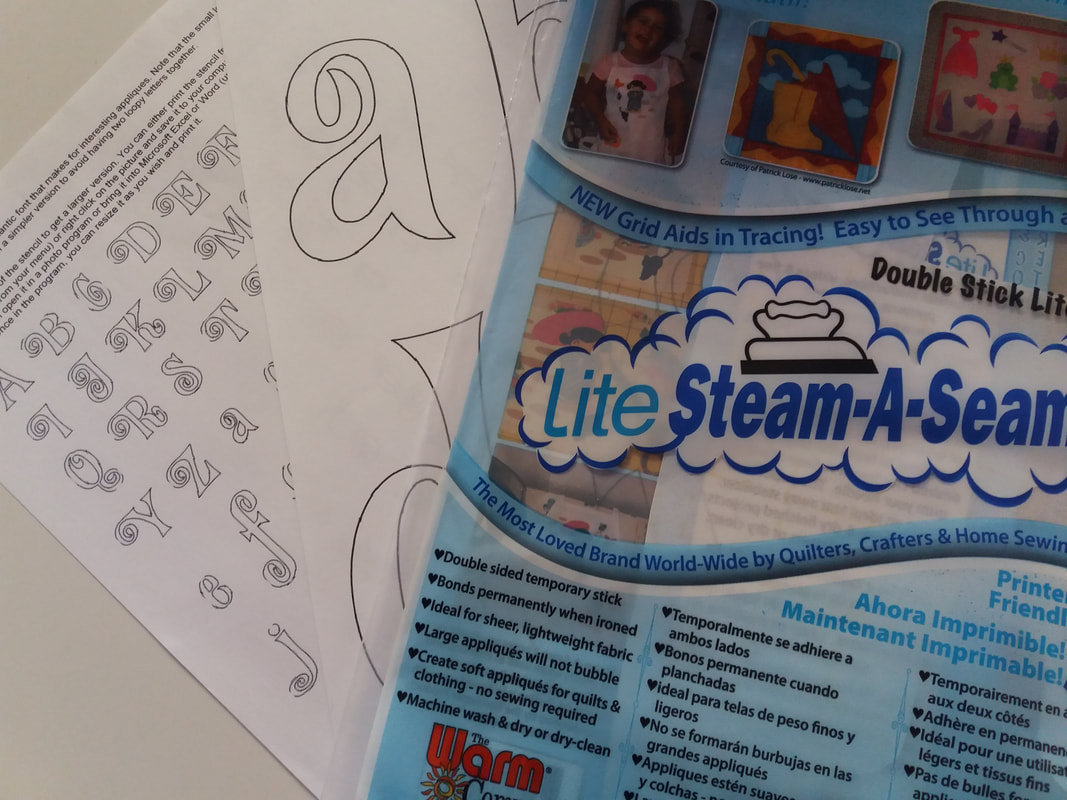
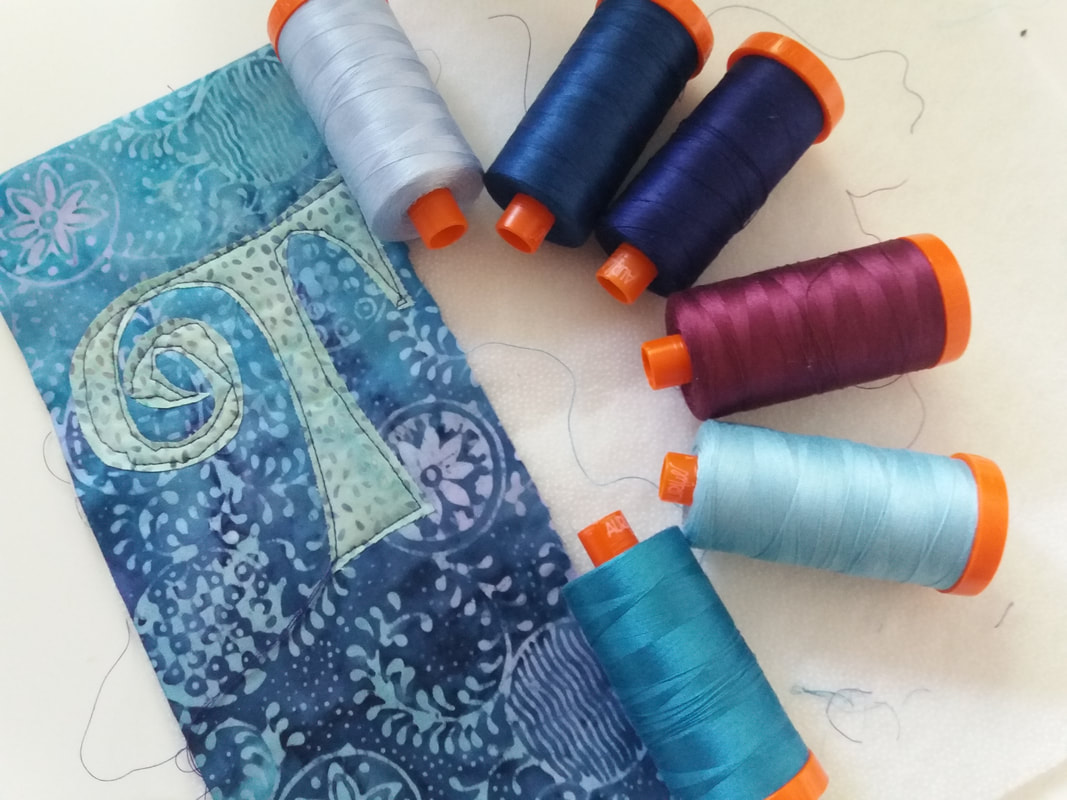
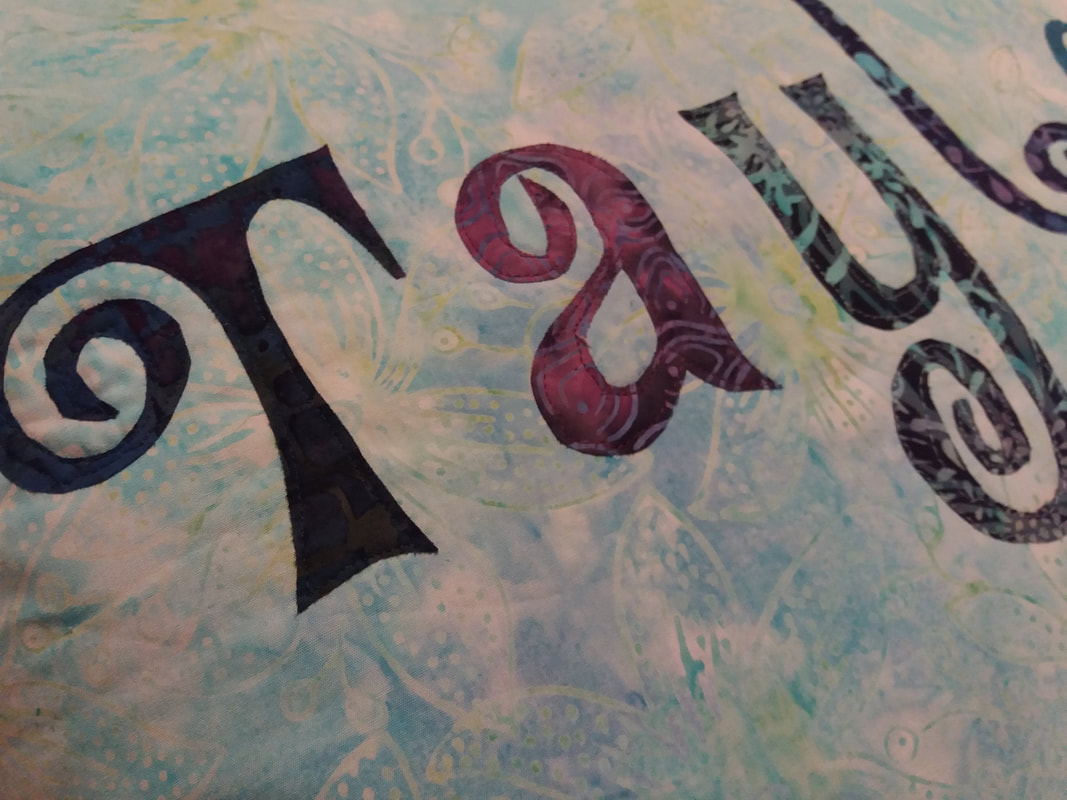
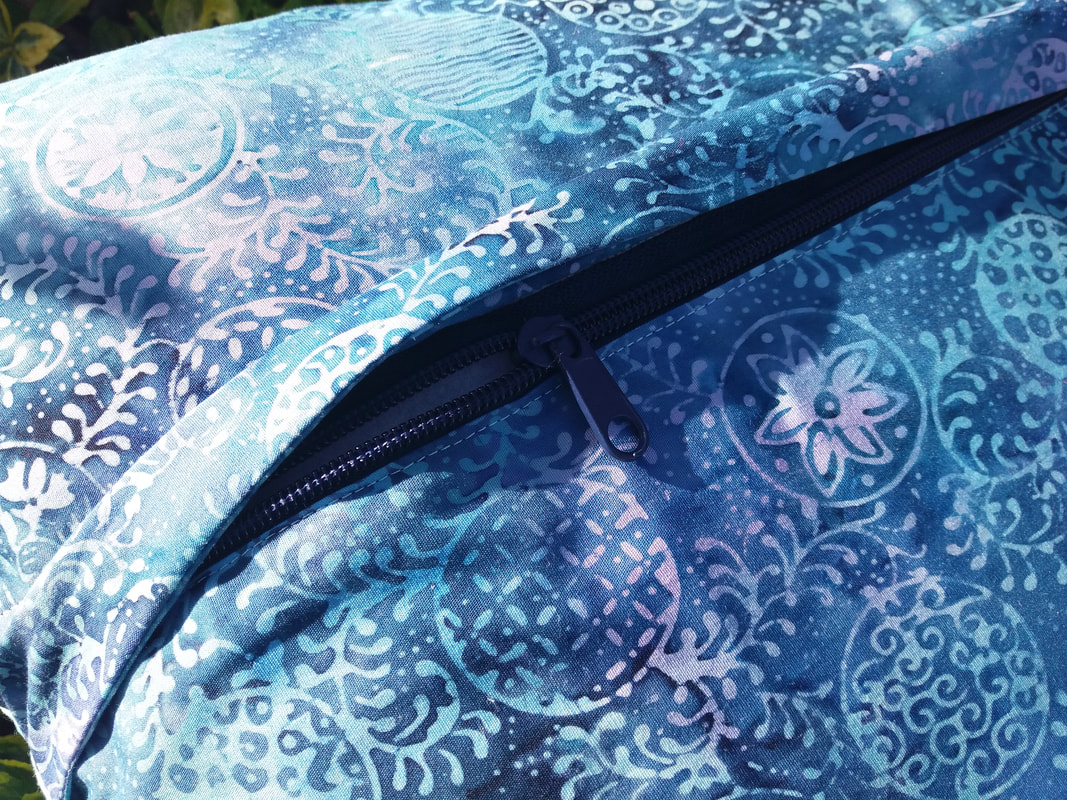
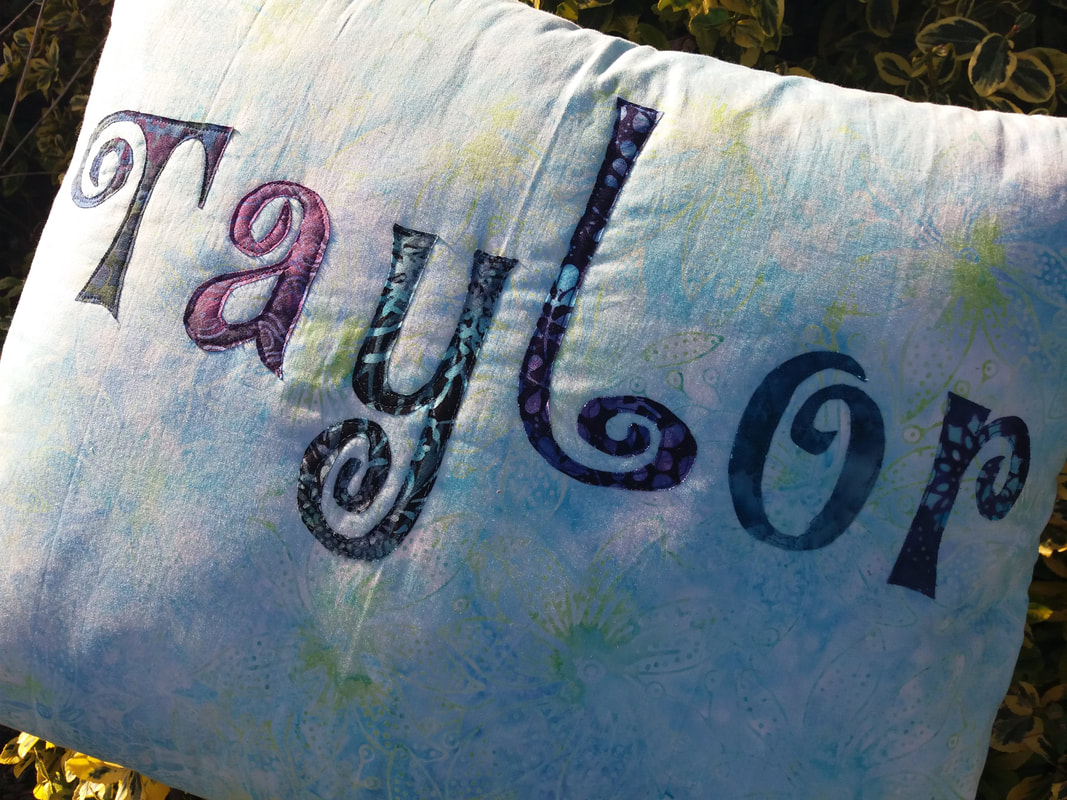
I was lucky enough to spend Friday with a very special girl, teaching her how to sew! She wanted to make a cushion with her name on, so I explained and demonstrated exactly what needed to be done, letting her do all the work on the cushion herself. She started by chosing a selection of fabrics from my scrap box (she obviously loves batiks as much as I do), chose a selection of matching threads (thank goodness for my huge Aurifil collection), then she picked a style of letters for the applique. She pressed all of her fabrics herself, traced the letters in reverse onto Lite Steam-A-Seam 2 which were then roughly cut around the traced lines and fused the webbing onto the wrong side of the batik fabrics. She then cut around each letter directly on the traced lines, peeled off the backing paper and fused the letters onto the background fabric. We used a piece of fusible Pellon H630 for the wadding and a walking foot was attached to the sewing machine. As this was her first time using a machine, I made her a sample to practise on, then she was ready to stitch the letters for her name... ...despite choosing a tricky style of letters (this whimsy style has lots of curves) she did really well, taking her time and stitching slowly. She wanted to use a different colour thread for each letter so there were lots of thread changes as well as tricky stitching! Taylor wanted a zipper in the back of the cushion too, so I taught her an easy way of doing this using bdouble-sided basting tape. My Bernina 230PE was ideal for her to use and her stitching along the zipper was perfectly straight and neat... ,,,and this is the finished result - I can't believe she's only 11 years old and produced such amazing work! She did extremely well and I was so proud of her! She worked really hard, and when I told her she'd worked harder than if she's been at school, she replied it had been much more fun than school! We've already got her next project planned as she wants to make another one with her brother's name on, so I think I just might have inspired another young stitcher!
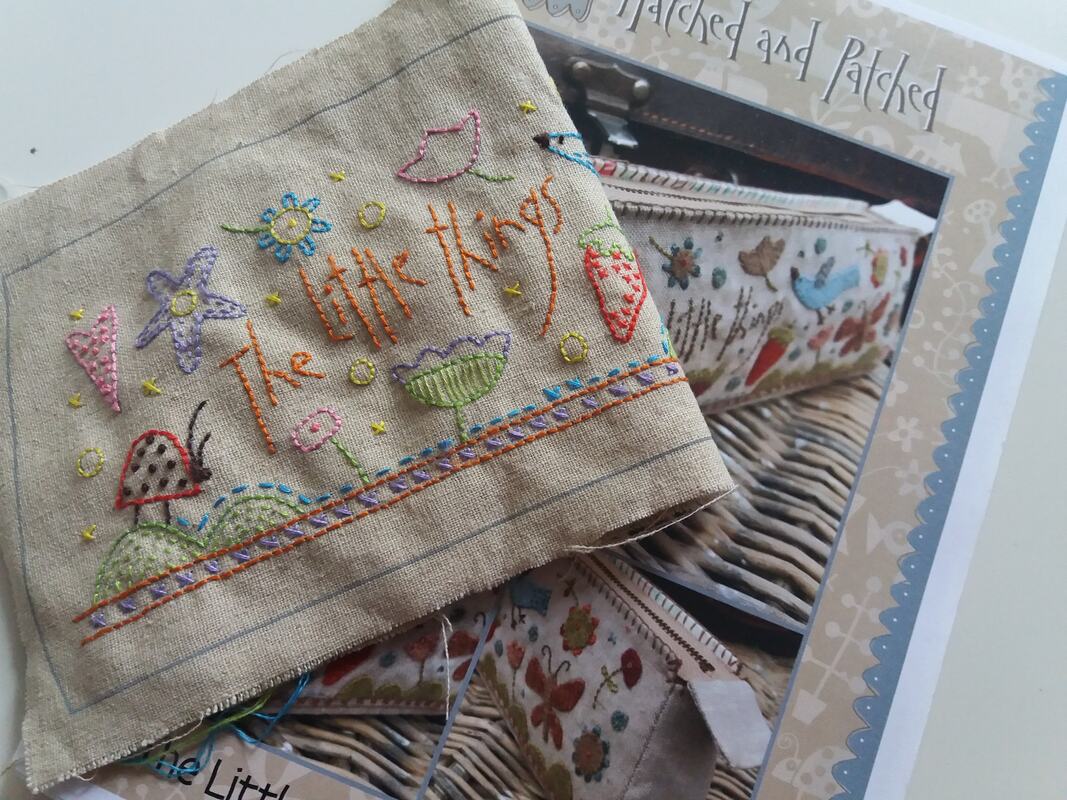
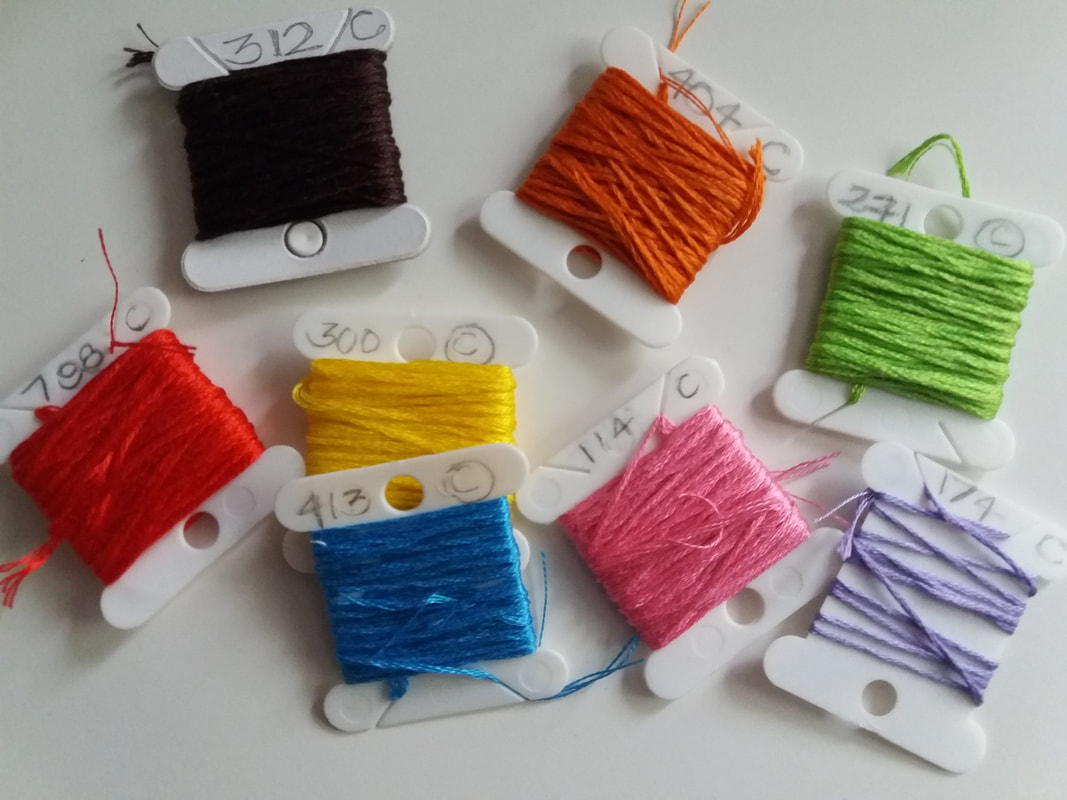
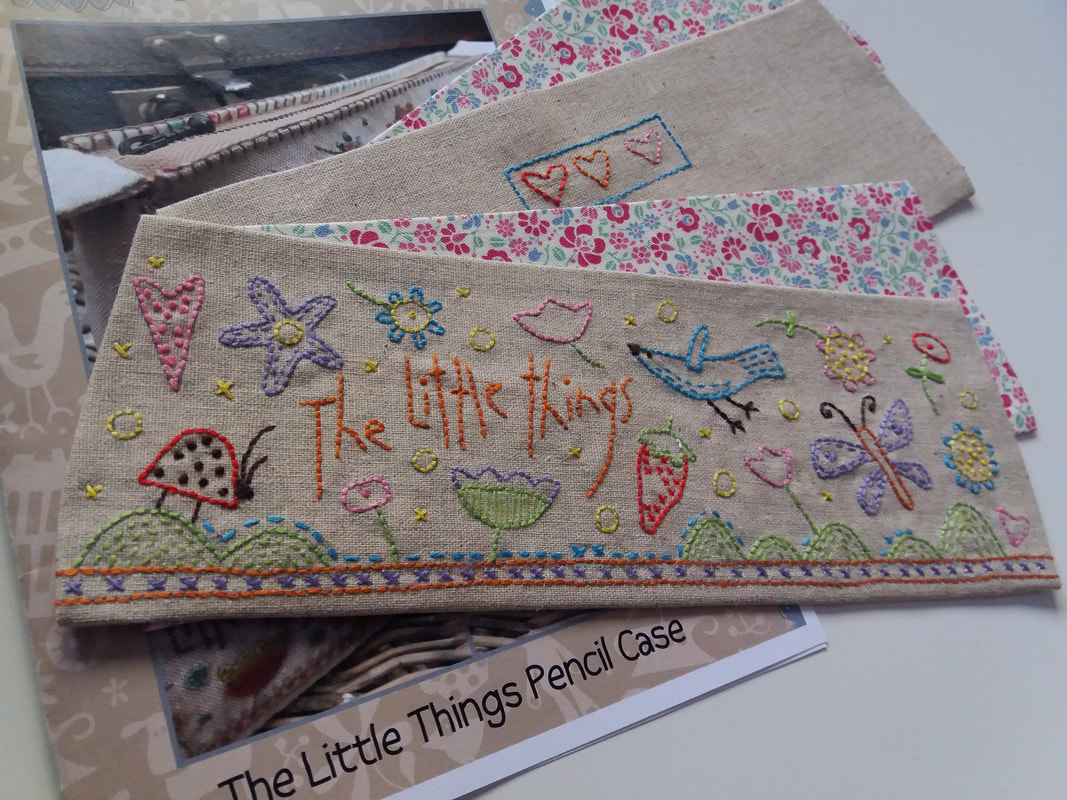
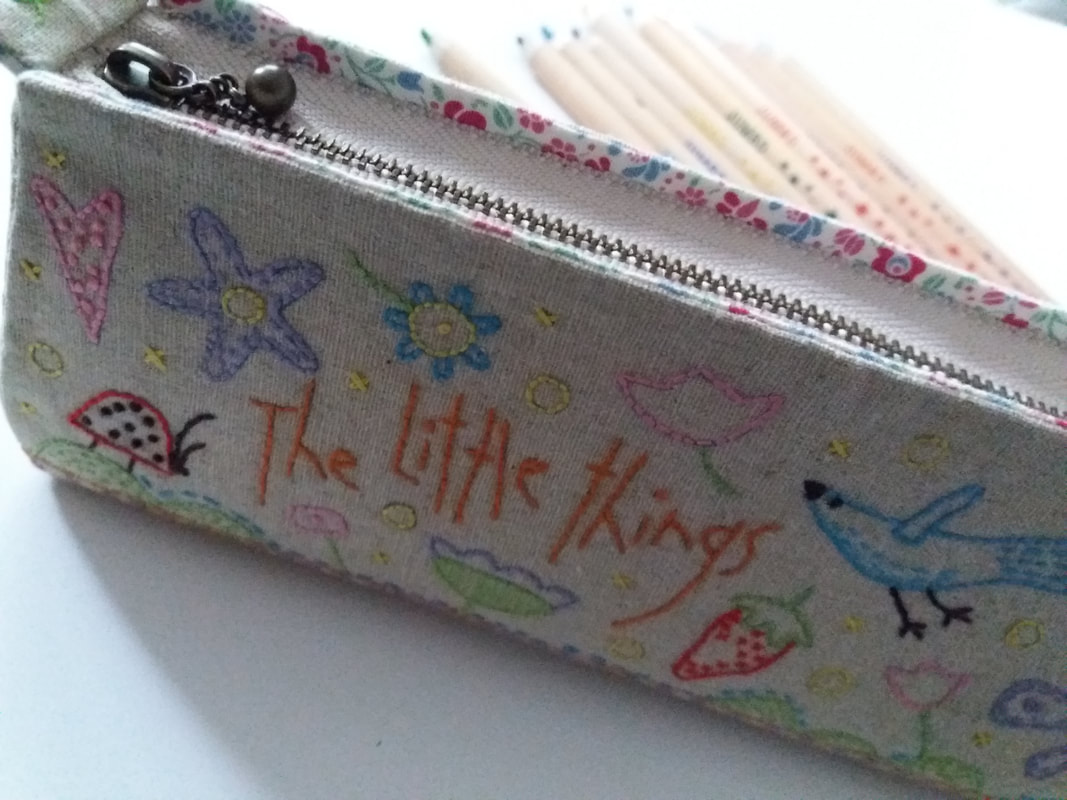
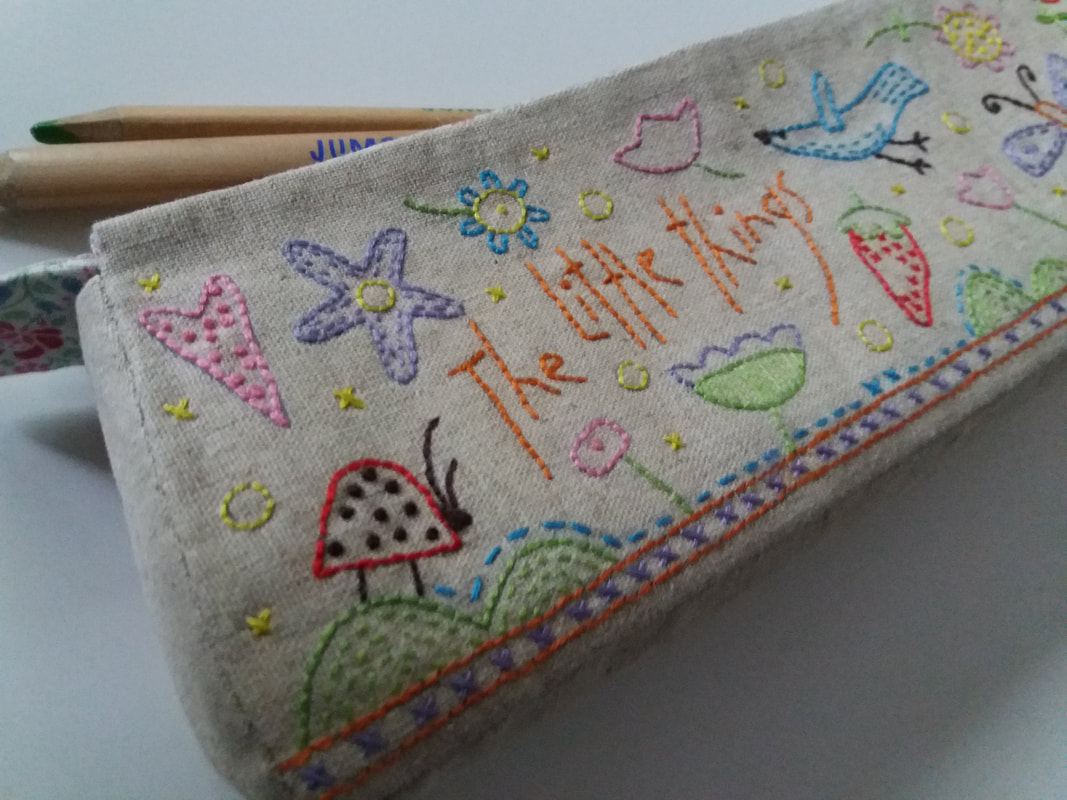
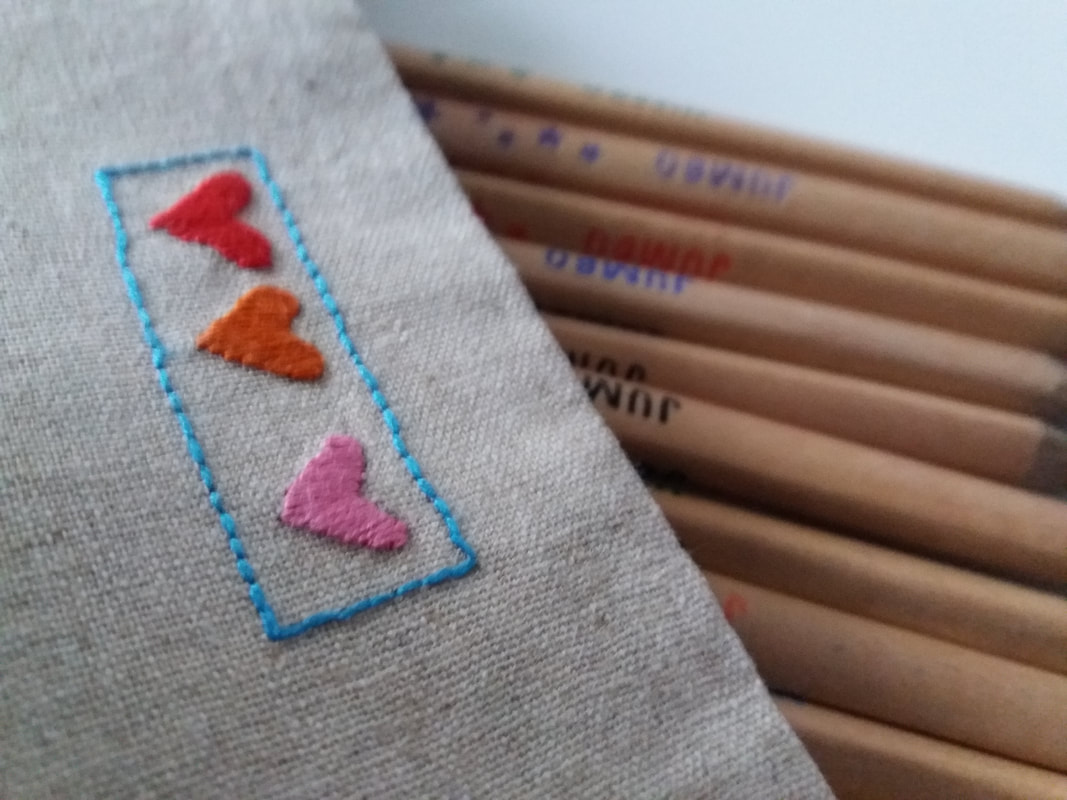
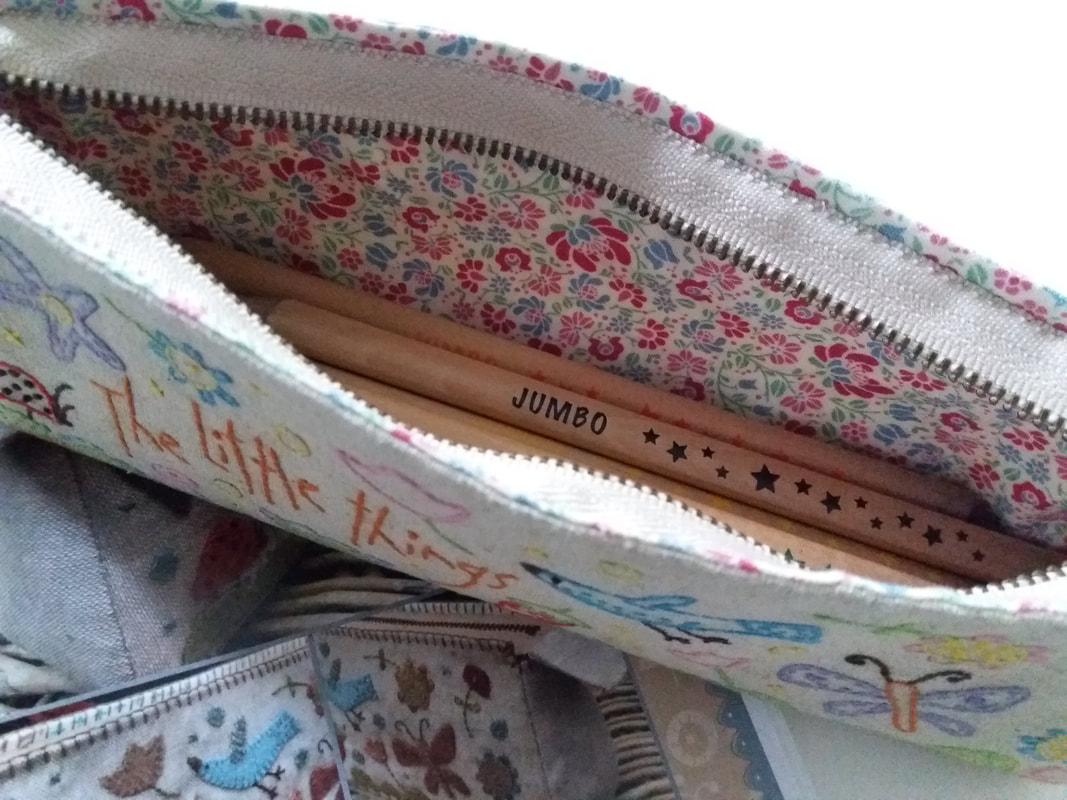
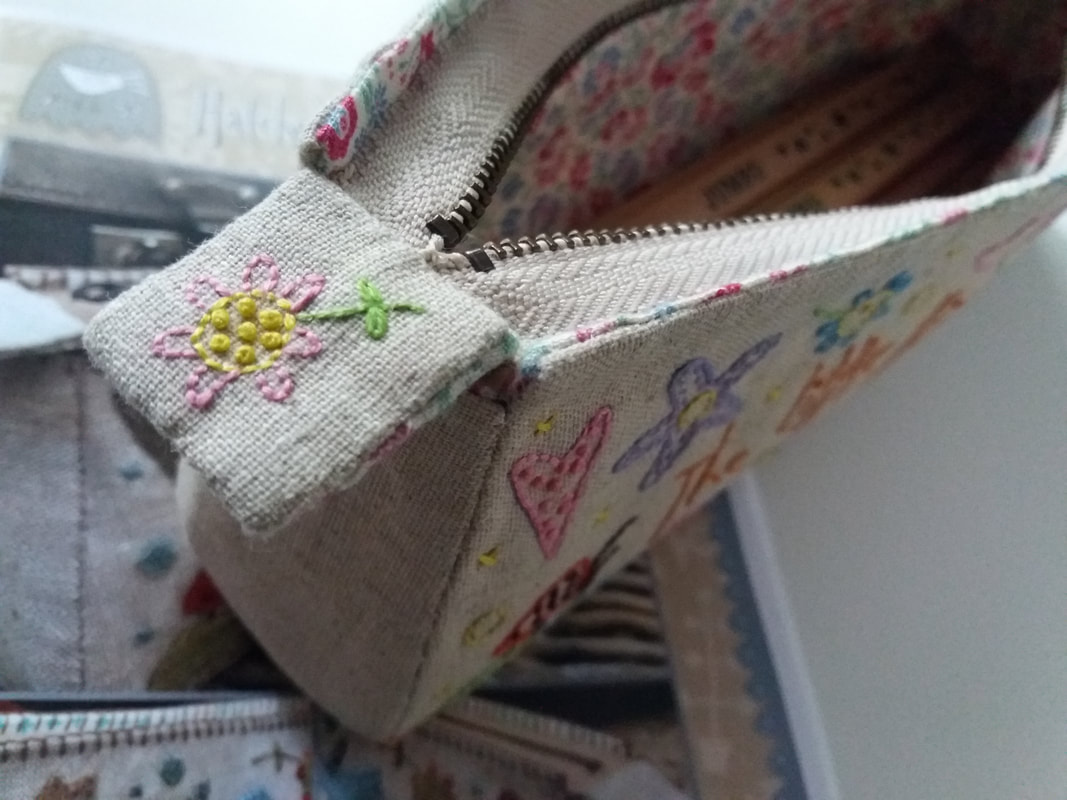
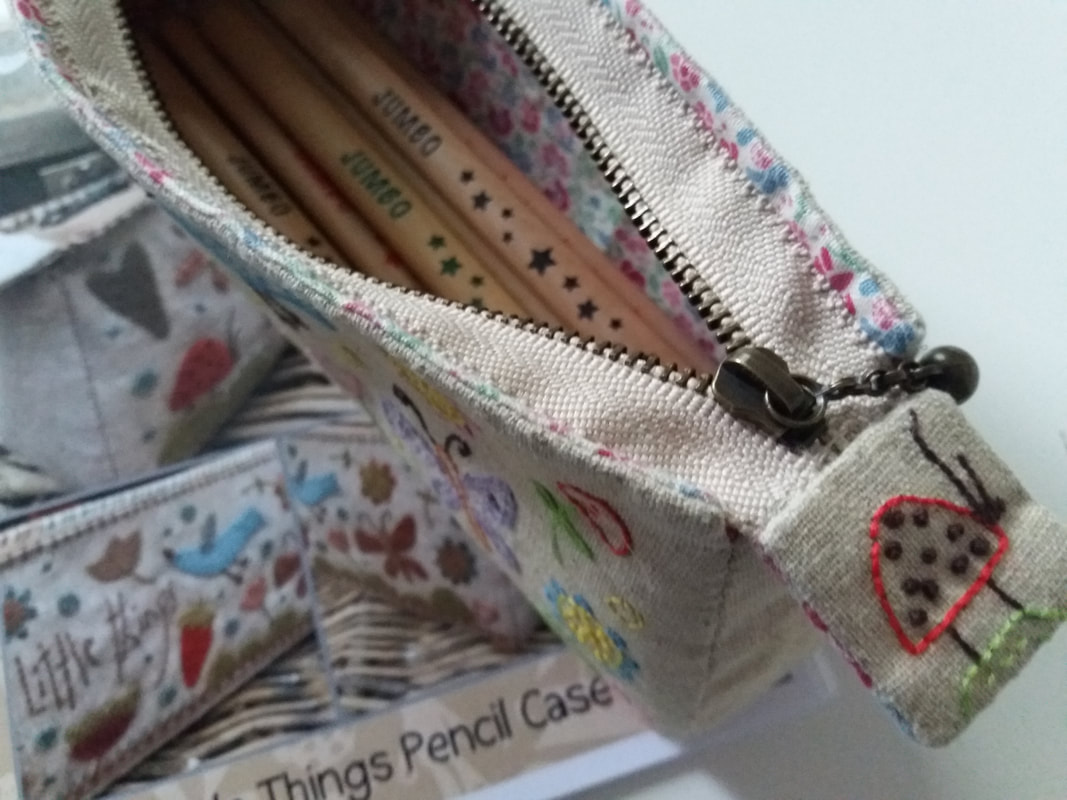
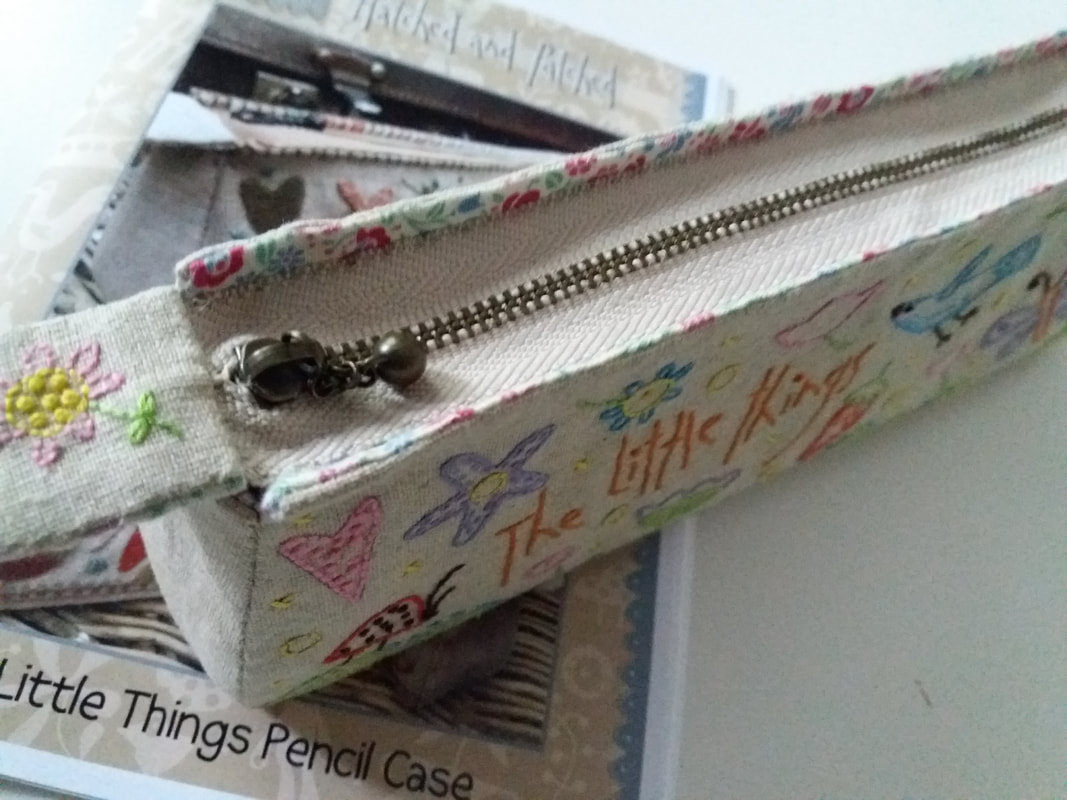
Over the past few weeks, I've been sorting through several boxes of kits, looking for smaller projects to make. This one is The Little Things Pencil Case by Hatched and Patched that I'd bought ages ago from Cross Patch. Included with the pattern was a pre-printed linen panel - this can be used for either the applique version or the stitchery version. The kit included a selection of woolfelt for the applique, the lining fabric and a zipper. Rather than use the woolfelt that was included in the kit, I decided to make the embroidered version, using a selection of my own Cosmo embroidery threads... ...the pattern requirements include Polyfuse, which is a fusible water soluble tearaway. It softens when washed and does not leave any bulk to your design but leaves a thin layer of polyester fibre which helps reduce shadowing in applique and pads the shapes. As I couldn't source this in the UK, I substituted this for Hugs n' Kisses applique paper that had I had already cut to size by tracing around the templates included in the pattern. Once all of the hand embroidery was completed, I fused the applique paper onto the wrong side of the front, back and sides of both the linen and the lining fabrics. Using a fabric gluepen along the free edges of the fabrics, then folded the edges over onto the applique paper, and pressed the edges into place... ...this project is completely hand sewn. Using a fine needle and a 60wt polyester thread in a neutral colour, the pencil case was constructed with ladder stitch. The lining was constructed in exactly the same way, then put inside the pencil case, wrong sides together. The pattern suggested using an embroidery thread and blanket stitch around the top edges to attach the case to the lining, however I preferred to just use ladder stitch, again with a fine 60wt polyester thread... ...I love these cute little satin stitch hearts on the back of the pencil case! The zipper is also secured in place by hand, with tiny slip stitches along the edge of the zipper tape onto the lining... ...the ends of the zipper are neatened with 2 fabric tabs. I like adding my own twist on the projects that I make, so I've embroidered a flower and a ladybird on the tabs... ...my pencil case has been filled with pencils ready for doodling a few of my own project ideas. The applique paper gives this pencil case a bit of structure, and will soften the more it is used.
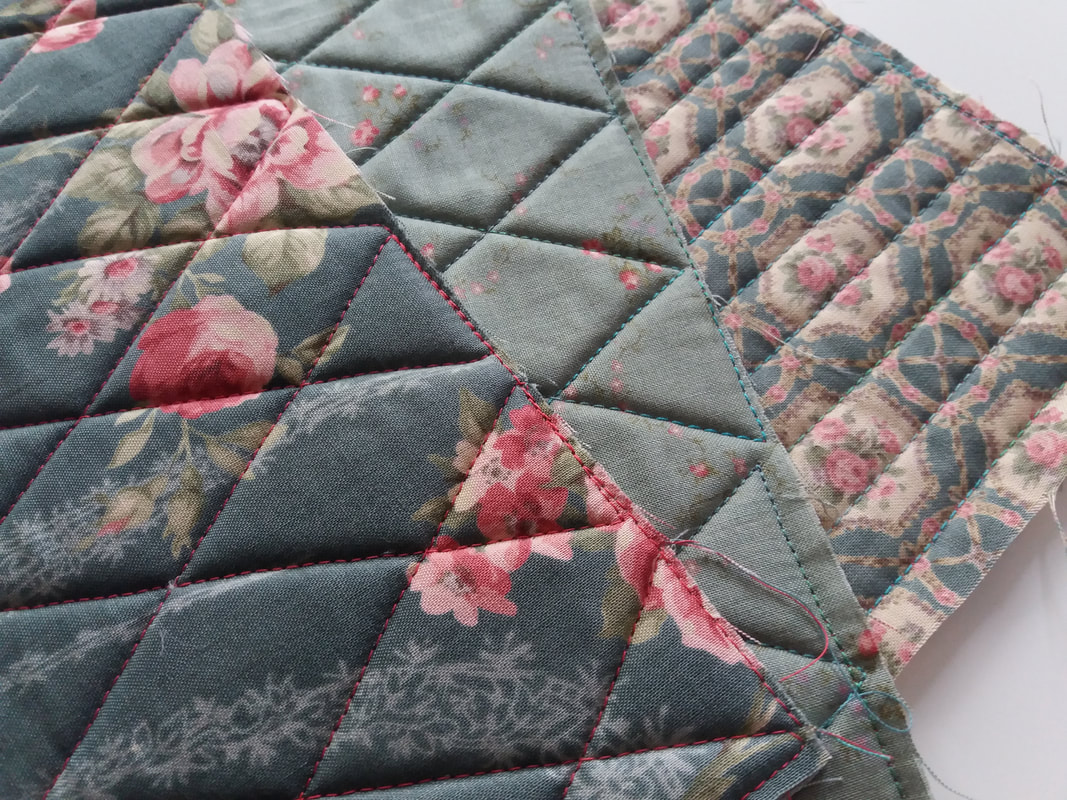
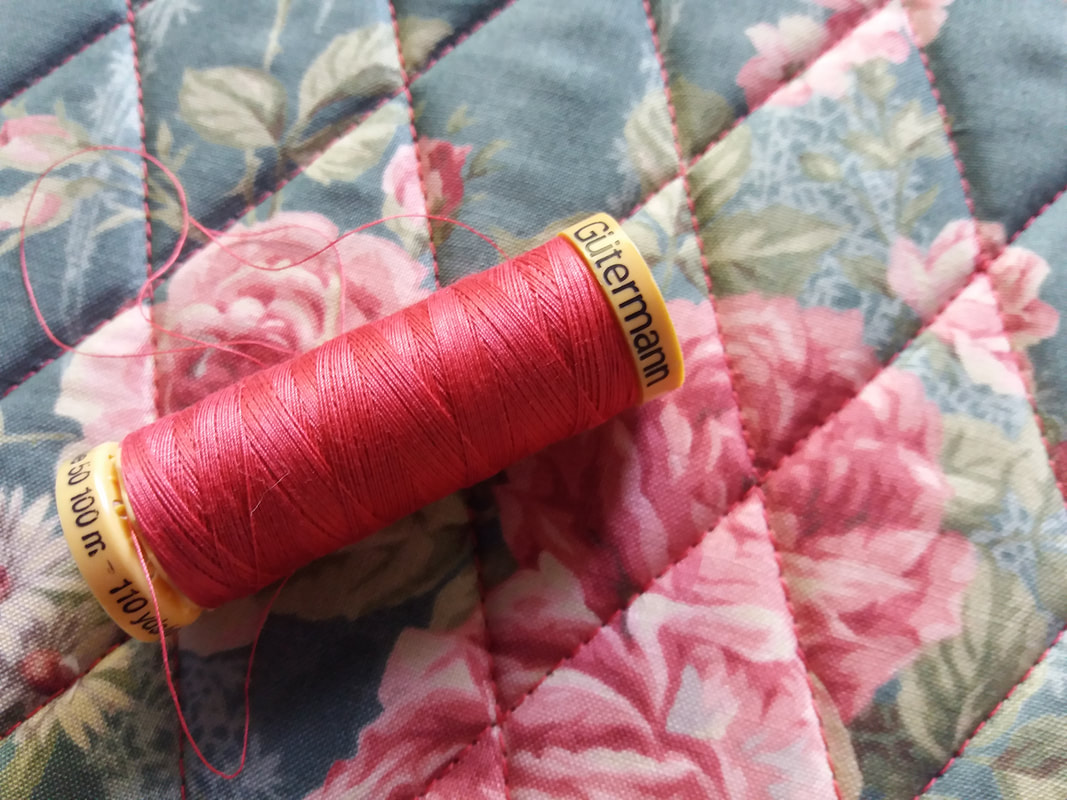
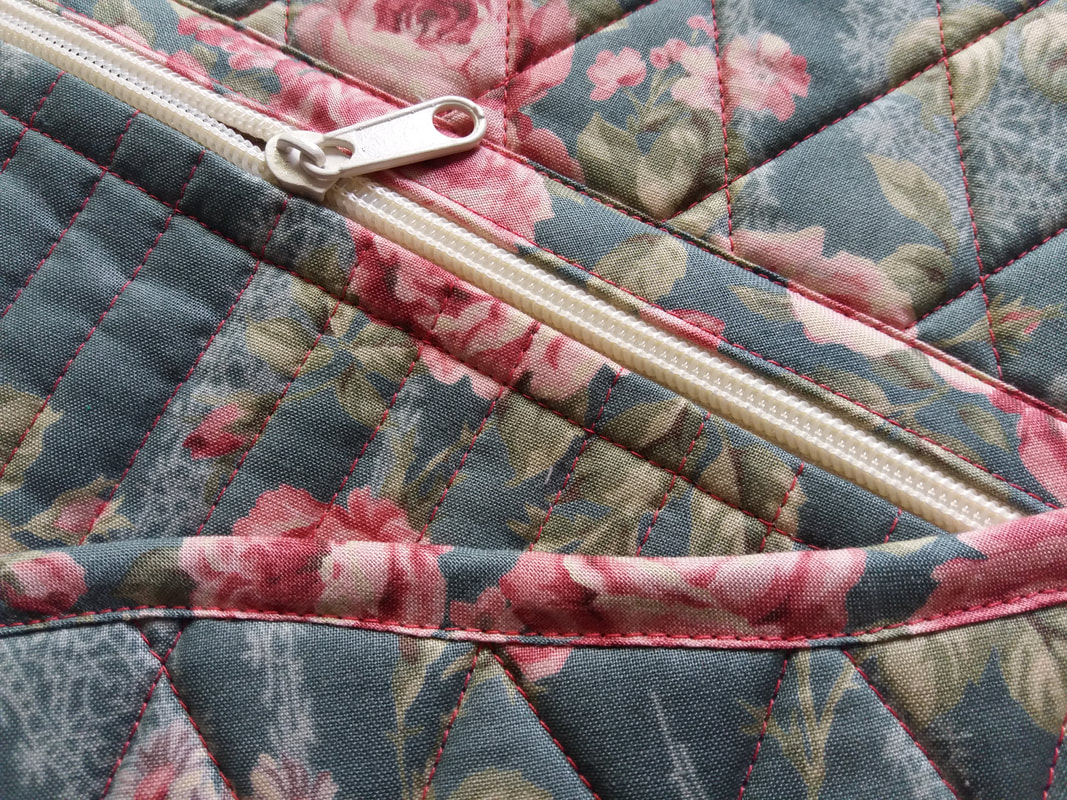
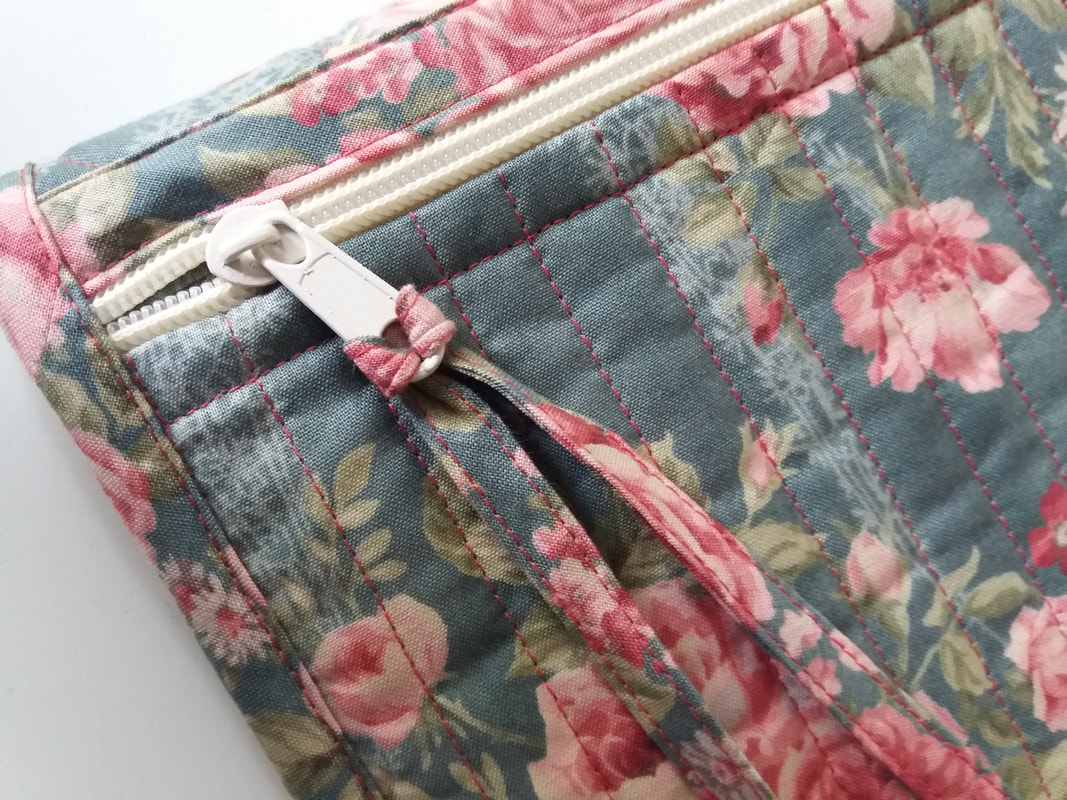
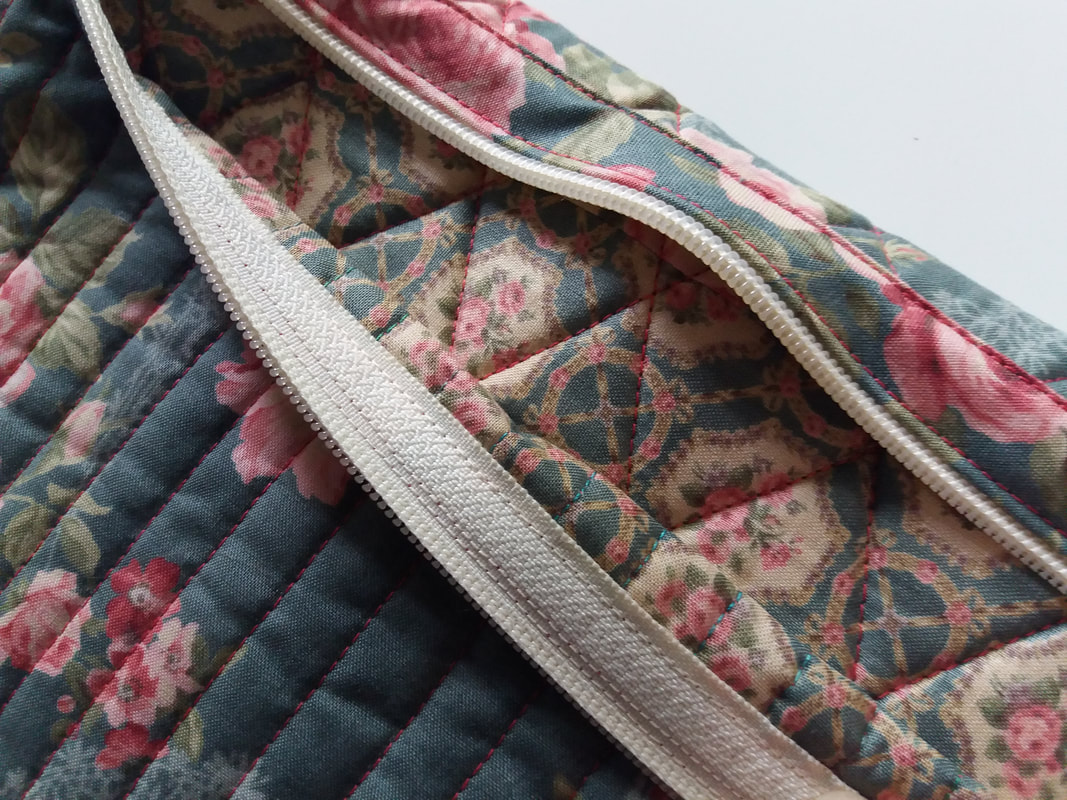
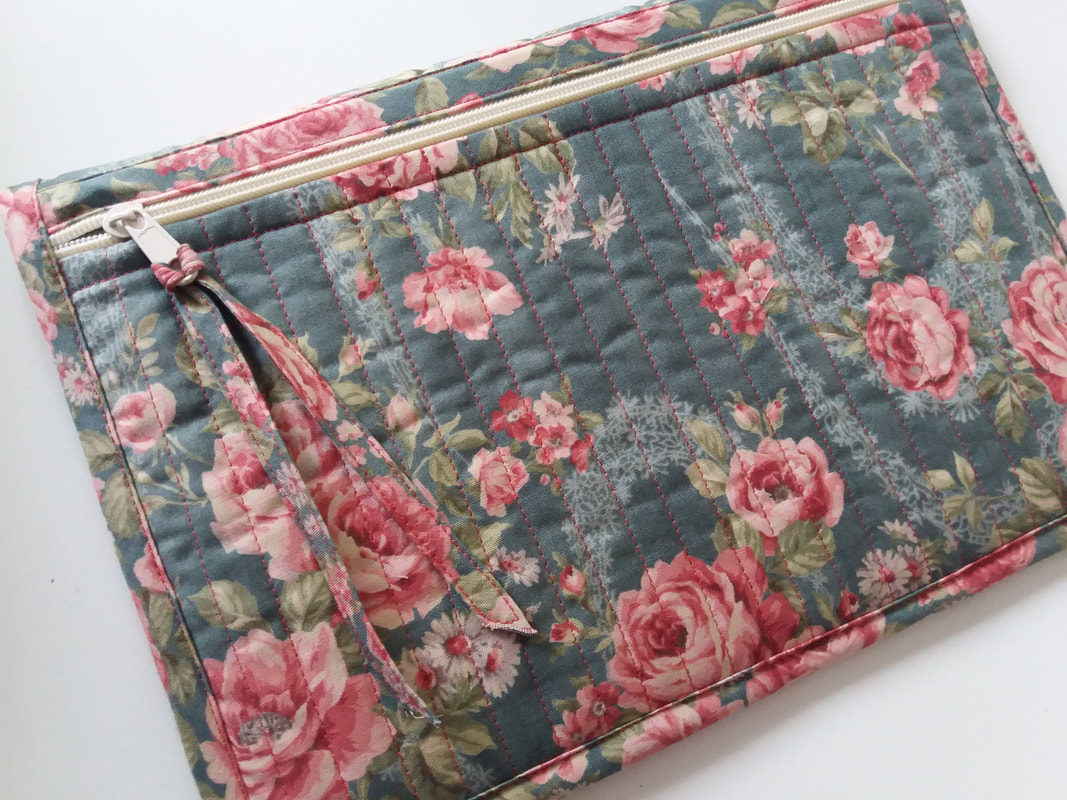
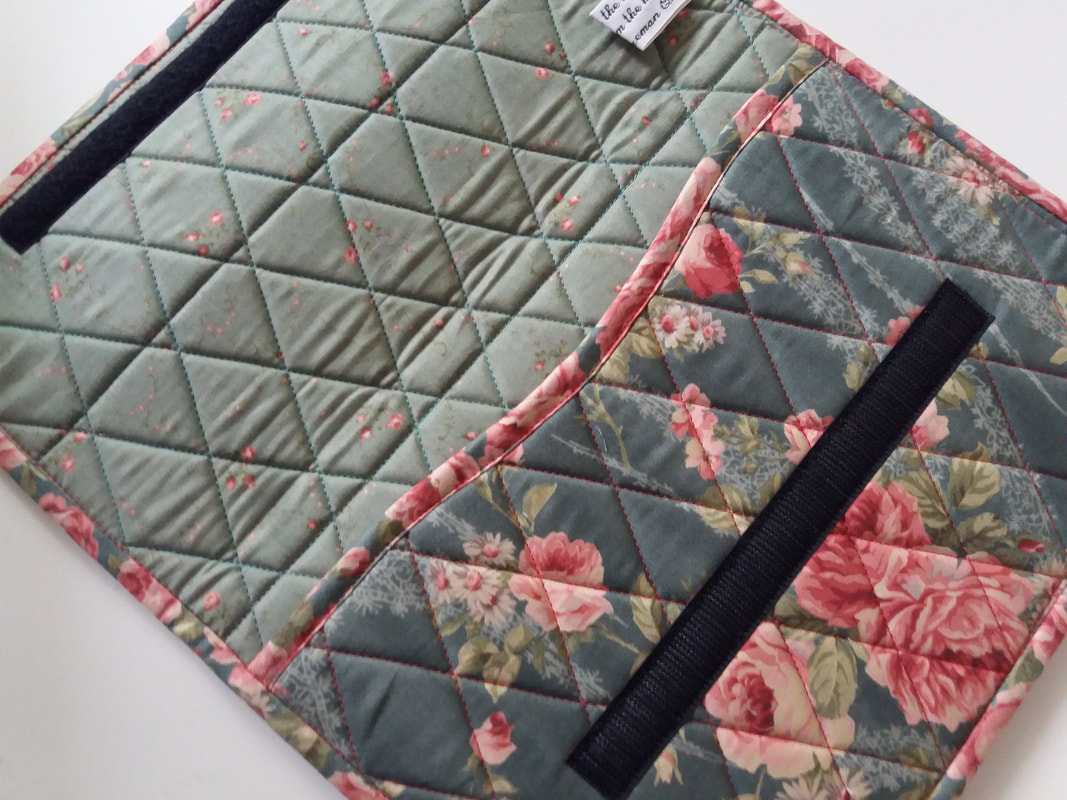
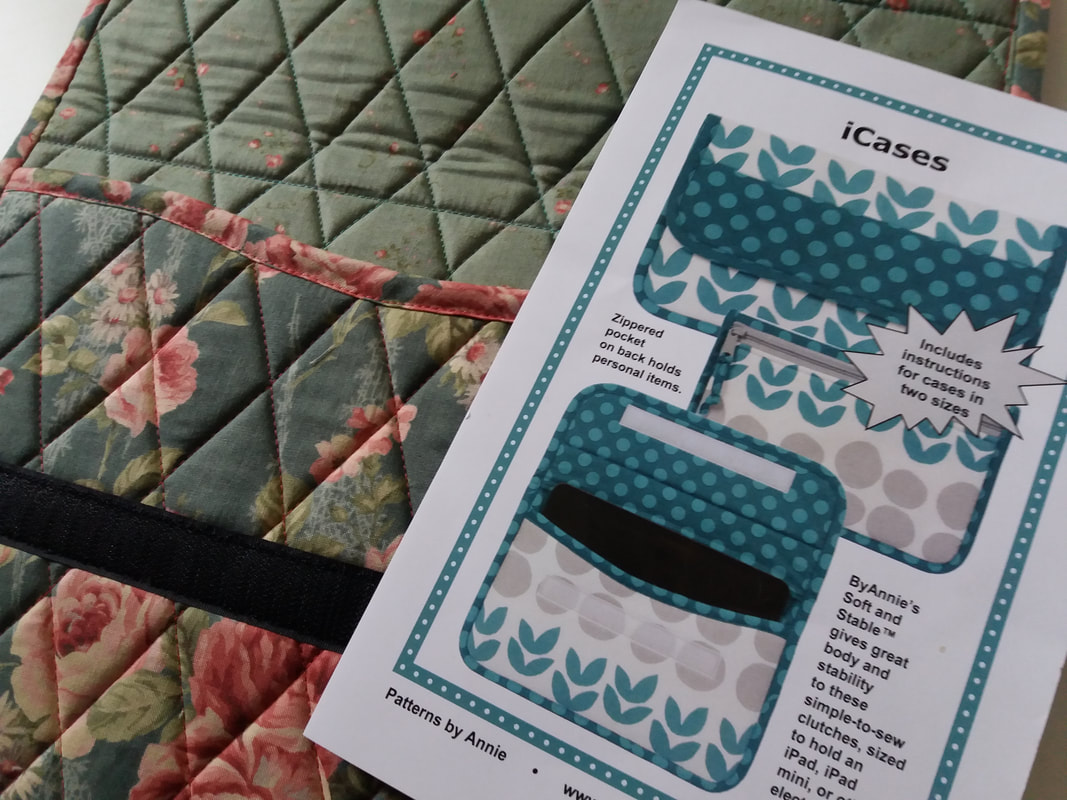
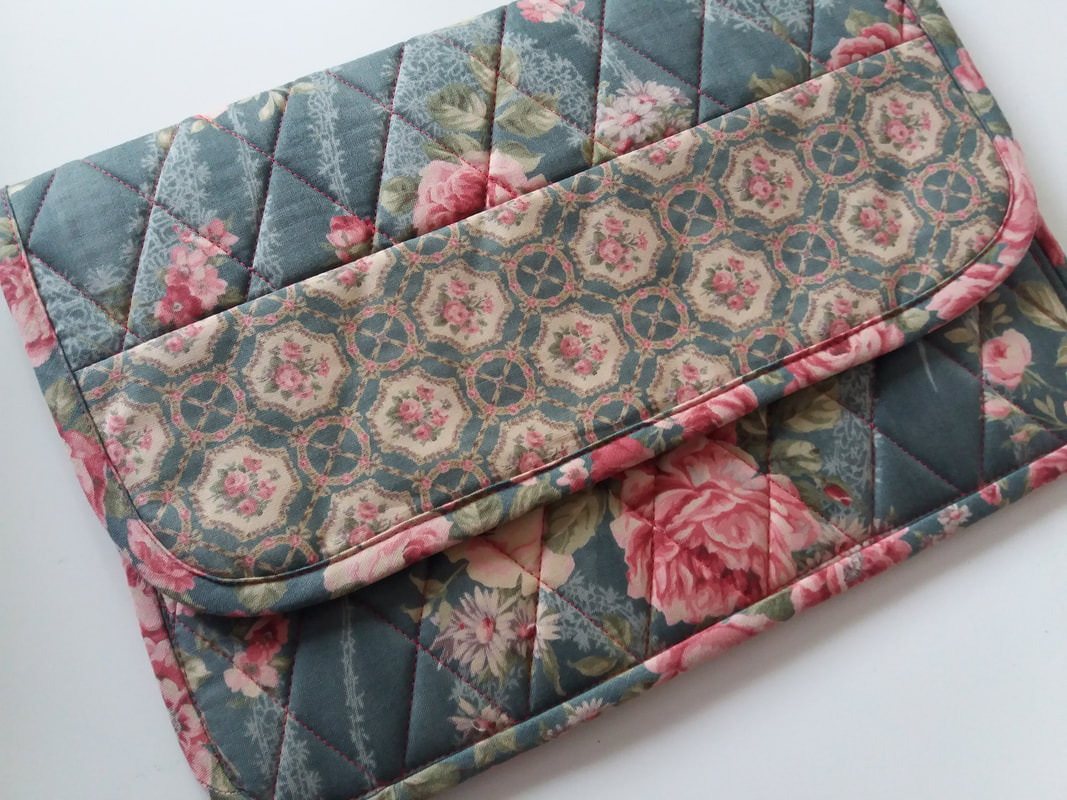
I'd recently made an iPad case for myself and one for my husband. My sister-in-law admired them, so I thought stabiliser, I quilted I'd make one for her too. I chose a selection of Lecian floral fabrics for the iPad case outer, lining, pocket lining and binding. Once I'd layered the fabrics with ByAnnie Soft and Stable, I quilted a very simple design using a dark pink Gutermann thread shade 02779... ...the back of the iPad case has a zippered pocket (I used the ByAnnie method for inserting the zipper - there's a really useful video tutorial for inserting zippers on the ByAnnie website). As usual, I used zipper by the metre from Zipper Station. Rather than using another layer of Soft anfd Stable for the back pocket, I used a piece of H630 wadding, to reduce bulk. A strip of bias binding made from one of the floral fabrics was used to cover the raw edges around the case... ...the front of the iPad case case closes with a strip of velcro. The ByAnnie iCases pattern has instructions for making 2 different sizes but is easily adapted to make it smaller of larger than these if needed. I'd bought the pattern a few weeks ago from Plush Addict - there is a great selection of ByAnnie patterns and accessories on their website.
|
About me...Hi - welcome to my quilting blog! My passions are my family, my dog, my friends and sewing, not necessarily in that order! Archives
July 2023
Blogs I followUK shopsThese are the UK shops that I use to purchase my quilting supplies - fabrics and threads etc.
Australian linksScandinavian links |


 RSS Feed

