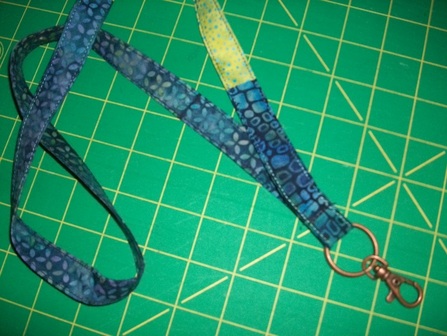
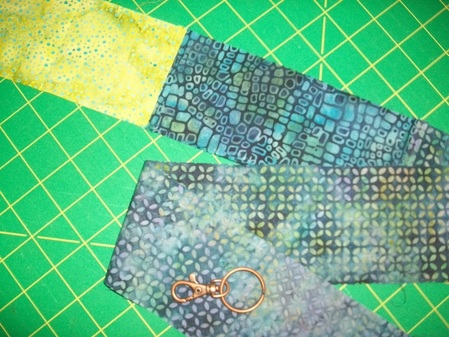
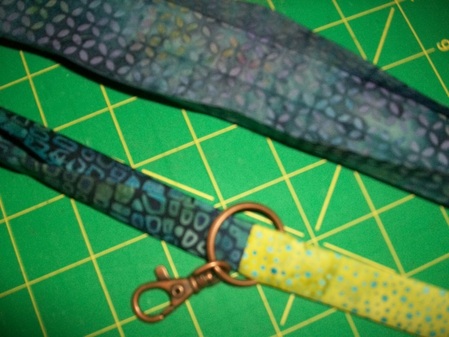
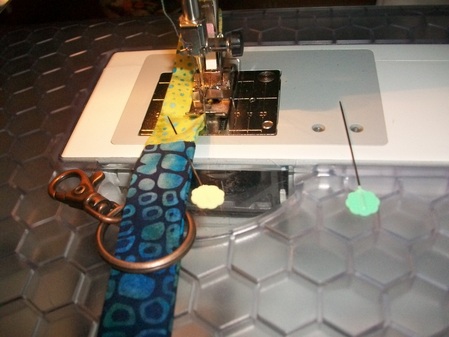
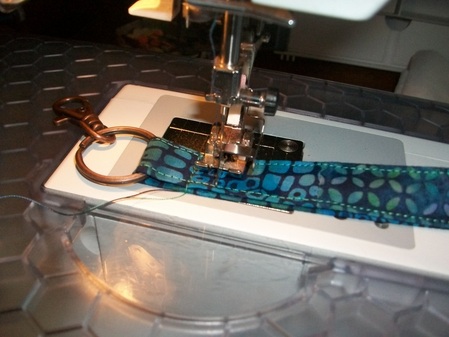
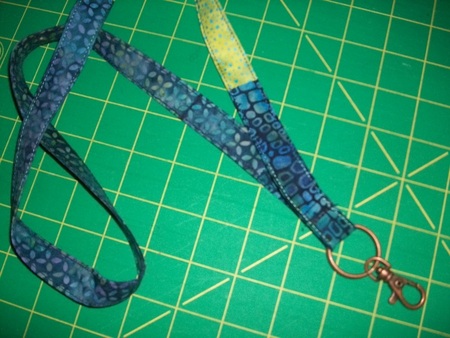
 Several of my quilting friends have asked me how to make a lanyard, similar to the one I made for my friend Paula for her birthday - so here is my first attempt at a tutorial!! Hopefully your finished lanyard will look similar to the one here on the left.....  .....I started off with some scraps of fabric about 2½" wide which I sewed RS together with a ¼" seam. I pressed the seams open to reduce bulk. The finished length is about 36" - this can be made longer or shorter depending on your personal preference.....  .....then I pressed the fabric with a hot iron, WS together along the length, then unfolded it, and pressed the raw edges into the middle and pressed again. I then slipped on the swivel clip and joined the two ends together, again RS together, sewing with a ¼" seam - I pressed the seams open, again to reduce the bulk.....  .....then I sewed along both edges - it is really useful if you have an edge foot for this - I altered the needle position slightly to the left, and increased the stitch length - I have used a varigated thread for this too, which gives a nice effect. I put a few pins in to hold the edges together, moving the swivel clip along as I sewed.....  .....once I had sewed along both edges, I sewed in the loose threads and then I sewed a few stitches to keep the swivel clip in place. These swivel clips are really useful - I normally get mine from U-handbag - along with all my other bag-making accessories. I have made a similar attachment with a swivel clip on the end that I sew into tote bags, for attaching my car keys on when I'm out shopping (that was a top tip from my friend Hanne!).....  .....drum roll please - here is the finished result!! What do you think?This swivel clip comes attached to a handy key ring too, which is really useful so you can add keys and other bits-and-bobs to it - it's also handy for attaching a small pair of scissors when you're sewing so you don't lose them!!
5 Comments
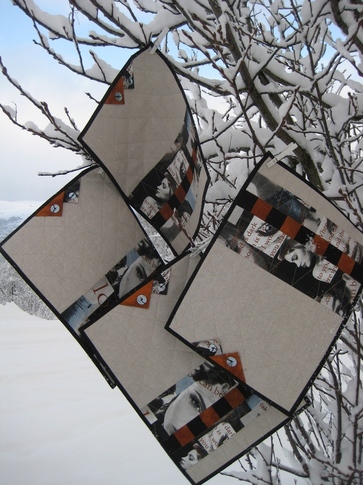 I had seen these placemats on Anne-Grethe's blog, and was inspired to make something similar, using a mixture of linen and batiks - my favourite fabrics. So this weekend I have been busy making some placemats using this pattern, "Kveldsmat" (which means "Supper") and the pattern is from the latest issue of "myQuilt" 1/2012. As you know, I don't actually speak Norwegian - so I had to study the diagrams very carefully..... 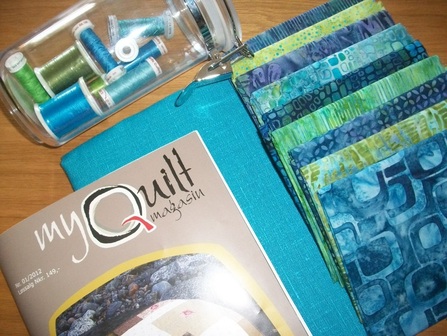 .....last year when I stayed with Eva and Hanne in Norway, I bought this beautiful piece of turquoise linen from Hanne's shop, Lappedilla, and then I bought this selection of batiks when I went to the Festival of Quilts last summer. I thought this combination of fabrics would be perfect for this project... 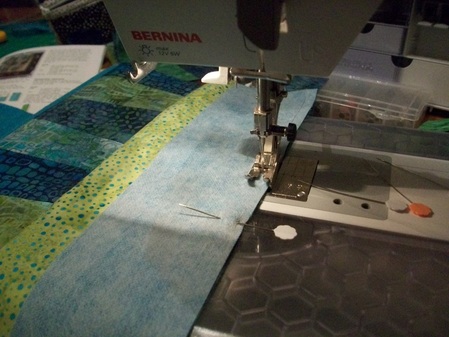 .....linen can be a bit tricky to cut as it can slide around on your cutting board, and Hanne had given me a top tip - to iron a soft fusible vilene to the wrong side of the linen, to make it easier to both cut and sew. I used some vilene H180 that I normally use for stitchery..... 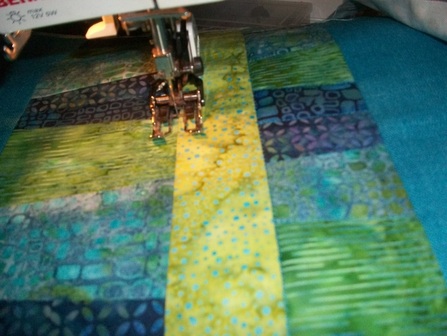 .....I quilted these placemats very simply, with a cross-hatch pattern on the linen and "stitch-in-the-ditch" around the batik pieces..... 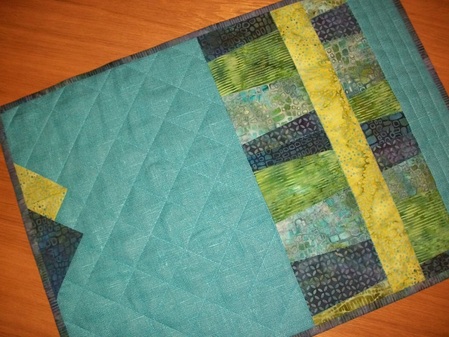 .....then these placemats were finished off with a couple of prarie points, and I used a striped batik for a single-fold binding. I have made 4 of these placemats, and have enough batiks and linen leftover to make a runner for a table too. Now woul these look good on your table when you're having coffee and cake?? Or afternoon tea? 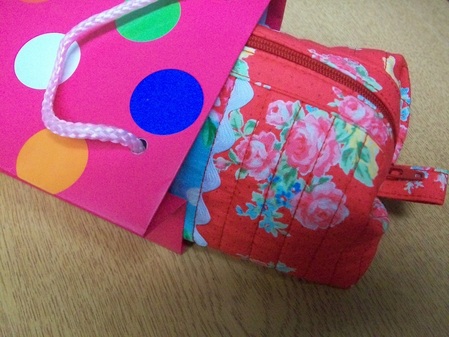 Last night I went along to the Quilt Group at my local quilt shop, and was very busy making a gift for my friend Paula as it is her birthday today. I decided to use this gorgeous fabric, Flower Sugar II by Lecien, that I had bought from Fancy Moon, an online fabric store. Can you guess what I was busy sewing?..... 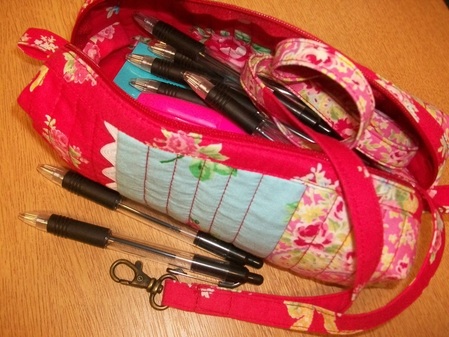 .....a rather funky looking pencil case with a matching lanyard. I'd craftily filled the pencil case with all sorts of useful office stuff for her - highlighter pens, post-its and biros - and Paula was thrilled with it! Oh look another Block of the Month (BOM) quilt - this one is aptly called Truly Scrumptious and is a Cinderberry Stitches design, which features a mixture of both piecing and embroidery. This one is my favourite block - cute cupcakes with a cherry on top! This quilt was made with 2 Jelly Rolls, and the fabric range is Shangri-La, by 3 Sisters for Moda. I stitched these blocks a few years ago, back in 2008. I used DMC embroidery threads, and the colours are just beautiful. Each month I received a pattern and fabric for each block, and set myself a target to get the block made up before the next one arrived. Finally I added the borders, and yes, you've guessed it - decided it was far too big a job to quilt myself, so it was folded away until I could decide what to do with it... ...well, then along came Janette and her longarm quilting machine - and yet again she has worked wonders with this quilt. I was THRILLED when I collected it from her a few weeks ago. The pattern suggested four corner stones, bordered and placed on the diagonal, but I decided to change the design slightly and left these out - I'm really pleased with the overall effect of the cream sashing... ...and finally the binding is sewn on - I always prefer to finish this by hand, using a thread that blends with the colour of the binding. Oh and of course a little flourish in the corner to complete it. A hand embroidered label to complete it! I chose this beautiful cream paisley extra-wide fabric for the backing, and between us, Janette and me chose this all-over quilting design, called Poppies. Janette used a soft gold coloured thread for the longarm quilting. I just adore this quilting design - it really is the icing on the cake! ...and finally this beautiful quilt is finished. I left another two quilt tops with Janette when I picked this one up, so I have kept my word, and I'm keeping her very busy!
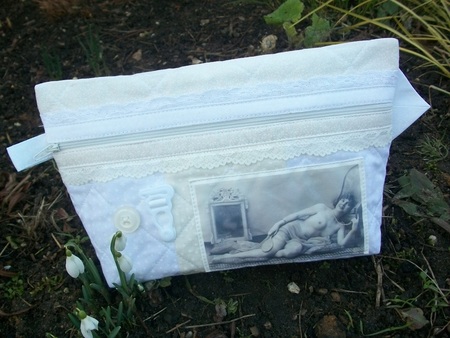 I've been inspired by AnnAKa and used a mixture of the Anna's Sminkepung pattern and the Smykketeppe that I made when I went on a course taught by Ann herself. I used a mixture of cream and white fabrics for this project, and added one of my labels inside as a little flourish. This toiletry bag is embellished with a vintage photograph that I printed onto fabric of a rather saucy lady, suspenders, buttons and an assortment of cream and white vintage lace. I have used EQ printable fabric sheets for this project, that I bought from my local quiltshop, Quilters Haven, and have got much better results than the brand I normally use. This is a "thank-you" pressie for one of my colleagues, who gave me a fabulous pair of boots - hope she'll like it!! *Blog update - just to let you know - Debbie LOVED it :) 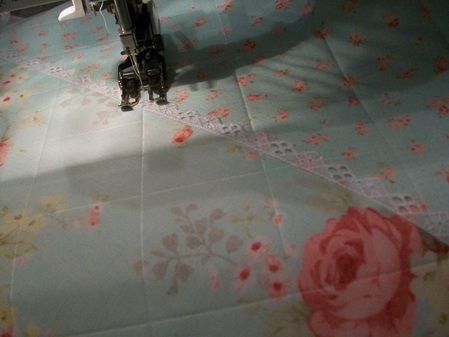 A few months ago I bought these gorgeous Lecien fabrics from Sew and So's in Bungay - and they are perfect for these toiletry bags. I trimmed this bag with some vintage cotton lace which was sewn into the seams before I quilted it. These bags don't take too long to make, so I tend to quilt these small bags in a cross-hatch design, which is ideal for a quickie..... 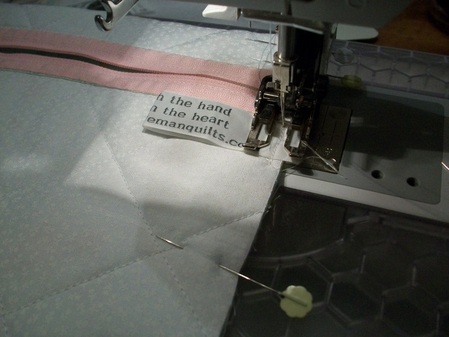 .....and added one of my labels, "made with the hand, given from the heart" which I have sewn inside to one of the side seams..... 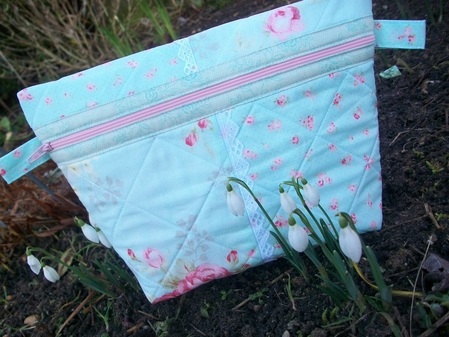 .....I used my favourite AnnAKa pattern, Anna's Sminkepung, and although I followed the instructions for the original bag, I have changed the dimensions. And yes, I took this photo this morning in my garden - although the lawn was frosty, the sun was shining and these looked beautiful..... 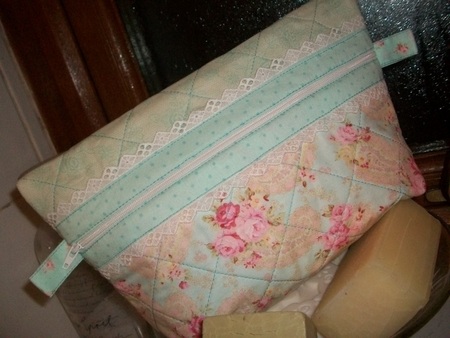 .....I completely changed the layout of this bag, but still followed the pattern for the construction. It looks completely different to the original design! This one was trimmed with the same vintage cotton lace, only I decided to use it along both edges of the zipper binding. 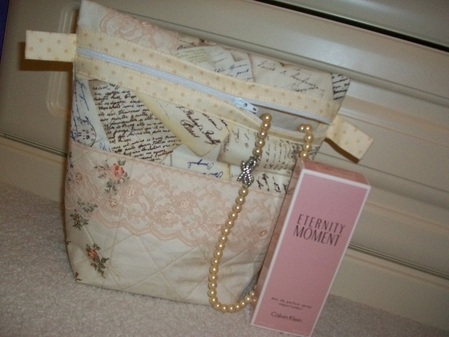 This month I was very organised for FNSI and had the fabric and trimmings for this project already prepared!! I managed to get the quilting done on this toiltry bag, and sewed on the lace trimming and sewed the zipper into place before it was time for bed. I was able to finish it off this afternoon - does Saturday Afternoon Sew-In count?? 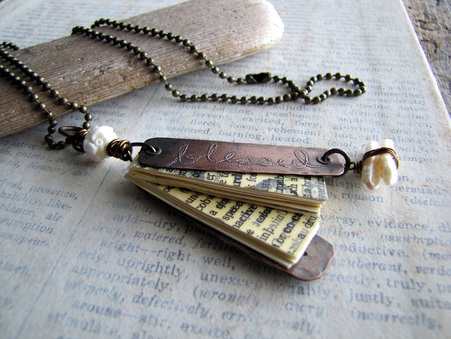 Yes, you guessed it, I've been shopping for jewelry again at my favourite Etsy store - Amanda Davie. When I saw this "Blessed" etched copper necklace, I just knew it would be perfect for me..... 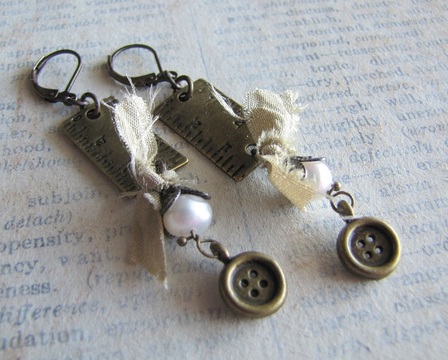 .....and these earrings, called "In Stitches" were also irresistable to a stitching gal like myself. They are drop earrings with freshwater pearl accents, bits of sari silk, and antique bronze findings..... 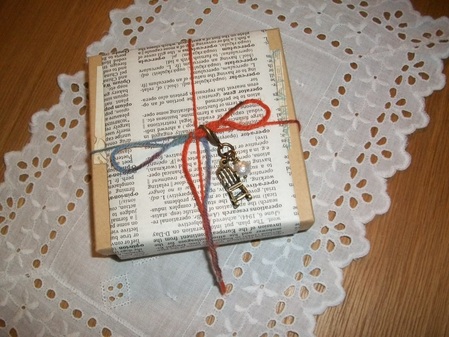 .....and yet again, when this parcel arrived it was beautifully packaged - this time Amanda had tied it up with one of her beautiful charms - a cute rocking chair charm with a lobster claw clasp that I can attach to the "Keeping Sacred Time" necklace that I bought from her a couple of weeks ago..... 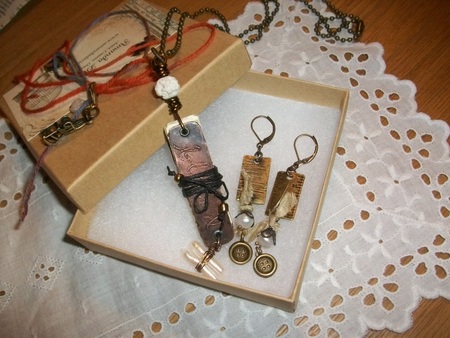 .....this necklace is so unusual - and I loved the "blessed" engraving. I really like these vintage bits and bobs that Amanda uses. Can't wait to wear this necklace when I meet up with a friend for afternoon tea next week! Maybe I should have an Etsy store for my bags?  Friday 17th February is Friday Night Sew-In. Sign up over here and get your projects ready!! I did - I'm number 79! I've got my projects all ready - have you?? The Friday Night Sew-In is a virtual get together hosted by Heidi and her cousin Bobbi (aka Crafty Vegas Mom). They try to schedule the FNSI the 3rd Friday of each month. Here are the participation guidelines. 1. When the sign-ups are posted - add your name to the list with a link to your blog. 2. Make a post on your blog - letting all your readers know about the sew-in. Spread the word.. they could all use the virtual sewing support and encouragement. 3. On the night of the FNSI - Get your house settled, put on your comfy jammies..maybe make a cup of tea or pour a glass of wine.. and sit down to work on some of those projects. 4. Then, sometime on Saturday - publish a post about that you worked on.. show them a picture or two on Flickr. There is a FNSI group on Flickr if you haven't already joined. Totally optional. The name of the Flickr group is FNSI. Each month they giveaway something awesome to one lucky participant.. some times they select 2 people. 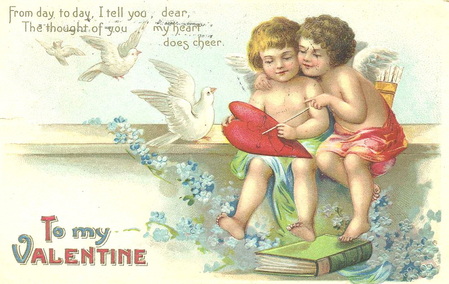 As it is Valentine's Day, I thought I would share a picture of a quilt made with hearts..... 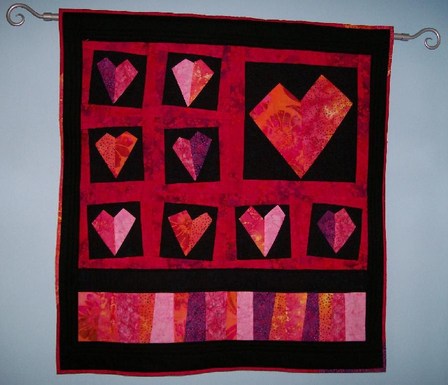 .....about 5 years ago I went on a class at Quilters Haven called "Stargazy Heartz" - this was based on a pattern by Jan Mullen. I went along with my daughter, Alice, who was just 13 years old at the time..... 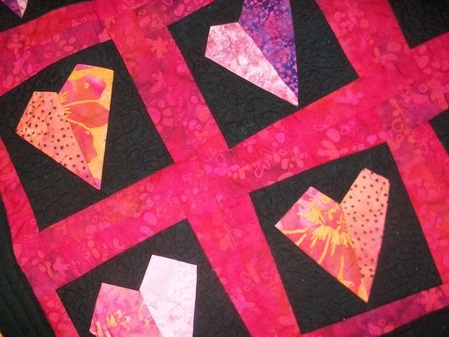 .....we both made some blocks in different sizes, and decided to sew them together to make a wallhanging for her room. We used my favourite fabrics, batiks, and her favourite colours at the time which was pinks. These vibrant colours are really hot and spicey.... 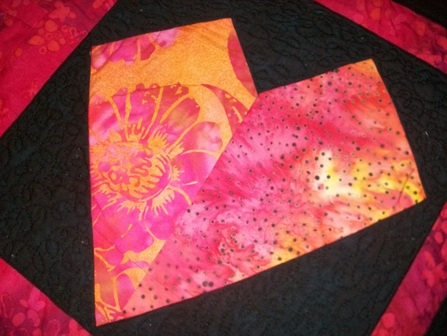 .....this was a great class and it was so nice to do a class with my daughter - she got hooked on stitching, and went on to become the Saturday girl at Quilters Haven for a few years, and chose textiles as an option for both GCSE and A-level at school..... 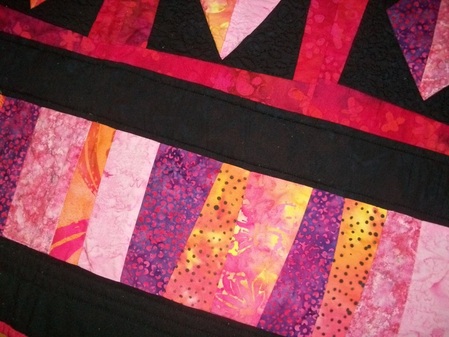 .....this was my very first attempt at free mothion quilting - I stitched around the outline of each heart "stitch-in-the-ditch" and then did lots of "wiggely-woo" curls and squirls - and finished the borders with some straight rows of quilting. Binding in batik was the ideal finish for this wall-hanging.. We both loved the finished project. |
About me...Hi - welcome to my quilting blog! My passions are my family, my dog, my friends and sewing, not necessarily in that order! Archives
July 2023
Blogs I followUK shopsThese are the UK shops that I use to purchase my quilting supplies - fabrics and threads etc.
Australian linksScandinavian links |