|
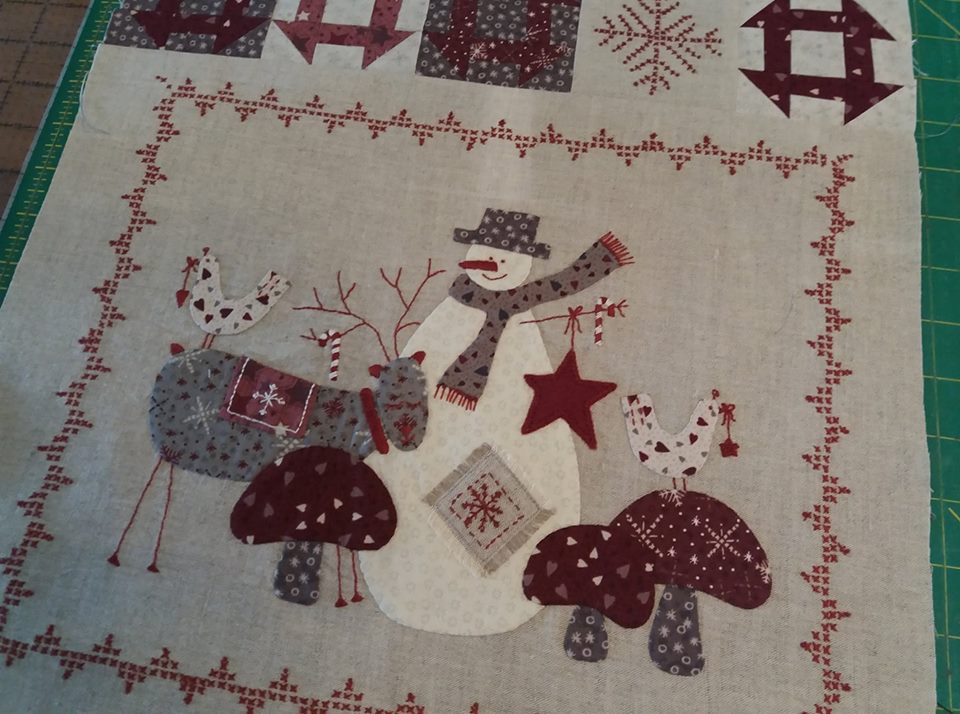
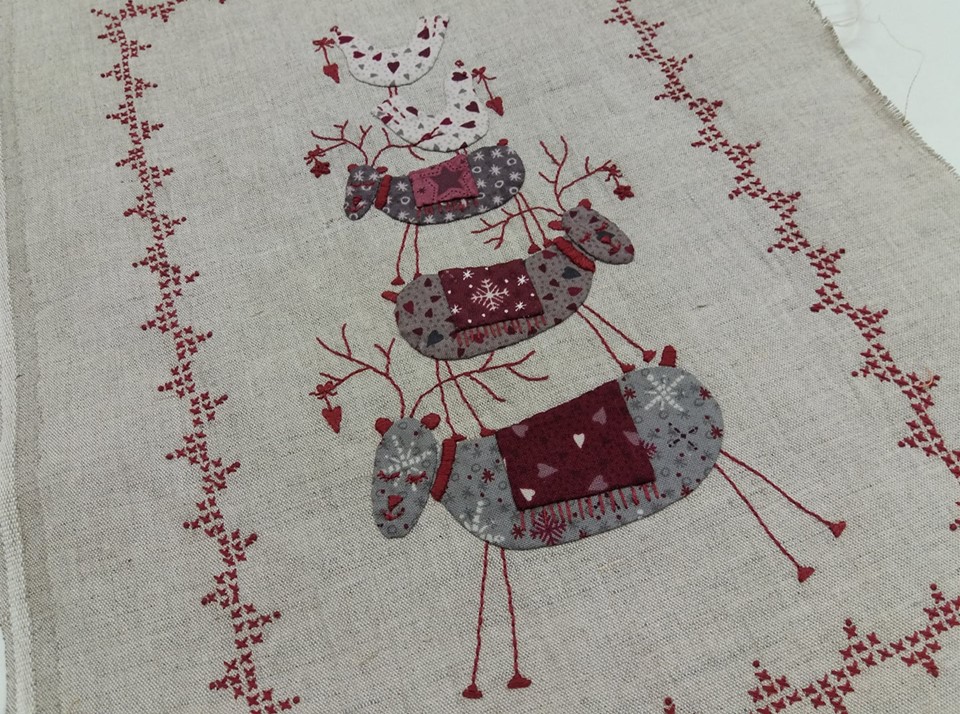
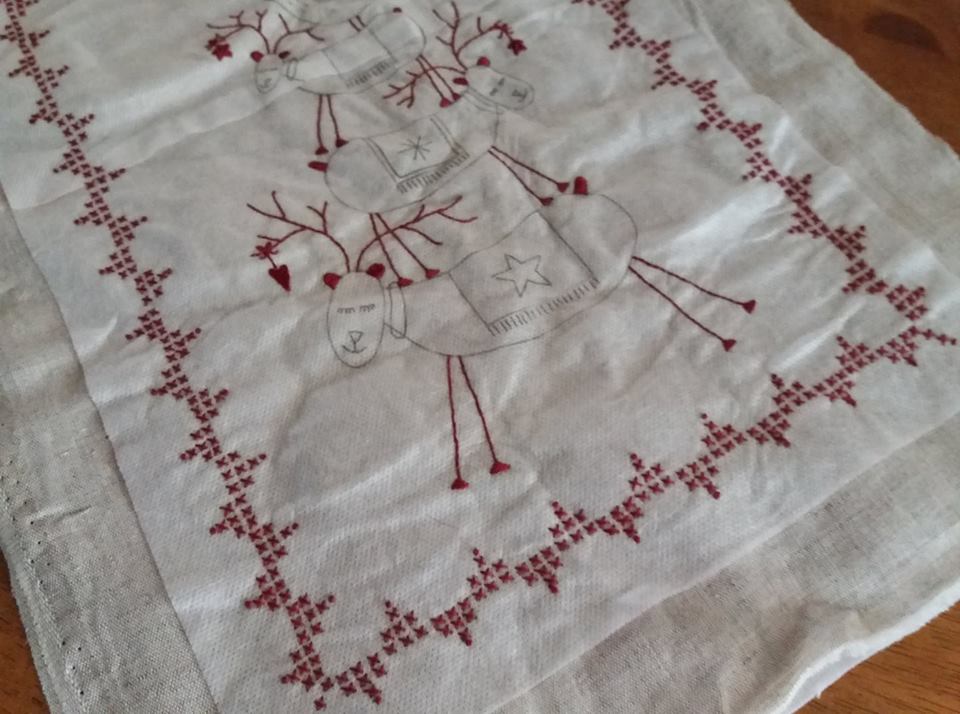
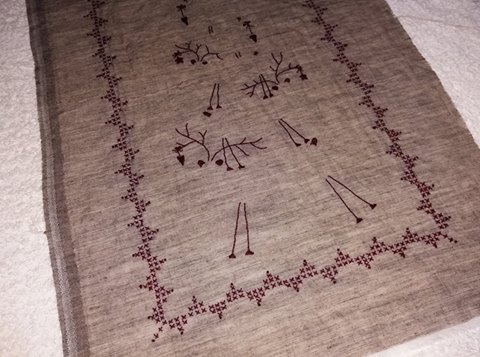
Block 2 "Winter Friends" of Scandinavian Christmas has been completed! This is a quilt pattern by Lynette Anderson Designs, and has been made with some Norwegian linen and a selection of festive fabrics from Lynette's newest collection "Frosty Friends". Hand embroidered with DMC threads and hand appliqued. Loving these fabrics combined with the linen - this has given me lots of ideas for future projects!
0 Comments
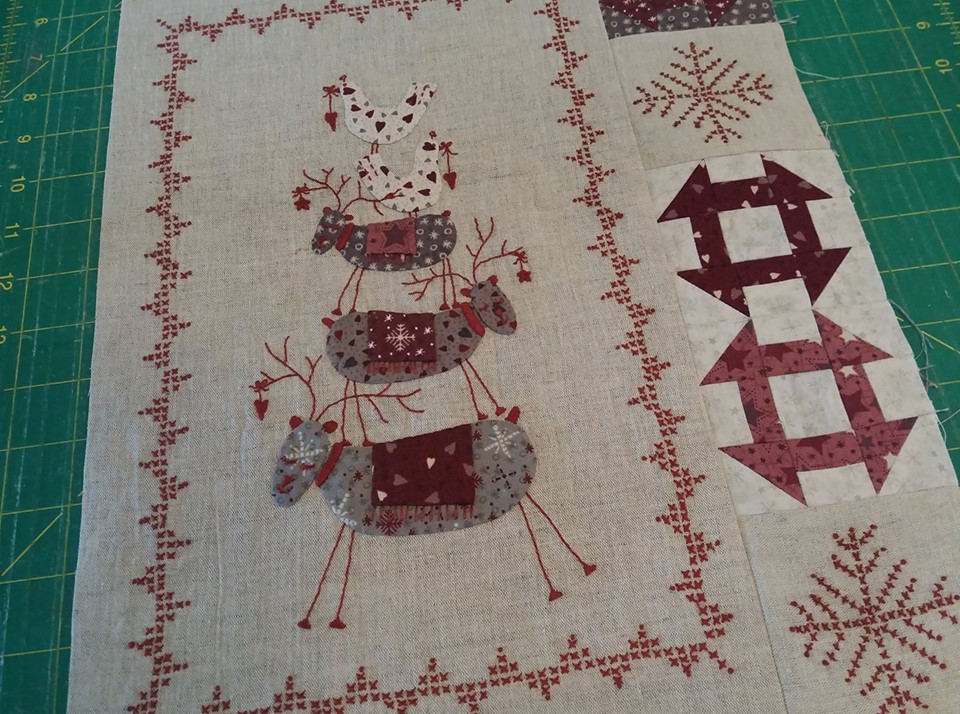
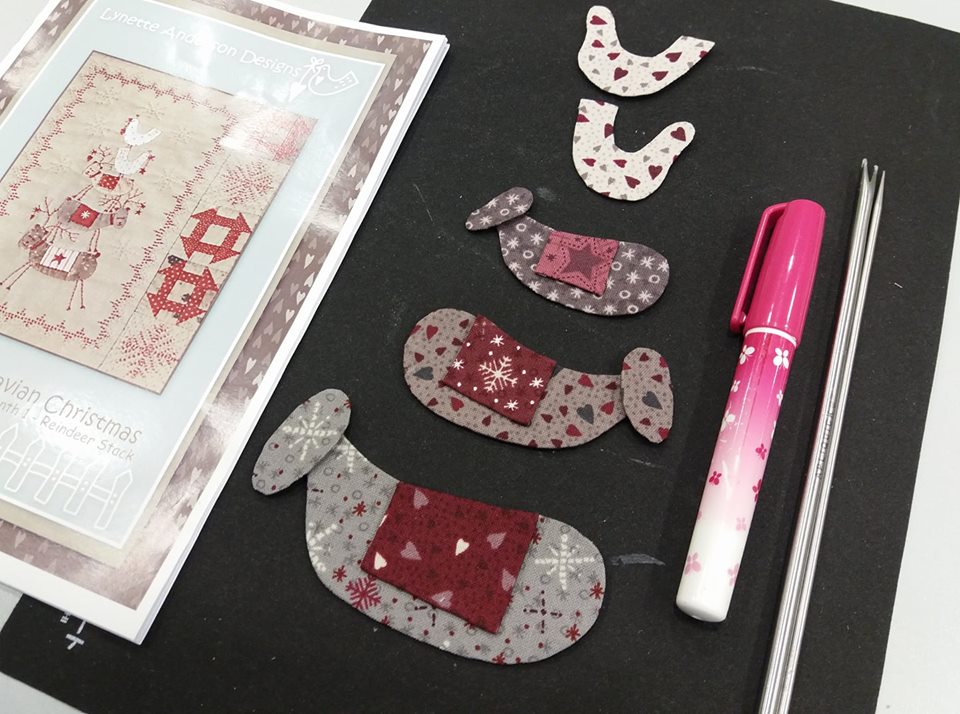
Block 1 "Reindeer Stack" is completed! It didn't take very long to machine piece the smaller blocks together and join them to the side of the main block (The benefits of planning ahead and making all the small blocks at the same time). This pattern is "Scandinavian Christmas" by Lynette Anderson Designs and has been machine pieced with Aurifil 50wt thread, hand embroidered using DMC threads and hand appliqued using the applique paper and glue stick method with apliquick tools. Fabrics are a selection from Lynette's new festive collection "Frosty Friends" and have been teamed with a beautiful piece of linen that I bought from Norway when I was there on holiday a few years ago.
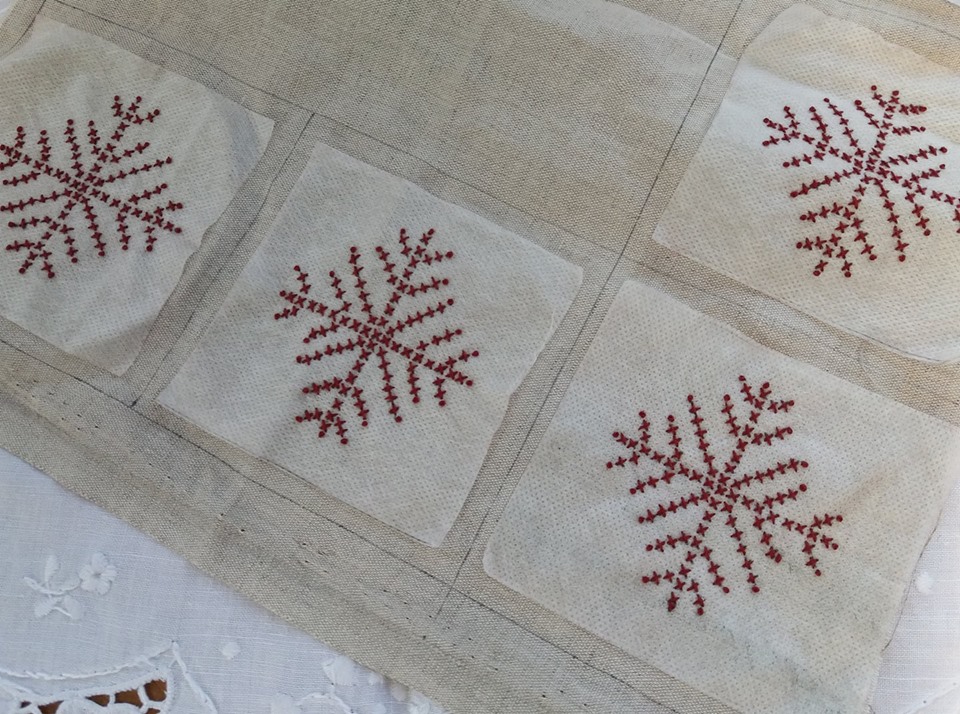
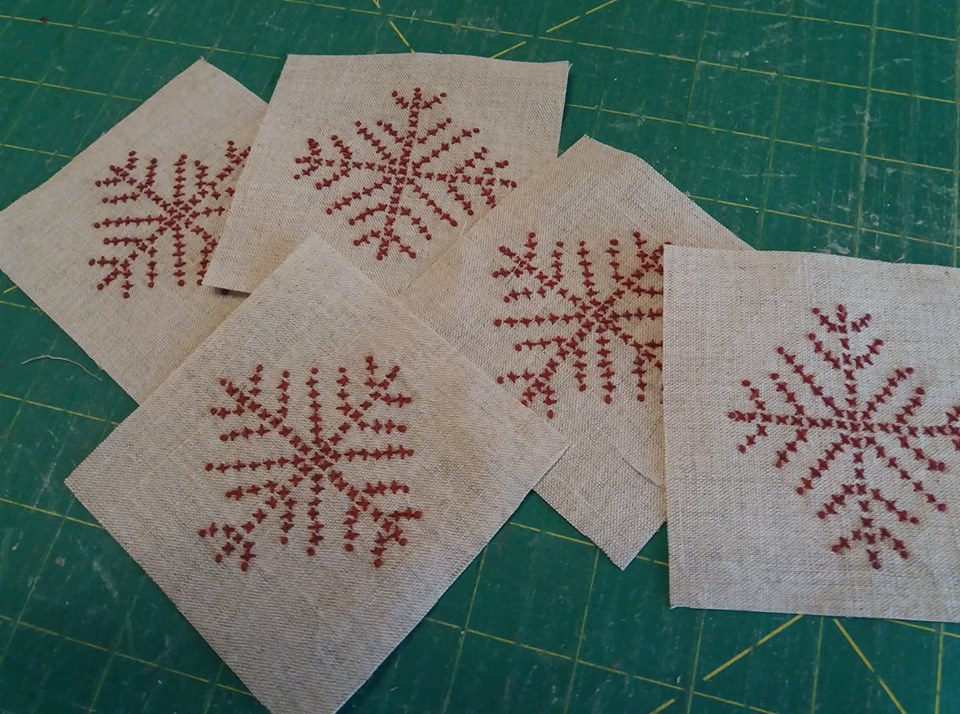
These are a few of the embroidered snowflake blocks for Scandinavian Christmas (pattern by Lynette Anderson Designs). I thought it would be easier to work with a larger piece of linen rather than cut smaller squares. I'm using "Sticky Fabri-Solvy" - this is a dissolvable stabiliser that the snowflake design has been photocopied onto. The backing paper is removed, and the stabilizer is pressed into place. Once all the embroidery has been completed, this piece of linen will be rinsed in warm water, and the stabiliser simply dissolves. When it's dry, the individual squares can be cut to size. The embroidered snowflake blocks have been trimmed to size and are ready to be machine pieced together with the churn dash blocks that I'd made last weekend. I might even get the first complete block finished!
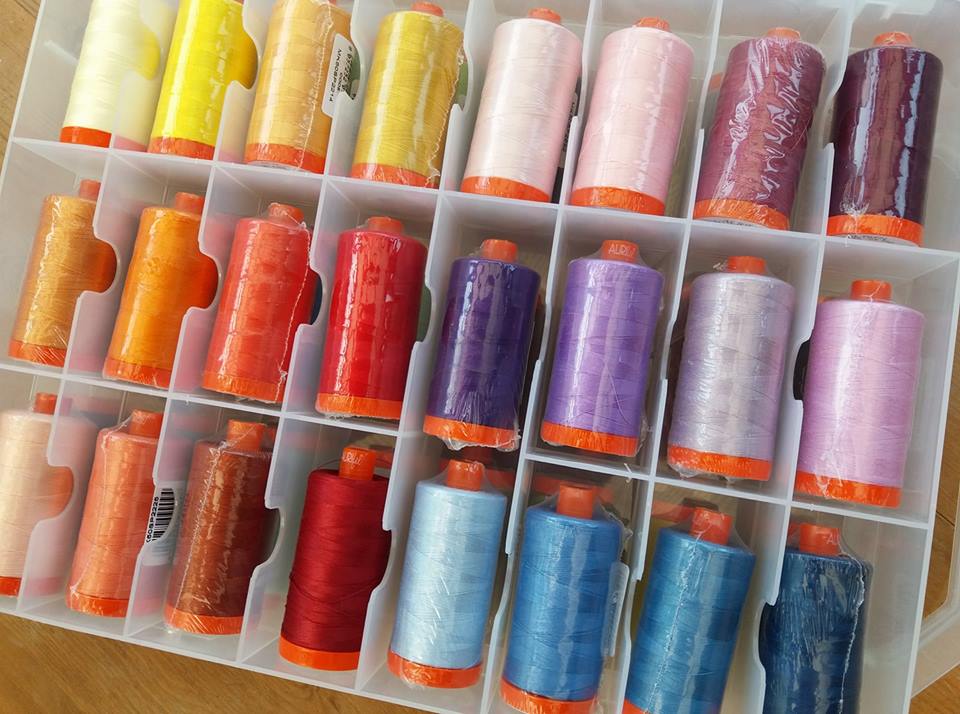
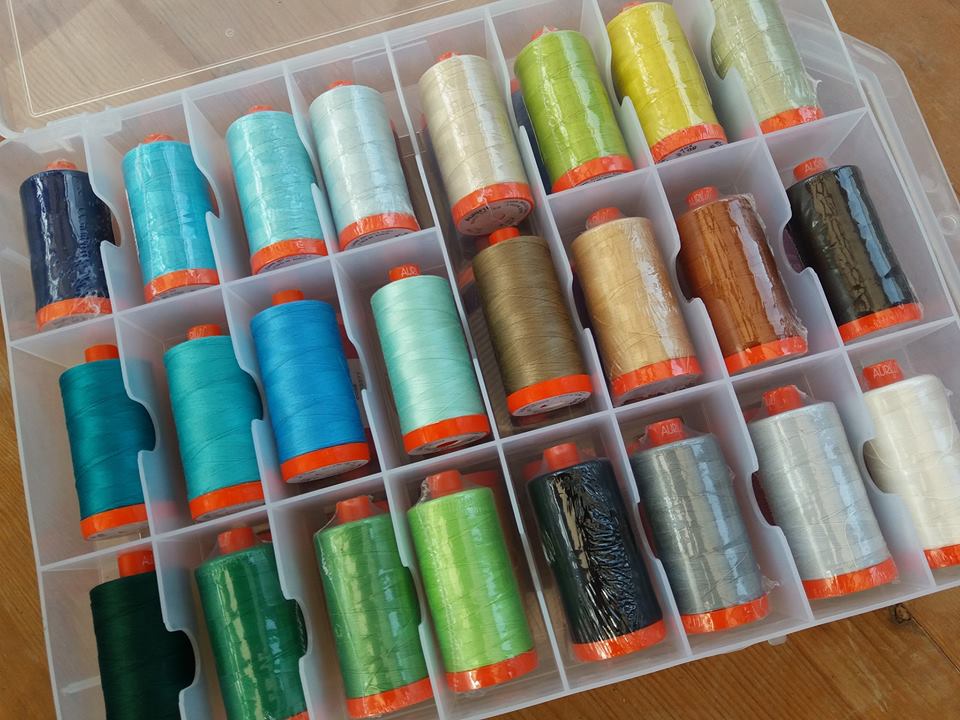
12 months ago I took part in an amazing thread club, arranged by Sew Hot, here in the UK. The first 6 months of the Aurifil 50wt thread club from Sew Hot resulted in these 24 spools of thread that are nestling in my thread box like jewels. Aurifil thread is amazing to sew with... ...and here are months 7-12 of the thread club. These threads really are divine! Aurifil 50wty thread is perfect for machine piecing, machine applique and machine quilting.
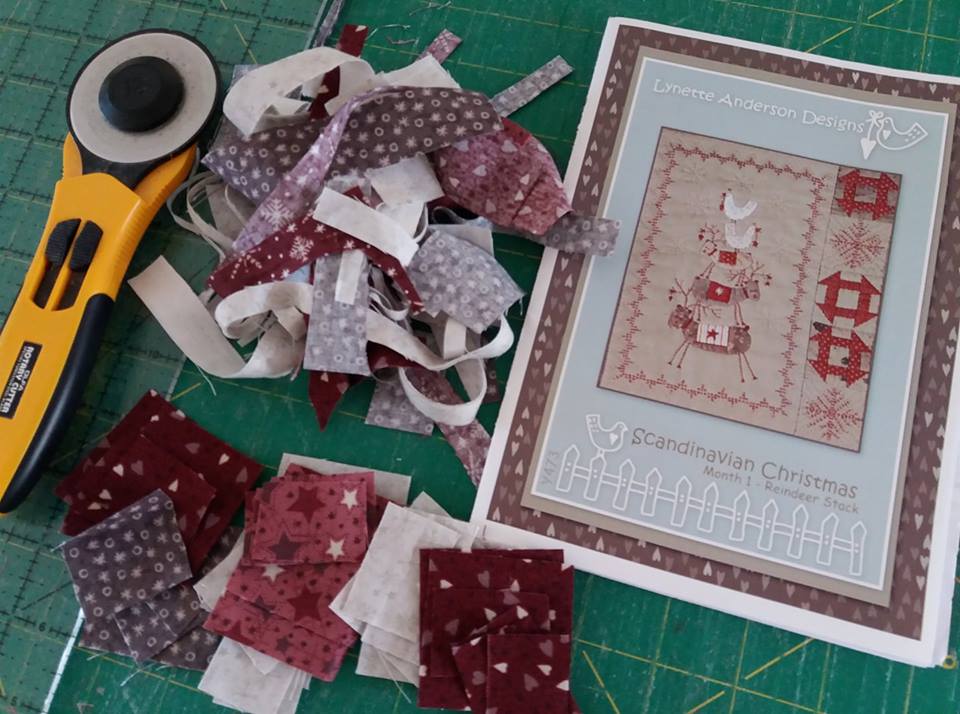
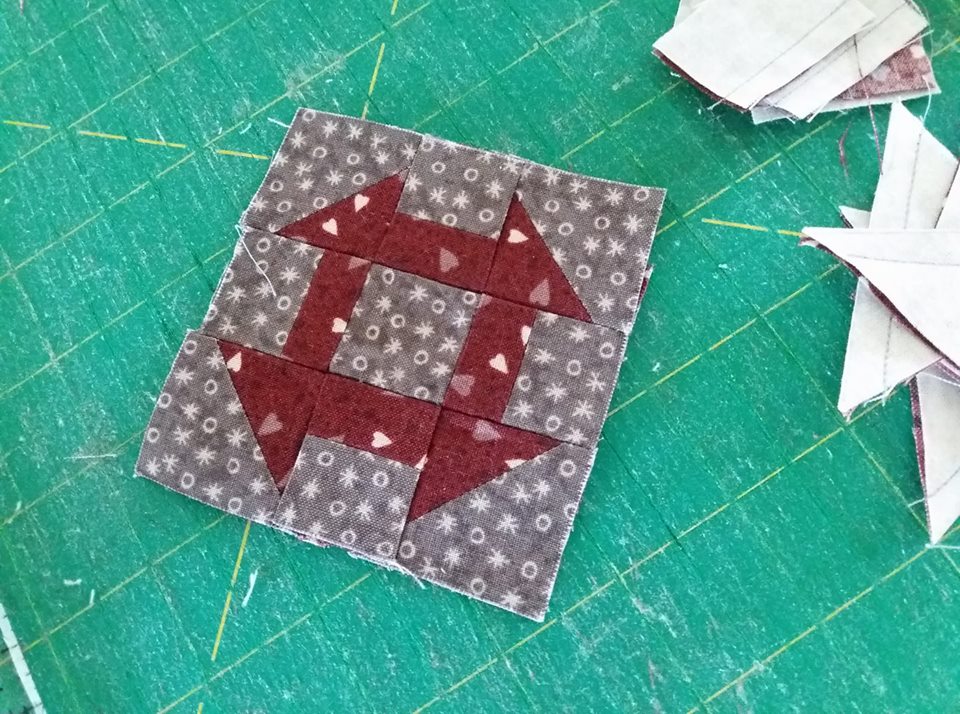
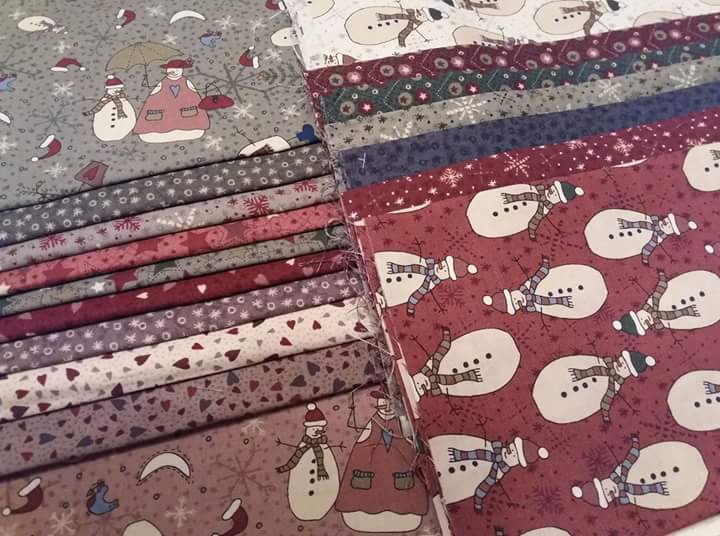
Saturday morning was very productive at Foreman Towers! I was busy cutting up some fabrics from the Frosty Friends collection by Lynette Anderson Designs (this is Lynette's latest festive collection of fabrics) ready to make some Churn Dash blocks for the Scandinavian Christmas quilt. These blocks are quite small (just 3" finished size) so as usual for precision piecing I'm using a straight stitch needle plate, a Microtex size 60 needle and Aurifil 50wt thread. Only 16 more blocks to make... ...and by the end of the day, I had a nice collection of blocks ready for this quilt! I thought it would be much easier making all the blocks in one session. I'm getting on well with my new Bernina 570QE sewing machine - it really does sew beautifully, as you can see from all these little blocks. I've had a very happy sewing day!
A few weeks ago, Lynette Anderson sent me a gorgeous bundle of fat eighths of her latest festive fabrics, Frosty Friends. It is perfect for this project, Scandinavian Christmas. The applique for block 1 was prepped using the applique paper and gluestick method... ...and the applique was stitched in place by hand, using Aurifil 80wt thread onto the linen background, that had already been embroidered. Once the block has been trimmed to size, the next step will be to make 3 churn dash blocks, and a couple of embroidered blocks that will be pieced together and stitched to the side.
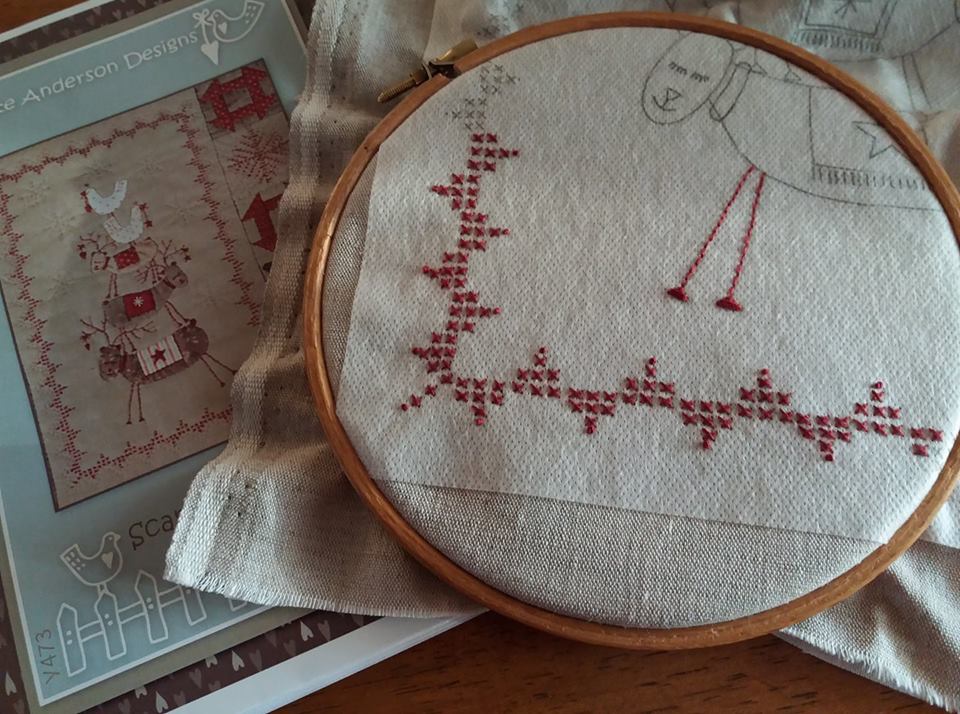
This set of patterns was bought online from Patchwork Chicks, here in the UK, just after Christmas 2016. This design is "Scandinavian Christmas" by Lynette Anderson Designs, and as is usual for Lynette's designs, it incorporates both applique and stitchery. A friend had recommended a product that was new to me - "Sticky Fabri-Solvy" by Sulky. These sheets of stabiliser can be put through an inkjet printer and a stitchery design can be photocopied on it, ready to be stitched over. The stabiliser is dissolvable, and is much quicker to use than tracing a design by hand. I'd already done a bit of a test patch to check the colour fastness of the red DMC thread. When I was happy with the test, the main design was copied, the backing paper removed and the stabiliser pressed into place on a piece of linen. I'd already fused a piece of weaveline interfacing to the back of a piece of linen, and made a start on the stitchery... ...this was the first time that I'd used "Sticky Fabri-Solvy" by Sulky (bought online from Amazon). Overall, I'm quite impressed. It's quicker than tracing the design by hand, and it's much more accurate, especially for all that cross stitch! Well, now it's time to rinse it off and see if it's worked! Drum roll please..... it worked! The block was rinsed in lukewarm water and the "Sticky Fabri-Solvy" stabiliser has completely dissolved. The block is now drying on a towel, then I'll press it on the back.
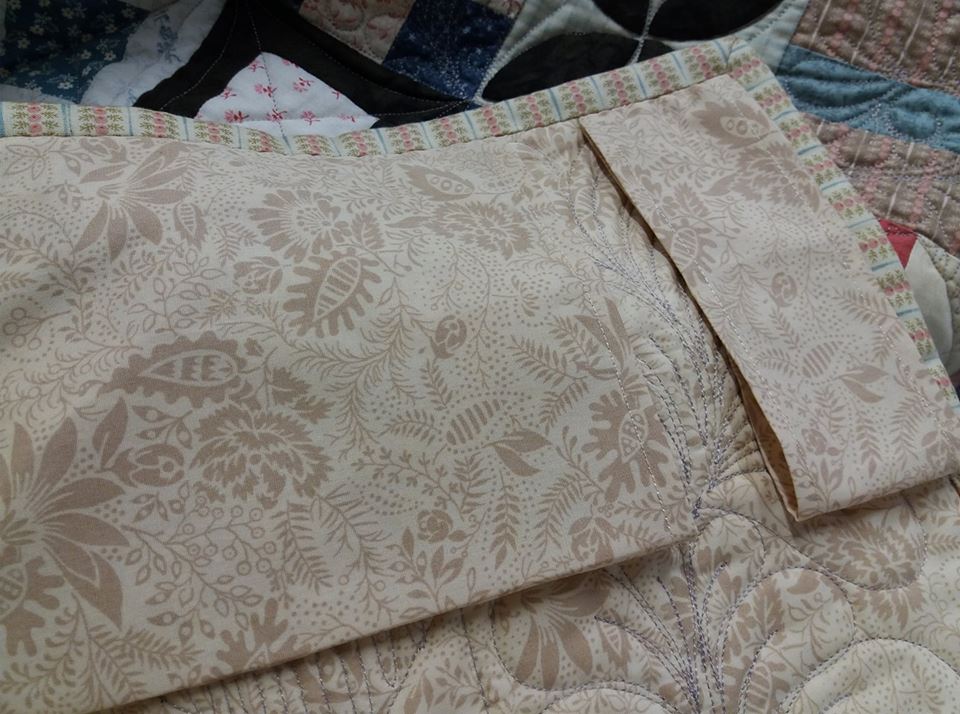
However there are a couple of things I'd do differently for the next block. 1. Use a thinner interfacing on the back of he linen... my favourite is weaveline, but it was a bit tricky stitching through so many layers. Next time I'll use a finer Vilene interfacing. 2. Stay-stitch around the edges of the Solvy stabiliser once it's in place. As I moved my embroidery hoop around this block, the edges of the stabiliser lifted up... I couldn't be bothered to get my machine set up yesterday, but 5 mins spent doing that would have saved a few hours of swearing! 3. Wear a thimble!! Stitching through the stabiliser, the linen AND the interfacing is hard work!! 4. Stitch the finer details e.g the satin stitch and colonial knots when the stabiliser has been rinsed off. This gorgeous backing fabric was supplied by J-Quilts, my longarm quilter, and the quilt sleeve was made with some of the left over fabric. I use a method for making the sleeve that was taught by Philippa Naylor, and this is hand stitched into place on the back of the quilt, taking care for the stitches not to go through to the front of the quilt. The full instructions for making the sleeve are in Philippa's book, Quilting in the Limelight. This just needs to have a bit more hand stitching to secure the sleeve in place and will be ready to hang on display in my local quilt shop, Kis Quilting Ltd in Ipswich.
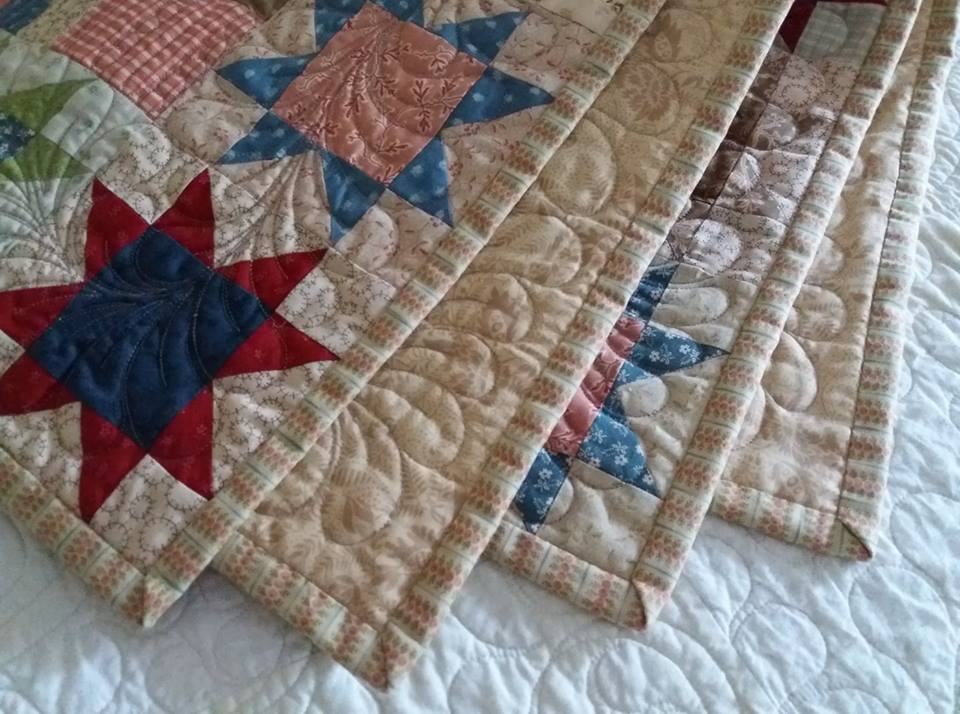
A couple of evenings spent with a needle and a spool of Aurifil 40wt thread and all 276" of the binding was hand stitched to the back of my Bluebird Lane quilt! I go to a couple of sewing groups twice a week, and it really helps me to keep on track with finishing projects! This stripey fabric is part of the Autumn Lily collection by Blackbird Designs for Moda and was included with month 10 of this BOM. Now I just need to get the quilt sleeve made ready for displaying this beauty on a wall. This pattern is by Natalie Bird of The Birdhouse Patchwork Designs, and was originally bought as a BOM from Patchwork Chicks here in the UK back in 2015.
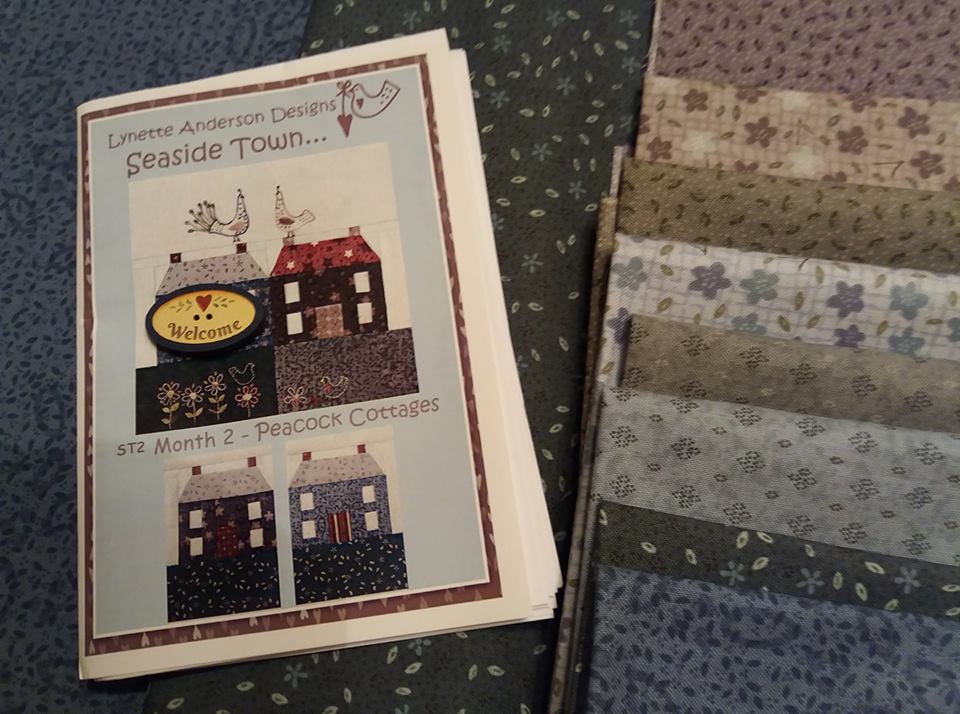
I've just had the BEST Tuesday evening. Firstly, I've spent the evening sewing at Busybee Stitching, and secondly, when I arrived home this gorgeous package was waiting for me from Cross Patch in Wales. Yes, it's Month 2 of Seaside Town by Lynette Anderson Designs. Unfortunately I haven't finished Month 1 yet!! What a shame I've got to go to work tomorrow. I could quite happily spend the morning stitching in my sewing corner!
|
About me...Hi - welcome to my quilting blog! My passions are my family, my dog, my friends and sewing, not necessarily in that order! Archives
July 2023
Blogs I followUK shopsThese are the UK shops that I use to purchase my quilting supplies - fabrics and threads etc.
Australian linksScandinavian links |



 RSS Feed

