|
Here's the gallery of my completed projects for 2014 and as you can see I've had another busy year, with bags and cushions and quilts and all sorts of stitchery and quilty stuff! If you click on the picture below, you'll see the whole slideshow of quilty goodies! I'm looking forward to another very crafty year in 2015 and I hope you'll join me!
4 Comments
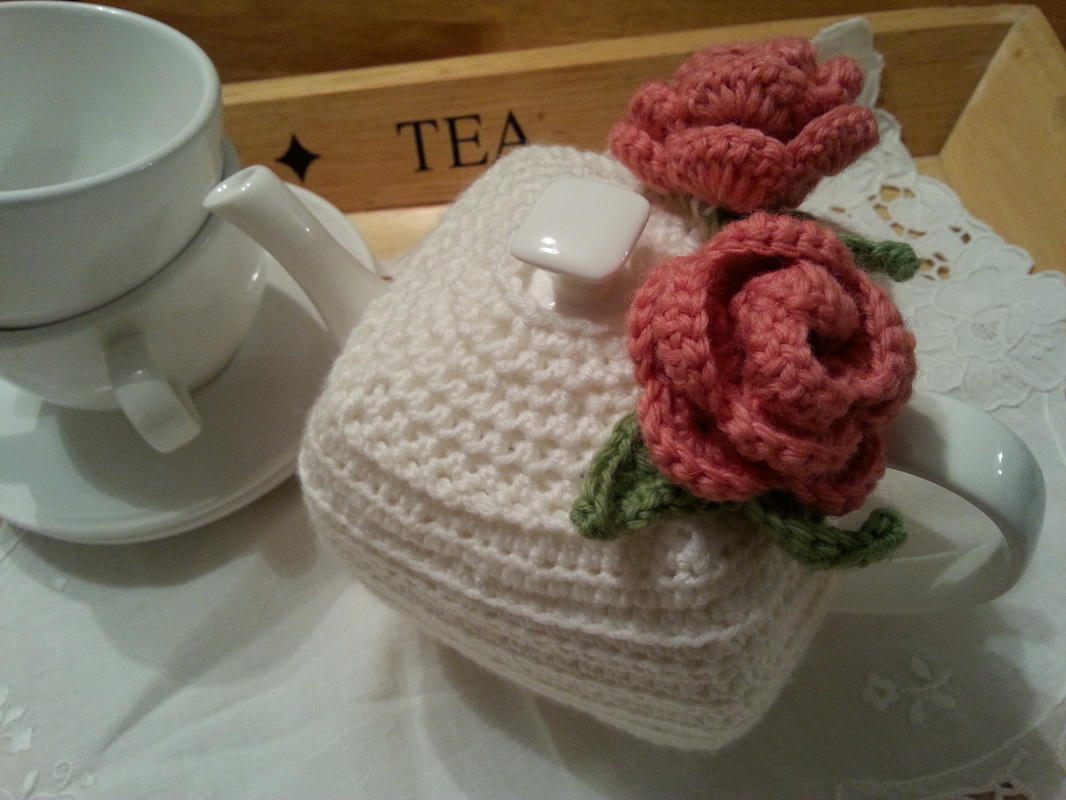
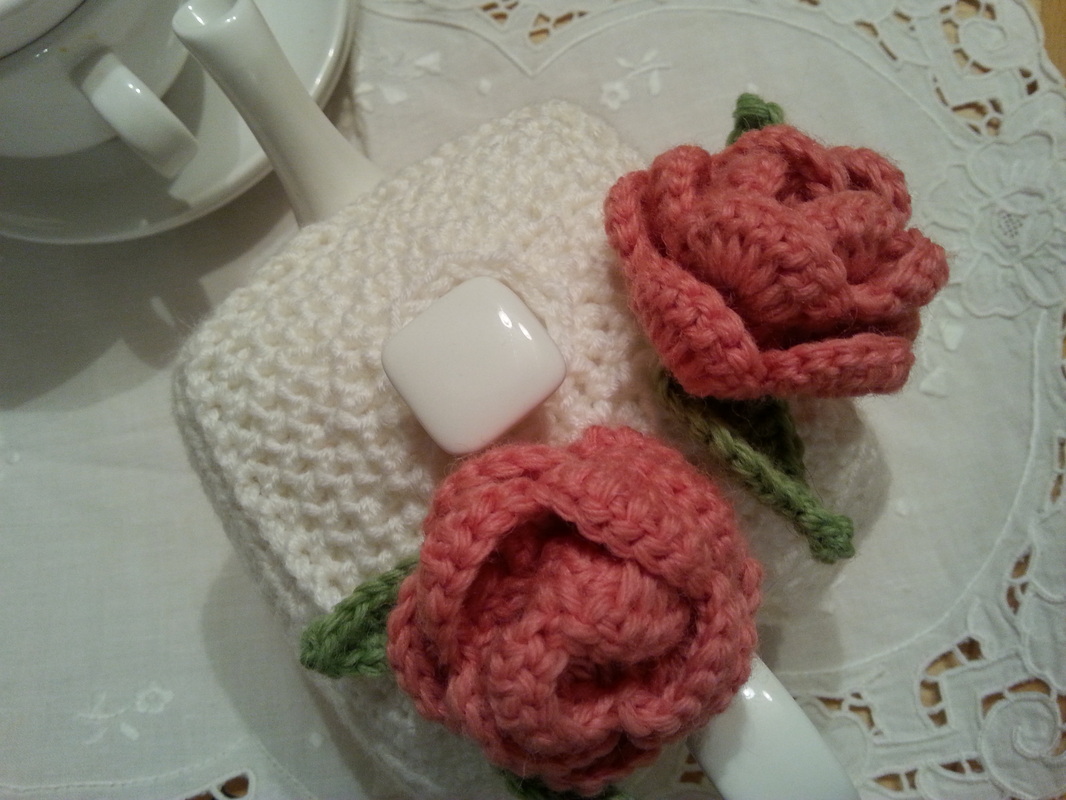
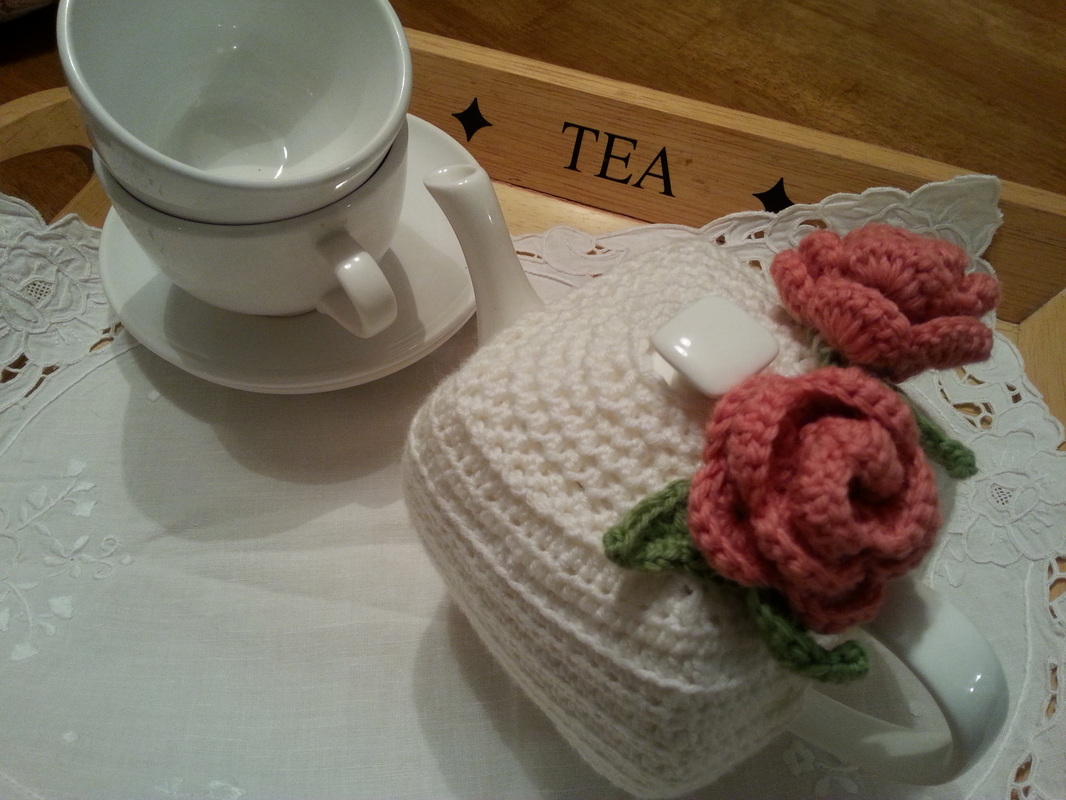
OK so it isn't quilting or sewing, and I didn't make it - but I wanted to share a picture of this pretty tea-pot cosy that my youngest daughter, Alice, made for her sister for Christmas. My eldest daughter, Beth, had seen this over here on this blog and decided it was just what she wanted for Christmas! A smart china tea-pot was purchased from House of Fraser, and then Alice set to work with her crochet hook and wool. She used DK wool for the main part of the cosy and she used tapestry wool for the flowers and leaves. Well Beth was thrilled with this, and I might have to put in an order for one myself!
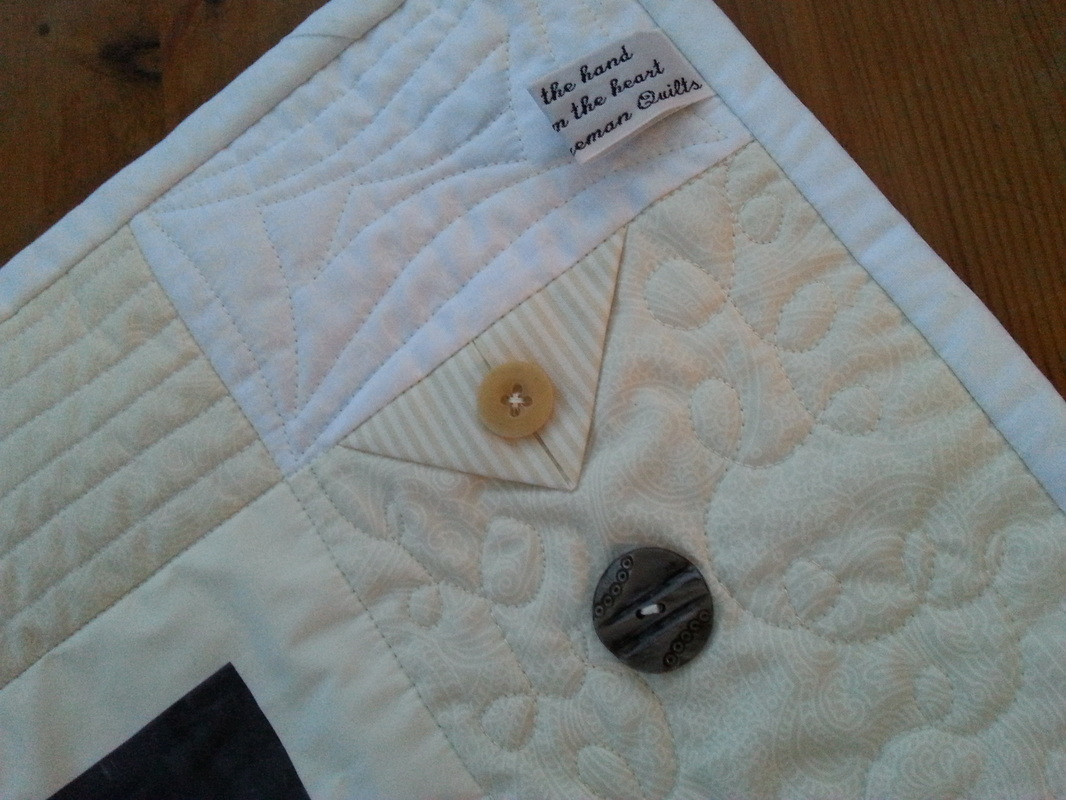
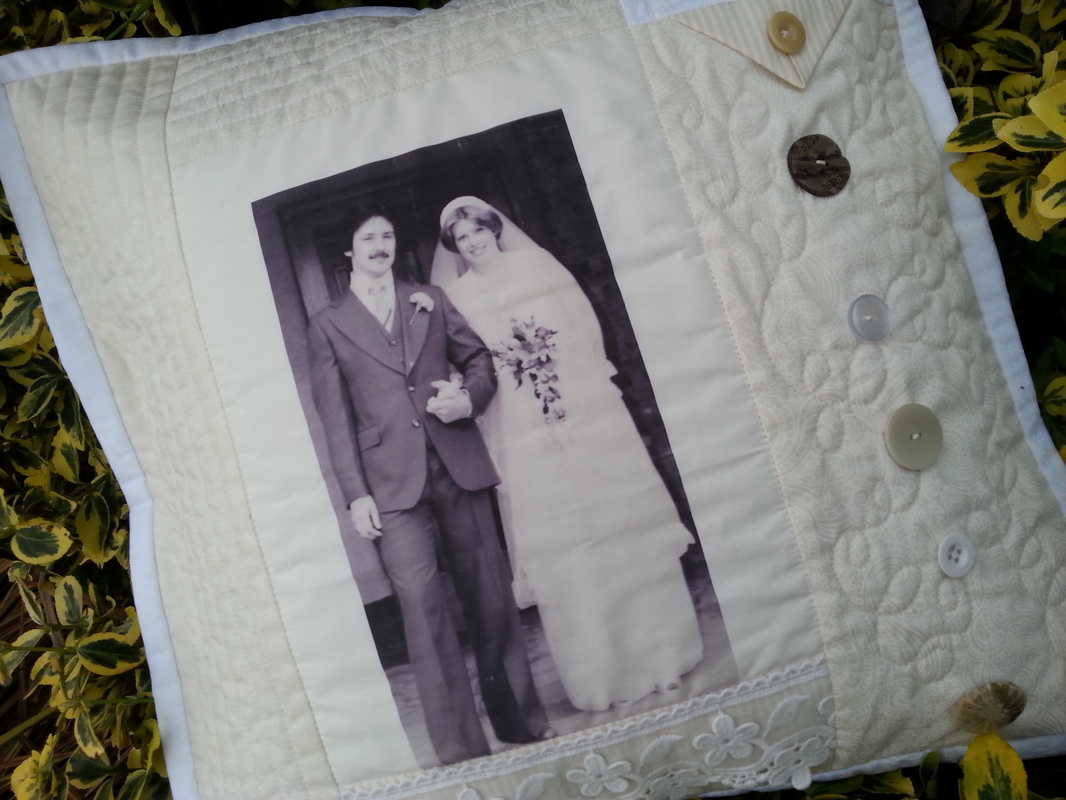
As you know I really enjoy making quilted gifts for friends and family at Christmas time, and this year was no exception. I decided to make a quilted pillow for my sister-in-law, using a photograph that I printed onto an EQ printable sheet, and added a selection of cream and white fabrics, some lace trimming and some vintage buttons (some of these were from her mother's button tin!). The pillow was quilted with Aurifil thread in a variety of designs - straight rows, angular spirals, and free motion twirls and curls. I added one of my labels on the front of this pillow, and used a wide half inch binding that was machined to the front of the pillow and hand stitched to the back... ...and here is the finished result. I used an enclosed zipper on the back, and put a plump feather pillow inside. She was really pleased with this!
Wishing a very Merry Christmas and a Happy New Year to all my friends and family and crafty followers of my blog! Thank you for all your kind comments, and I hope you'll continue reading my blog in 2015. I've got lots of new projects planned for next year, and I look forward to sharing pictures with you of my crafty exploits!
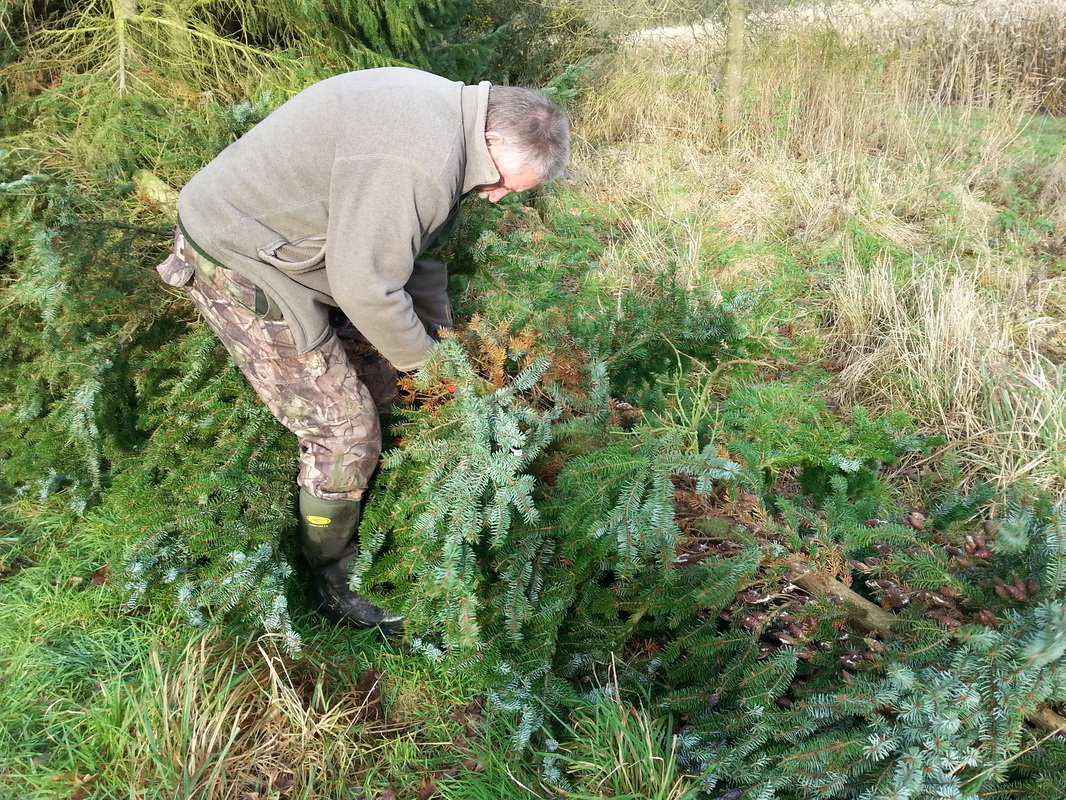
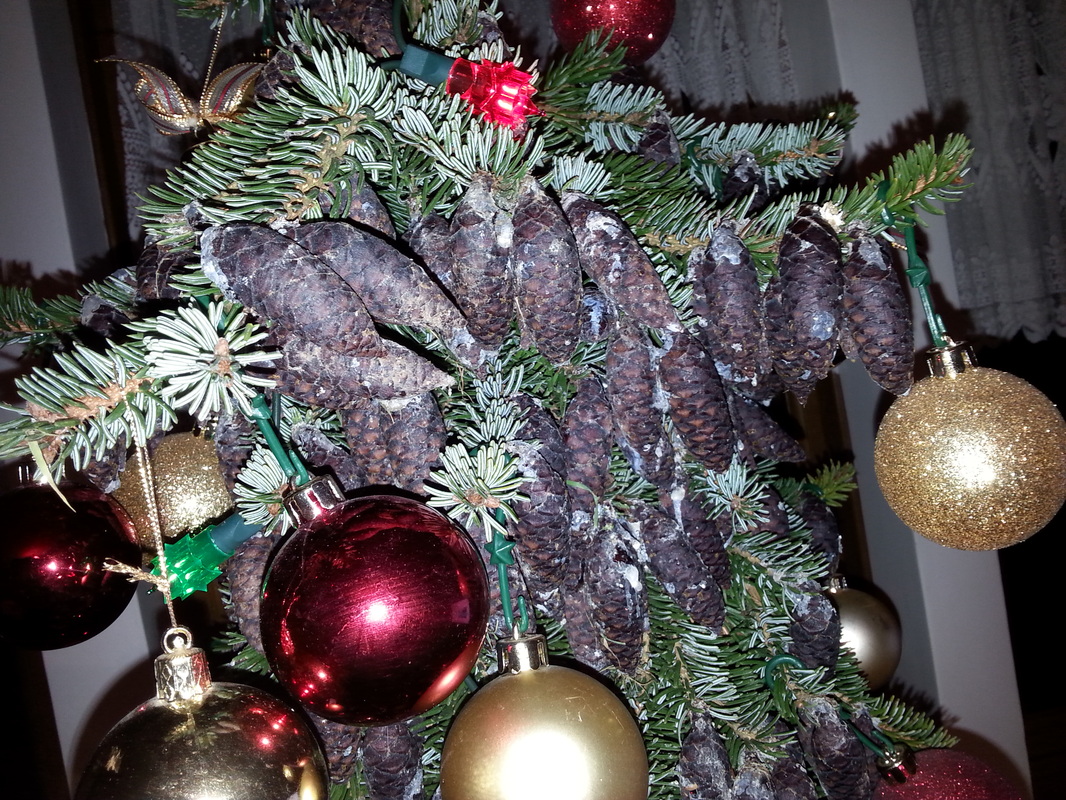
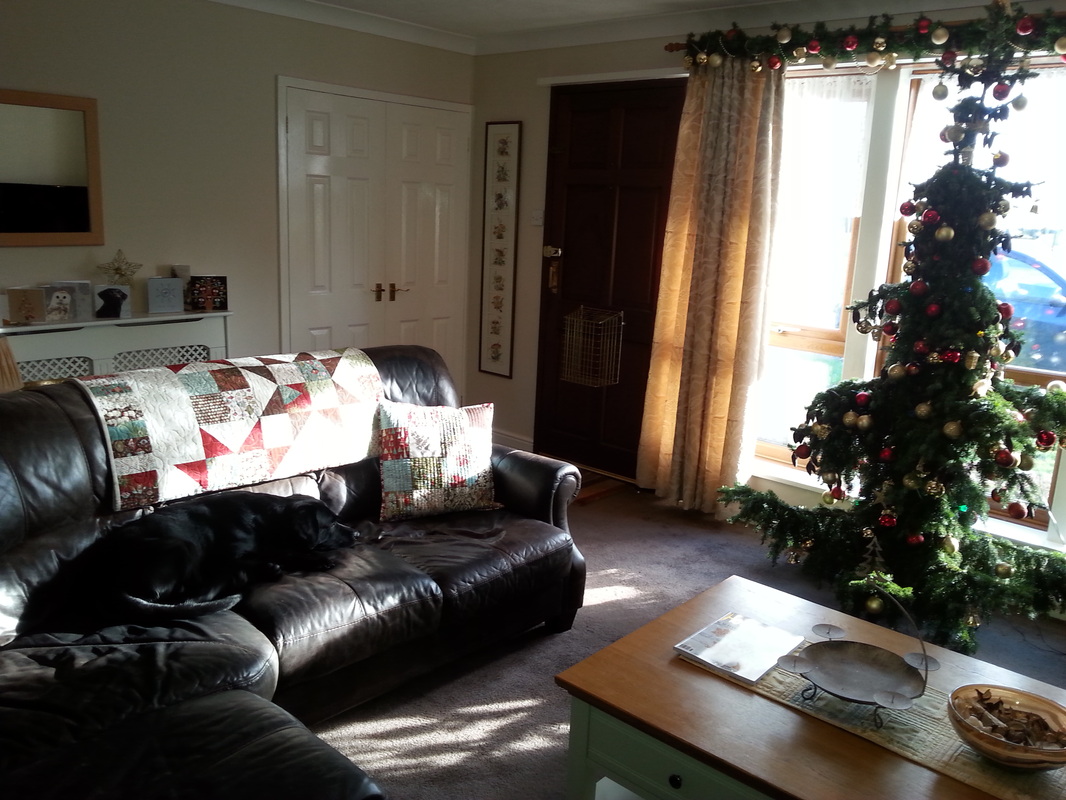
Mr F is always given the task of bringing home the perfect Christmas tree. This year he went out on a cold and frosty morning, and managed to fell a prize specimen! This one really was laden with pine cones, and it smells absolutely divine! In the evenings if you listen carefully, you can hear the pine cones popping as they're opening up in the warmth of being indoors... ...it has pride of place in the lounge, and so far Jasper (that hairy hound) has totally ignored it - he's much happier curled up on the sofa along with my Christmas quilt and my Christmas cushions!
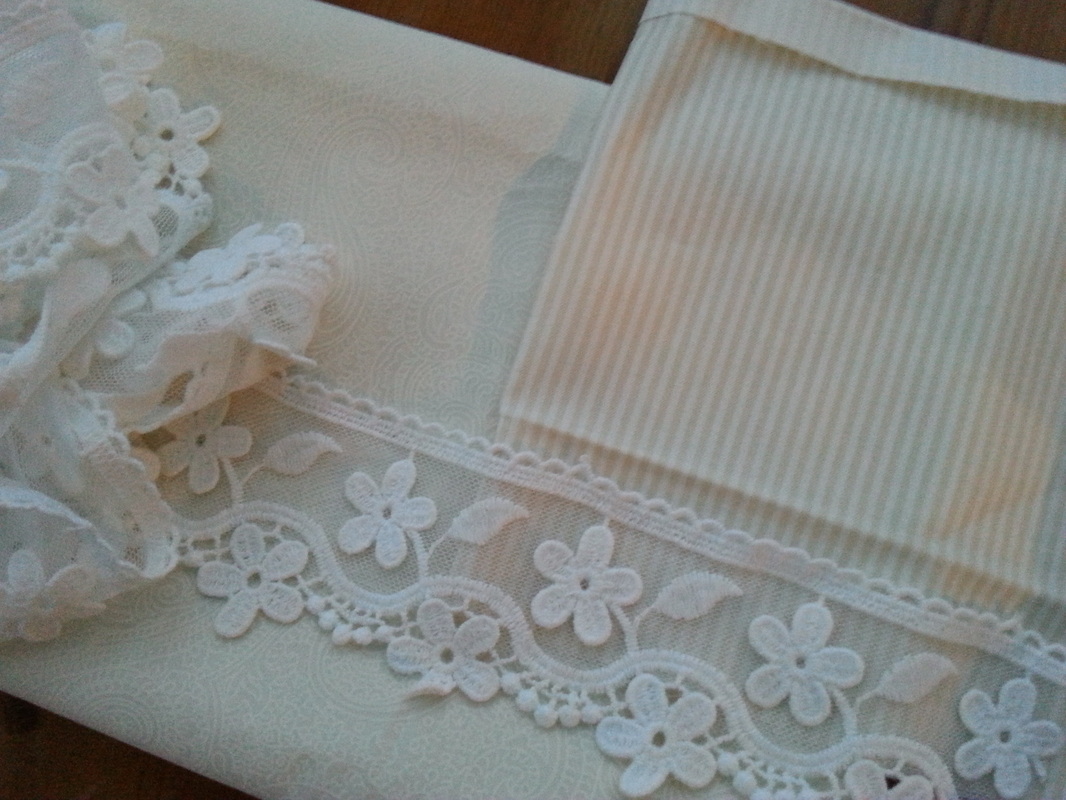
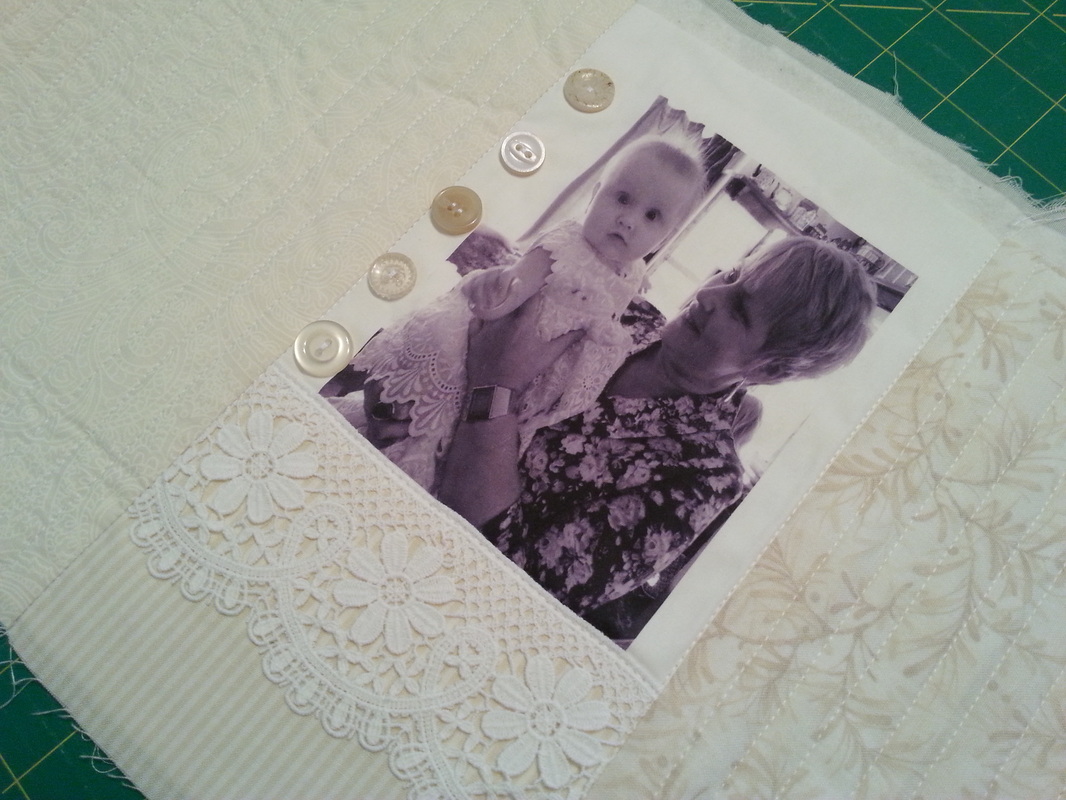
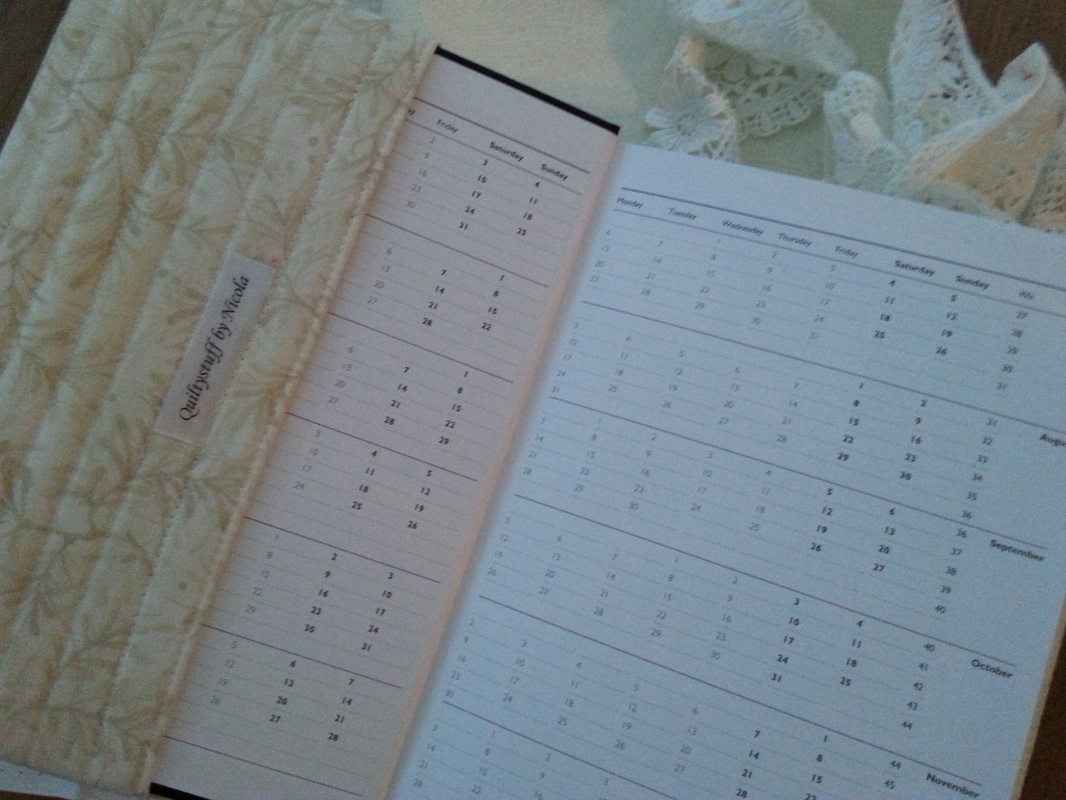
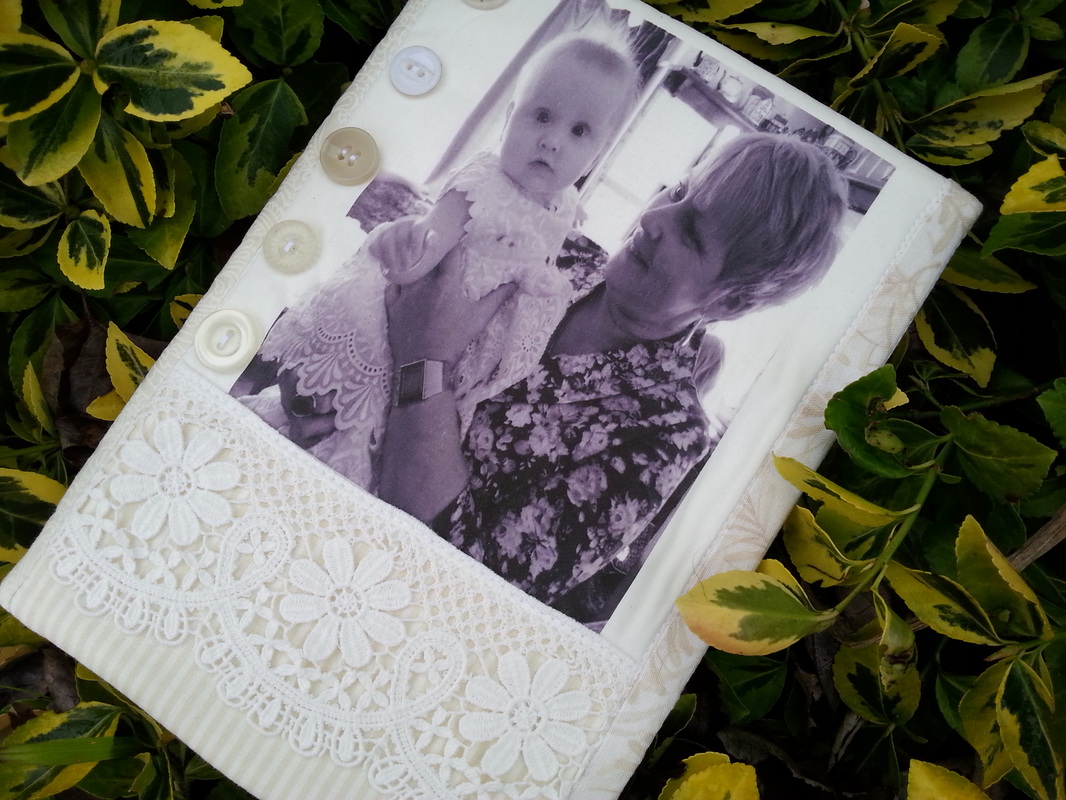
Each year we have a "Secret Santa" at work, and this year I decided to make a really unique gift for the person who's name I had picked. I knew that she's very fond of her grand daughter, so I printed a photograph onto an EQ printable sheet, added some fabrics in shades of cream and added some lace trimming and some vintage buttons. The cover is removable, so at the end of 2015 the cover can be removed and a replacement put in... ...today was the day when the gifts were shared out, and my colleague was so pleased with it! Now every time she uses her diary she'll see her gorgeous little grand-daughter.
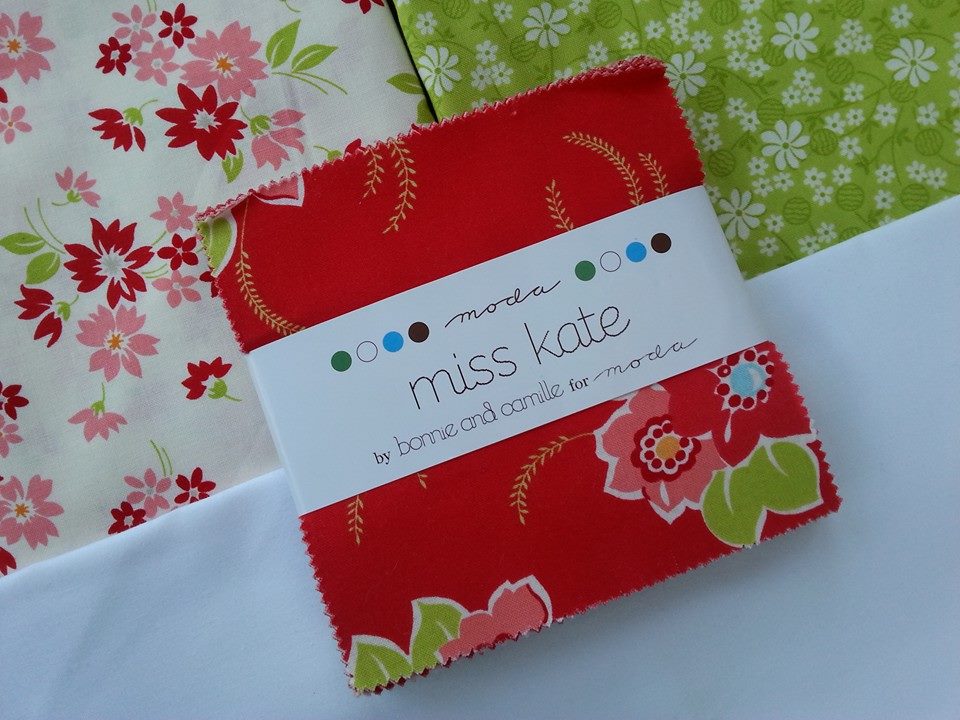
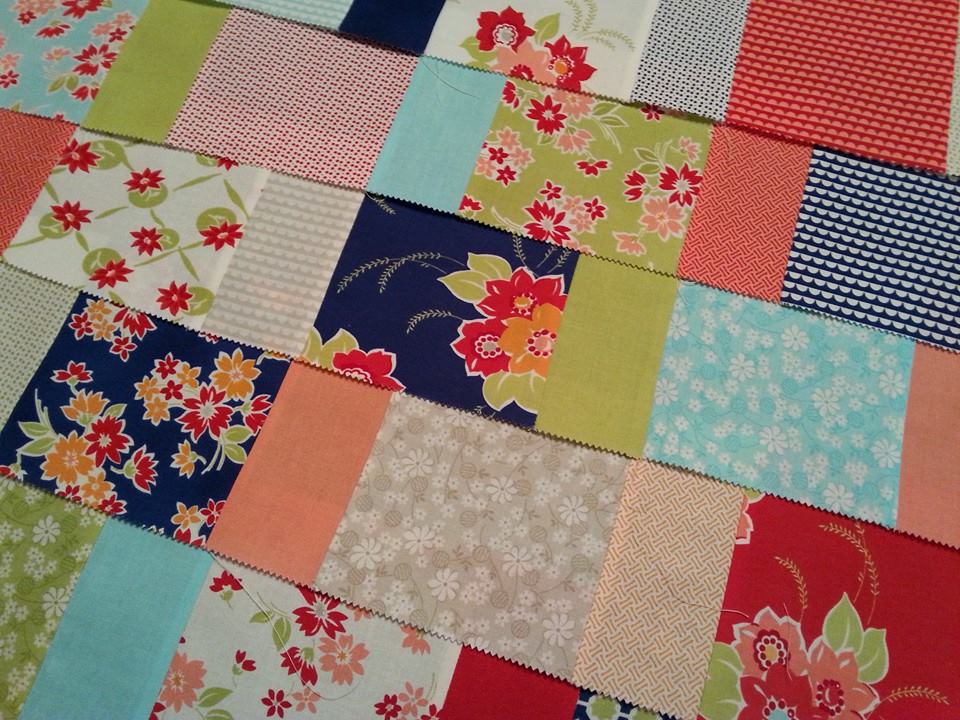
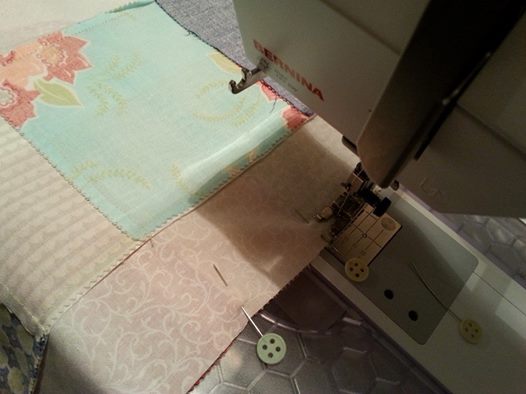
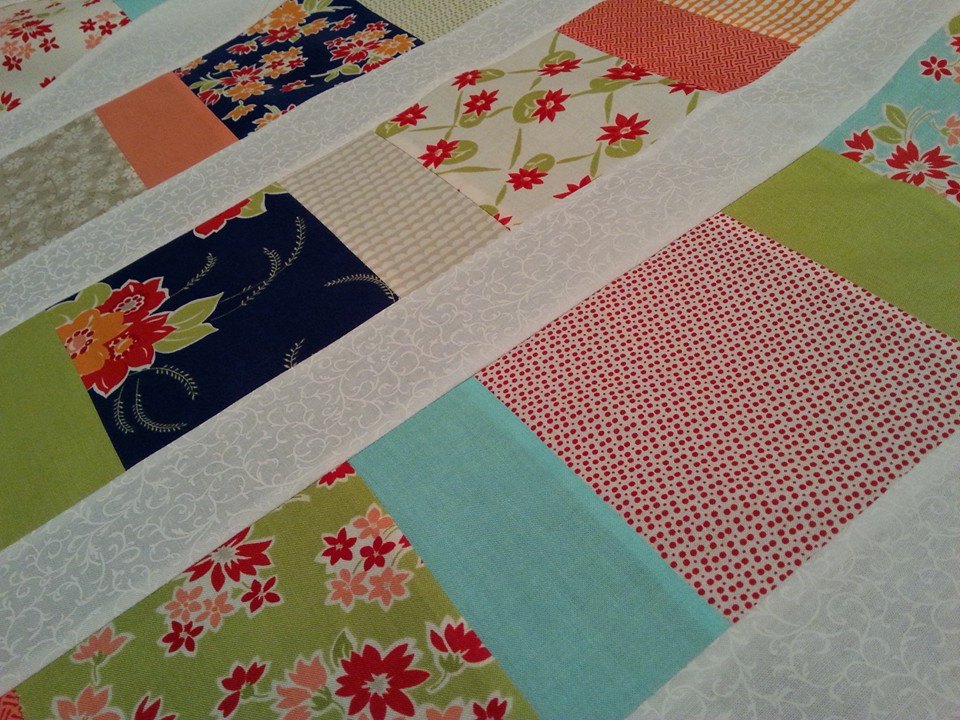
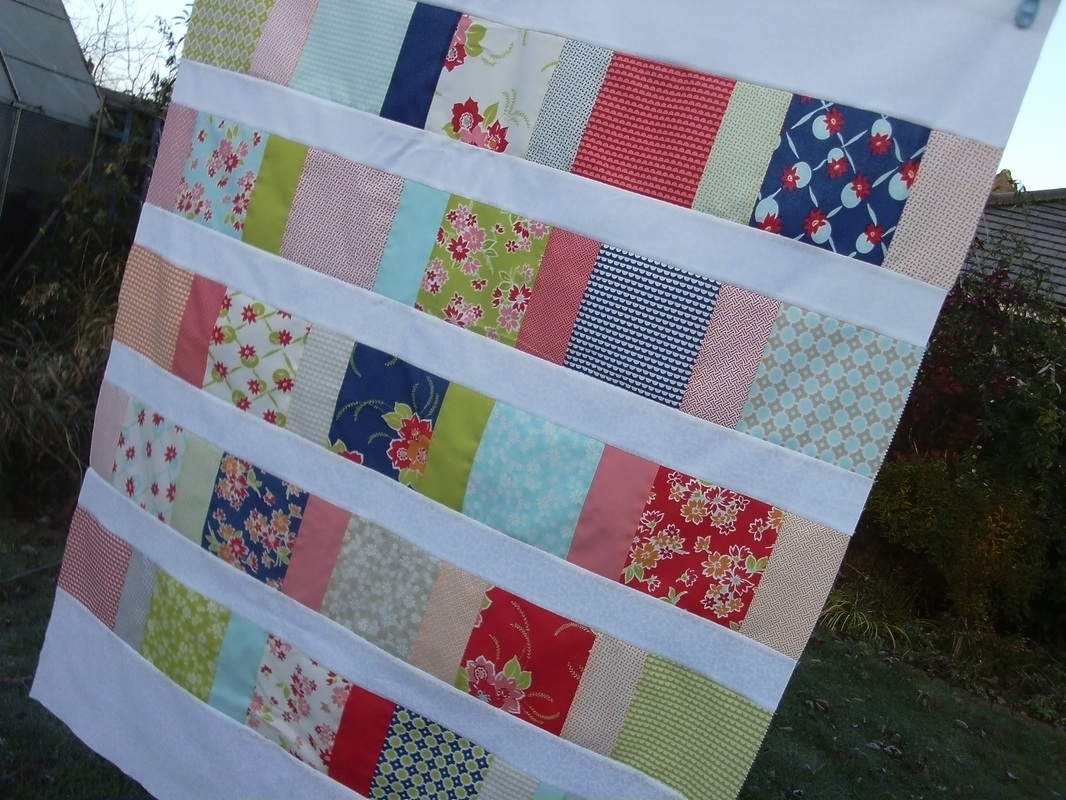
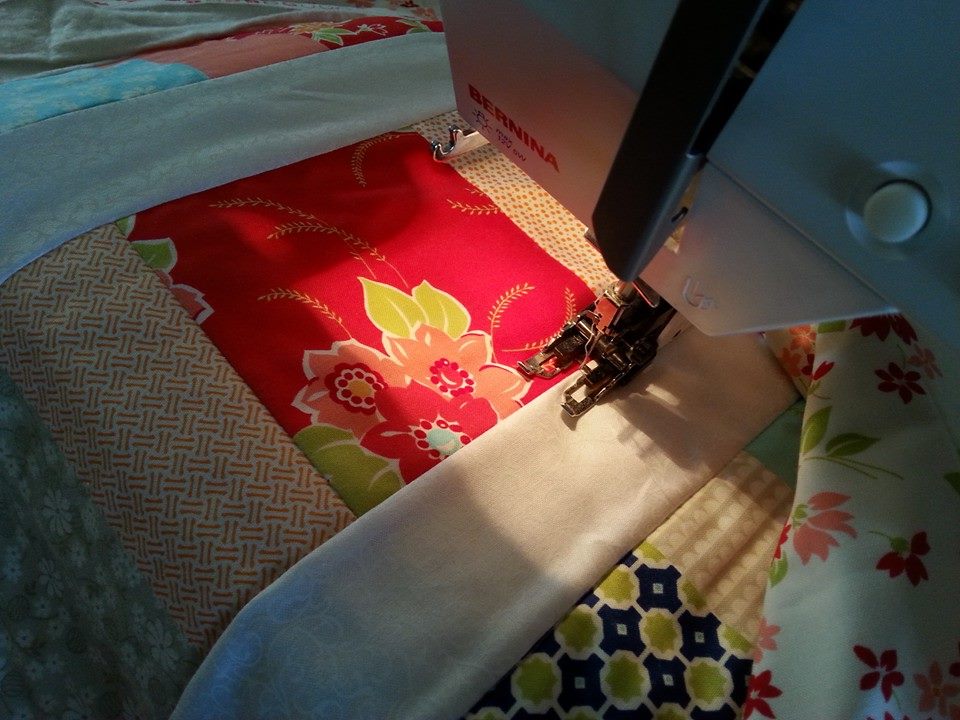
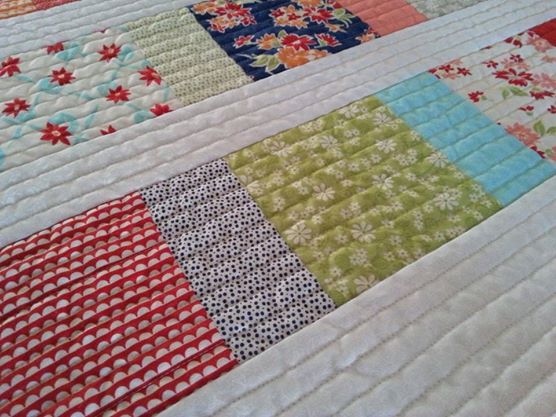
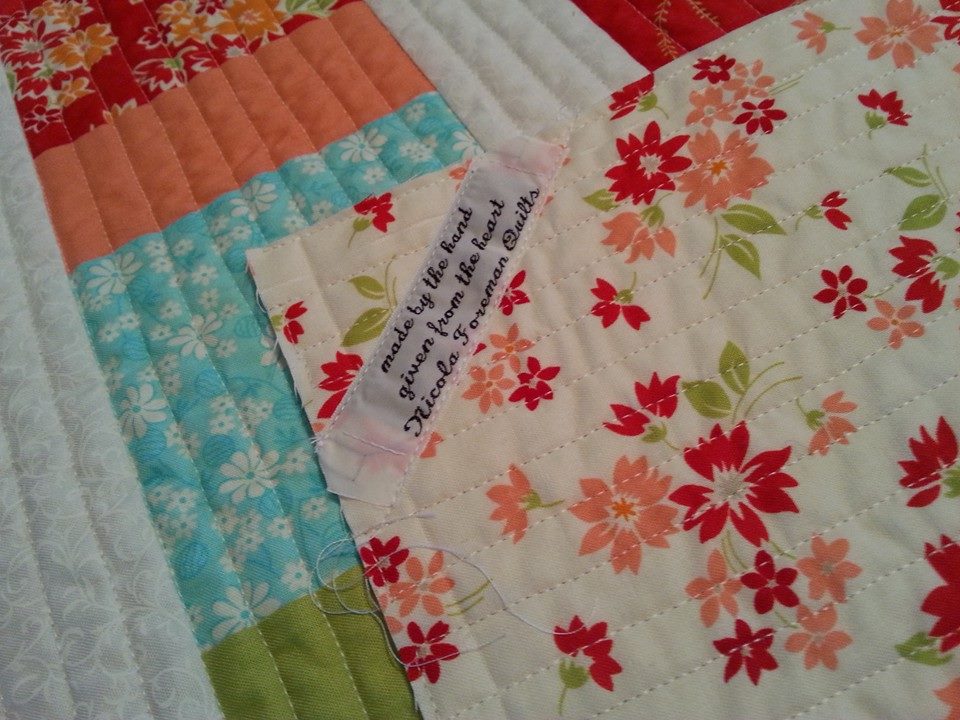
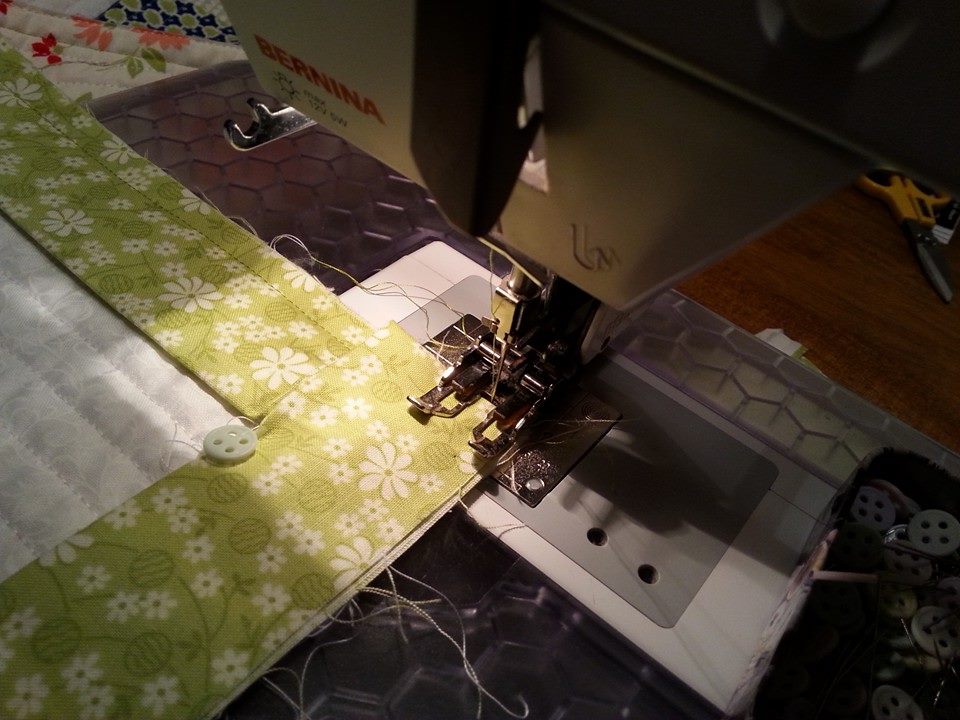
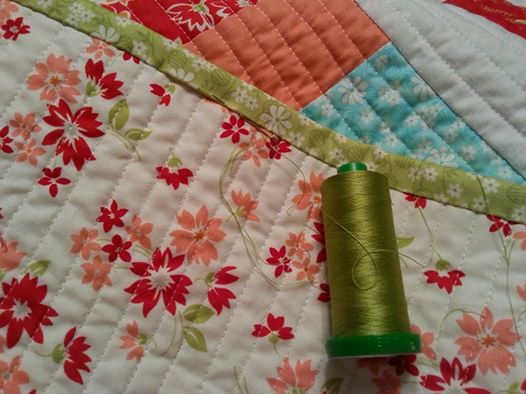
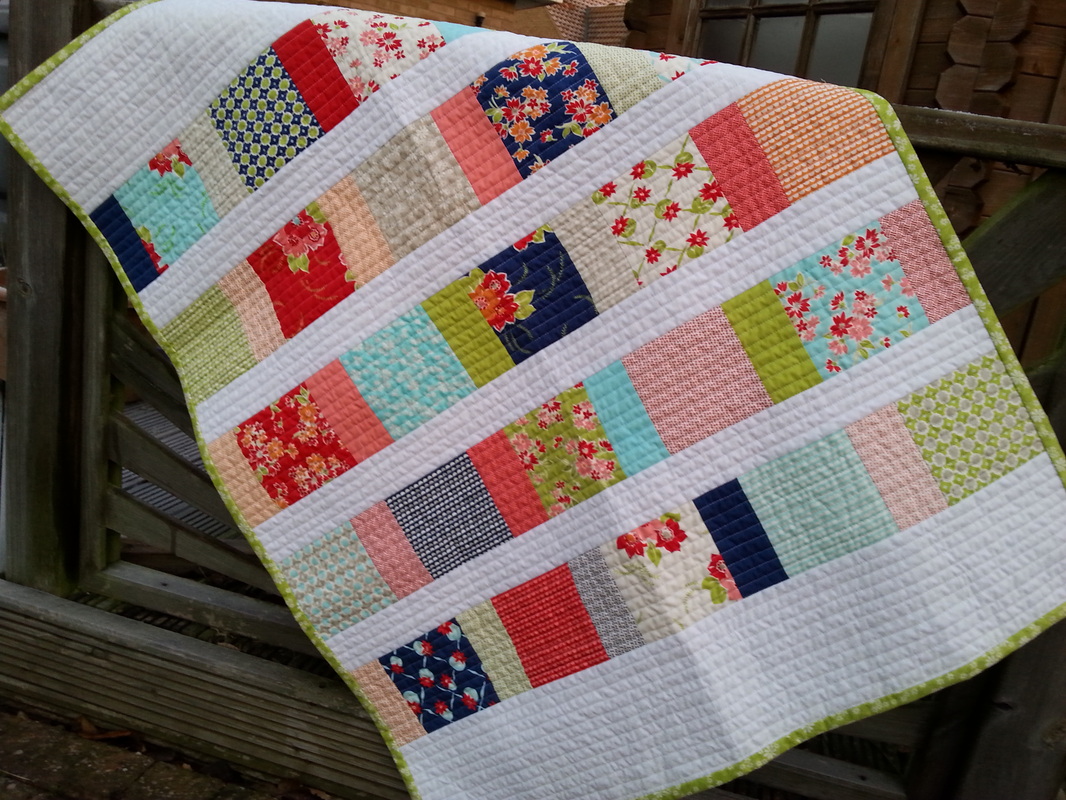
A few weeks ago a new baby girl arrived in our family - and I knew exactly what fabric I wanted to make a quilt with! I'd seen this fabric range in my local quilt shop, Quilters Haven, and I was able to get a charm pack, some fabric for the backing and for the binding too - this fabric range is "Miss Kate" by Bonnie and Camille for Moda. I used a favourite pattern, "Charm Squares Baby Quilt" by Elizabeth Hartman (the pattern is a free download from her blog, Oh Fransson!). This quilt is really simple to make, and in no time at all the rows were pieced together... ...I had bought some white Kona fabric for the borders and sashing, but changed my mind at the last minute and used some white self-patterned fabric by Makower instead. Once the sashing and borders were stitched into place, a final press with the iron and the quilt top was completed... ...a quick photo shoot, then I layered the quilt together. I used fabric from the "Miss Kate" range for the backing and Quilters Dream cotton wadding, select weight. Once I'd spray basted the layers together (my favourite is 505 spray), I could start quilting. I used a white Aurifil thread 40/2 weight and firstly quilted this with along each side of the sashing and borders with stitch-in-the-ditch... ...then the real quilting started - lots of straight rows, half an inch apart, using the edge of the walking foot as a guide. This gives the quilt a ribbed texture, and the finished quilt is beautifully soft. I added a label into the corner on the back, stitching through all layers, approximately an eighth of an inch from the the edge of the label... ...more fabric from the "Miss Kate" range was used for the binding. These strips were cut 3.5" wide, and folded in half. Using the edge of the walking foot as a guide once again, the binding was machined into place. The corners were mitred, and then the binding was folded over to the back of the quilt and hand sewn into place using a matching coloured Aurifil thread. I really prefer quilts with a half inch wide finished binding... ...and here is the finished quilt, all ready to be wrapped and posted off with lots of love to the new baby.
|
About me...Hi - welcome to my quilting blog! My passions are my family, my dog, my friends and sewing, not necessarily in that order! Archives
July 2023
Blogs I followUK shopsThese are the UK shops that I use to purchase my quilting supplies - fabrics and threads etc.
Australian linksScandinavian links |


 RSS Feed

