|
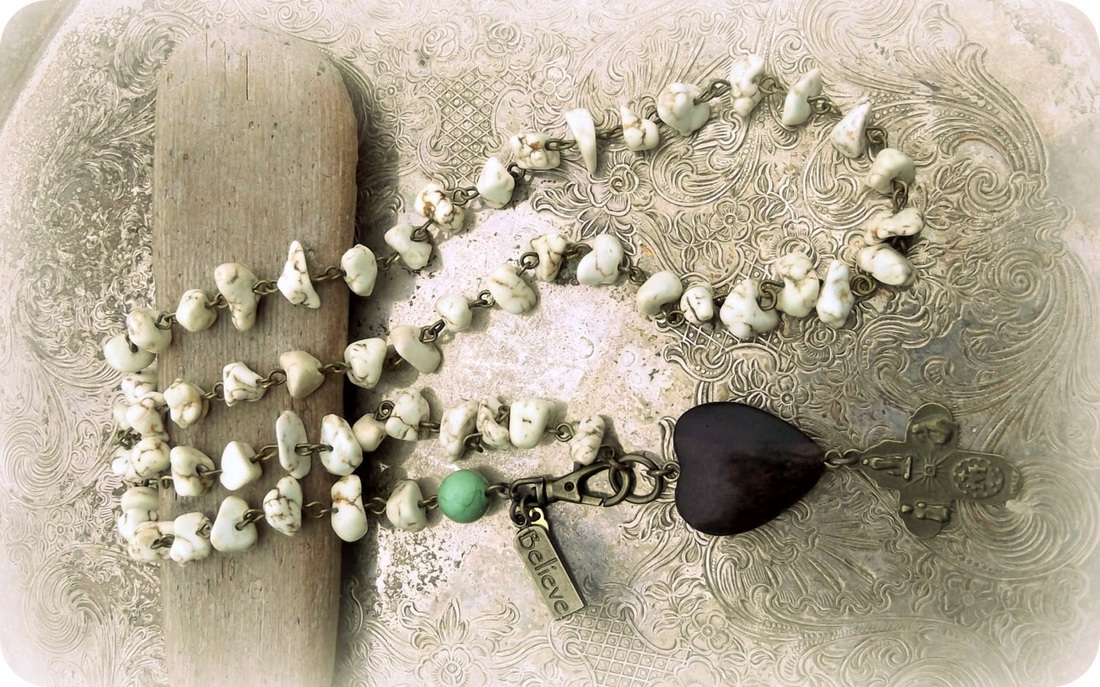
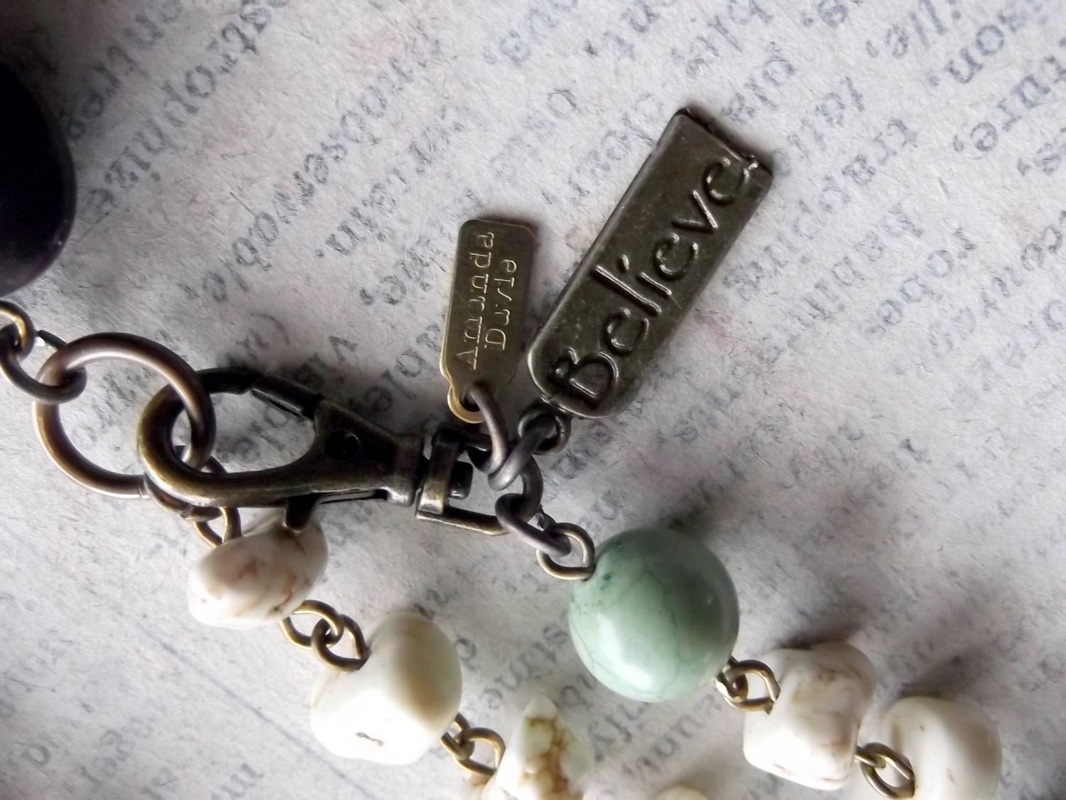
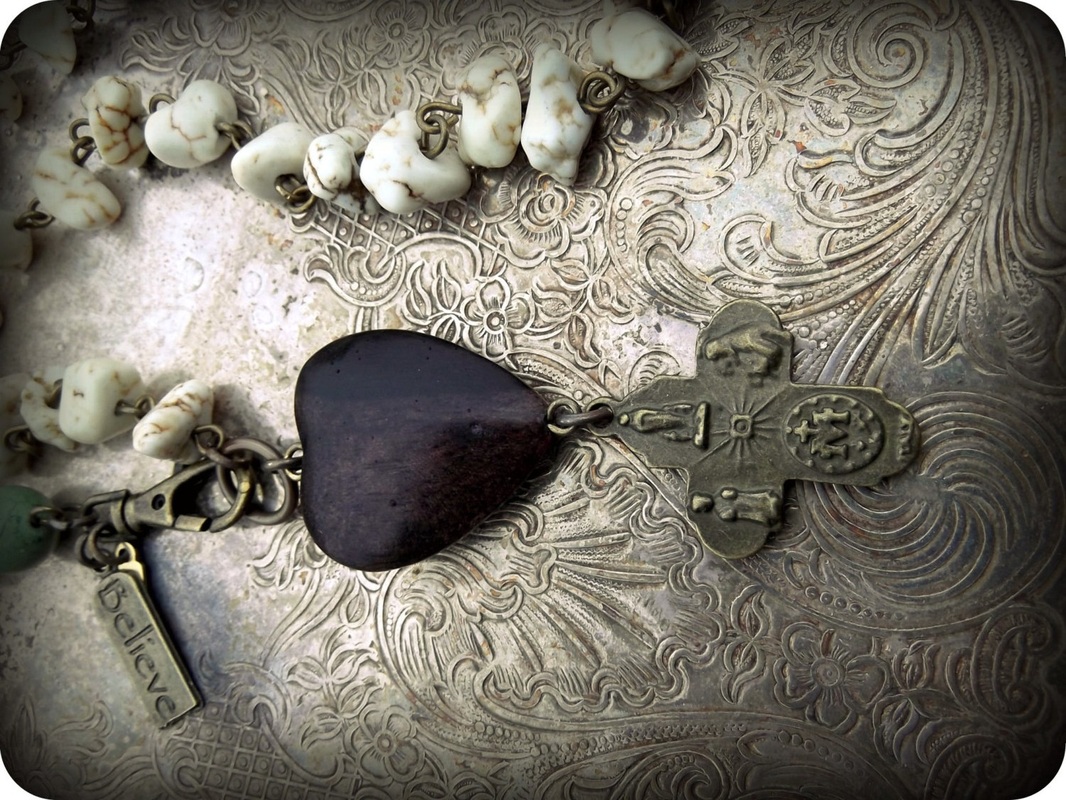
I was feeling a little bit niggly, so to cheer myself up I headed over to Etsy for a little more online shopping from Amanda Davie - she is my favourite jewellery designer! This time beautiful white turquoise magnesite nuggets combine with a wonderful wooden heart bead, and a lovely religious medallion for this one of a kind necklace. The beads are connected "rosary" style for a beautiful feel. This piece bears her signature tag. Please hurry Mr Postman!!
0 Comments
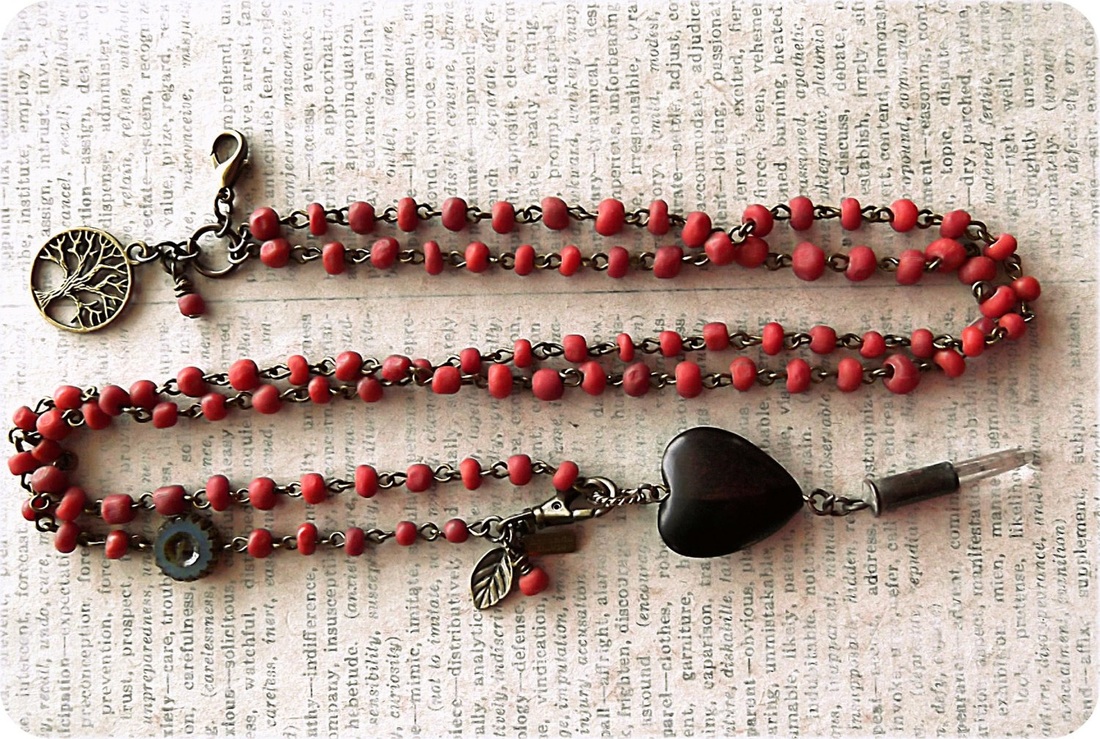
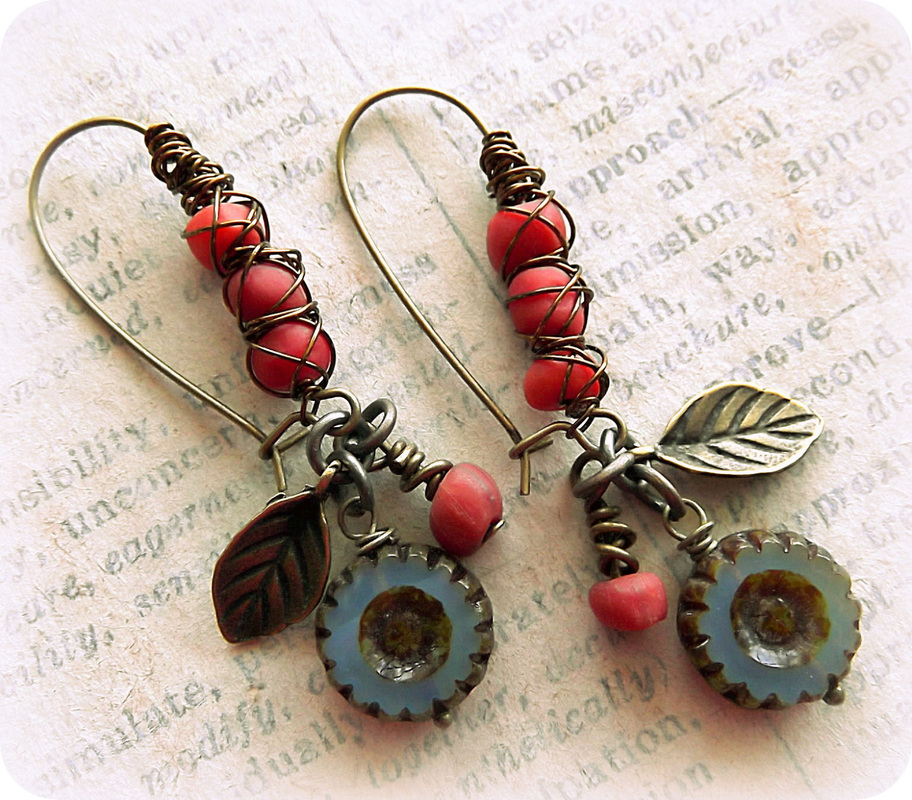
"One Love" is the name of this beautiful necklace designed by Amanda Davie. Beautiful berry colored trade beads combine with a wonderful wooden heart bead, and a lovely handmade Quartz Crystal pendant for this one of a kind necklace. The beads are connected "rosary" style for a beautiful feel. The quartz pendant was made from re-purposing a spent bullet casing, soldering a jump ring on the end, and setting a beautiful quartz crystal in the end. The unique design of this piece allows for wearing this necklace long or doubled up for a two strand shorter necklace! And that's not all - the same beautiful berry colored trade beads have been wire wrapped around these lovely kidney wire earrings. Amanda has paired them with fun little leaf charms and a bit of Czech glass for the finishing touch. These "Gratitude" ear-rings will look gorgeous worn alone or with the necklace - can't wait for these to arrive!
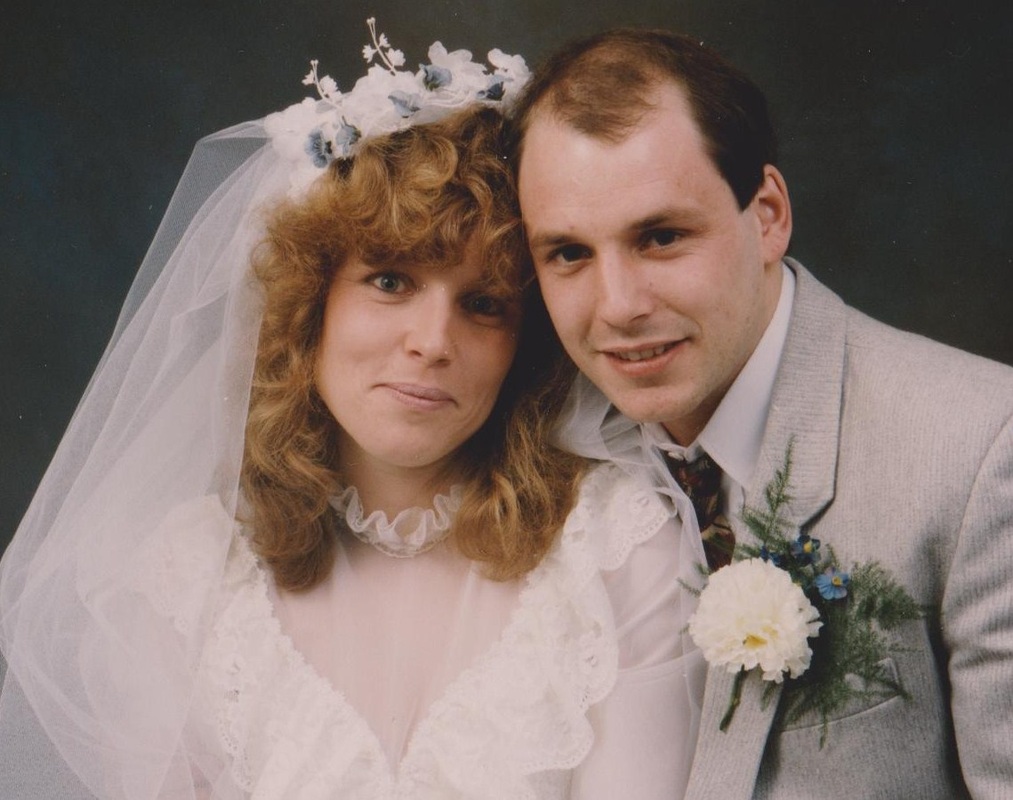
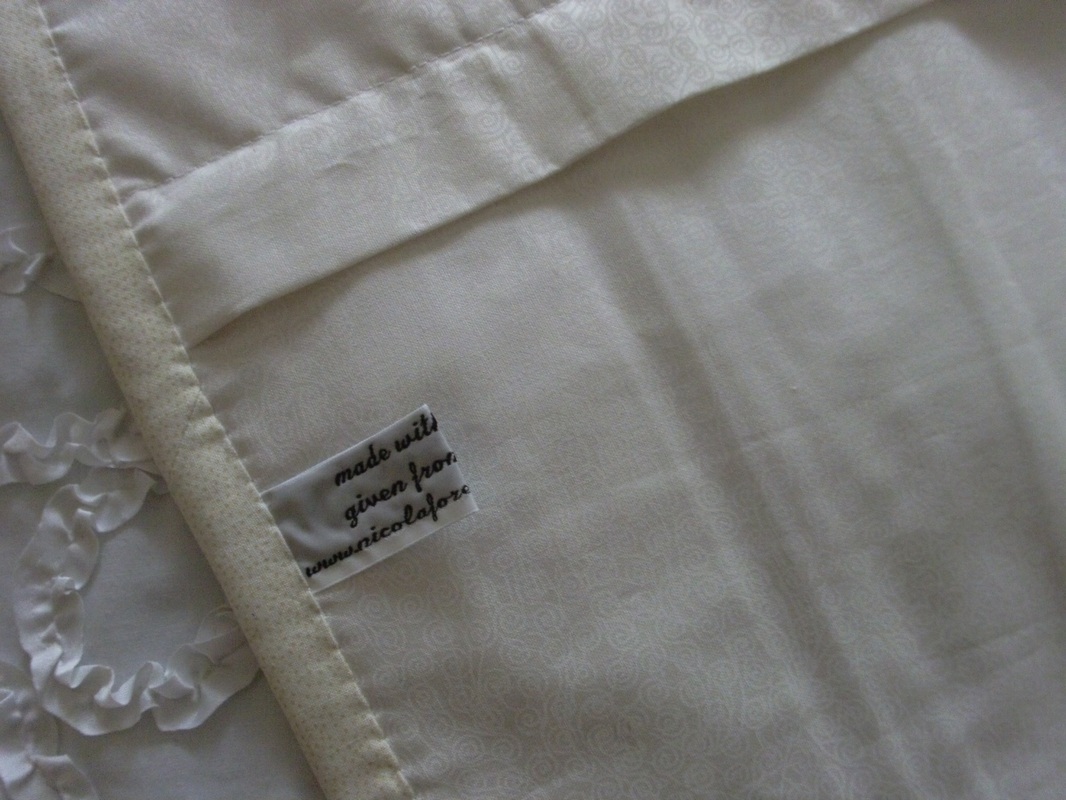
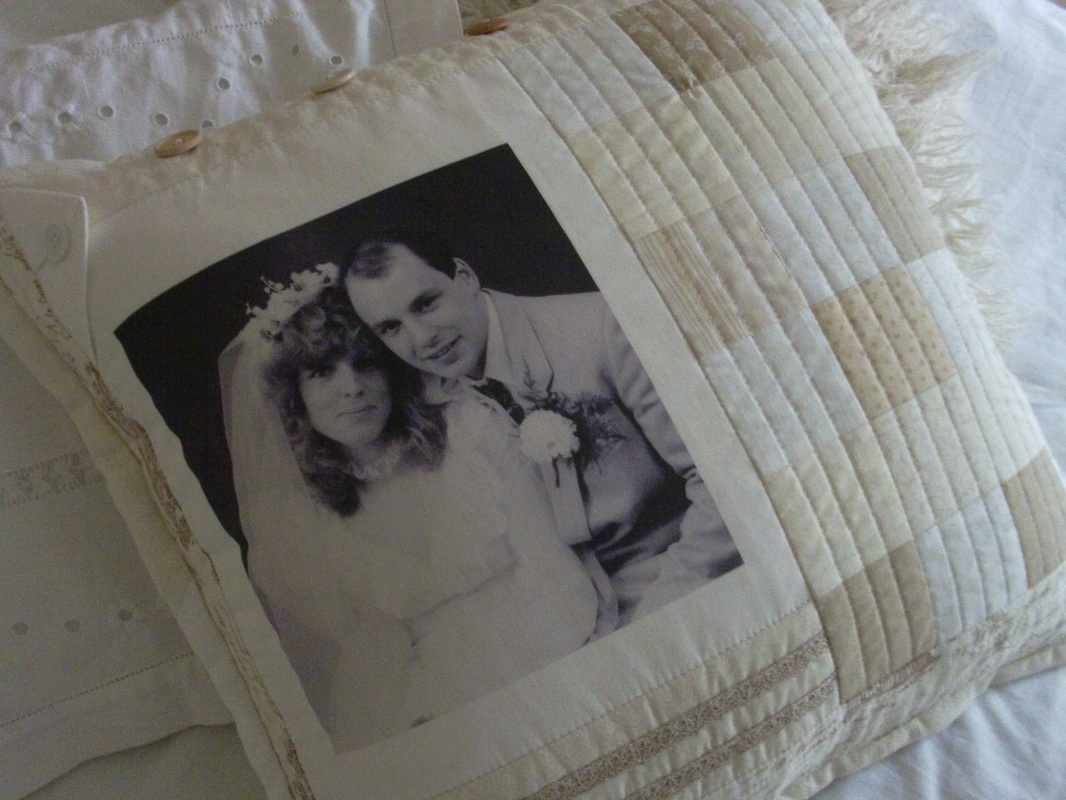
One of my colleagues, Juliette, had commissioned me to make a memory cushion for her husband's birthday. I borrowed one of her wedding pictures, scanned it, formatted it to black and white, and printed it onto an EQ printable sheet. This was then surrounded by a collection of white and cream fabrics, and embellished with vintage lace and buttons, and quilted..... .....I added a zipper with a flange to cover it on the back, and used a half-inch finished double binding, made with 3 different fabrics for a scrappy look. Then one of my labels "made with the hand, given from the heart" was added to the back, and the cushion was finished! Juliette was really pleased with this cushion - it looks great!
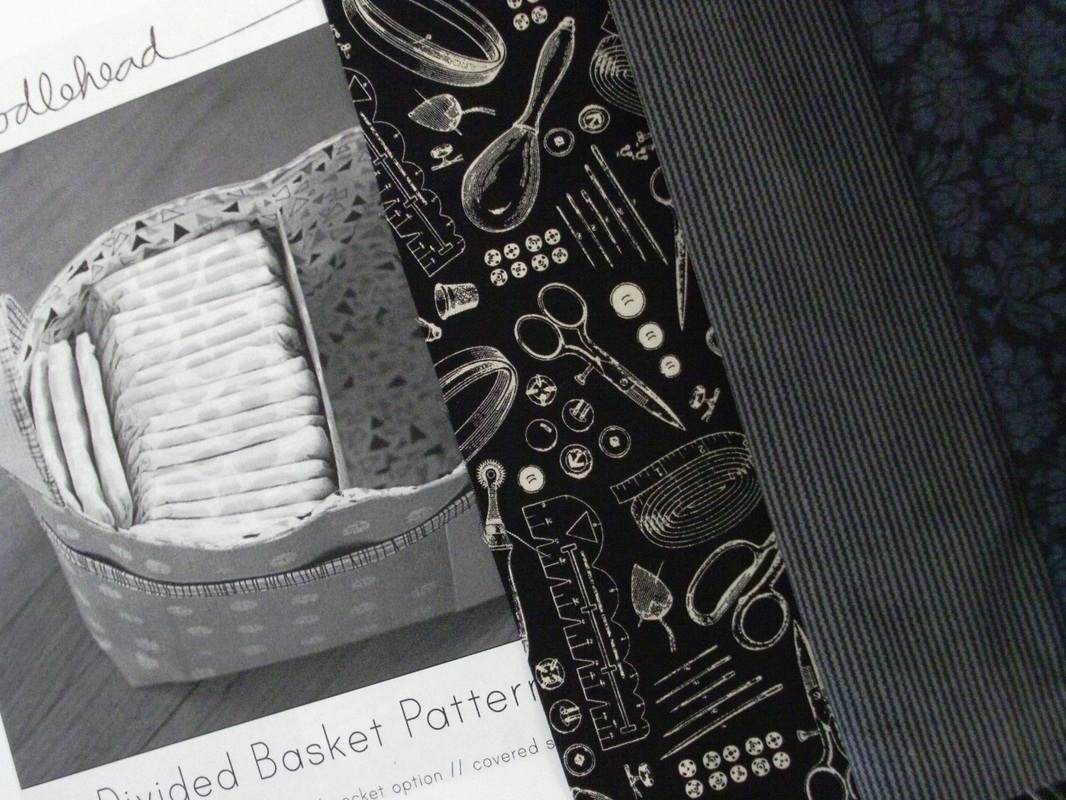
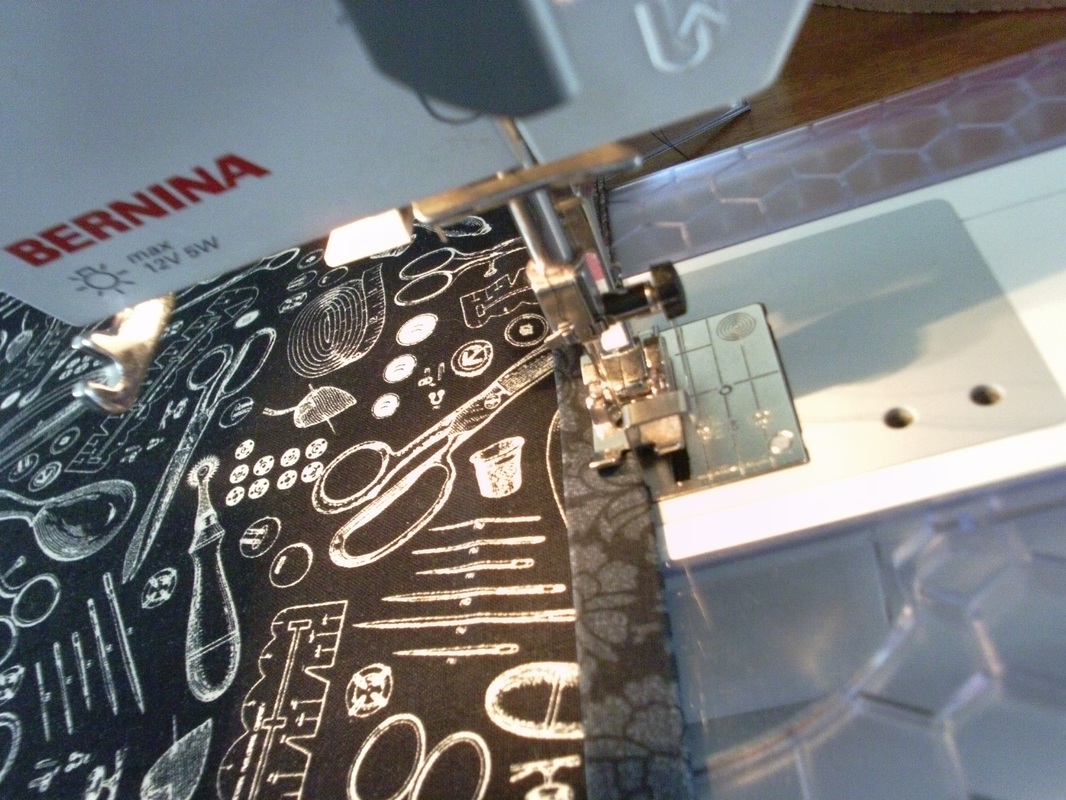
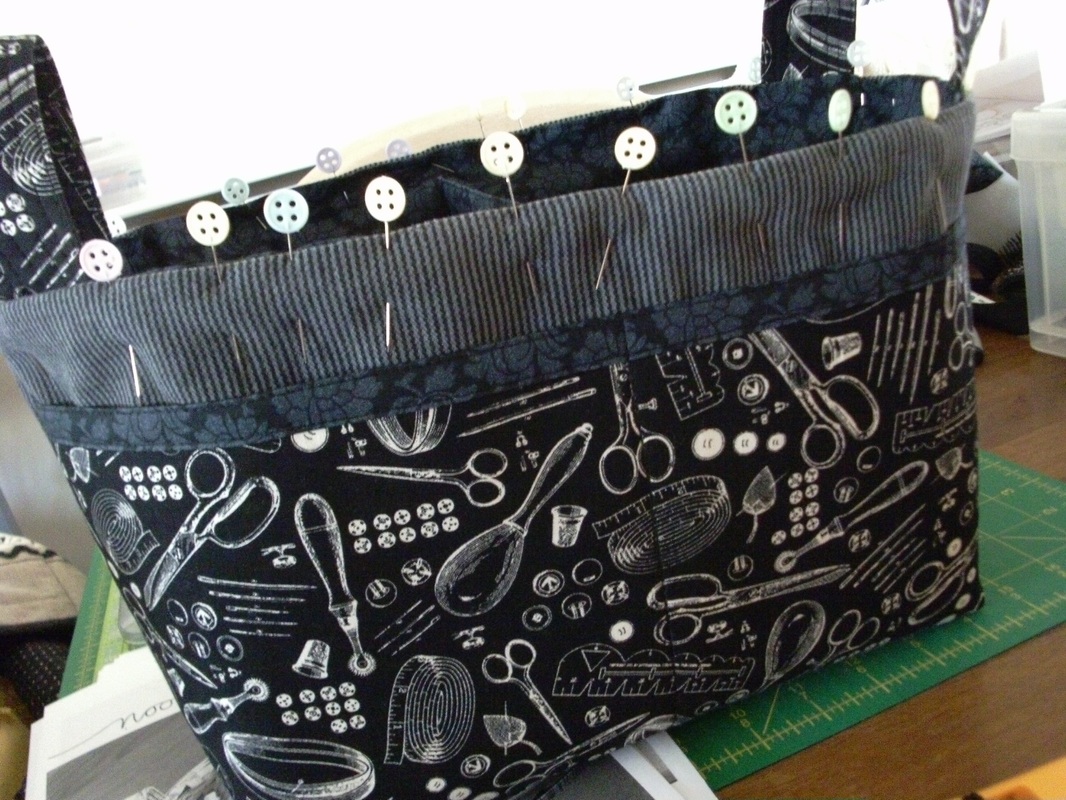
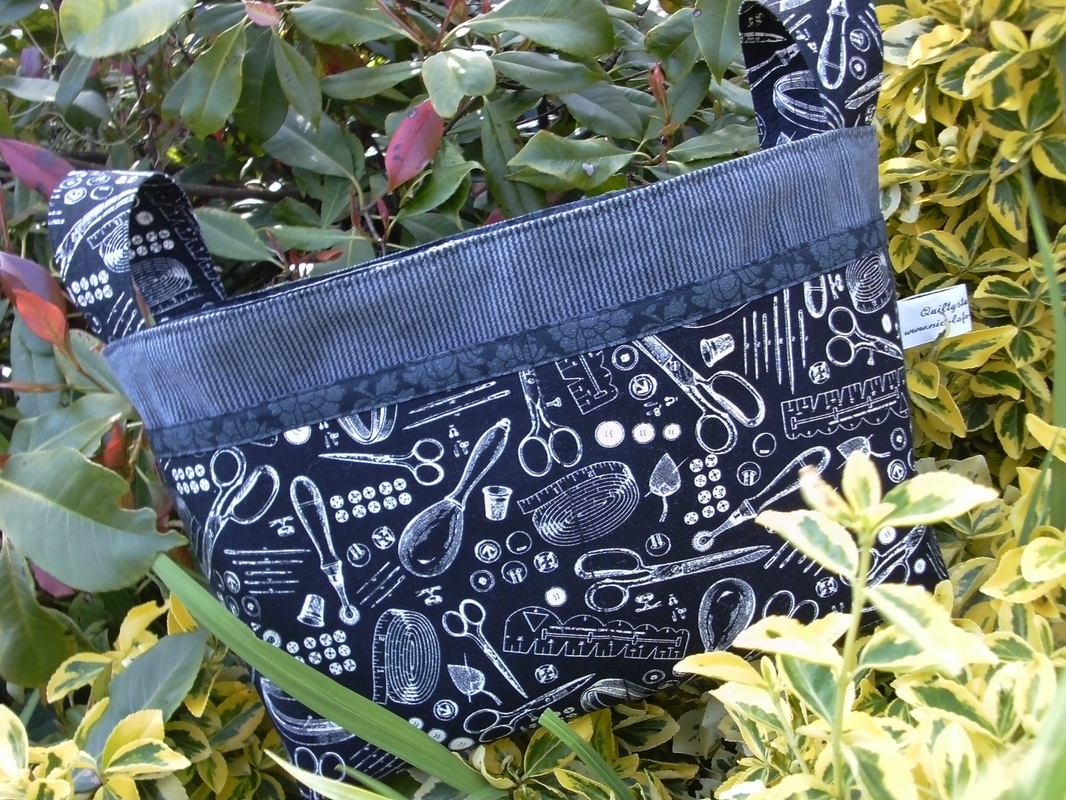
A few days ago I finally took the plunge and downloaded this great pattern from Noodlehead - I had seen lots of divided baskets on Flickr made with this tutorial, and especially liked the ones that Amy had made, so gathered some fabrics together and set about making one for me. I used the same fabric that I used for the "Beyond Measure" sewing machine mat and thread catcher - at least my work space will look co-ordinated when I'm in full swing creating lots of other crafty stuff - and I added some dark grey striped corduroy too, that I thought would give the basket a bit more structure. I changed the design slightly, and rather than use a separate binding for the front pocket, I cut the lining a bit bigger and turned the top edge over double, and top-stitched it into place.......... .....I bent more than just a few pins whilst I was pinning all the layers together along the top edge - this caused me a few problems, probably as the corduroy was a bit too thick for this project - I think using pellon wadding and interfacing AND corduroy was just a bit too much! Next time I'll just use 100% cotton, and try using Clover Wonder Clips to hold all of the layers together. Well here it is - one divided basket to keep all my sewing bits and bobs in. And finished with one of my "Quiltystuff" labels too. Overall I'm really pleased with this basket. Now I've got no excuse for my work space being untidy when I'm sewing!
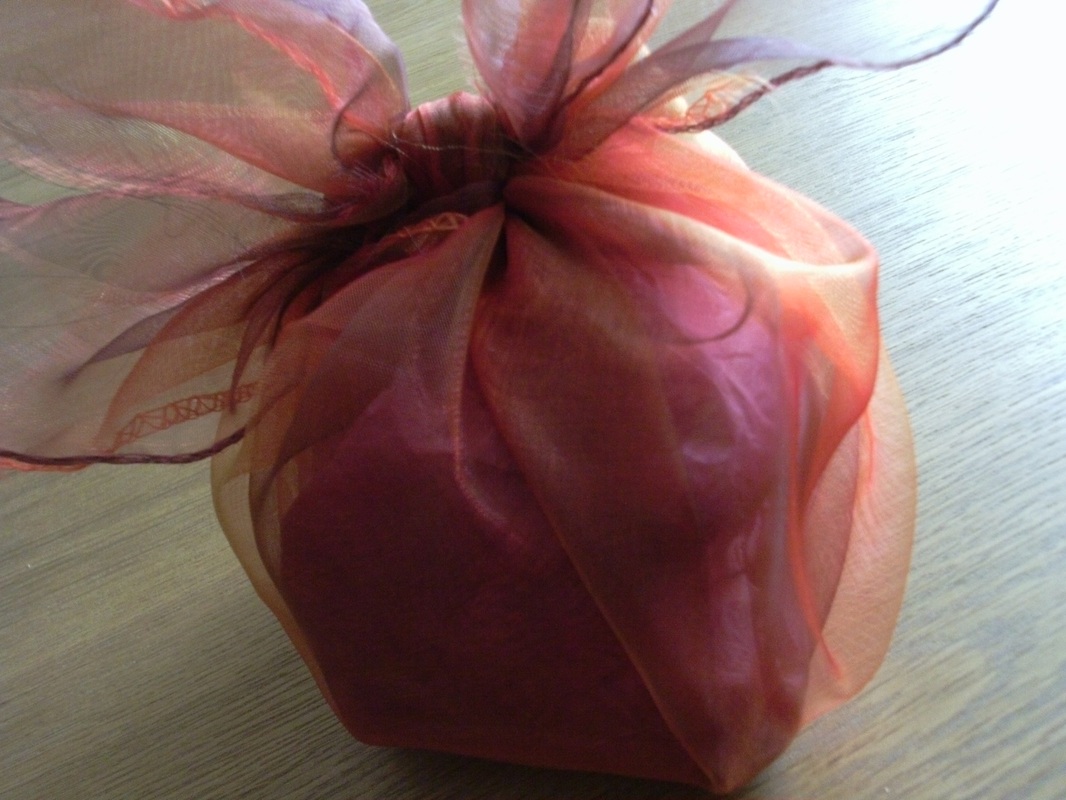
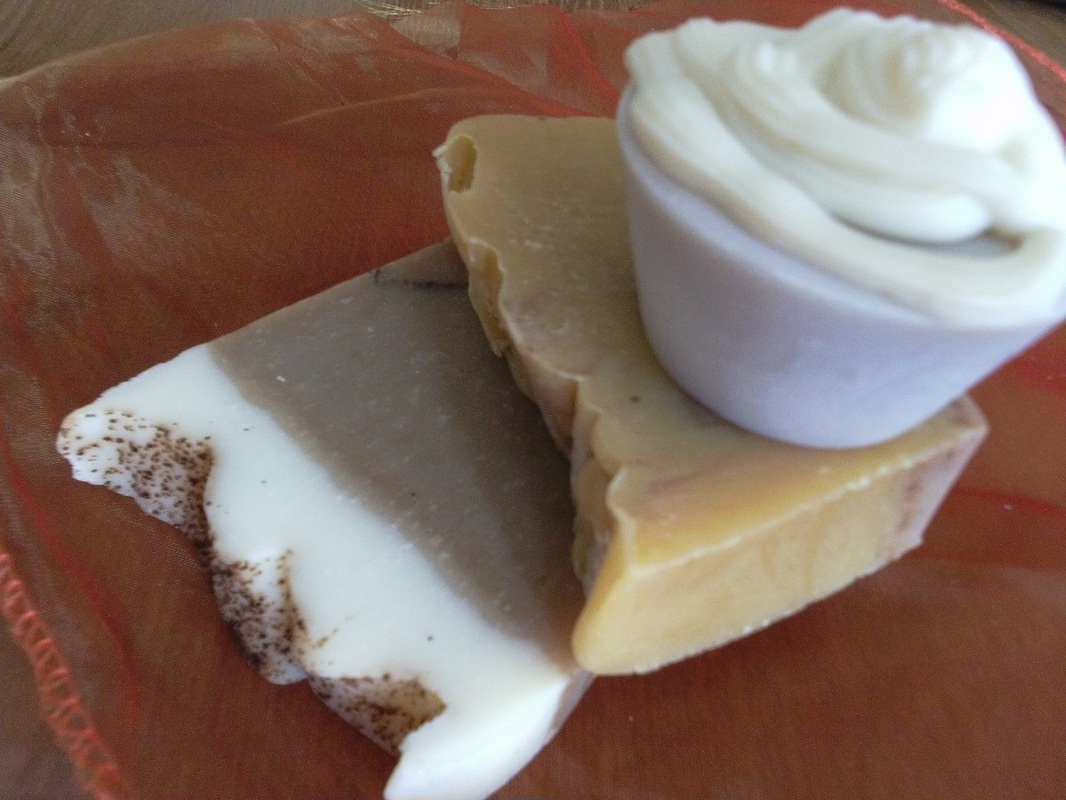
*Oh and you can click on the pictures to enlarge them! A few weeks ago I made a new friend through work, and we got talking about crafty stuff (as you do!) and I was telling her about my bags and quilts and cushions and stuff, and she was telling me about the handmade soap that she makes, and so we agreed to do a swap. Well I was amazed when I worked with her a few days later and this was sitting on my desk!..... .....and I was even MORE amazed when I undid this beautifully wrapped organza parcel. Inside there were 3 gorgeous soaps - Patchouli, (actually this cup cake looks good enough to eat!) Pumpkin Spice, (I can't begin to describe this smell - it is heavenly!) and Coffee - it even has sprinkles on the foam!! Halyna you are SO clever! Now I've got to get busy making her a bag!!
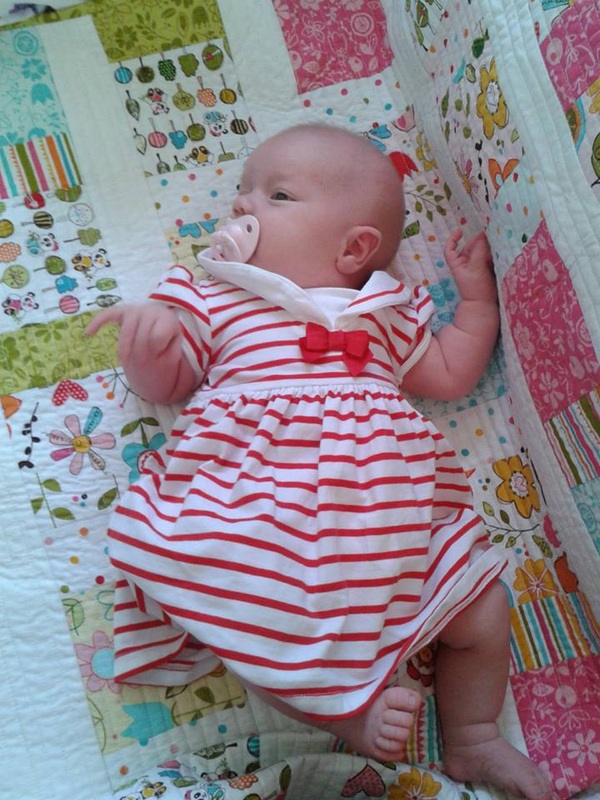
Do you remember this baby quilt that I made at the end of last year?? It was made with a range of fabric by Riley Blake Designs, called "Happy Sunny Skies". Lots of my friends were expecting babies and grandchildren, and this quilt was sent off to Norway - my friend Hanne (hei hei Hanne!!) was already a grandmother to a very handsome baby boy, Henrik, (hei hei Marthe and Henrik!!) and then in April, Hanne's daughter Sofie had a beautiful little girl called Emilie - isn't she just perfect??
It's Tuesday again so it must be "Sew Cute Tuesday" over on the Better Off Thread blog - I've added links to my applique books that I made when I was on hols with Philippa Naylor. There's lots of other great stuff to see too, so why don't you hop over and take a look?
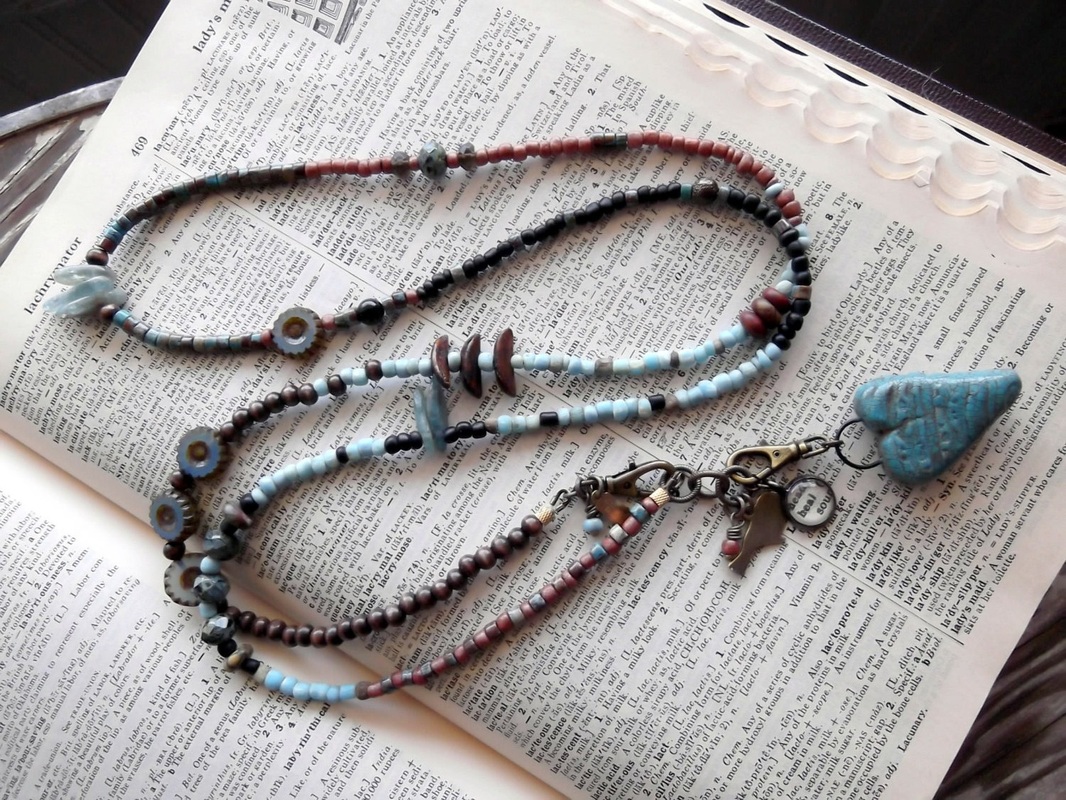
My favourite jewellery designer, is Amanda Davie, and she was recently inspired to create a series of "healing hearts" jewelry. This one is a beautiful long layering necklace that could be doubled up, and worn twice around your neck, but Amanda has added a few more beads so it could also be used as a wrap style bracelet. These versatile pieces feature a beautiful collection of glass, trade, brass, gemstone and wood beads and measure about 39". Each heart is formed by hand with lots of love and character. Amanda has hand embellished each piece and add an aged crackle finish. The necklace also features one of her tiny dictionary word charms with the word "heal" encased in glass and brass. Each heart can be removed so the necklace can be worn as a bracelet, and each necklace is marked with her signature tag. I am sure my heart will be healed when I wear this.
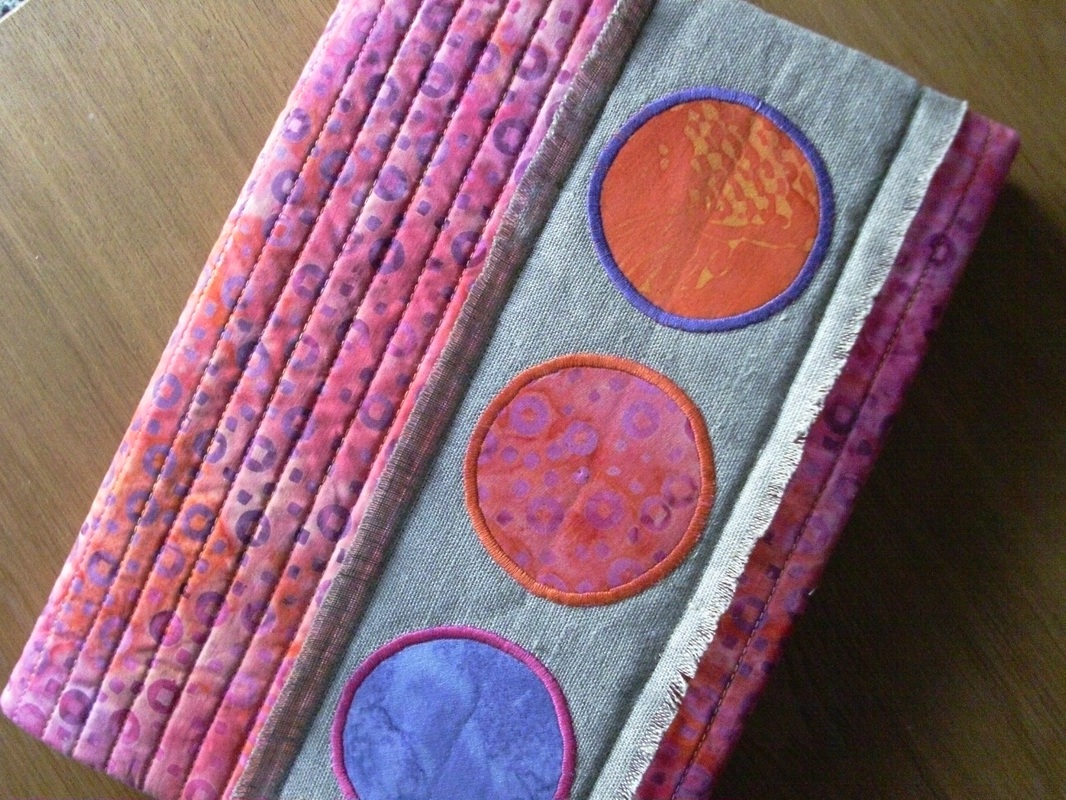
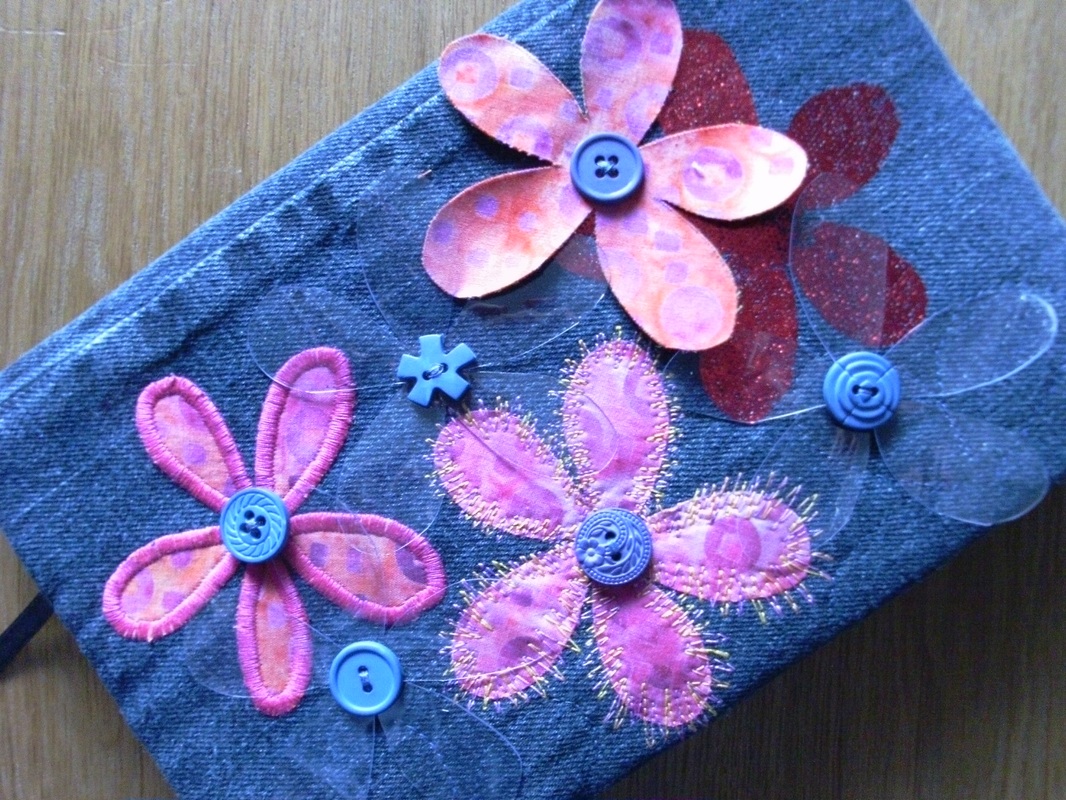
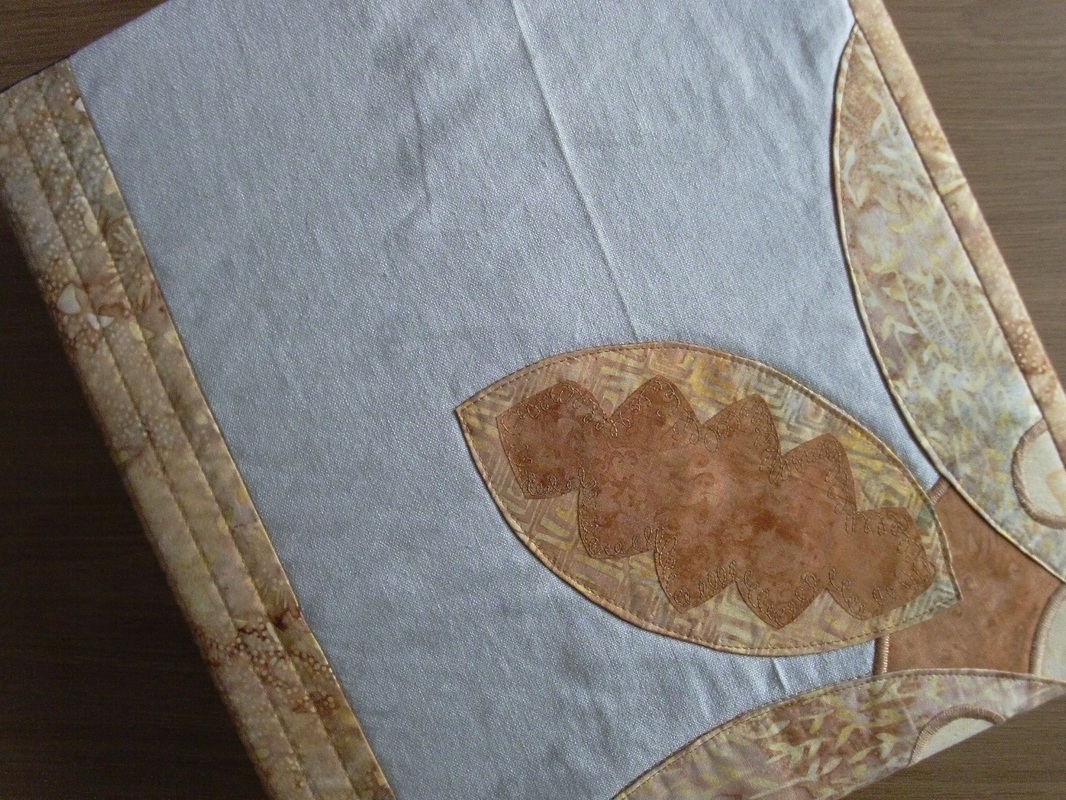
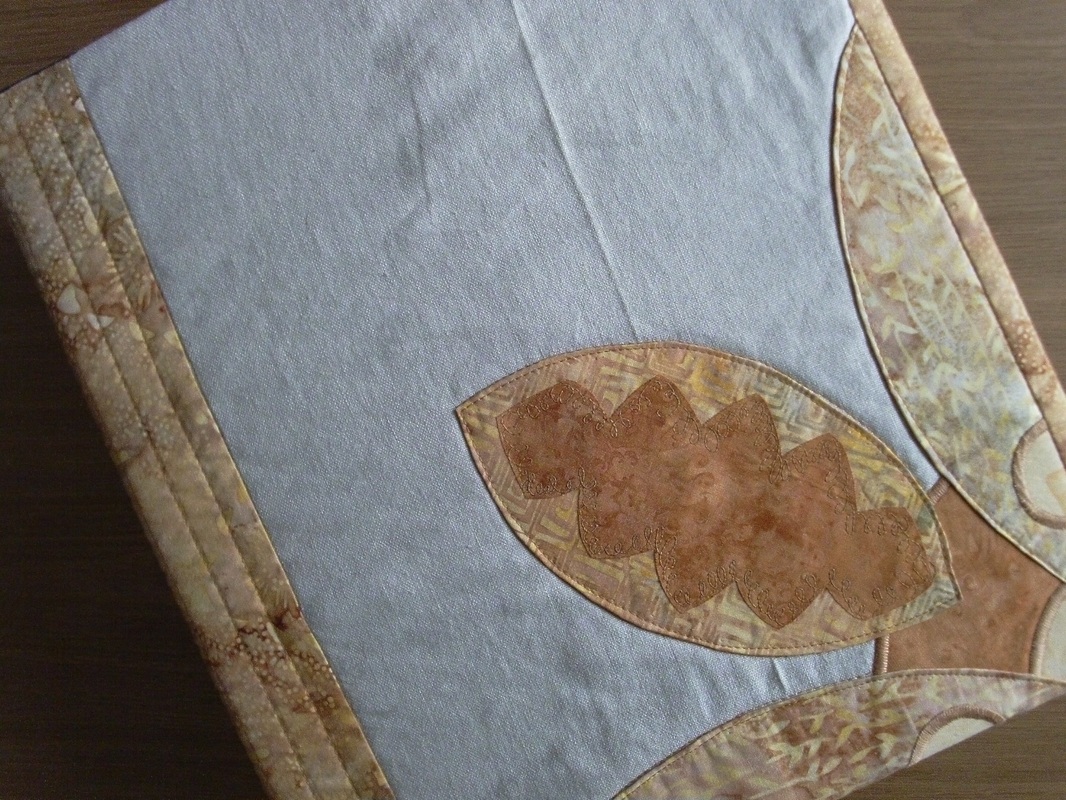
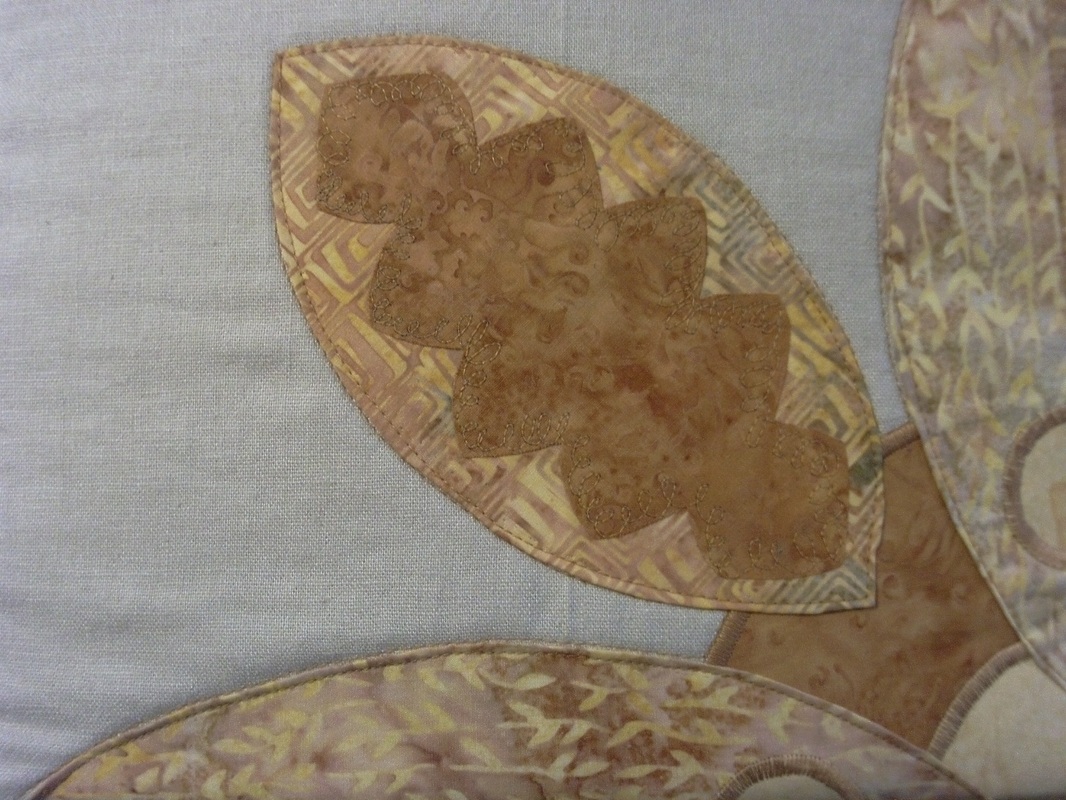
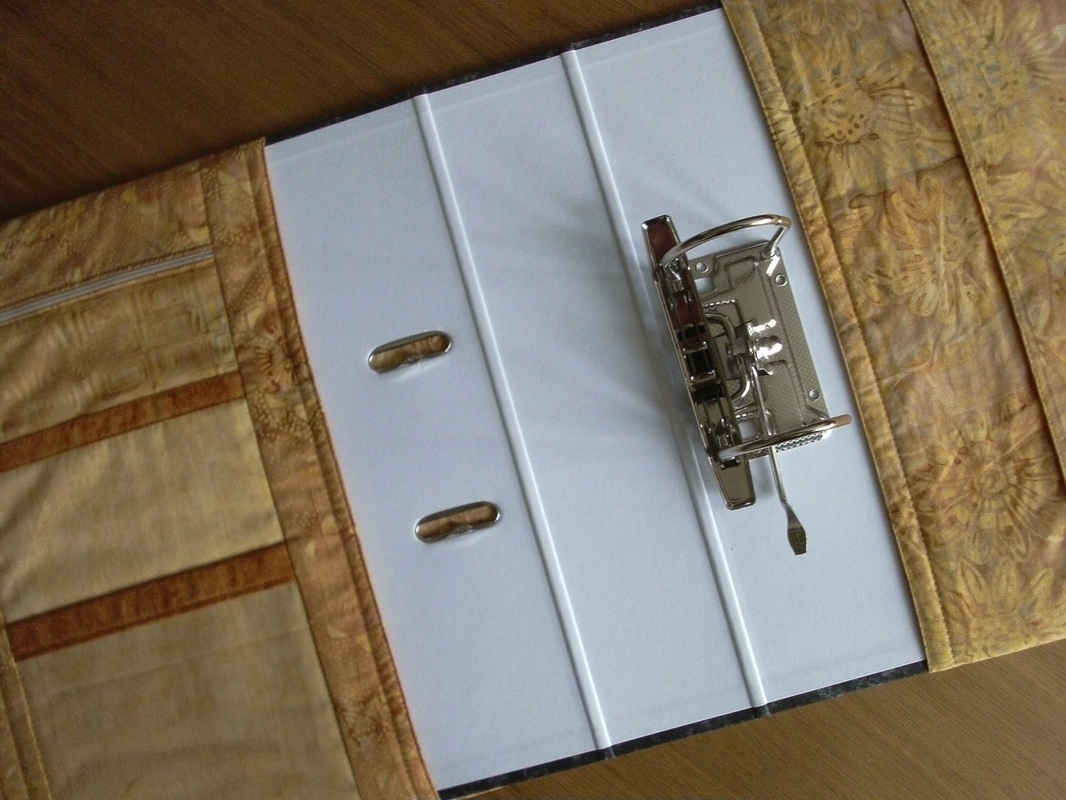
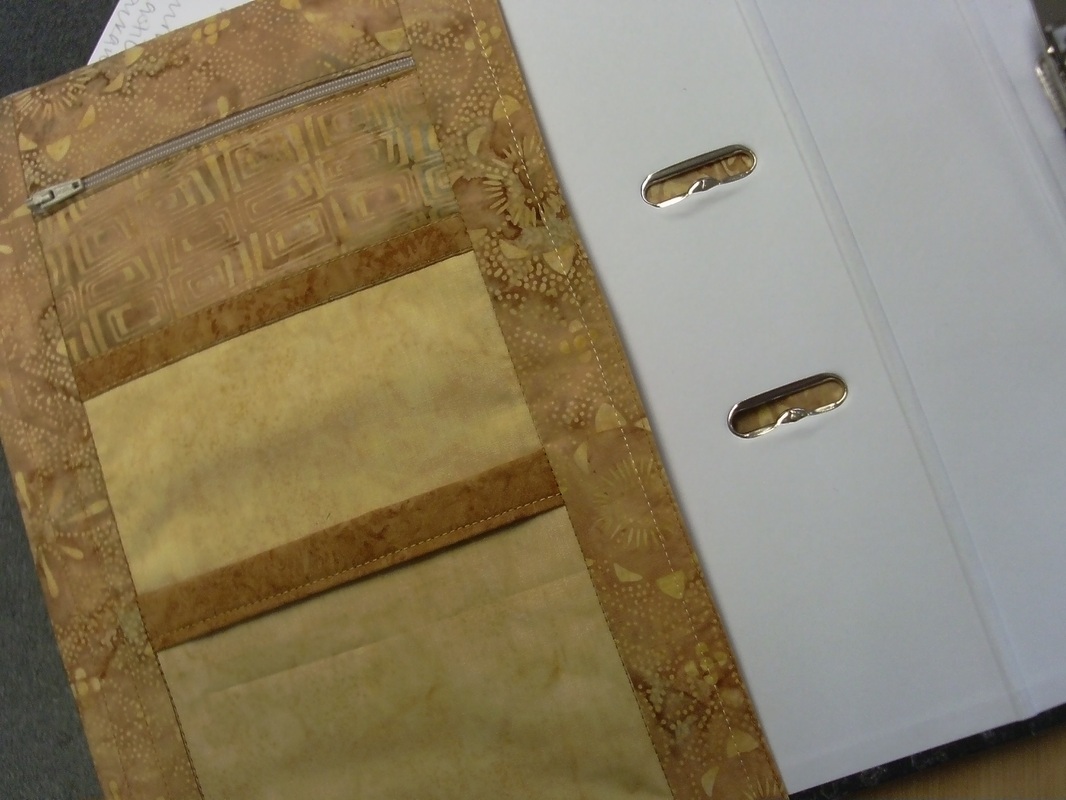
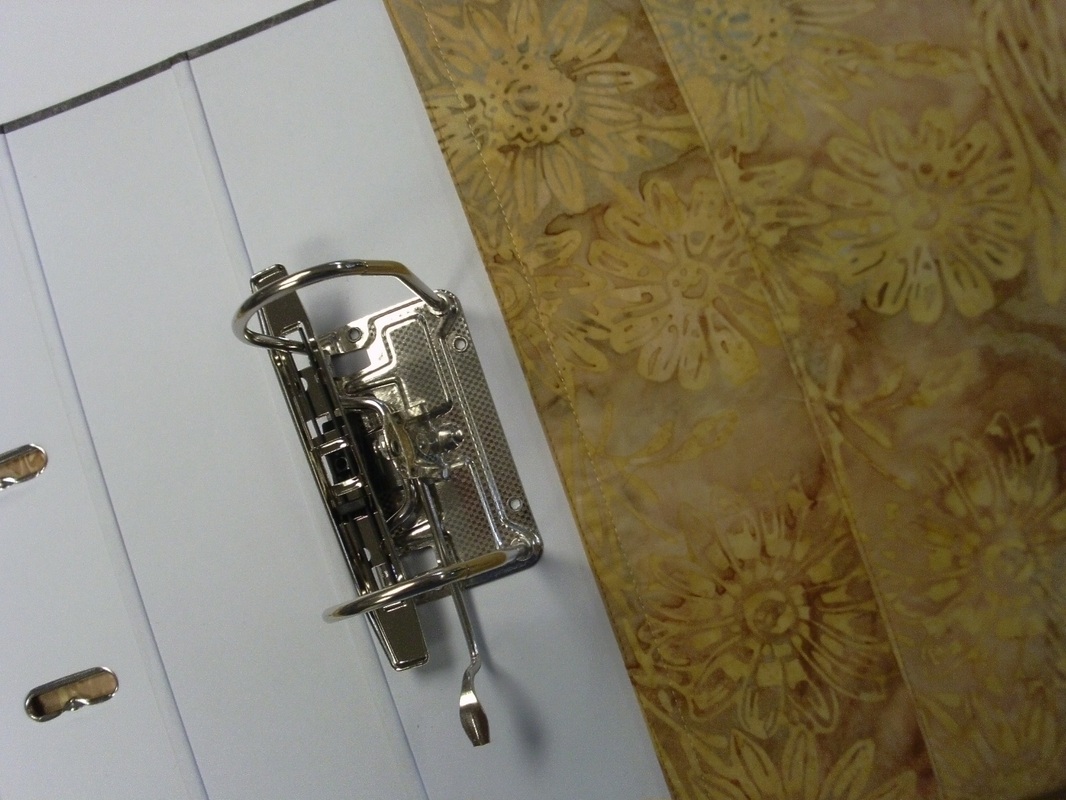
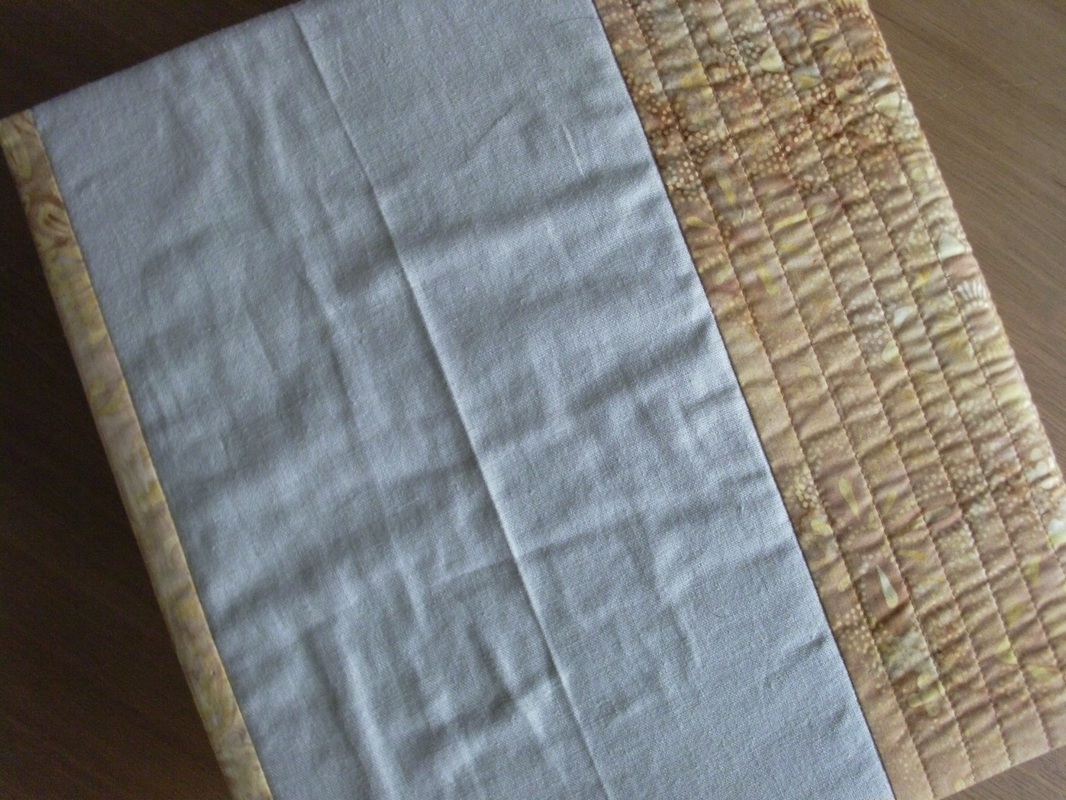
Another project that I completed on the "Drama and Detail" course with Philippa Naylor, was a cover for a ring-binder. I used a mixture of batiks and linen for this project. I prefer to use Schmetz Microtex needles size 60 when sewing batiks, and this project was no exception..... .....I was really pleased with how this cover turned out! The applique on the front was a combination of edge-stitch applique for the petals, satin stitched applique circles and free-motion applique for the top layer of the petals. I quilted the batik part of the cover in straight rows of quilting about 0.5" apart, and used a King Tut variegated quilting thread to match the colour of the batiks. I even managed to thread a Schmetz Microtex needle size 60 with the quilting thread - for some reason my automatic threader isn't very good when it comes to size 60 needles - and I could hardly see the eye of the needle when it was in my machine, so my top tip was to thread the needle THEN put it in the machine!
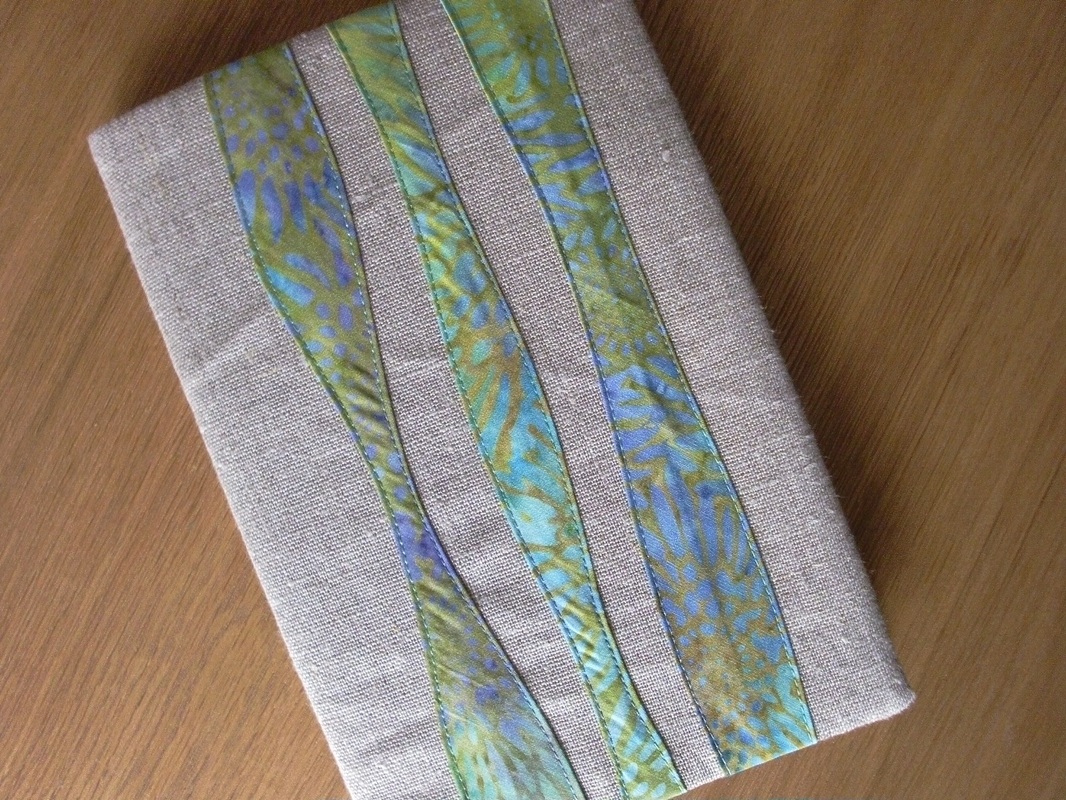
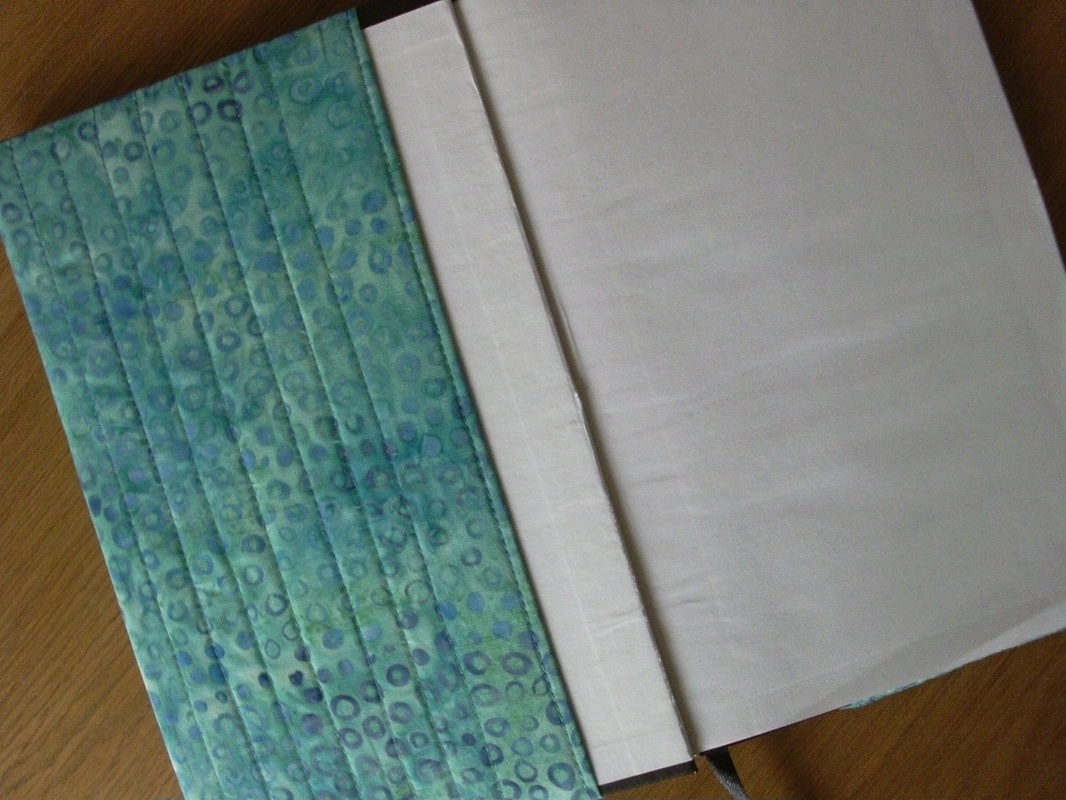
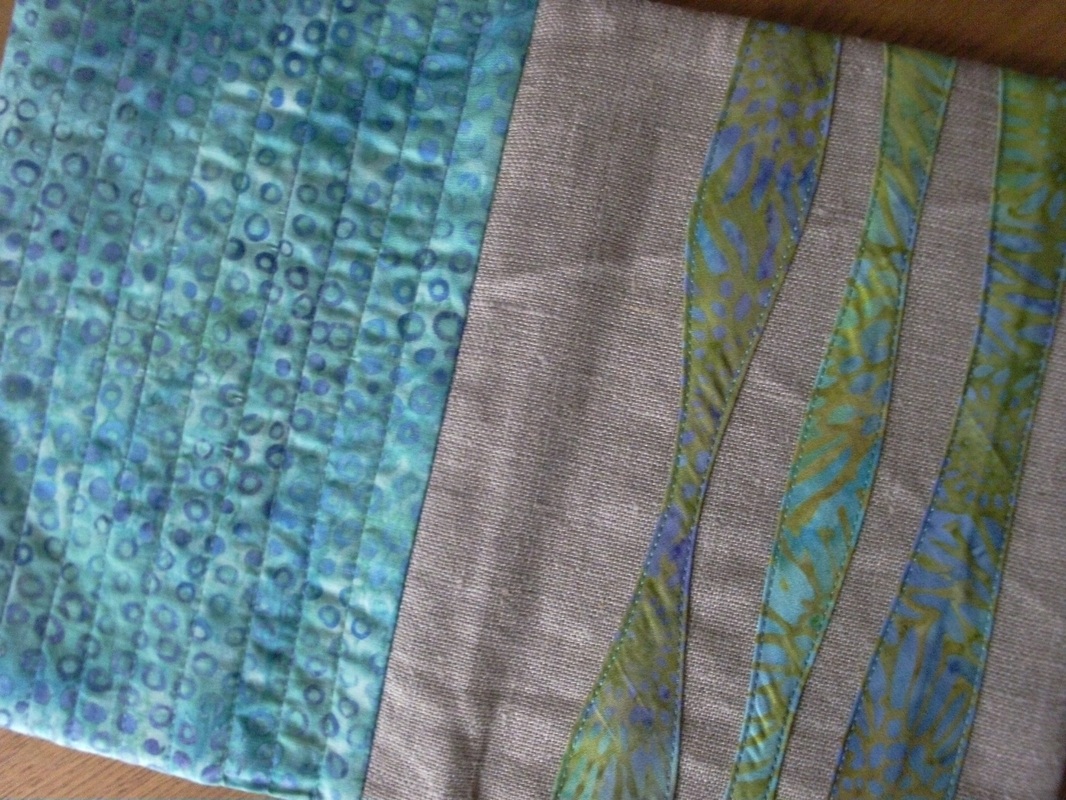
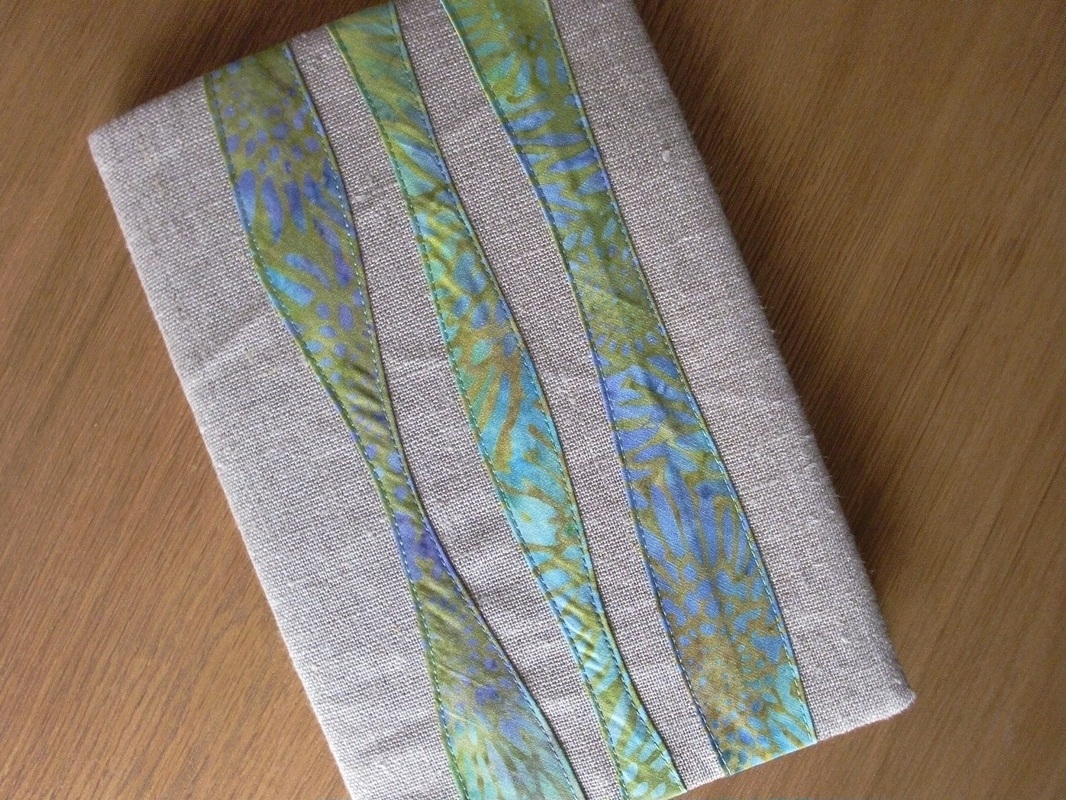
During the "Drama and Detail" course that I did with Philippa Naylor, we learnt to make some curved bias strips - and some were made so the sides had varying widths. These strips were made with a turquoise batik, and stitched into place on top of some linen to make a notebook cover, lined with more batik..... .....this one was for my daughter Alice. Now I've mastered this technique for covering notebooks, I'll be making several for friends and family as Christmas gifts! And what about making one as a cover for a Wedding Album using a photograph printed onto fabric like the memory cushions? Ohhhh now my creative juices are flowing I can't wait to get stitching at the weekend!!
|
About me...Hi - welcome to my quilting blog! My passions are my family, my dog, my friends and sewing, not necessarily in that order! Archives
July 2023
Blogs I followUK shopsThese are the UK shops that I use to purchase my quilting supplies - fabrics and threads etc.
Australian linksScandinavian links |


 RSS Feed

