|
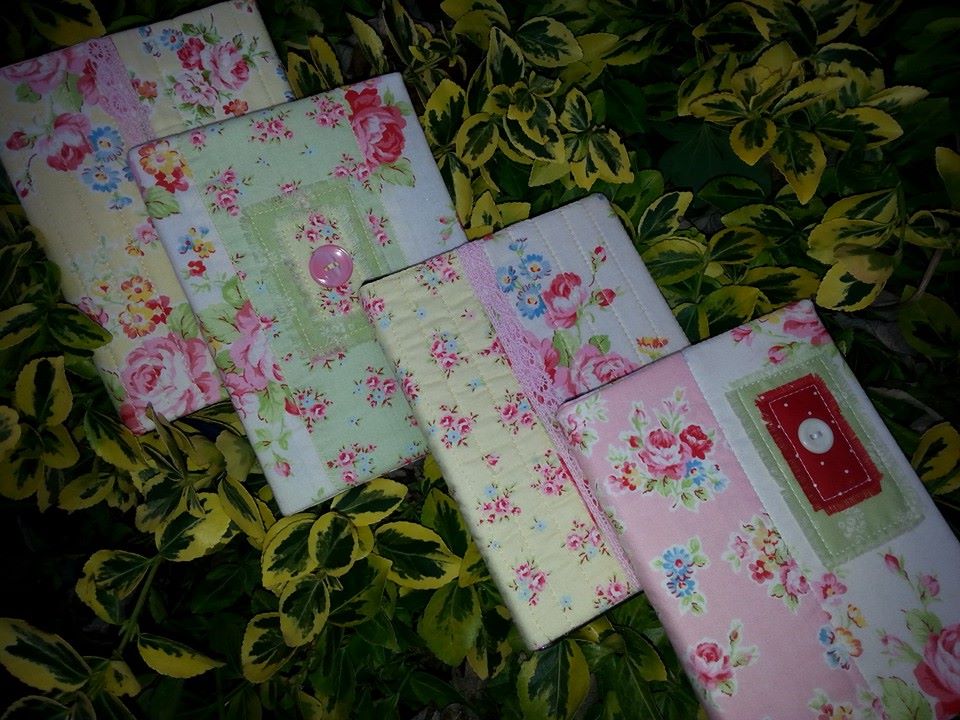
I had some Lecien fabrics left over from other projects, and decided to make some small journal covers. I didn't follow a commercial pattern for these, as I just used bits and pieces of fabrics and lace trimmings and buttons. I've popped a 2015 diary in these, A6 size (they're small enough to easily fit in a handbag without taking up too much room!) and they're ready for Christmas gifts.
1 Comment
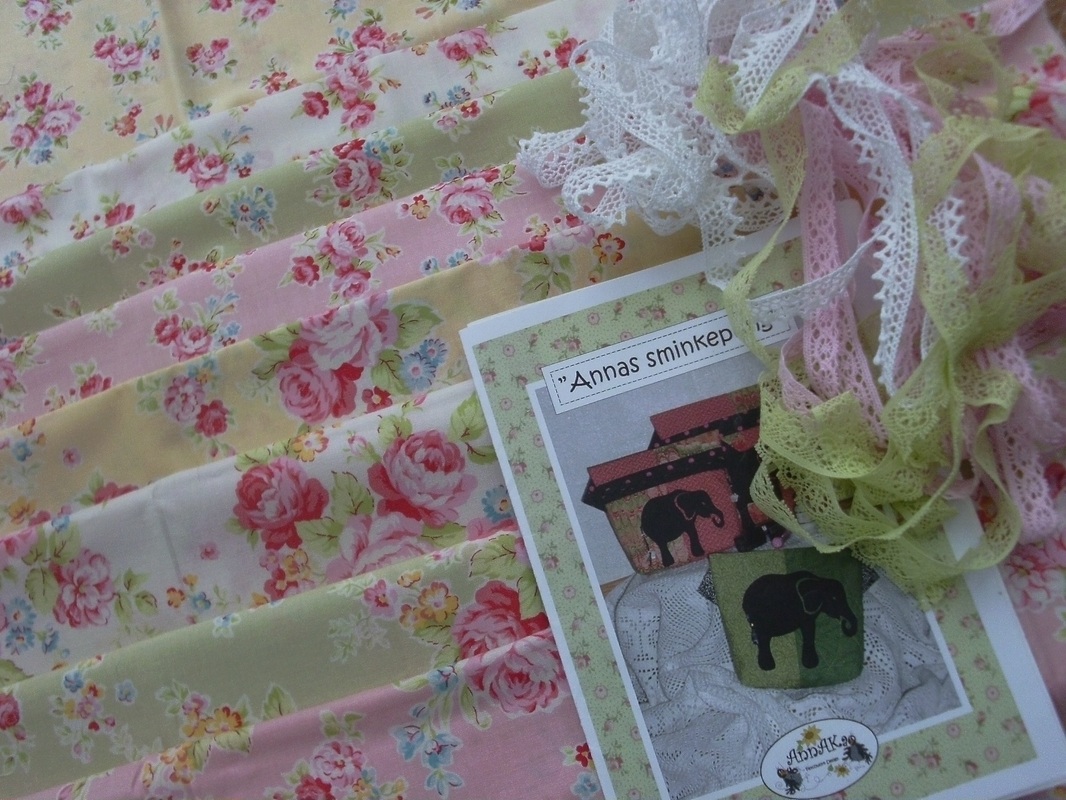
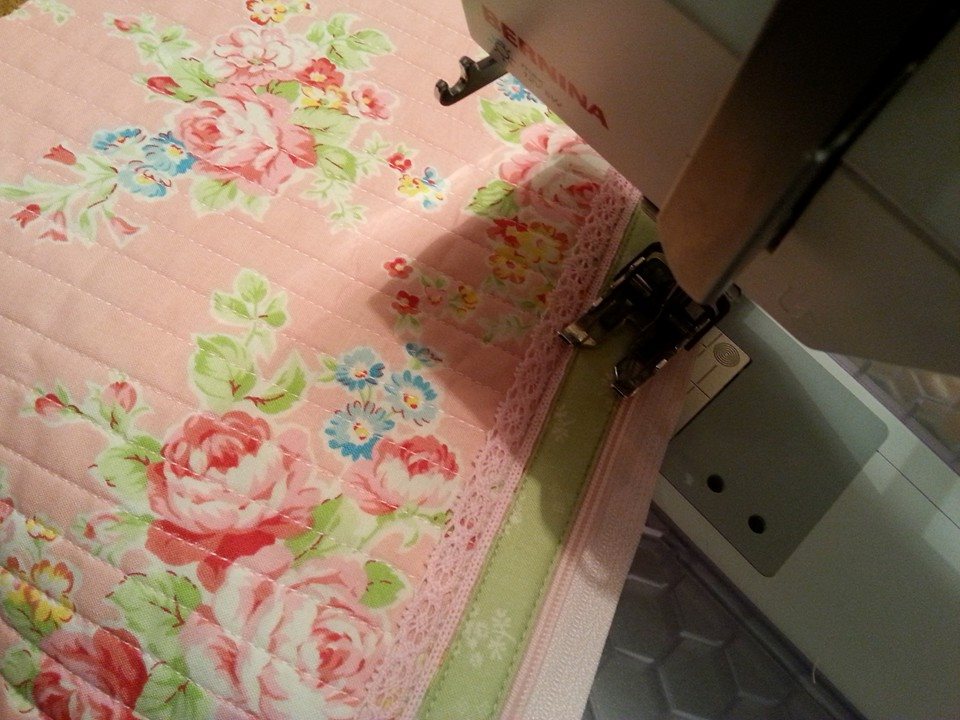
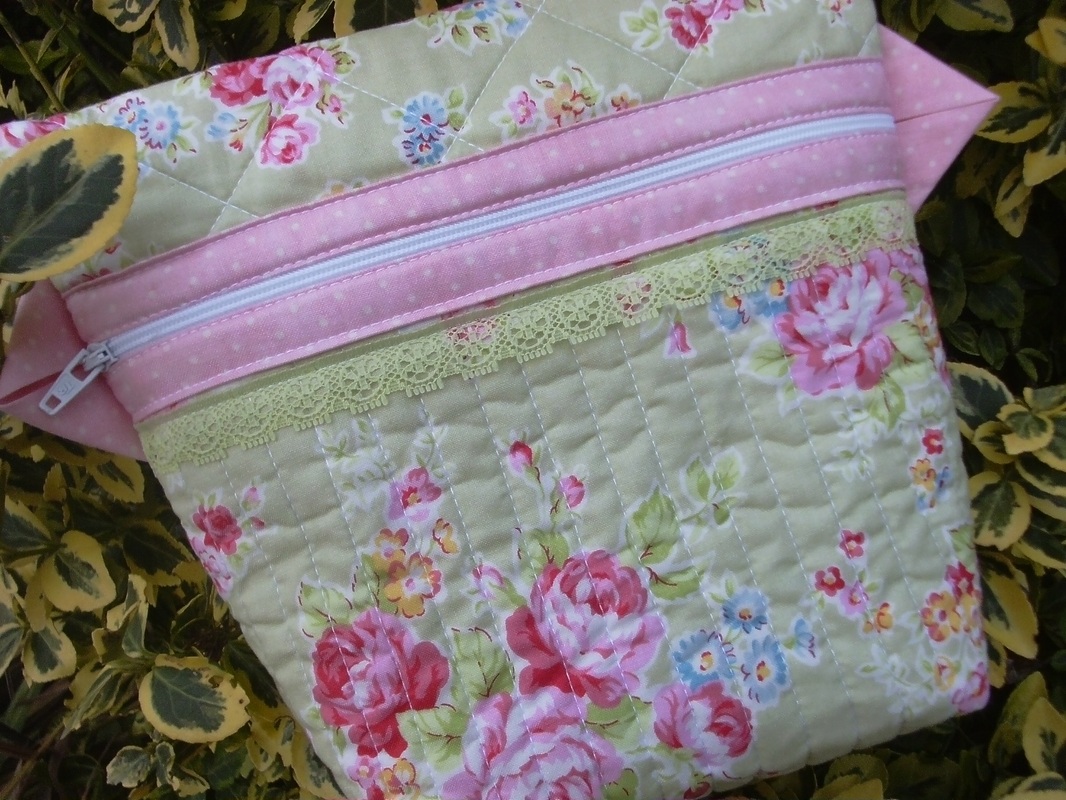
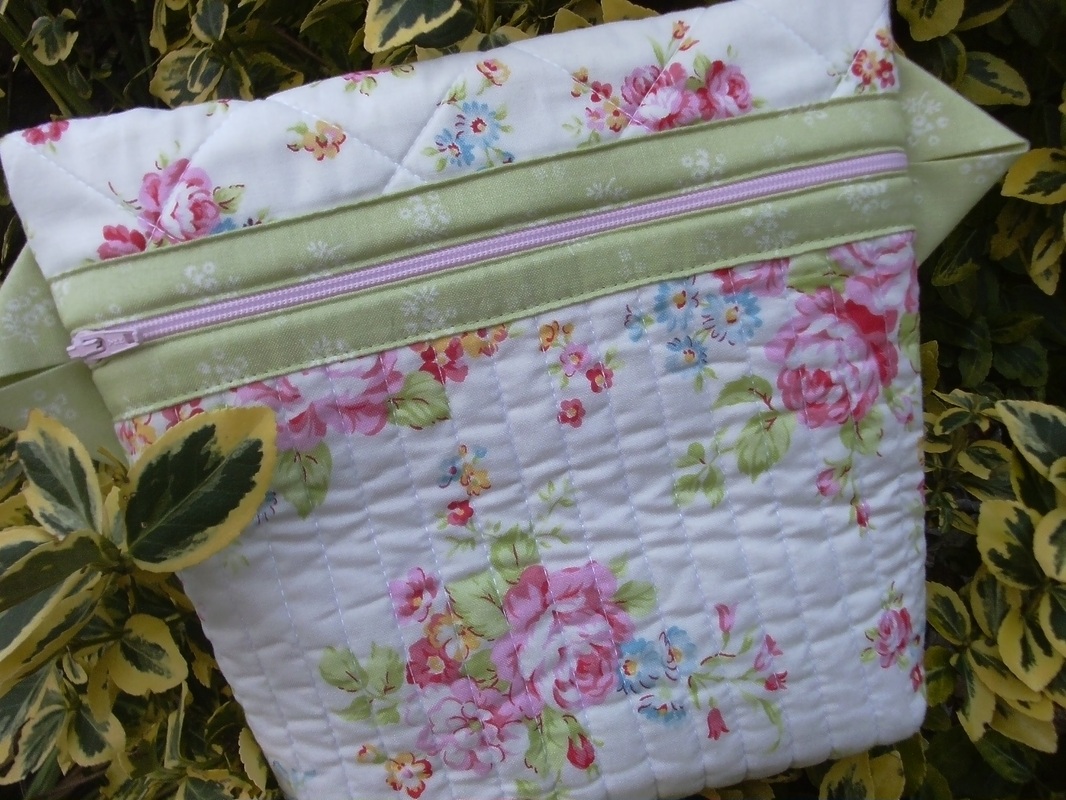
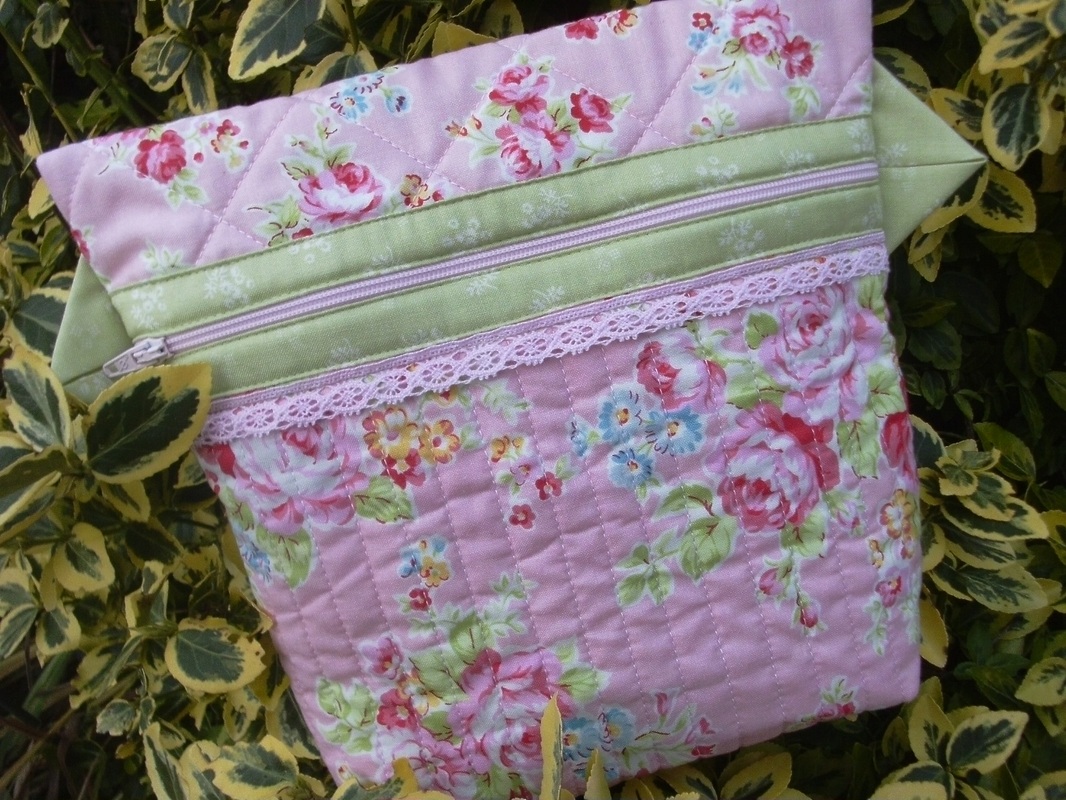
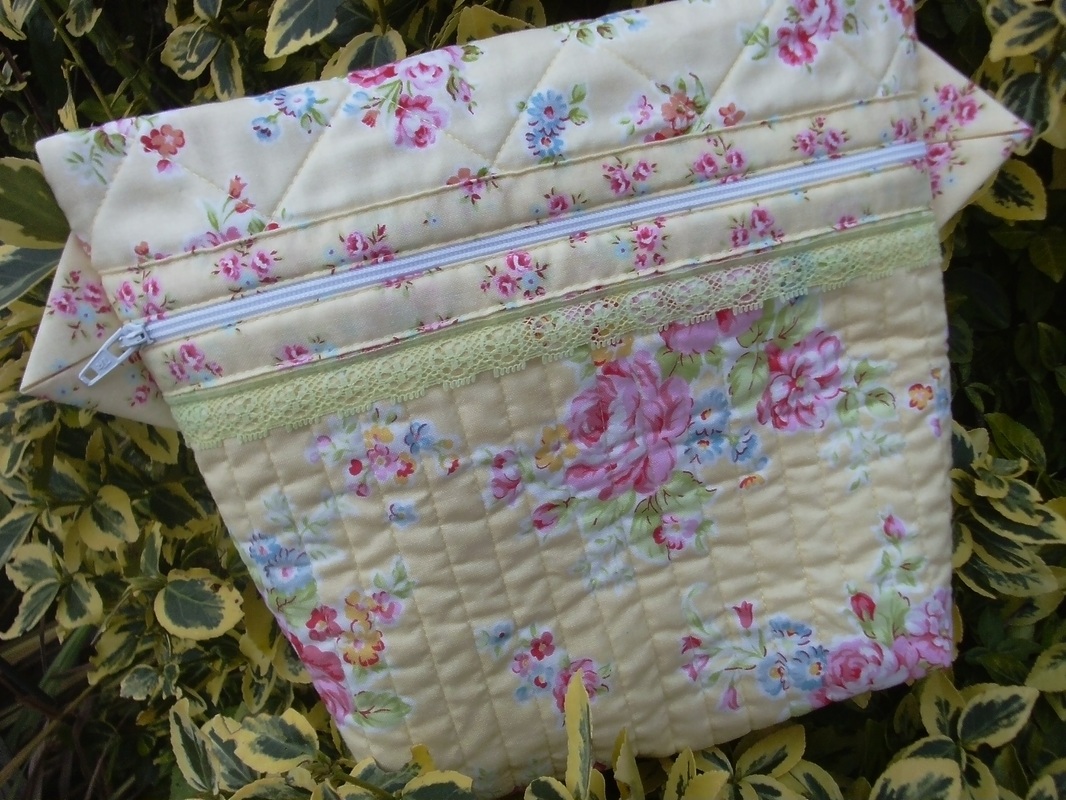
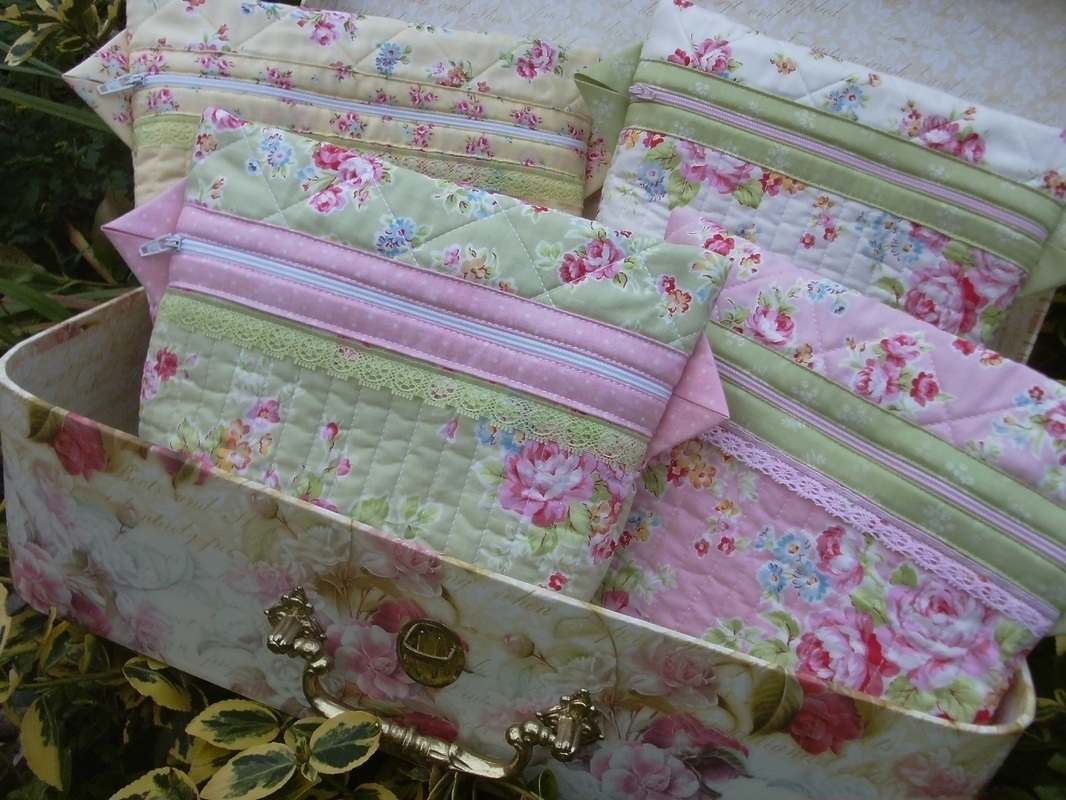
I've been busy sewing in the evenings, making more bags for Christmas gifts. I used the pattern Anna's Sminkepung by the Norwegian designer AnnAKa (no, I don't read the Norwegian instructions, I just follow the very detailed diagrams!) and a selection of pastel florals from my huge stash of Lecien fabrics. These were quilted very simply, using Auril thread 40wt in colours to match the fabrics, then I added some lace trimmings as decoration... ...these are trimmed with Prairie Points at the side of the zipper, in fabrics that match the zipper binding. I really liked this range of Lecien fabric, and may have to replenish my stash of fabrics and zippers and lace soon!... ...and here they are altogether. It's been tricky getting decent photographs as it's been too dark in the mornings before I go to work, and definitely too dark when I get home in the evenings, so I had to wait until today to get this photo-shoot completed. I'm planning to spend the rest of the day sewing as I'm getting ready for a Christmas Craft Fair that's tomorrow, so I'll share some pictures later!
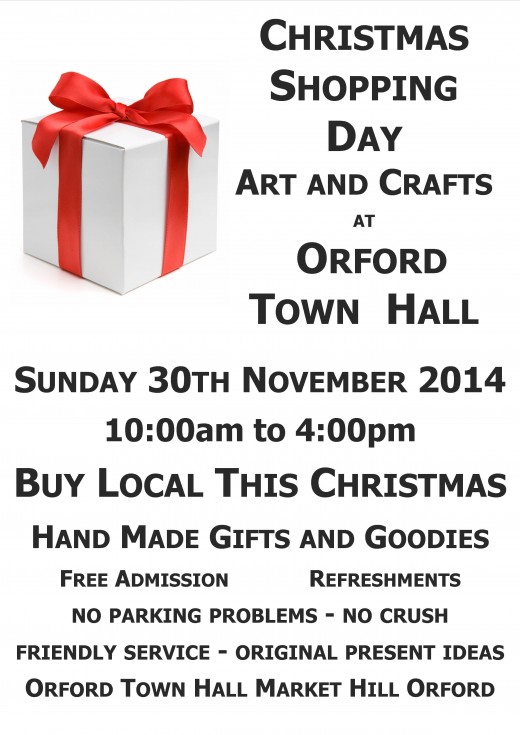
Well there's only one day left for sewing and quilting and generally getting ready for my stall at a local Christmas Shopping Day. There'll be lots of stalls selling all sorts of handmade crafty goodies - scarves and hats, and bags and cushions, and jams and pickles - and of course I'll be there with some of my quilty stuff too. If you're going along, please stop and say hello!!
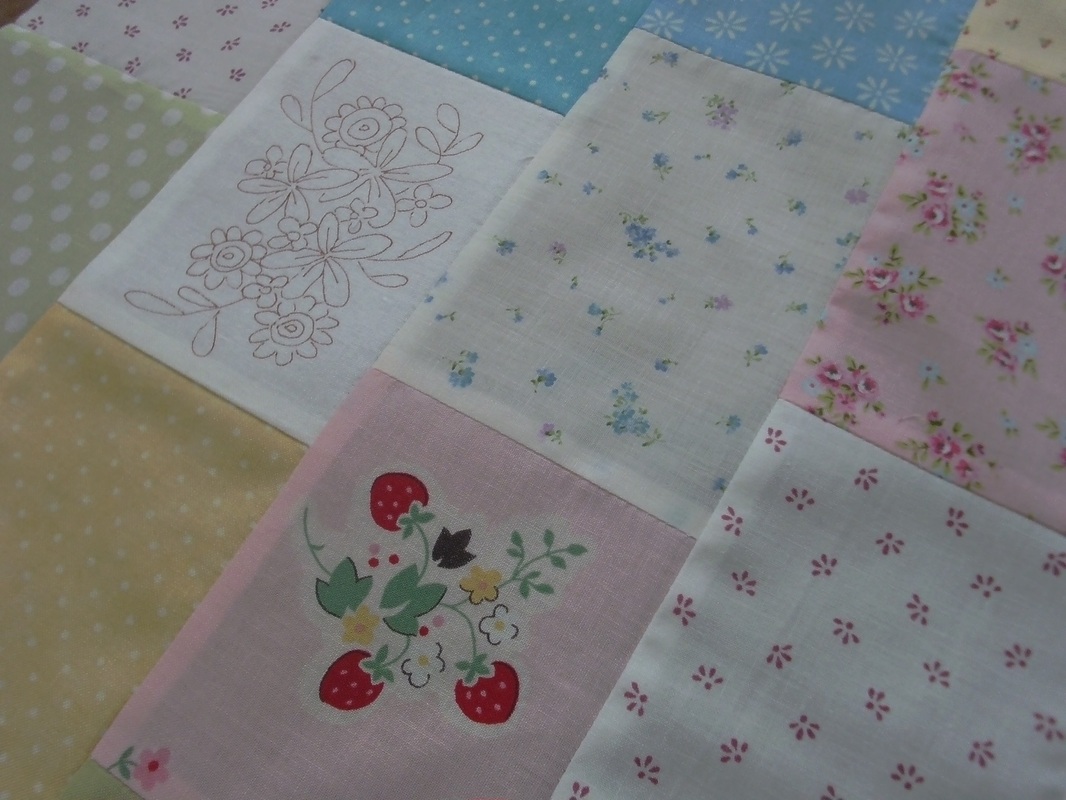
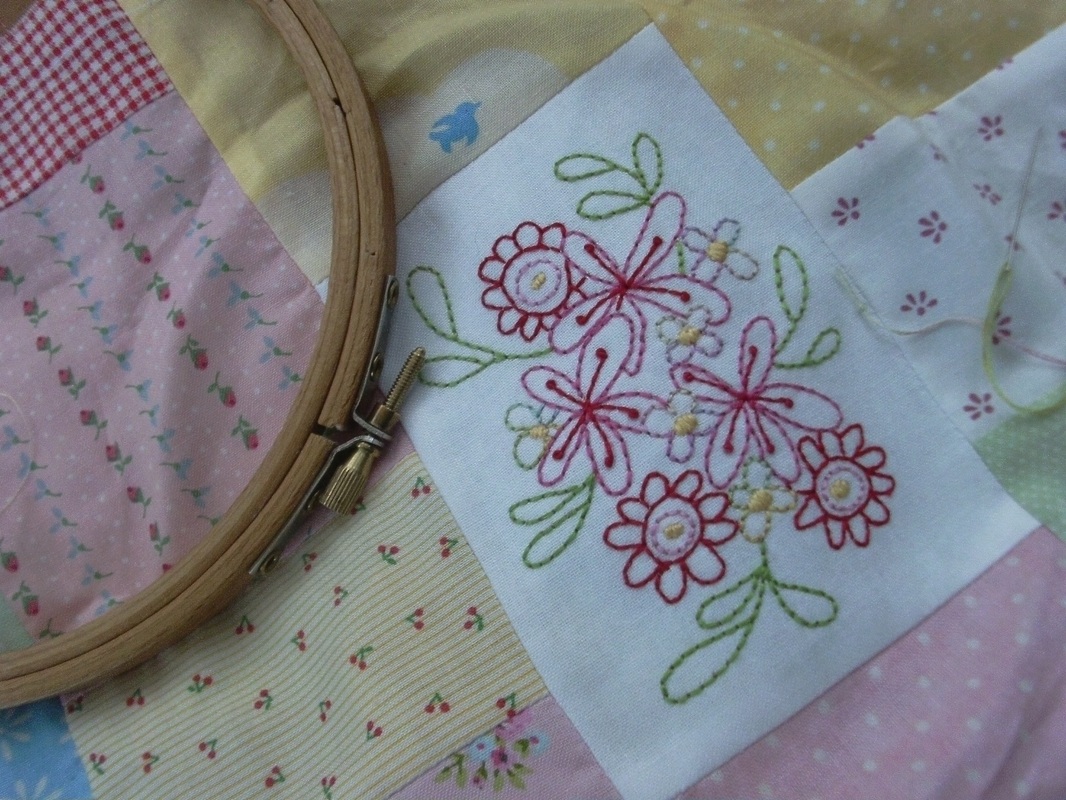
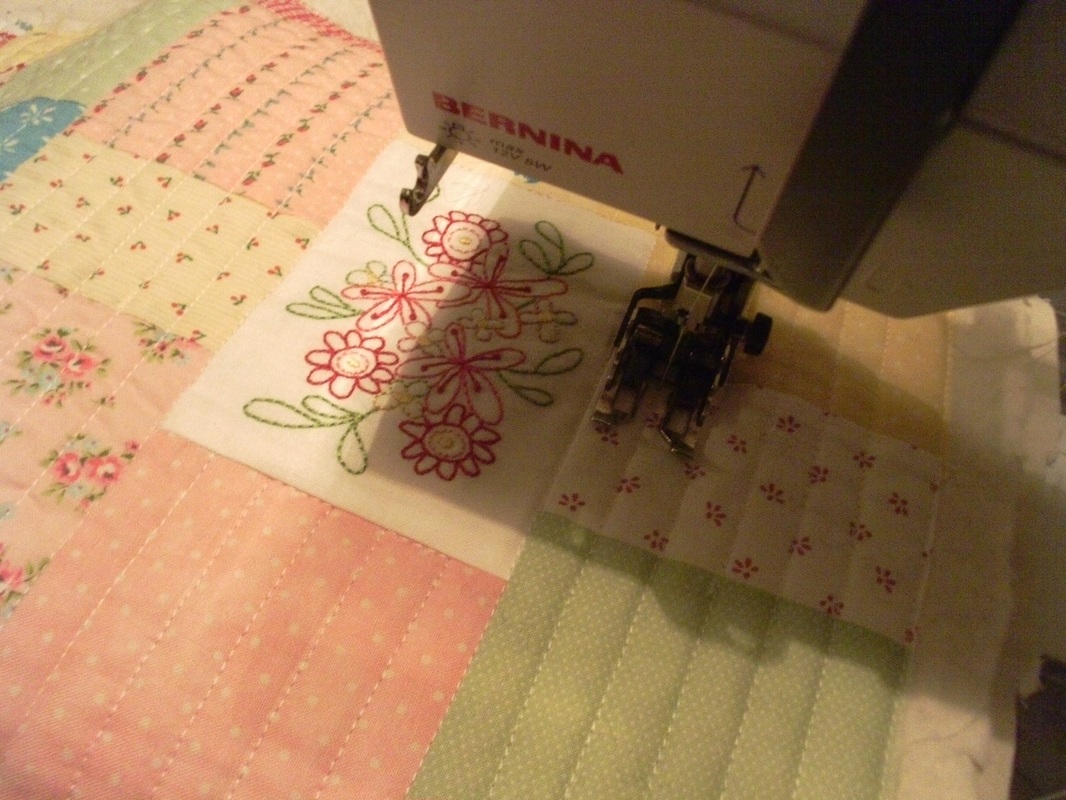
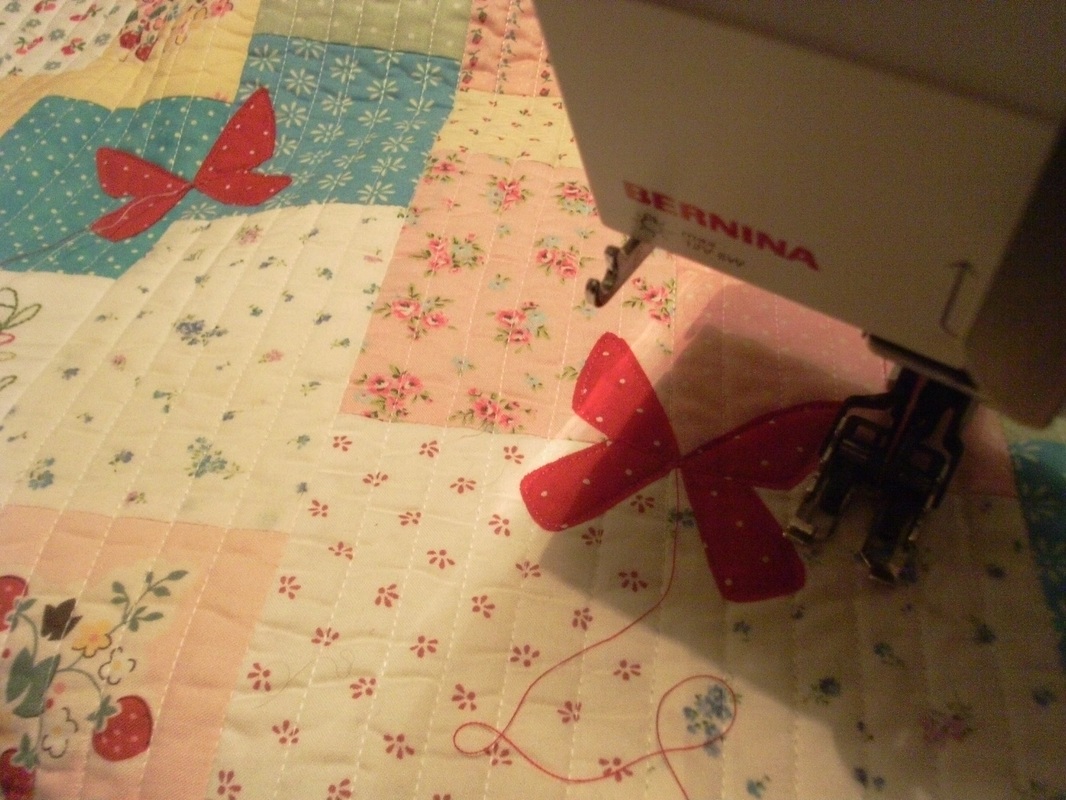
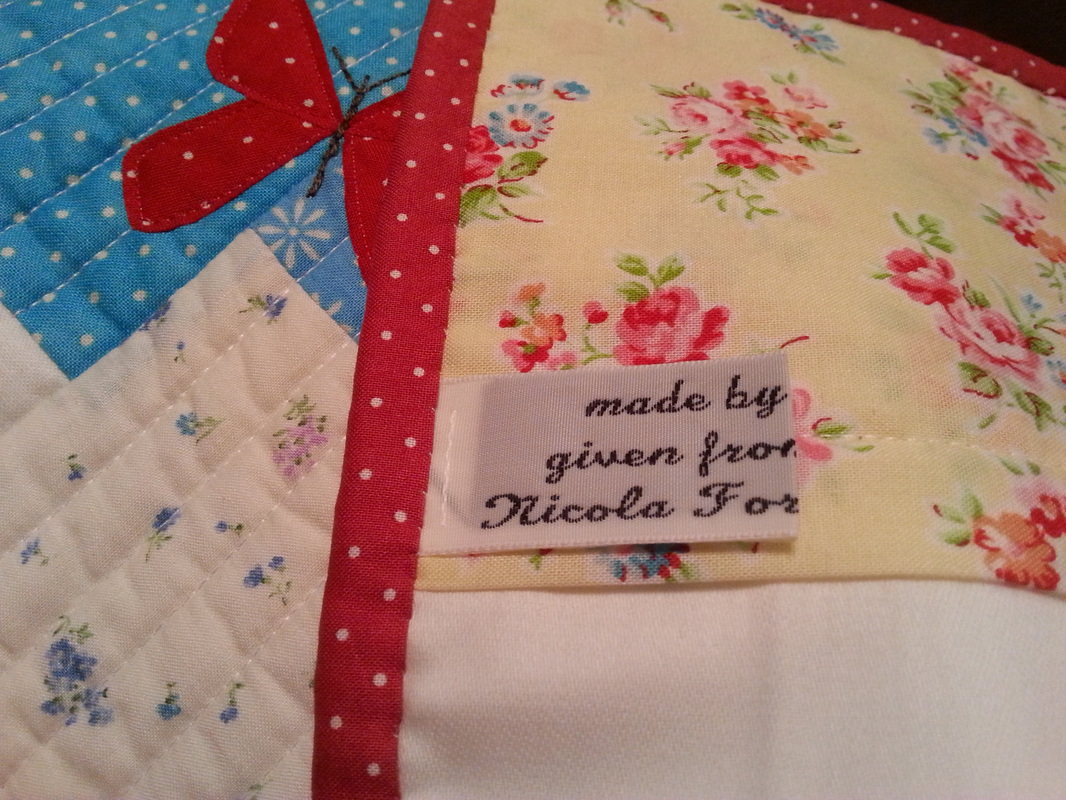
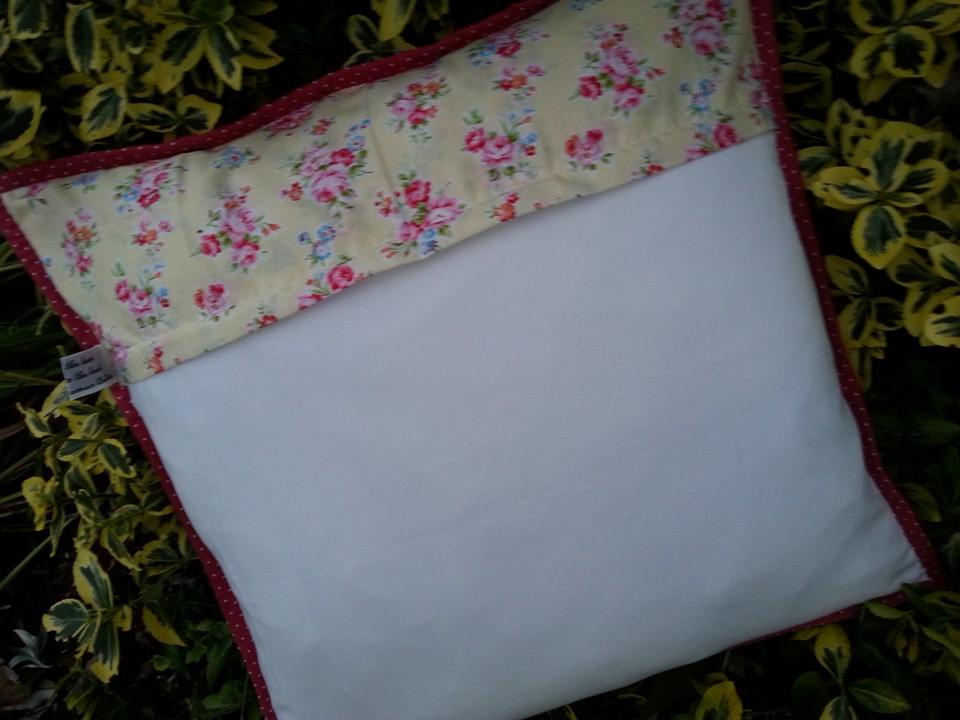
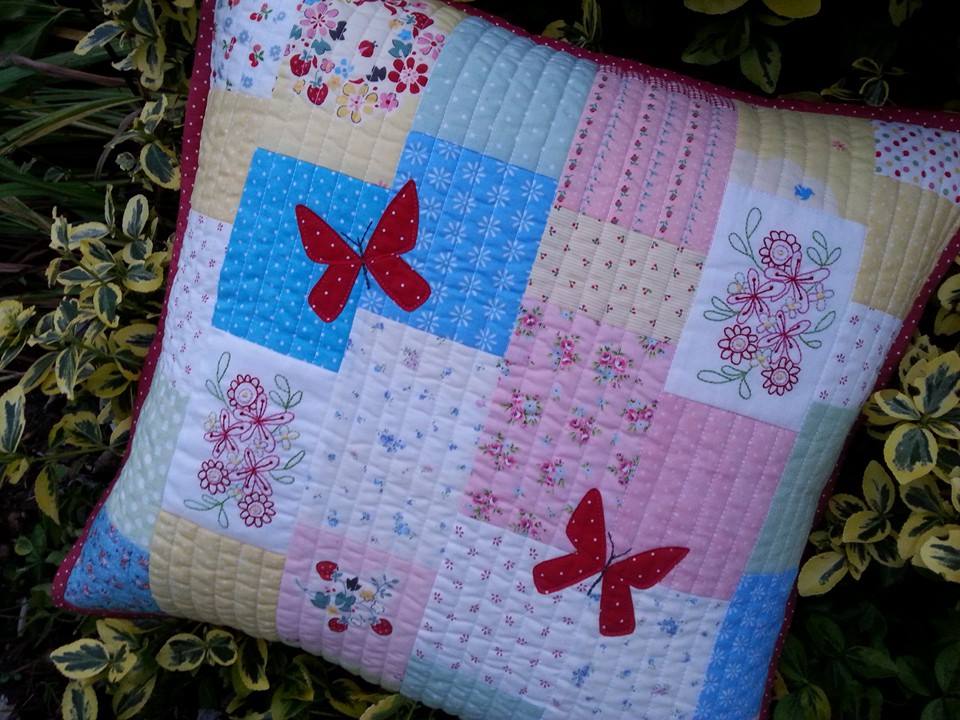
I was clearing out sewing corner, and found a few scraps of fabric left from a quilt that I'd made earlier in the summer (it was called "Down In The Garden" by Leanne Beasley). I'd already made a cushion for my sister with some of these scraps, and had just enough fabric left to make another one. I traced a stitchery design (also from the same quilt pattern) onto a couple of plain pieces of fabric, and then it all together randomly. The stitchery design was then completed by hand... ...the cushion top was layered with a muslin backing and a piece of Quilters Cotton Dream wadding (select weight) in between. This was quilted very simply with straight rows 1/2" apart, using my walking foot as a guide. I've used my favourite quilting thread for this - Aurifil 40 wt - and a Schmetz top stitch needle size 70. I really like the ribbed effect of the quilting, and the Aurifil thread is just wonderful to sew with. Once the quilting was completed, I added some machine-appliqued butterflies... ...the bodies and antennae were then added (this was done very simply with back stitch). A spotty binding finishes this off, hand stitched to the back of the cushion, and one of my labels is added to the back too. i really loved this pretty yellow Lecien fabric that I used for the top half of the cushion back... ...and here it is - another scrappy cushion completed!
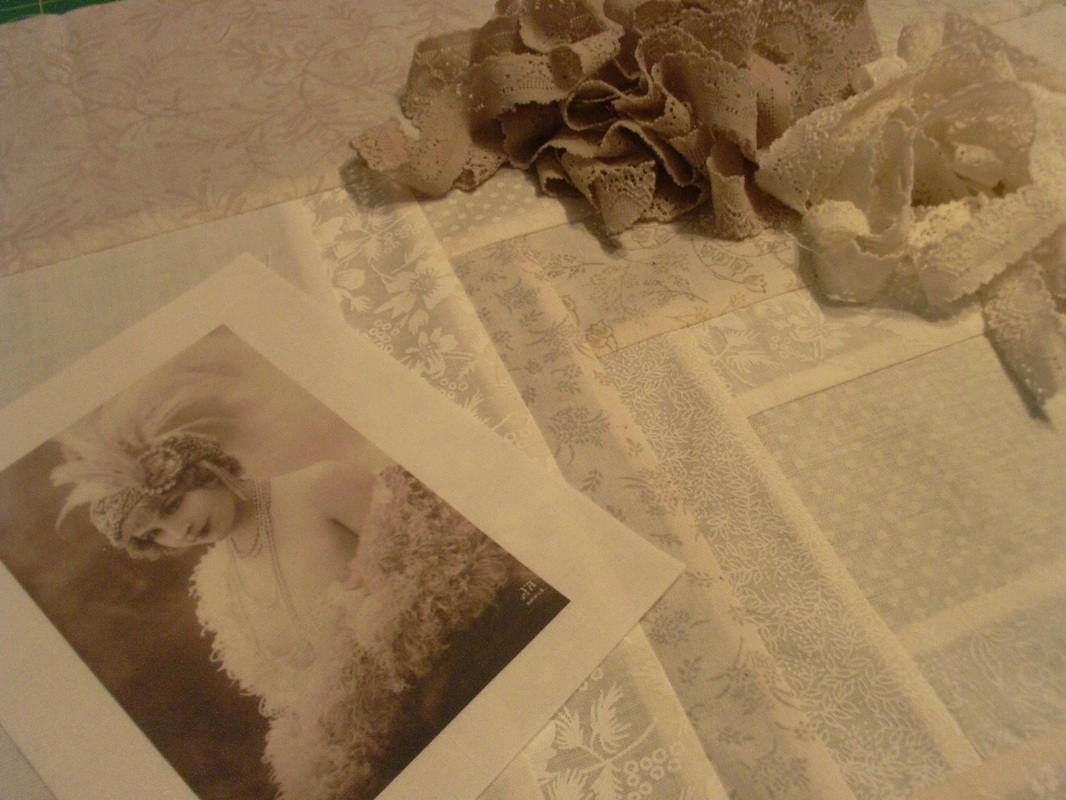
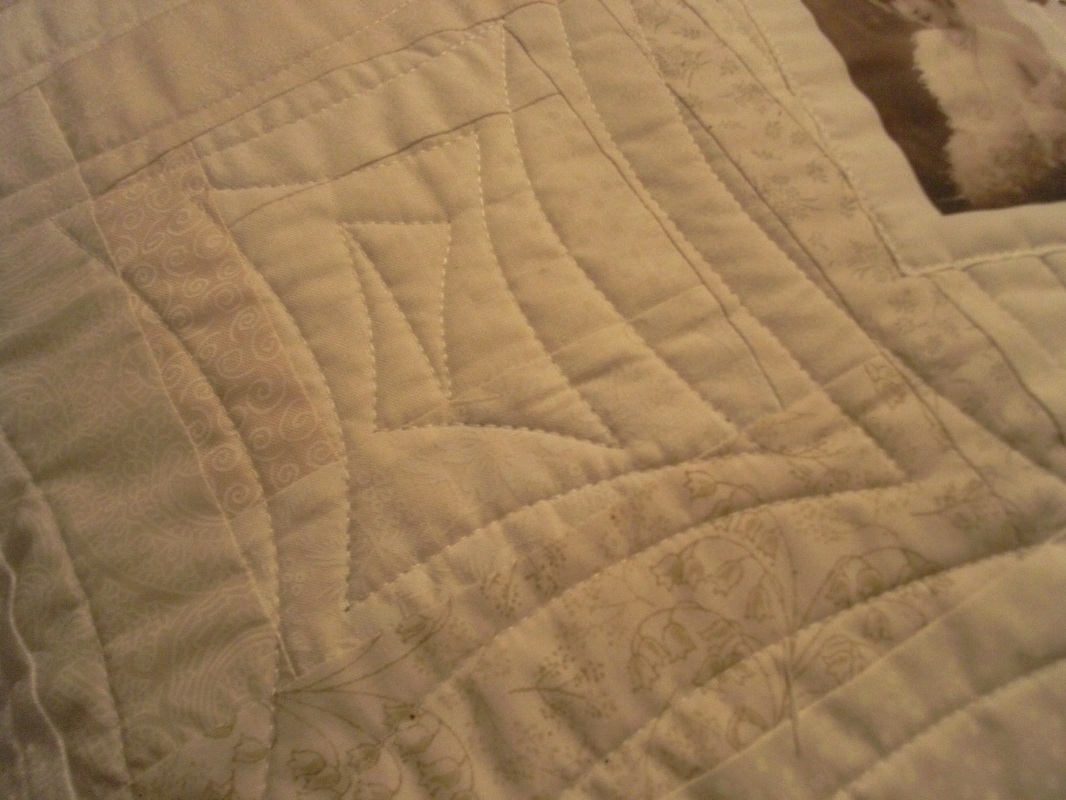
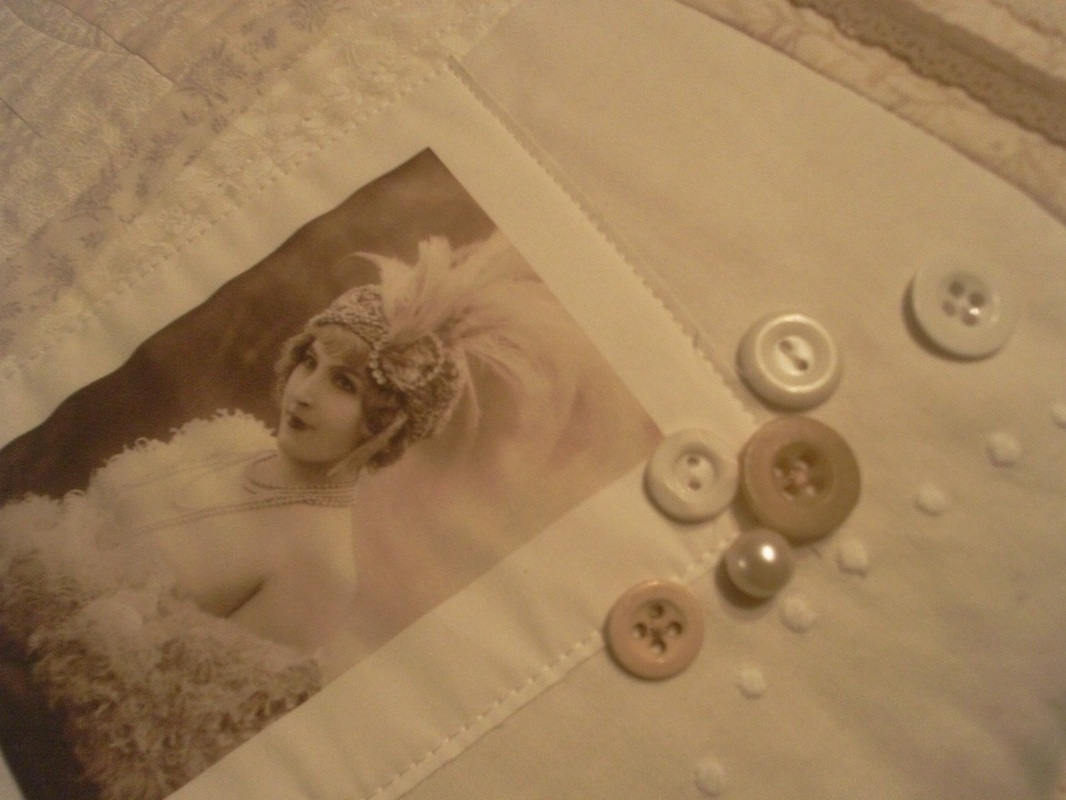
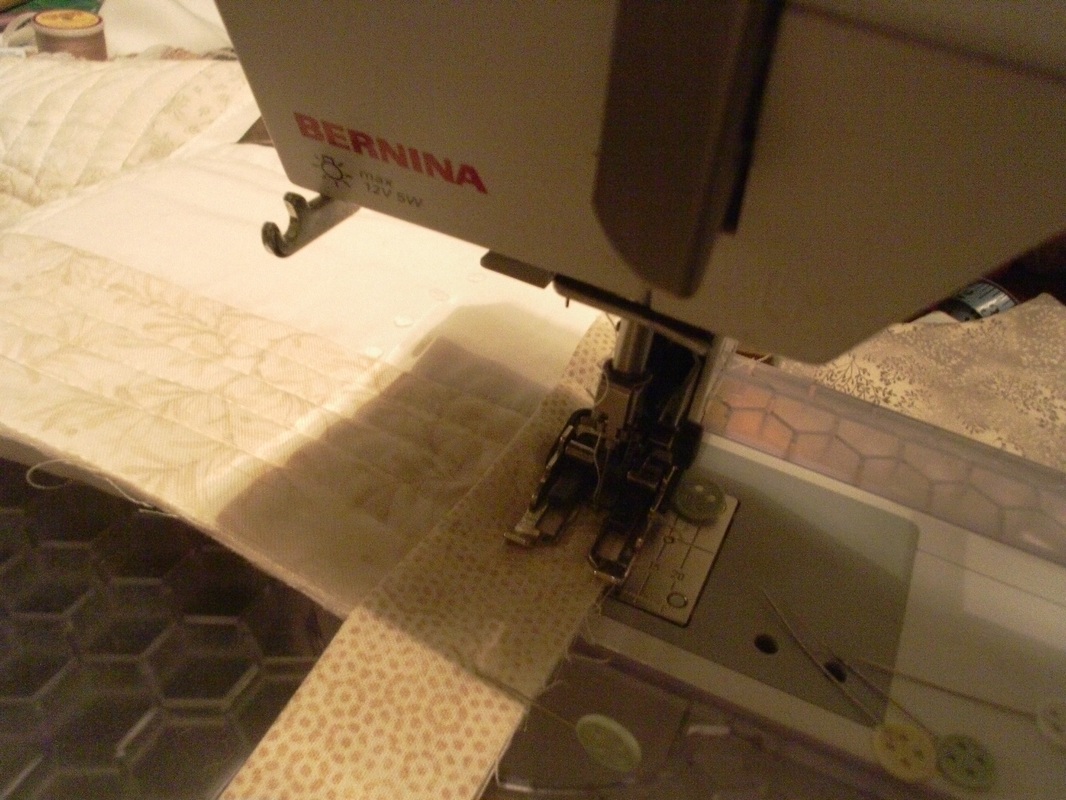
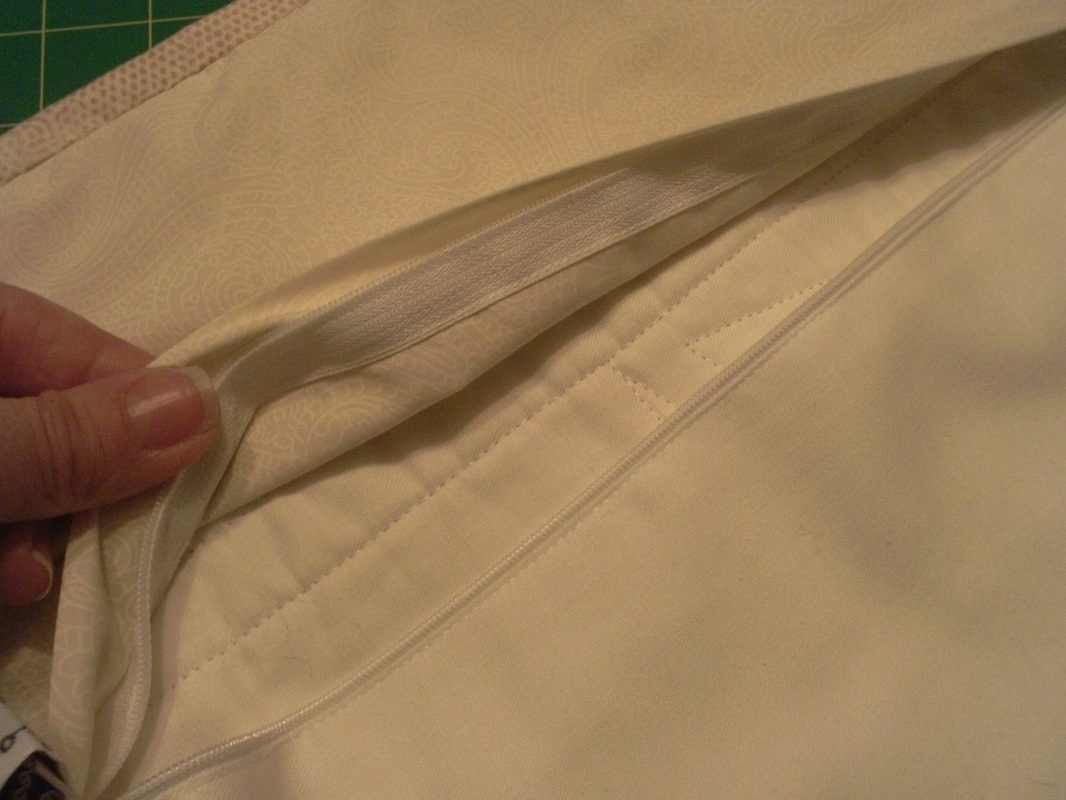
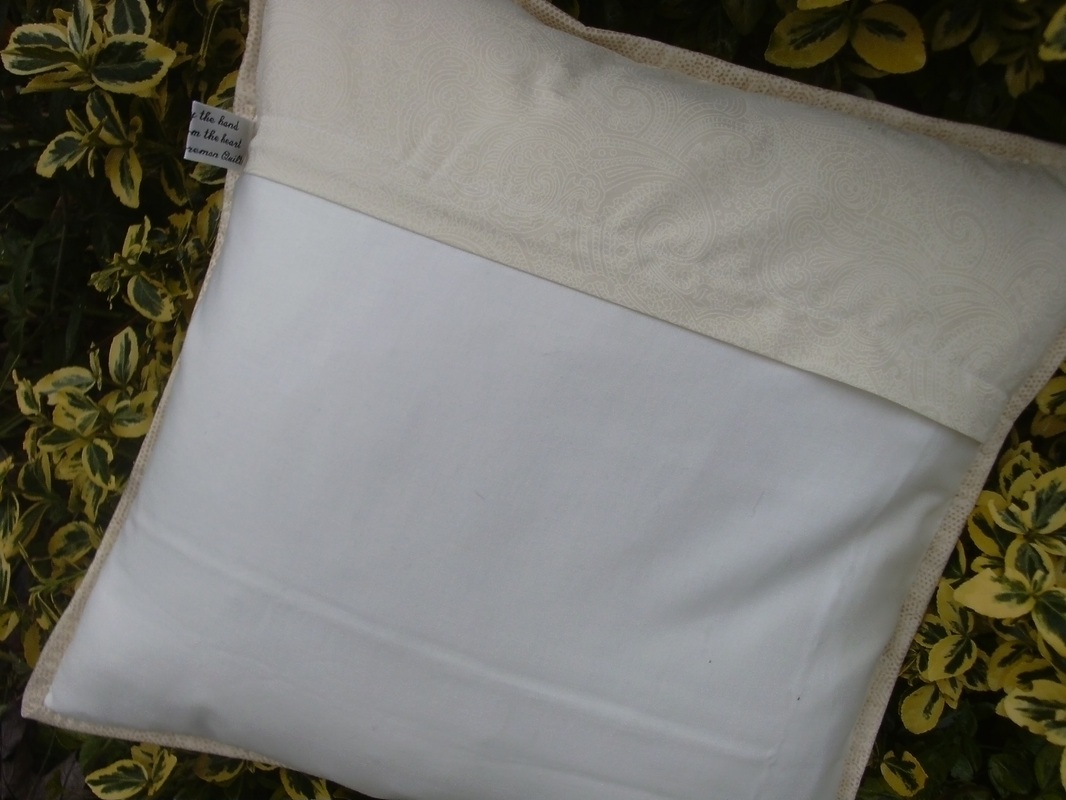
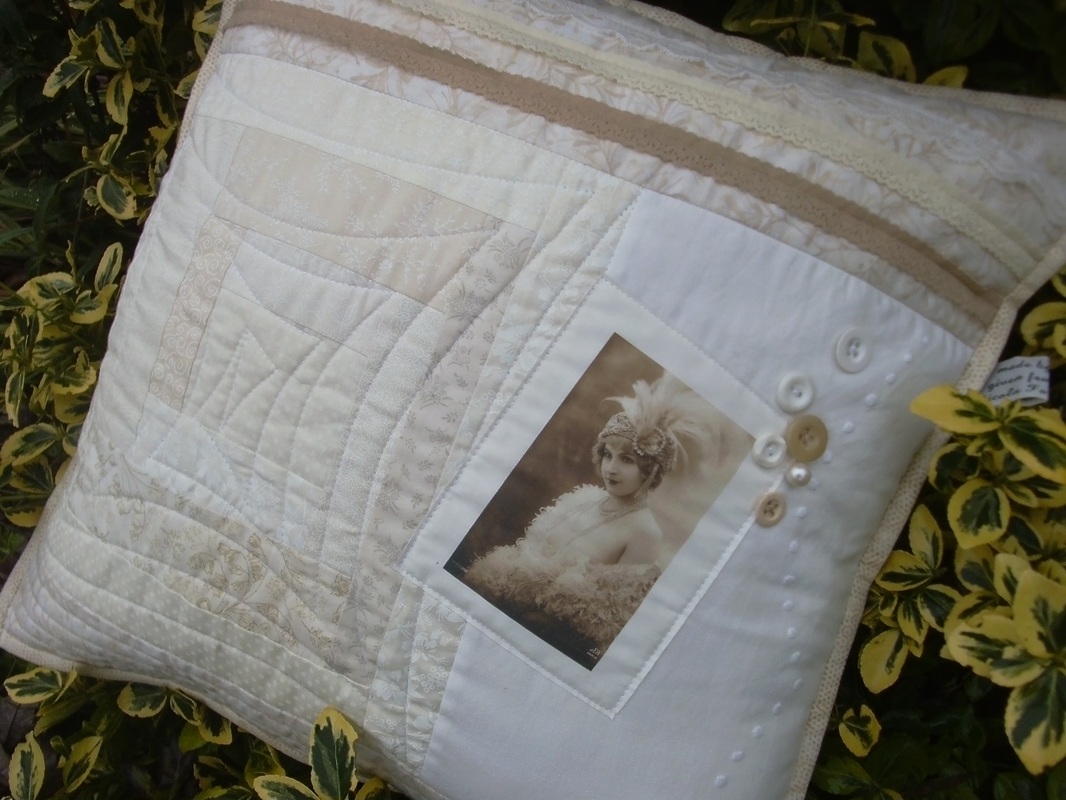
I've been playing around with a selection of white and cream fabrics, and lace trimmings, and printing vintage pictures onto fabric (I always use EQ printable sheets that I buy from my local quilt shop, Quilters Haven). I made a scrappy log cabin block and added more fabric in random shapes and sizes until I had a piece that was approx 18" square. Once I was happy with the layout, it was layered onto a piece of muslin with some wadding inbetween (I used an off-cut of Quilters dream cotton wadding, select weight that was left over from another project) and spray basted the layers together using 505 spray. I quilted the layers together, and free motion quilted a large angular spiral on the log cabin block... ...once the quilting was completed, I machine appliqued the vintage picture into place, and stitched a few vintage buttons randomly. 3 rows of lace trimming were finally added. The front and back of the cushion were layered up, and the binding was added... ...I used 2 fabrics for the back of the cushion (I think this adds a bit of interest to the back, and like things that I make to look pretty on the back as well the front!) and used a concealed zipper as the closure. This looks really neat, and had a small label sewn into the side seam too... ...and here's the finished cushion. A plump feather cushion is used to fill this out. It was time for a quick photoshoot this morning, as it was raining when I finished this yesterday, then it needs to wrapped up for my baby sister who has a birthday coming up!
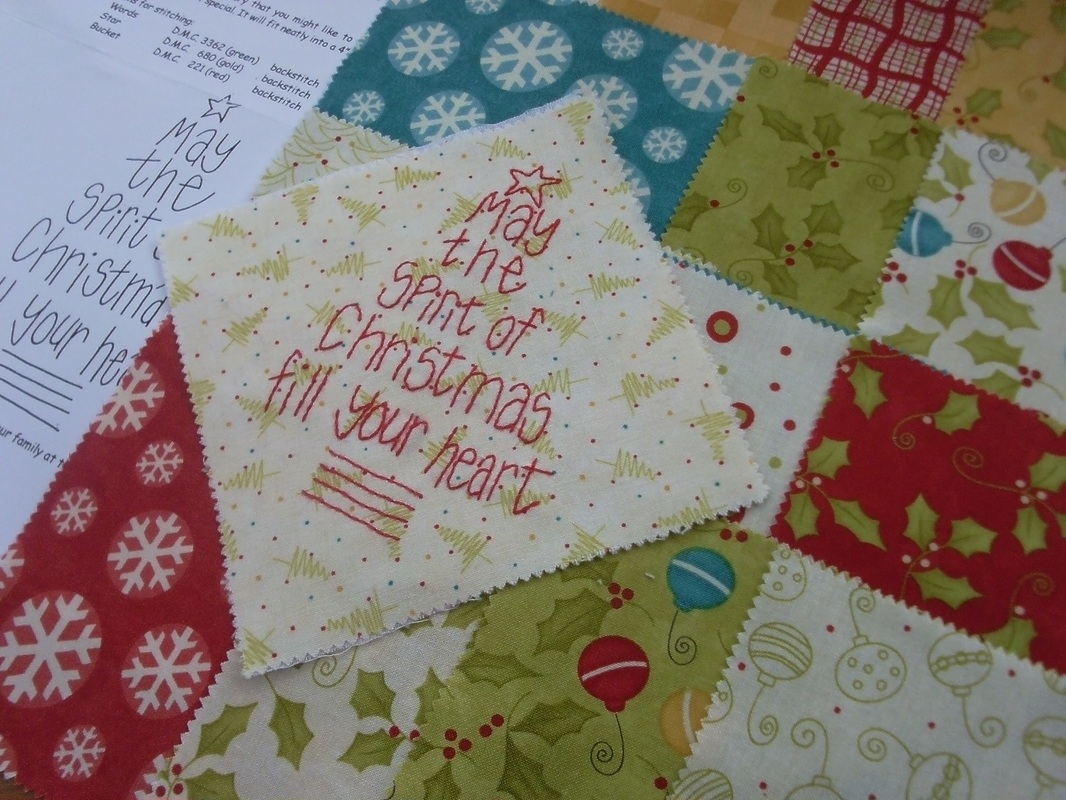
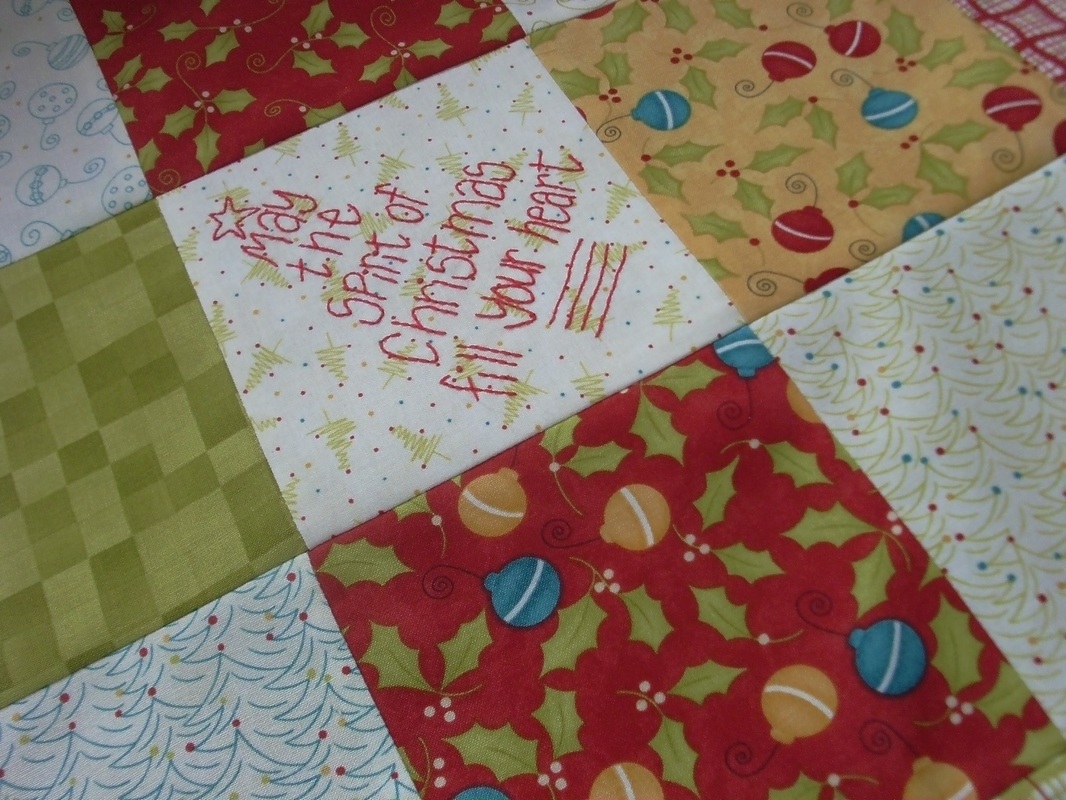
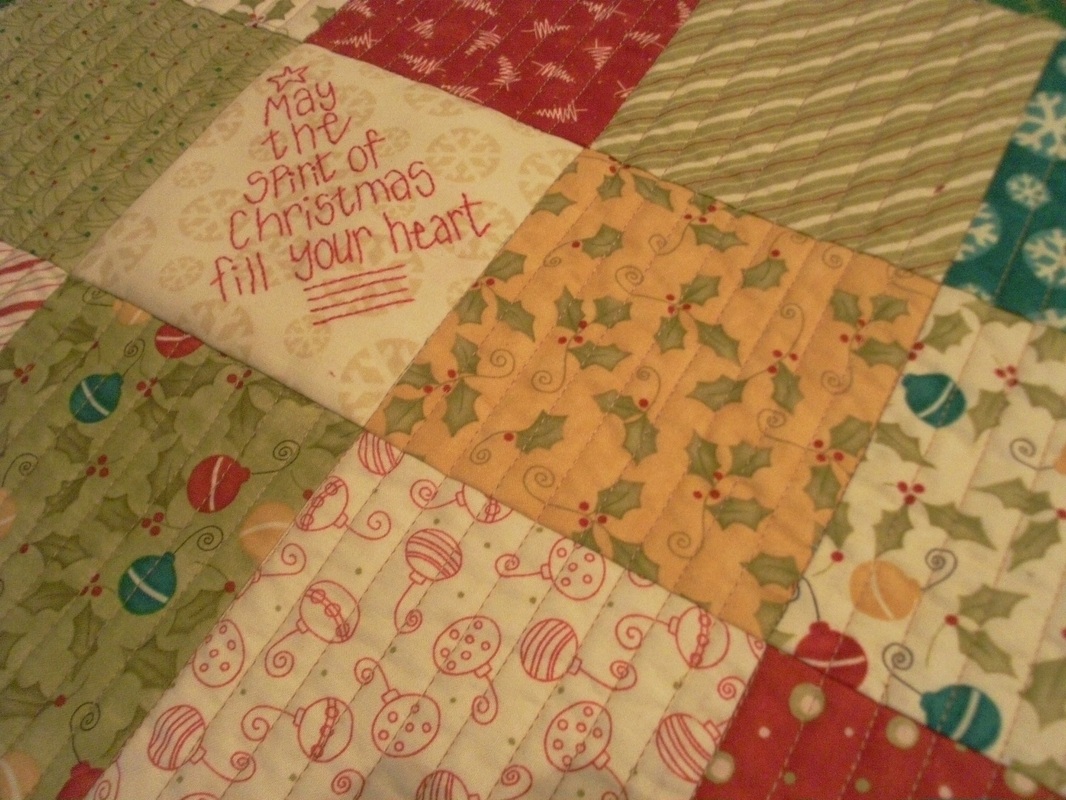
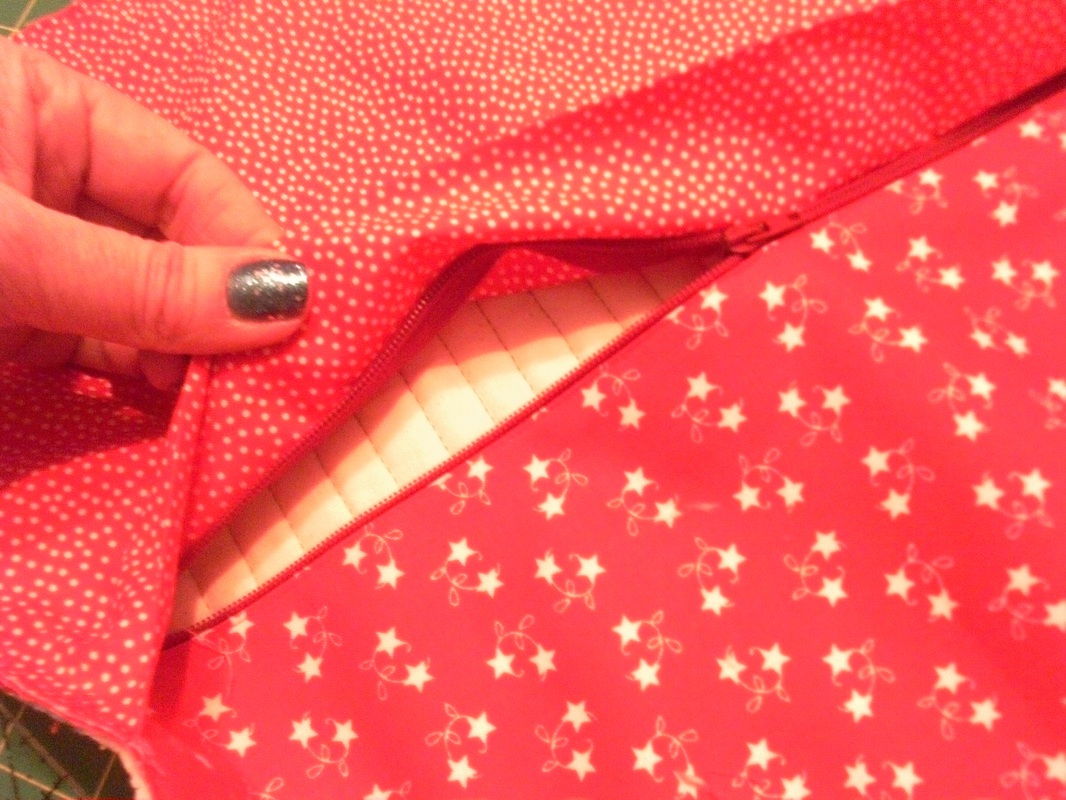
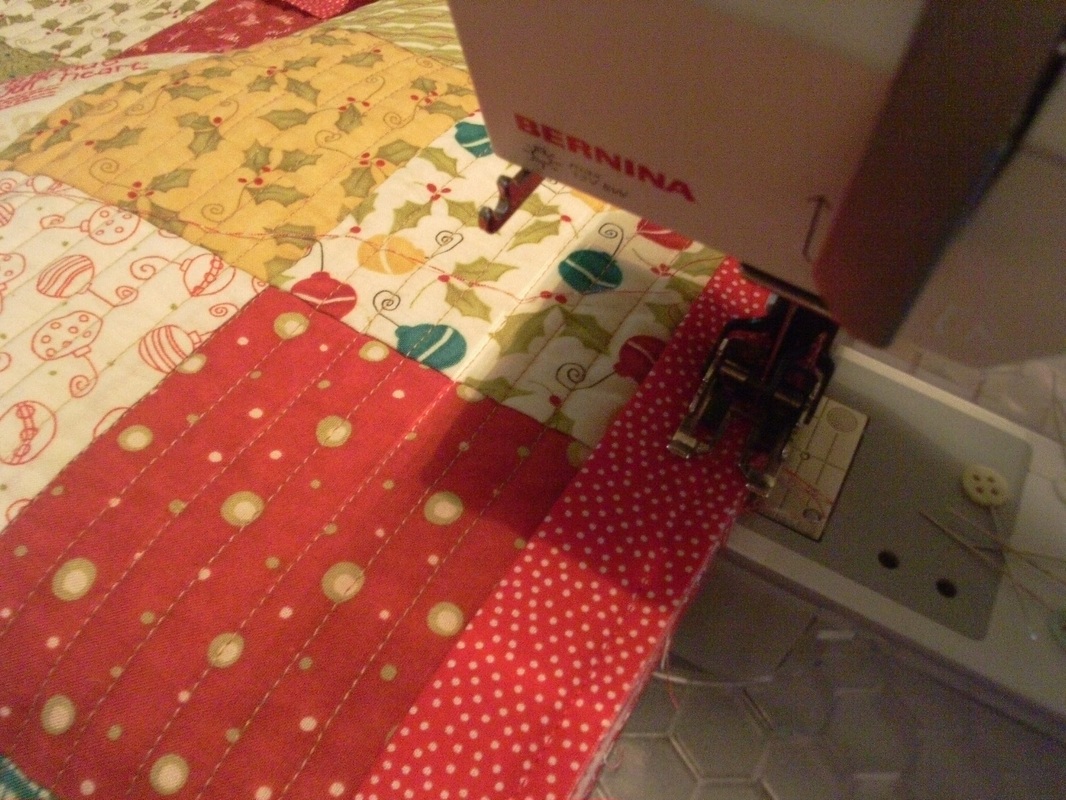
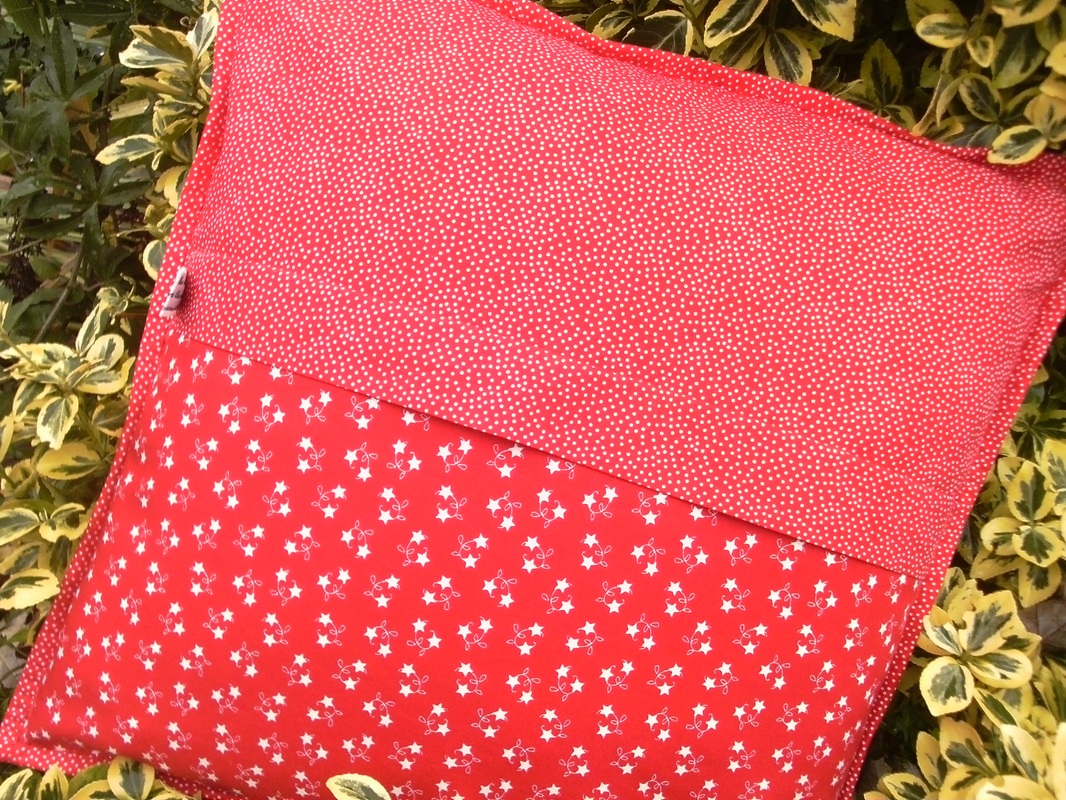
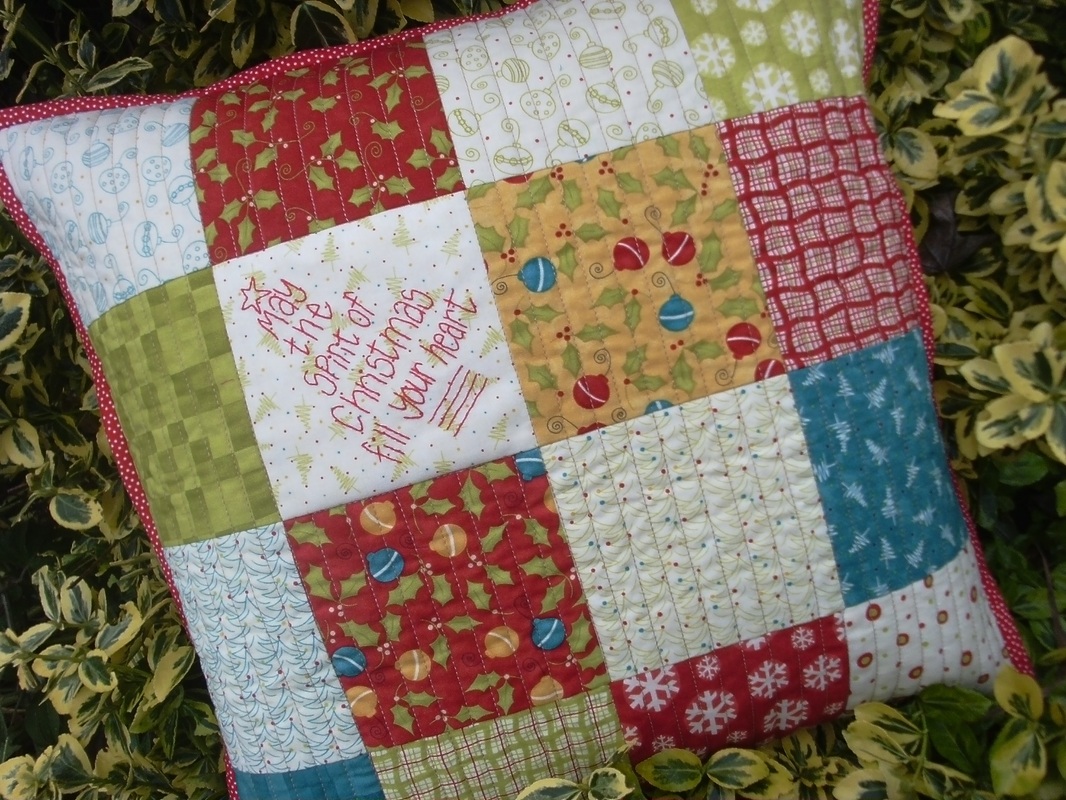
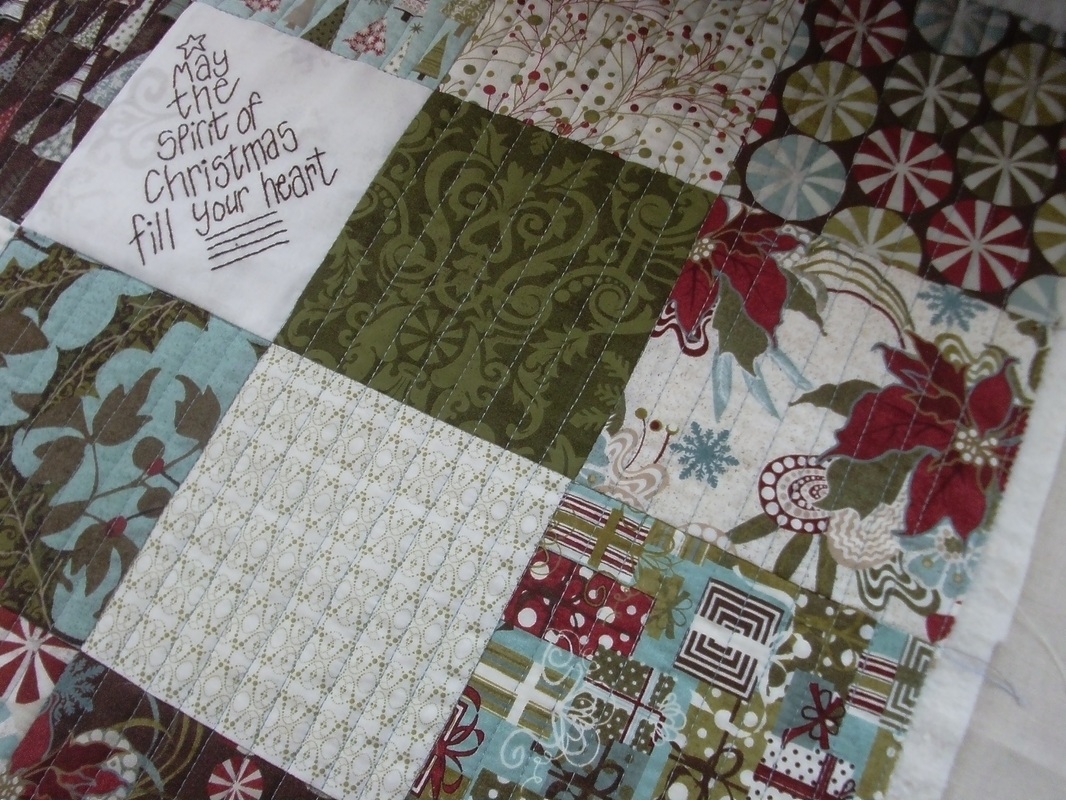
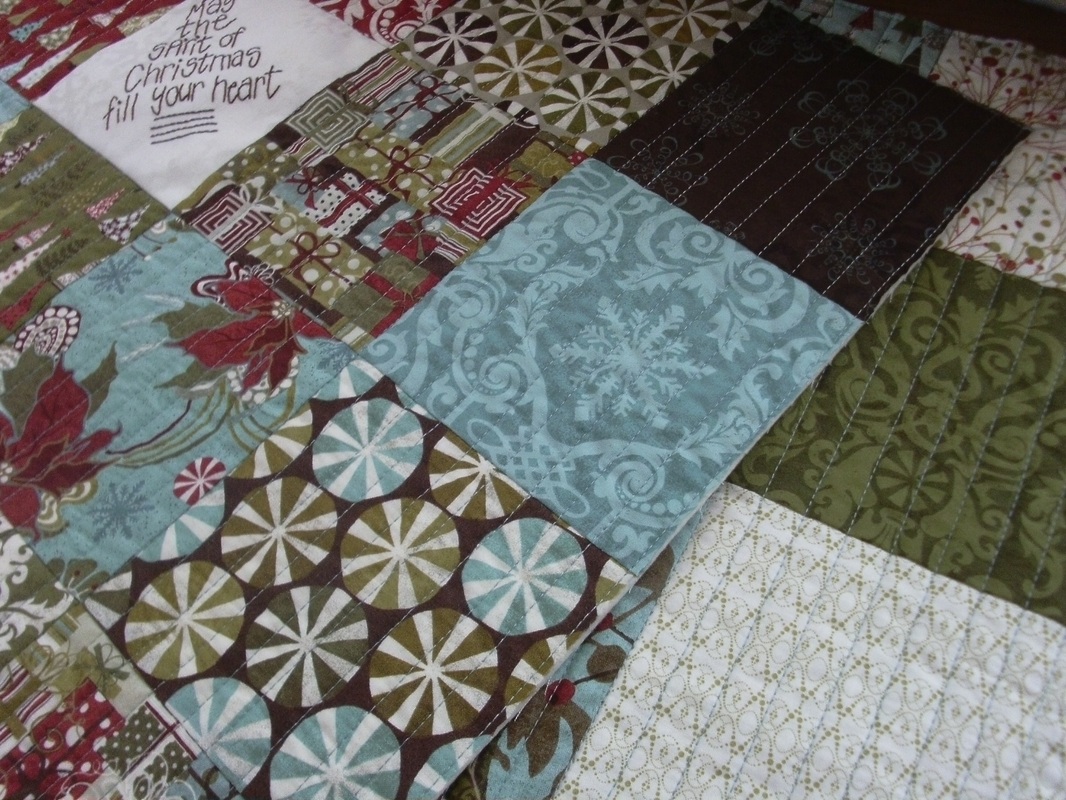
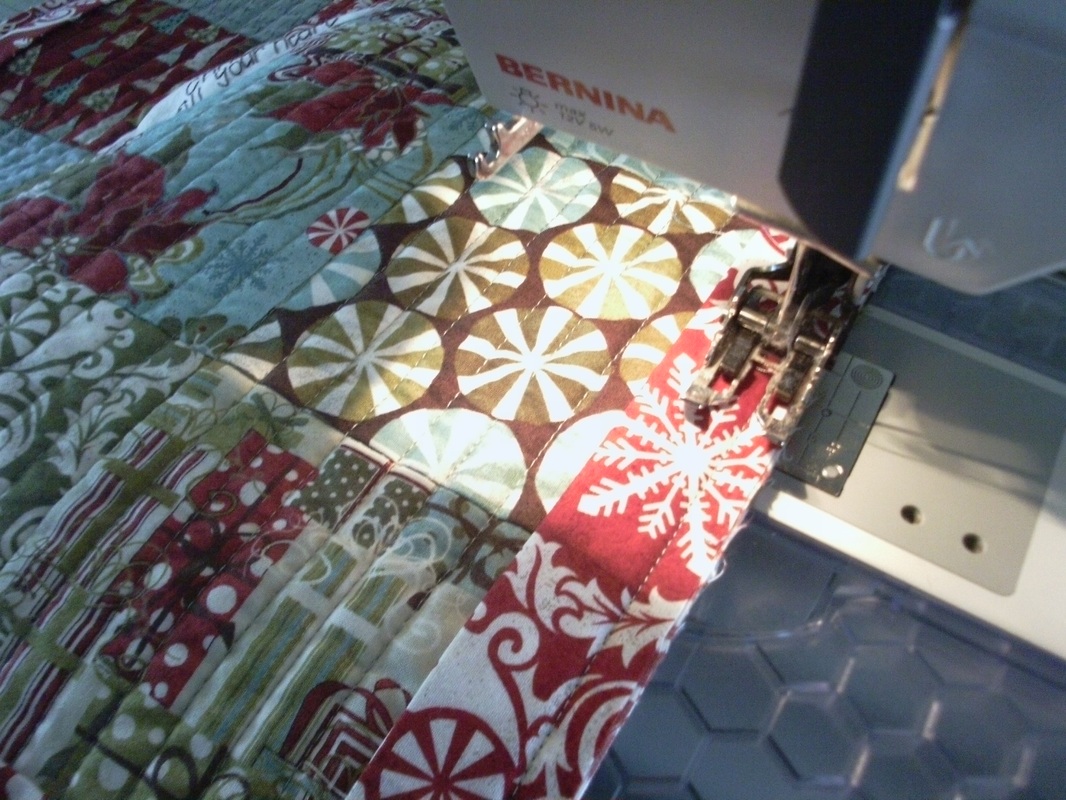
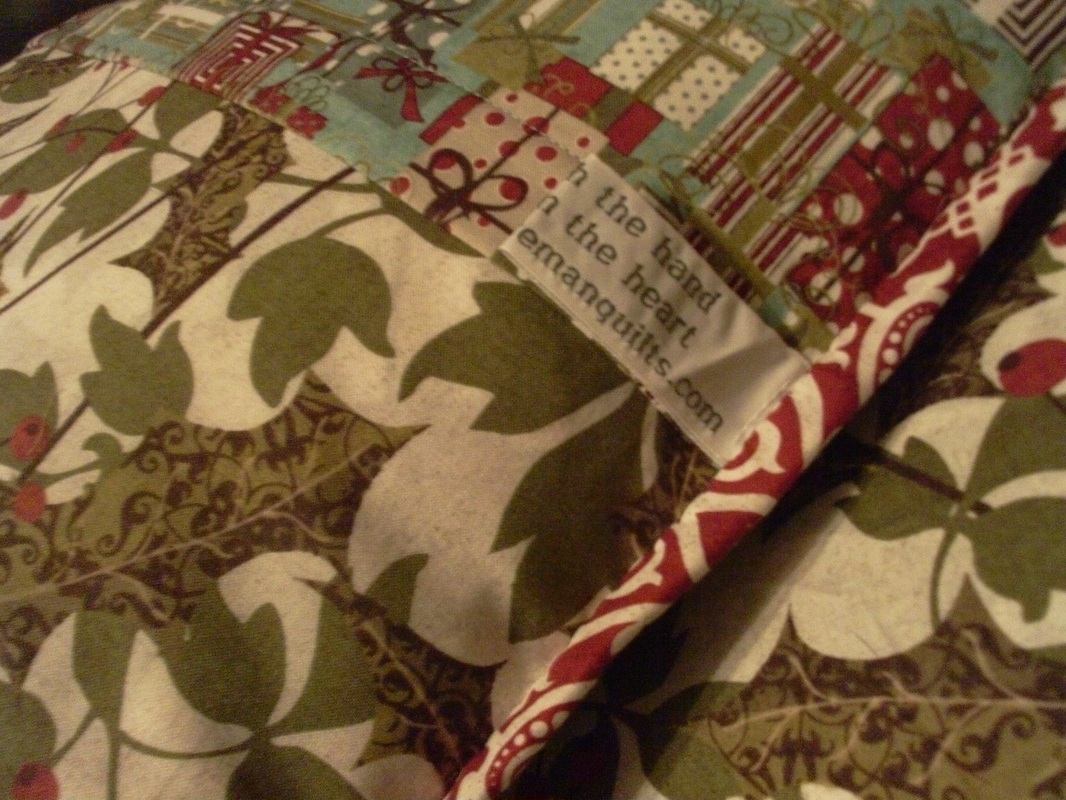
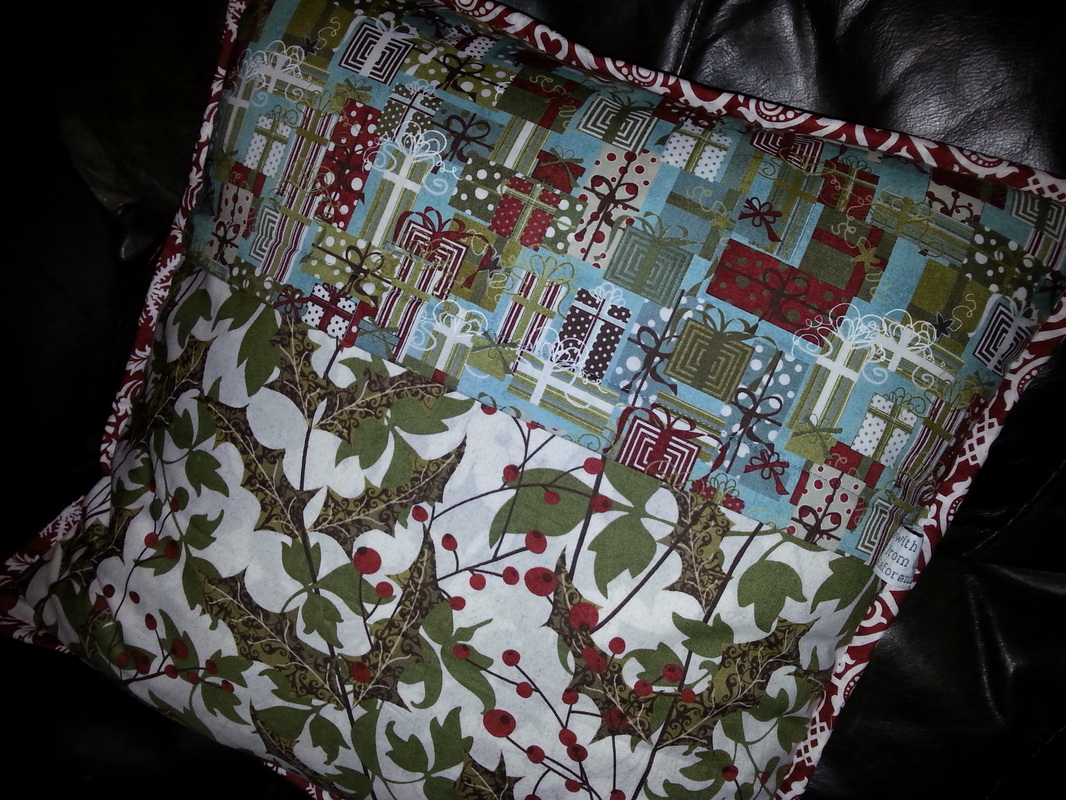
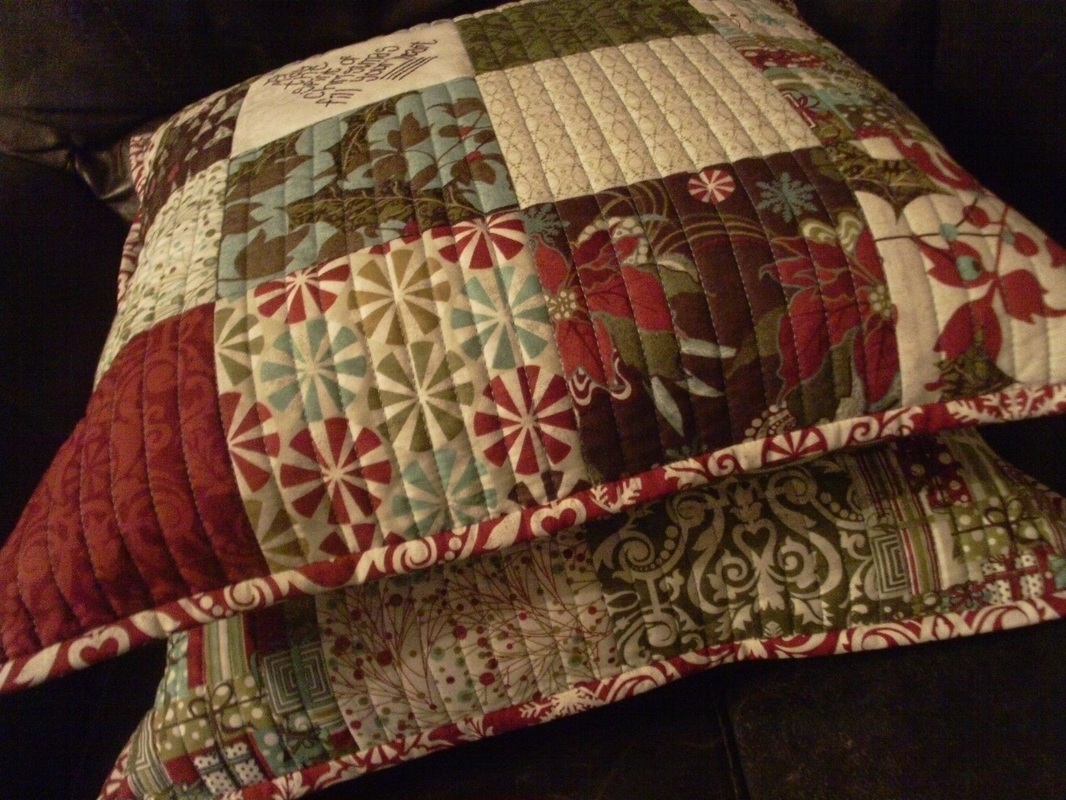
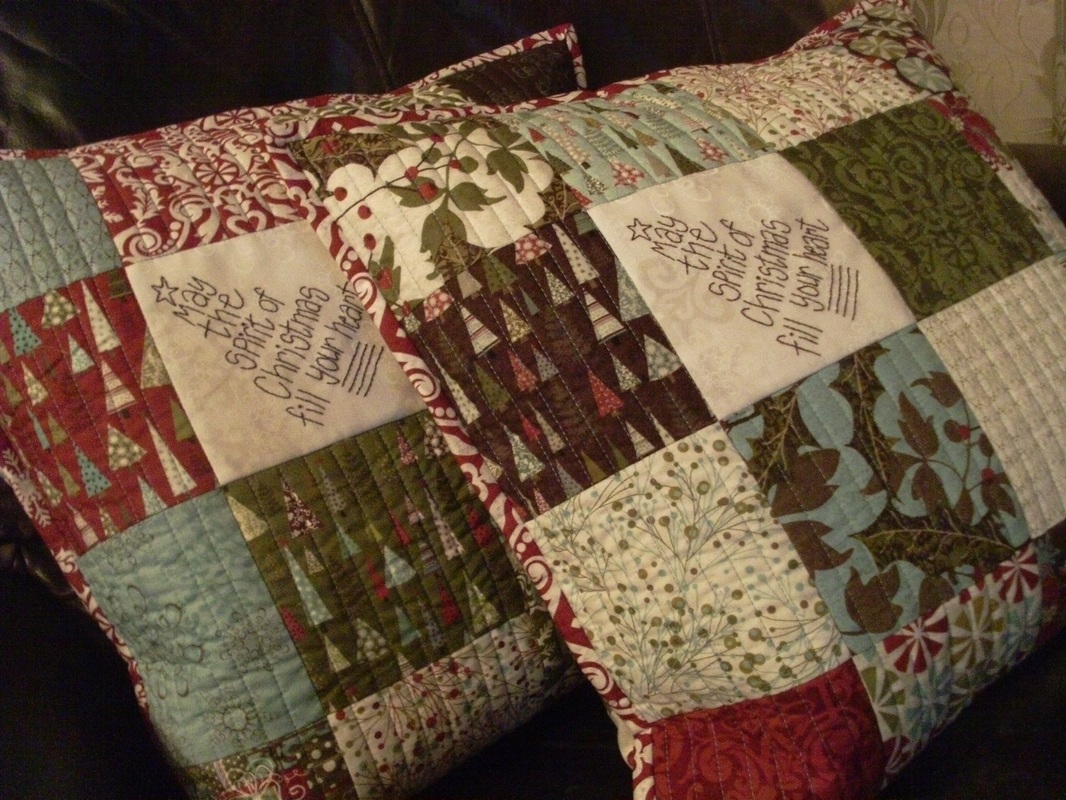
What do you do with a Christmas-themed charm pack? This one is called Merry & Bright and is by Sandy Gervais for Moda. I'd had this for simply ages, and it was perfect for this project. The stitchery design is by the Australian designer Leanne Beasley (the pattern is called Santa Wears Red Pyjamas) and has 3 different designs in the pattern). I traced this onto one of the charm squares with a Micron Pigma pen, fused a square of weaveline onto the back, and stitched over the lines with 2 strands of DMC thread. 16 squares were stitched together randomly. This was then layered with some Quilters Dream wadding select weight, and a piece of muslin for the backing and spray basted together ready for quilting... ...this was quilted very simply using straight rows, half an inch apart, using the edge of my walking foot as a guide. I used a Mettler quilting thread for this project, in a pale brown shade. The back was made with 2 different fabrics - "Garden Pindot" by Michael Miller fabrics, and "Winterwonderland" by Bunnyhill Designs for Moda. The zipper was inserted using a concealed zipper method - I don't really have a tutorial for this (I was shown how to do this years ago when I did dressmaking at school)... ...the binding was made with red/white spotted fabric and was made with a couple of 2.5" strips of fabric joined together with a mitred seam, and attached using the double-fold method. I pinned the front and the back of the cushion together, then machined them together an eighth of an inch all round before stitching the binding into place stitching through all the layers. This was then hand sewn into place on the back of the cushion using ladder stitch, and a red Aurifil thread. This shows the back of the cushion, and shows how smart these are with a concealed zipper... ...and here is the finished cushion, ready for Christmas. I've made a pair of these, but only had a chance to take this photograph before it started raining!
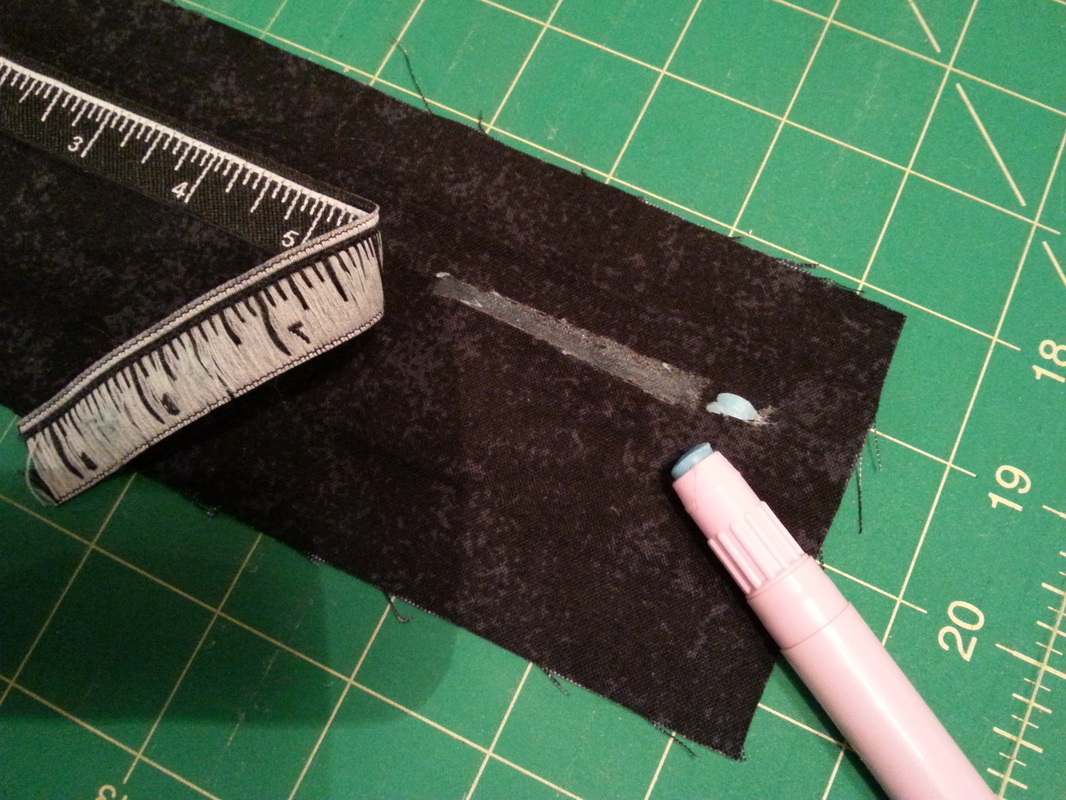
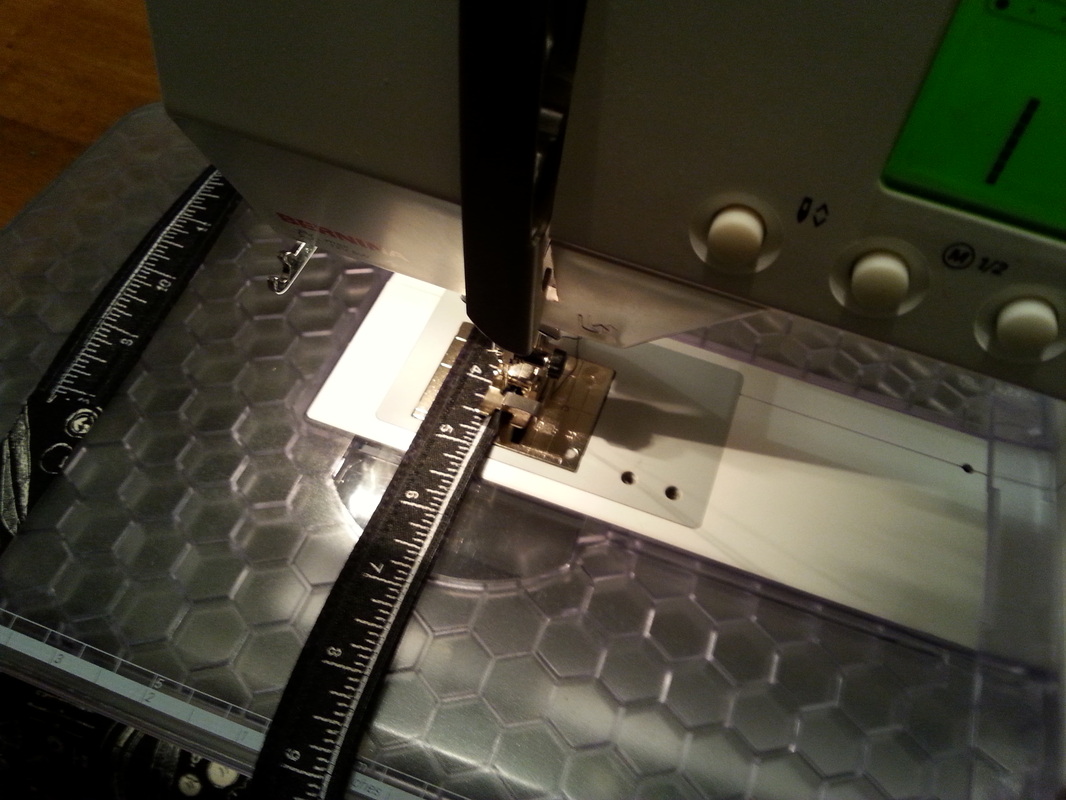
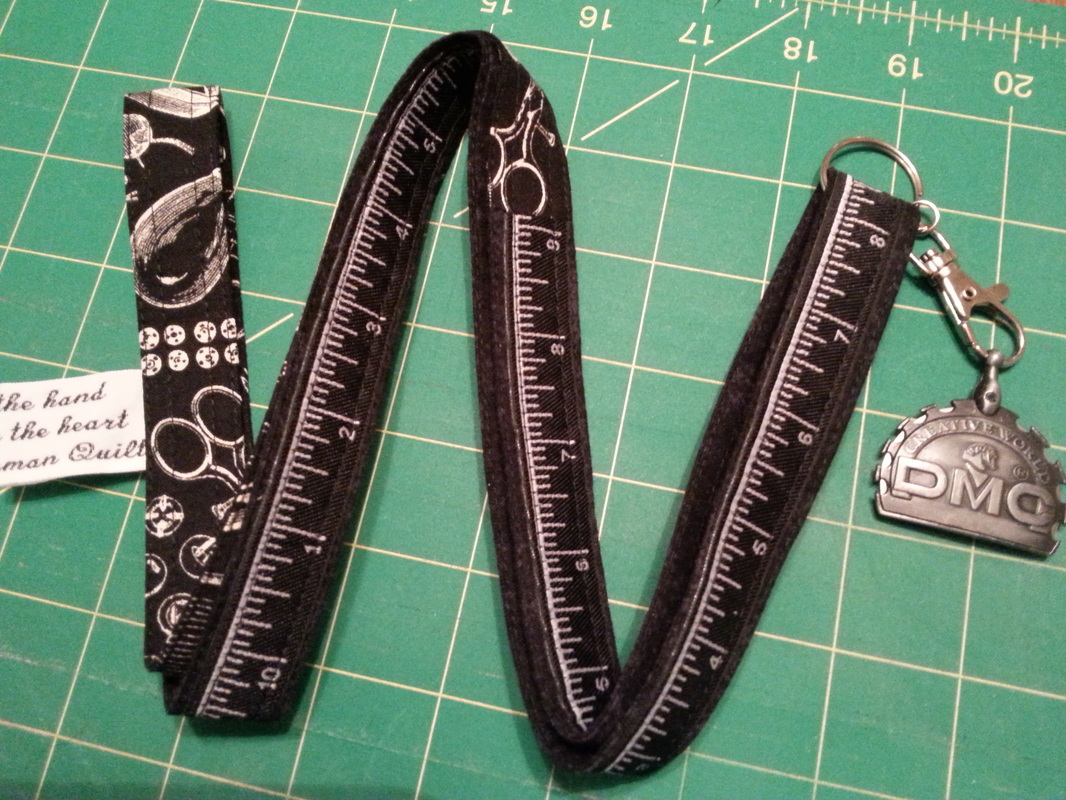
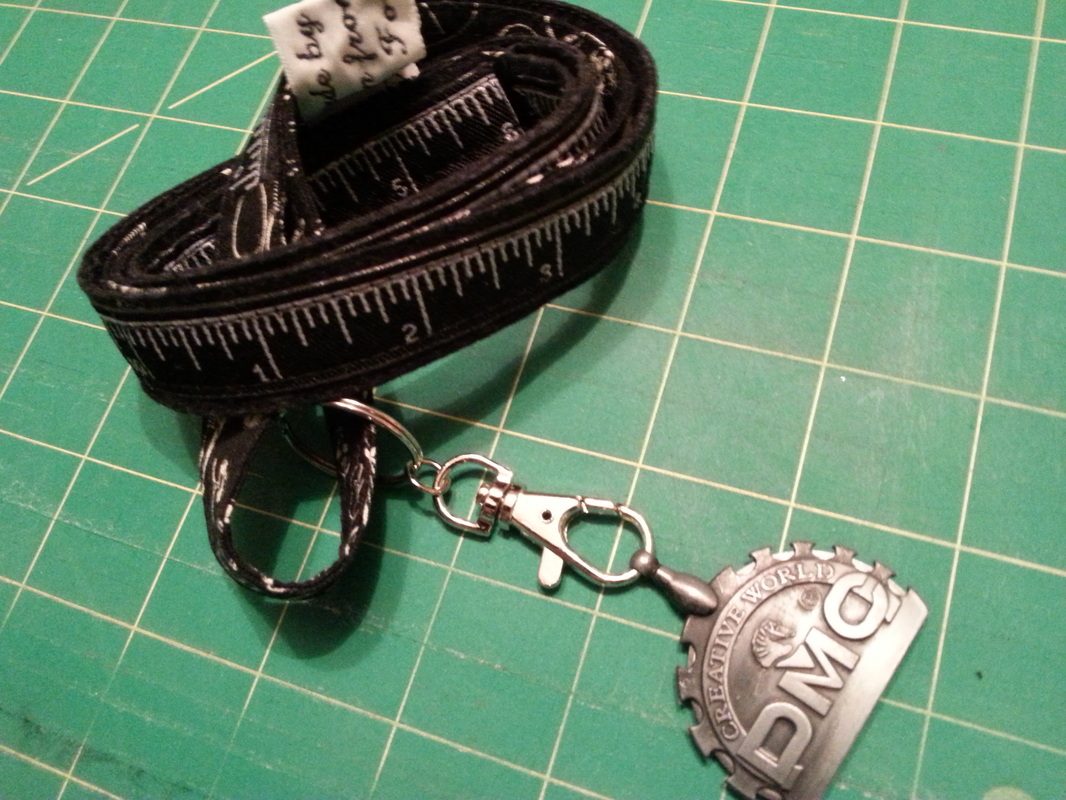
I'm always mis-laying my thread-cutter, so I decided to make a lanyard to keep it on. I used some sewing themed fabric, some tape-measure ribbon, and a trigger clip. Initially I cut cut a strip of plain black fabric 3" wide, folded it in half and then folded the raw edges into the middle. I pressed the narrow strip this with a hot iron, opened it out, and used the fold lines as a placement guide for the ribbon. Rather than use pins, I used a Sewline glue-stick, and ran a line of glue onto the fabric. The ribbon was then pressed into place. I attached a strip of sewing themed fabric (again 3" wide) to the plain black strip, and sewed sewed the raw edges together to make one continuous piece... ...the tube was stitched together enclosing the raw edges of the ribbon. I re-folded it and pressed it again with the iron (Mr F got rather excited at this point because when he saw the ironing board he thought I was actually going to iron his shirts!) anyway, I then stitched along the edges of the tube, making sure I was also stitching along the edge of the ribbon. I stitched along both sides, giving a nice neat finish. A trigger clip with a split ring was slipped into place, my thread-cutter attached... ...now when I'm hand-sewing my thread-cutter won't get mis-laid. This is really useful, and I could also clip a small pair of scissors to this lanyard. If you don't have any split rings, a trigger clip can be added directly to the lanyard before you stitch the tube together.
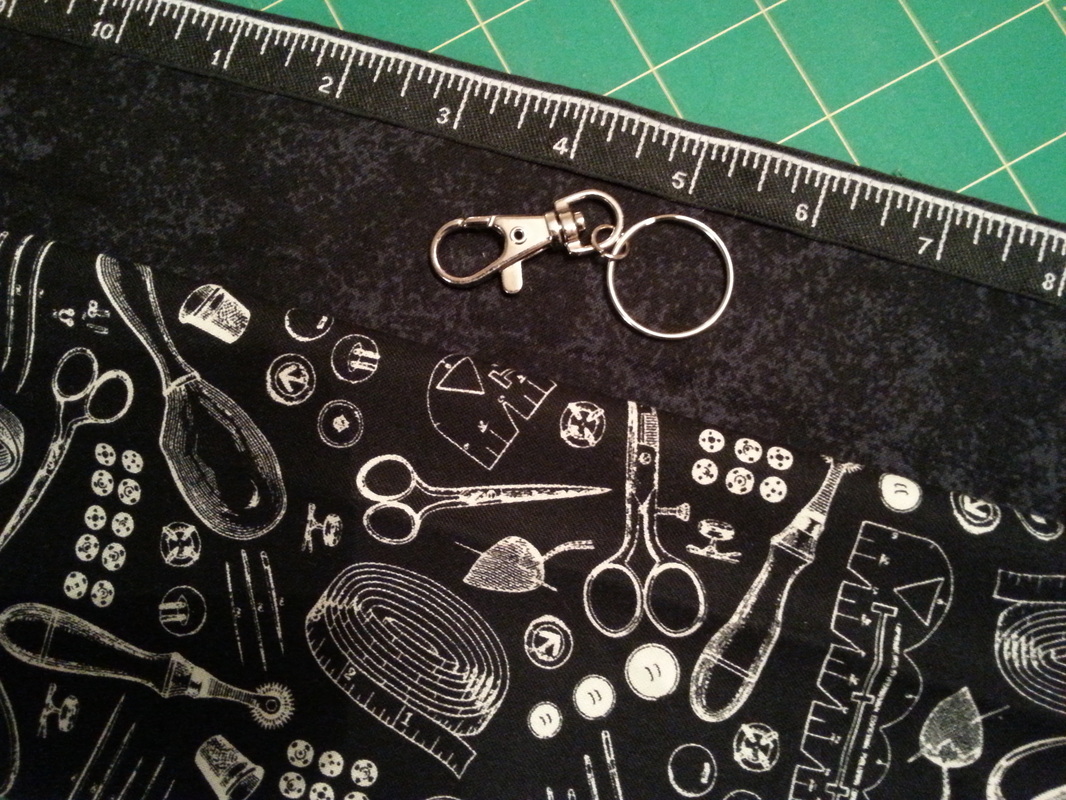
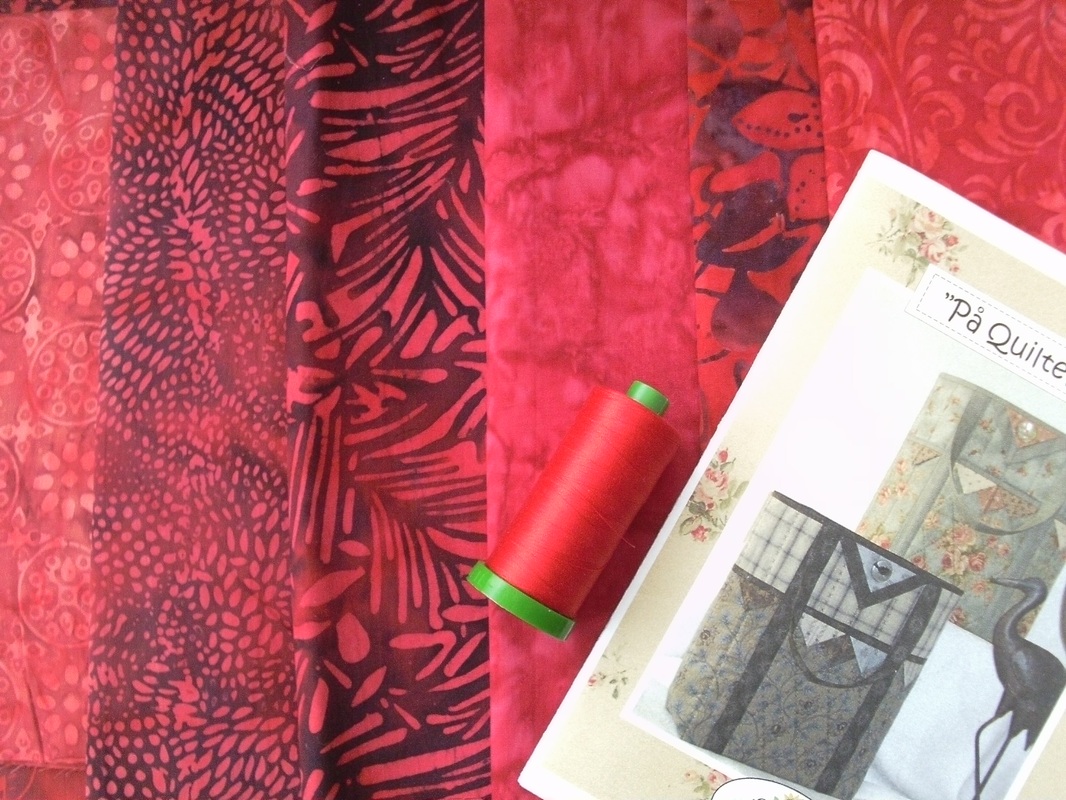
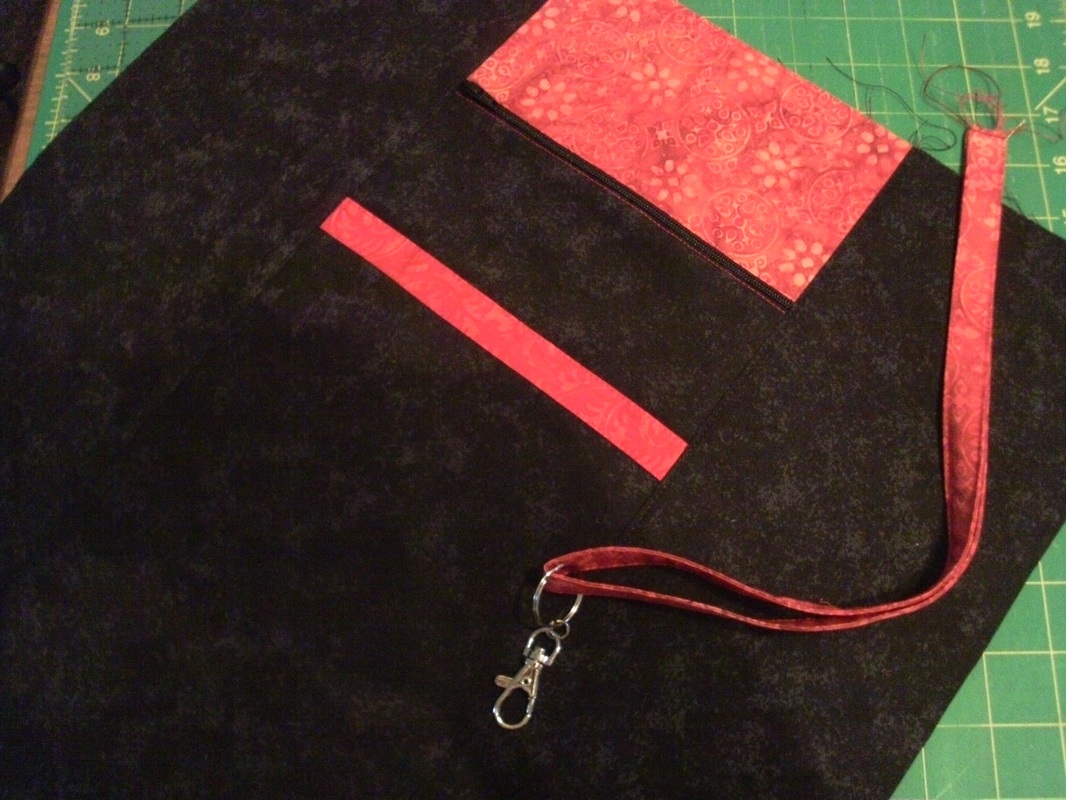
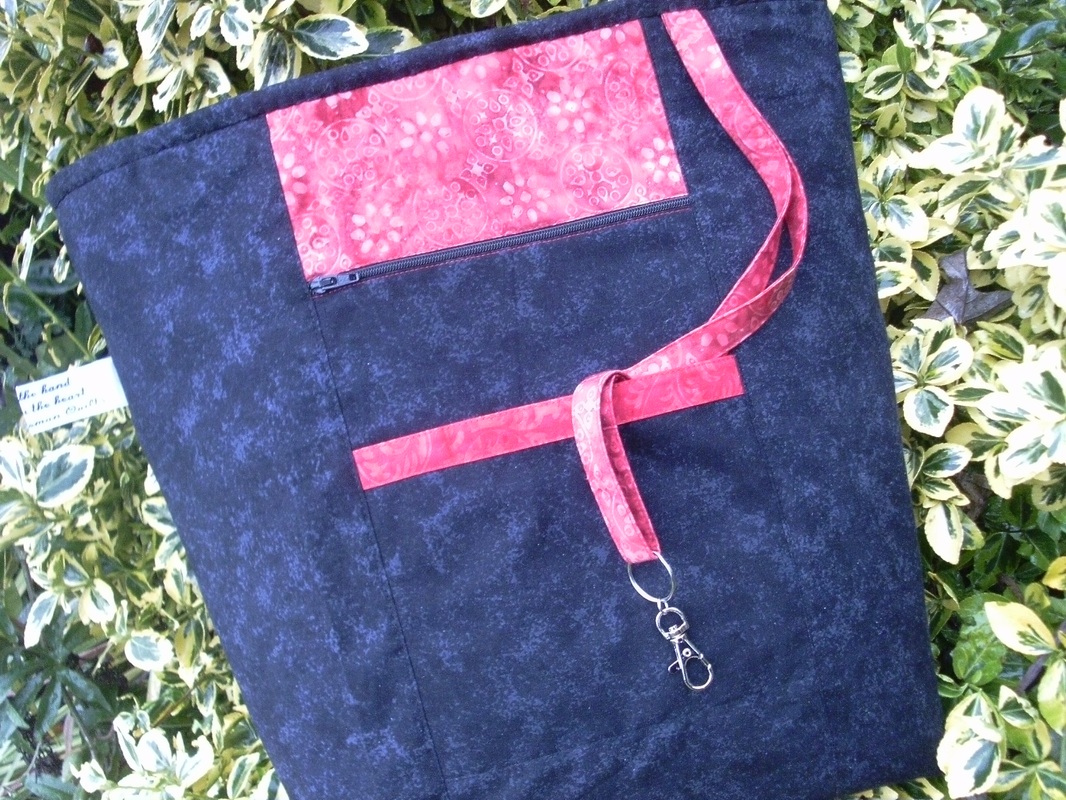
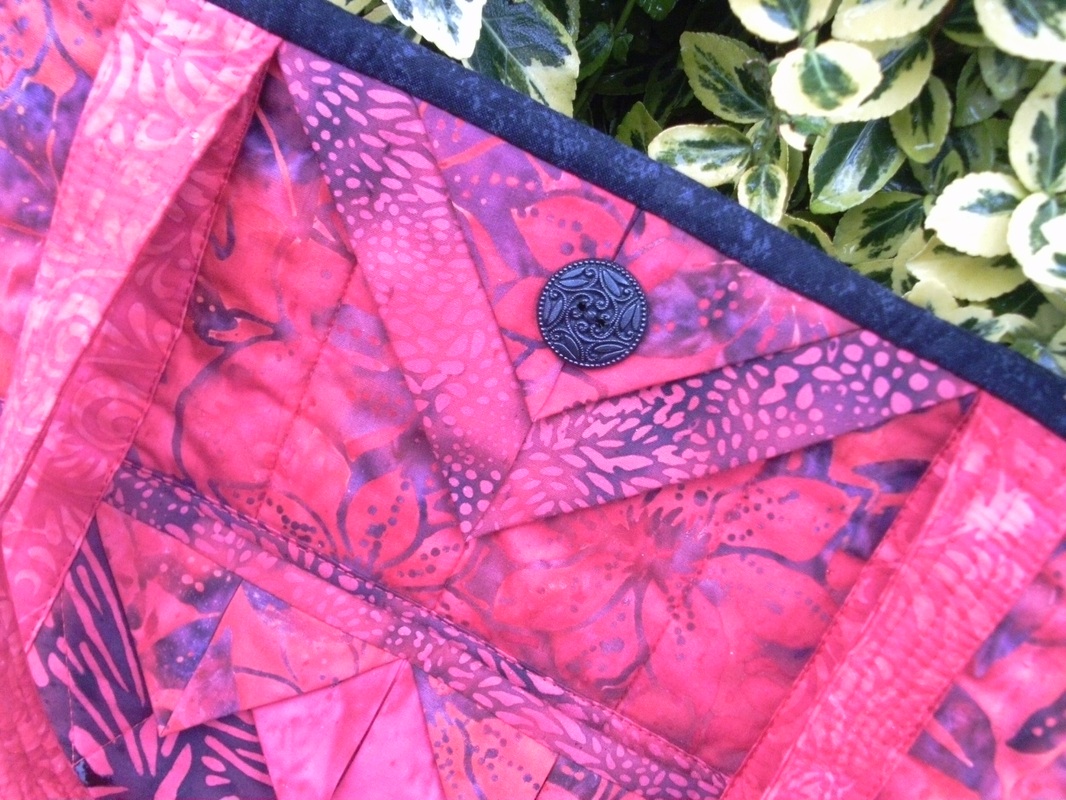
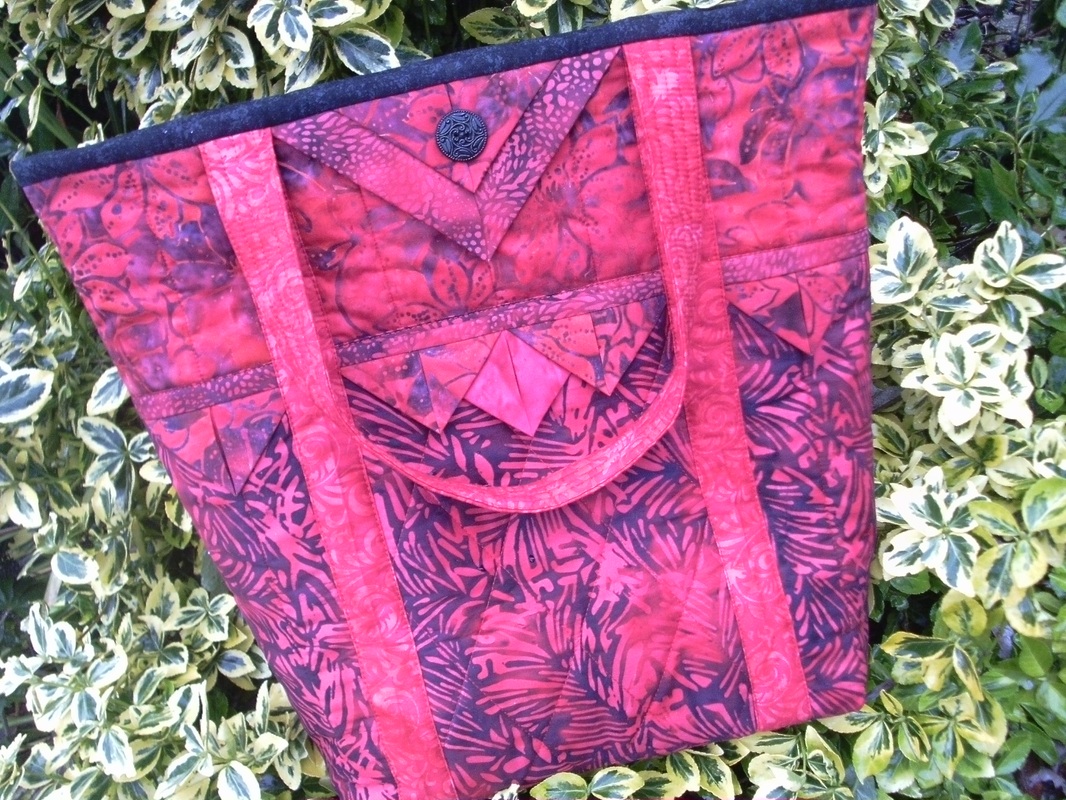
I've been playing around with this pattern "På Quiltelaup" by the Norwegian designer AnnAKa and some red batiks. I never get bored of making this bag, and it really is such an easy bag to make, even though the instructions are written in Norwegian! This shows the inside of the bag - I used a mottled black fabric for the lining, with some scraps of left-over red batiks for the accents and also made a handy tab with a clip for keys. The instructions in the original pattern are for a plain lining, but the idea for this lining was based on a pattern by Elizabeth Hartman called "Perfect Quilted Totes"... ...when I finished this bag yesterday afternoon it was too dark to get a decent photograph outside, and this morning it's pouring with rain!!! Anyway, I managed to brave the weather to take some pictures, so here is the finished project. The Prairie Points are held in place with a decorative button... ...and here is the front of the bag - these batiks really were lovely to sew with. This was quilted with a red Aurifil thread. I've got a few more of these bags to make for Christmas gifts, so I need to get back to my sewing machine!
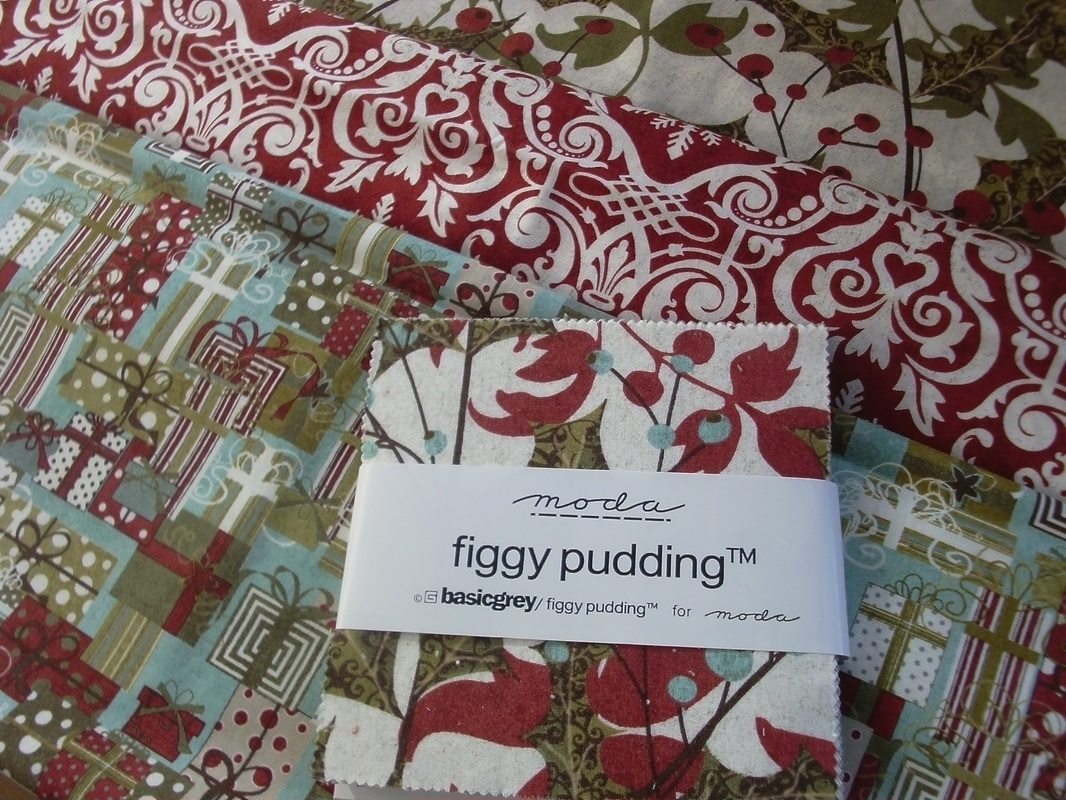
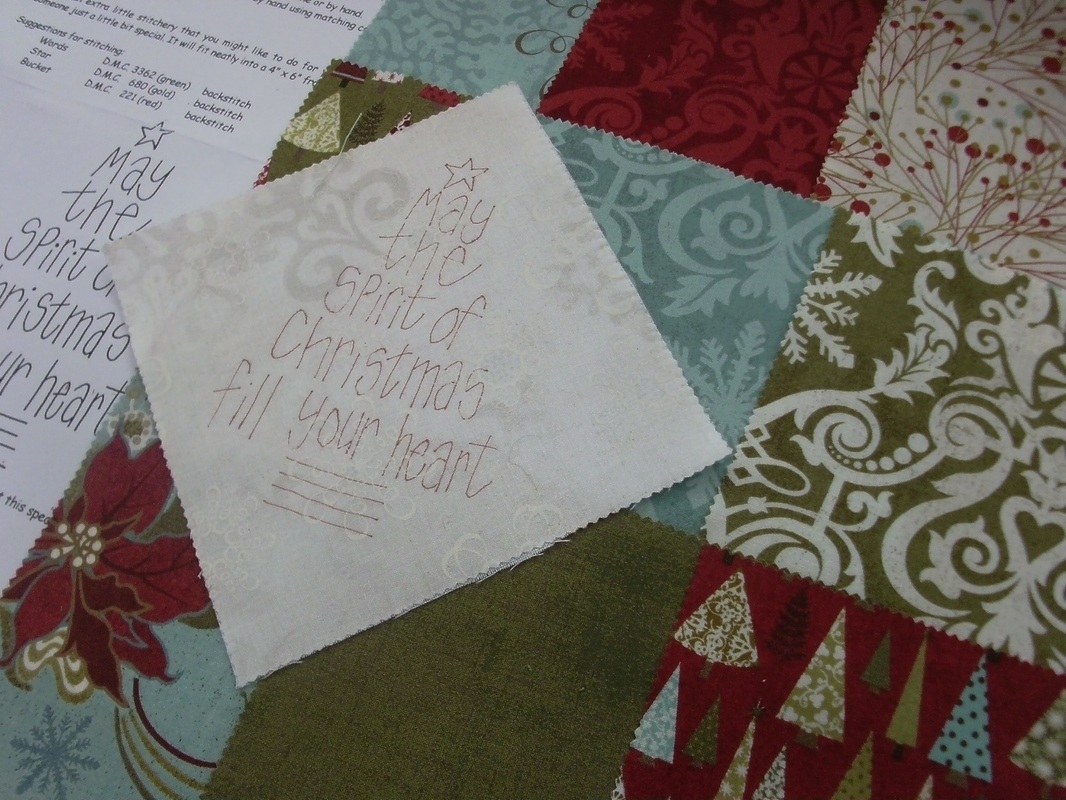
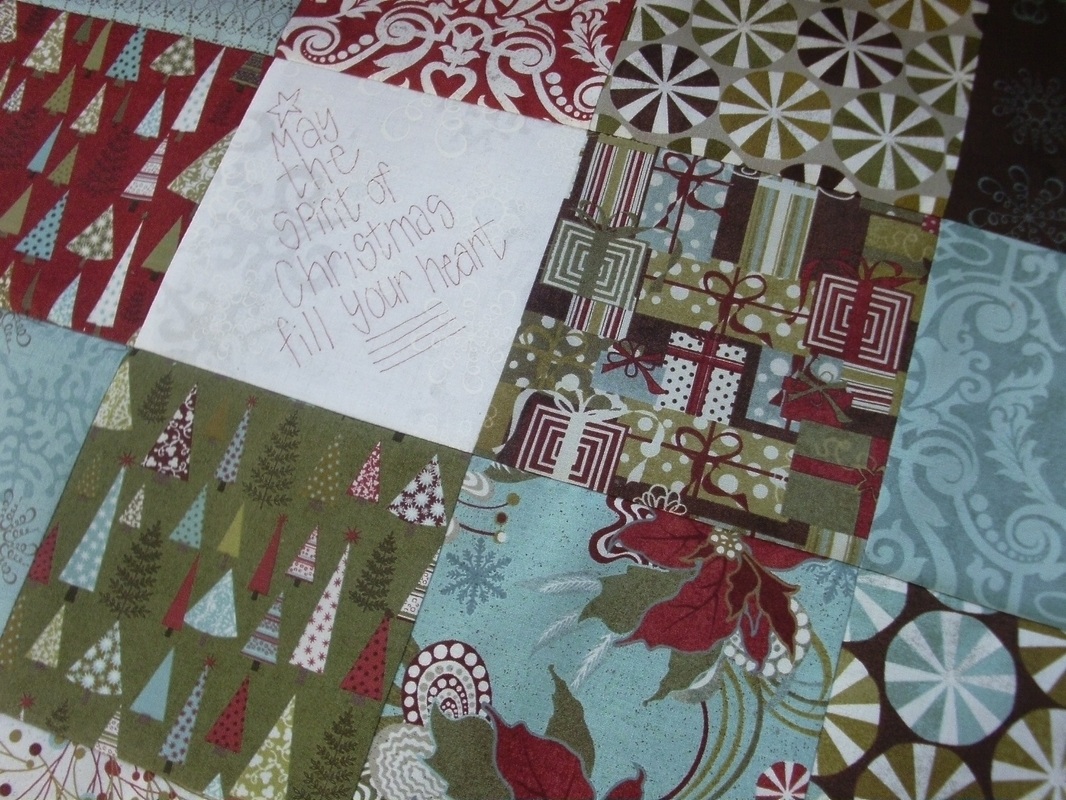
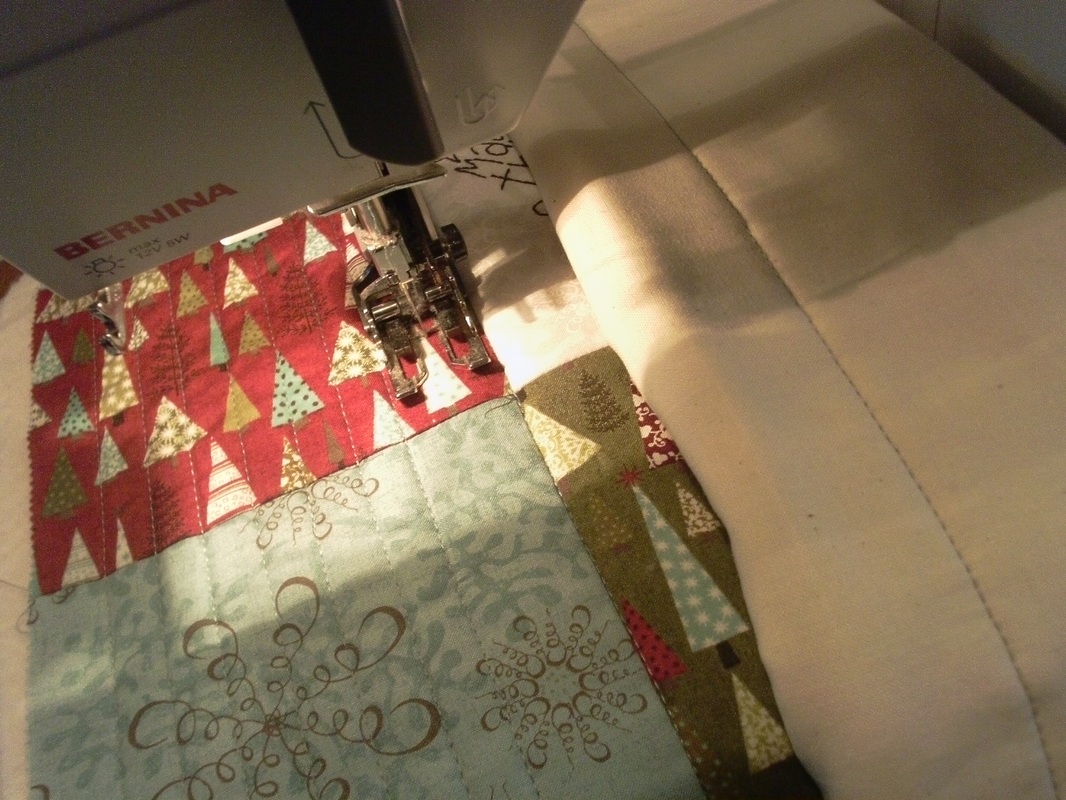
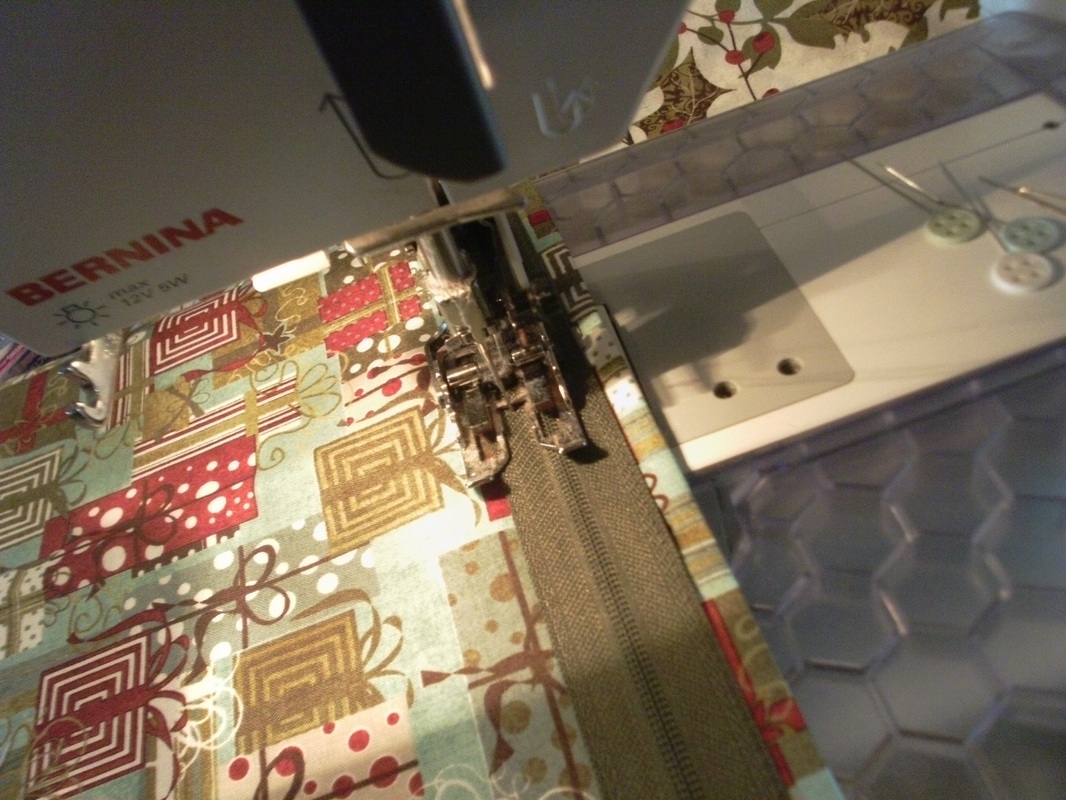
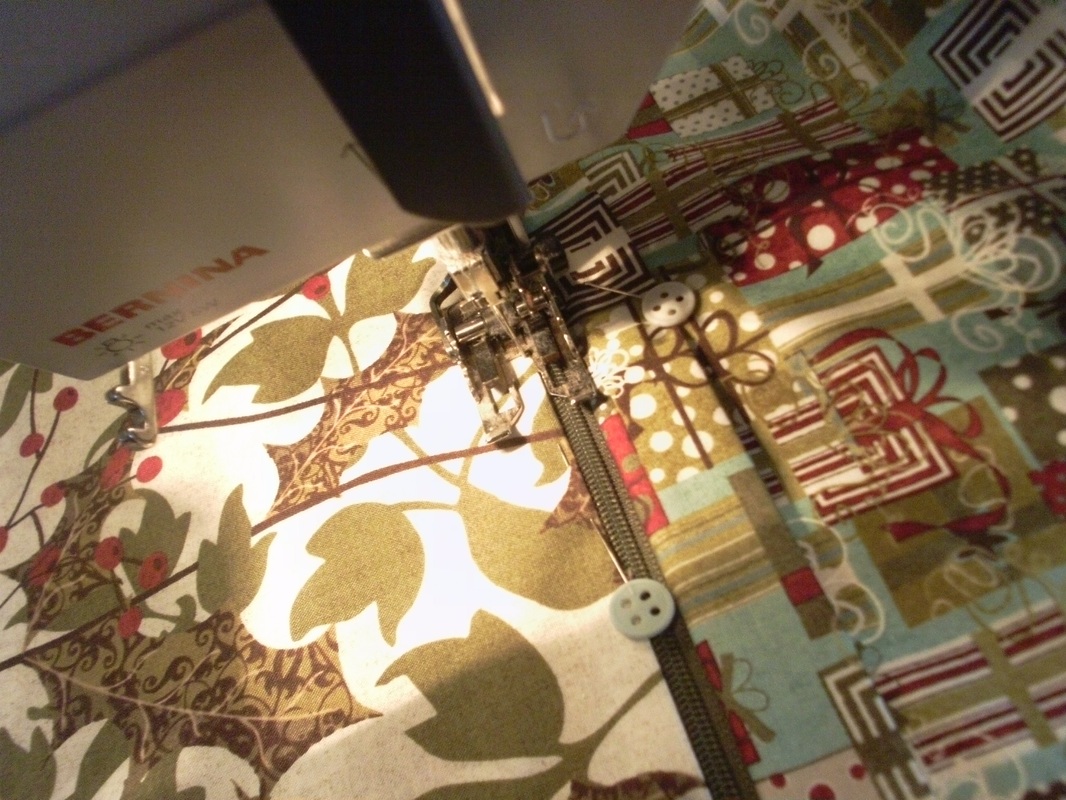
One of my favourite designers for Moda is Basic Grey, and I love their Christmas collections. This one is called Figgy Pudding and it had been in my stash of fabrics for quite a while. I traced a stitchery design (from the pattern Santa Wears Red Pyjamas by Leanne Beasley) onto one of the charm squares, then fused a piece of weaveline onto the back... ...as I'd decided to keep this project very simple, I stitched the charm squares together in a 4x4 layout and then stitched over the traced design using 2 strands of DMC embroidery thread using backstitch. Muslin was used for the backing, and was spray basted to some cotton wadding, then the pieced top was spray basted onto the top of the wadding. This was quilted with a pale grey Aurifil quilting thread, and I used the walking foot as a guide to quilt straight rows half an inch apart... ...I didn't quilt over the embroidery. When the quilting was completed, I stitched an eighth of an inch all around the quilted piece, then trimmed away the excess backing and wadding. There were enough charm squares in the pack to make two of these large quilted squares... ...then it was time to make the back, with an enclosed zipper. I folded a piece of fabric in half, and placed the zipper back to front on the wrong side, near the folded edge of the fabric. The zipper was machined into place, using the walking foot (I hardly ever use the zipper foot for sewing in zippers!). This was then turned over, the "flap" pinned out of the way, and another piece of backing fabric machined into place along the edge of the zipper... ...the back of the cushion is placed RS down, with the front of the cushion RS up and then pinned together. This is then machined together using a longer than usual stitch, an eighth of an inch from the raw edges of the cushion top, through all layers, making sure the zipper has been pulled open. The excess pieces of zipper are trimmed away, making sure you don't trim away the end of the zipper with the zipper pull. The binding is then machined onto the front of the cushion, and then folded over to the back and hand sewn to the back... ...I really like using 2 different fabrics for cushion backs, and always use a concealed zipper so the cover is easily removed if it needs to be laundered. I love the texture on the front of the cushions that this dense quilting gives... ...and here are the completed cushions, with a plump feather pad tucked neatly inside.
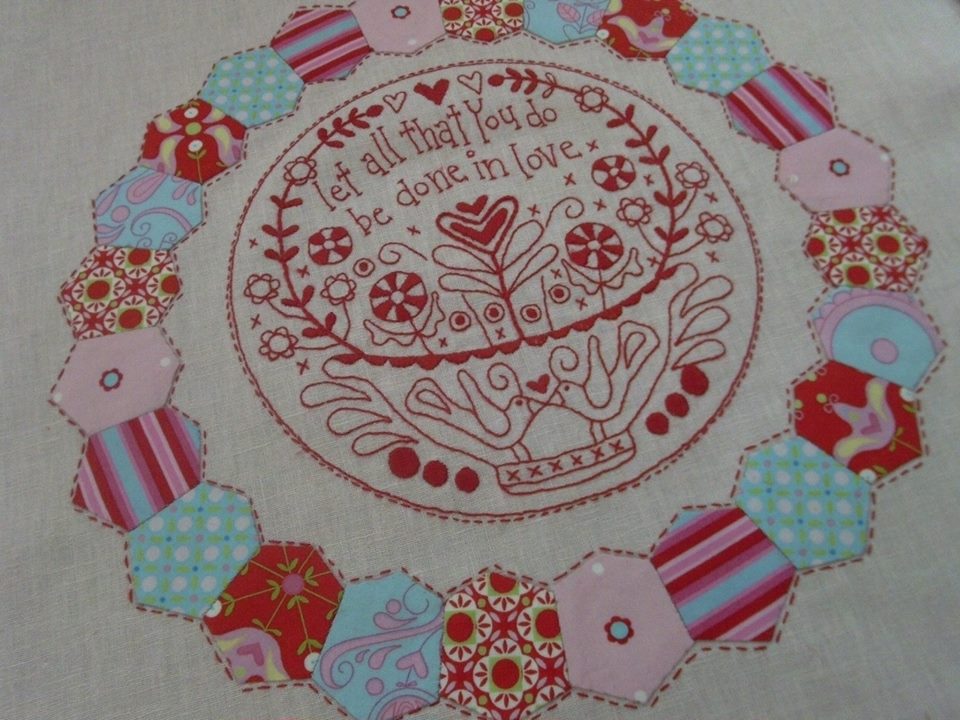
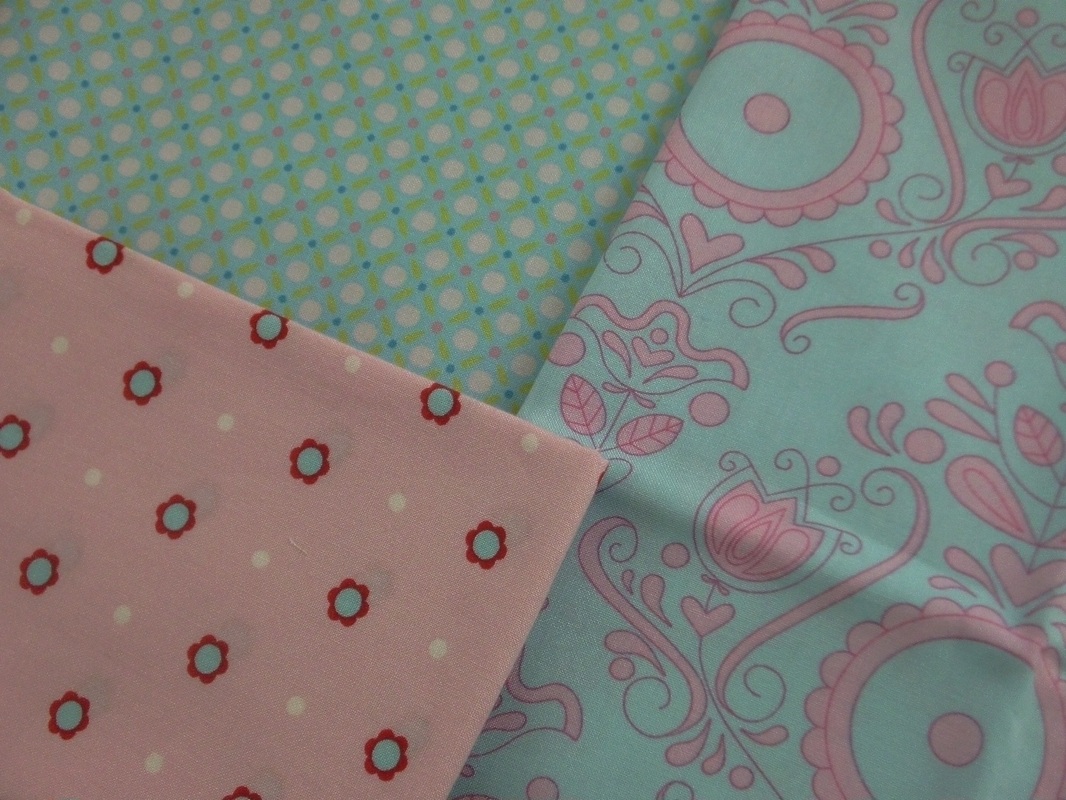
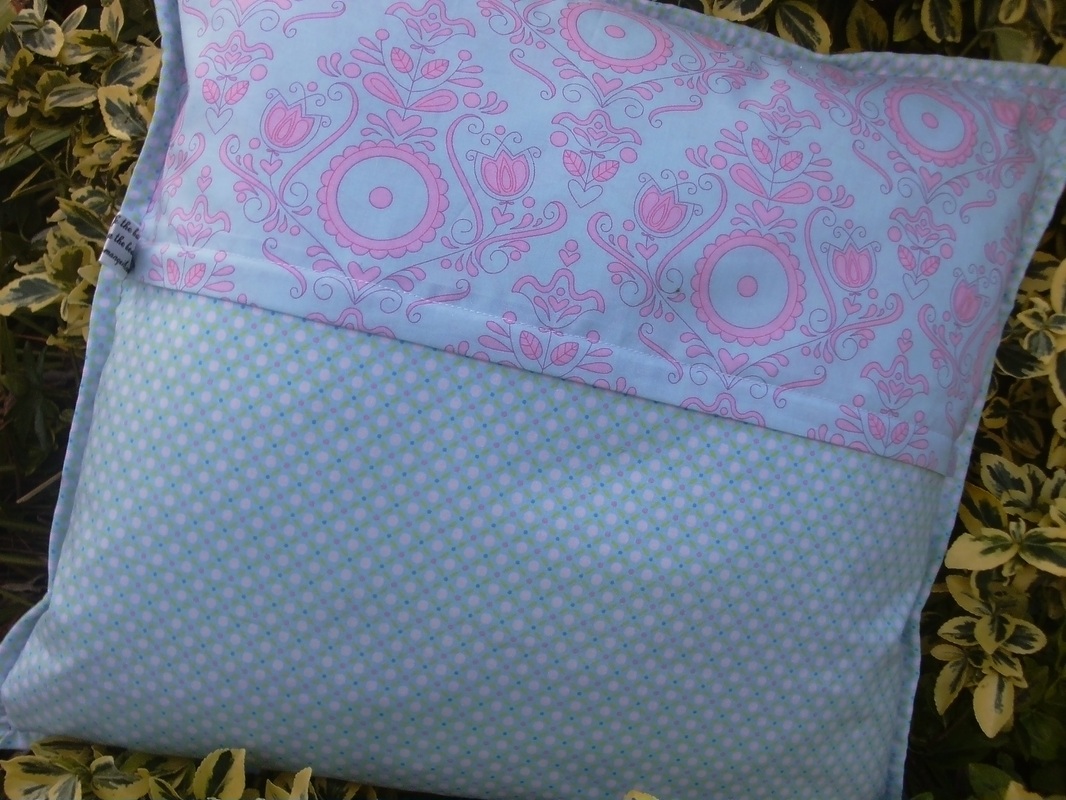
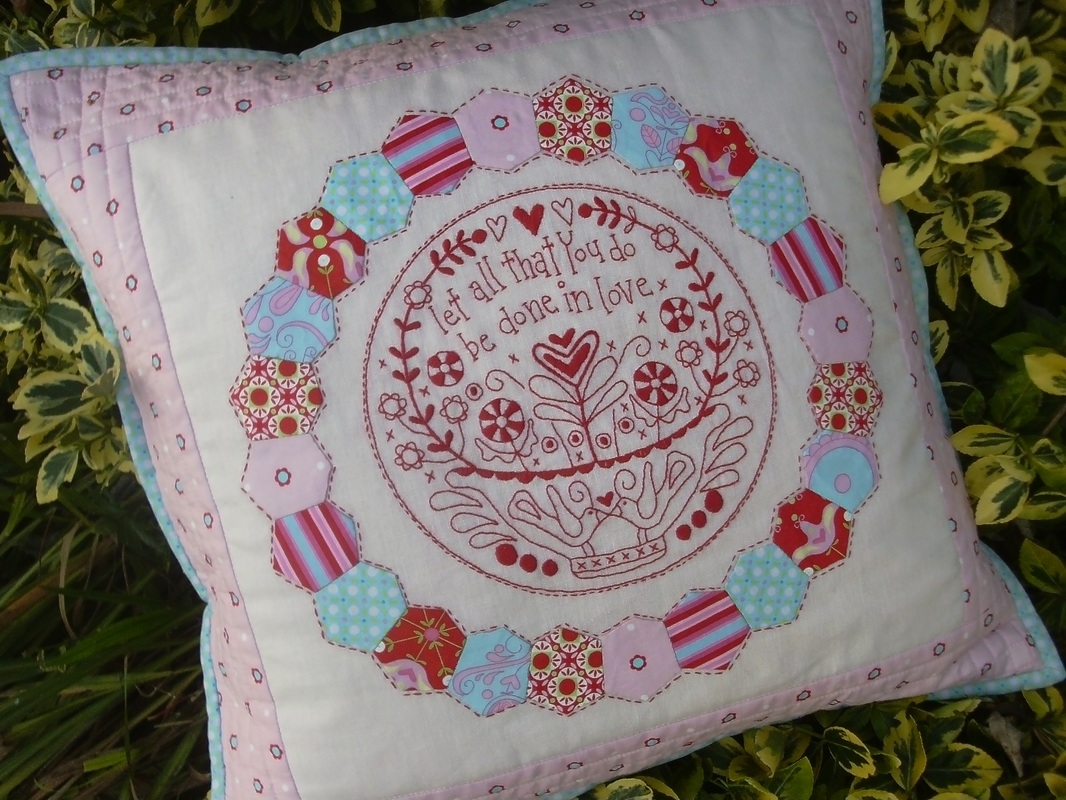
Do you remember the "Circle Of Love" (designed by Rosalie Quinlan) stitchery project that I finished recently? Well I decided to turn this project into a cushion. The dresdens were made with a selection of Candy Bloom fabrics, (also designed by Rosalie Quinlan), and I wanted to use the same range of fabrics. I managed to find some Candy Bloom fabric online from Under The Mulberry Tree for the border, the backing and the binding... ...I quilted the front of the cushion very simply, stitch-in-the-ditch around the linen centre, then with straight rows half an inch apart on the borders, using a pink King Tut quilting thread. The back was made with 2 different fabrics from the Candy Bloom collection, and has a concealed zipper. The binding was machined into place, then hand stitched to the back . I'm really pleased with this one!
|
About me...Hi - welcome to my quilting blog! My passions are my family, my dog, my friends and sewing, not necessarily in that order! Archives
July 2023
Blogs I followUK shopsThese are the UK shops that I use to purchase my quilting supplies - fabrics and threads etc.
Australian linksScandinavian links |


 RSS Feed

