#poppypatchposse
|
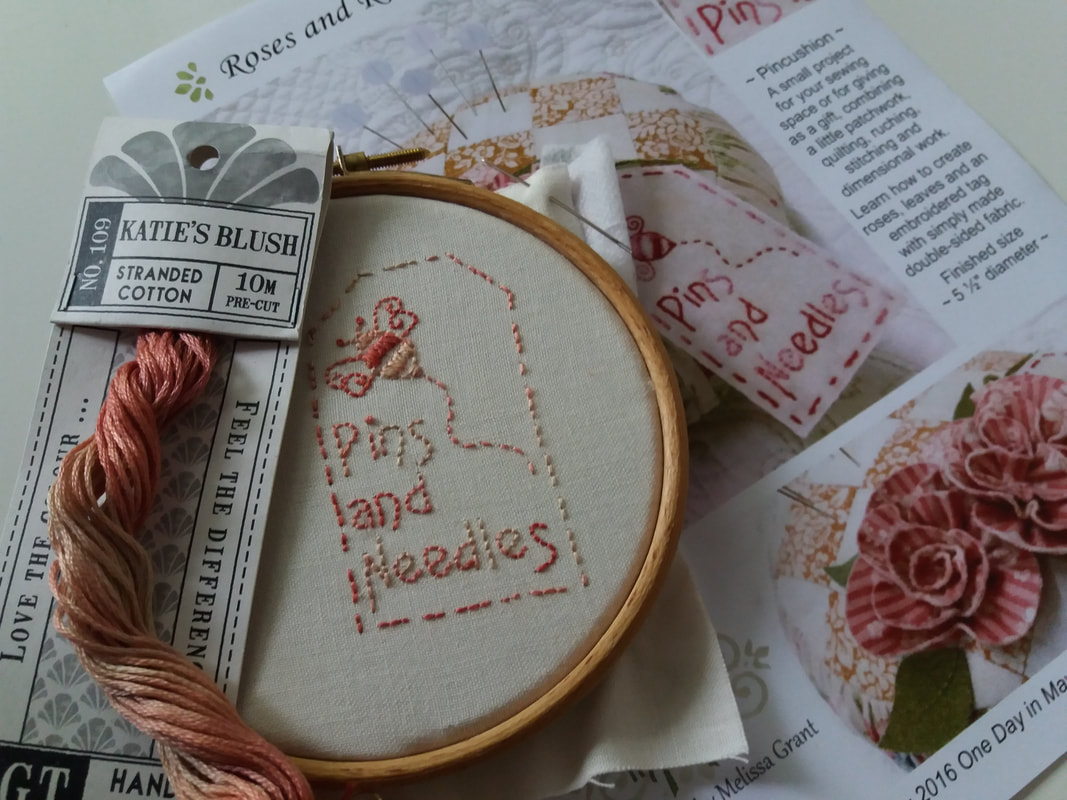
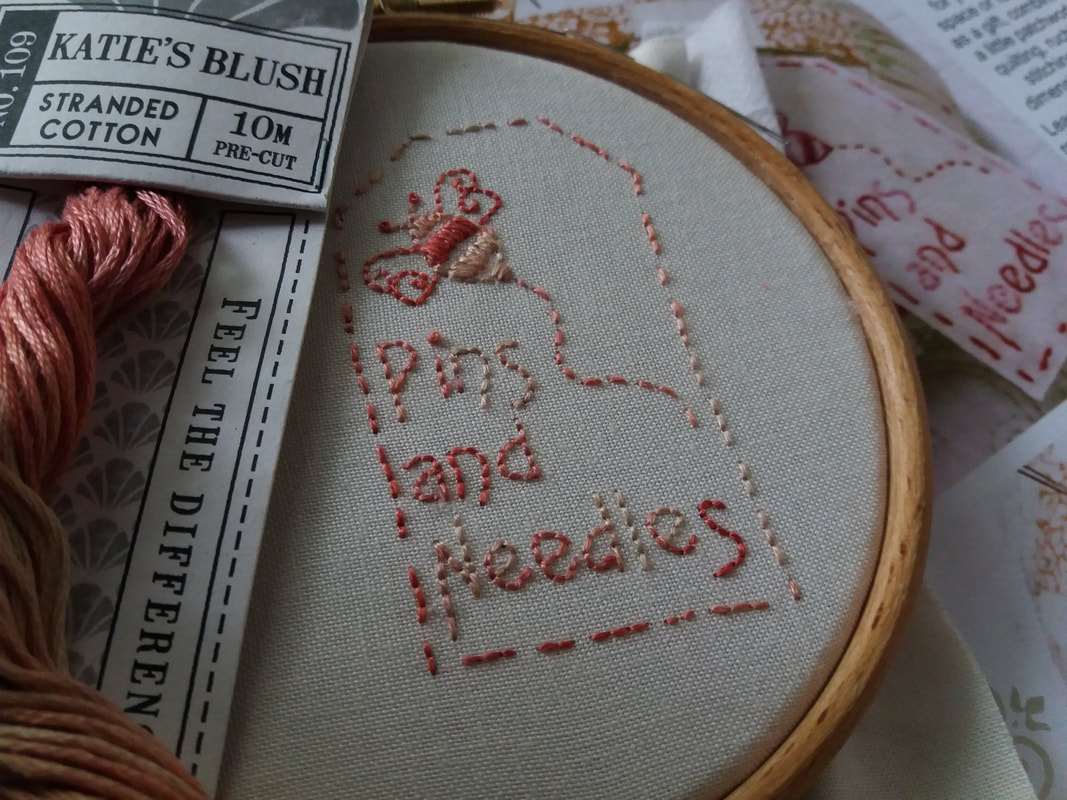
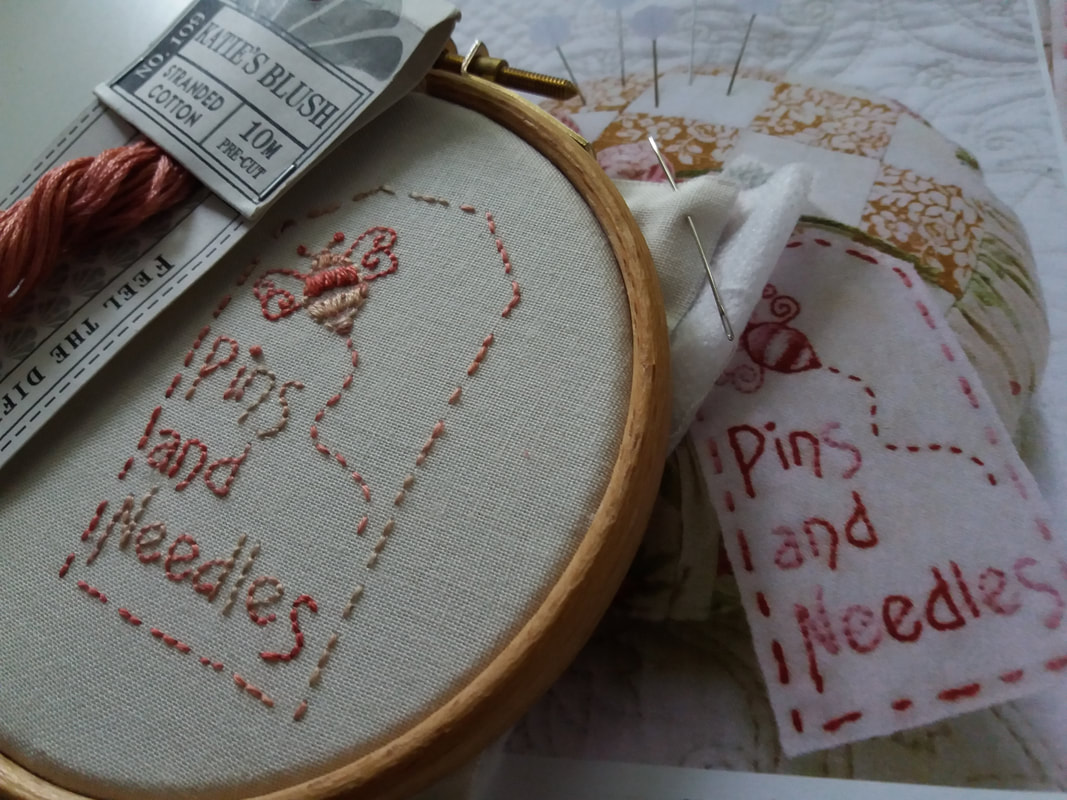
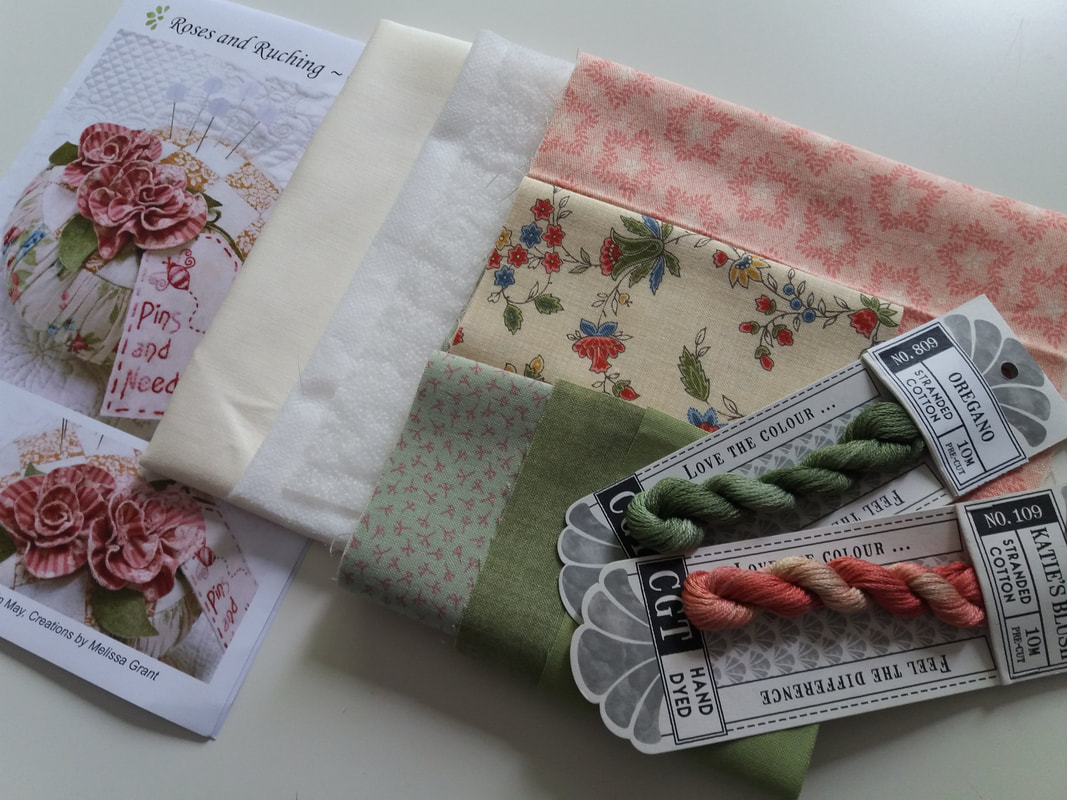
I've made a start on my second Poppy Patch Posse project, supplied by Poppy Patch. This is the embroidered tag for the Roses and Ruching Pincushion, designed by One Day In May, Creations by Melissa Grant and has been hand embroidered using a skein of Cottage Garden Threads variegated stranded embroidery thread... ...these Cottage Garden Threads really are lovely for hand embroidery and this pink one, Katie's Blush, is particularly pretty. Now the embroidery is completed, I can make a start on the patchwork for the top of the pincushion.
#poppypatchposse
0 Comments
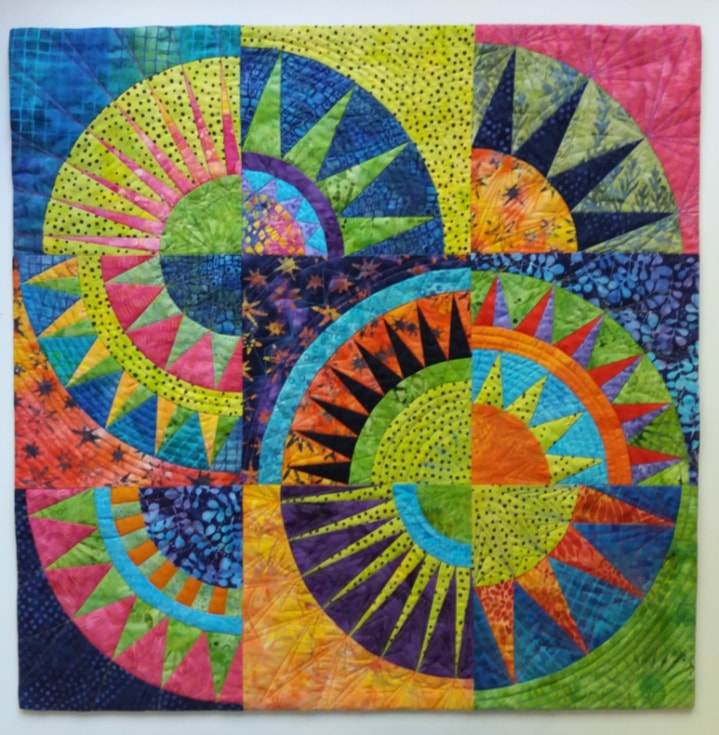
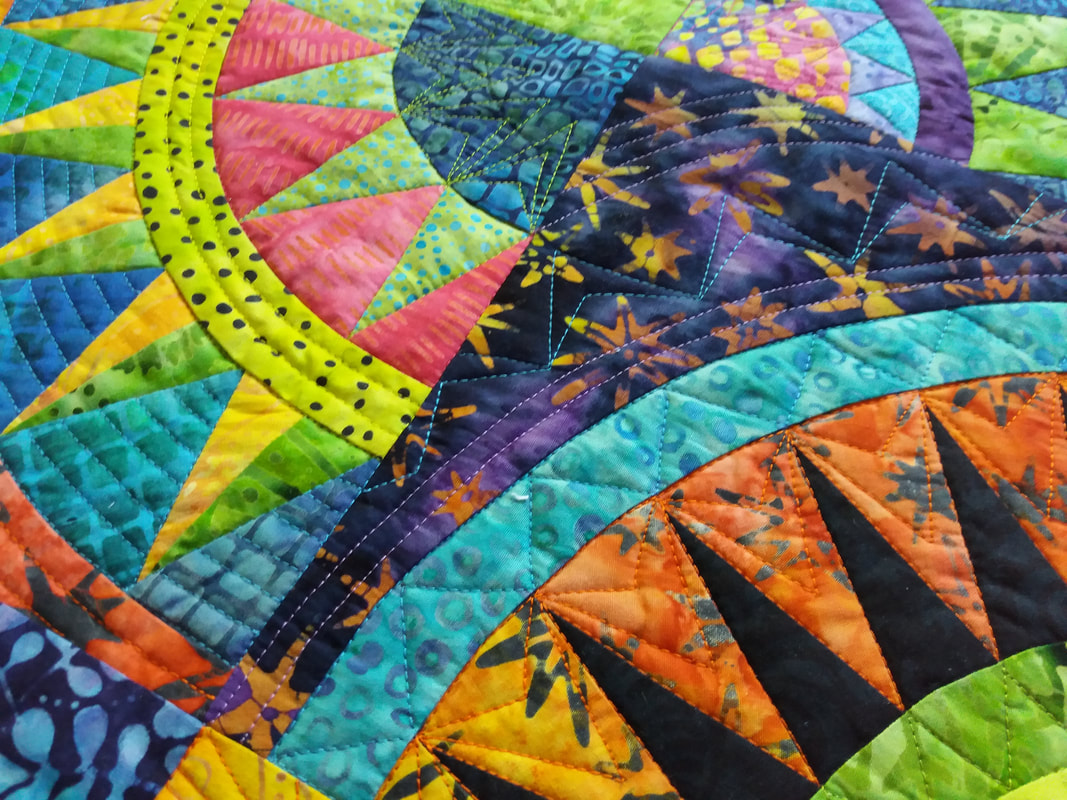
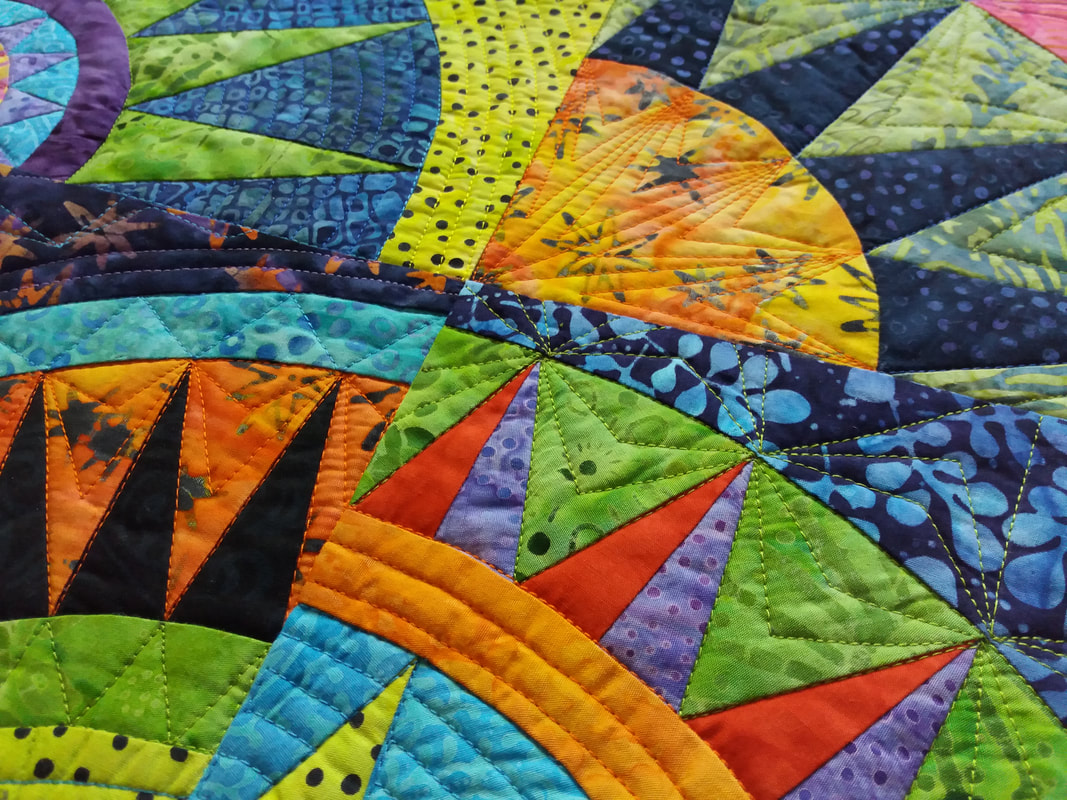
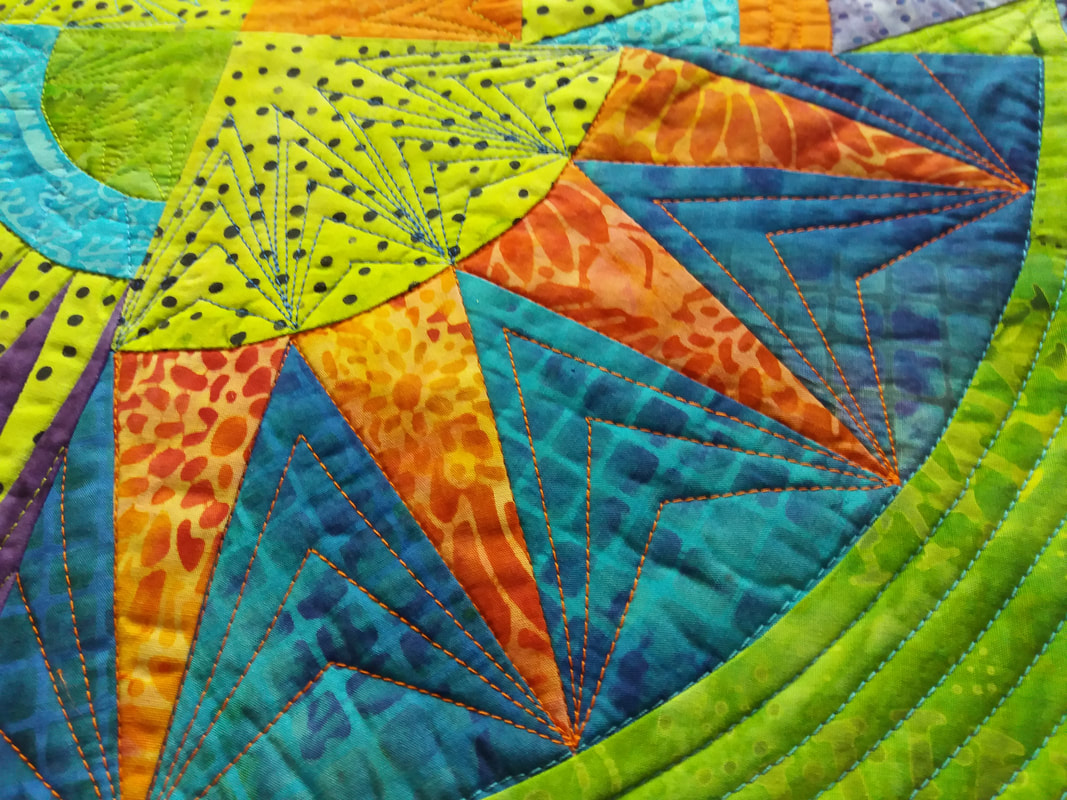
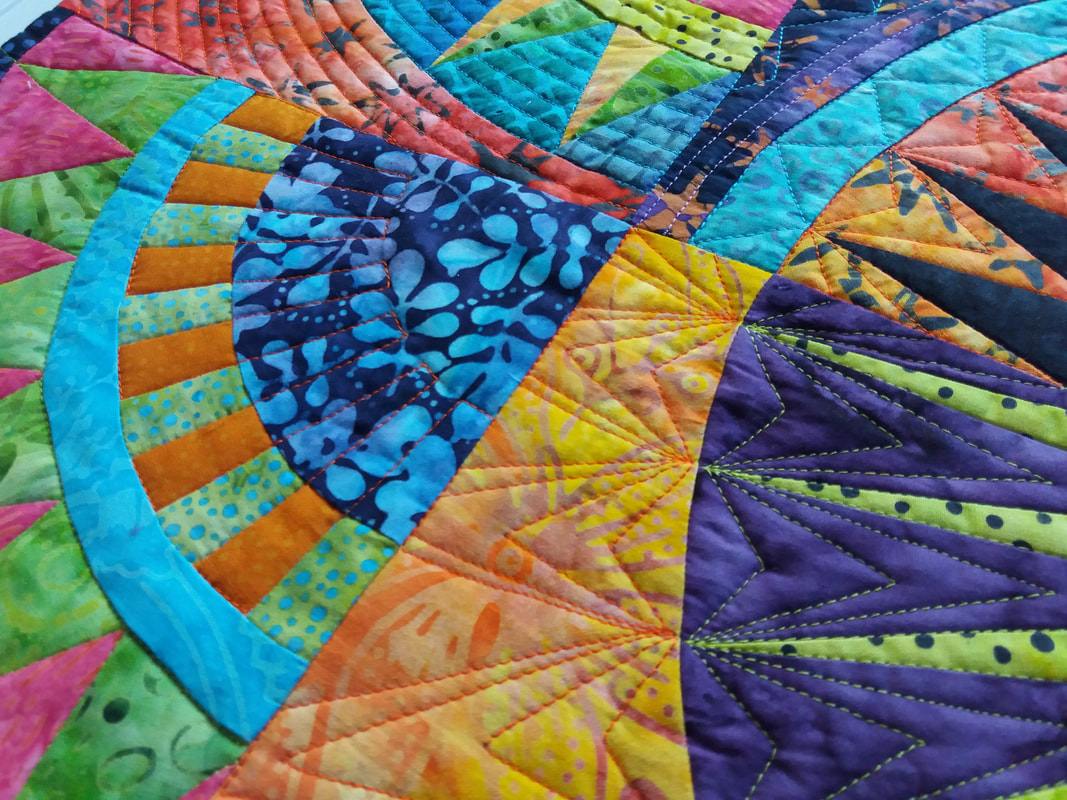
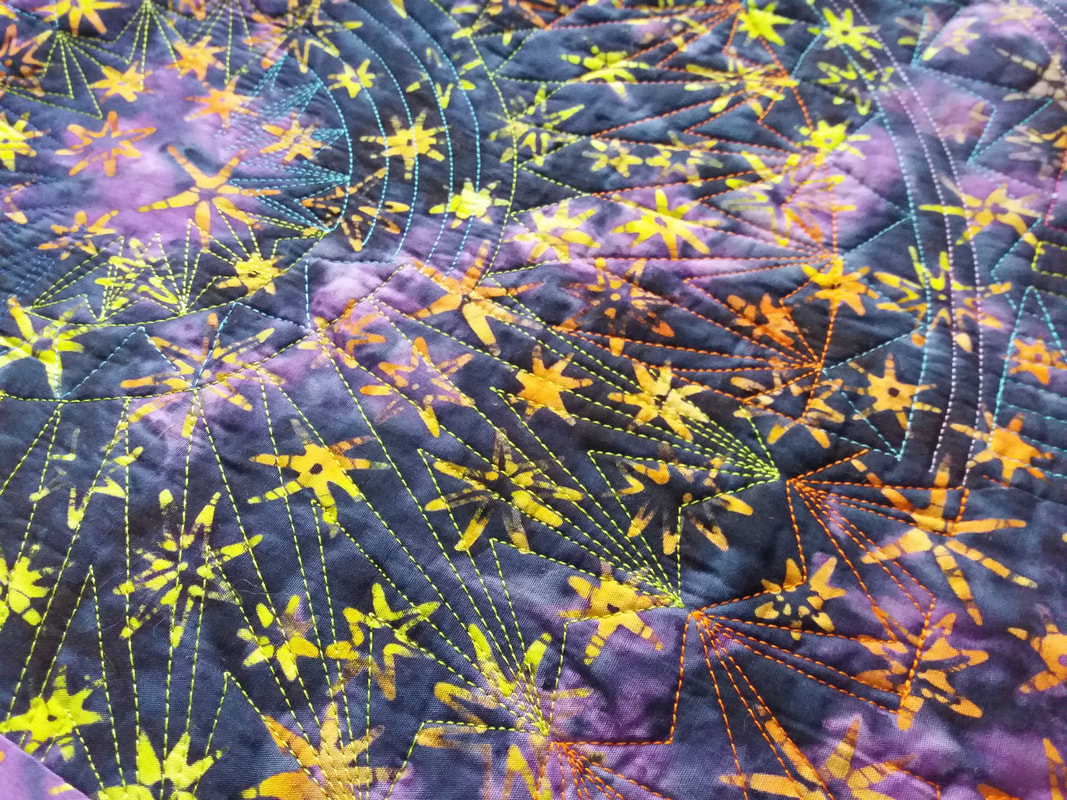
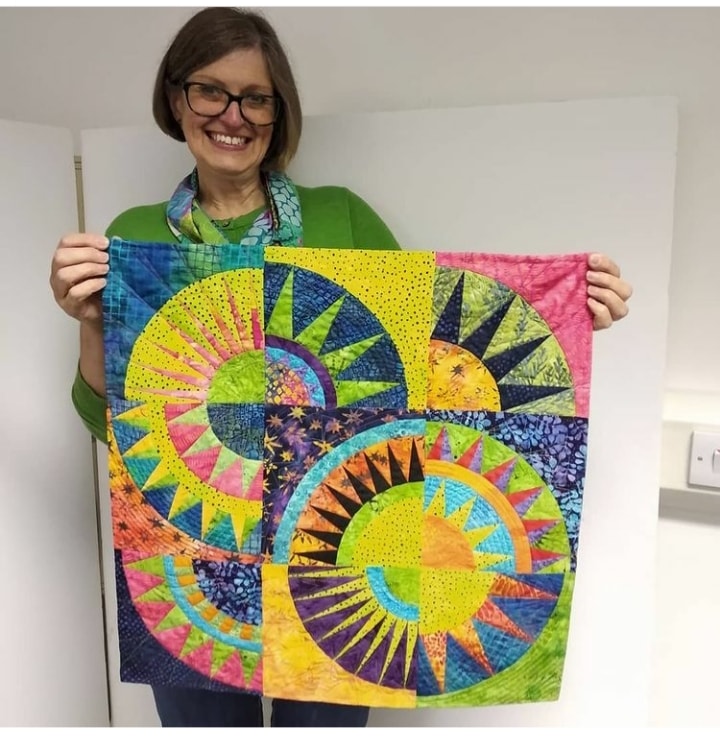
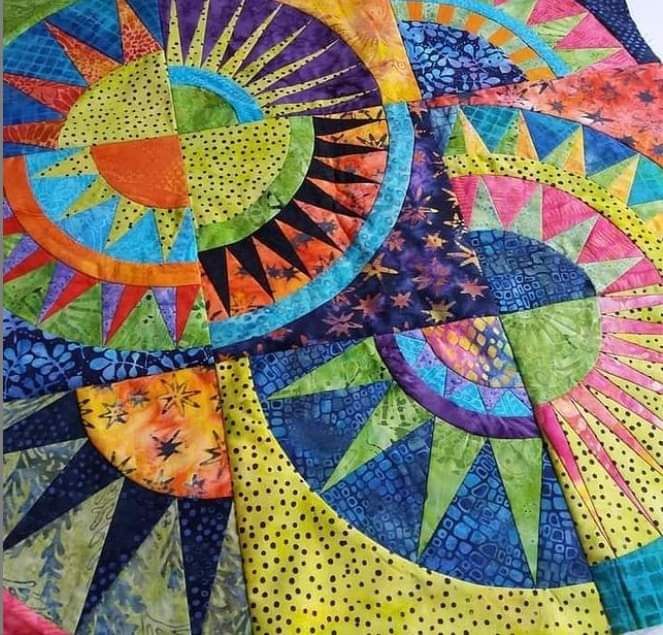
Here it is - my New York Beauty quilt is finally on display in my sewing studio! I'd pieced these blocks together back in March 2019 when I was on a residential quilting course with Philippa Naylor. I've been going on these courses for several years, although unfortunately last year due to Covid it had to be cancelled, which scuppered my plans to finish this quilt then. Thankfully I was able to return this year, managing to complete all the machine quilting using a selection of Aurifil 40wt and 50wt threads. I've added a facing rather than a binding and I'm absolutely thrilled to bits with it. I've decided to call this one my Yorkshire Beauty as I'd started the blocks, pieced them together, completed the quilting and added the facing all on my quilting trips to Yorkshire... ...all of the pictures below show close ups of the linework quilting, using a walking foot. I picked out colours of thread to both contrast and blend with the colours of the fabrics, which resulted in lots of changes of threads and lots of ends to knot and sew in... ...as you can see, the quilting designs that I used also show up really well on the back of the quilt too. I'm now planning another New York Beauty quilt, ready for my return to Yorkshire in 2022.
The patterns that I used for these NYB blocks are available here on Ulas Quiltpage as free PDF downloads. Once I'd downloaded them, I pinted them onto bankpaper, which is very thin and is ideal for foundation paper piecing as it tears away easily. I've had a fantastic week away in Yorkshire under the expert eye of Philippa Naylor and my New York Beauty quilt is almost complete! After a week of lots of linework quilting, and adding a facing to neaten the edges, I just need to add a quilt sleeve. I'm absolutely thrilled to bits with it and can't wait to hang it up in my sewing studio.
I'm busy packing my sewing bag, as tomorrow I'm off to Yorkshire at last, on a very special quilting trip, with some very special friends. While I'm away I'm going to free motion quilt this New York Beauty quilt top, which hasn't been touched since it was pieced together back in March 2019, the last time I was in Yorkshire.
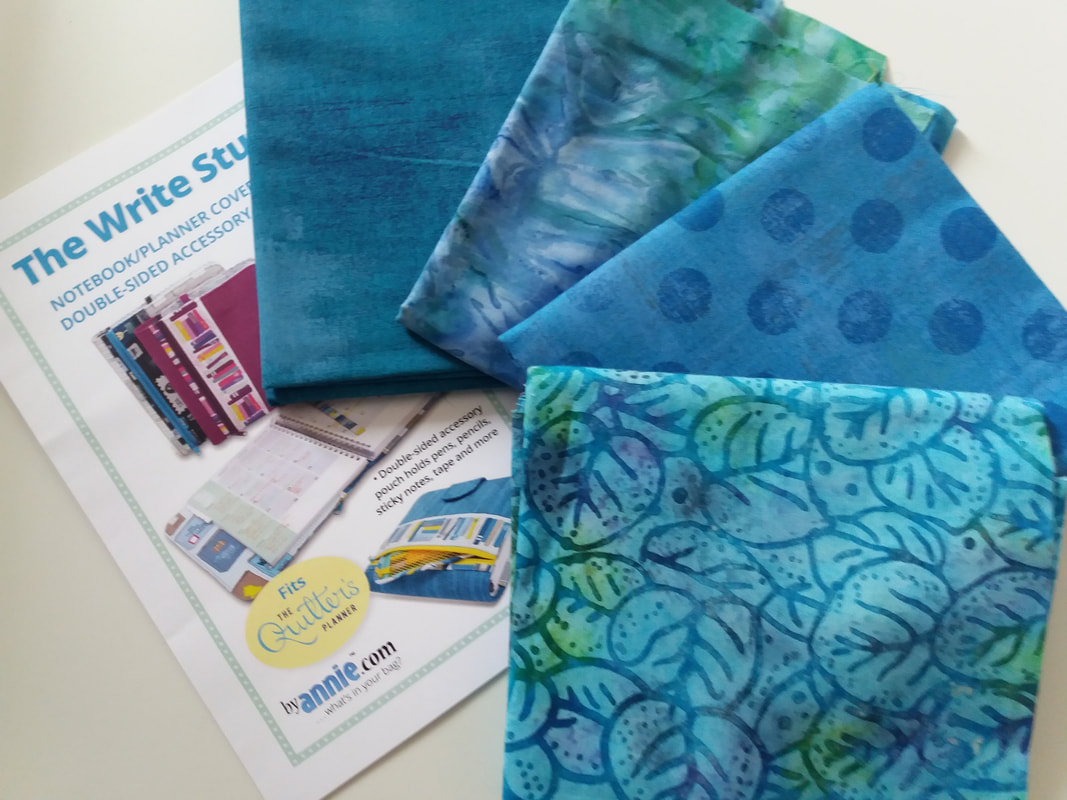
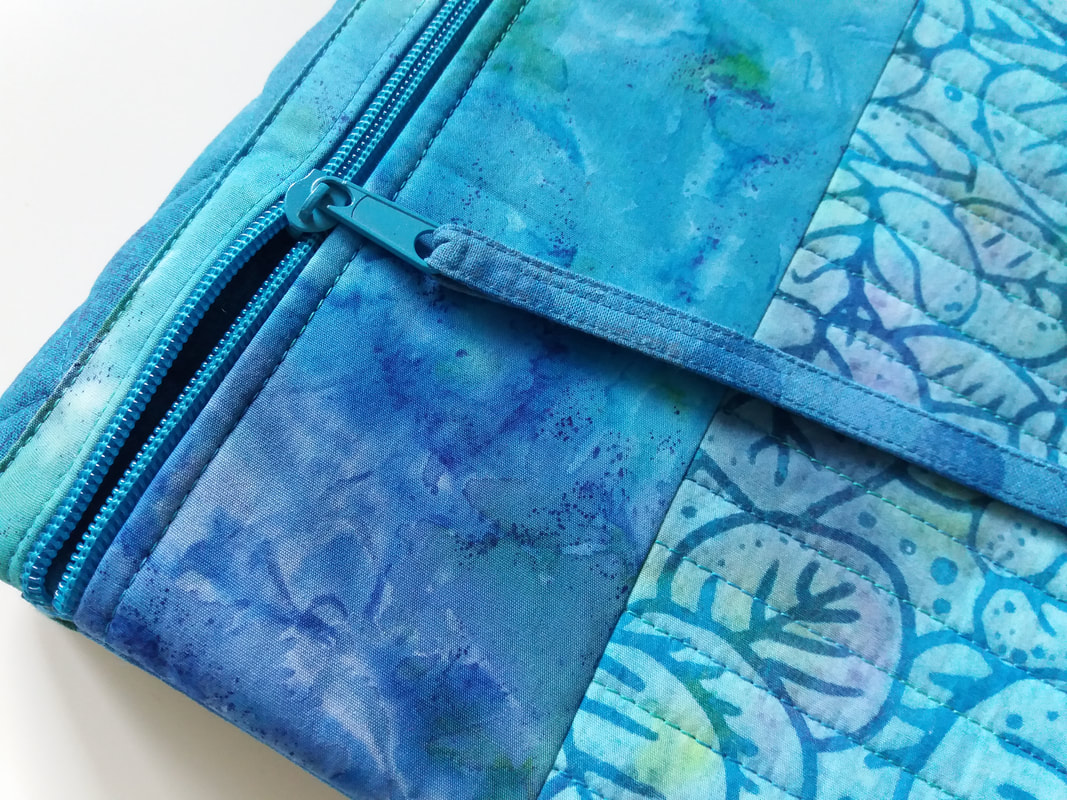
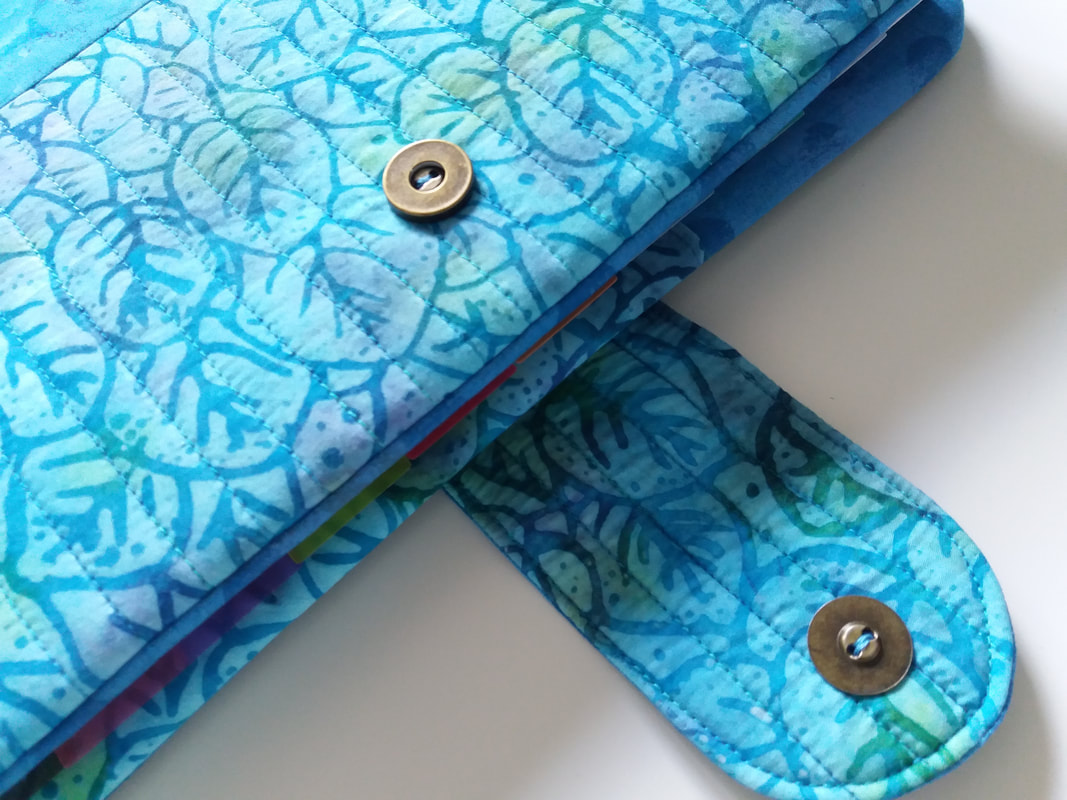
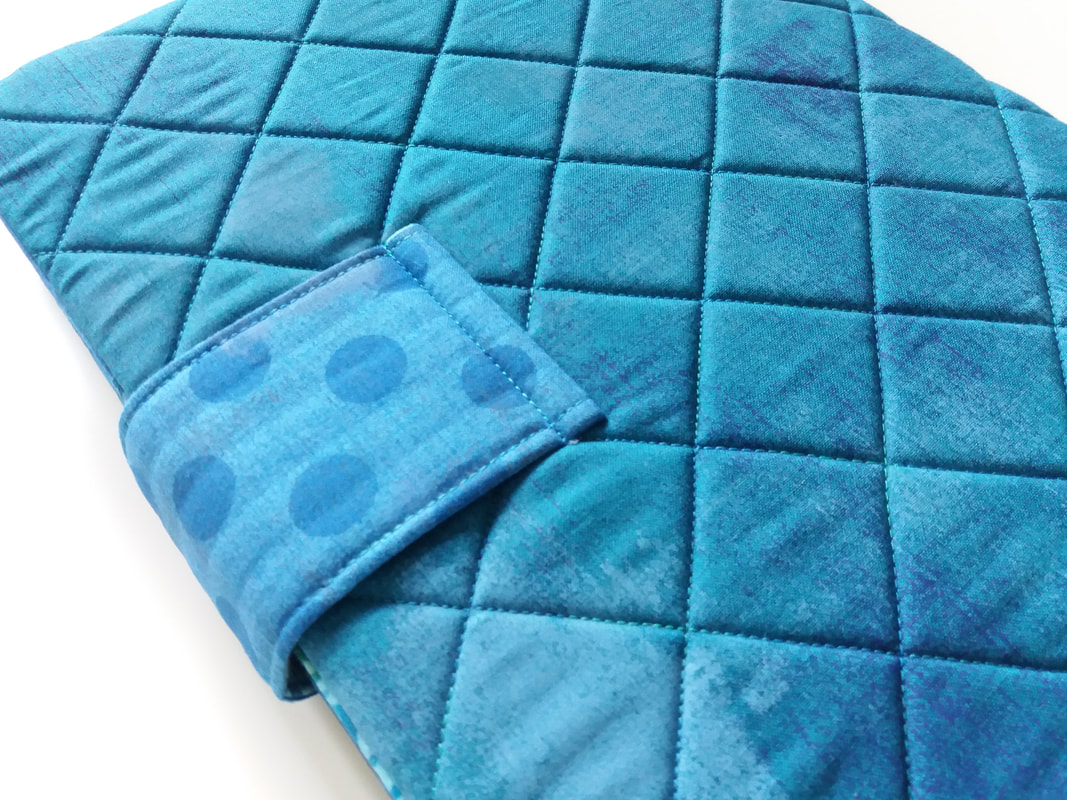
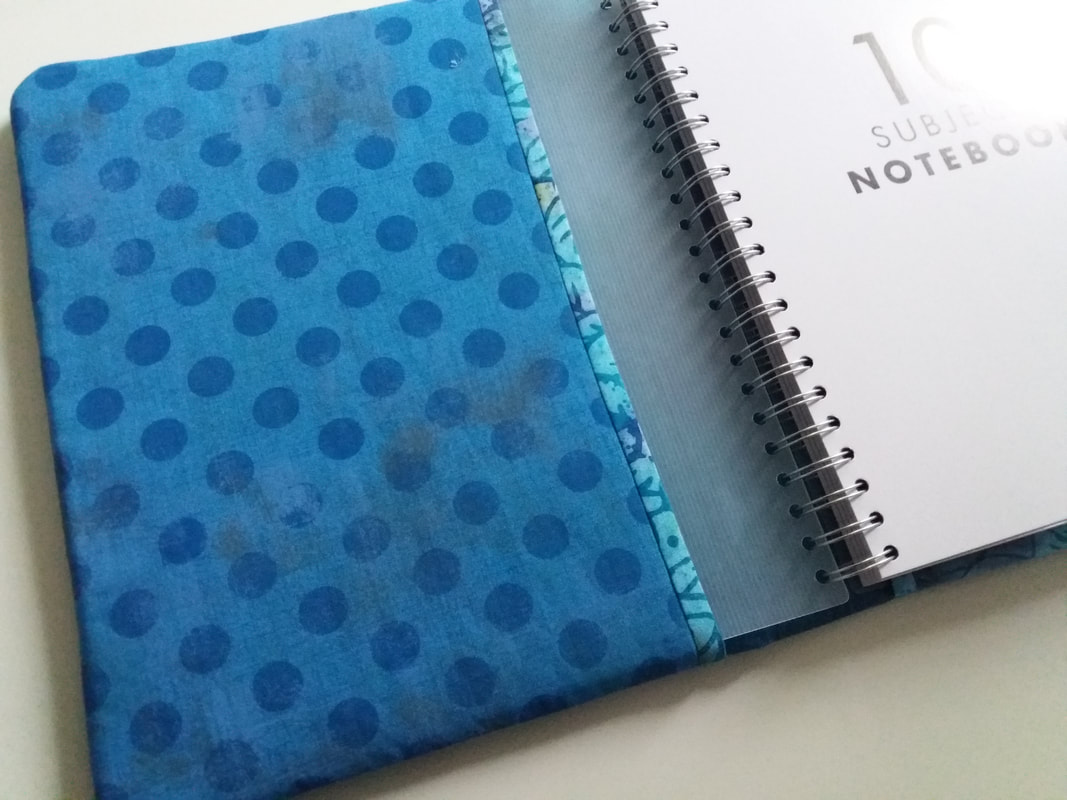
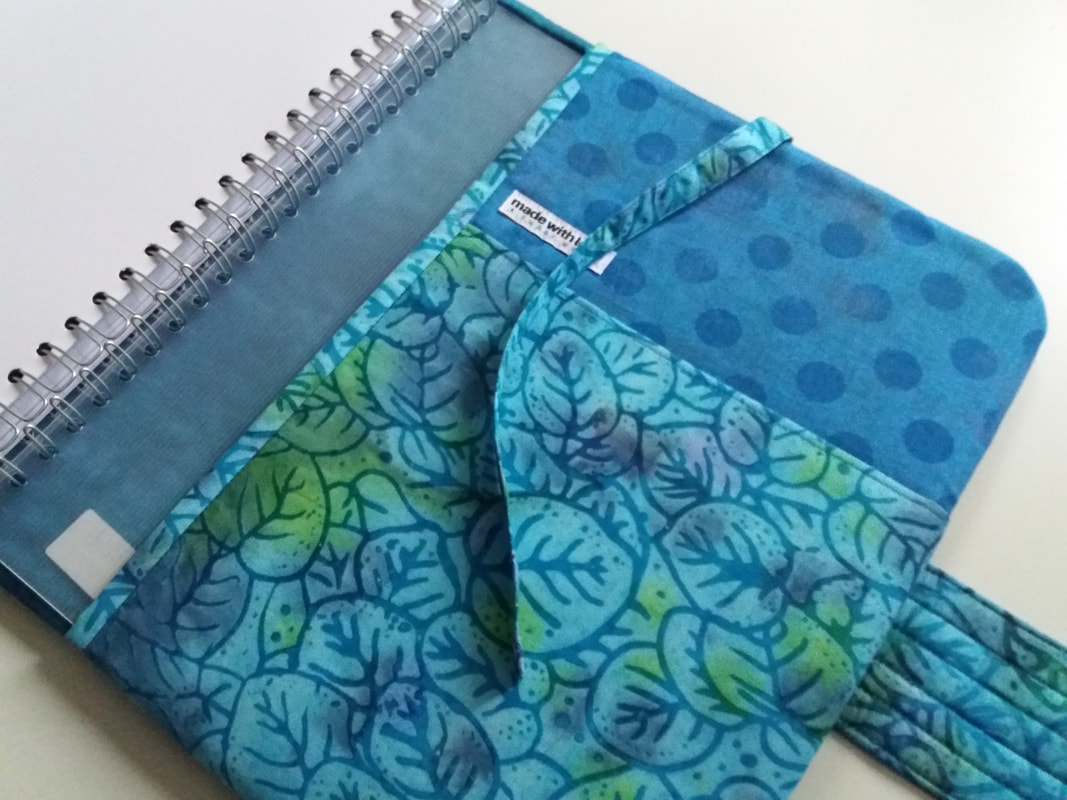
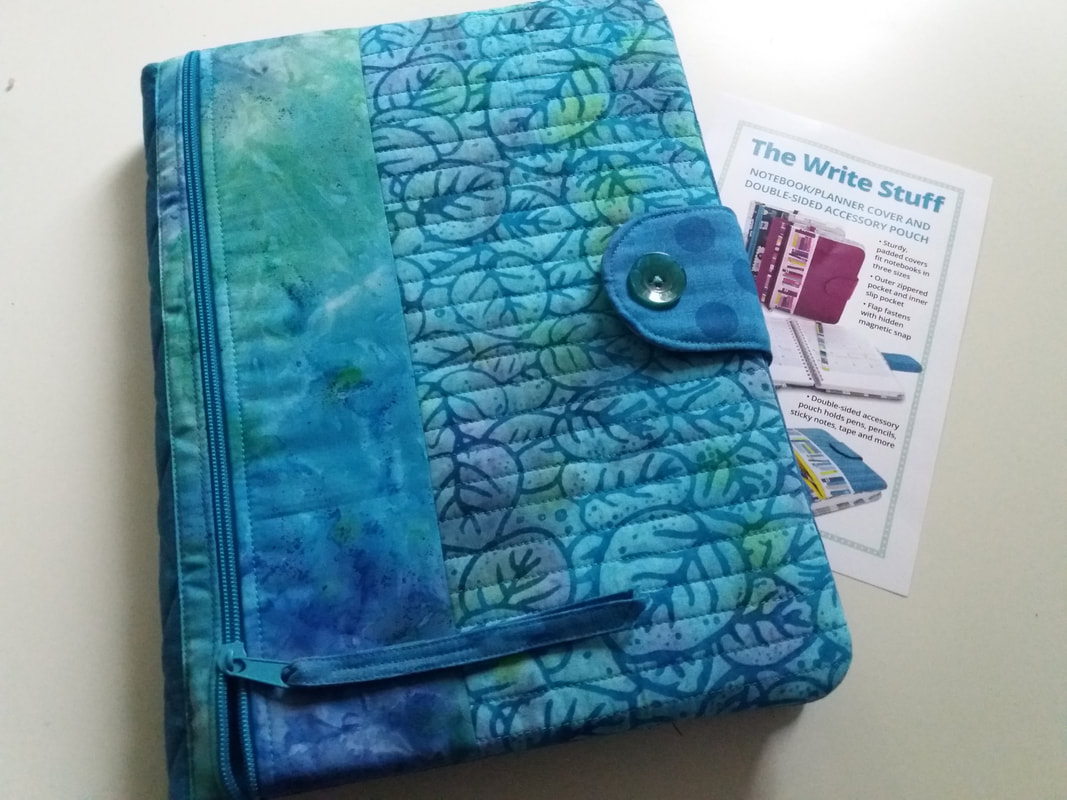
Another ByAnnie pattern and another gift! As you know, I enjoy mkaking journal covers, and have made several for myself and friends. However this one is on a whole new level, with a zippered front pocket, an inside pocket and a bookmark. This pattern is The Write Stuff and was purchased on line from Sew Hot - they have a great selection of ByAnnie products and patterns. I've used a combination of batik fabrics and Moda grunge by Basic Grey for this journal cover, all bought a couple of years ago at Sew and So's in Bungay (they have a super selection of batiks there) and teamed it up with a gorgeous variagated KingTut quilting thread, also bought from Sew and So's... ...this quilted journal cover has a zippered pocket on the front (I've added a fabric zipper pull) and a slip pocket on the inside of the back cover... ...I used a button sew-on magnet for the tab closure and added a vintage button from my huge collection in a matching colour... ...The pattern has instructions for making the journal in 3 different sizes, however it can easily be adapted to make other sizes. This is the large size and I've used an A4 sized spiral bound notebook... ...this was a gift for my daughter - she loves teals and turquoises and batiks, so I knew I couldn't go wrong with these fabrics. And there are plenty of pages for her to fill it up with her hopes and dreams!
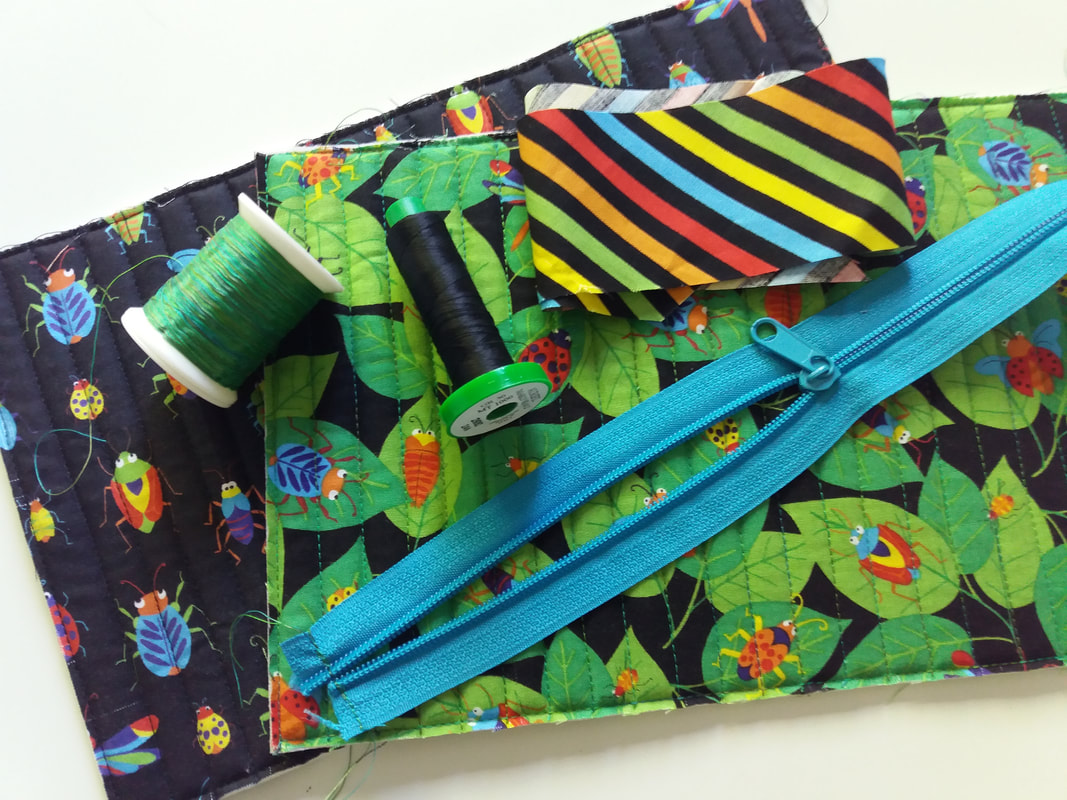
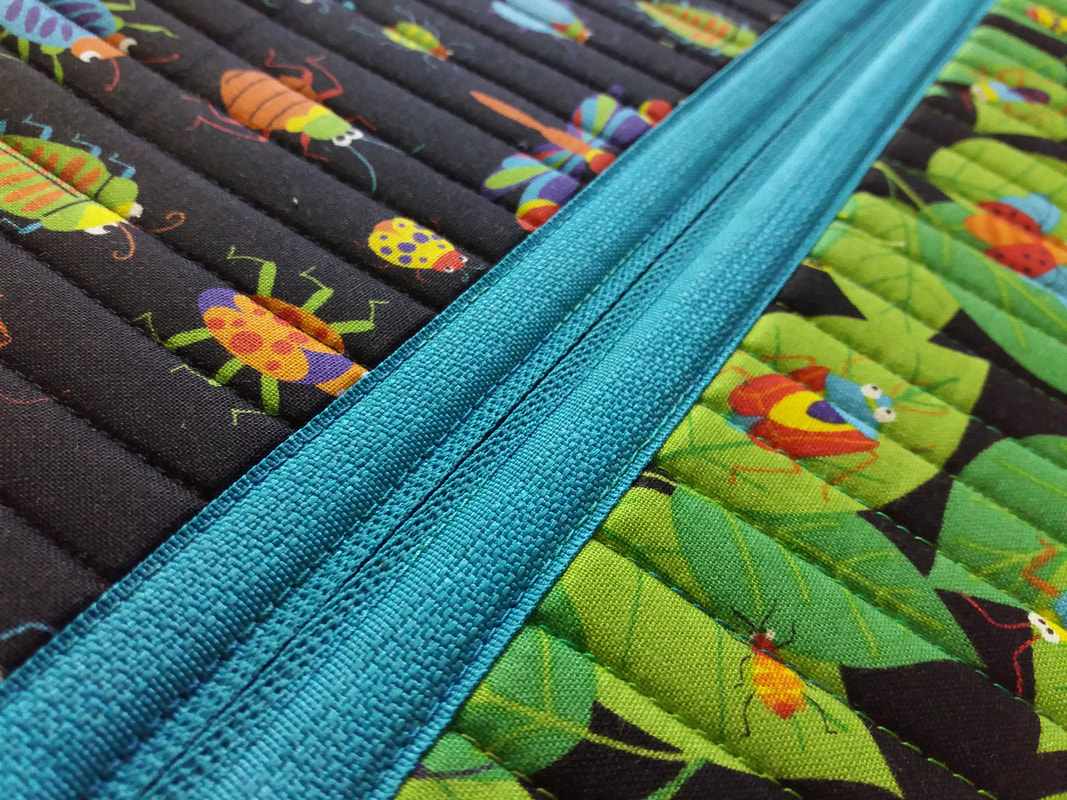
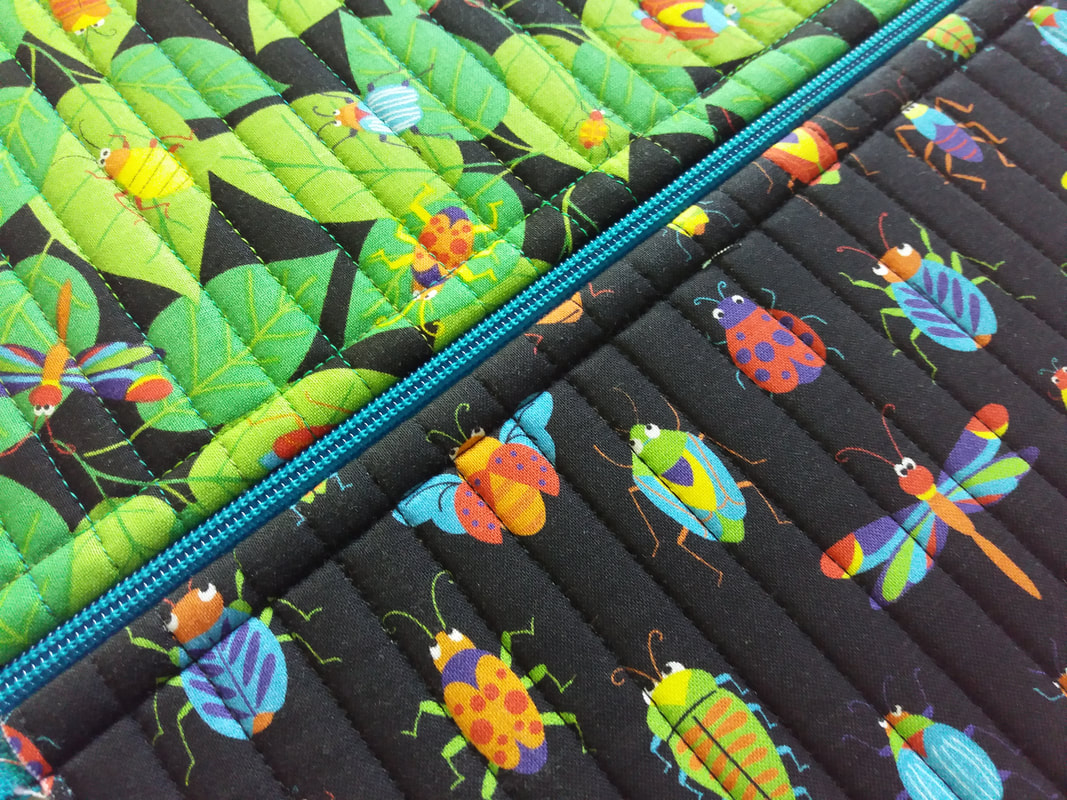
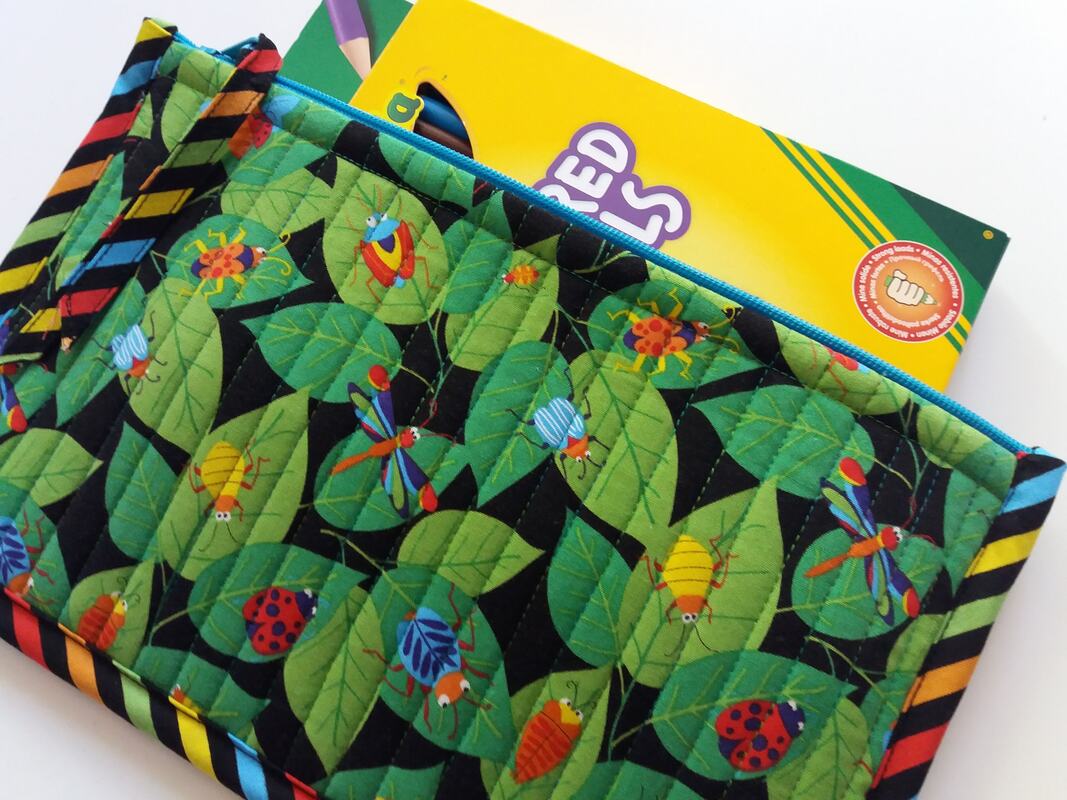
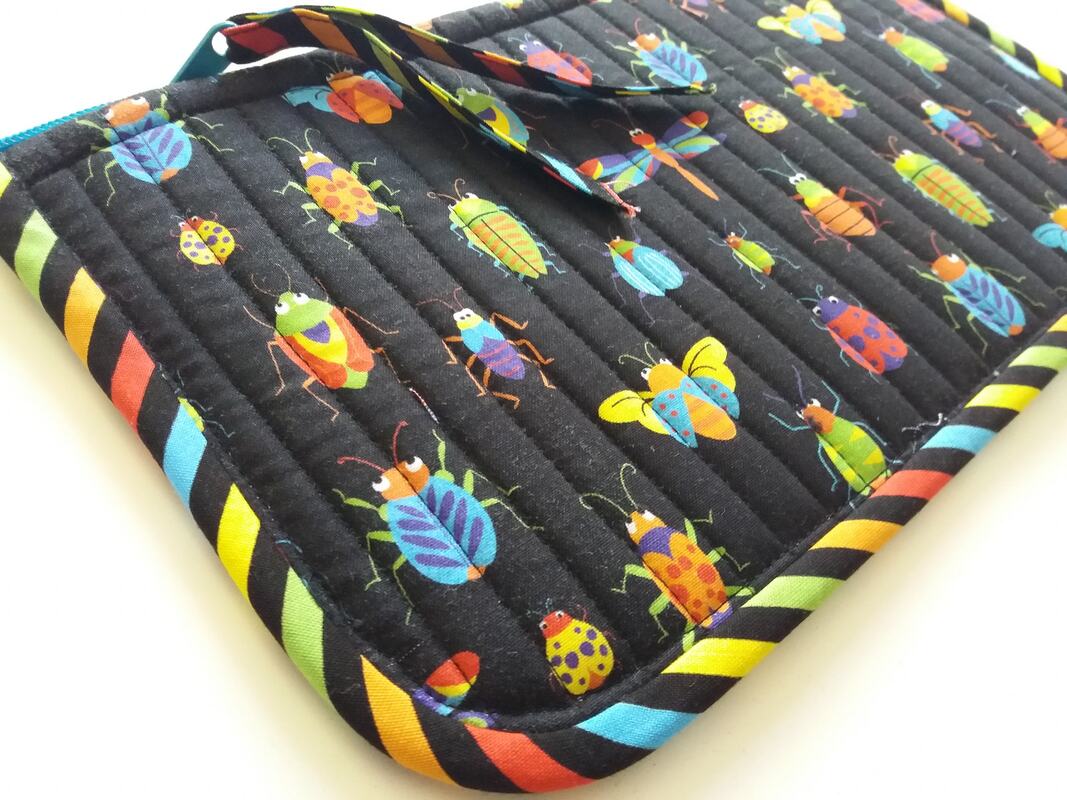
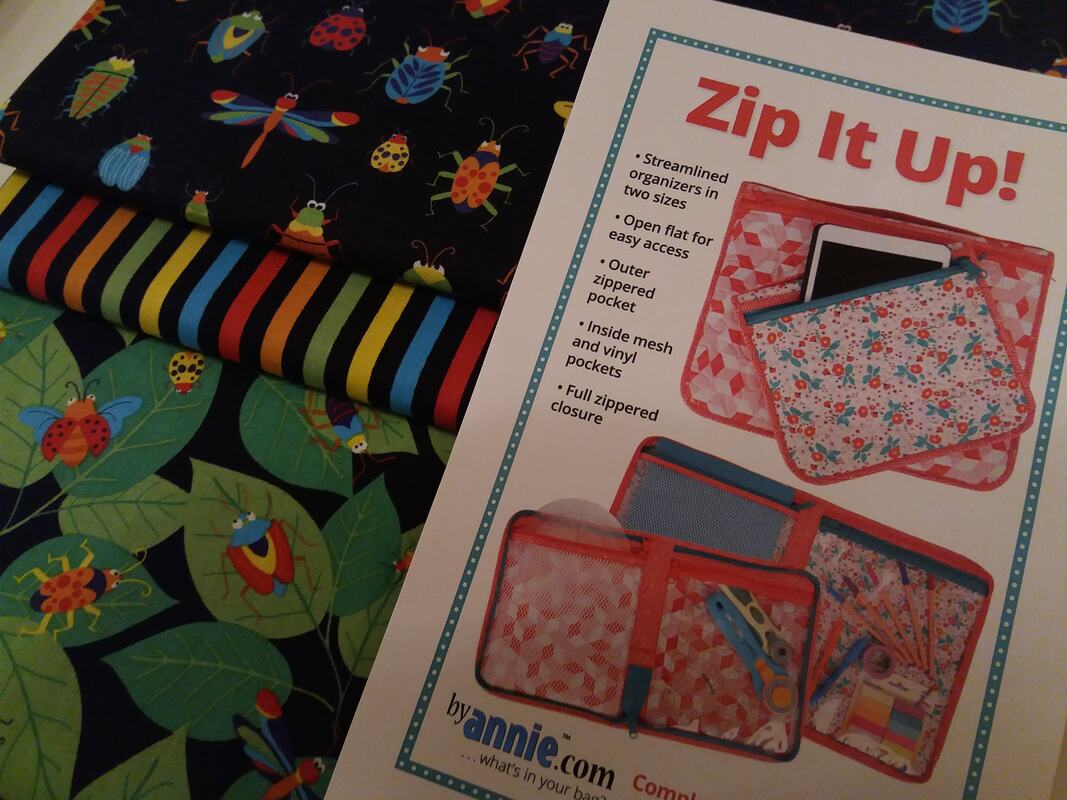
I've used a few left over scraps of fabric from the recent Zip it Up case that I made to make a very simple project. These fabrics from the Bugs and Critters collection by Nutex, were leftovers from the recent Zip it Up case that I'd made for a special little boy's birthday. I found a pattern online for a simple pencil case on the Folk Art Factory blog. I've altered the construction slightly, so the front and back of the pencil case are quilted very simply rather than having a seperate lining... ...as I'd altered the way the pencil case was constructed, I had to change the way the zipper was put in, so I've used the ByAnnie method of zipper insertion - there are some great video tutorials for this on the ByAnnie website... ...the stripey binding was cut on the bias and machined in place a quarter of an inch around both sides and the lower edge of the pencil case, then folded over and machined again to enclose all the raw edges. I've also added a zipper pull with a piece of leftover stripey binding. This case can be adapted to whatever size you want, depending on the size zipper and fabrics that you have. This one is the size of the orihginal instructions, and the box of pencils fits inside perfectly!
Being a member of the Poppy Patch Posse is so exciting! My second kit arrived in the post at the weekend from Poppy Patch and is a pattern by One Day In May, Creations by Melissa Grant. This pretty kit includes the pattern, all fabrics including embroidery stabilizer and wadding, and 2 skeins of beautiful Cottage Garden Threads hand-dyed embroidery thread. My due date for this is towards the end of November so I've got plenty of time to catch up with a few other projects first!
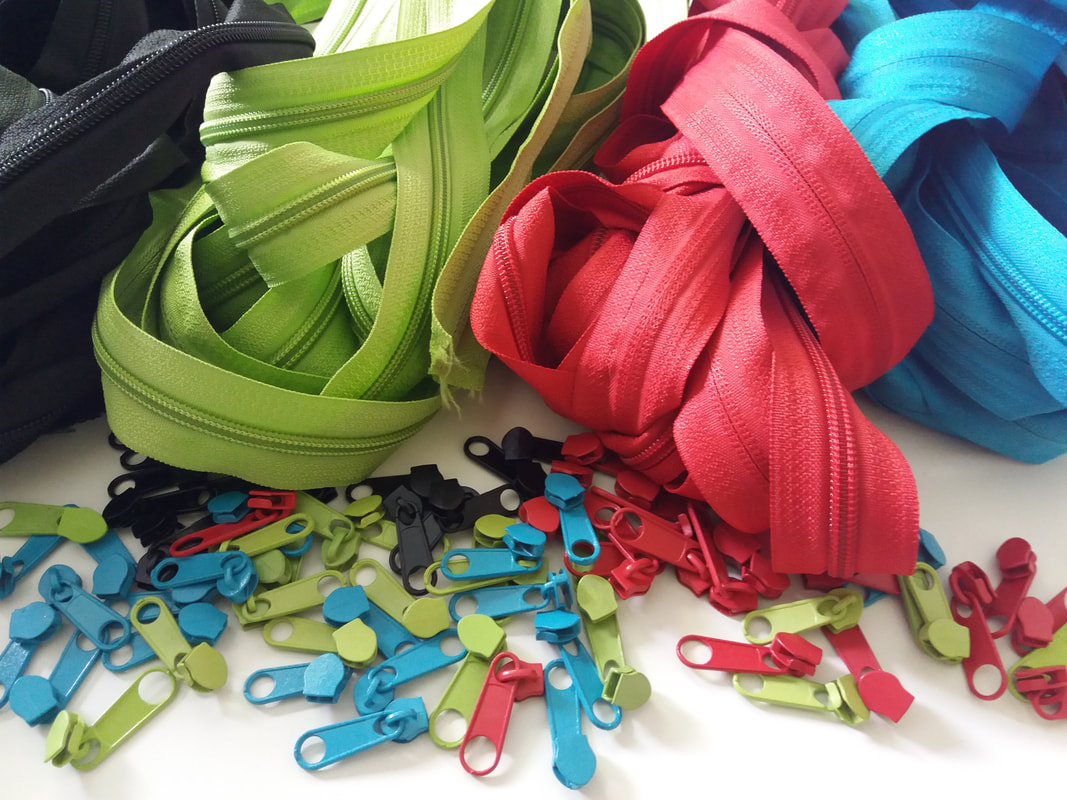
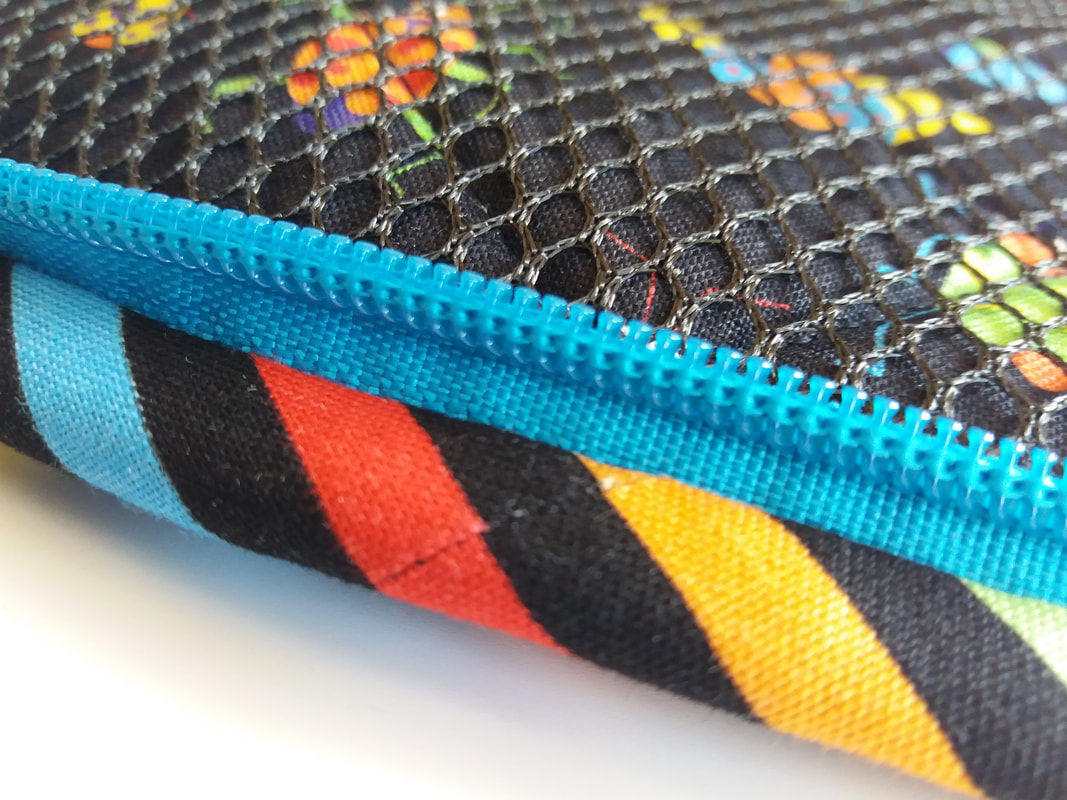
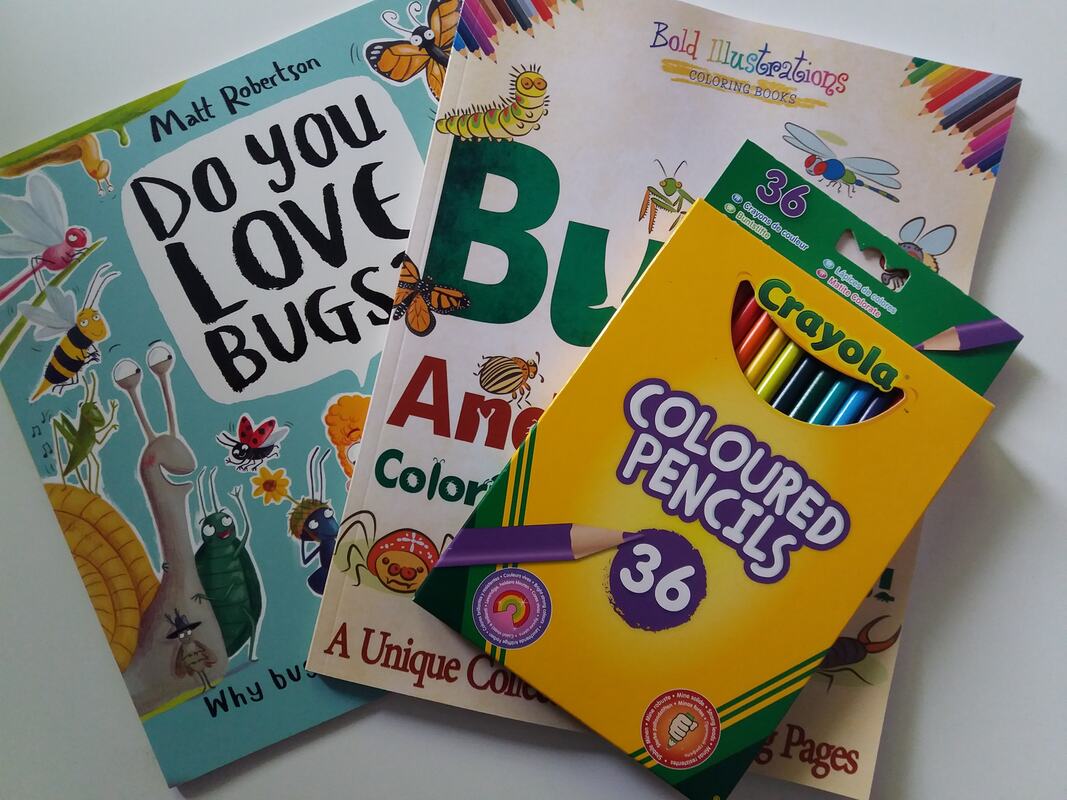
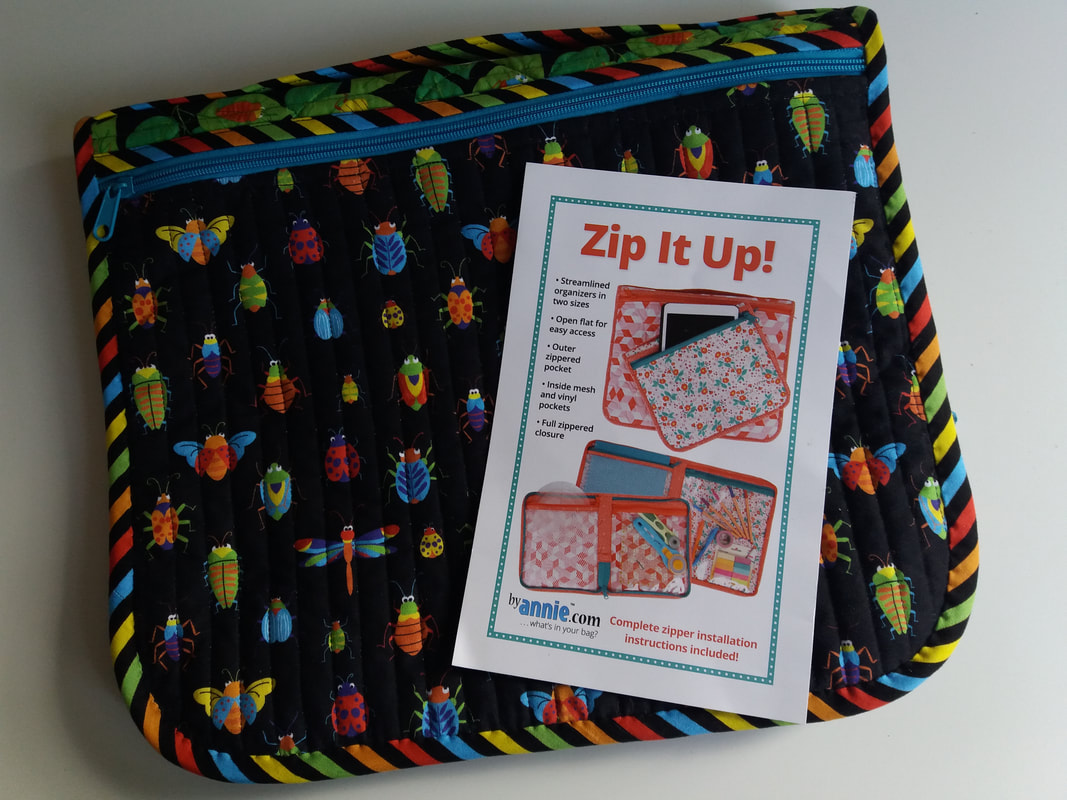
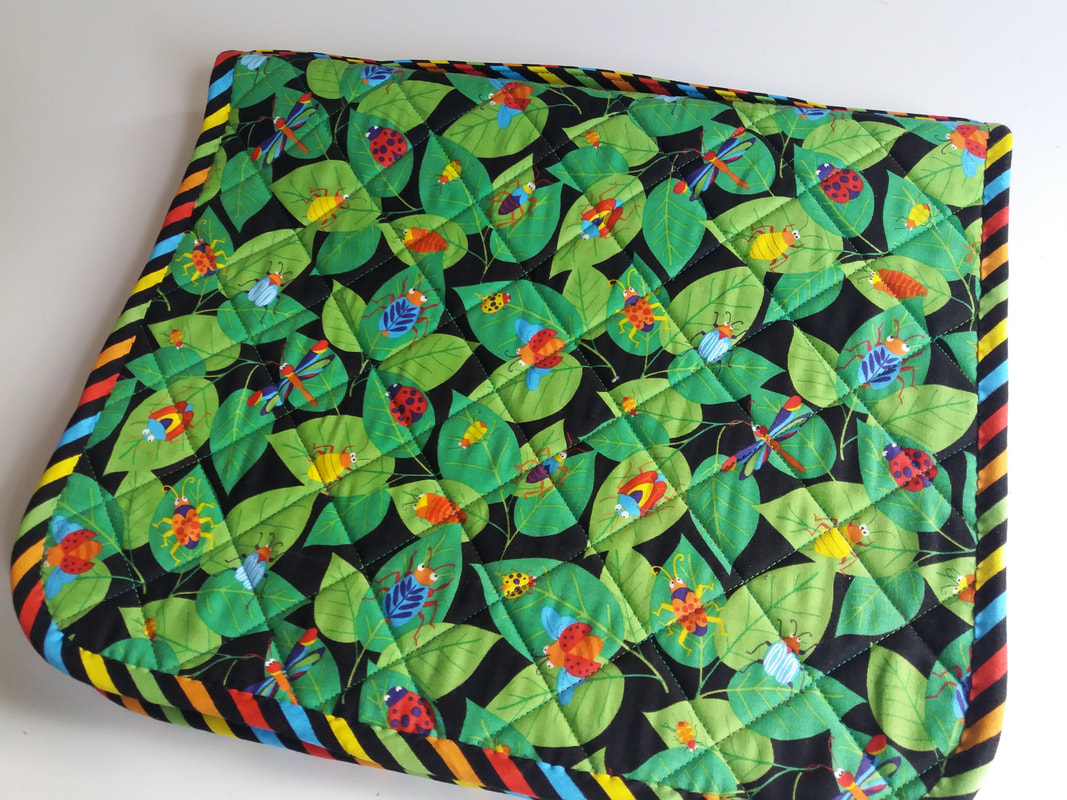
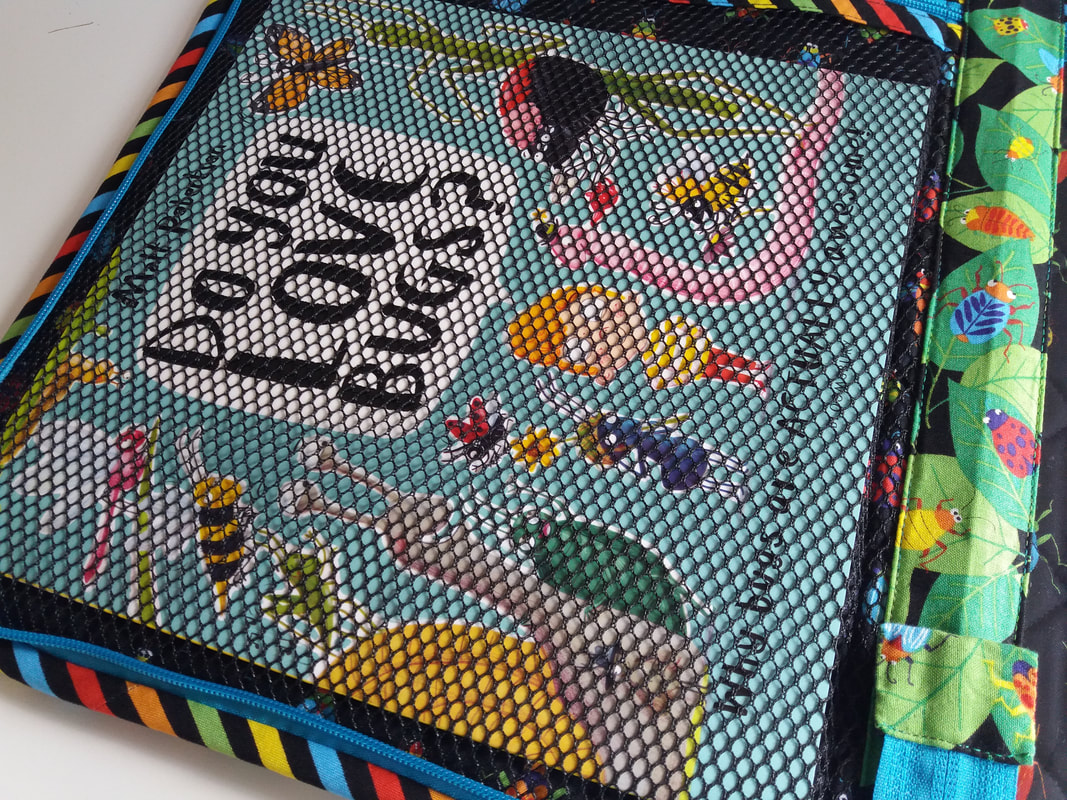
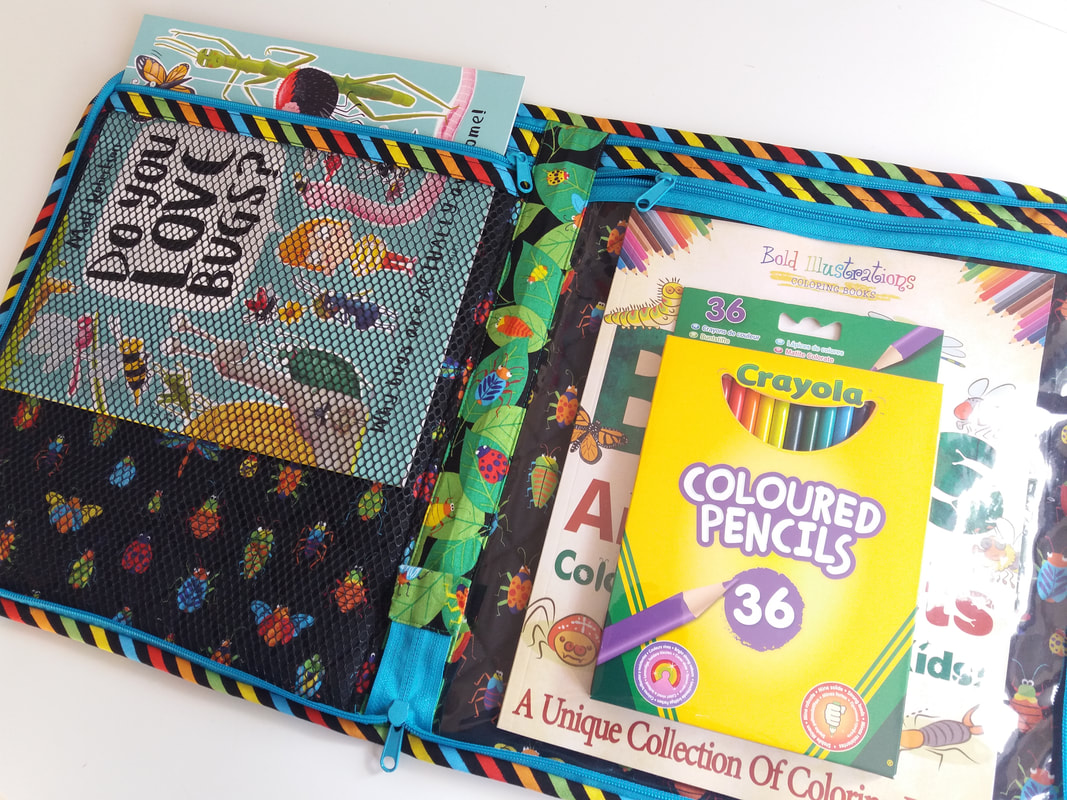
This project was made as a birthday present for a very special little boy. As soon as I saw these fabrics from the Bugs and Critters collection, I just knew they'd be perfect for what I had planned. A quick order was made to The Galloway Crafts & Outback Yarns - this stripey fabric s going to look super cut on the bias for binding! The pattern I'd chosen is "Zip it Up" by Pattern ByAnnie.com and Patterns By Annie and purchased from Plush Addict. Last year I discovered Zipper Station - a super assortment of zippers in an array of colours and sizes. I decided to buy zipper by the yard with some extra zipper pulls in a few bright colours for this one and future projects... ...well I do think that stripey binding looks fabulous, but the trickiest part of using stripey binding cut on the bias is joining the ends so the stripes match! The reason the Bugs and Critters fabrics were so appropriate was because I'd already bought some bug-related gifts - a super book by Matt Robertson called Do You Love Bugs, a bugs and insects colouring book, and a large box of colouring pencils. Plenty to keep an inquisitive young man occupied for hours!... ...the Zip it Up case wasn't TOO tricky - the instructions on ByAnnie patterns are very clear. Although this pattern didn't have an add-on video tutorial, there are lots of ByAnnie video tutorials on her website and on YouTube which are super helpful, especially for putting in that zipper and attaching the zipper sliders! The front of the bag has a large zippered pocket and there's a smart handle on the top. If you wanted to adapt the pattern the back of the case could easily have another pocket added on... ...inside there are 2 large pockets - one is made with mesh, the other made with vinyl. I already had some leftover mesh from another project, which I'd bought from Sew Hot (the ByAnnie brand comes in lots of different colours) and I decided to try the ByAnnie clear vinyl which was bought from Oh Sew Sweet. I must say, although the vinyl was more expensive than ones I'd used previously, the quality is so much better, so I'll definitely be ordering more. Both pockets are zippered and I really love the pop of turquoise. For any zipperphobics, the zipper sliders went on really easily... ...well the birthday boy was absolutely thrilled to bits with it! I'll definitely make more of these as I have a few young neices and a young nephew that I think will like them, especially if I can match my fabrics to suit the contents!
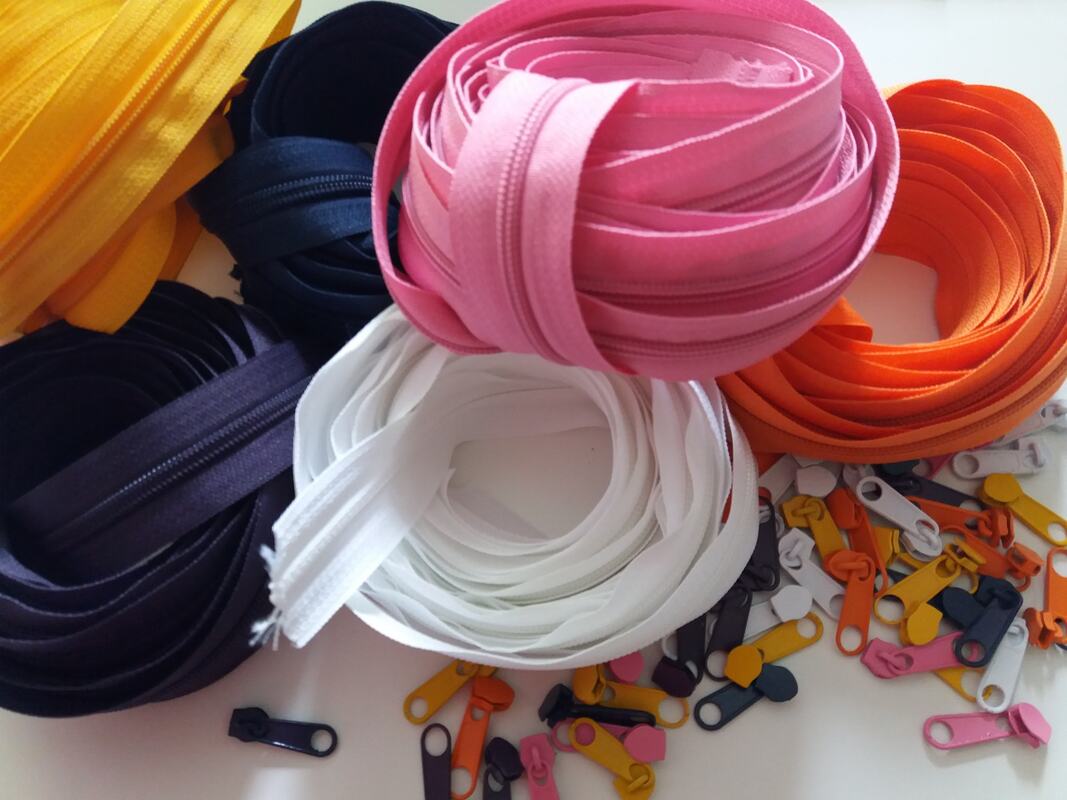
I ordered a selection of continuous zippers, along with matching zipper sliders, from Zipper Station on Friday and they arrived in the post today! These glorious colours will be perfect for bag making - buttercup, navy, pink, orage, white and eggplant. Being able to purchase extra sliders mean this is a really ecconomical way of buying zipper tape too! Zipper Station is a brilliant website, selling all types of zippers in an assortment of sizes and colours. I've been buying the number 5 zippers and extra sliders - they are great quality and so much more reasonable than the ByAnnie brand. Now I've build up my zipper supply, I'm all set for making more bags and zipper projects - watch this space!
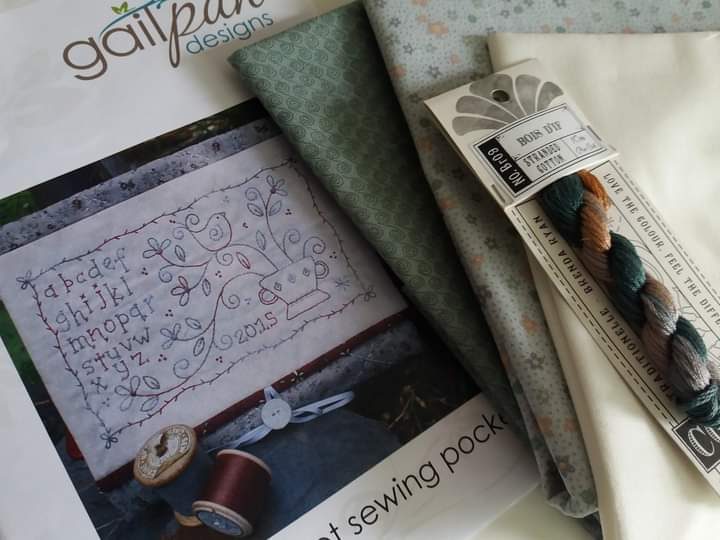
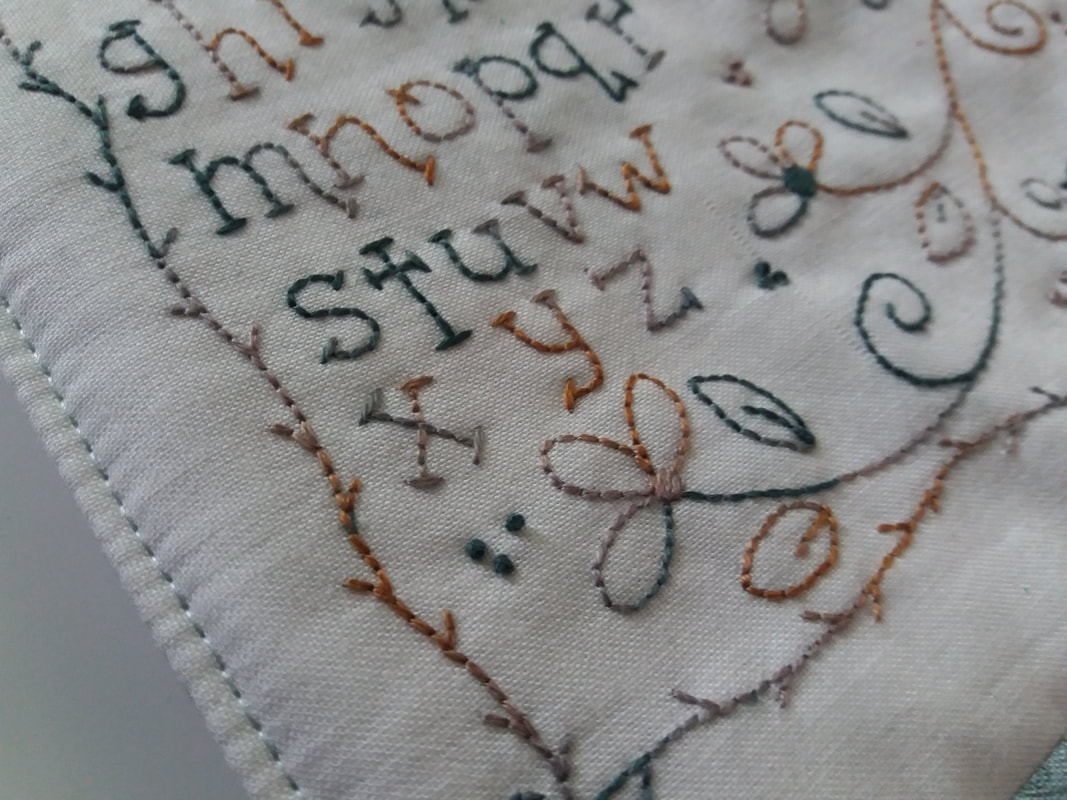
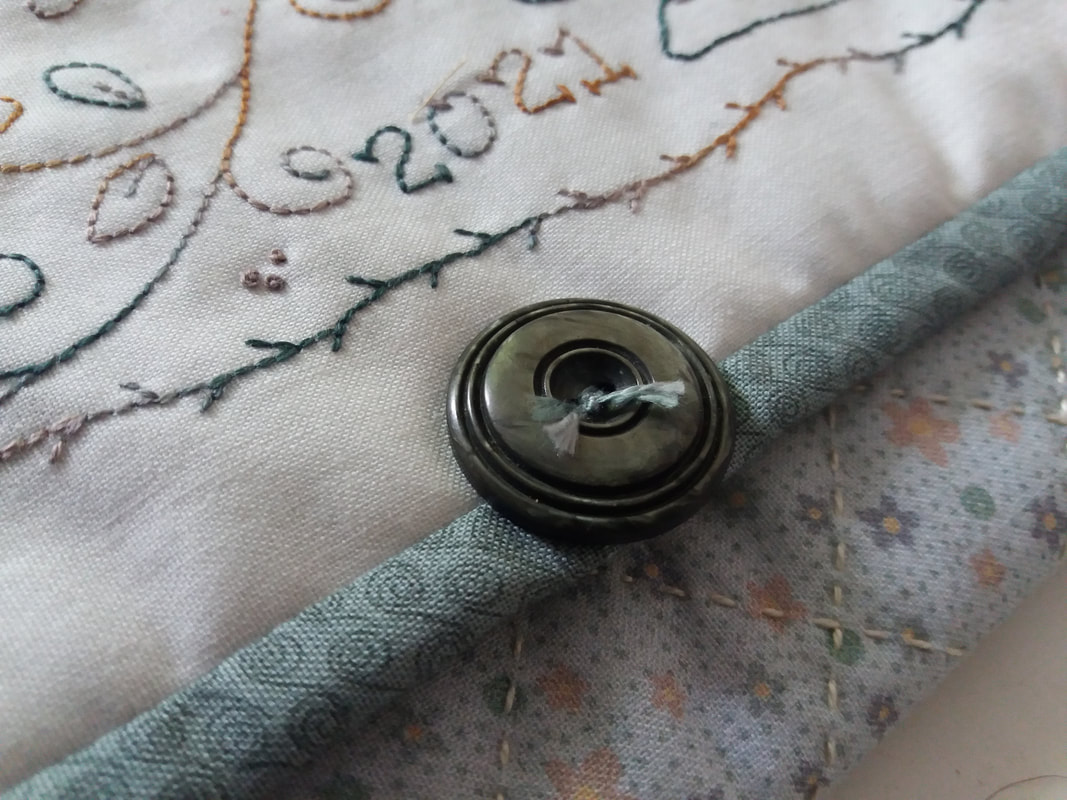
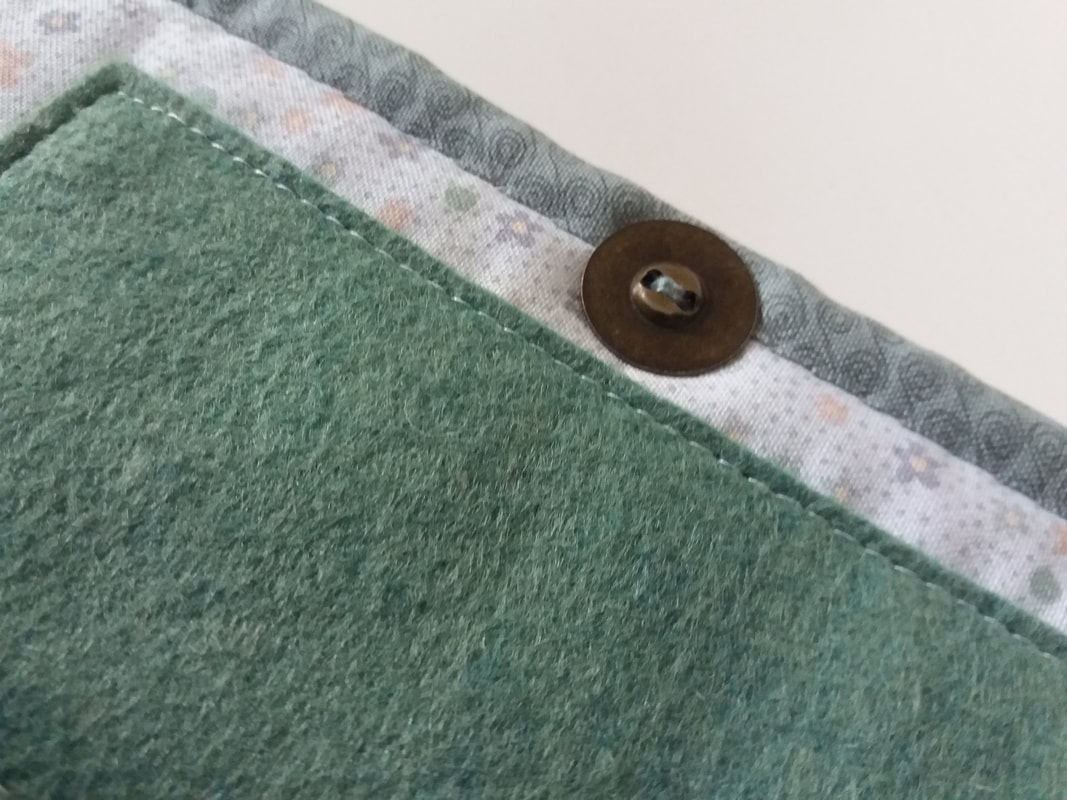
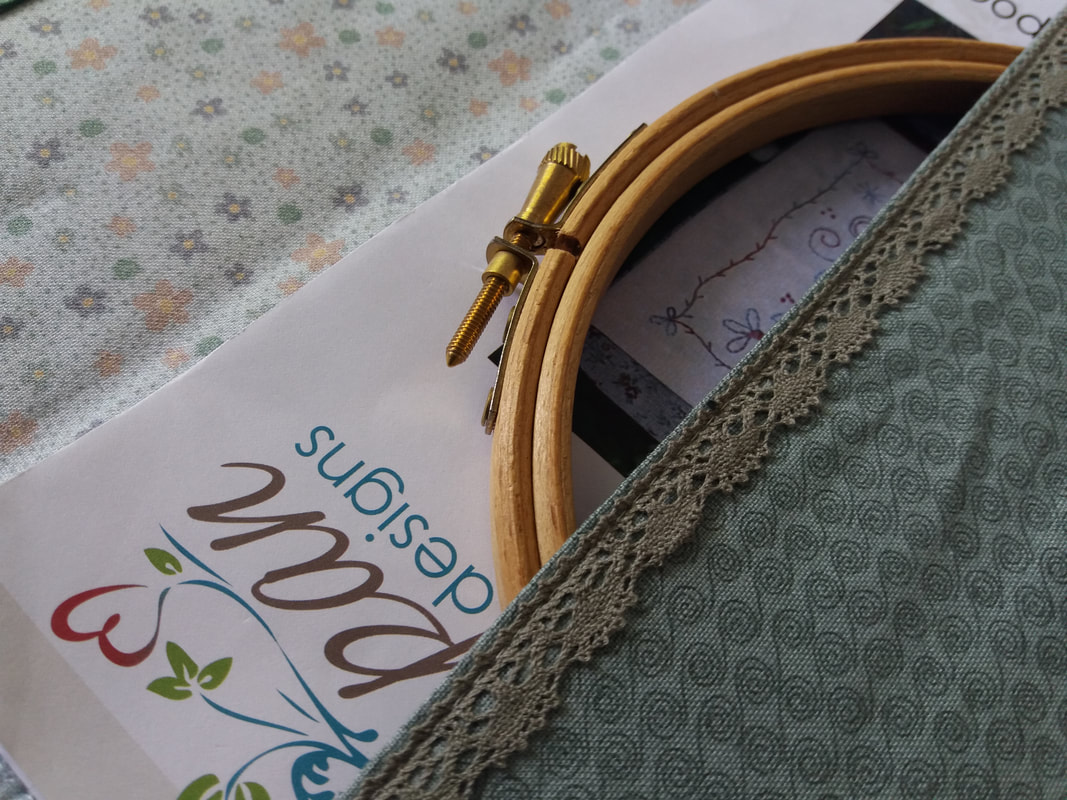
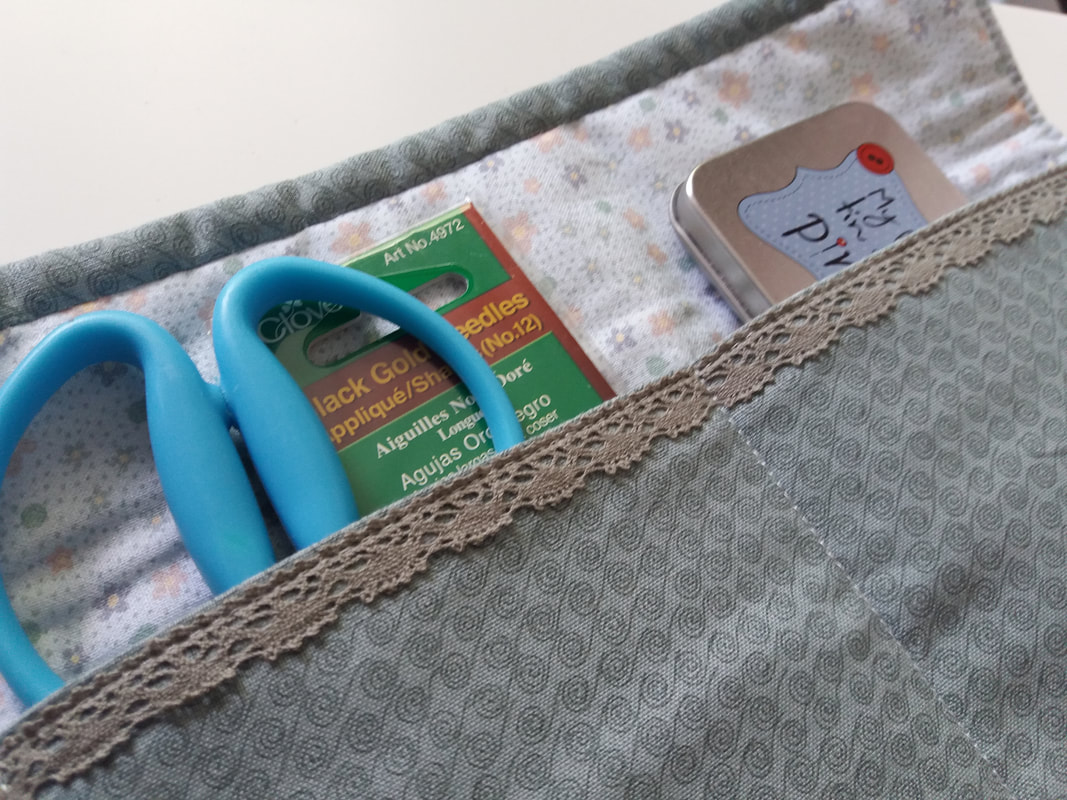
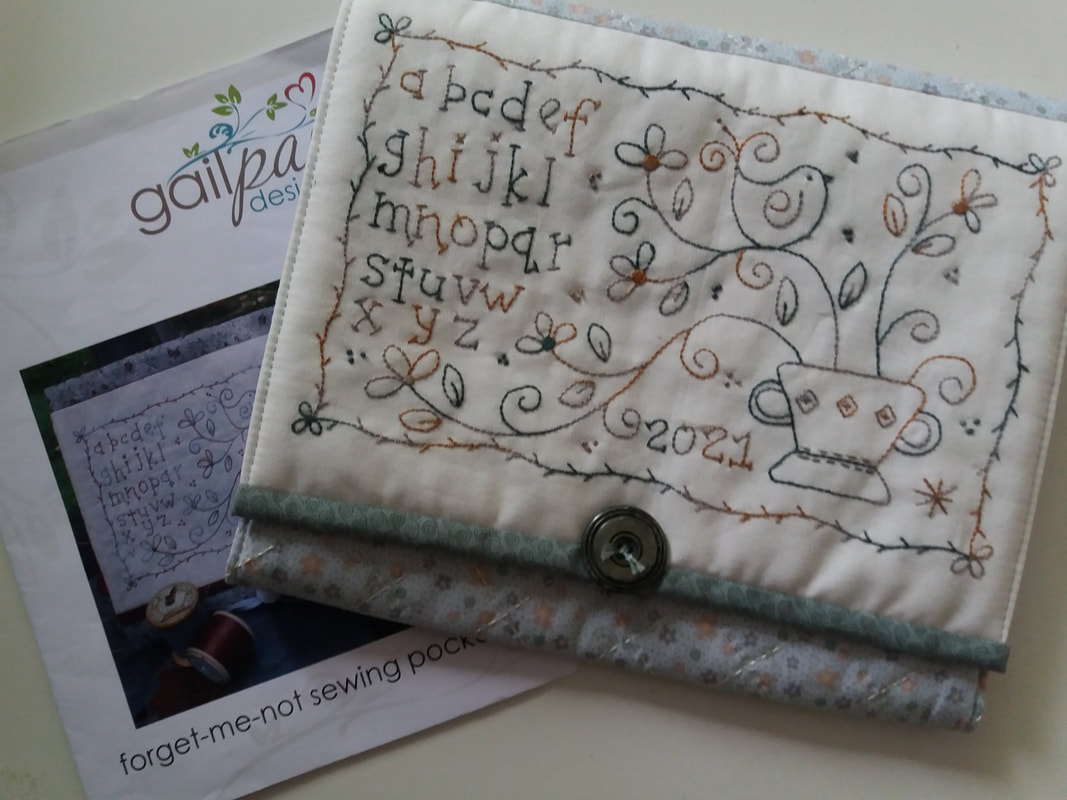
As you know, a few weeks ago I was picked to be a member of the Poppy Patch Posse, which was very exciting! My first kit arrived in the post and included all the fabrics, pattern and embroidery thread for this sewing pouch. The pattern is Forget-me-not Sewing Pocket, by the Australian designer Gail Pan. This beautiful hand-dyed Cottage Garden Thread is really lovely to use for hand embroidery. When I constructed the pouch, I used a thin felted polyester wadding (Pellon H630) and machine stitched an eighth of an inch from the outside edge once it has been turned the right way through... ...the original pattern has a button and ribbon for the closure, however I didn't have any ribbon the right colour, so I've improvised and used a sew-in button magnet to keep the sewing pouch closed, and used a vintage button on the front of the pouch. The pouch is hand quilted using a DMC perle thread in ecru in a simple cross hatch design. I've also added a wool felt needle keeper to the inside flap... ..inside there is a generous pocket for sewing supplies along with 2 smaller pockets. The bound lower edge of the flap folds over the smaller pockets ensuring everything stays in place when the pouch is closed...I've added a piece of lace trimming to the top of the pockets... ...and here is the completed sewing pouch. I am a huge fan of Gail Pan's patterns and this was such a pretty project to make. Gail's patterns are always written very simply and are easy to follow. The full size traceable stitchery design is included in the pattern along with detailed instruction of how to put the pouch together. The kit that Poppy Patch put together is really pretty, using fabrics from another Australian designer, Lynette Anderson and these fabrics are from her Swan Cottage collection. If you'd like to make one of these, kits are available on the Poppy Patch website. This has now been posted off to Poppy Patch to be on display as a "shop sample" so if you're passing you might see it!
#poppypatchposse |
About me...Hi - welcome to my quilting blog! My passions are my family, my dog, my friends and sewing, not necessarily in that order! Archives
July 2023
Blogs I followUK shopsThese are the UK shops that I use to purchase my quilting supplies - fabrics and threads etc.
Australian linksScandinavian links |



 RSS Feed

