|
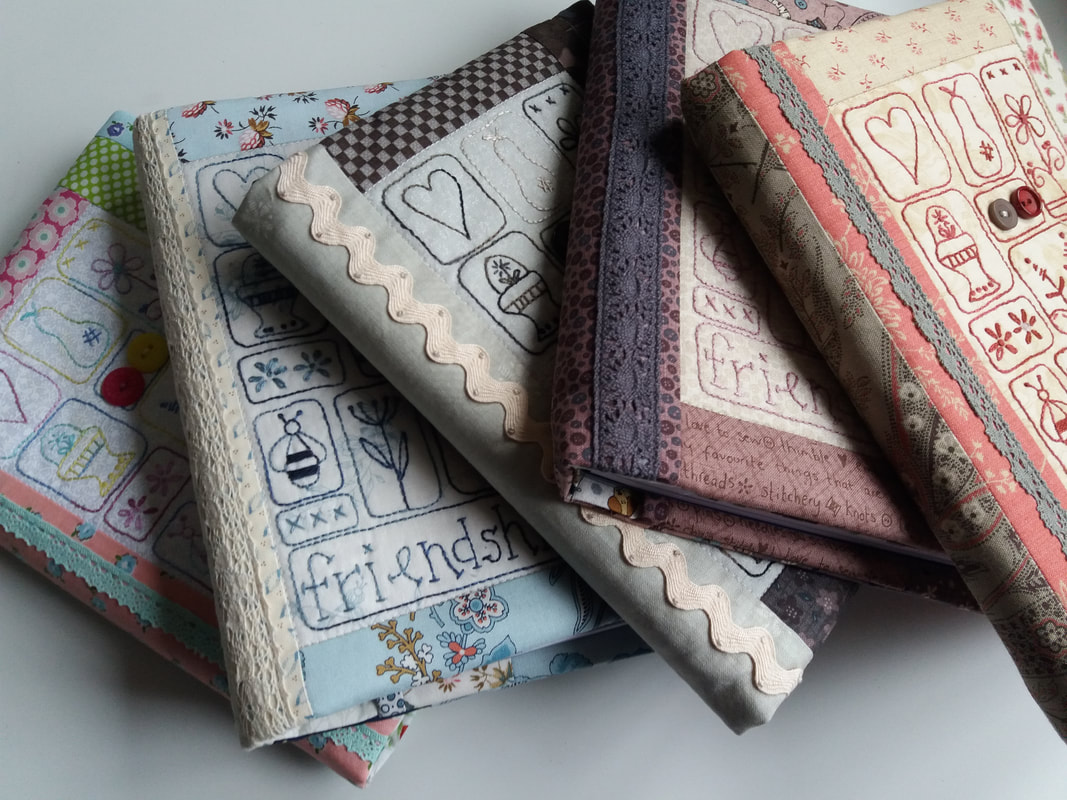
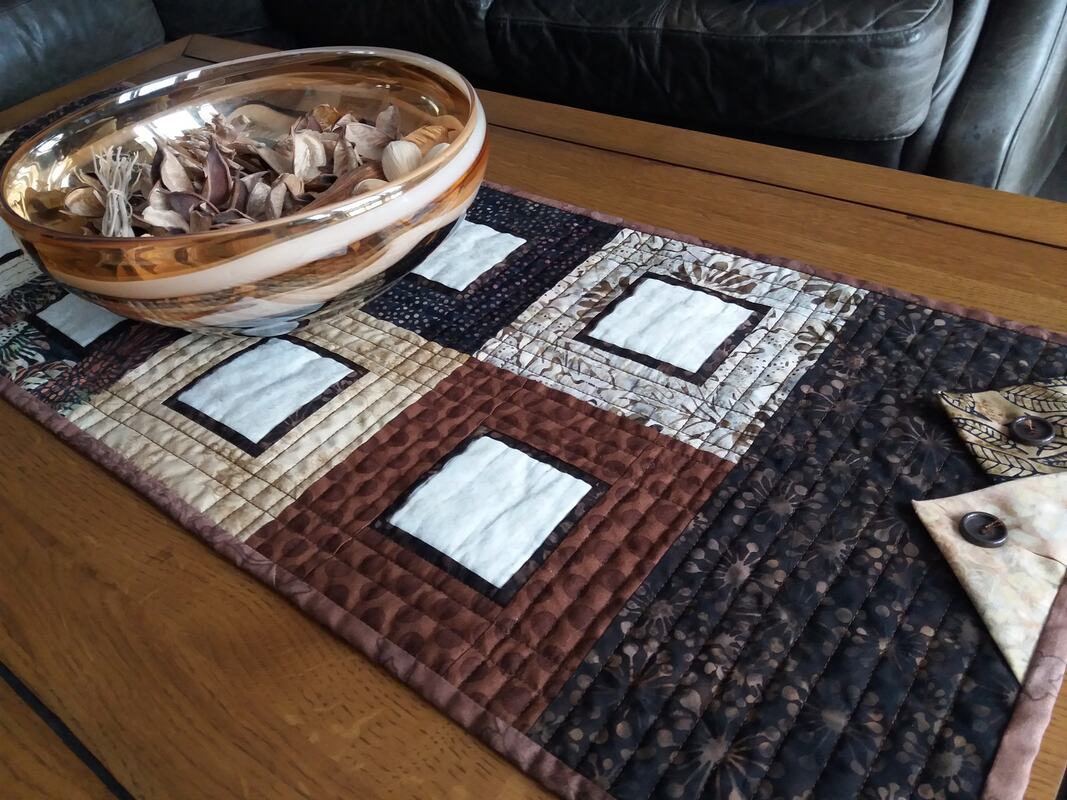
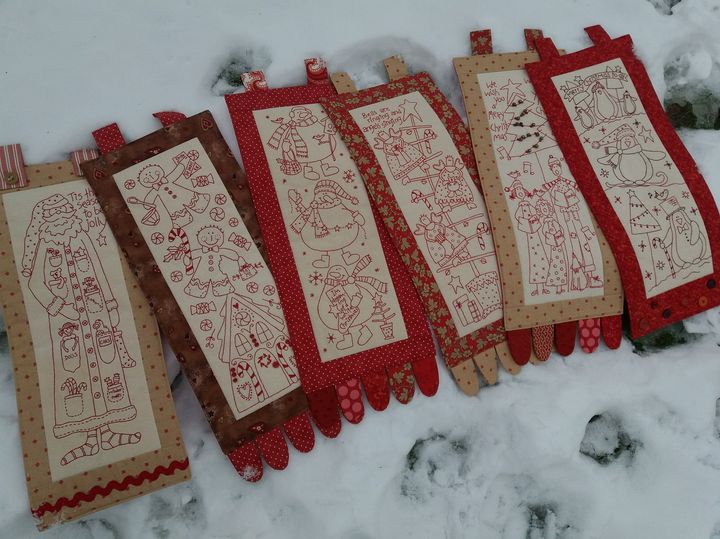
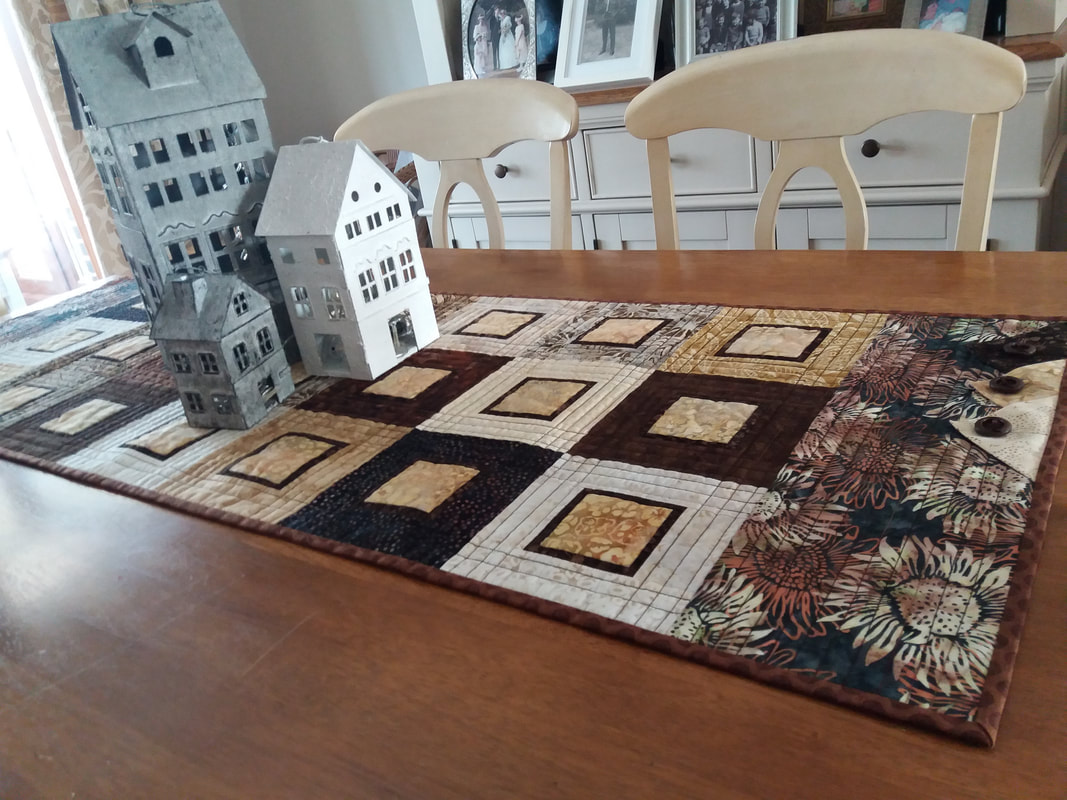
As usual I've had another VERY productive year, with lots of quiltystuff being produced in my sewing studio - bags and wallhangings, tablerunners and journal covers, Christmas stockings and fabric bowls - the list goes on and on! Now I need to blitz my sewing studio and make a list of the projects that have been tucked away waiting to get made - hopefully I'll have another fabric-fuelled year in 2022.
0 Comments
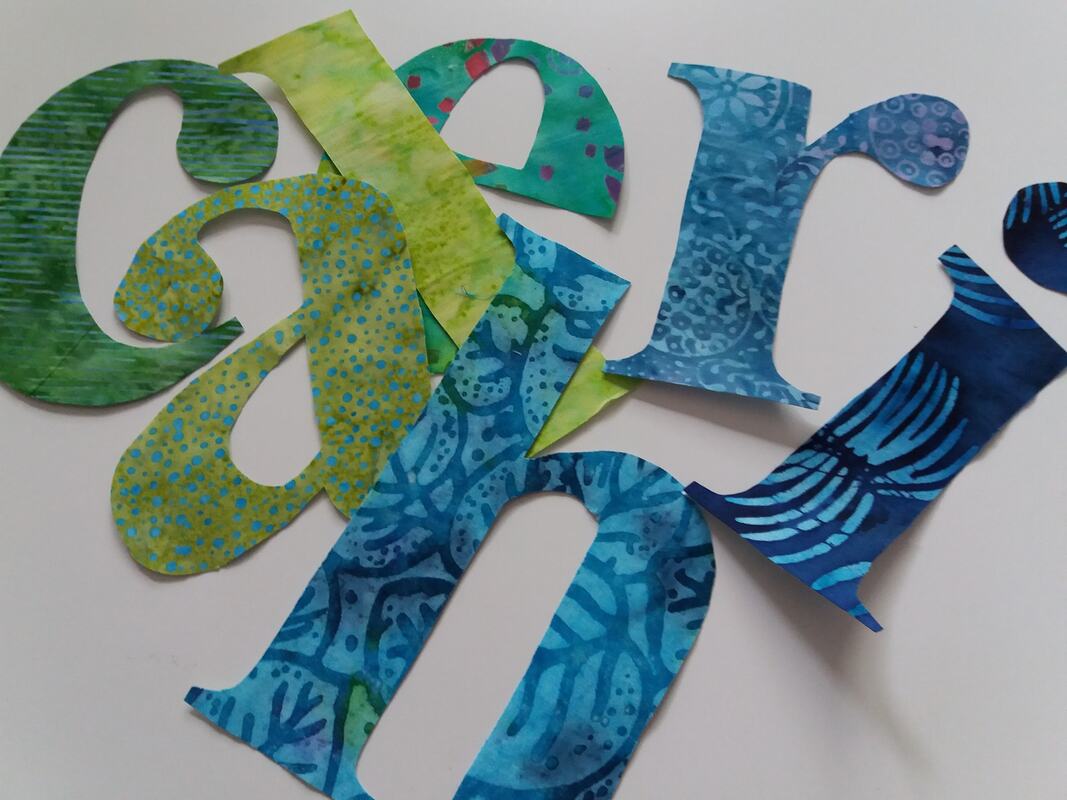
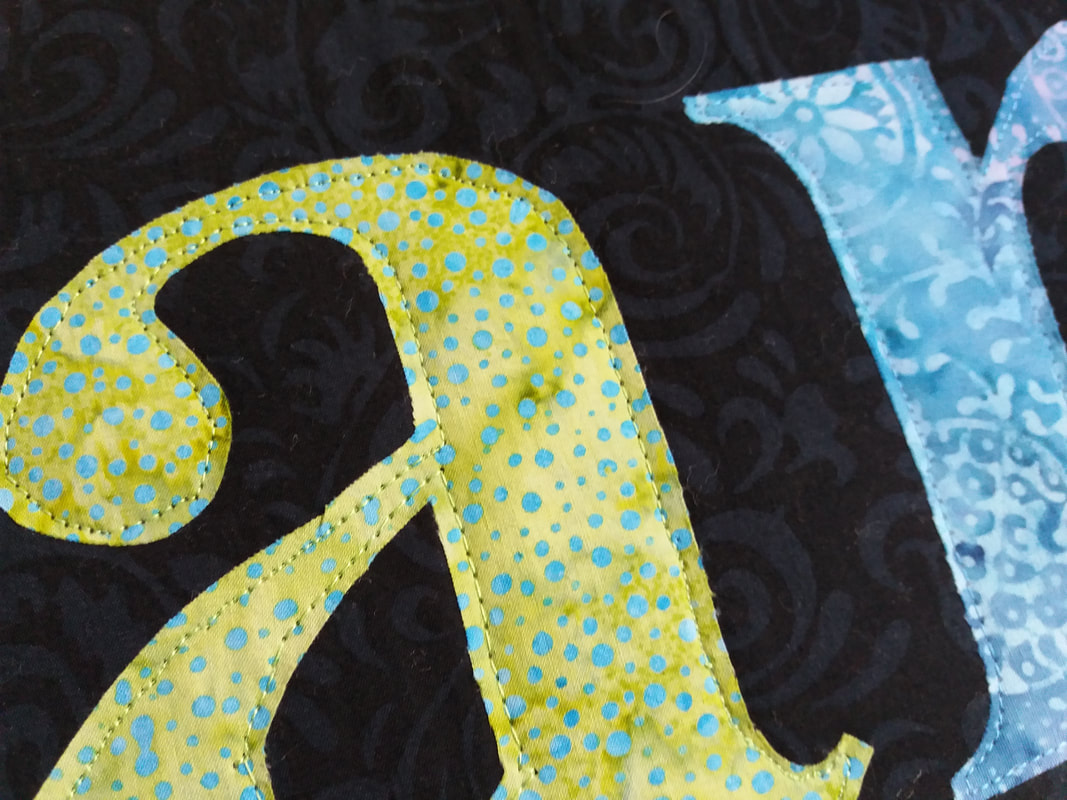
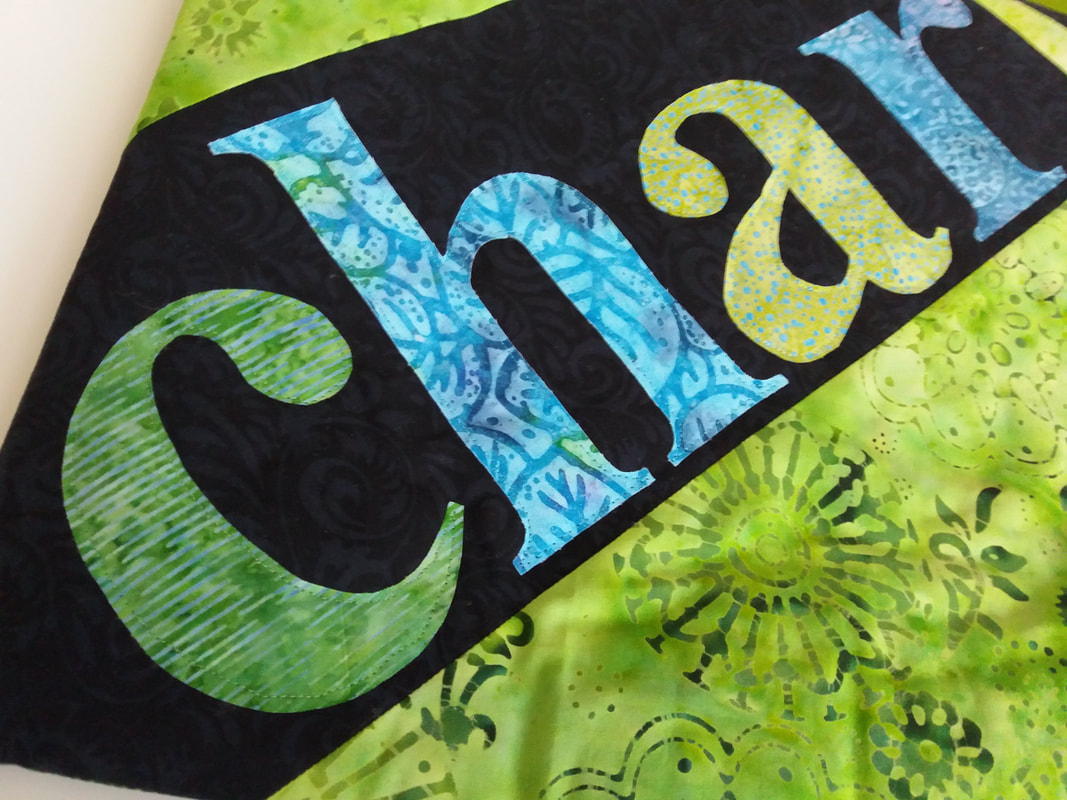
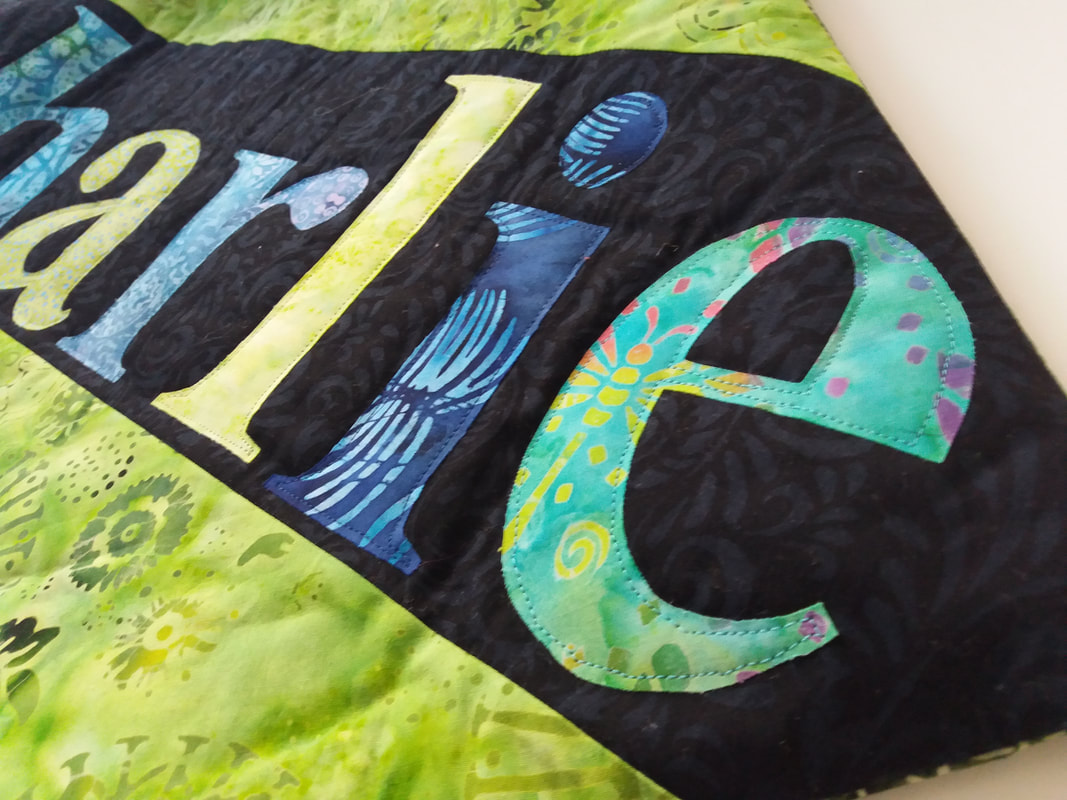
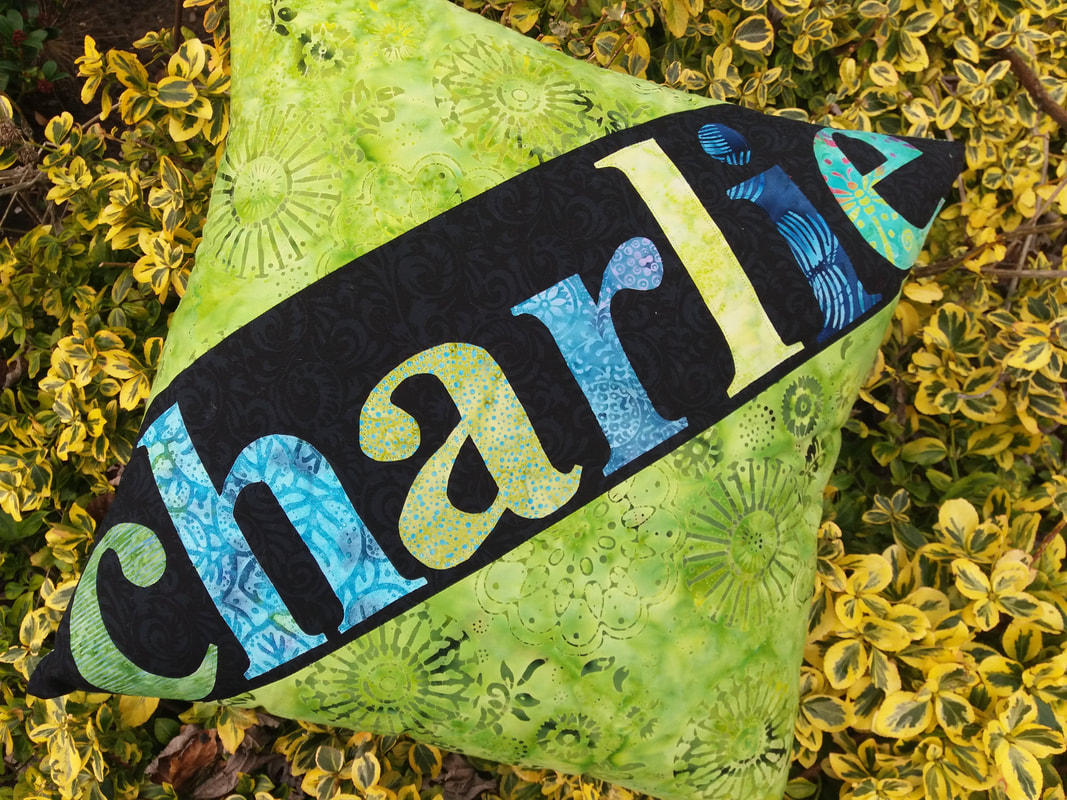
Several weeks ago, a very special girl spent a day with me in my sewing studio making a cushion with her name appliqued on the front. She did a brilliant job, it was her first time using a sewing machine, her first time making raw edge applique and her first time inserting a zipper! Anyway, she decided she wanted to make one for her younger brother so we arranged another "sewing date" for her to make a start. She traced the letters onto a sheet of Lite Steam-a-Seam 2, fused them to the wrong side of these gorgeous batiks, cut them out and fused them onto a black batik background fabric... ...using a different colour thread for each letter, she carefully completed the raw edge applique using a straight stitch. The basic shape for the cushion had been fused onto a piece of Vliseline H630 wadding so the cushion front was quilted at the same time as the applique was completed. A concealed zipper was added to the back, and a plump foam pad was inserted... ...this was a surprise Christmas present for Charlie, so was hidden away until Boxing Day when they spent the day with us and he was absolutely thrilled to bits with it! I felt so proud that I've been able to teach these skills to such an enthusiastic young girl - she has really enjoyed our "sewing dates" and I'm sure there will be many more to come!
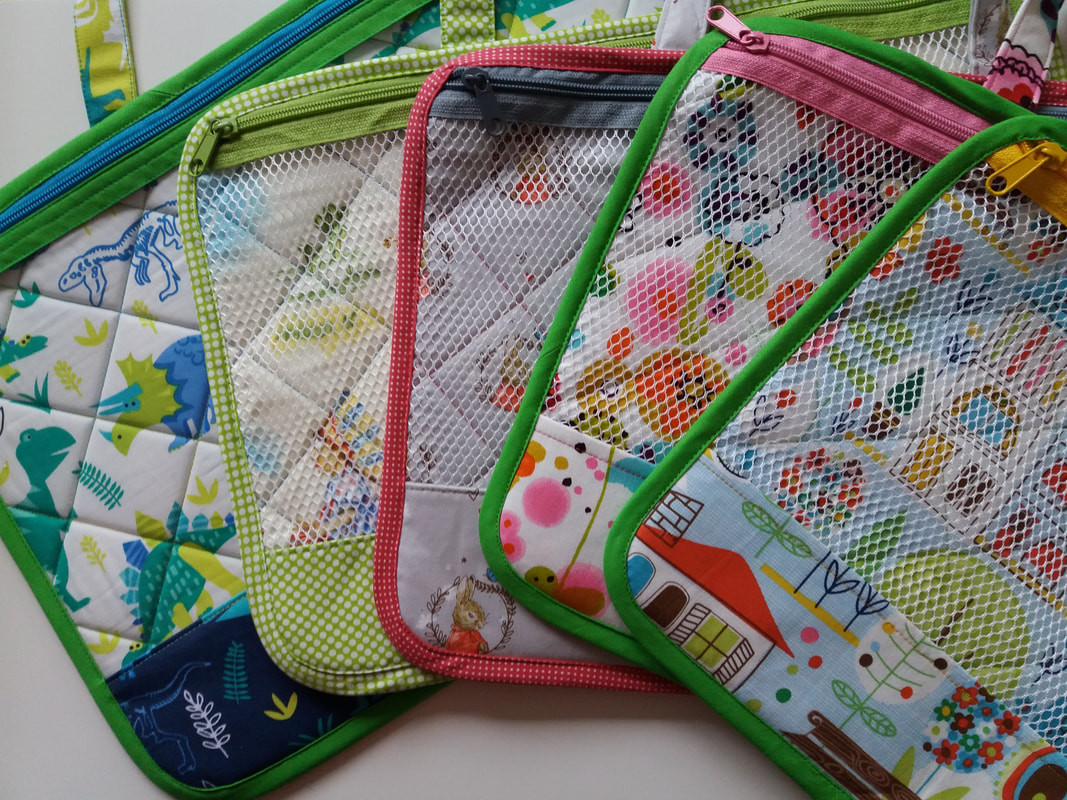
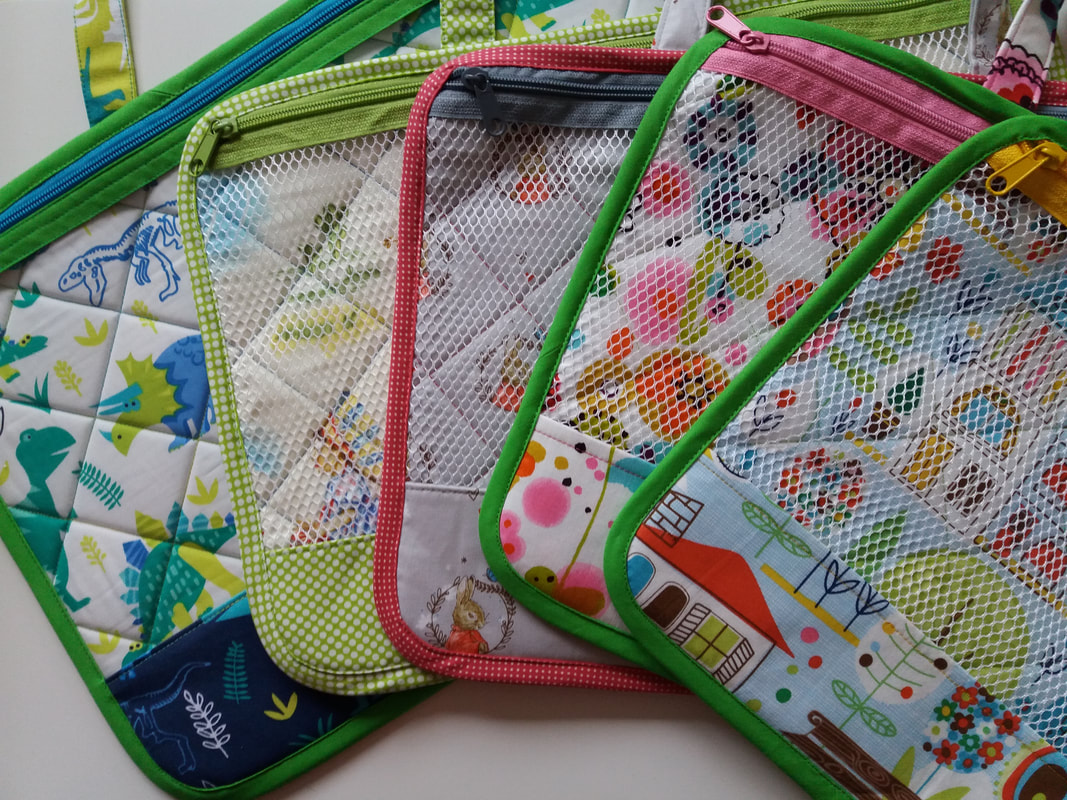
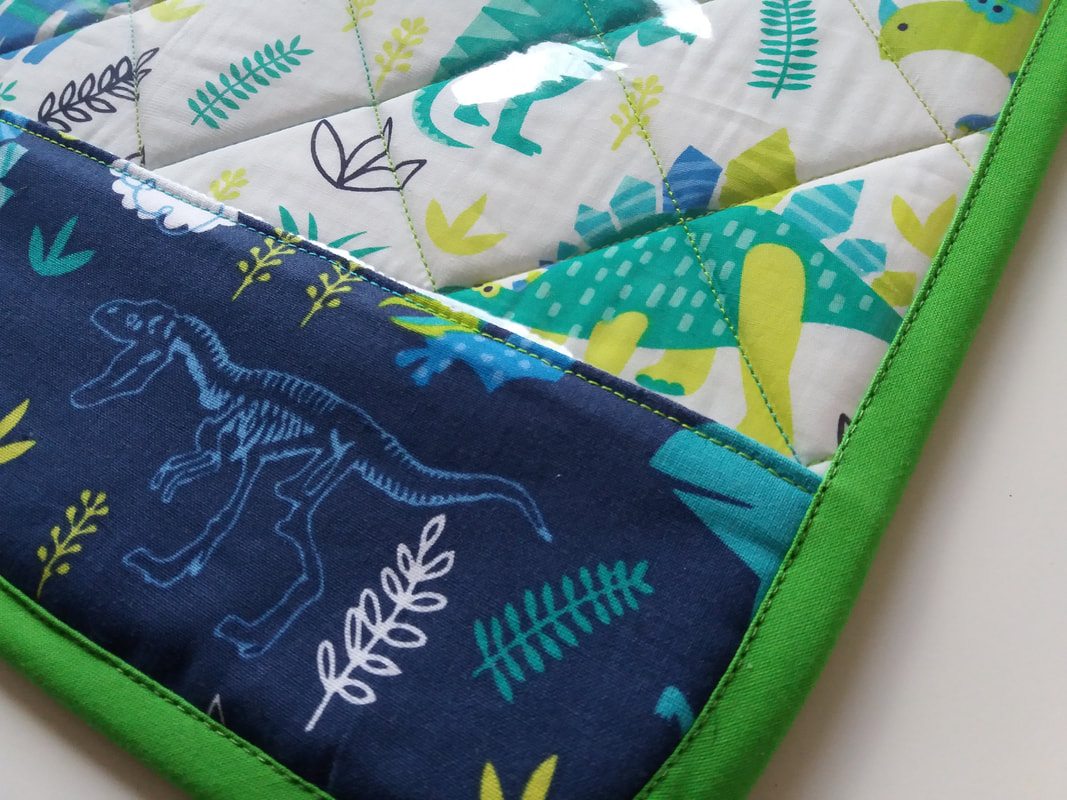
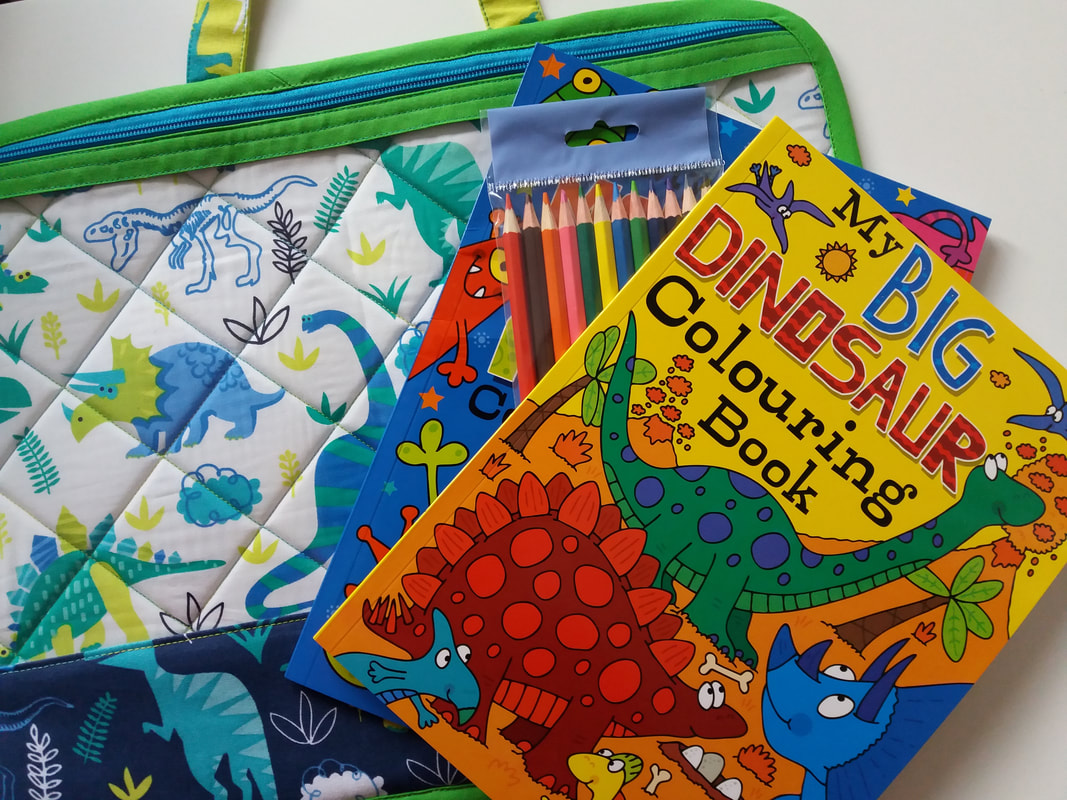
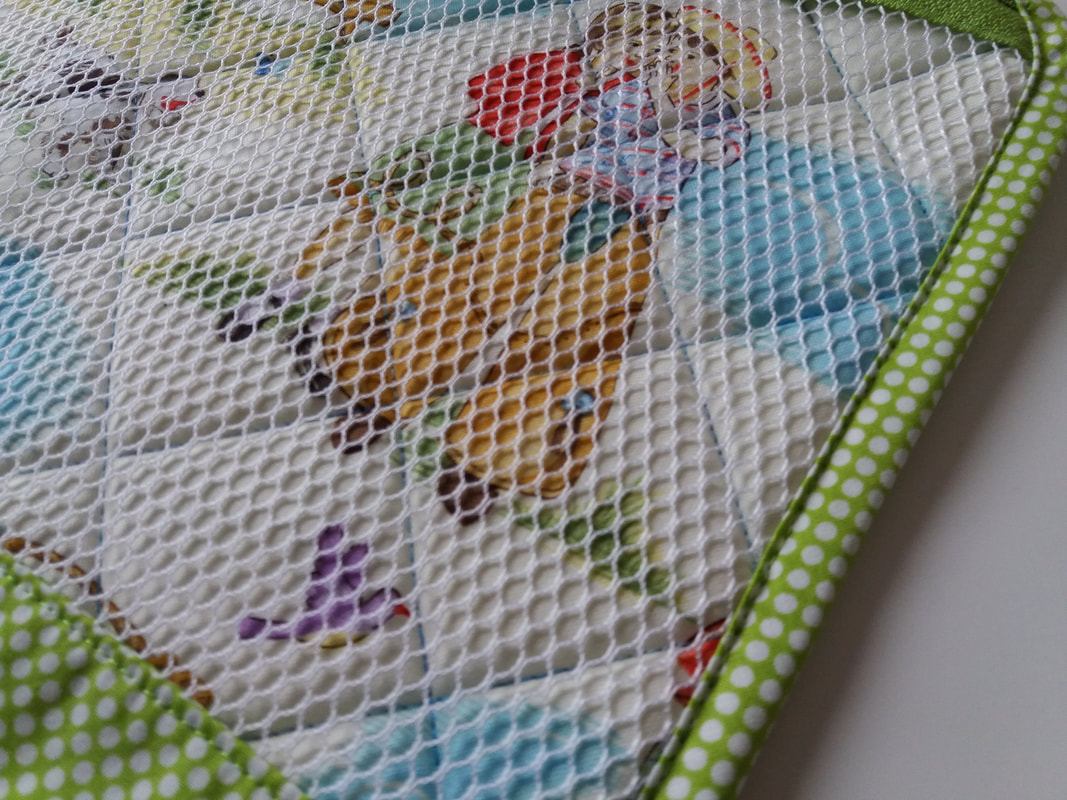
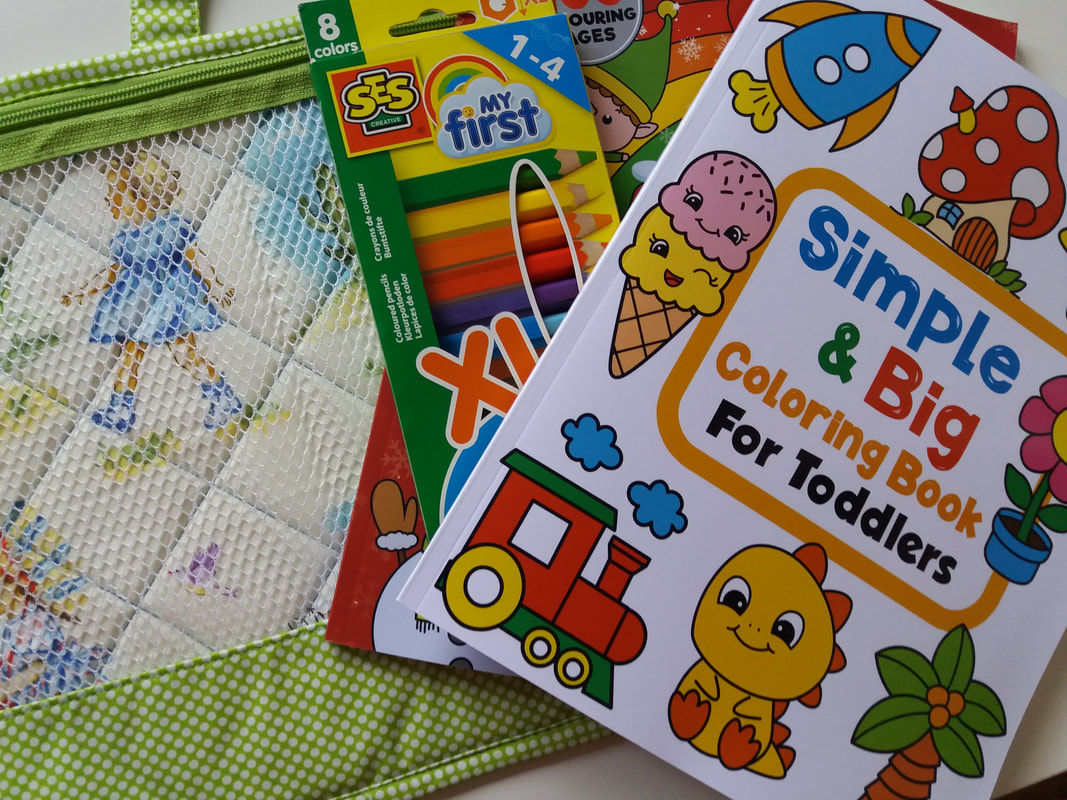
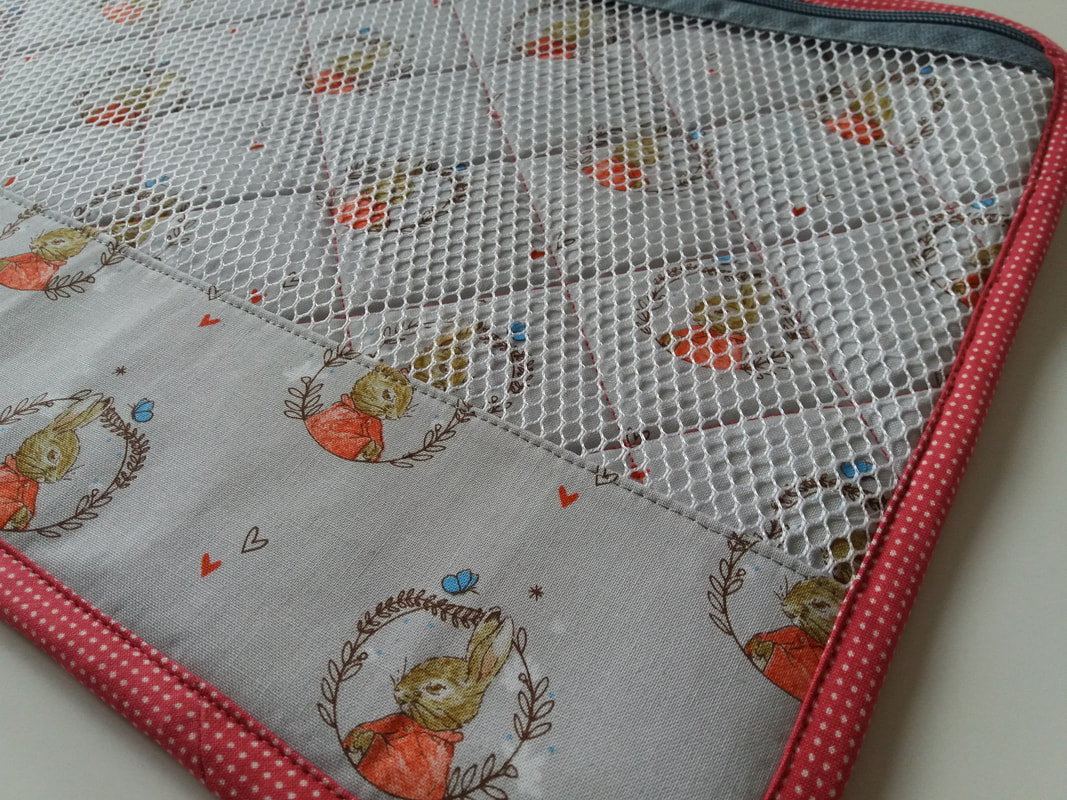
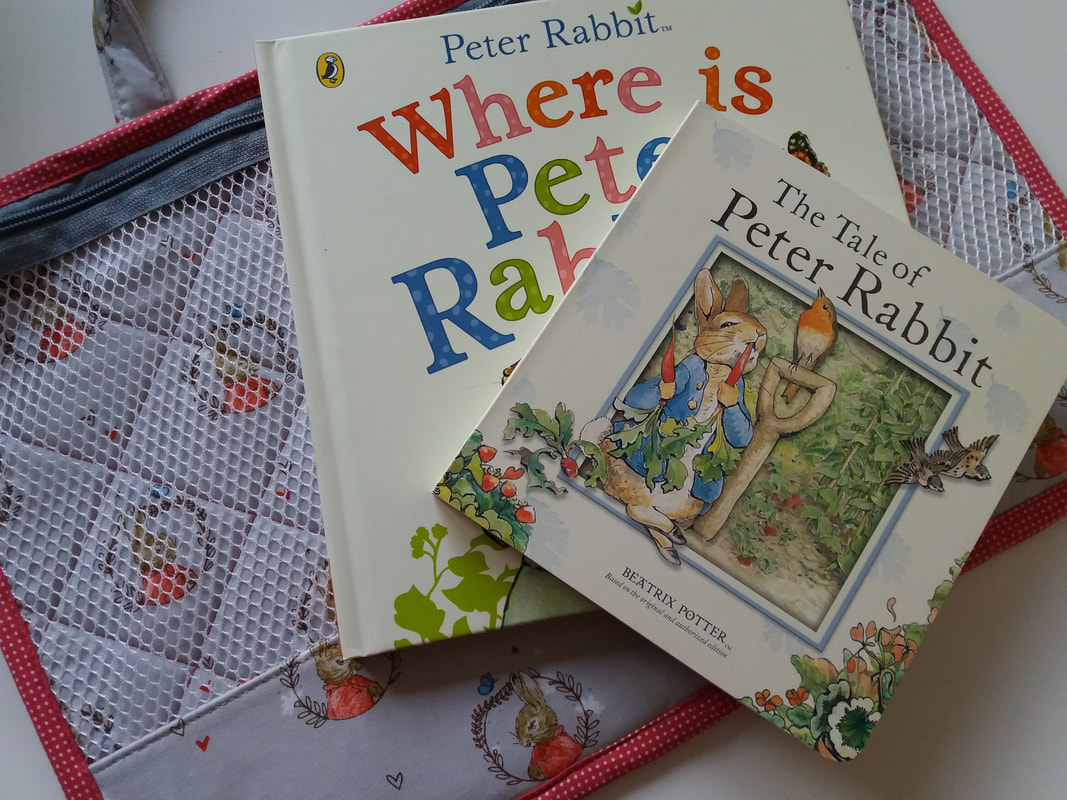
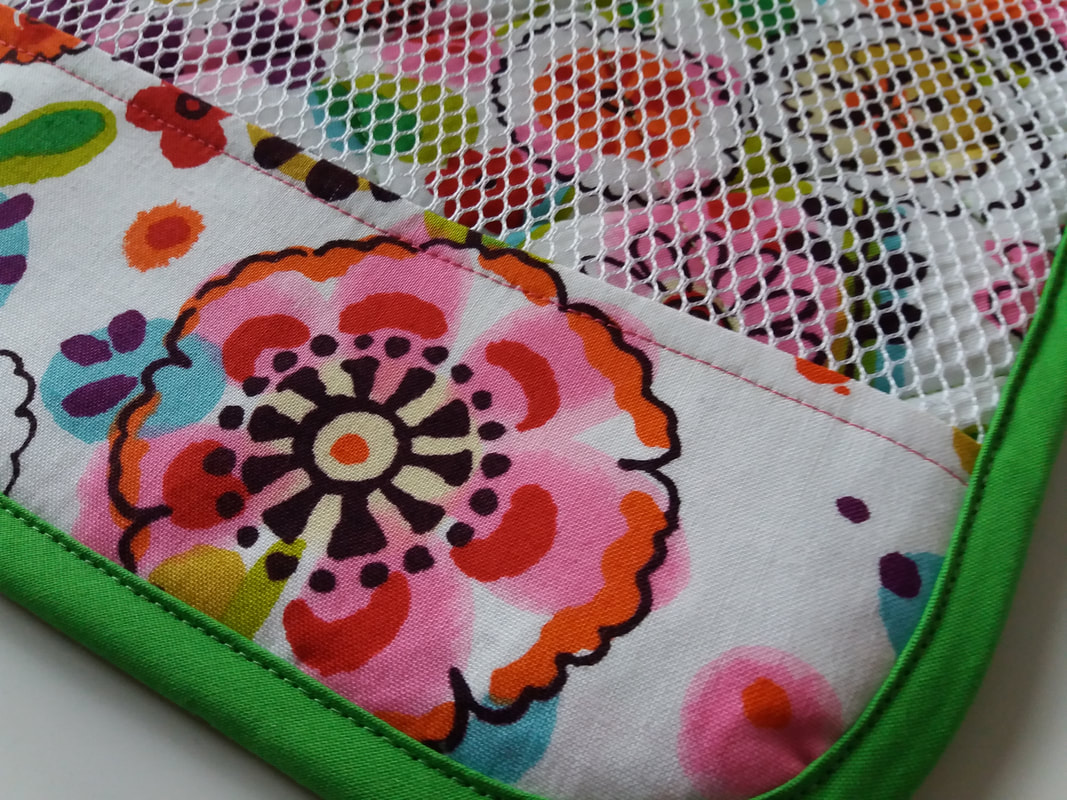
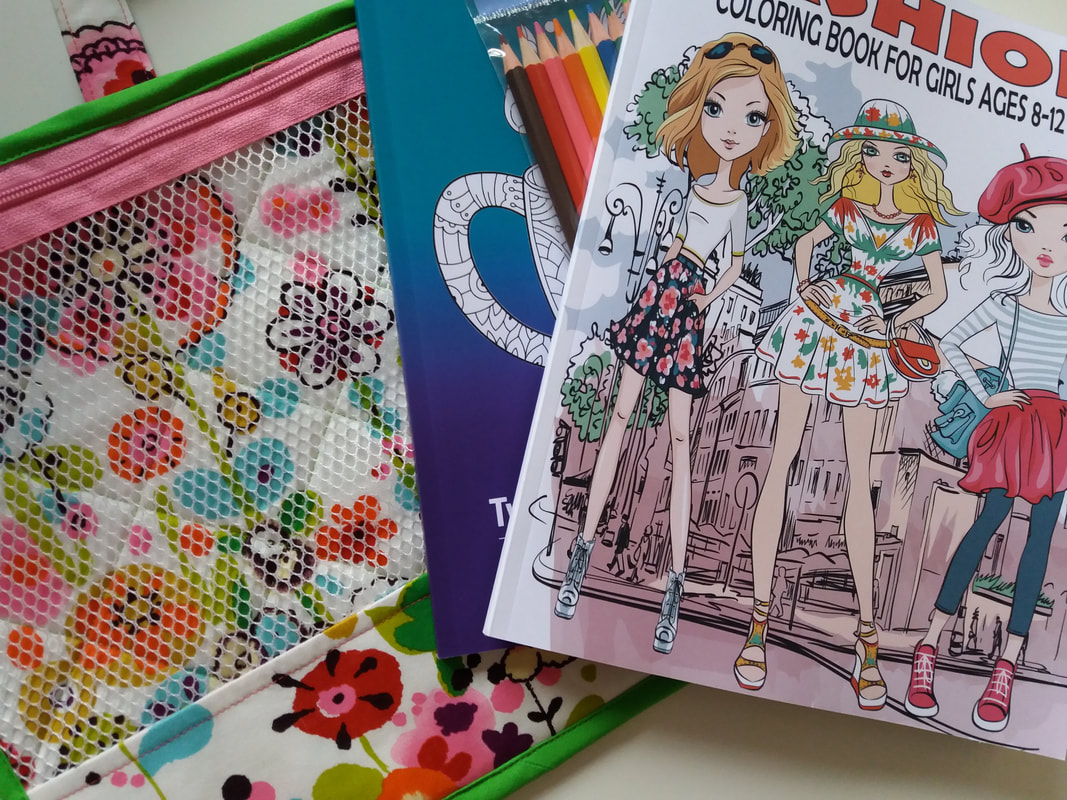
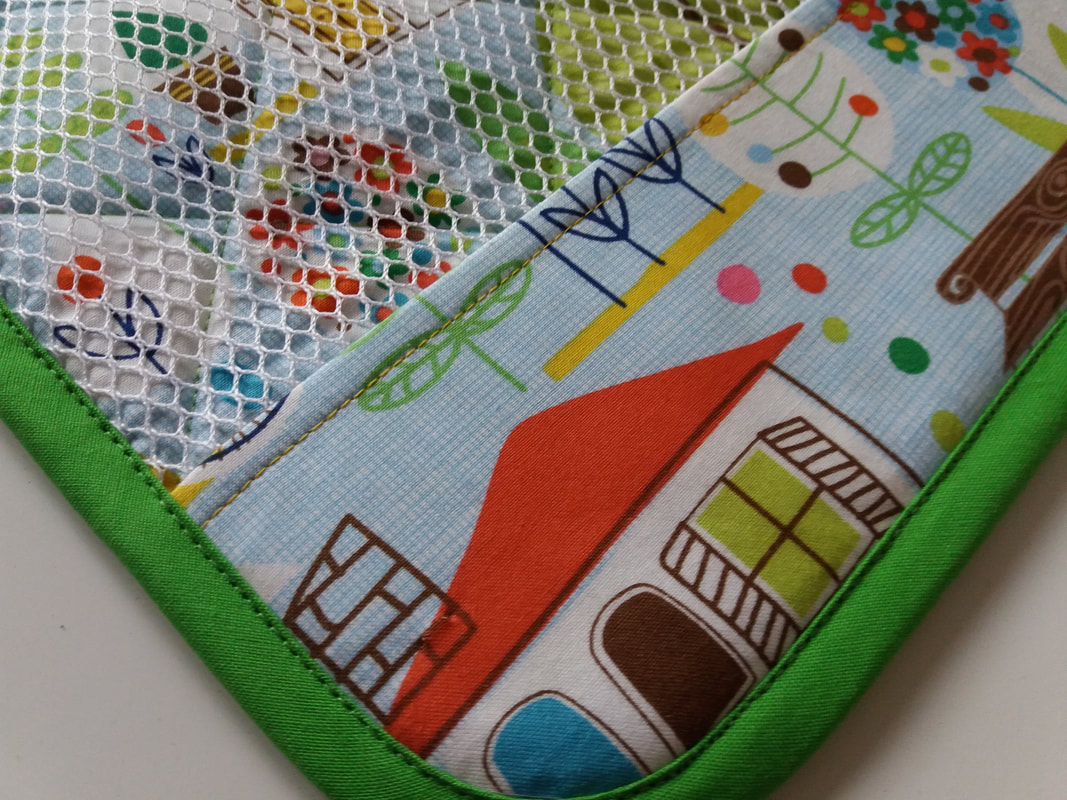
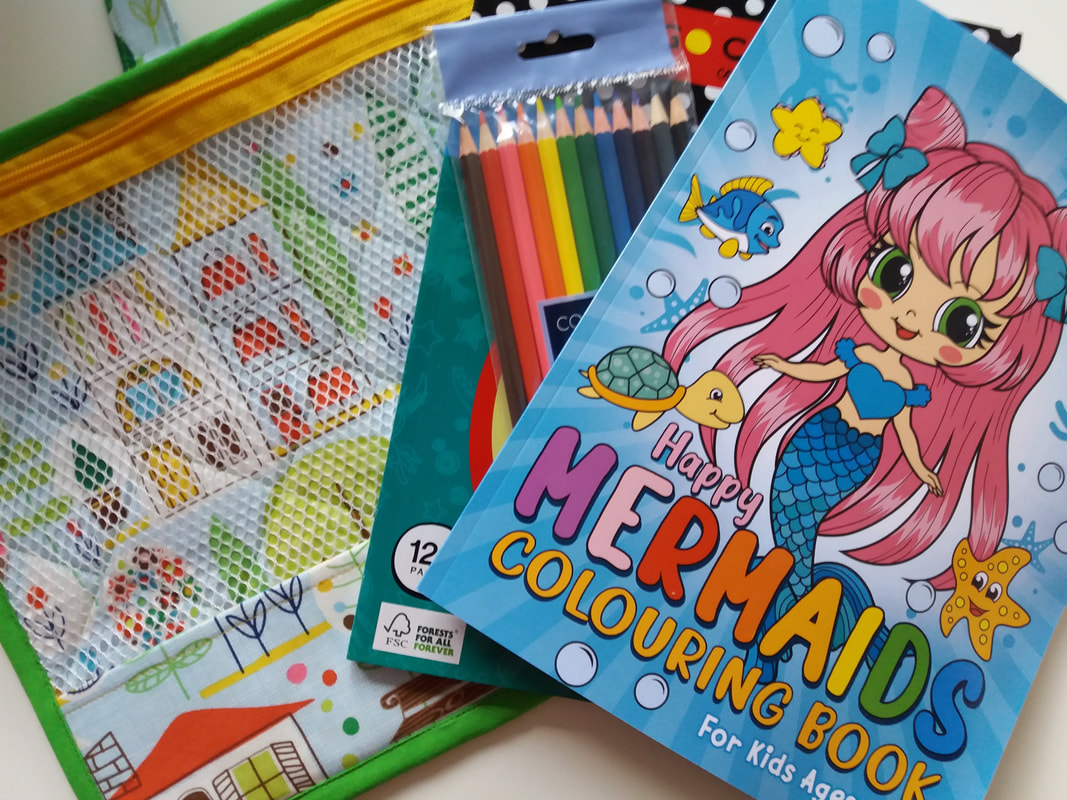
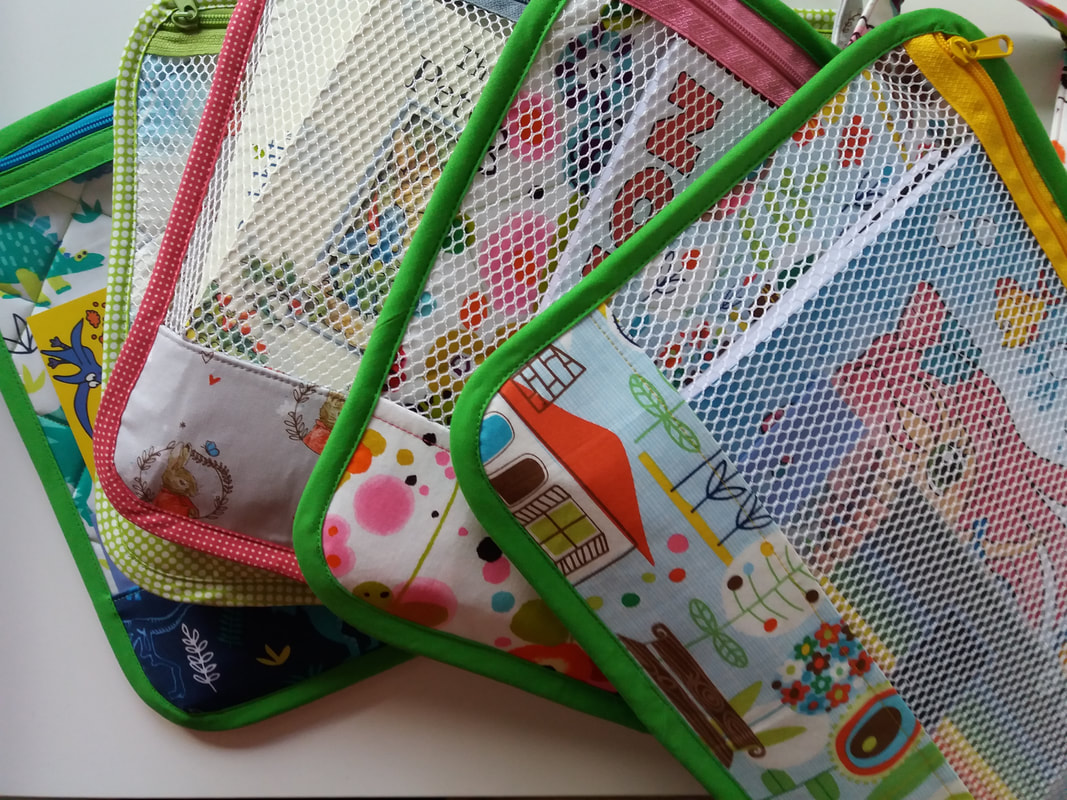
Now these have been gifted to one of my great-nephews and four of my great-neices, I can finally share a few photographs of these super bags! Thiese were all made using the Piecekeeper pattern which is a free PDF download from the ByAnnie website. As you can see, one was made with a clear viny front and the others were made with mesh, as in the origiginal instructions. The colourful zippers were from Zipper Station (I buy zipper by the metre with extra zipper pulls) and co-ordinated the colour of the zipper with the colour of the fabrics used for the bags. ... ...the bags were made with soft and stable wadding, and each one was quilted in a simple crosshatch design. I've used a selection of fabrics from my stash for these so each bag is different. Once the binding had been machined into place, they were filled with a selection of colouring books and colouring pencils, appropriate for each child. The youngest recipient is only a few months old, so I popped a couple of story books in her bag! These make great gifts and are perfect for storing all sorts of bits and bobs. The carrying handle means they're easy to transport, even for little people!
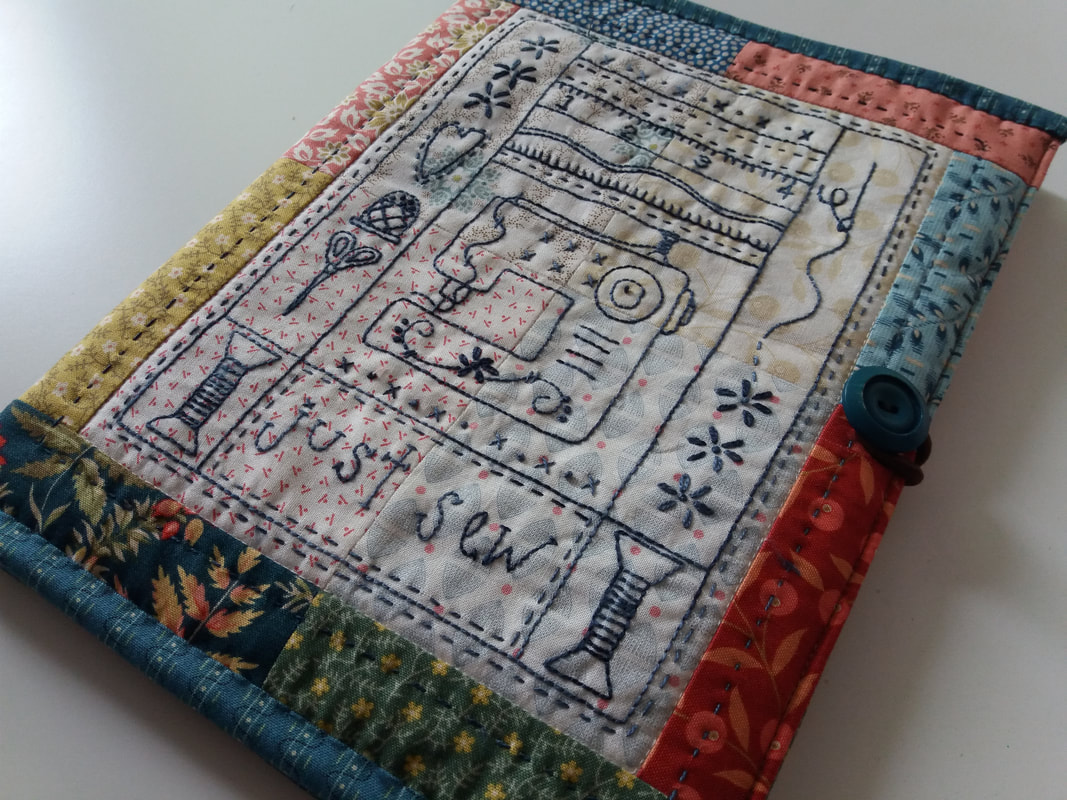
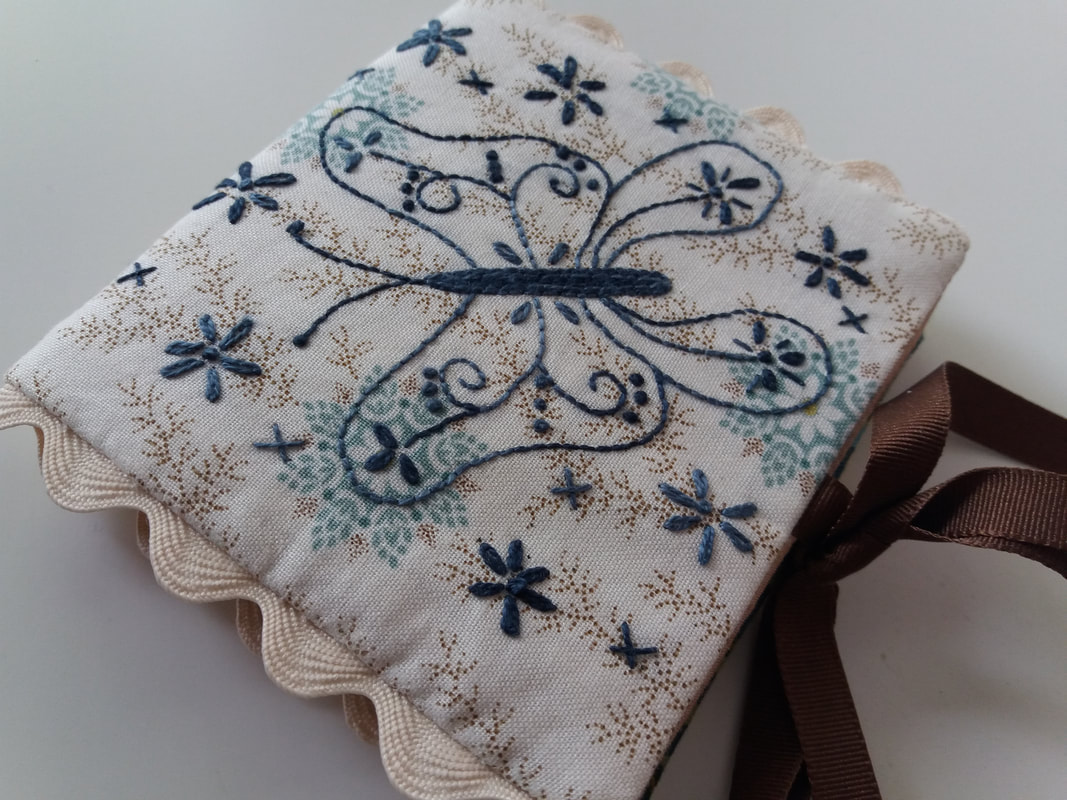
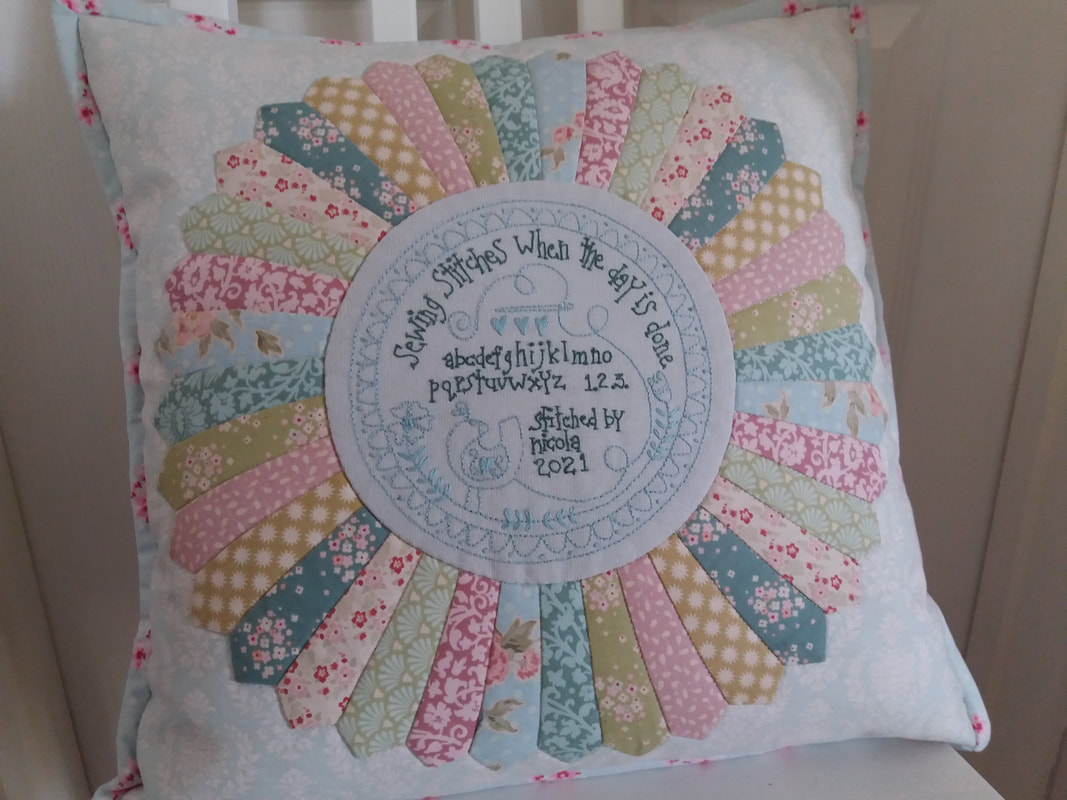
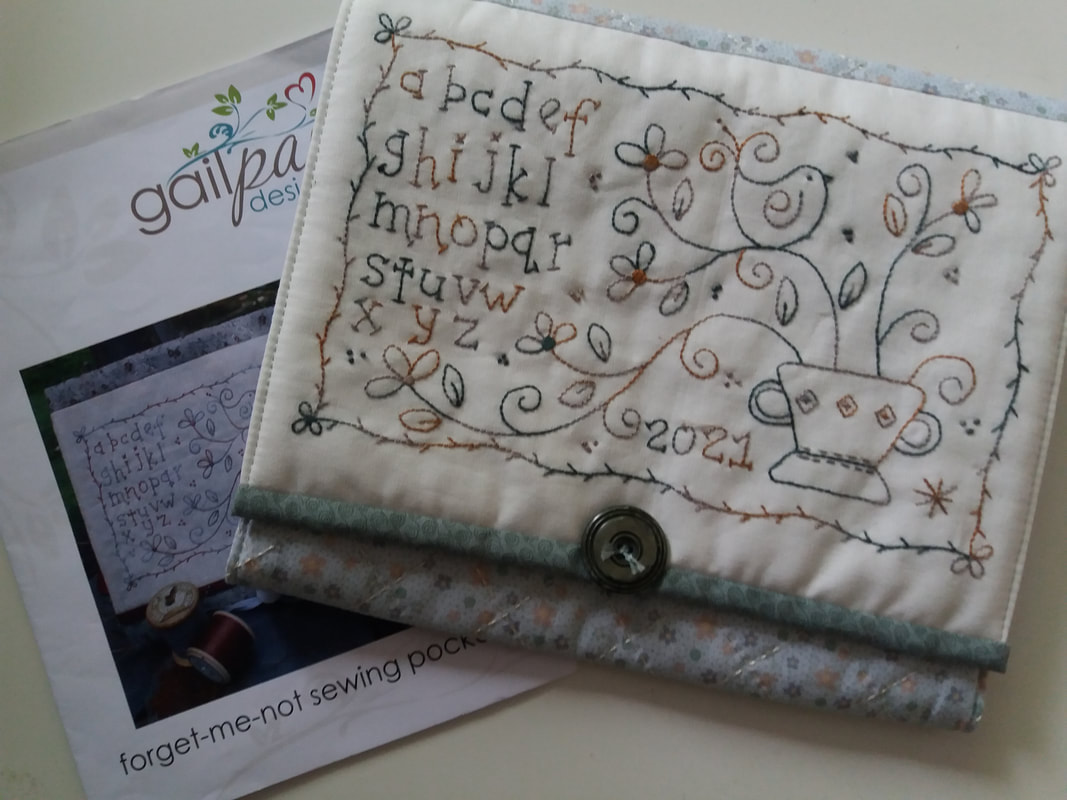
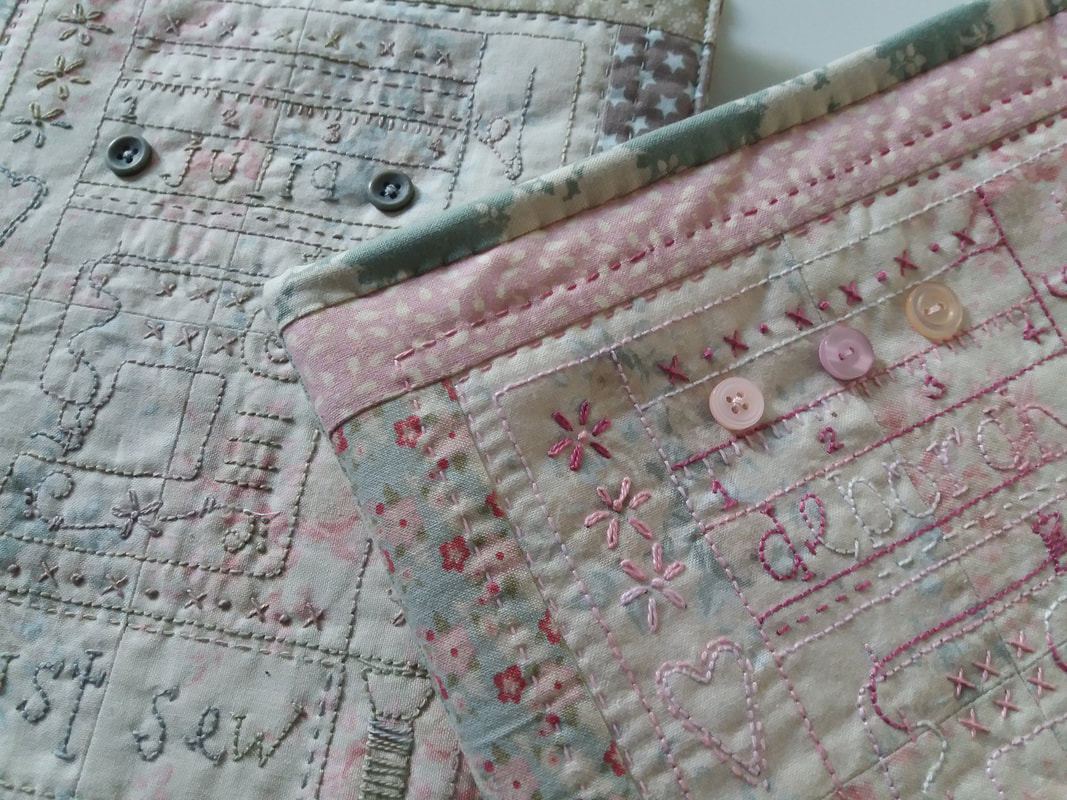
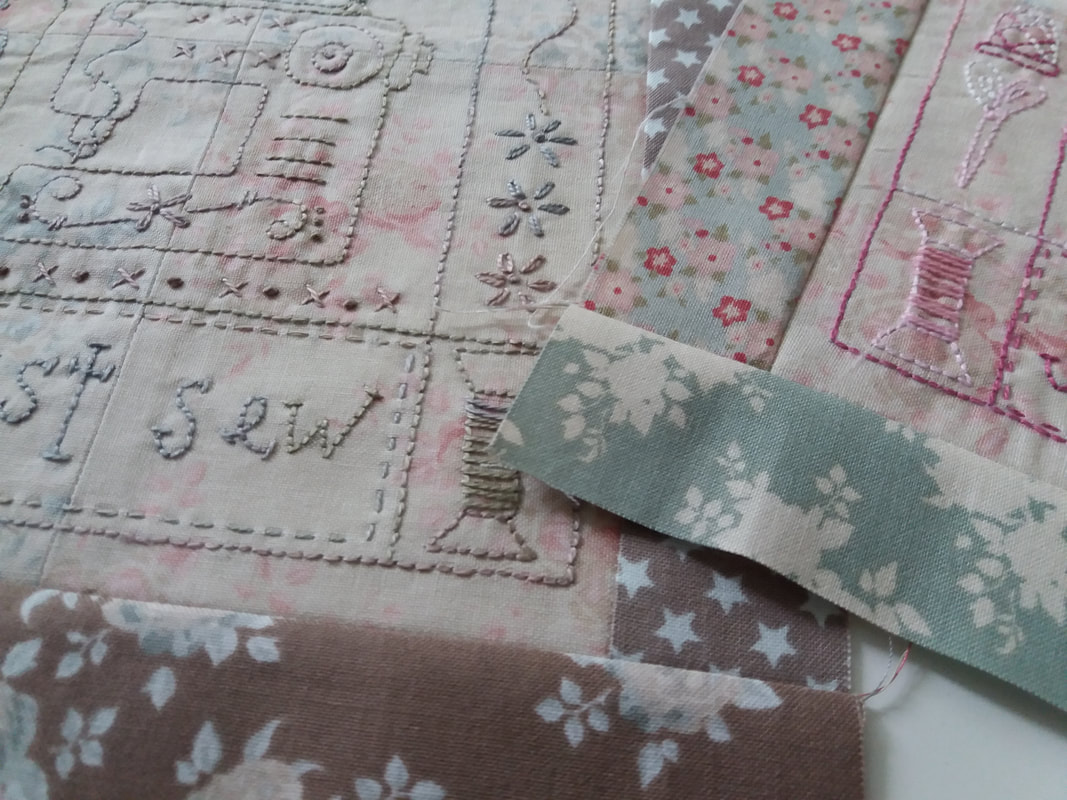
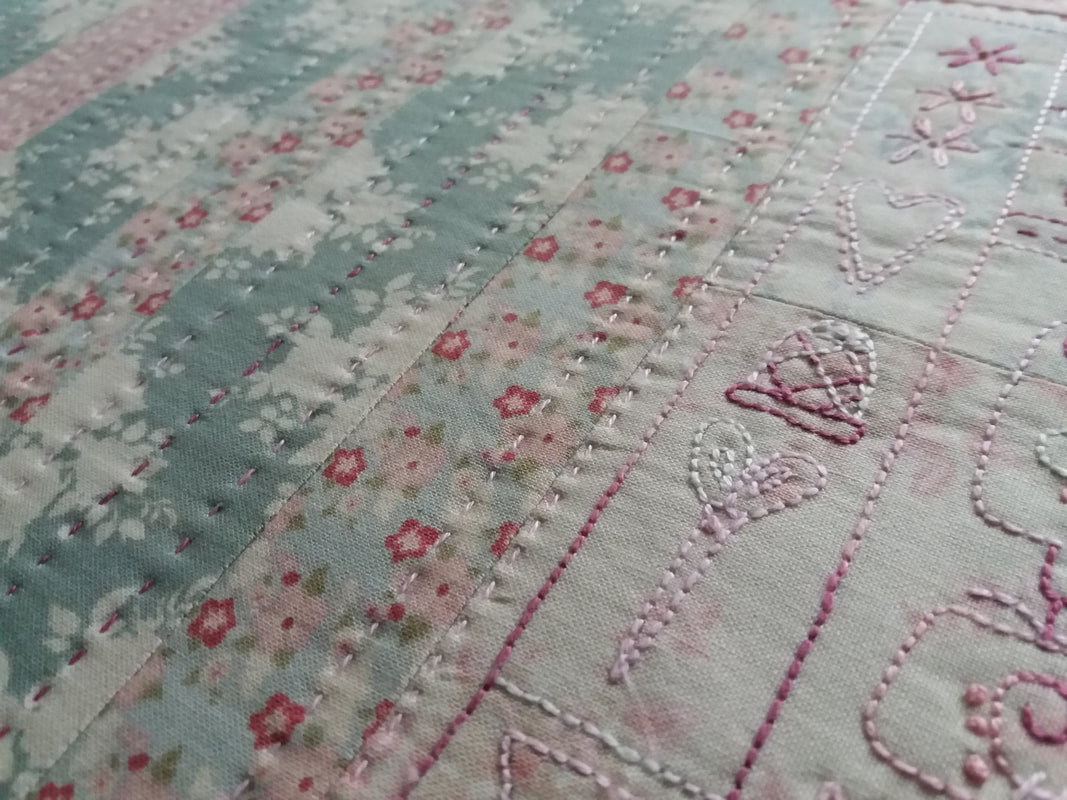
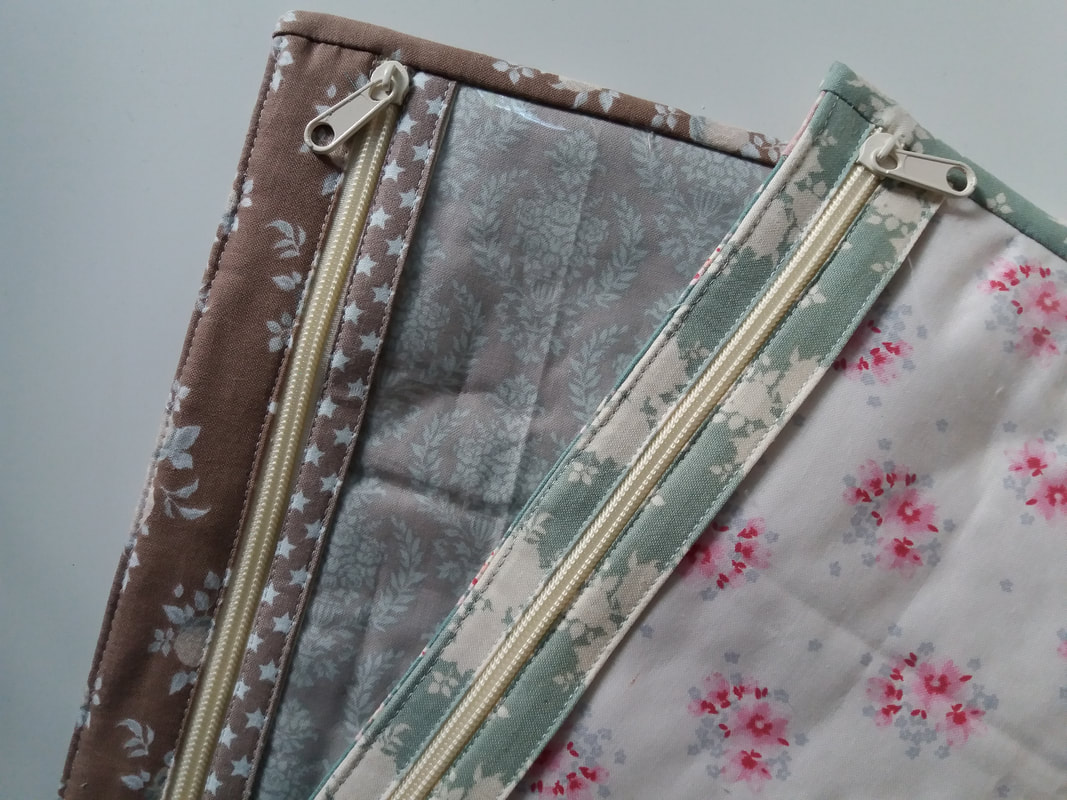
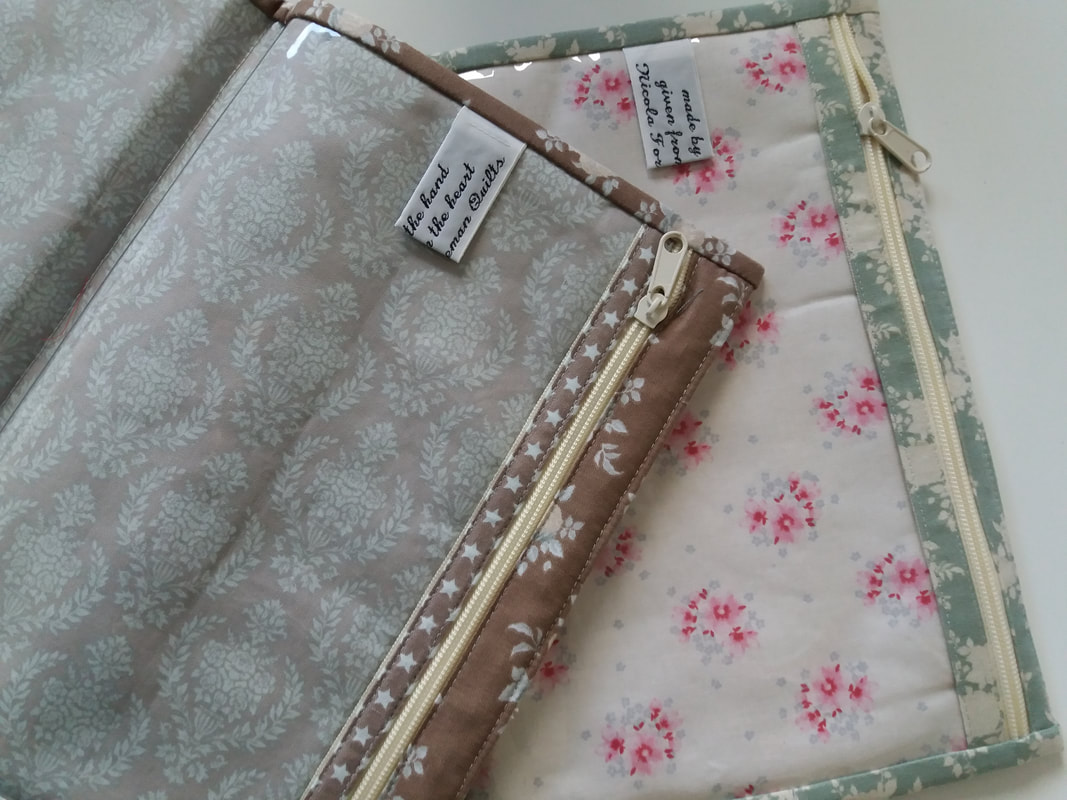
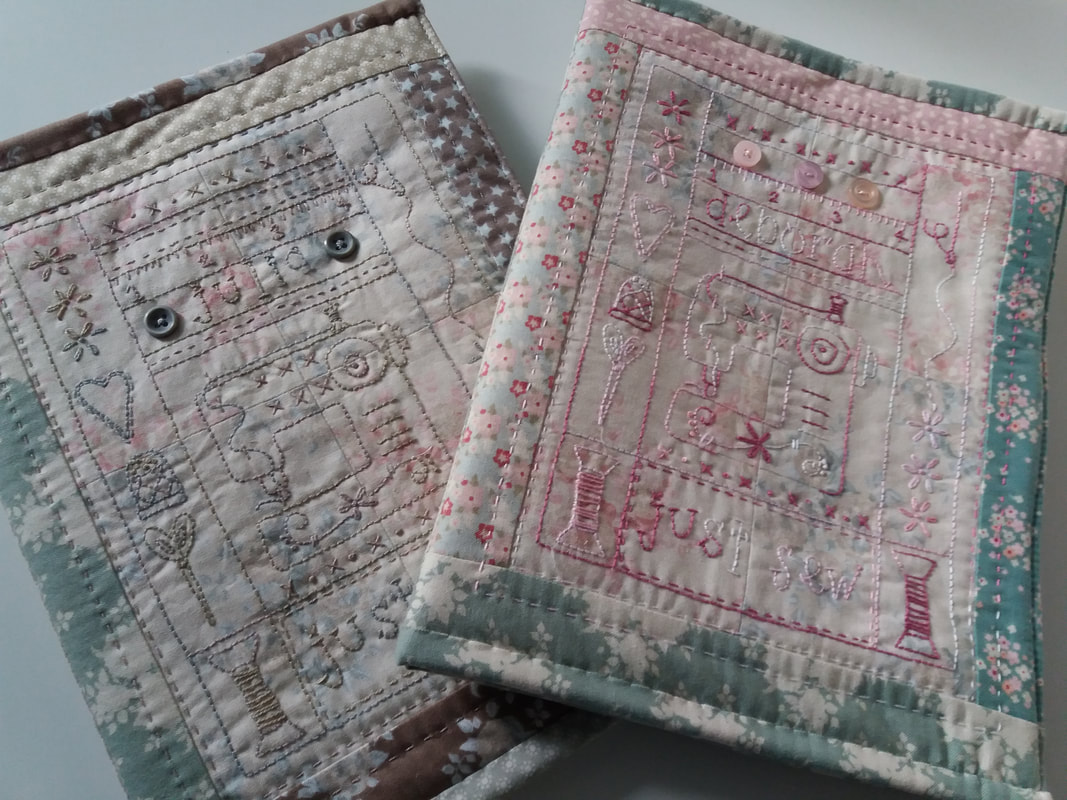
A couple of months ago I spent a very happy weekend in my sewing studio, piecing together a few scraps of Tilda fabrics. This pattern is "Just Sew" from the book Patchwork Loves Embroidery Too by the Australian designer Gail Pan Designs. The hand embroidery has been stitched with Valdani Threads perle threads purchased from Cross Patch, a super online shop based in Wales... ...inside there are 2 clear vinyl zippered pockets. I used "ByAnnie" vinyl for these - although it's a little bit more expensive than clear vinyl I've used in the past, the quality is really excellent. I've found a super shop Oh Sew Sweet which not only sells this at a great price, it comes rolled rather than folded... ...and here they are - gifted to 2 special friends, Julia and Deborah. I hope they enjoy using these as much as I enjoyed making them!
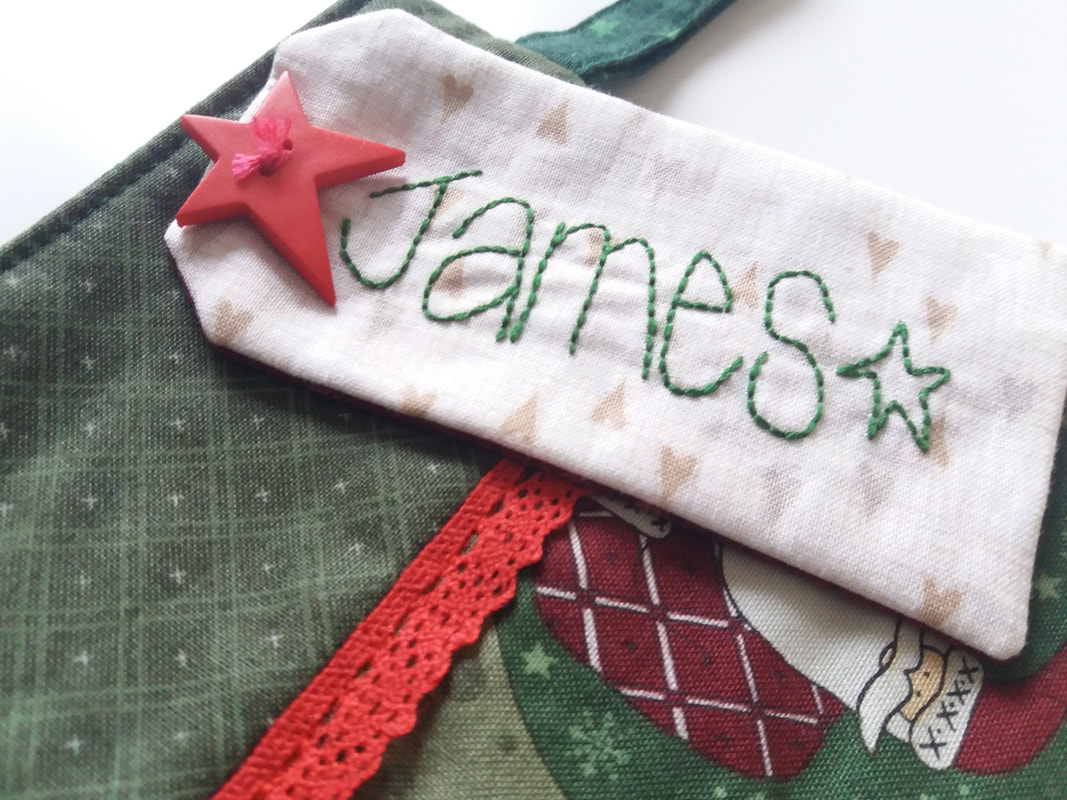
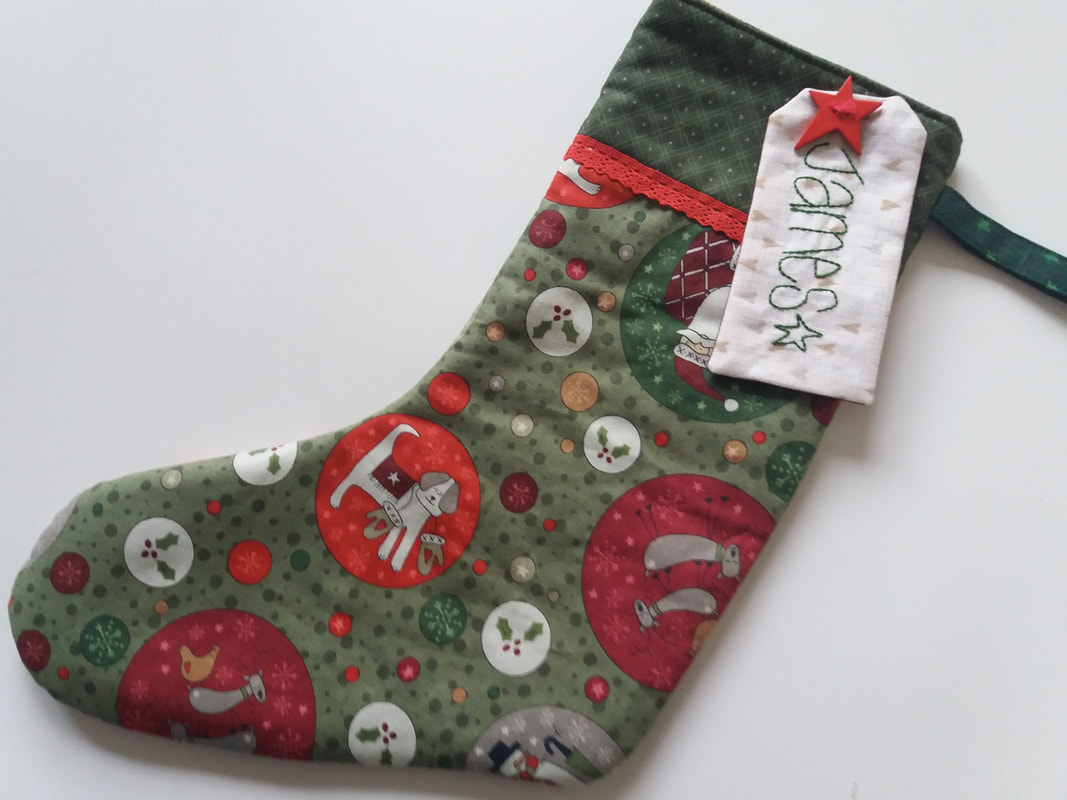
My youngest daughter's boyfriend needed a Christmas stocking too - using my favourite stocking pattern, Waiting for Santa by the Australian designer Leanne Beasley, I set about making one using some festive fabrics by another Australian designer, Lynette Anderson. This has been trimmed with some red lace and a star shaped button has been used to secure the hand embroidered label in place... ...it's all ready to be filled with some bits and bobs - festive socks and chocolates and mini sized toiletries - and it will be hidden under the tree ready for the big day!
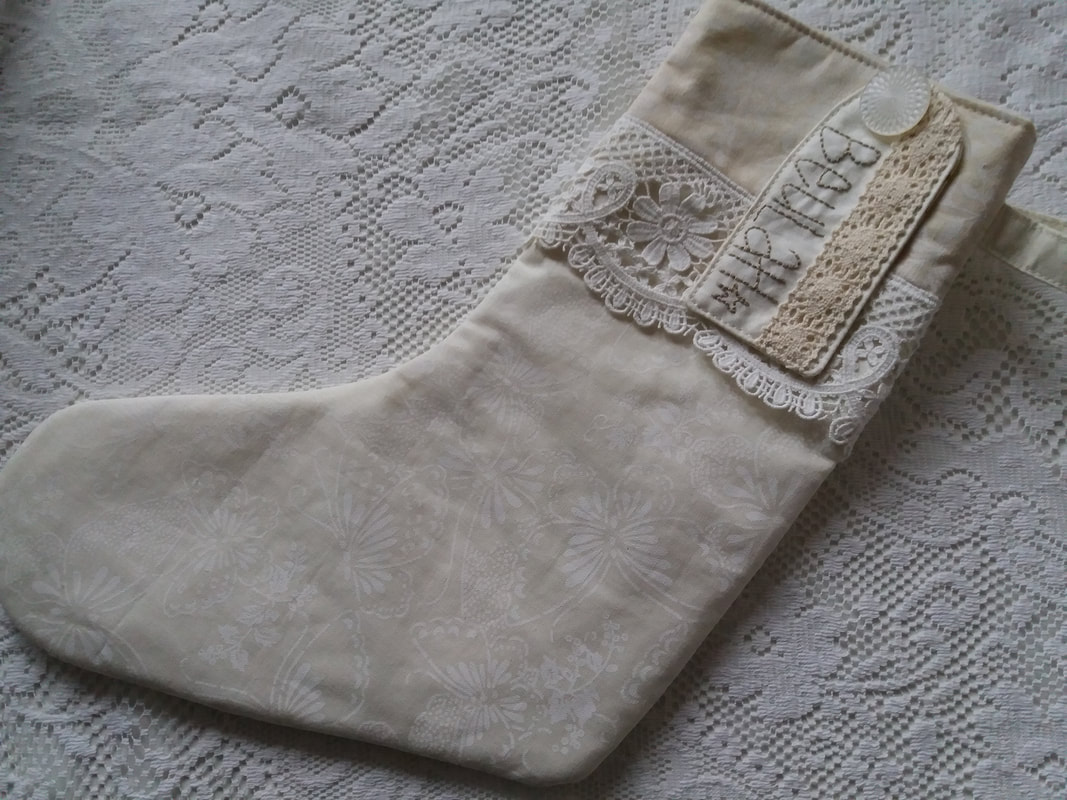
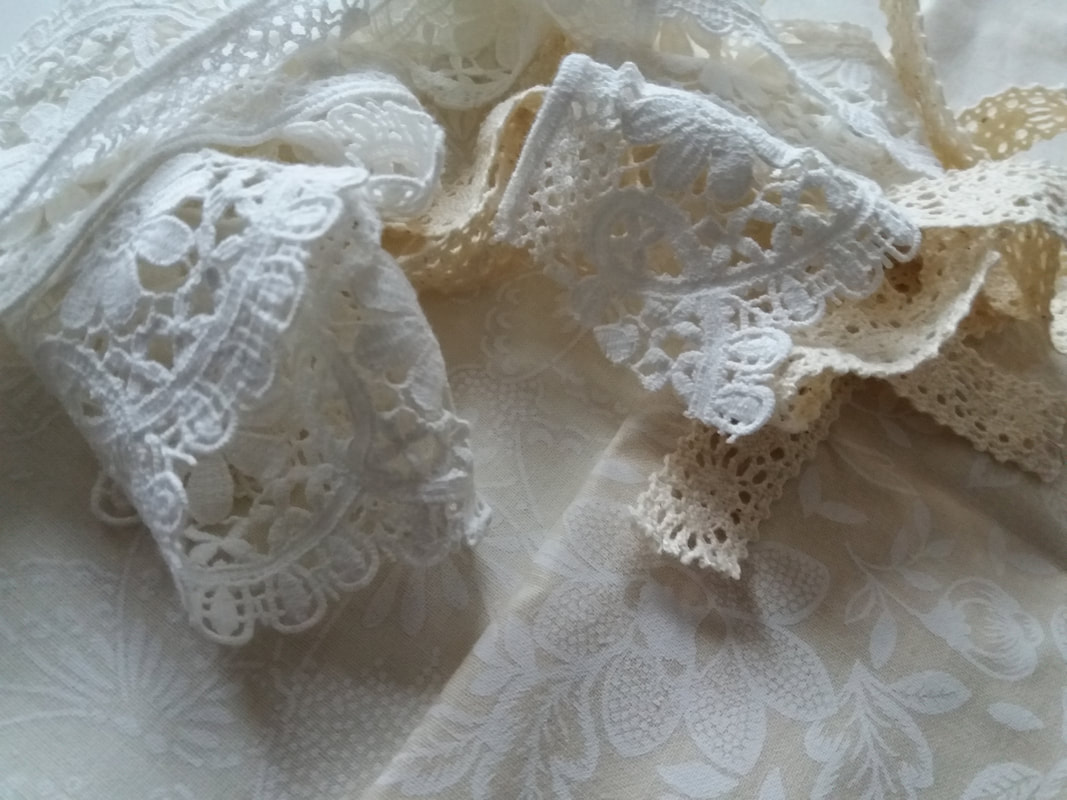
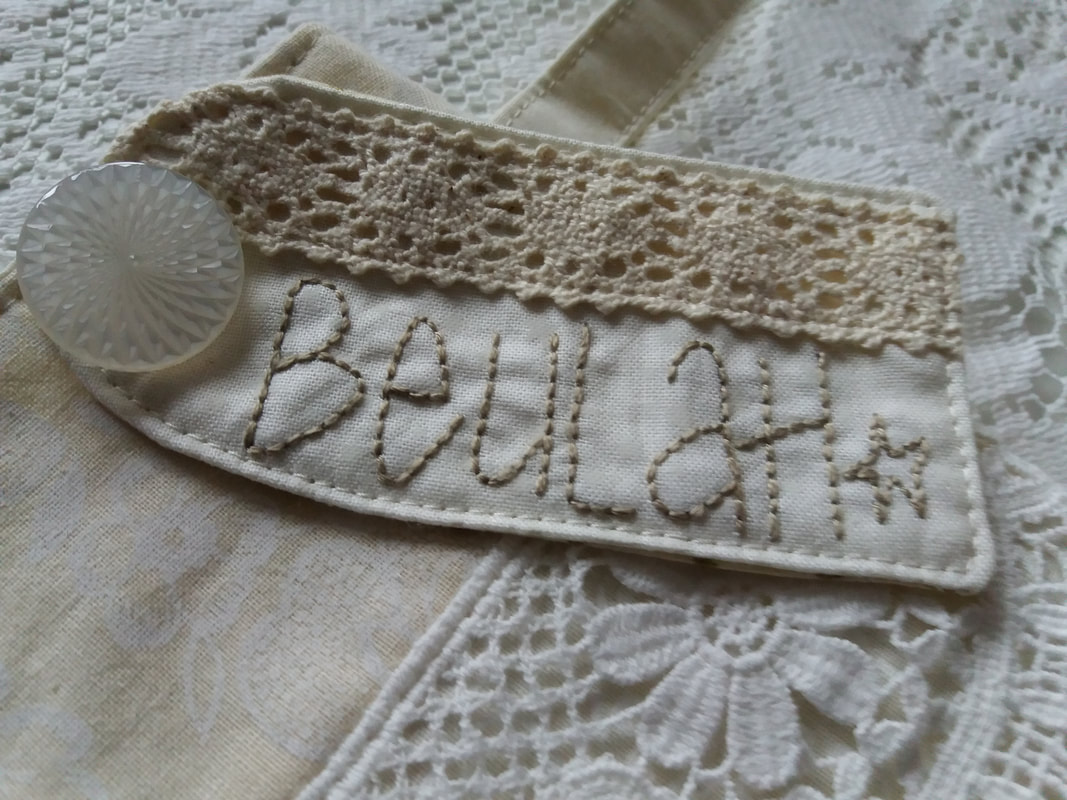
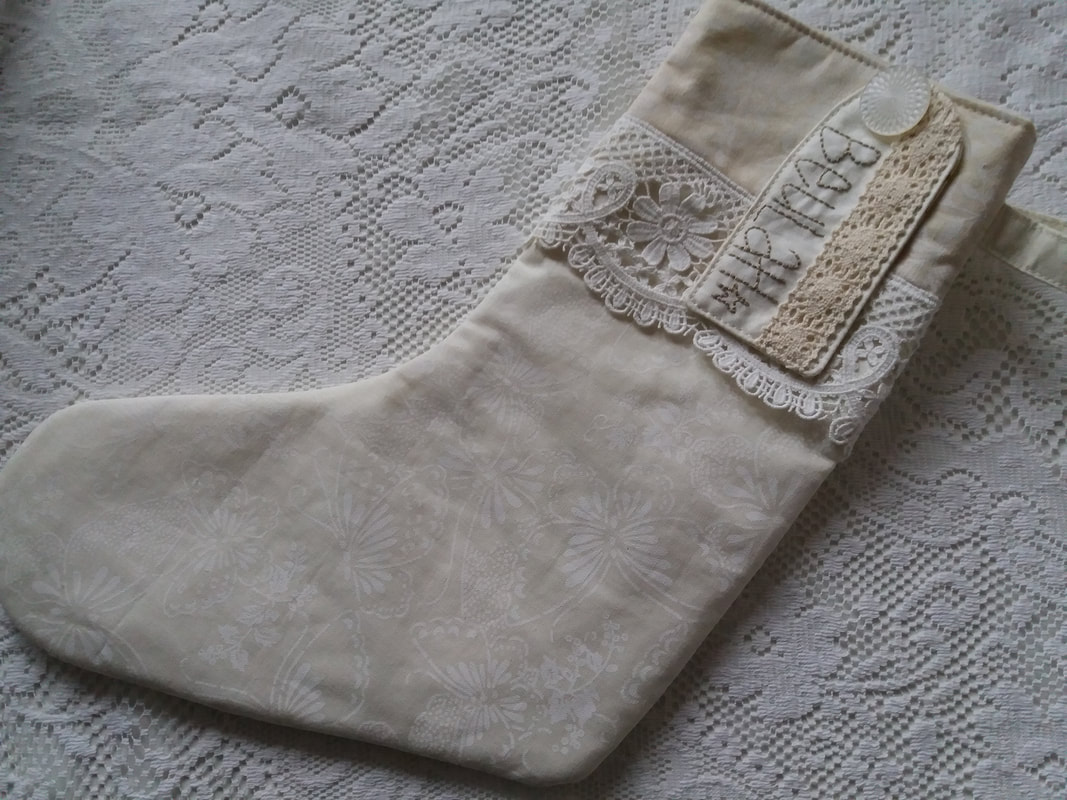
My mother-in-law is spending Christmas Day with us, so obviously I needed to make a special Christmas stocking for her too. Using the "Waiting for Santa" pattern by the Australian designer Leanne Beasley, I chose some cream self-patterned fabrics, along with some vintage lace tor the trimming. The label was hand embroidered, using DMC embroidery thread in a neutral tone to go with the theme of the stocking. The final flourish was a pretty button from my mother-in-law's button tin. She'd given me her button collection ages ago and I love using them in my projects... ...now it just needs to be filled with a few tiny gifts and hidden under the tree ready for the big day. I hope she'll like it!
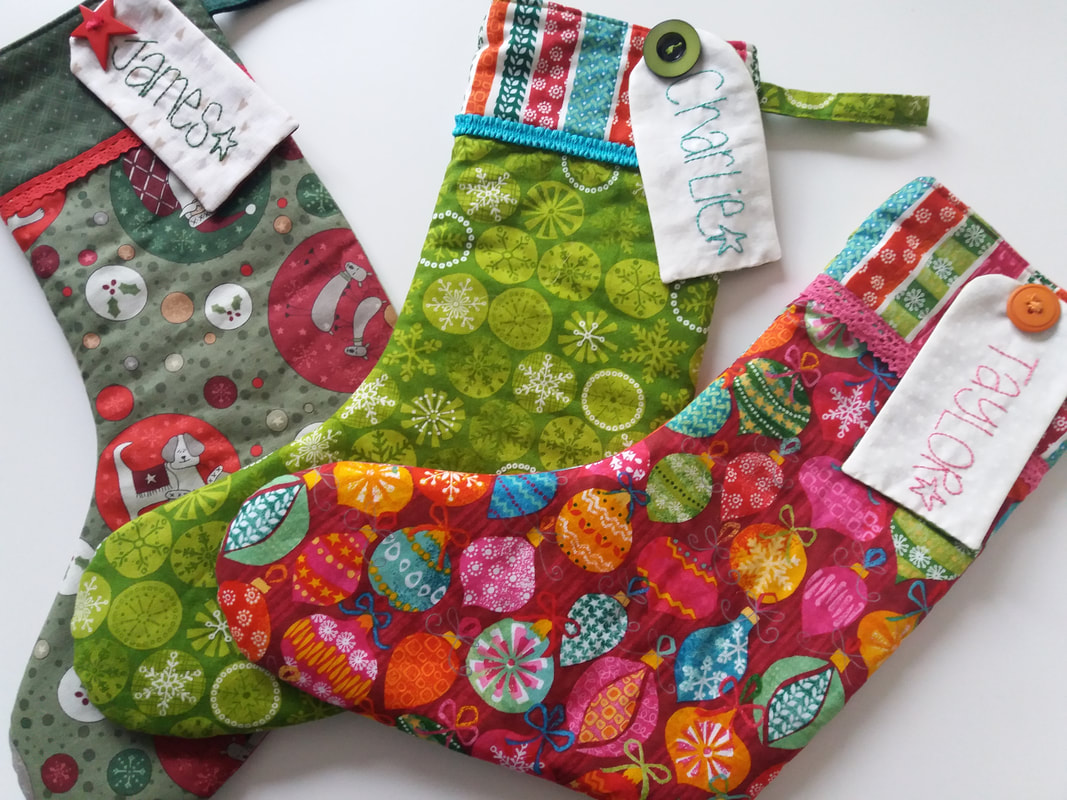
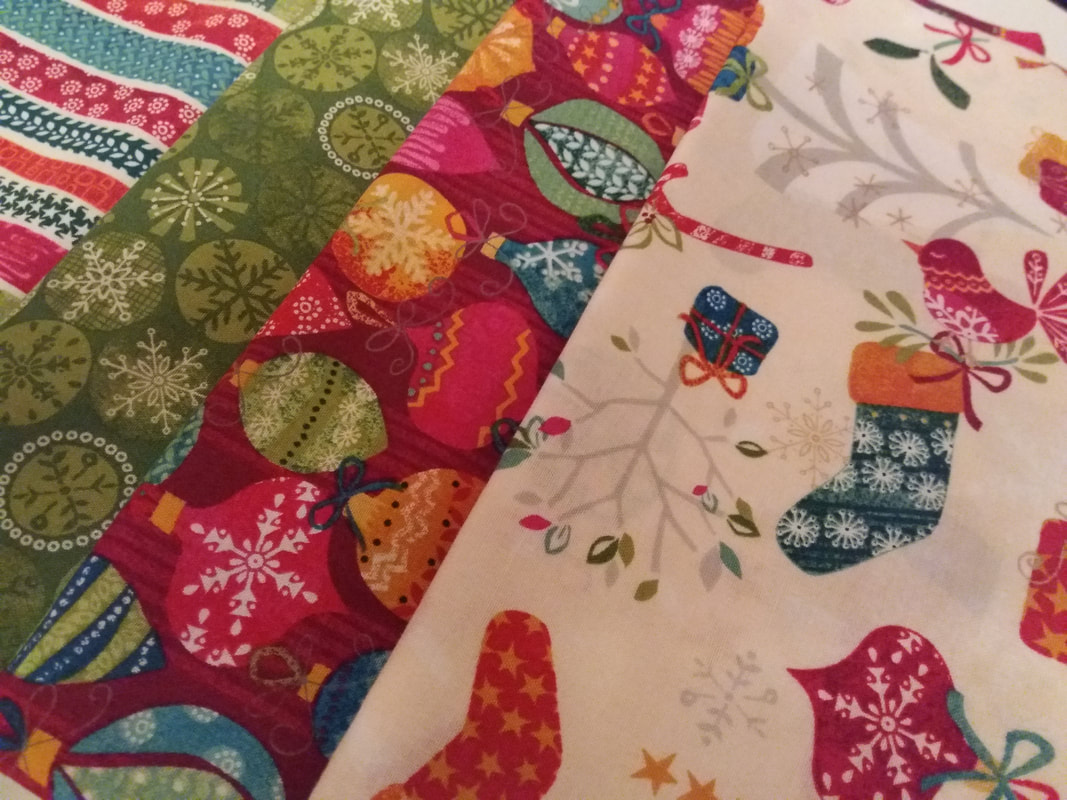
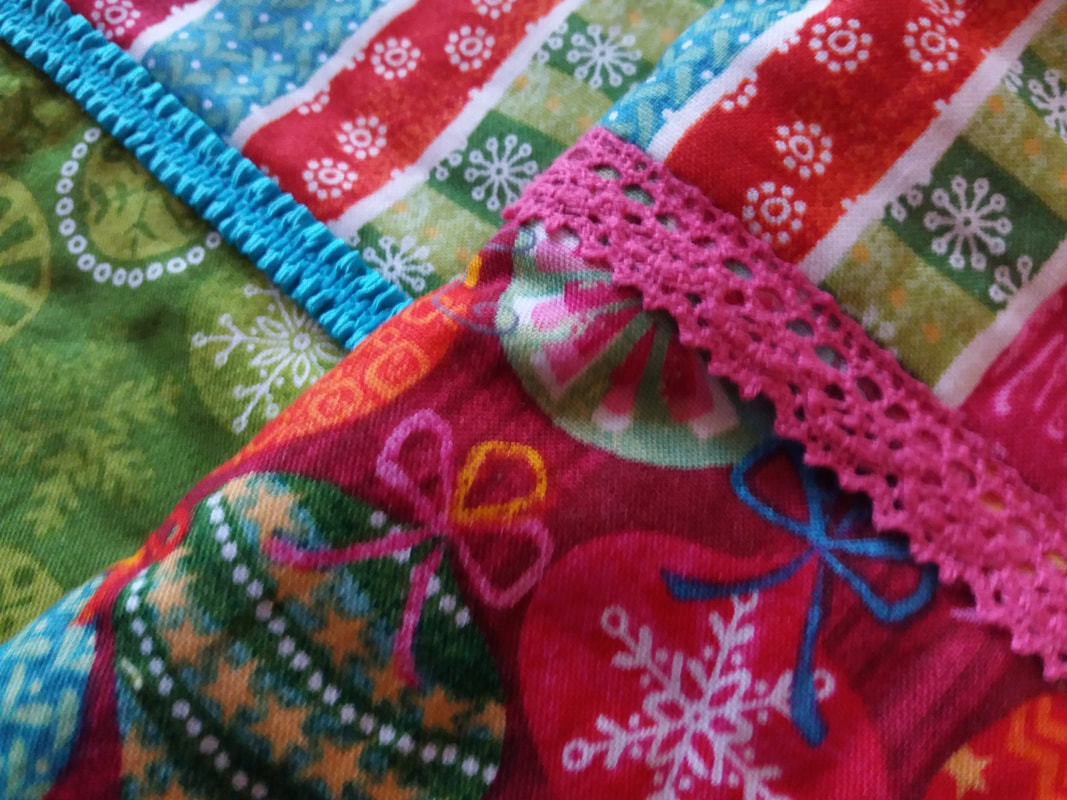
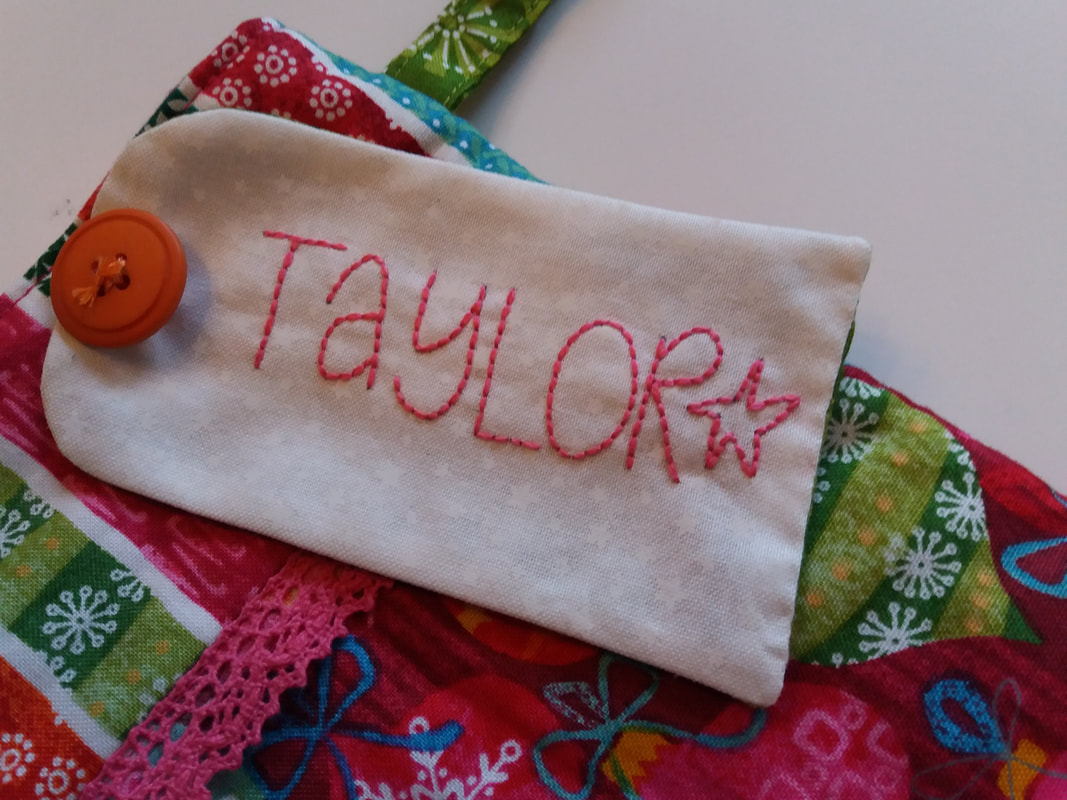
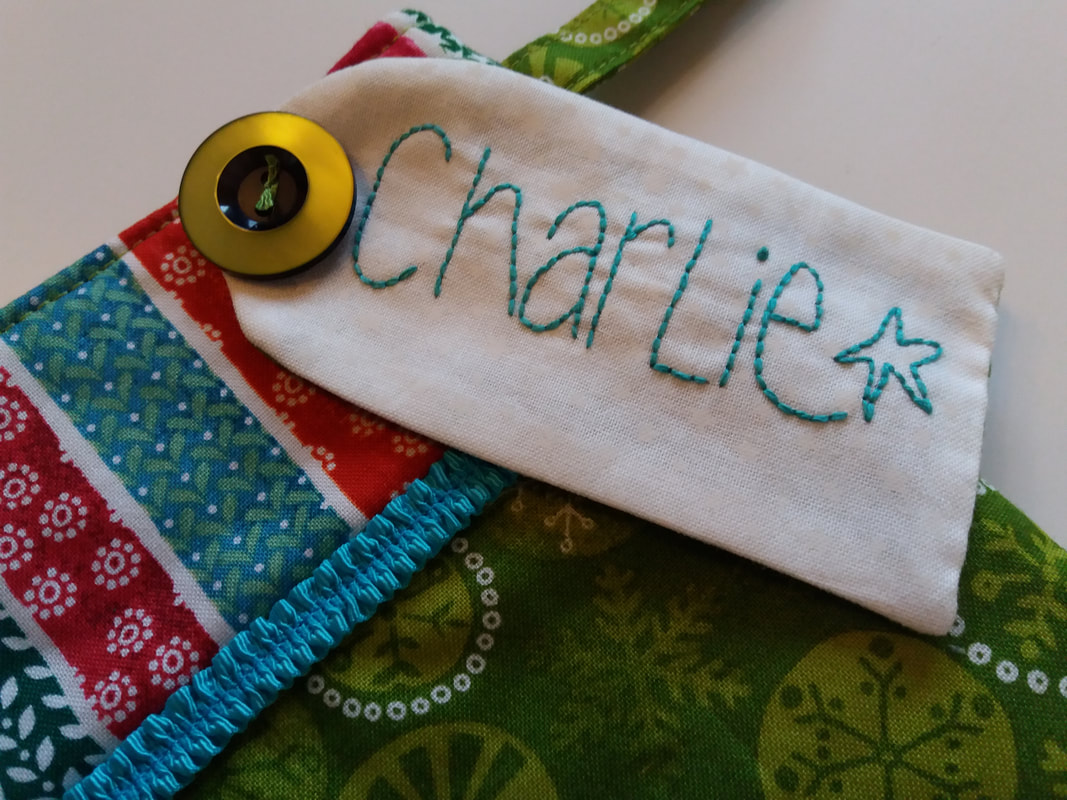
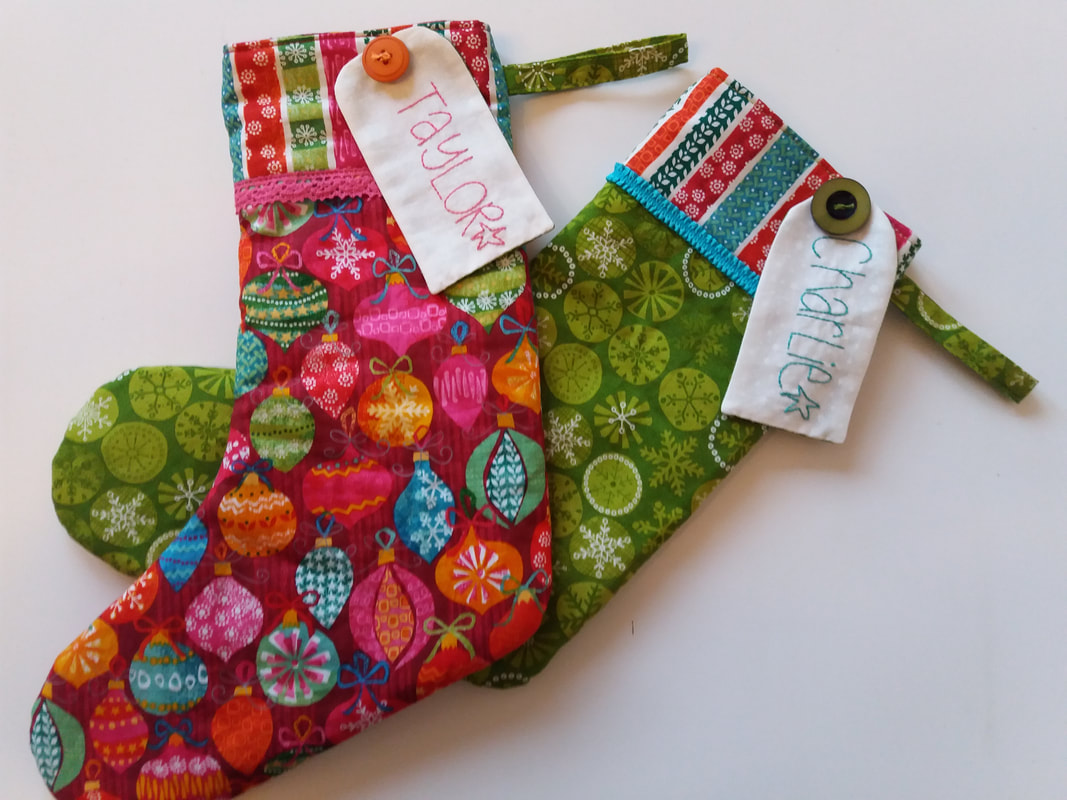
A few years ago I'd bought a metre each of these bright and cheerful fabrics from the Cool Yule collection by The Henley Studio for Makower UK. I'd been saving them for a special project, and finally it was time to cut them up! Two new members of the family needed a Christmas stocking, and my favourite stocking pattern is Waiting For Santa, by Leanne Beasley. Pellon H630 has been fused to the wrong side of the stocking front to give them so structure, and they're lined with matching fabrics. I've added some bright trimmings to the stocking tops... ...the pattern includes instructions on making these cute hand embroidered labels. I've used 3 strands of bright coloured embroidery thread, and attached the labels with bright coloured buttons... ...a hanging loop is really useful for hanging them on a door knob. Now these just need to be filled with some "little" gifts for Taylor and Charlie, ready for when they visit Foreman Towers on Boxing Day!
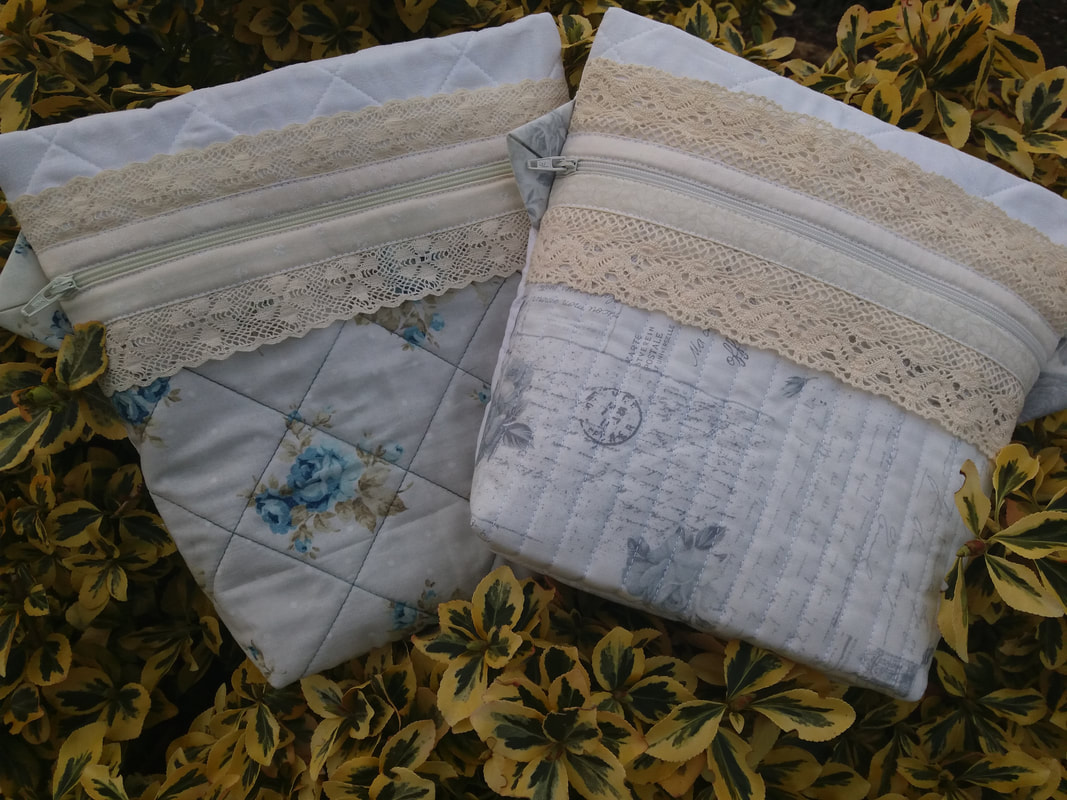
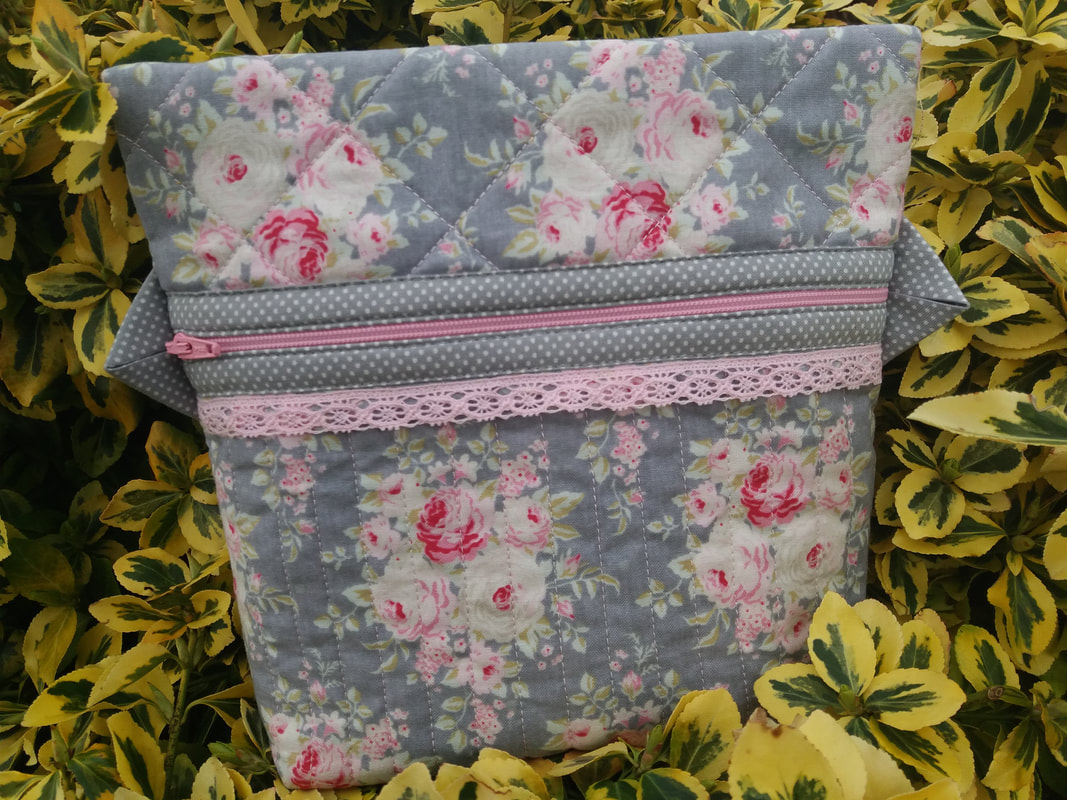
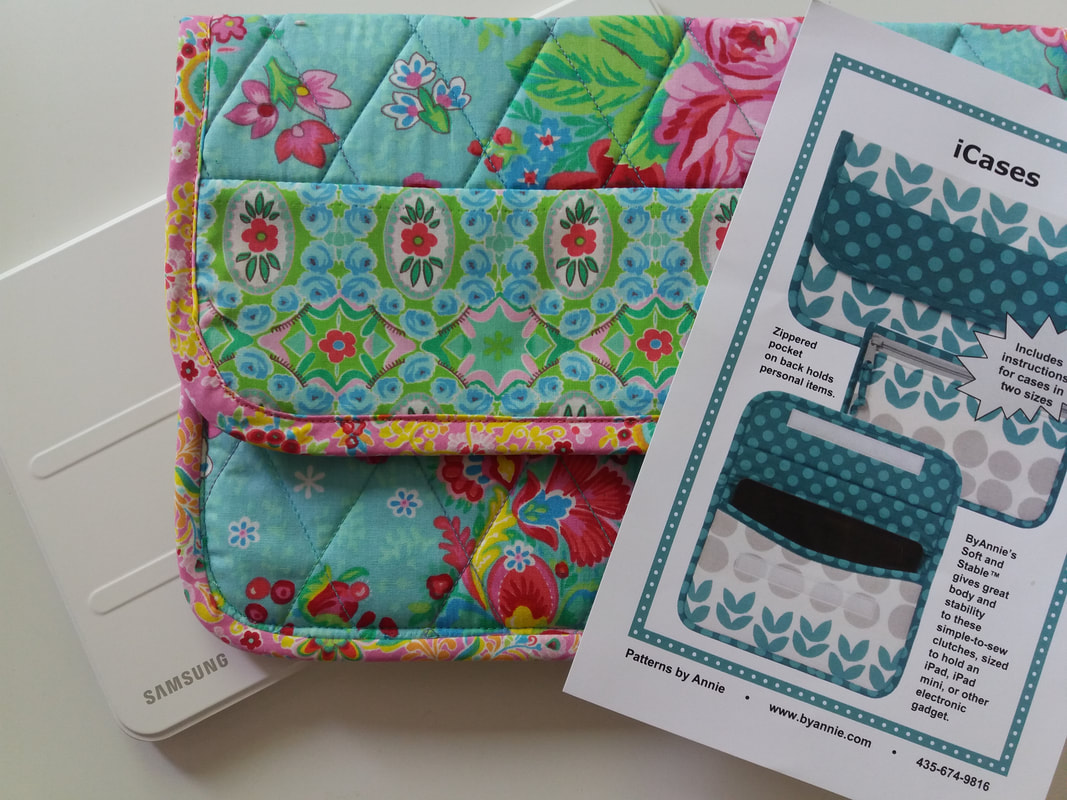
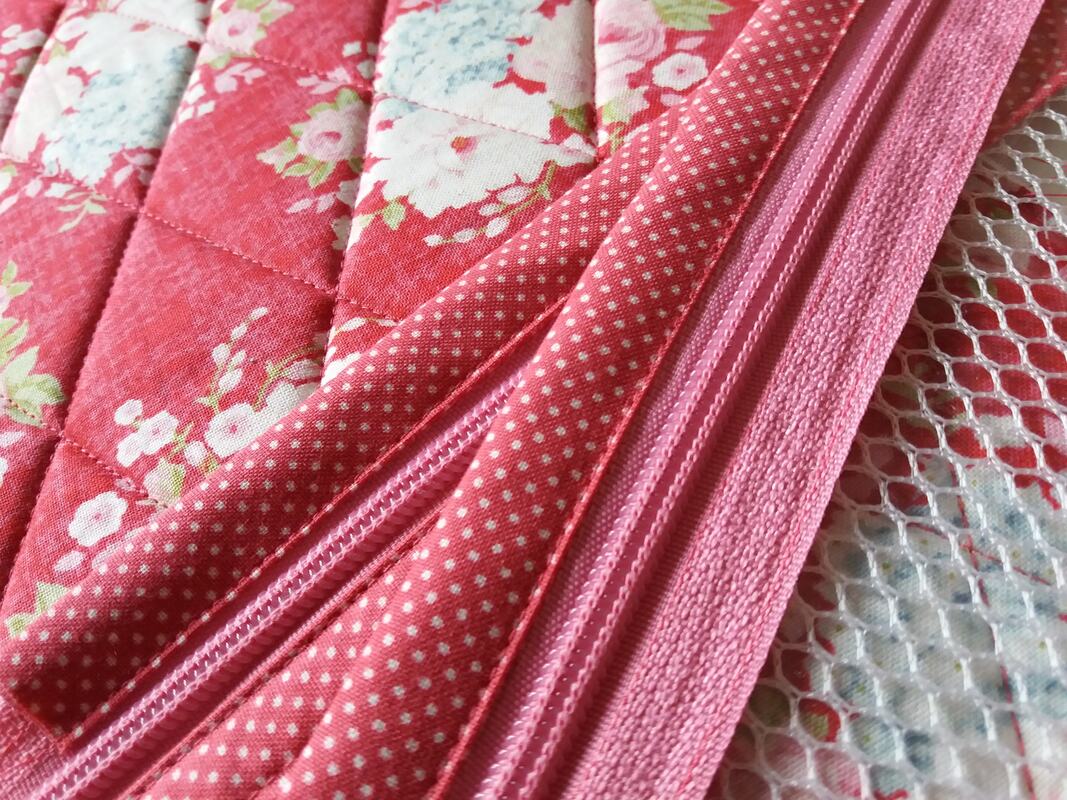
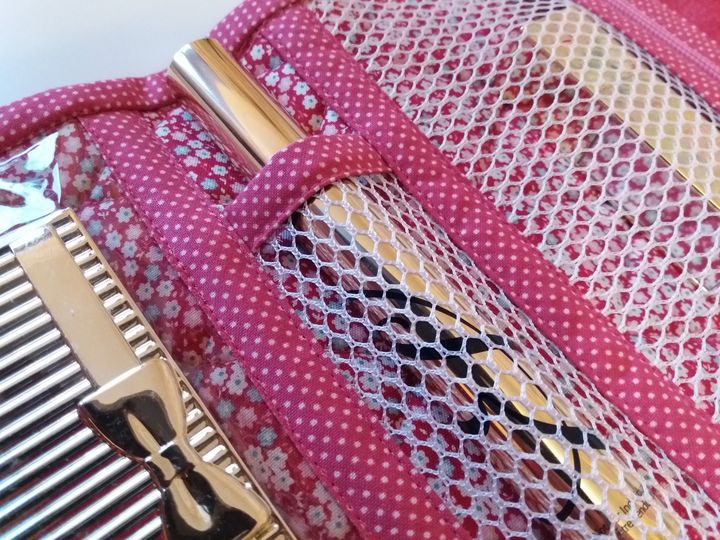
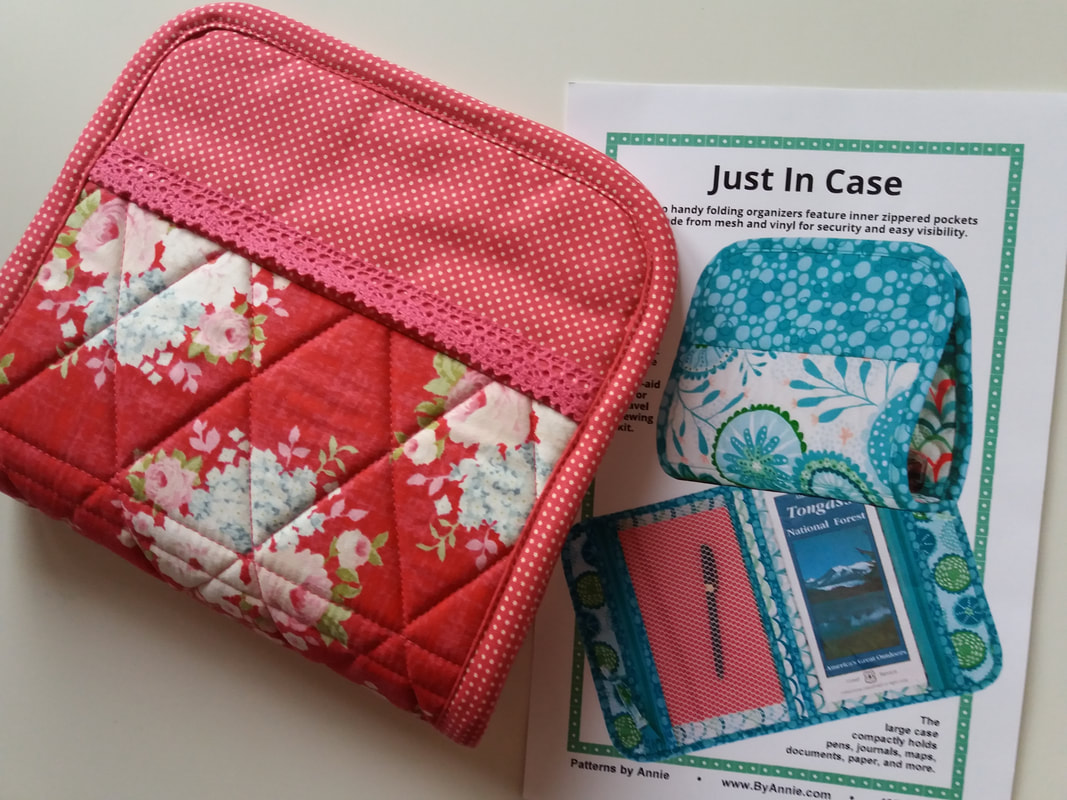
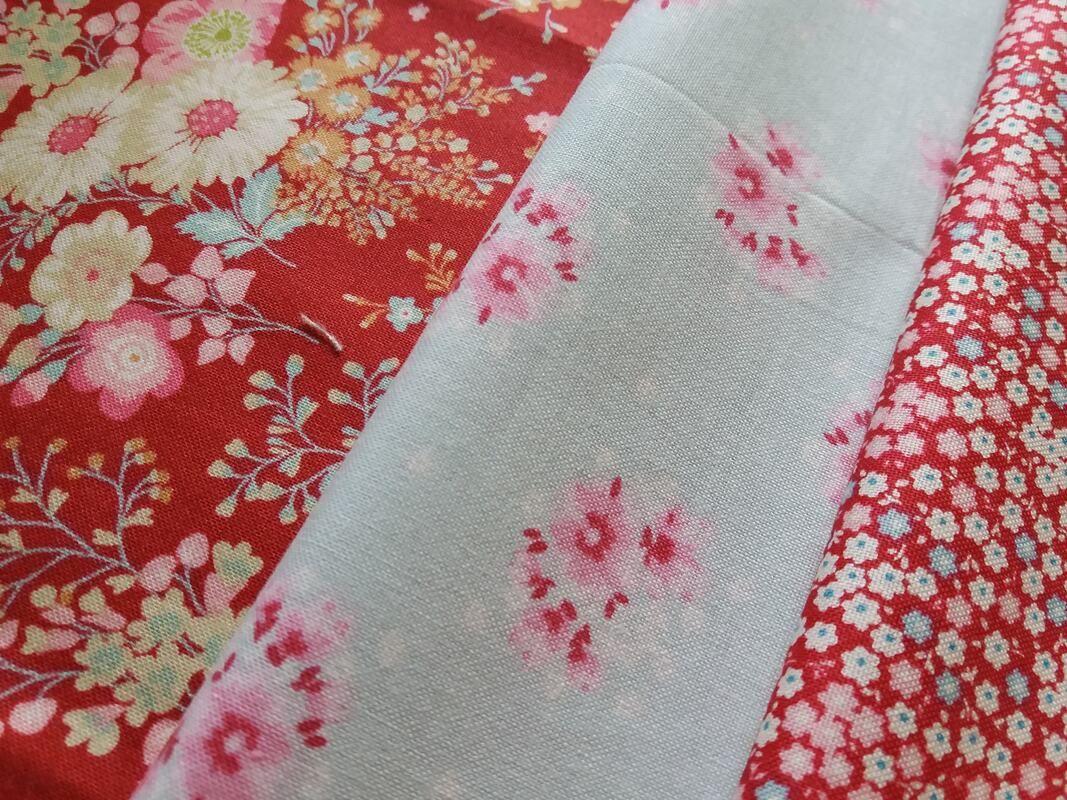
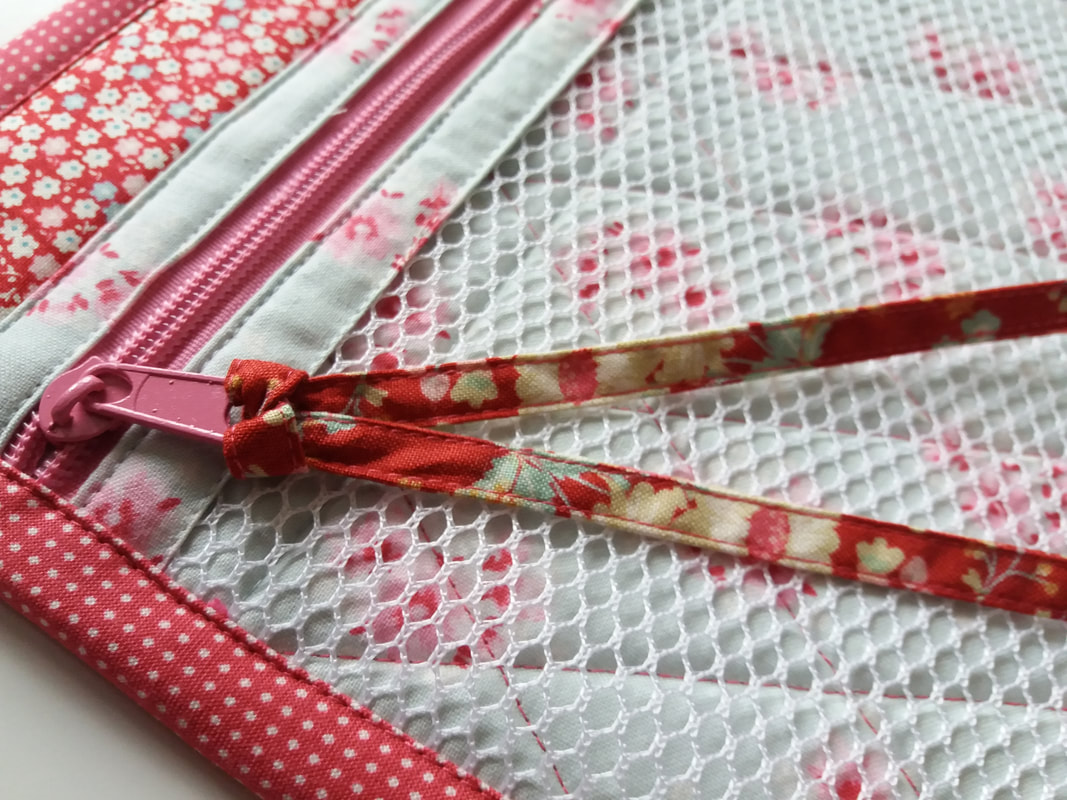
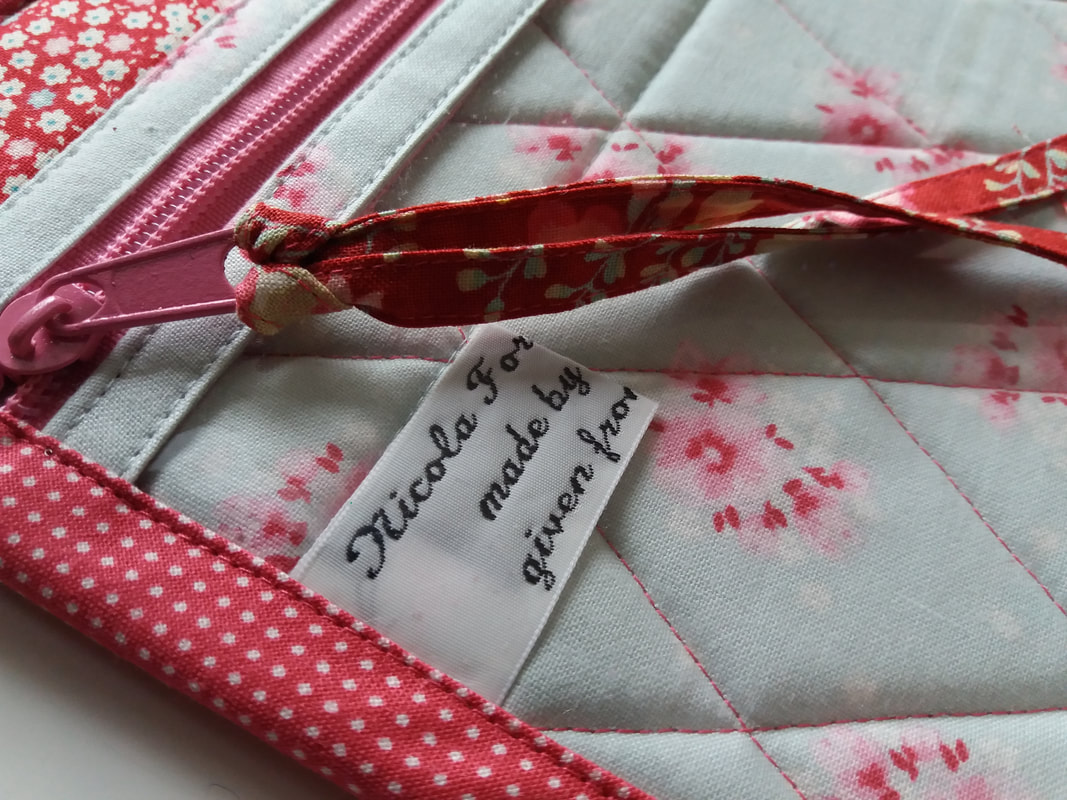
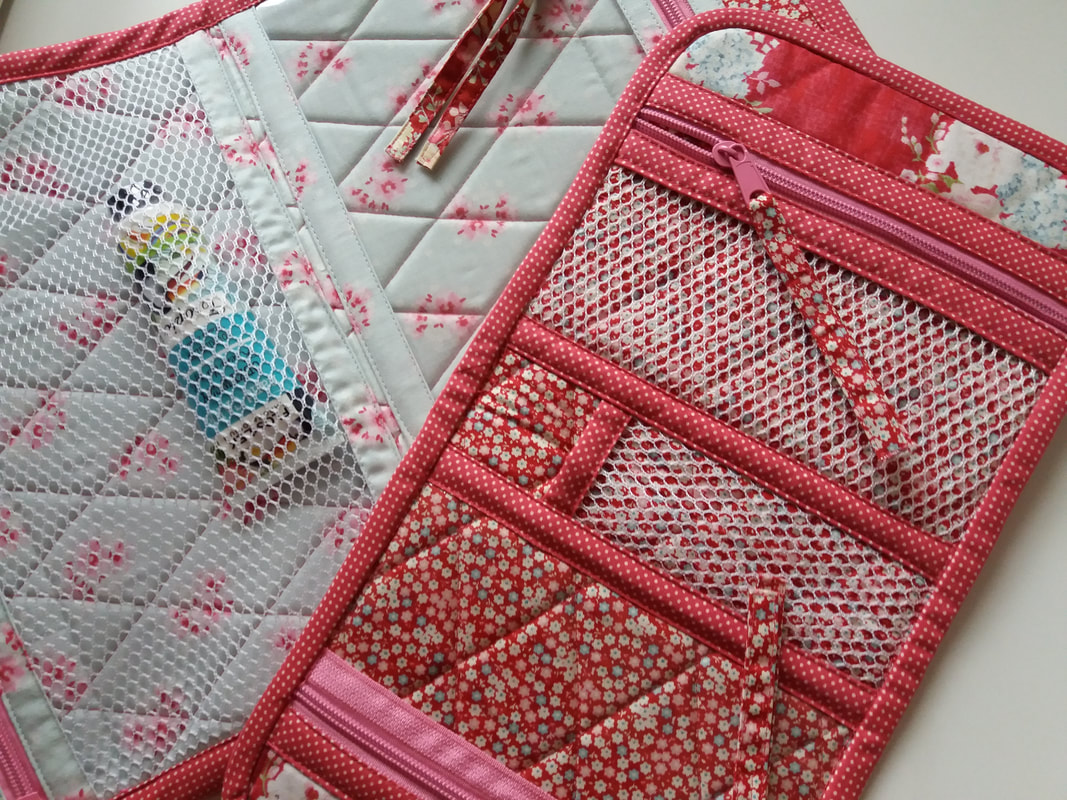
I've had a couple of busy days in my sewing studio, trying out another ByAnnie pattern, Just In Case. I've used a selection of pretty Tilda fabrics, along with some ByAnnie clear vinyl (bought online from Oh Sew Sweet along with the pattern) some zipper by the metre (bought online from Zipper Station - such a brilliant assortment of colours) and ByAnnie mesh. After quilting the soft and Stable wadding very simply, it was trimmed to size and the pockets placed on the lining... ...the small size is so cute, ideal to pop in your handbag or glove compartment of your car. It could be used as a sewing kit or a first aid kit - I'll definitely make more of these, and they'll make great gifts... ...once I'd made the smaller version, more Tilda fabrics were used for the larger Just In Case too, which I also trimmed with some pretty lace along the outer border. Soft and Stable wadding is great to use for bags as it gives a lovely structure to the finished project and quilts really nicely. I used the 60degree angle on my ruler and a Clover Hera marker to mark the quilting lines, and used a matching Aurifil 50 wt thread for the machine quilting... ...the larger version has 2 pockets, one mesh and one clear vinyl. Since I've been using ByAnnie vinyl I can definitely see an improvement in my projects - the vinyl is great quality, and my Bernina sews through it like a dream! Leftover scraps from the outer fabric were used for the ties on the zipper pulls, and the binding fabric for the pockets and zippers was the same as the lining fabric... ...now these are ready to be wrapped and that's another 2 gifts ticked off my Christmas list! Now do I need to make one of these for me? Oh definately!
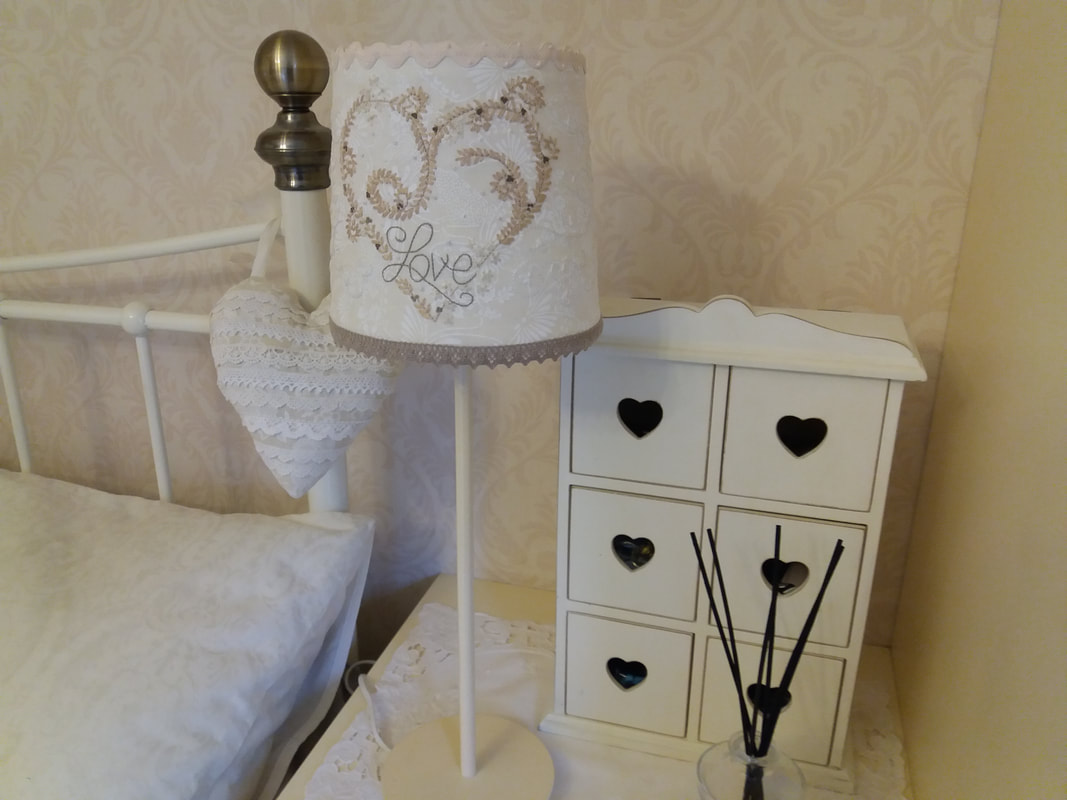
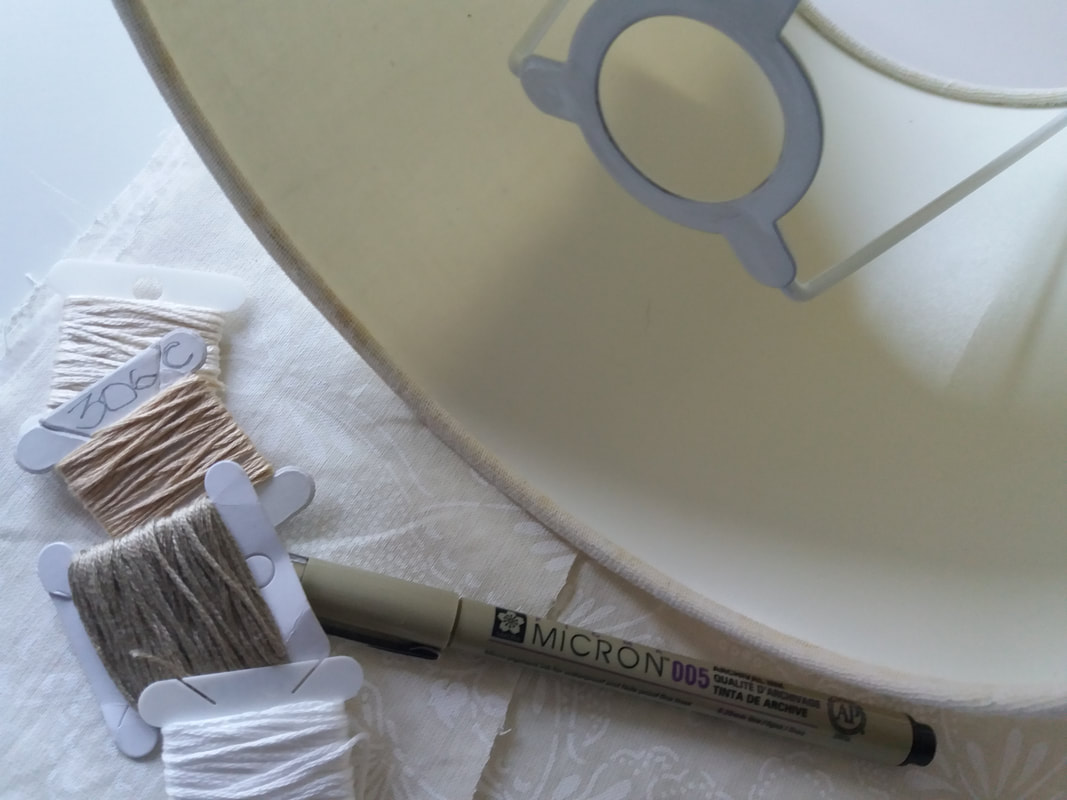
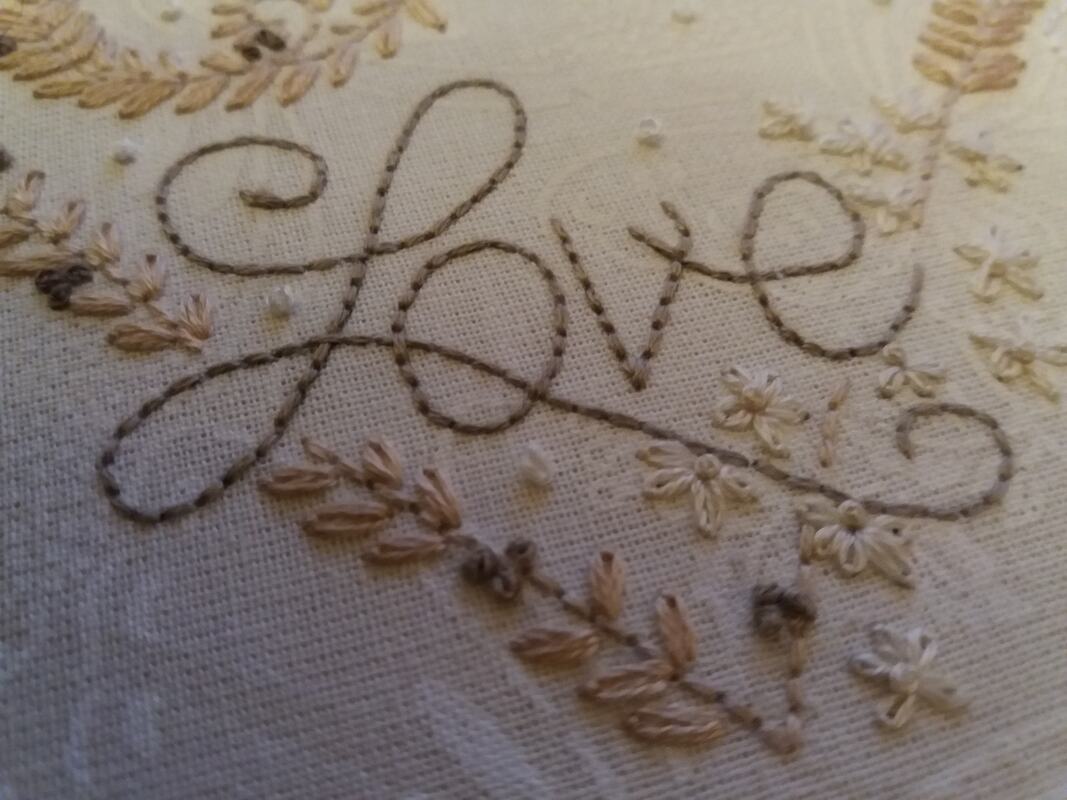
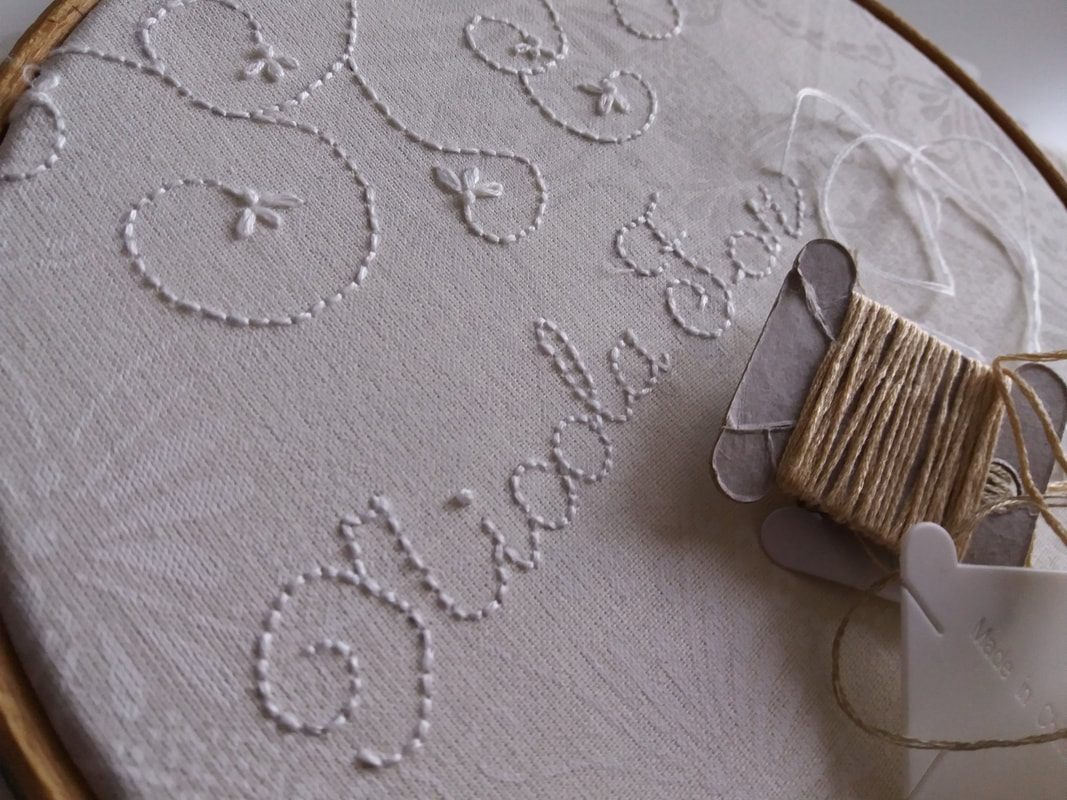
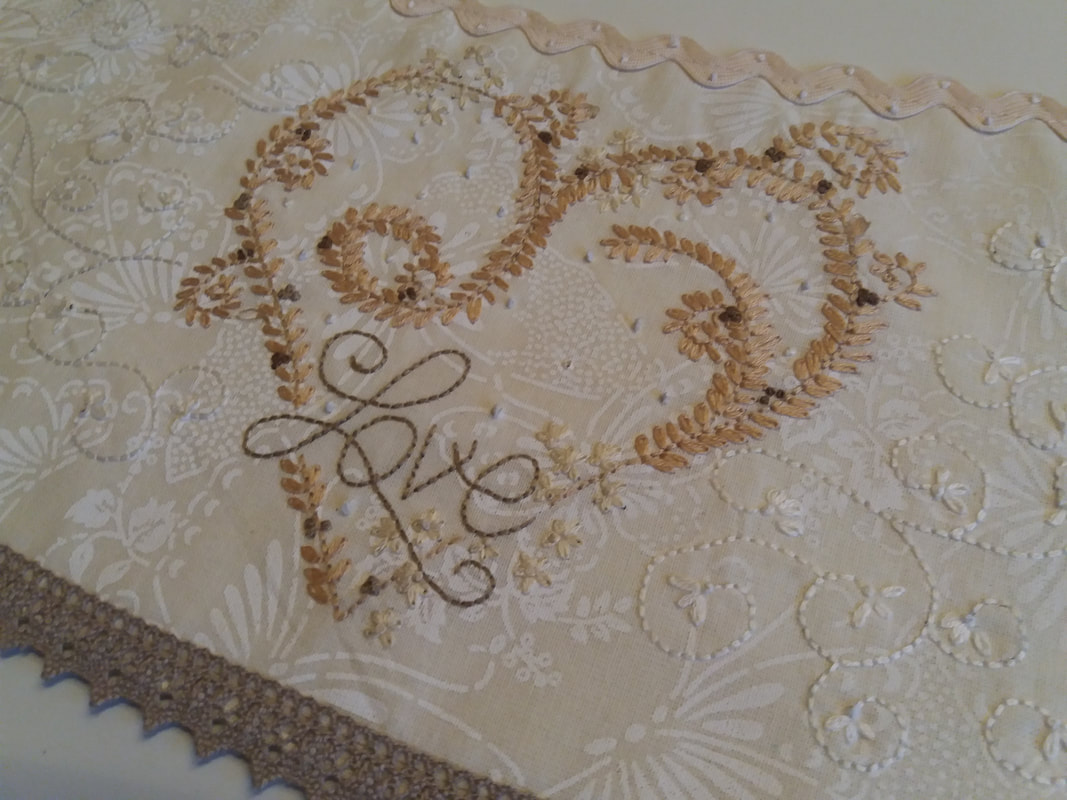
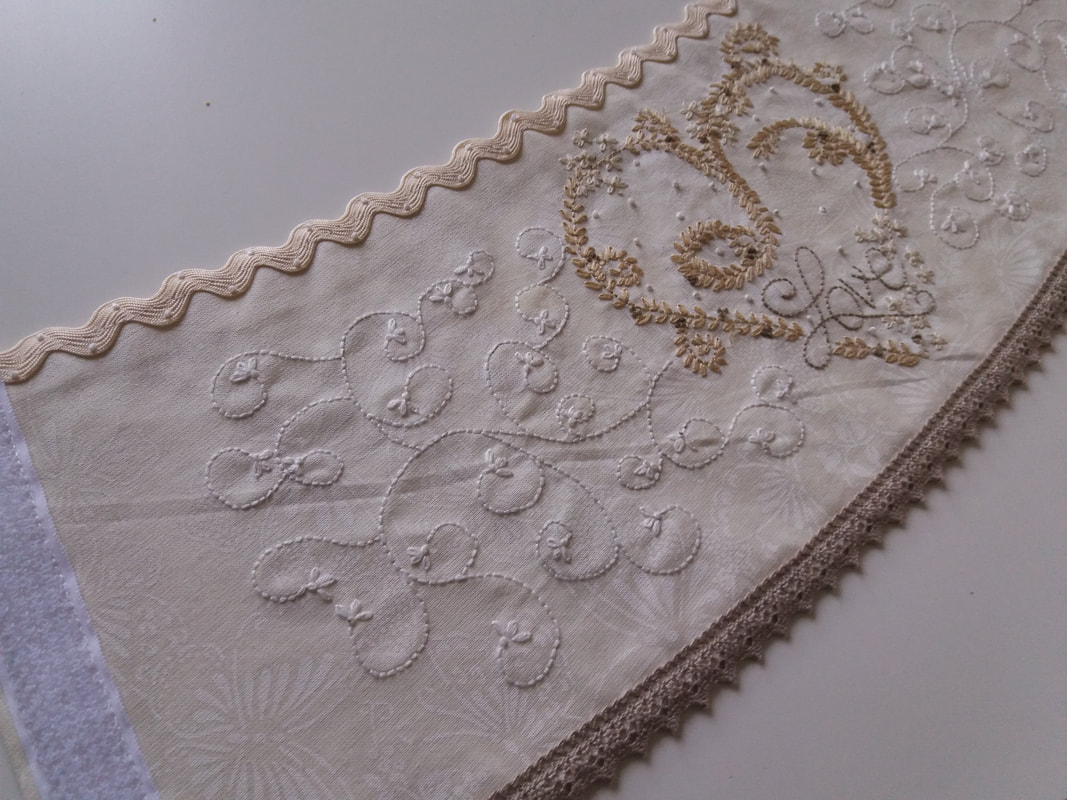
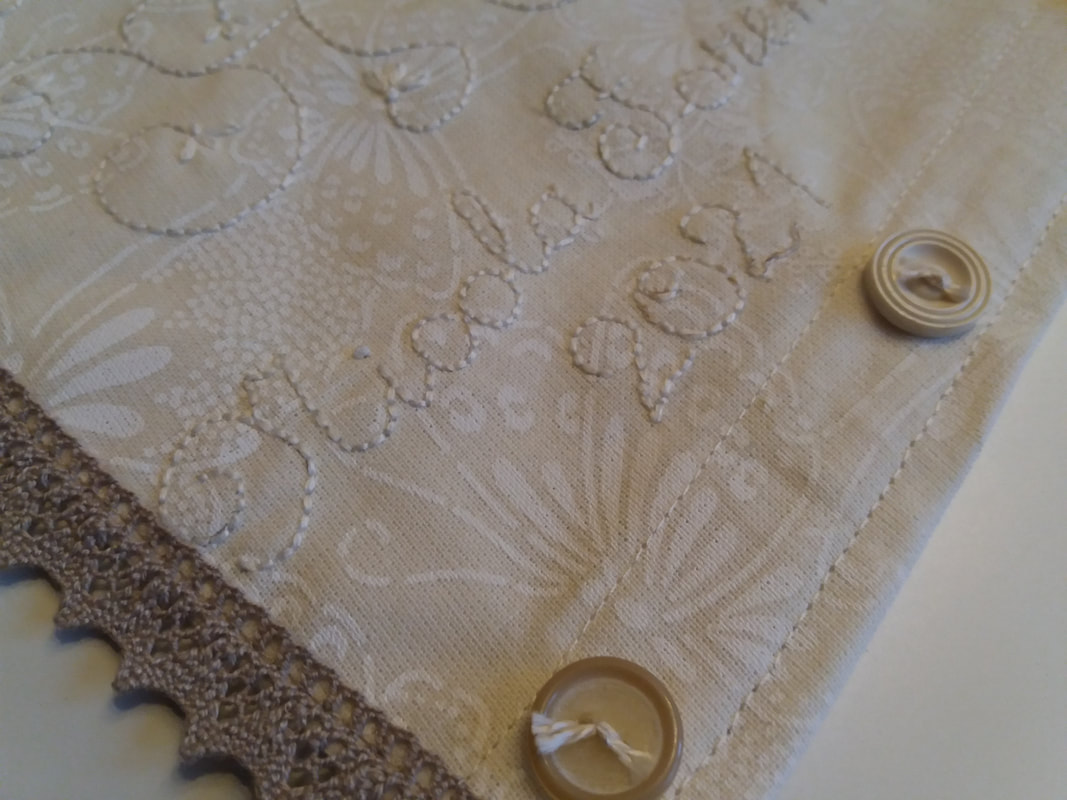
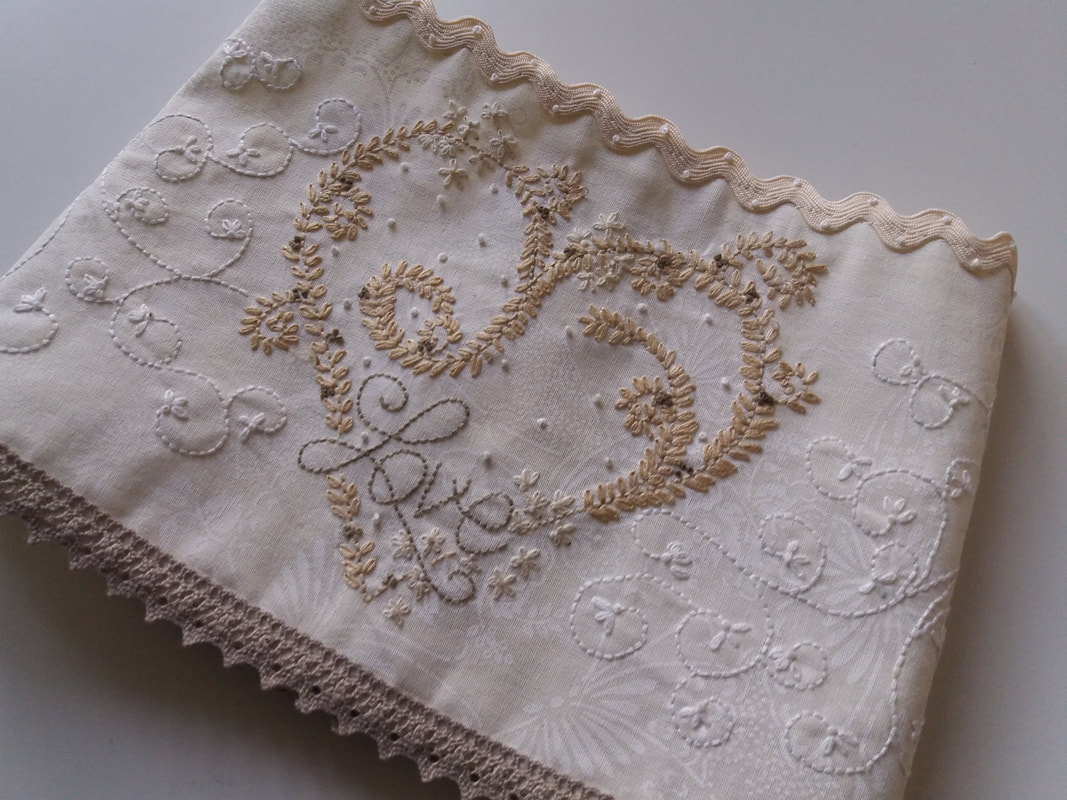
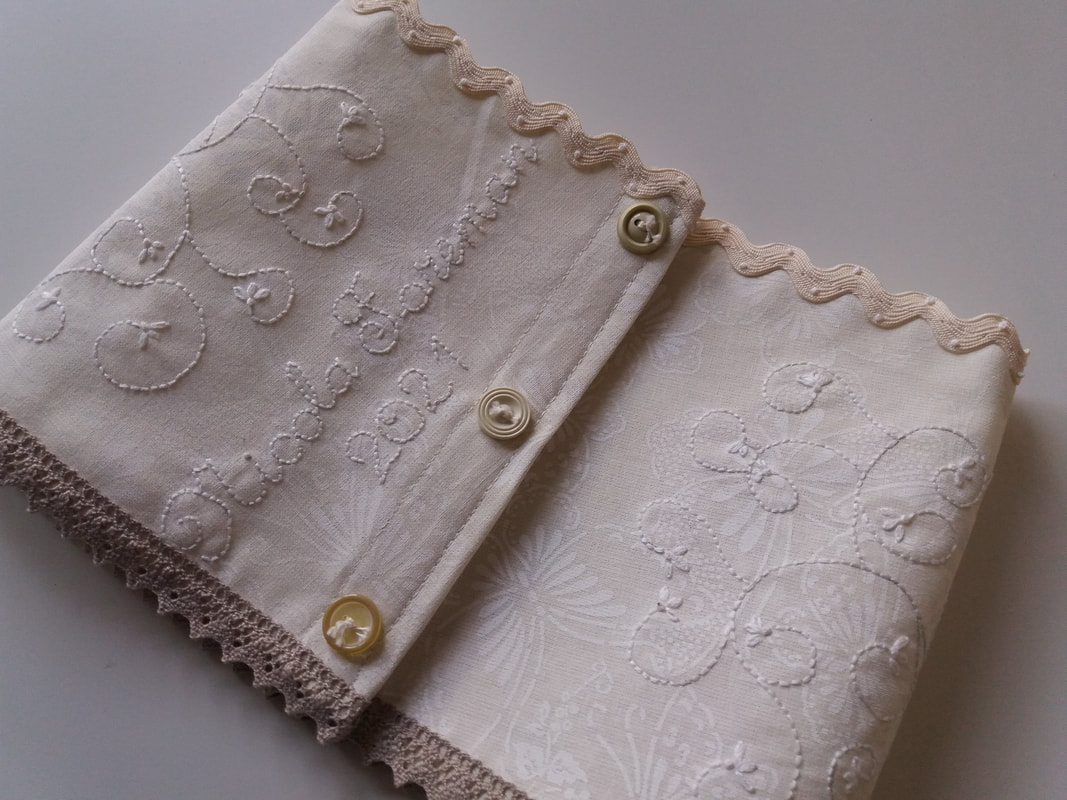
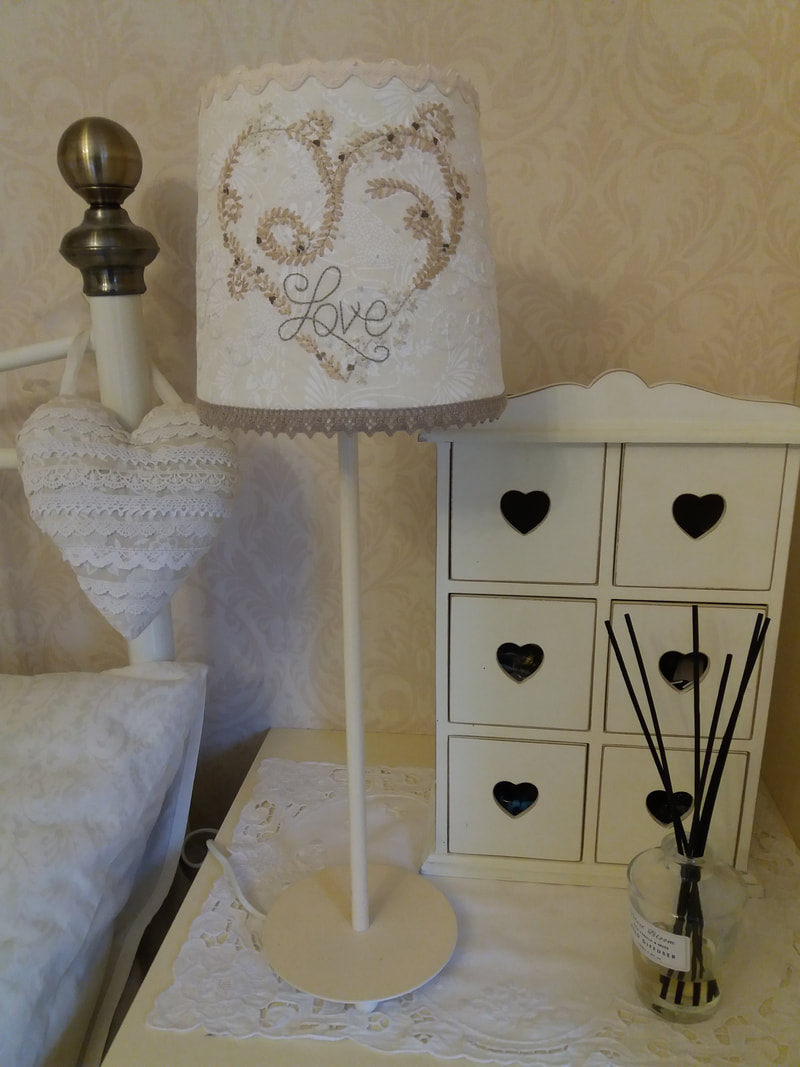
What do you do with a plain cream lampshade that needs a bit of a facelift? Make it a posh new coat! I carefully drew around the lampshade onto a large piece of paper, gently rolling the shade along, and adding an overlap. I fused a piece of lightweight interfacing onto the back of some cream patterned fabric then drew around the paper template adding a half inch seam allowance. Next is the fun part - I doodled a heart and some swirls onto the fabric with a Pigma Micron pen - this ink is permanent so you do need a steady hand. I stitched over the design with simple stitches using 3 strands of embroidery thread in a variety of neutral shades... ...once the centre embroidery design was completed, I drew a few more twirls on each side, and added my name and the year. Once the embroidery was completed, the fabric was pressed, and cut around the template shape that had been drawn on the back of the interfaced fabric. Seam allowances were pressed along the top and bottom curves, then some ric-rac trimming and vintage lace were stitched in place... ...a strip of velcro fastening was stitched to each overlap as a closure, so the cover can easily be removed if necessary. Some vintage buttons were added to the top overlap to add a bit of detail... ...the pictures below show what the front and back of the cover will look like when it's in place around the shade... ...and here's the finished cover, attached to the original lampshade. I'm really pleased with how this looks and might have to make a sewing-themed one to display in my sewing studio!
|
About me...Hi - welcome to my quilting blog! My passions are my family, my dog, my friends and sewing, not necessarily in that order! Archives
July 2023
Blogs I followUK shopsThese are the UK shops that I use to purchase my quilting supplies - fabrics and threads etc.
Australian linksScandinavian links |







 RSS Feed

