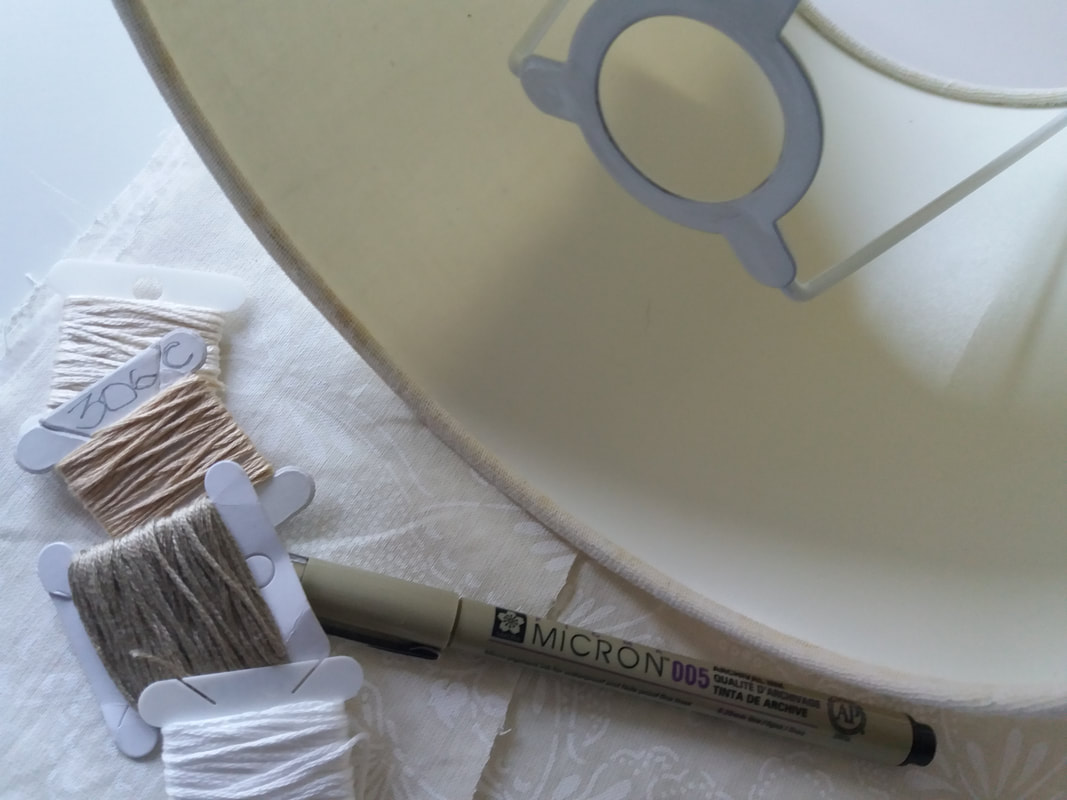
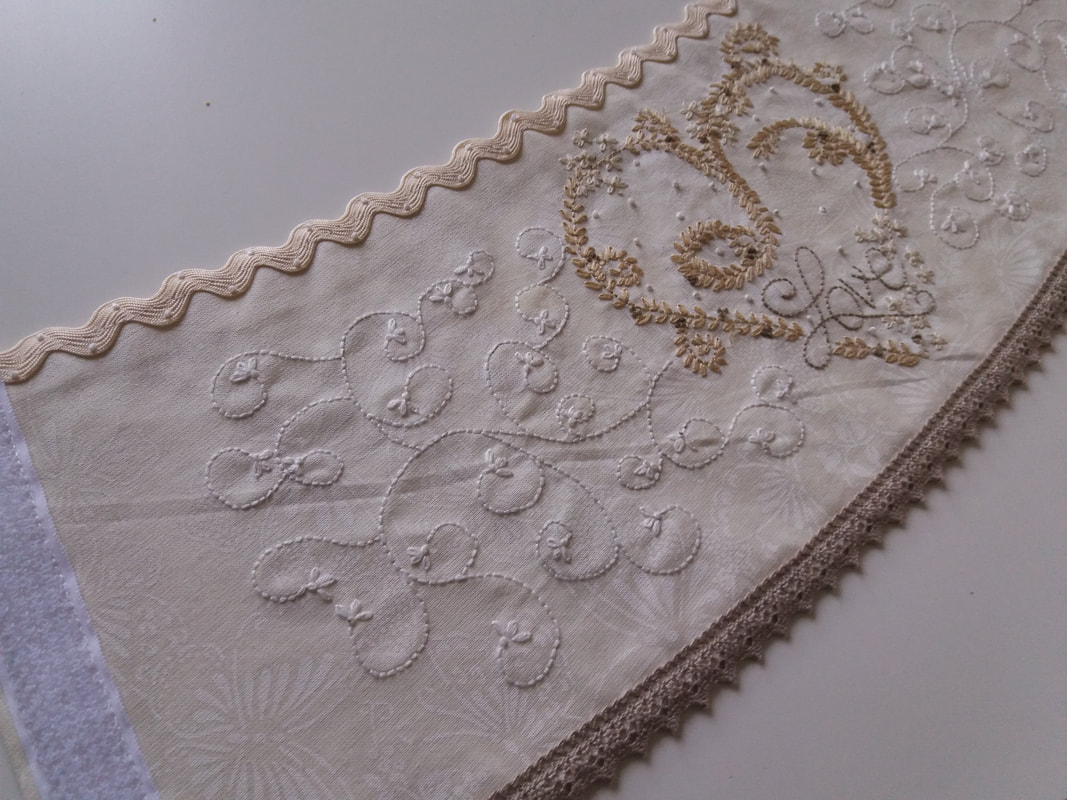
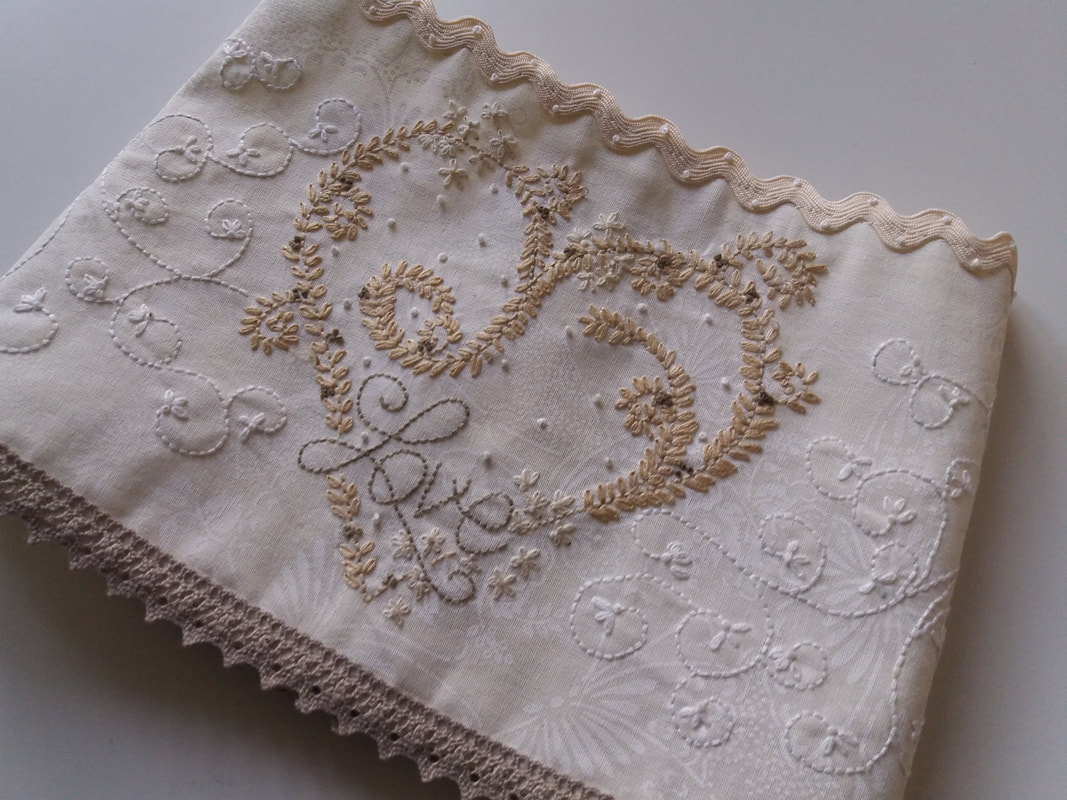
What do you do with a plain cream lampshade that needs a bit of a facelift? Make it a posh new coat! I carefully drew around the lampshade onto a large piece of paper, gently rolling the shade along, and adding an overlap. I fused a piece of lightweight interfacing onto the back of some cream patterned fabric then drew around the paper template adding a half inch seam allowance. Next is the fun part - I doodled a heart and some swirls onto the fabric with a Pigma Micron pen - this ink is permanent so you do need a steady hand. I stitched over the design with simple stitches using 3 strands of embroidery thread in a variety of neutral shades...
 | 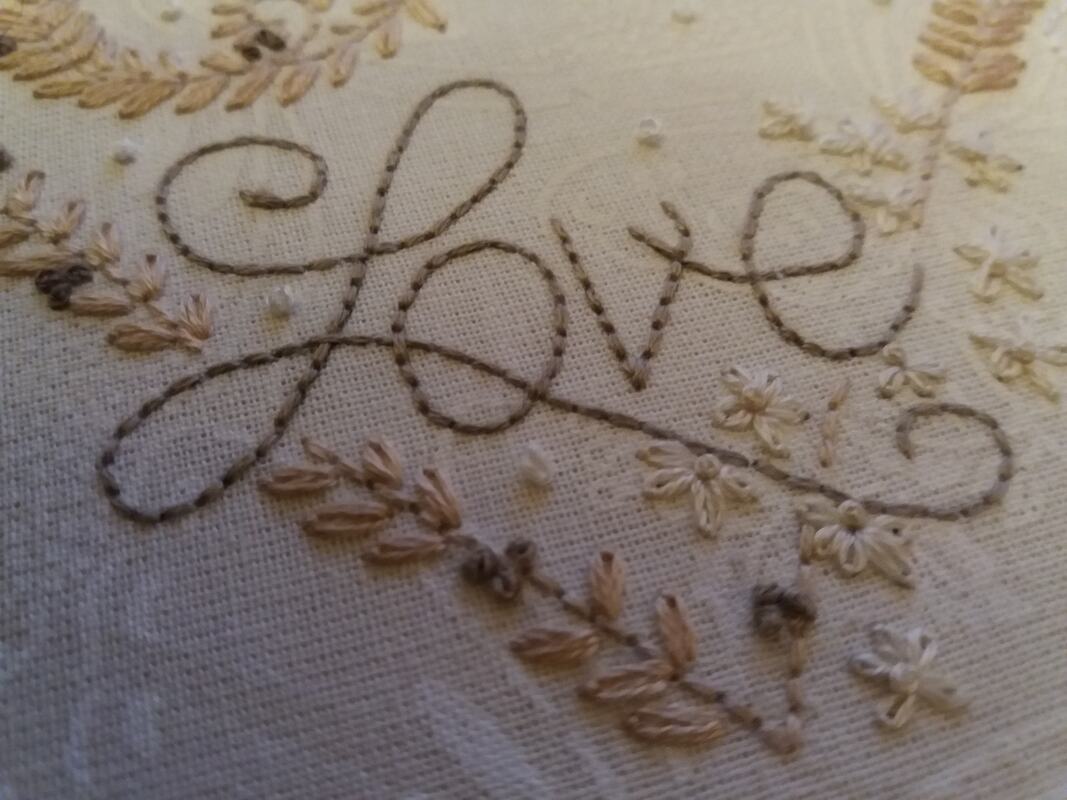 |
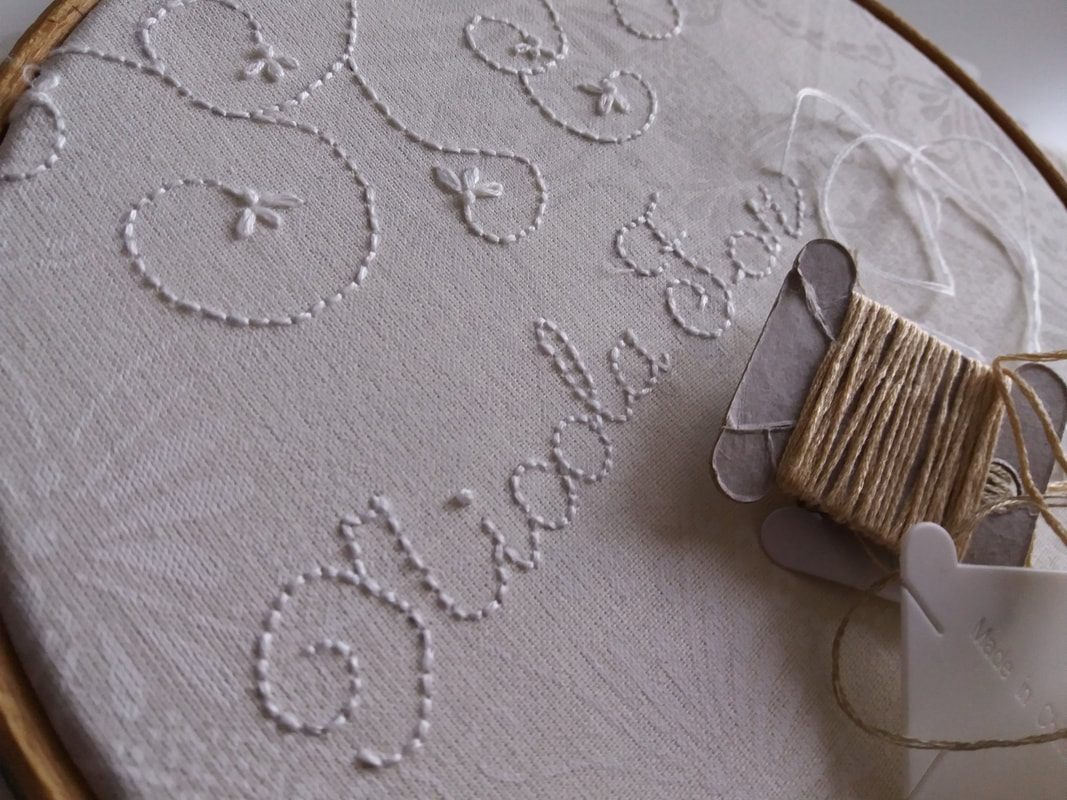
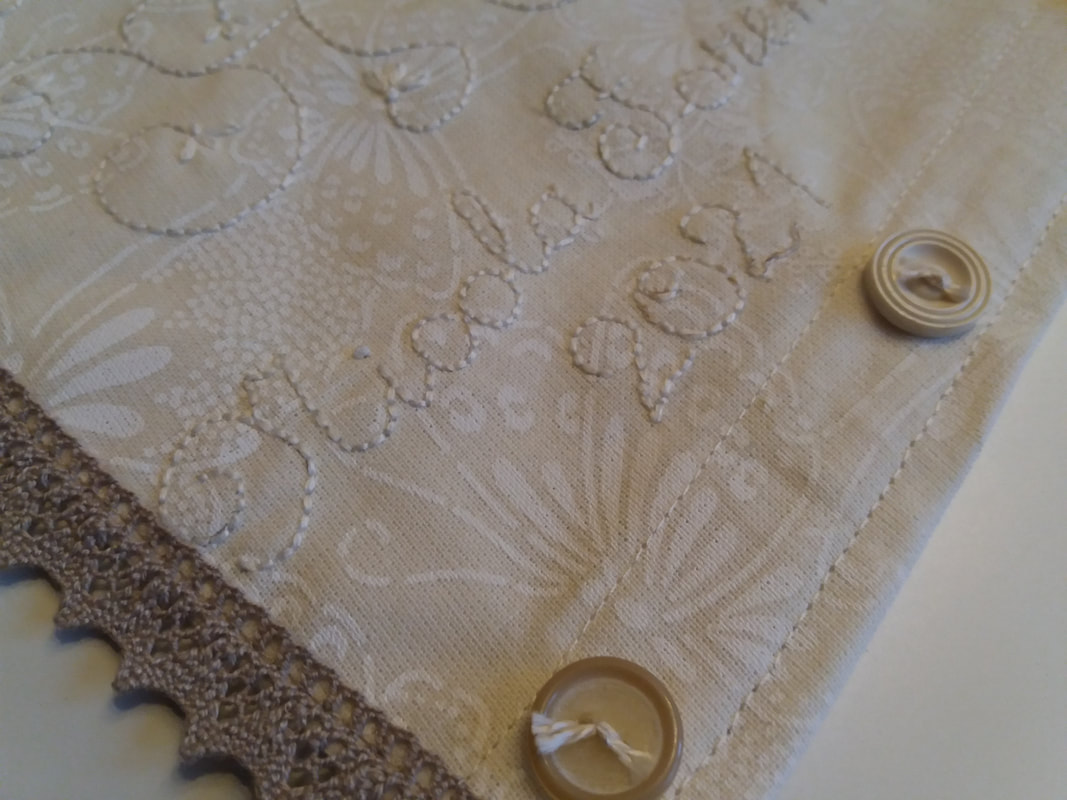
...once the centre embroidery design was completed, I drew a few more twirls on each side, and added my name and the year. Once the embroidery was completed, the fabric was pressed, and cut around the template shape that had been drawn on the back of the interfaced fabric. Seam allowances were pressed along the top and bottom curves, then some ric-rac trimming and vintage lace were stitched in place...
 | 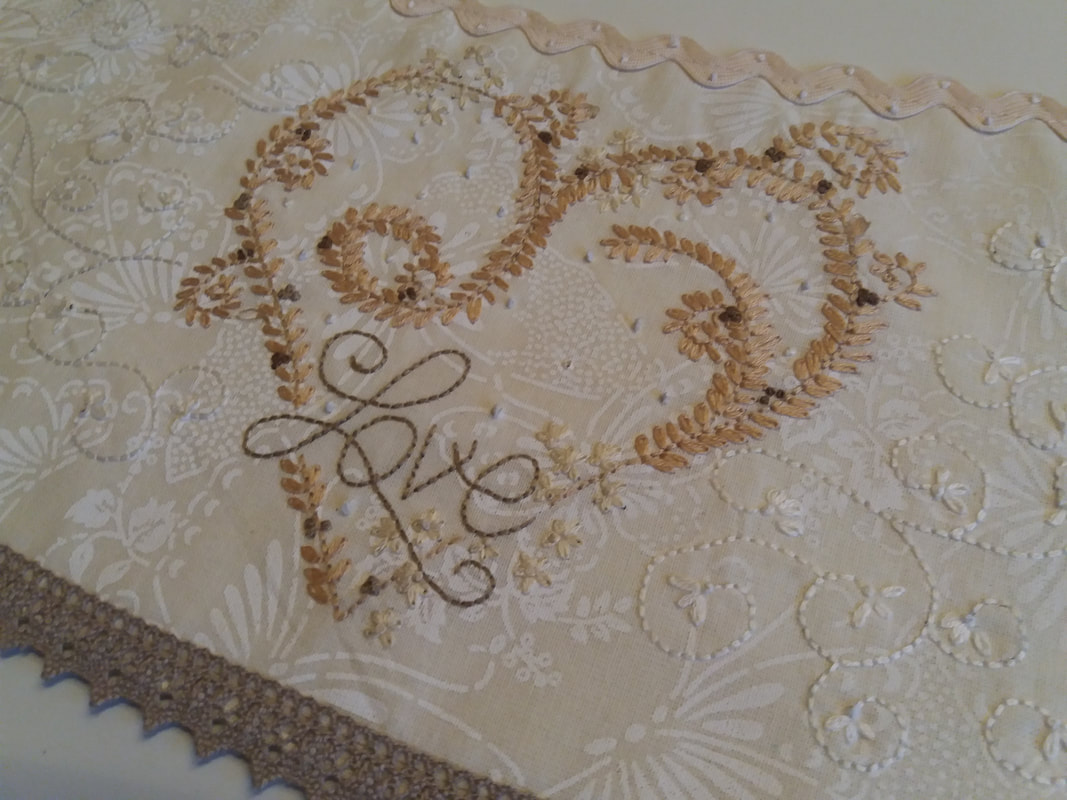 |
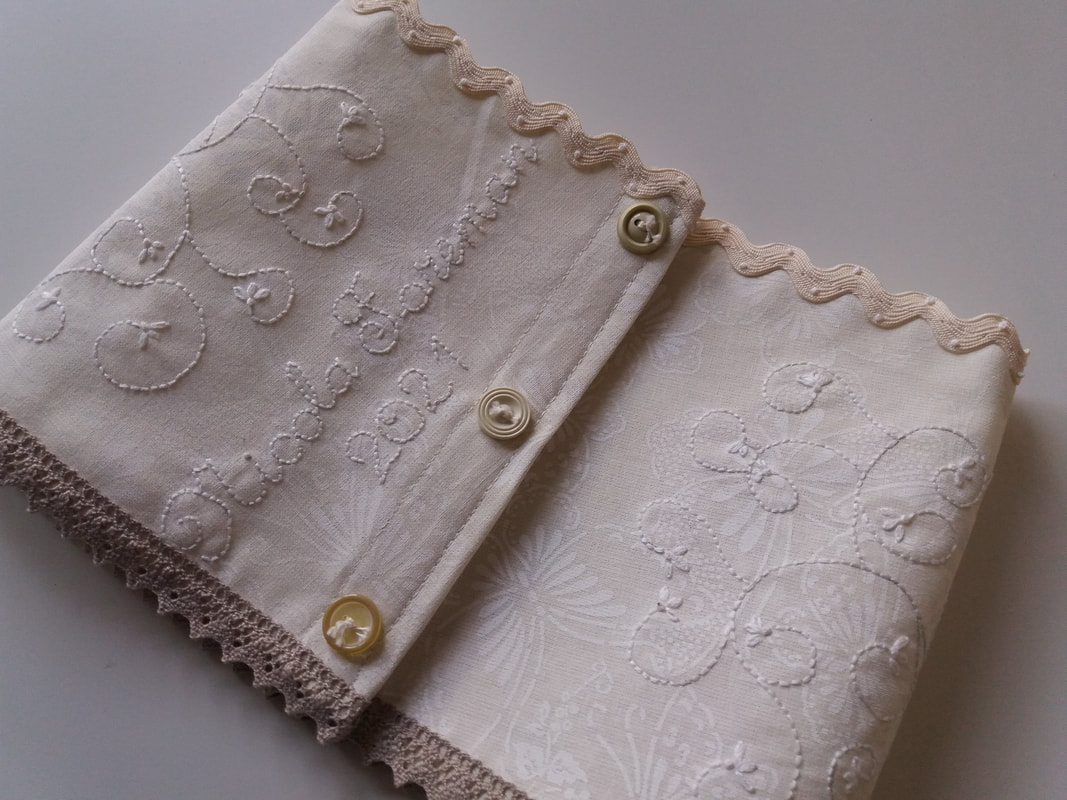
...a strip of velcro fastening was stitched to each overlap as a closure, so the cover can easily be removed if necessary. Some vintage buttons were added to the top overlap to add a bit of detail...
 |  |
...the pictures below show what the front and back of the cover will look like when it's in place around the shade...
 |  |
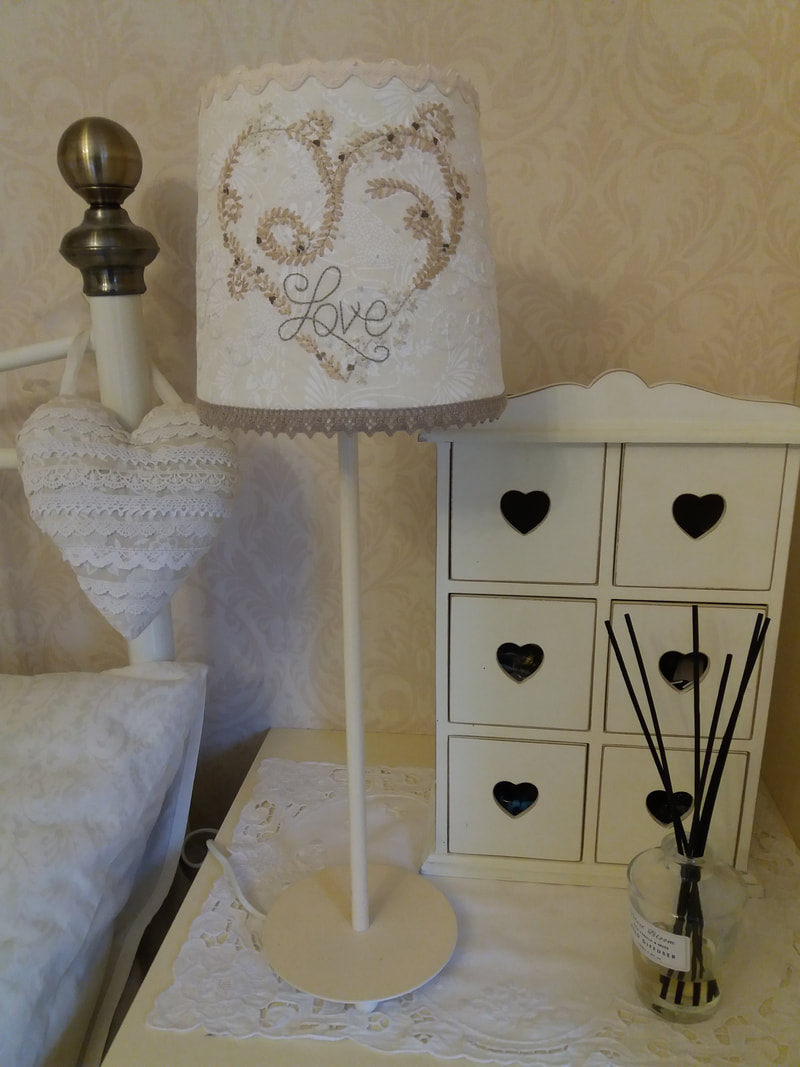
...and here's the finished cover, attached to the original lampshade. I'm really pleased with how this looks and might have to make a sewing-themed one to display in my sewing studio!


 RSS Feed

