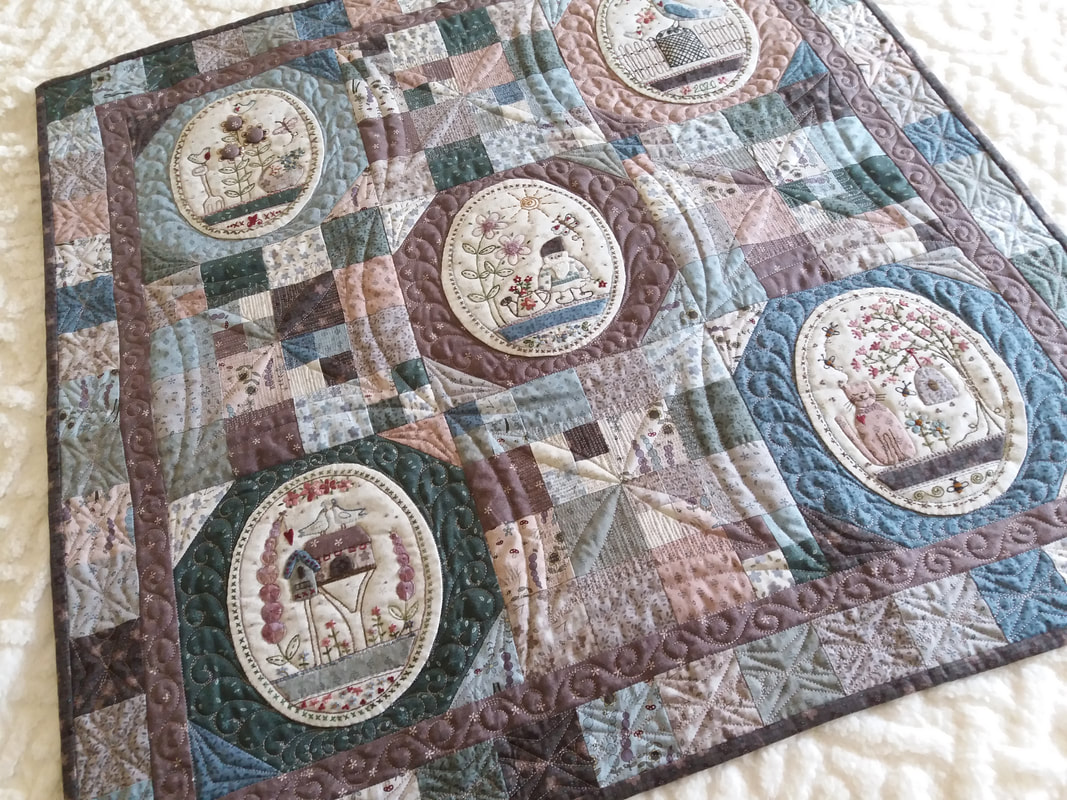
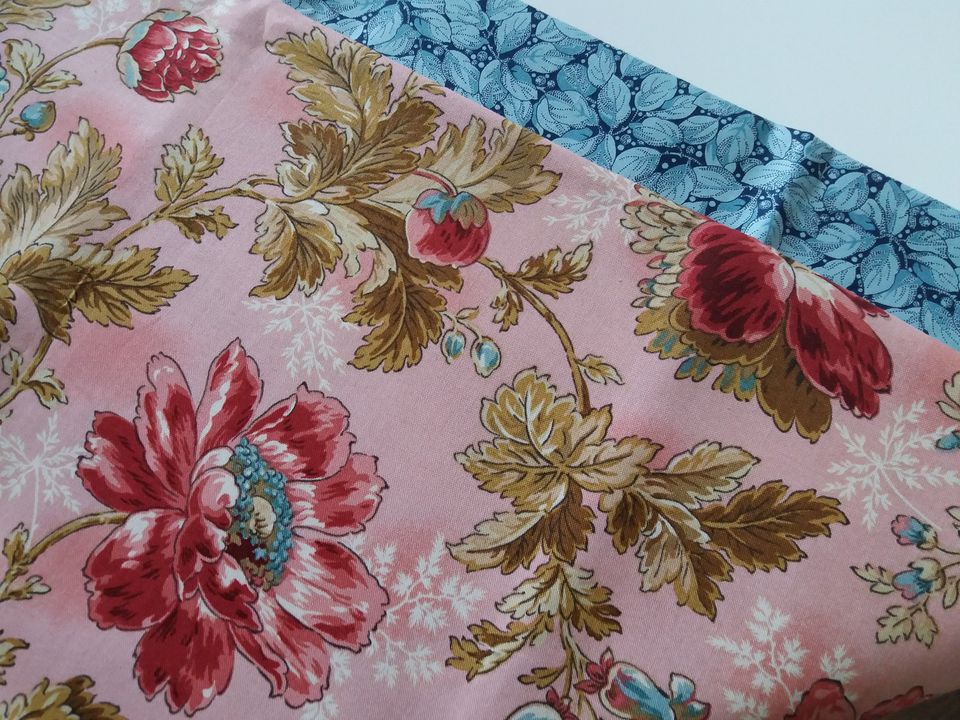
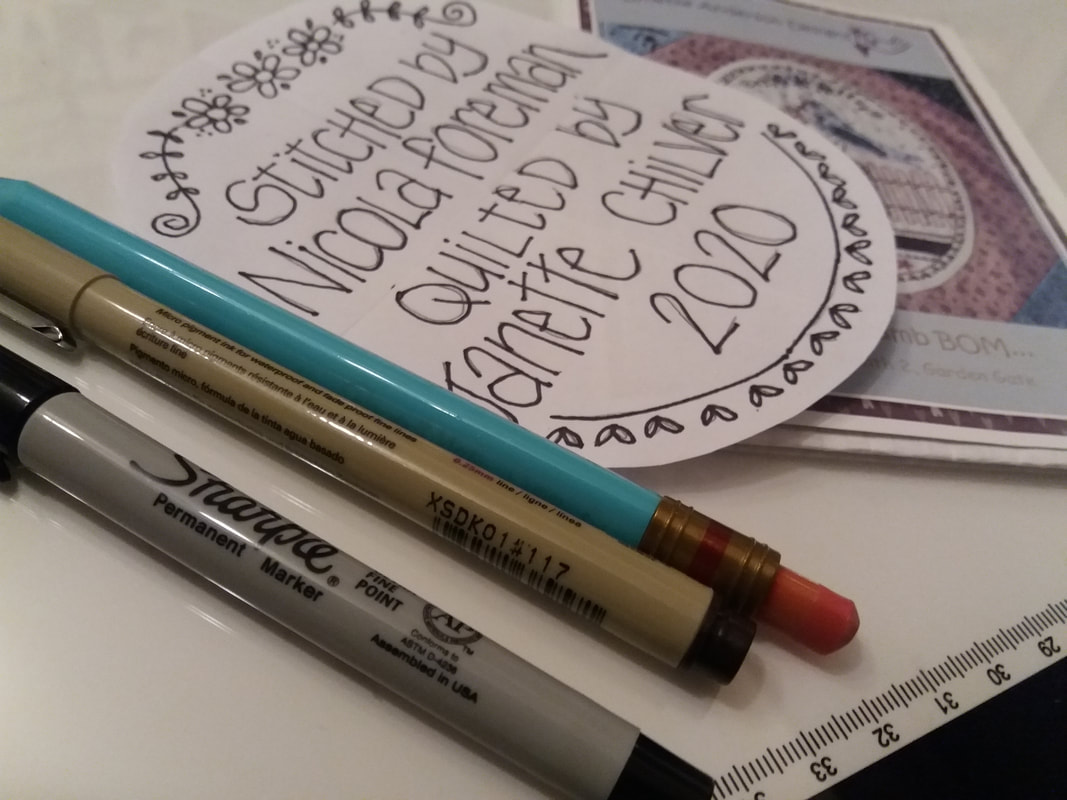
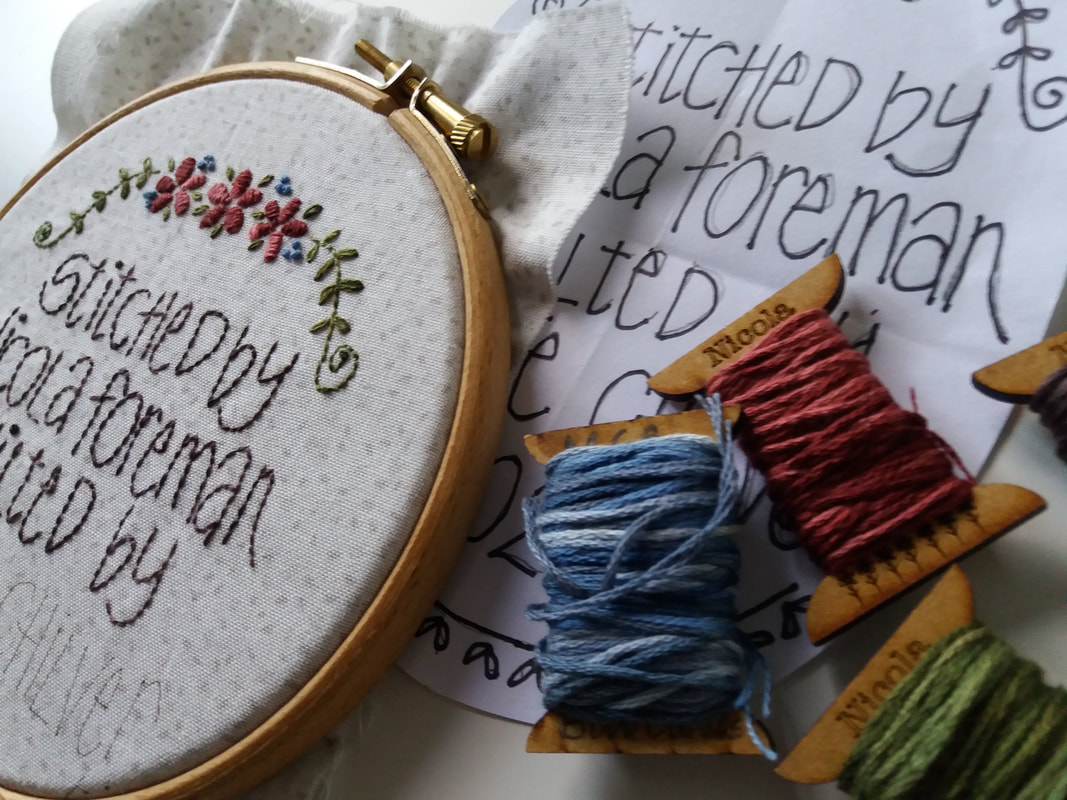
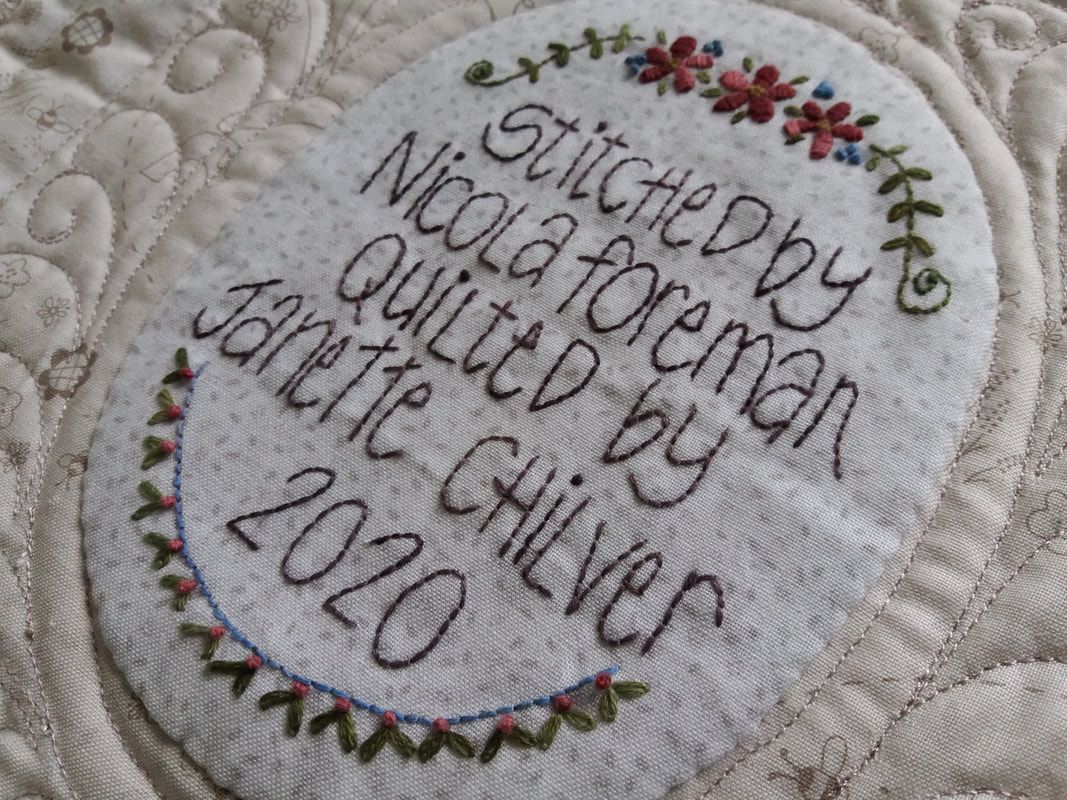
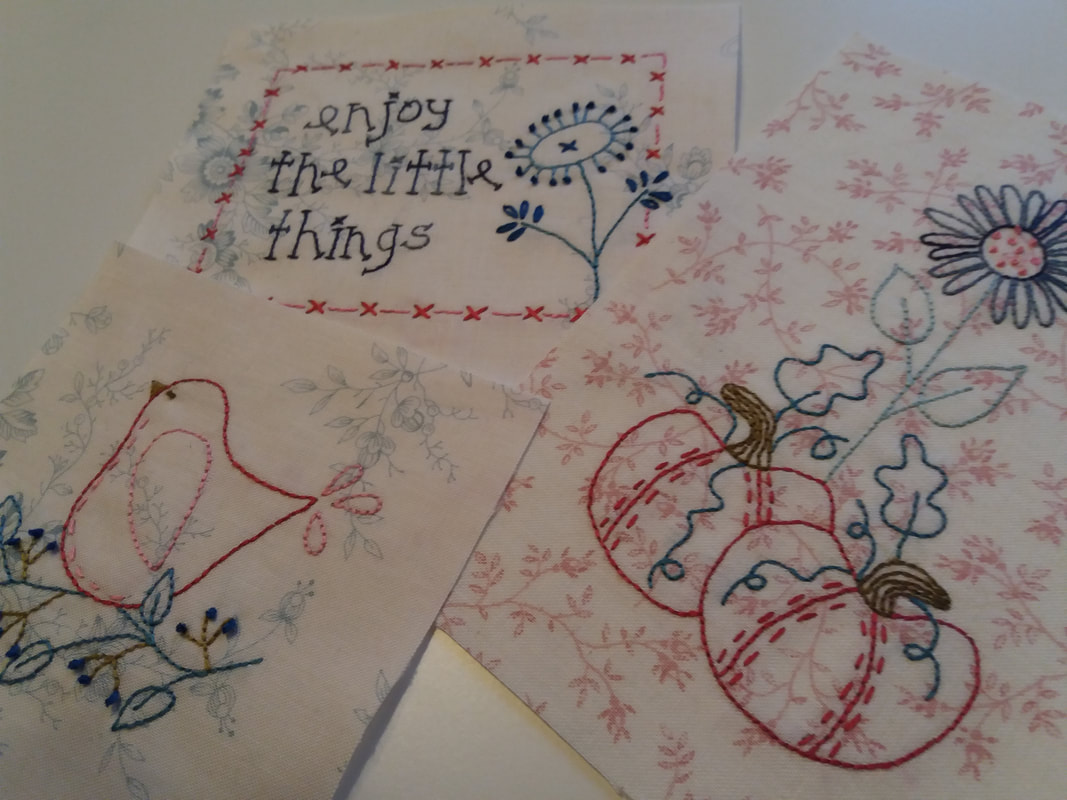
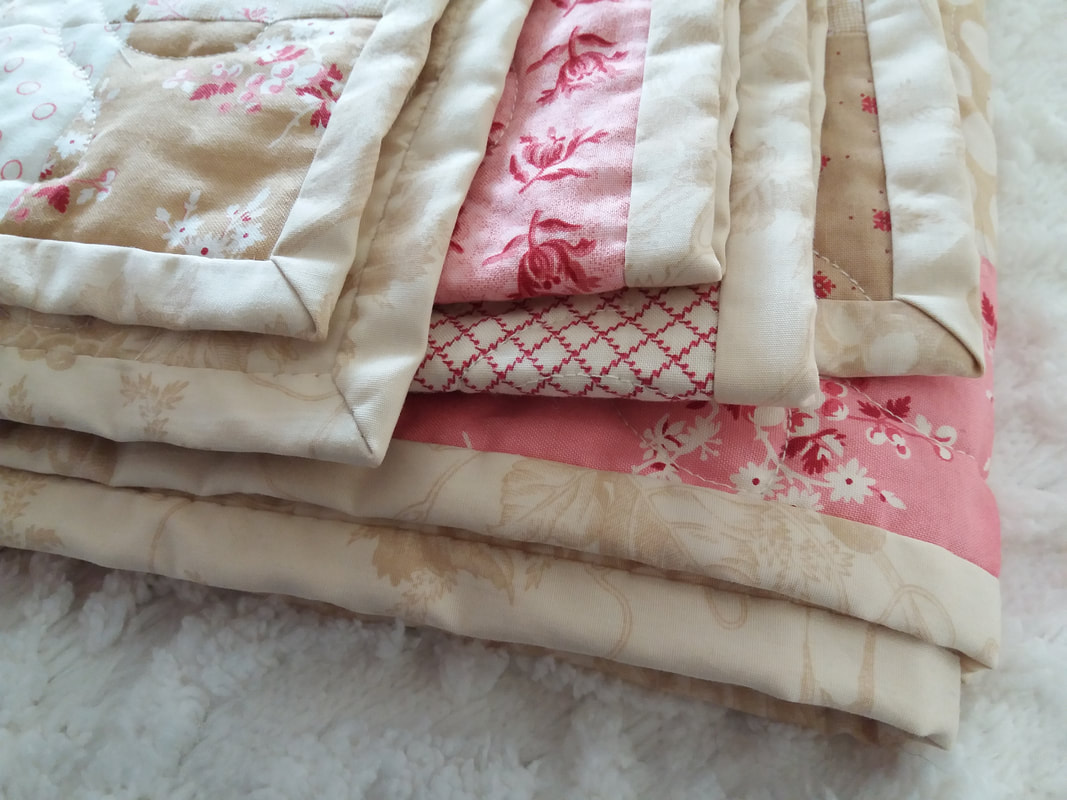
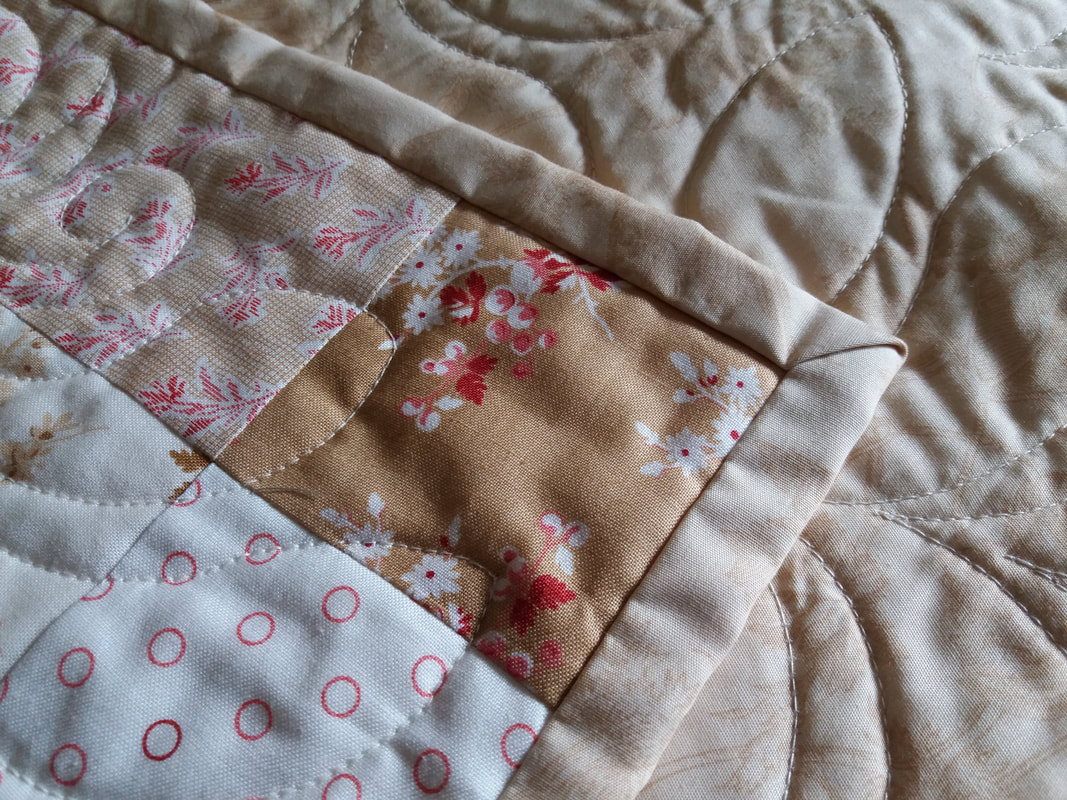
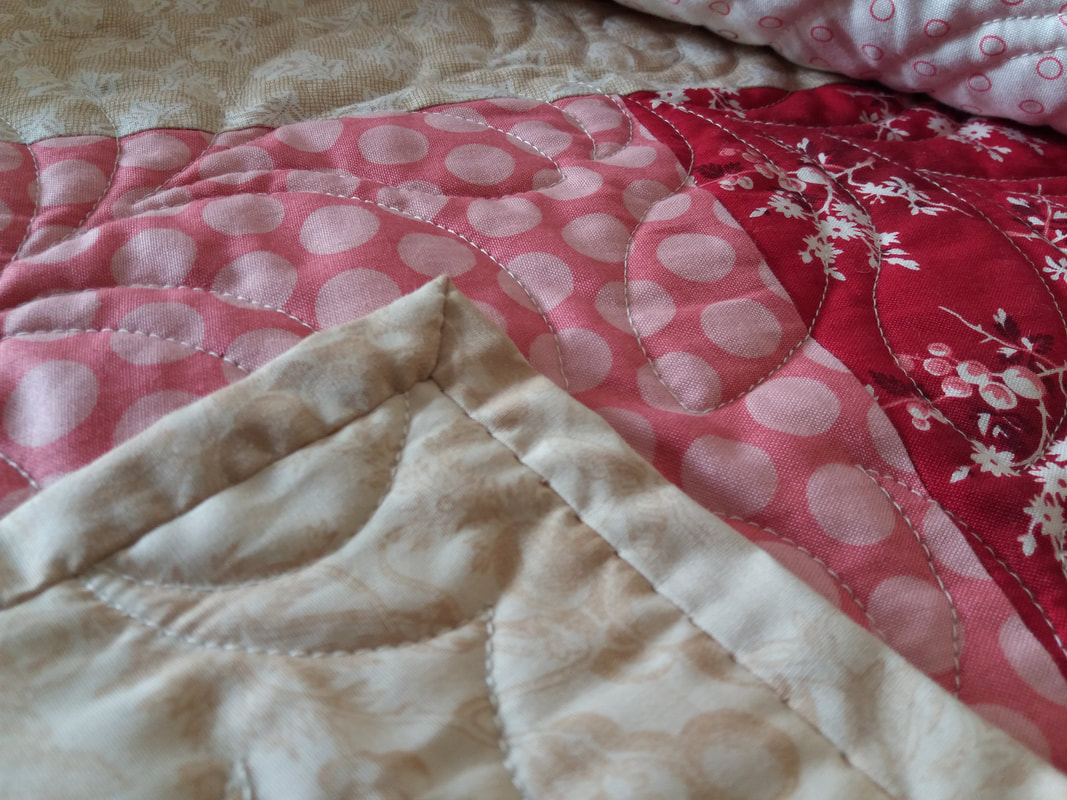
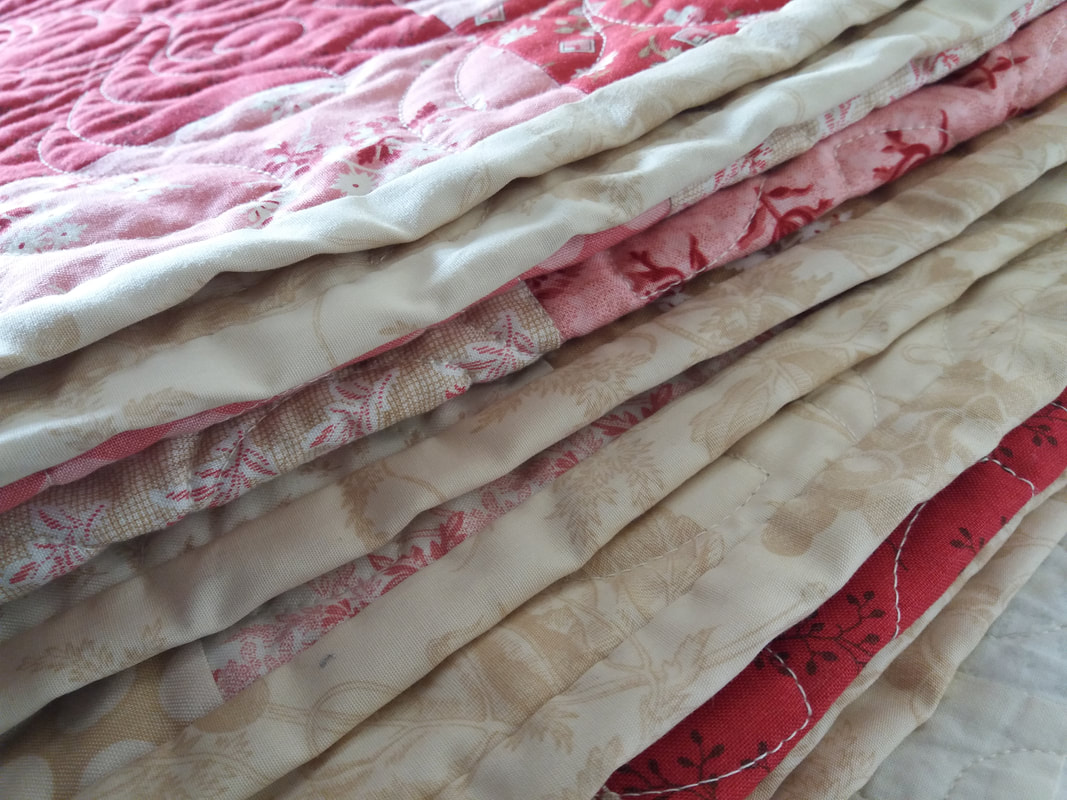
This pretty quilt is designed by Lynette Anderson Designs, and this was originally bought as a kit from Cross Patch in Wales. I'd hand embroidered the appliqued cameos using a selection of variegated Valdani embroidery threads, and pieced it together back in April. It has been with the longarm quilter J-Quilts for several months, where it was being freehand custom quilted and was finally returned last week. A couple of days ago I shared a picture of the hand embroidered label I'd made for the back, and this quilt is now on display in my sewing studio.
0 Comments
Excellent customer service as always from Cross Patch. These two fabrics are my absolute favourites from the Super Bloom collection (by Edyta Sitar for Laundry Basket Quilts) and I'm going to use these for the border and binding of my version of the Wish You Well quilt. They arrived in the post promptly, and although I have no idea when I'm actually going to get it quilted (I'm deliberating over hand quilting this one) at least I'll have the fabrics all ready!
The final flourish to making my hand embroidered and hand appliqued quilts is adding a special label. This one is for Green Thumb, a small quilt designed by Lynette Anderson that was completed back in April. While it was with the longarm quilter for several months, I had plenty of time to doodle some ideas for the label. Usually, I try to incorporate the theme from the front of the quilt into the label, and this one was no exception. A simple oval shape was chosen for the label, miroring the oval stichery blocks from the front. Using the flowers from one of the blocks as inspiration, I've sketched a simple floral design, with text in the middle. This is all drawn freehand, but you can easily use a font from your compter if you don;t have a steady hand or neat hand writing! When I'm happy with my design, I draw over the pencil lines with a very fine sharpie pen to complete my template. This can then be easily traced onto a piece of background fabric, using a light pad and a very fine nibbed Micron Pigma pen - my favourite one is the 005 nib... ...personally, I prefer to tape my stitchery designdirectly to the light pad then tape the fabric in place so it dosen't slide around while I'm tracing it. If you use a Micron Pigma pen, please remember the ink is permanent so you do need a very steady hand. Once the design is traced onto the background fabric, a small piece of lightweight interfacing is fused to the back of the fabric. The traced lines are then hand embroidered, and for this one I have chosen a selection of variegated Valdai threads in colours that were used for the embroidery on the front of the quilt. You can really make your labels as fancy as you like, and some of mine just have a few words, such as "stitched by Nicola Foreman" while others are much more decorative... ...once the label has been embroidered, it has a final press on my wool pressing mat. Then the label is trimmed to the correct shape, the edges are turned over and it is hand appliqued into place on the back of the quilt, taking care not to let any stitches show through to the front of the quilt. I'm sure there are lots of computer programmes that you can use for designing and printing quilt labels, but I much prefer to do mine by hand - and that's what makes me happy. And yes, I know the label won't be seen while it's on display, but it's there incase anyone wants to take a peek! A narrow quilt sleeve has already been hand stitched along the top of the back of the quilt ready for hanging this pretty quilt on a pole in my sewing studio.
Some stitching therapy for when you're awake at silly o'clock. These are the stitchery designs for block 11 of the 2020 I Stitch Club by the Australian designer Gail Pan. The background fabrics are from the Super Bloom collection, and the stitchery designs have been hand embroidered using a selection of threads - DMC, Cosmo and Valdani - in colours to match the fabrics that are being used for the rest of the blocks, also from the Super Bloom collection. These mini-blocks have been pressed and trimmed to size and are now ready to be turned into block 11.
I'd been deliberating over which fabric to use for the binding of my latest quilt, a gorgeous Turning Twenty design that was collected from Daisy May Quilting last week. I'd already got a couple of fabrics from this Little Sweetheart collection that I'd originally planned on using for the binding, but eventually chose the left over backing fabric as it was so pretty. As the backing fabric was extra wide, this meant that longer strips were able to be cut for the binding, resulting in less joins, which is always a bonus... ...I prefer a wider binding on my larger quilts (this one is certainly larger as it's approx 86" square) and this has worked perfectly on this quilt. The binding was machine stitched to the front of the quilt, half an inch from the raw edges using the edge of the walking foot as a guide. So here are the nice neat mitred corners, which are really simple to do... ...then the folded edge was turned to the back of the quilt and hand stitched in place using ladder sttich and a matching 40wt Aurifil thread. The weekend was spent hand sewing the binding - all 344" of it. This is one of my favourite parts of quilt making, and find it's very relaxing.
|
About me...Hi - welcome to my quilting blog! My passions are my family, my dog, my friends and sewing, not necessarily in that order! Archives
July 2023
Blogs I followUK shopsThese are the UK shops that I use to purchase my quilting supplies - fabrics and threads etc.
Australian linksScandinavian links |