|
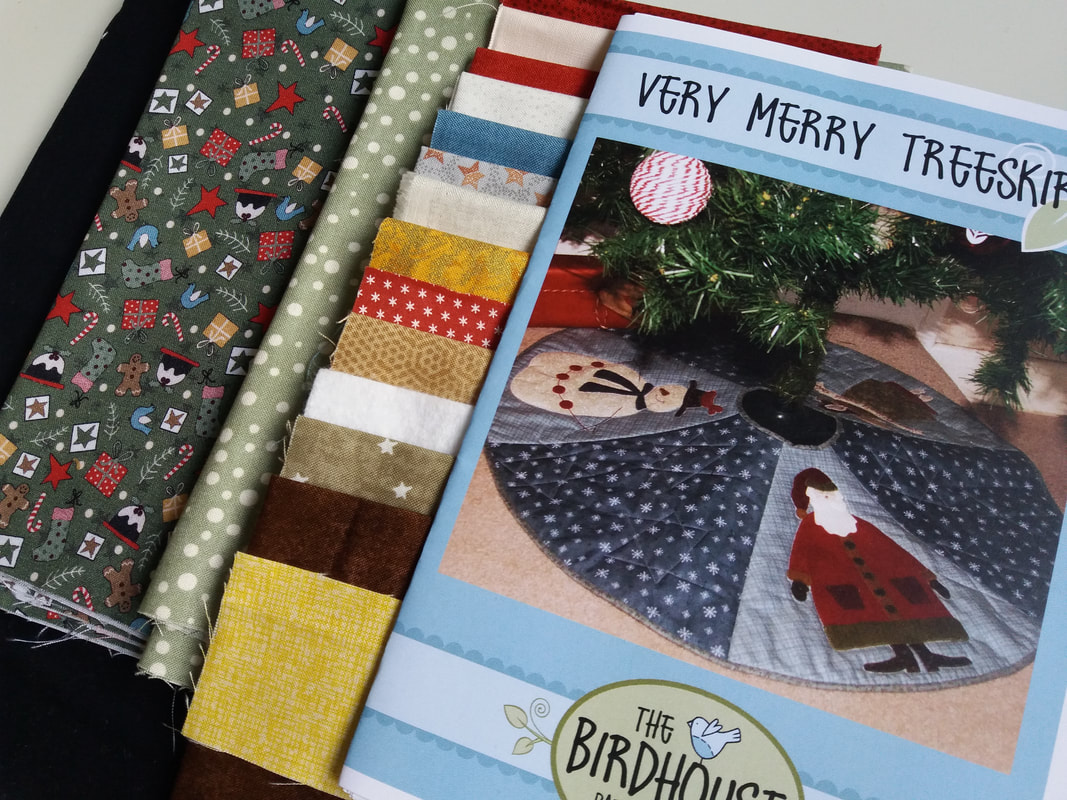
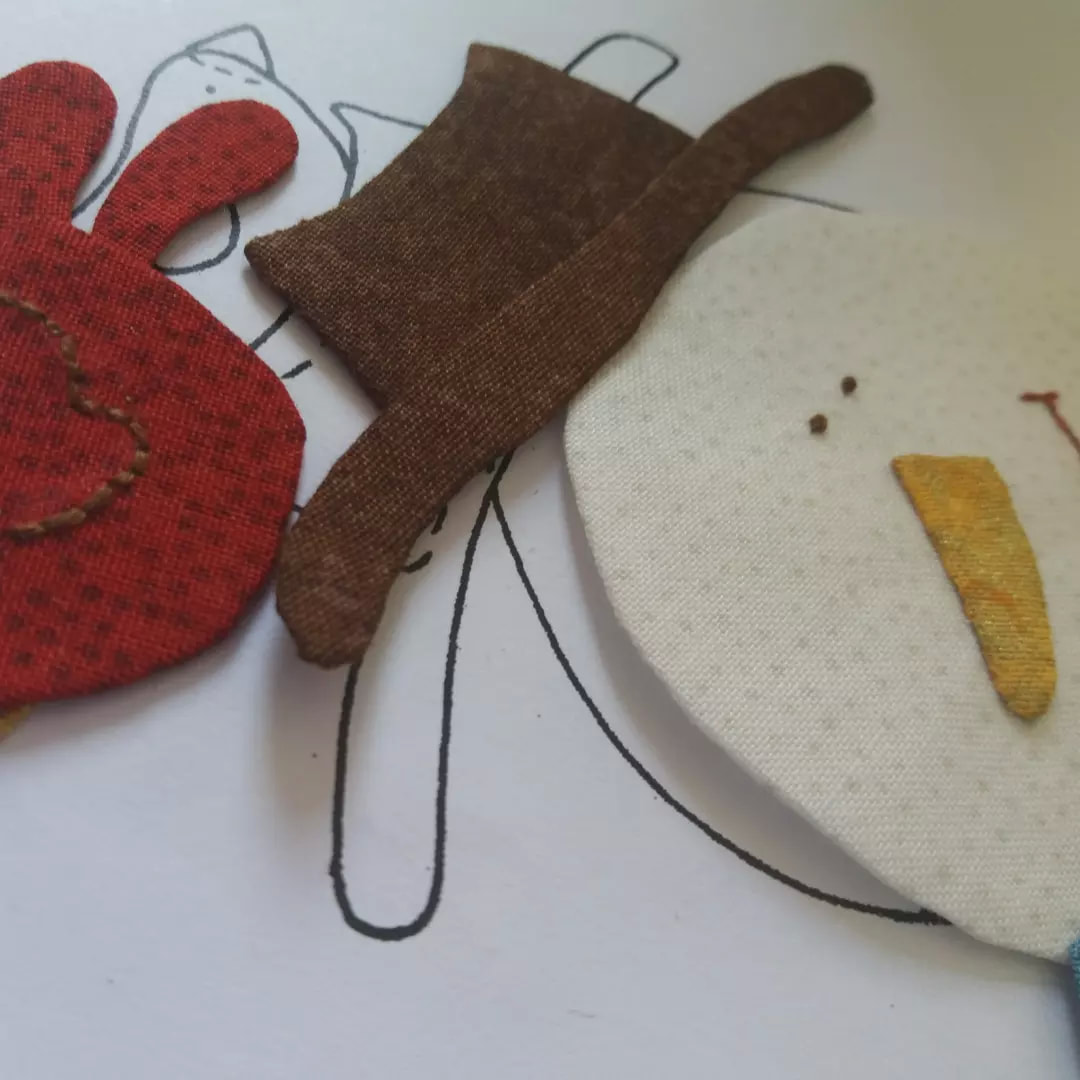
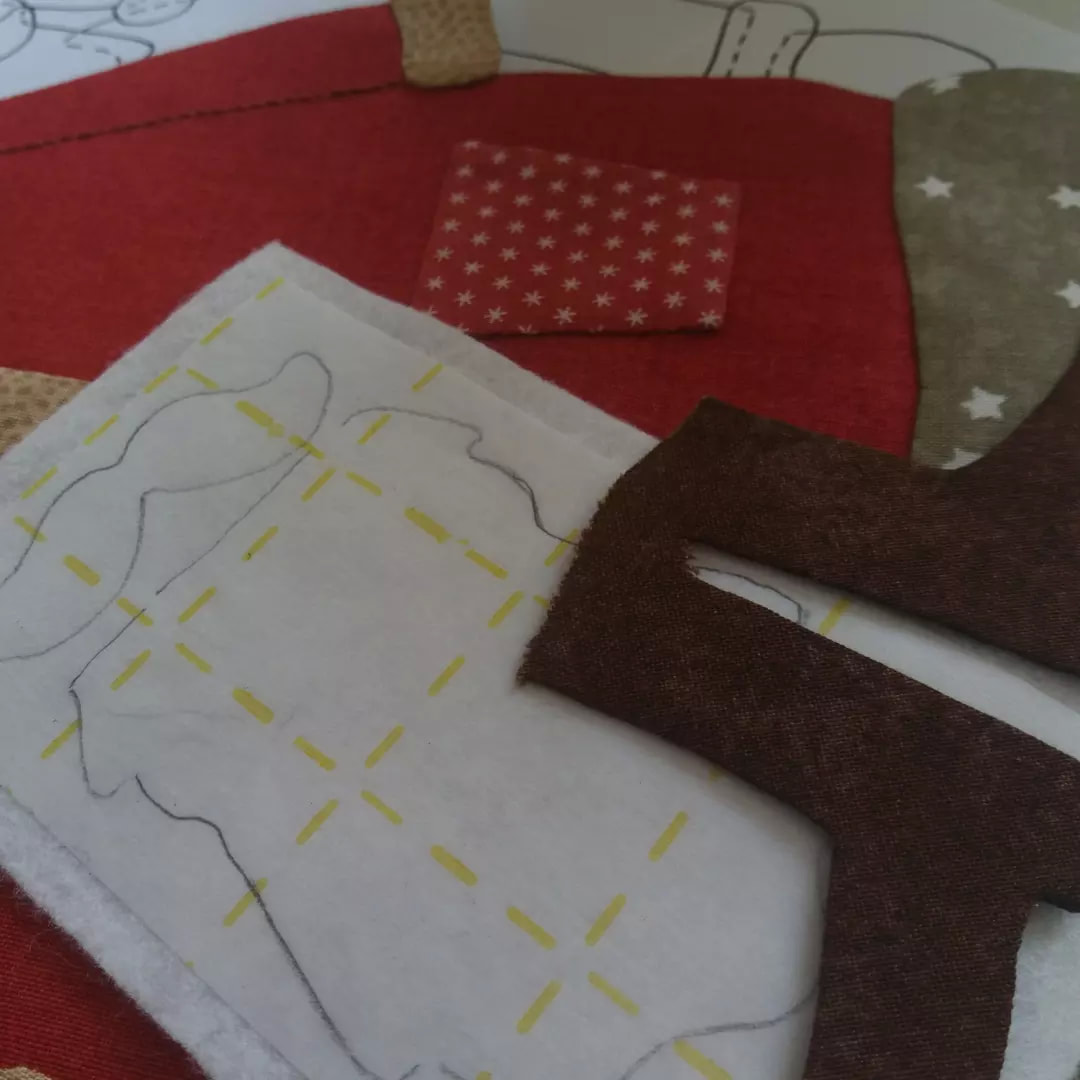
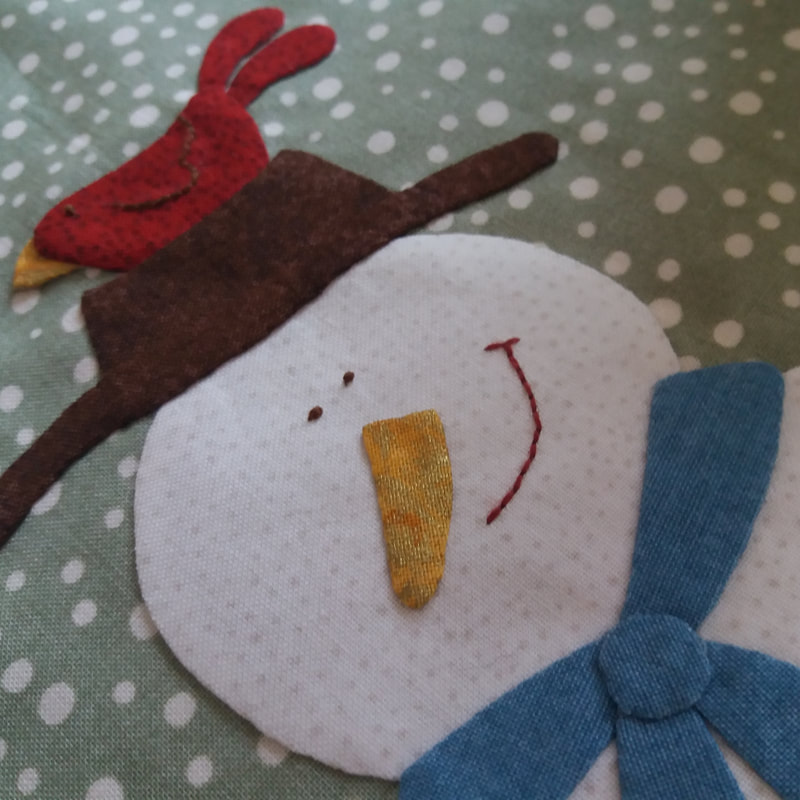
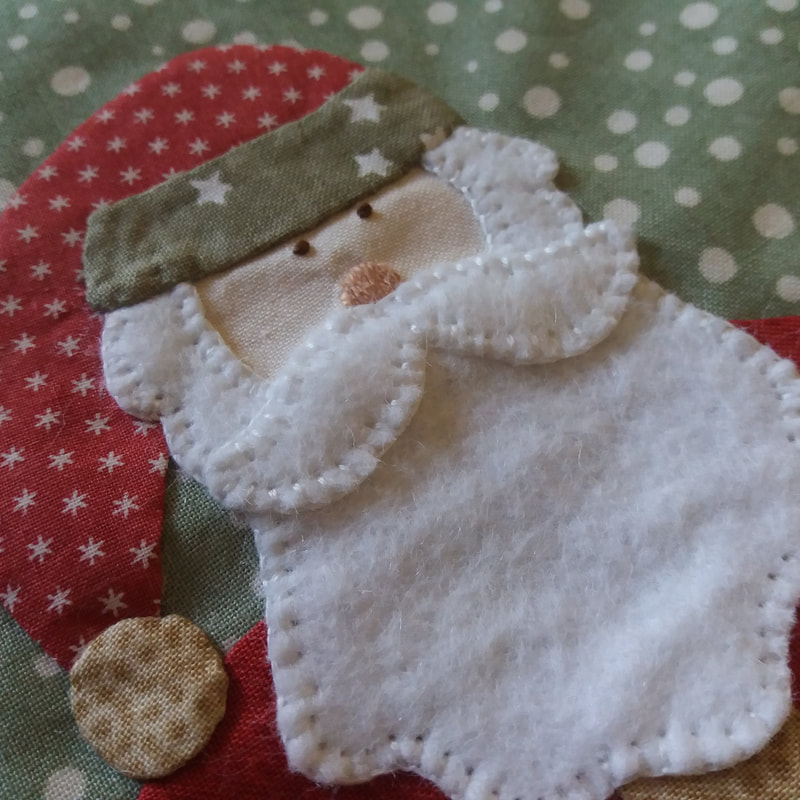
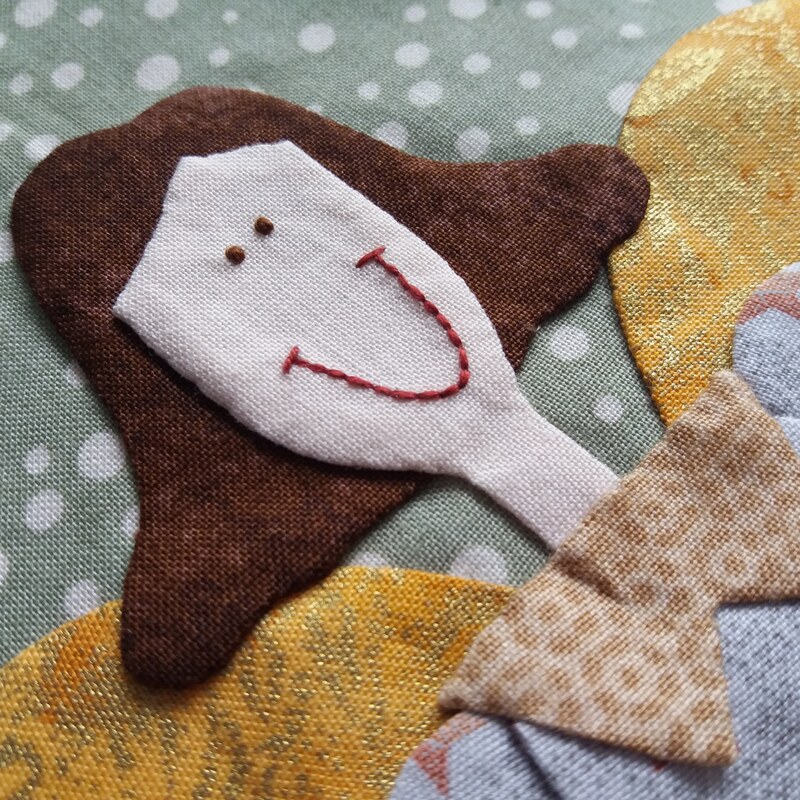
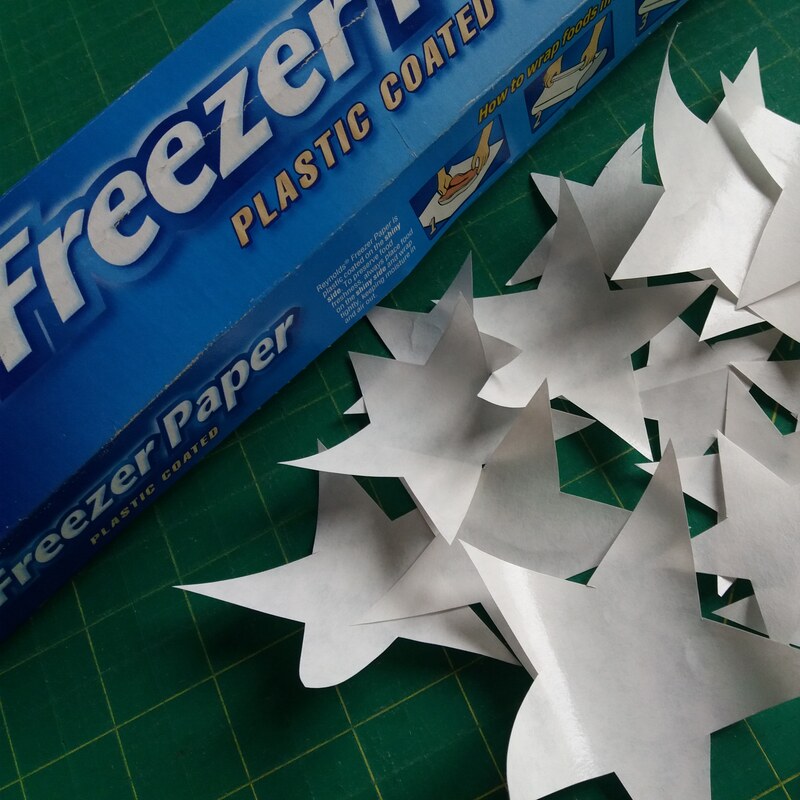
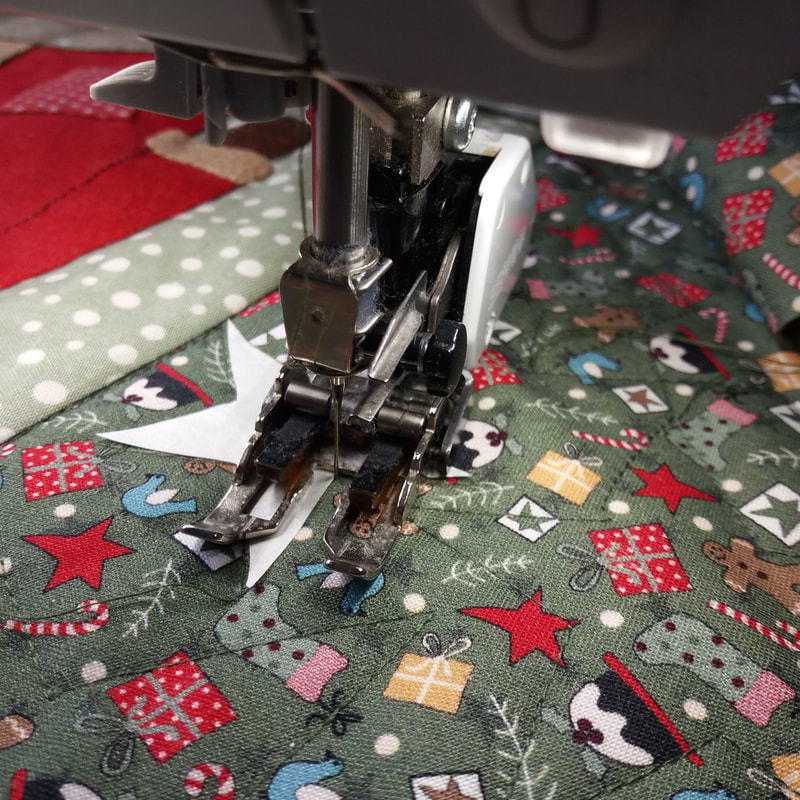
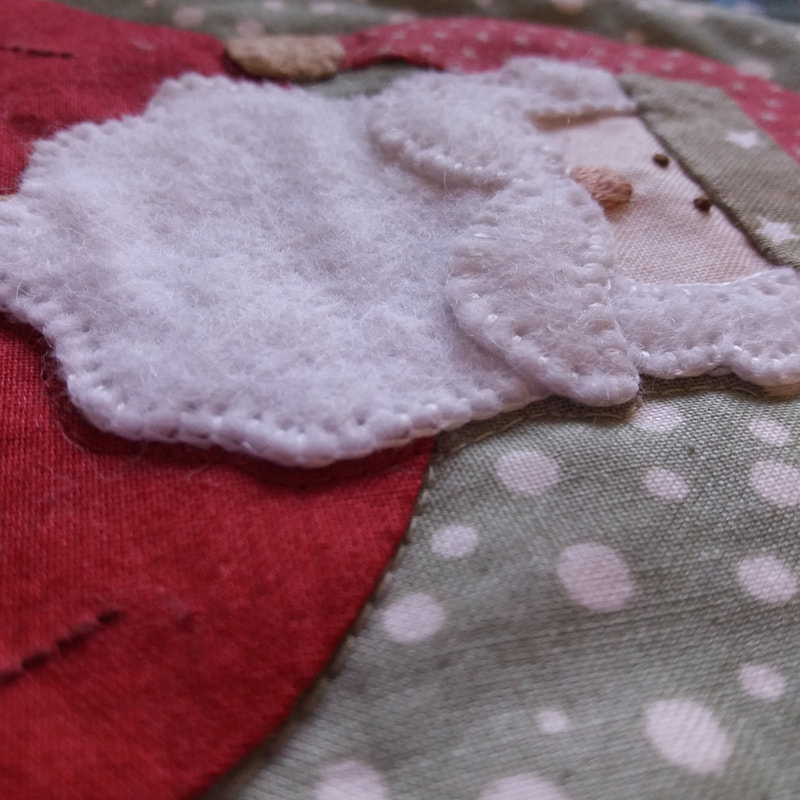
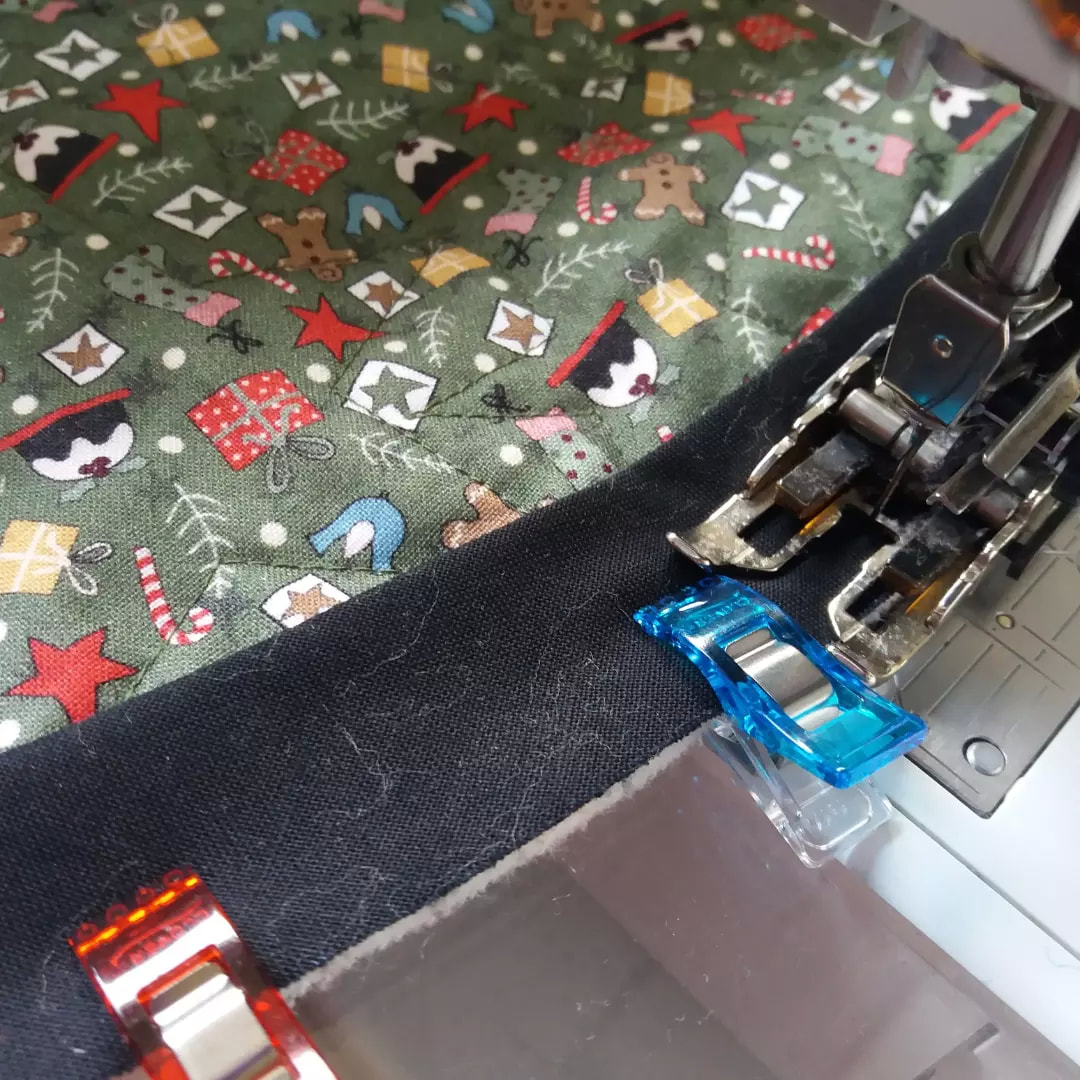
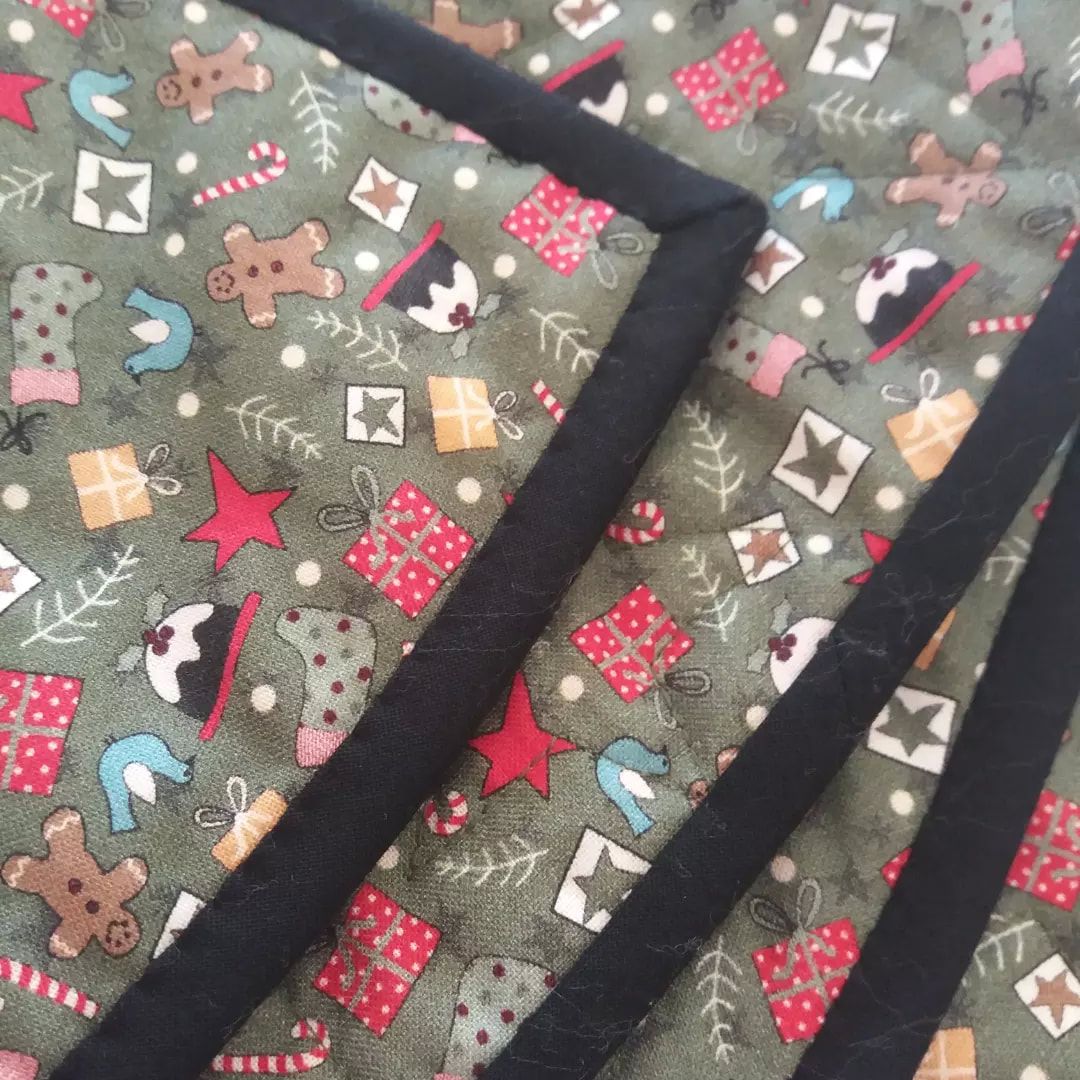
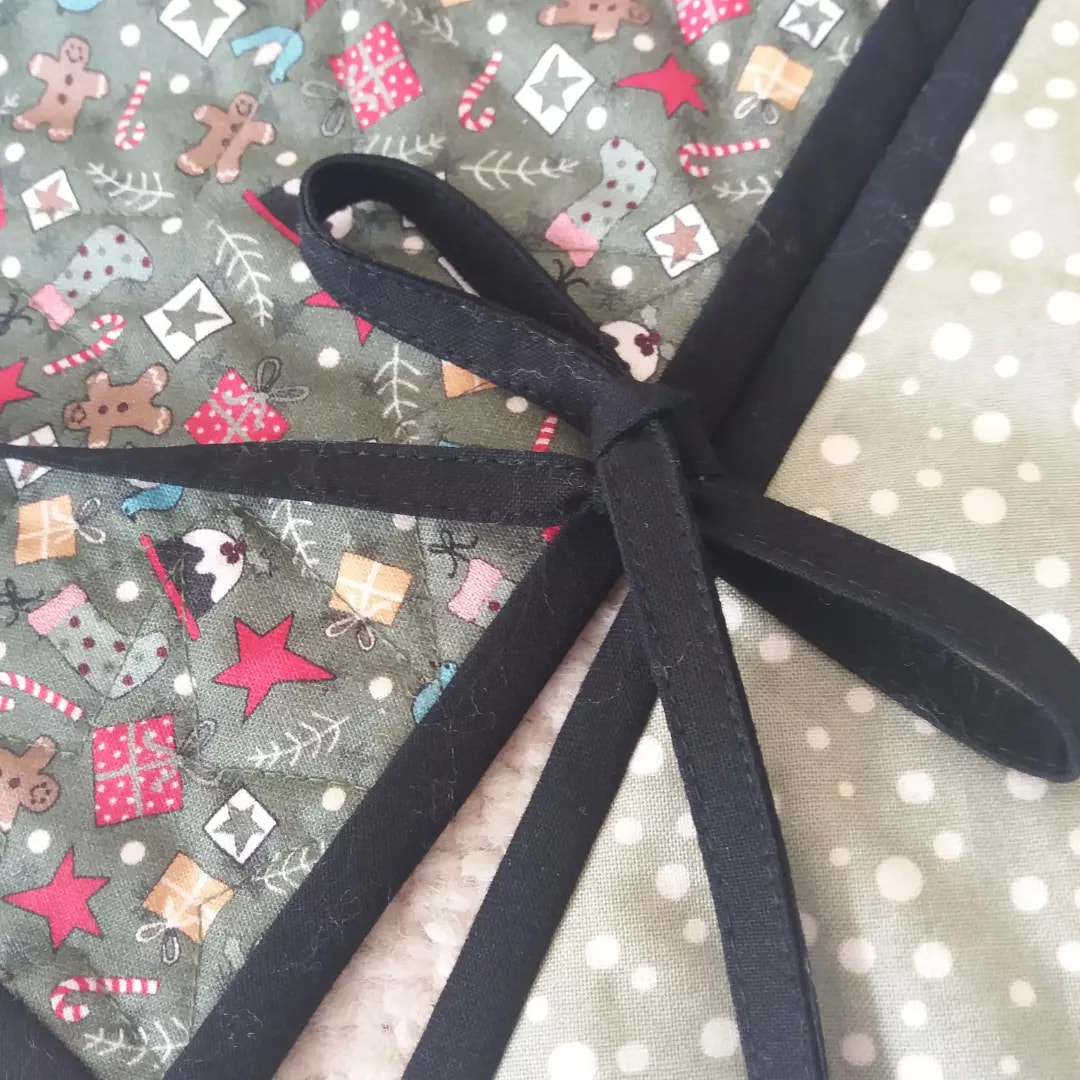
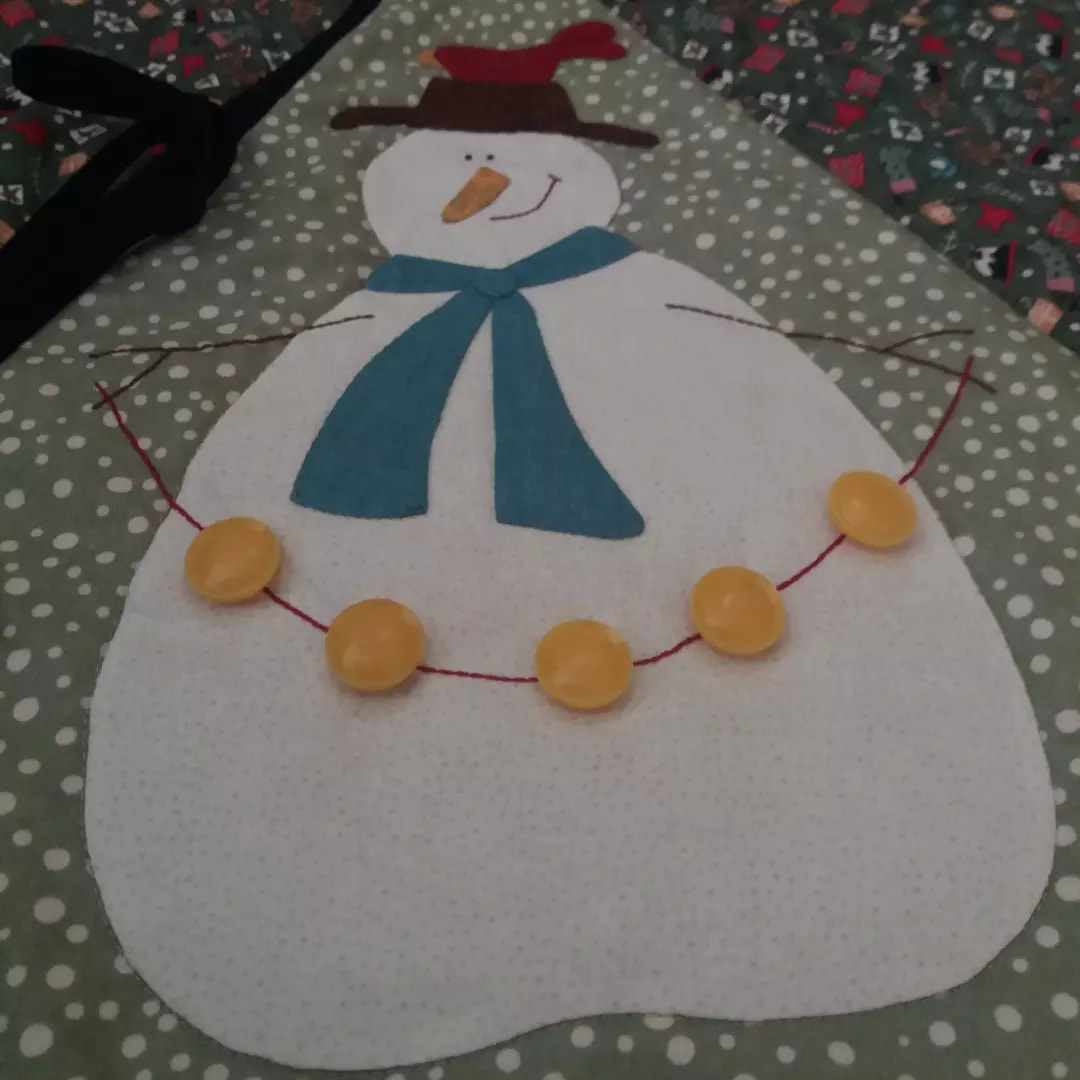
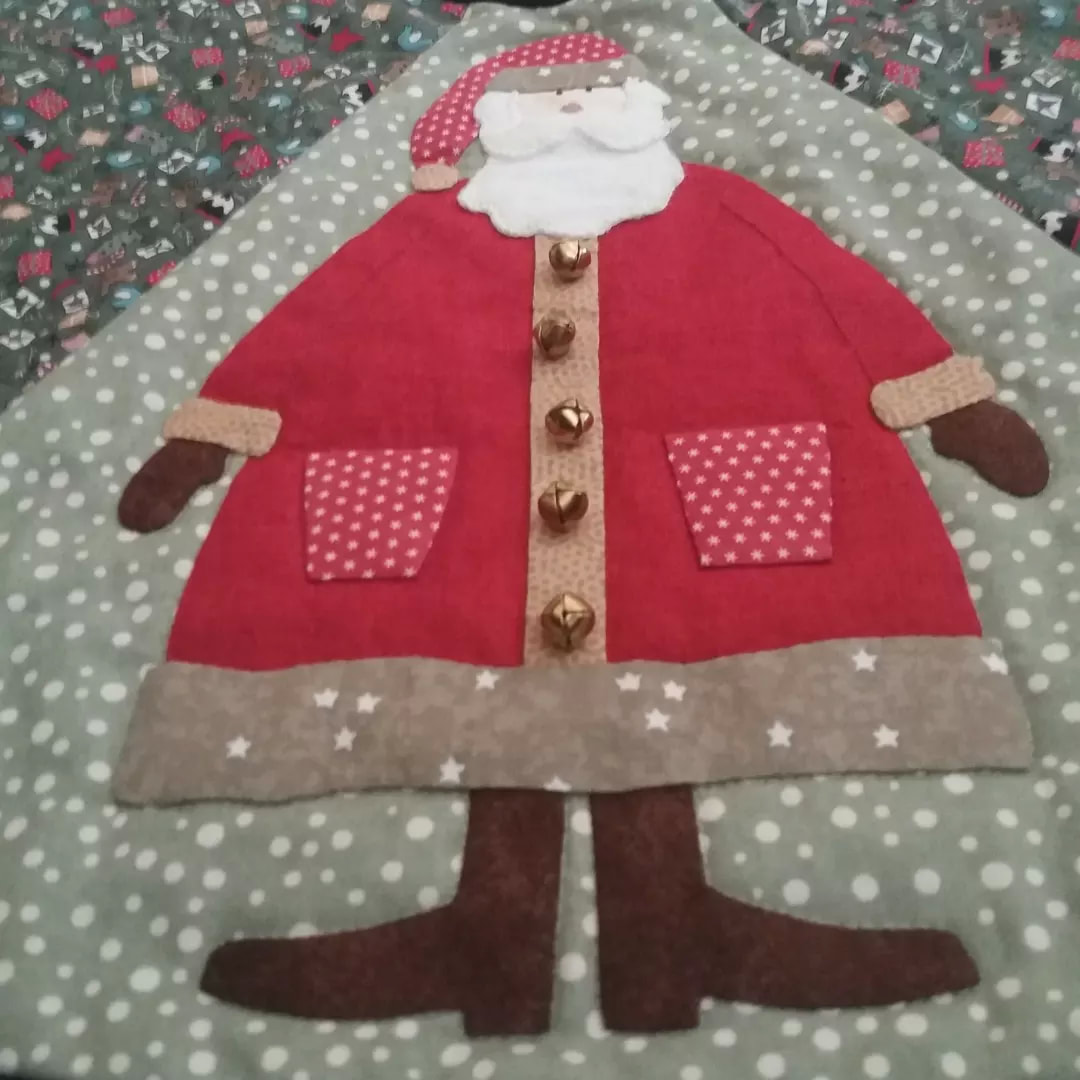
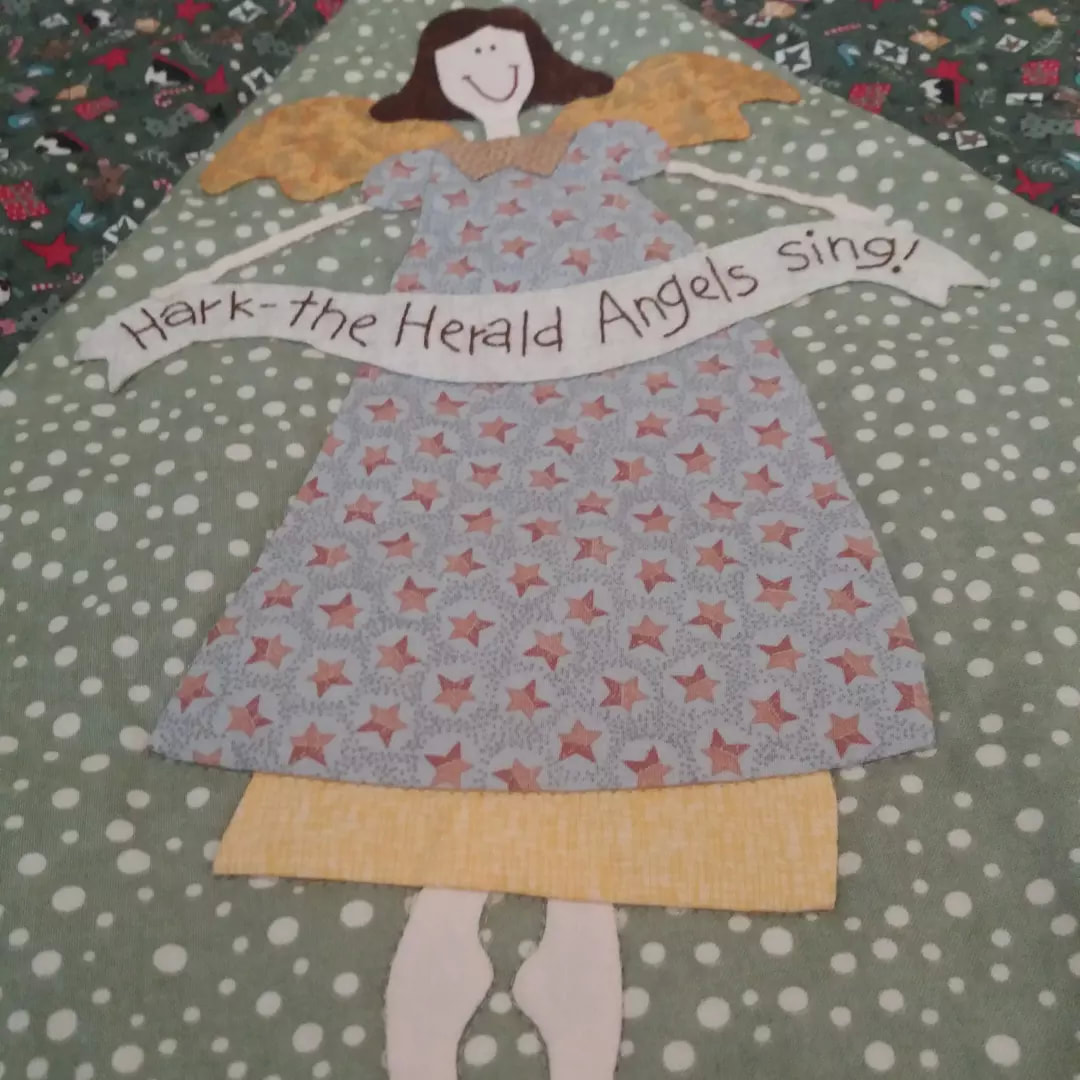
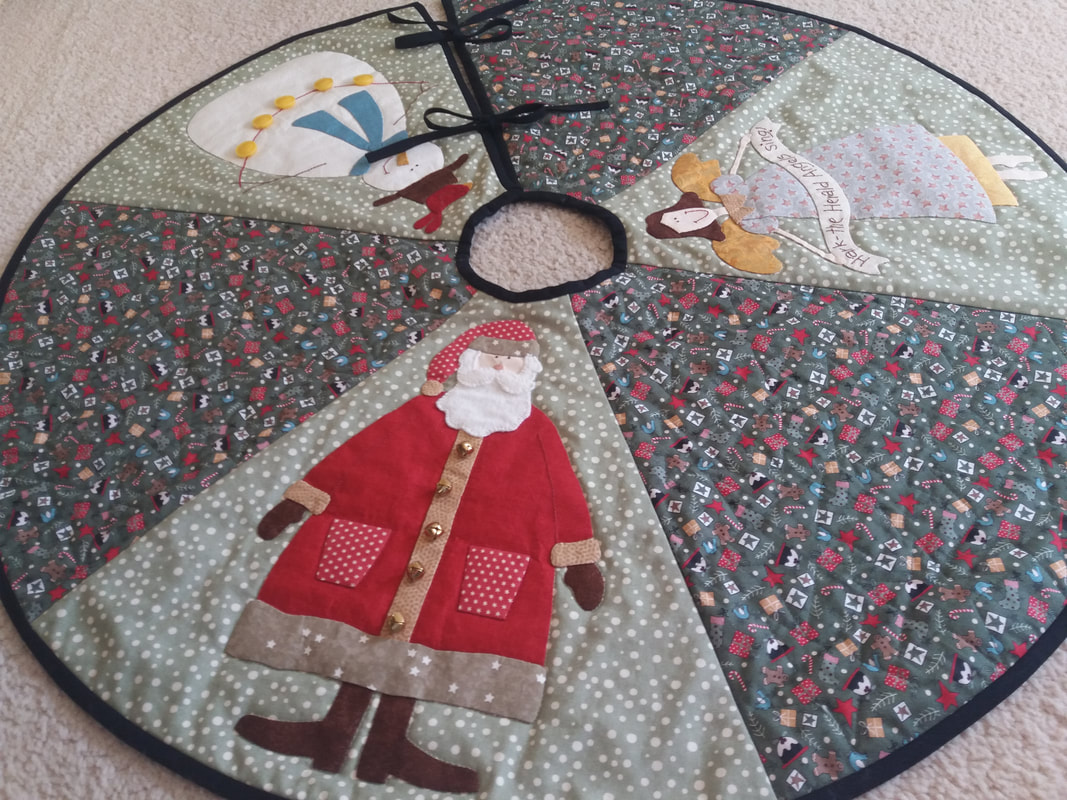
A few weeks ago, a super parcel arrived in the post from Poppy Patch - it's my next Poppy Patch Posse project, Very Merry Treeskirt, by Natale Bird of The Birdhouse Patchwork Designs. The kit includes all fabrics for the treeskirt, applique and binding. It also includes some wool felt for Santa's hair, beard and moustache. The pattern itself has good, clear instructions and full size traceable templates for the applique shapes and a full size template for the shape of the segments... ...the applique templates are all printed in reverse, which makes tracing them much easier. The instructions also include "right-way" traceable faces for Mr Snowman, Santa and Angel, along with the text for the banner. The instructions in the pattern suggest using woolfelt for the applique, however the fabrics included in the kit are all cotton, except for the woolfelt for Santa. I've used the Apliquick method for this project, using applique paper and fabric glue... ...the applique pieces, once prepared, were all stitched in place by hand using a very fine thread - I've used Aurifil 80wt in a mid grey colour, along with a Clover Black Gold applique needle in size 10. Santa's beard, hair and moustache were prepared using Lite Steam-A-Seam 2 on the back of the woolfelt, and secured by hand with small blanket stitches using DMC thread. The faces were hand embroidered using DMC embroidery thread... ...once the applique shapes were all stiched in place, the segments were machine pieced together. The circular tree skirt was layered onto wadding with backing fabric underneath ready for quilting. I decided to quilt simple star shapes on the patterned segments. Using Reynolds freezer paper, I cut out some star shapes in an assortment of sizes, which were then pressed into place with a warm iron. Using a walking foot I machine quilted around the individual stars. I've used a 50wt Mettler thread in a colour to blend with the fabric, along with a Schmetz Microtex size 70 needle. The freezer teplates can be peeled off and replaced on the next segment ready for quilting. The remaining segments were machine quilted around the applique shapes... ...after the machine quilting was completed, it was time to make some bias binding to stitch all around the treeskirt and to make the ties that will hold the skirt together. The pattern includes illustrated instructions for making continuous bias binding. The continuous binding is folded in half along the length, raw edges together, and machined all around, a quarter of an inch from the edge, with mitred corners. I used Clover Wonder clips for holding the binding in place while it was being machined into position. The binding is then folded over to the wrong side, and hand stitched into place. The ties were machined into place before the binding was attached to the open sides. Once the treeskirt is in position, the opening can be tied with the strips in a smart bow... ...in the original pattern, the snowman's baubles and the buttons on Santa's jacket are appliqued, however I've used some vintage yellow buttons for the 2baubles" and some teeny tiny jingle bells to embellish Santa's coat... ..and here's the finished treeskirt, measuring approx 30" in diameter. This has been a super project to make, and it's going to look fabulous when it's tied around the base of my Christmas tree. As with other patterns designed by Natalie Bird, the instructions are clear and well written. Although I've made this in traditional colours, this would also look great in an alternative colourway, such as silver and blue, or bright batiks.
0 Comments
Leave a Reply. |
About me...Hi - welcome to my quilting blog! My passions are my family, my dog, my friends and sewing, not necessarily in that order! Archives
July 2023
Blogs I followUK shopsThese are the UK shops that I use to purchase my quilting supplies - fabrics and threads etc.
Australian linksScandinavian links |



 RSS Feed

