|
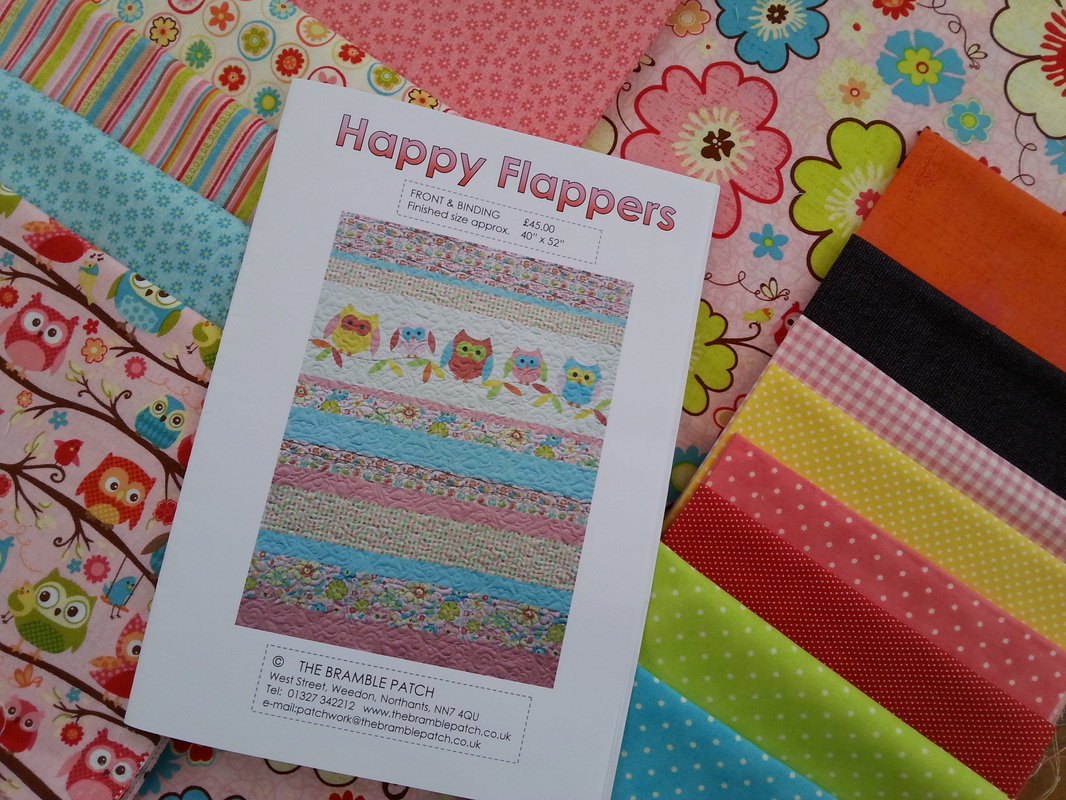
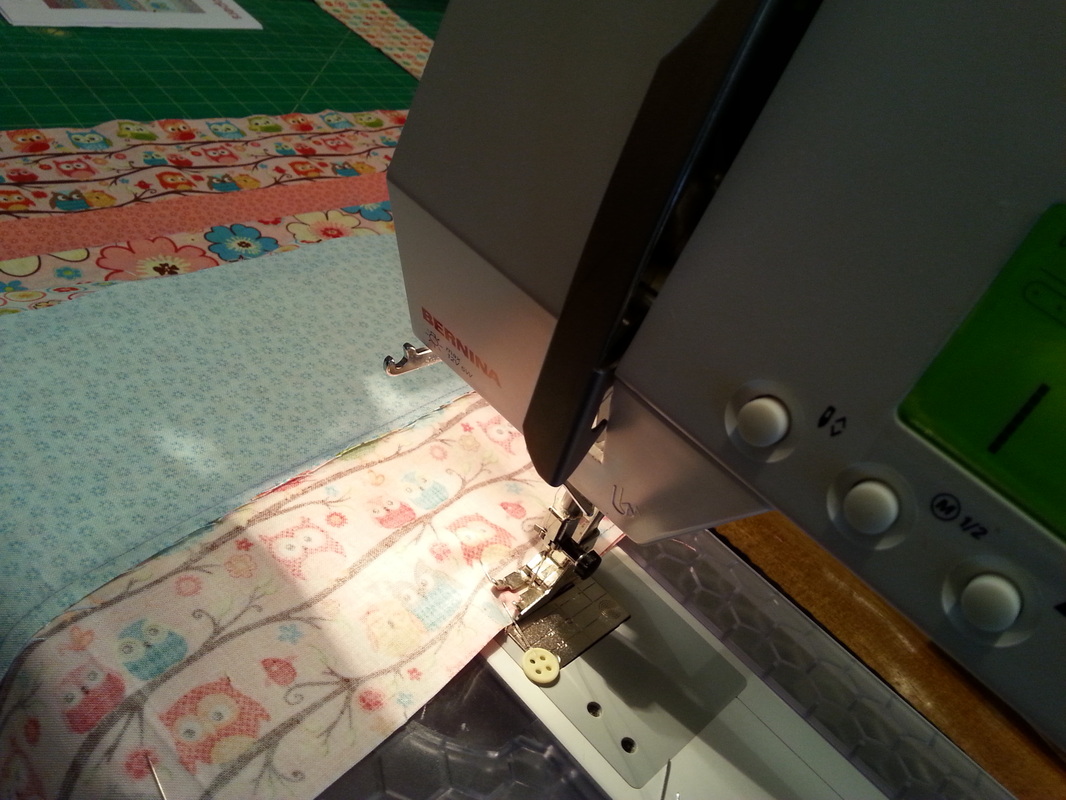
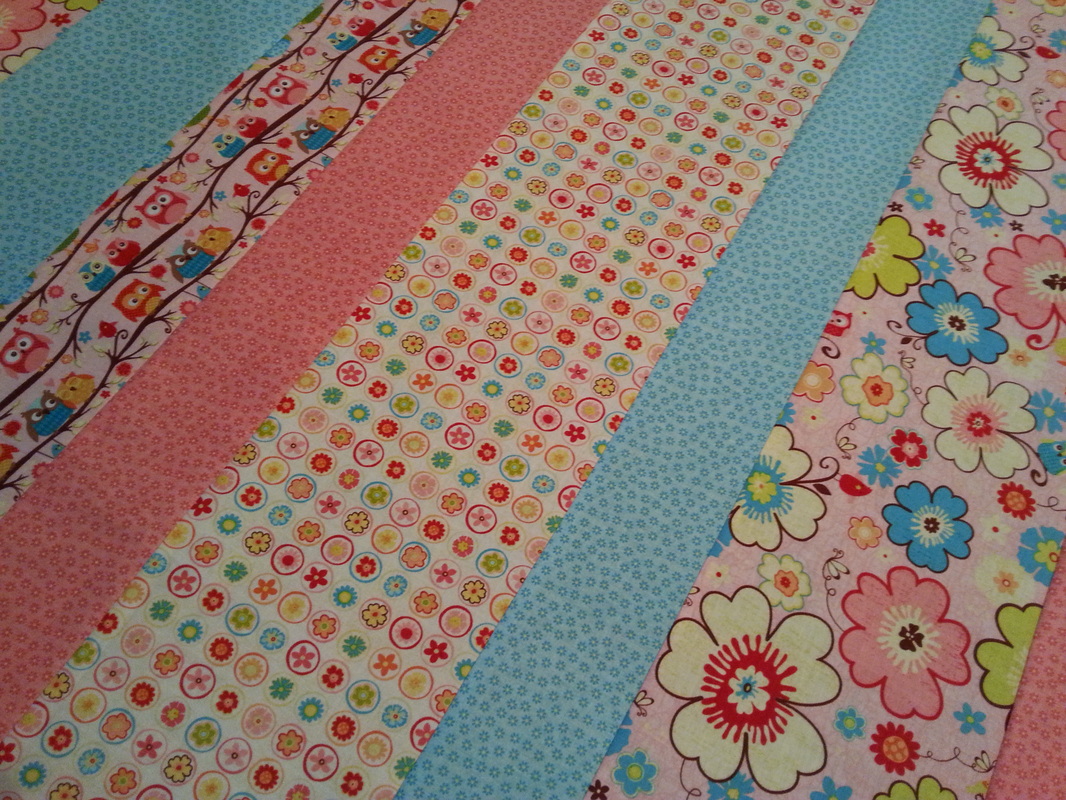
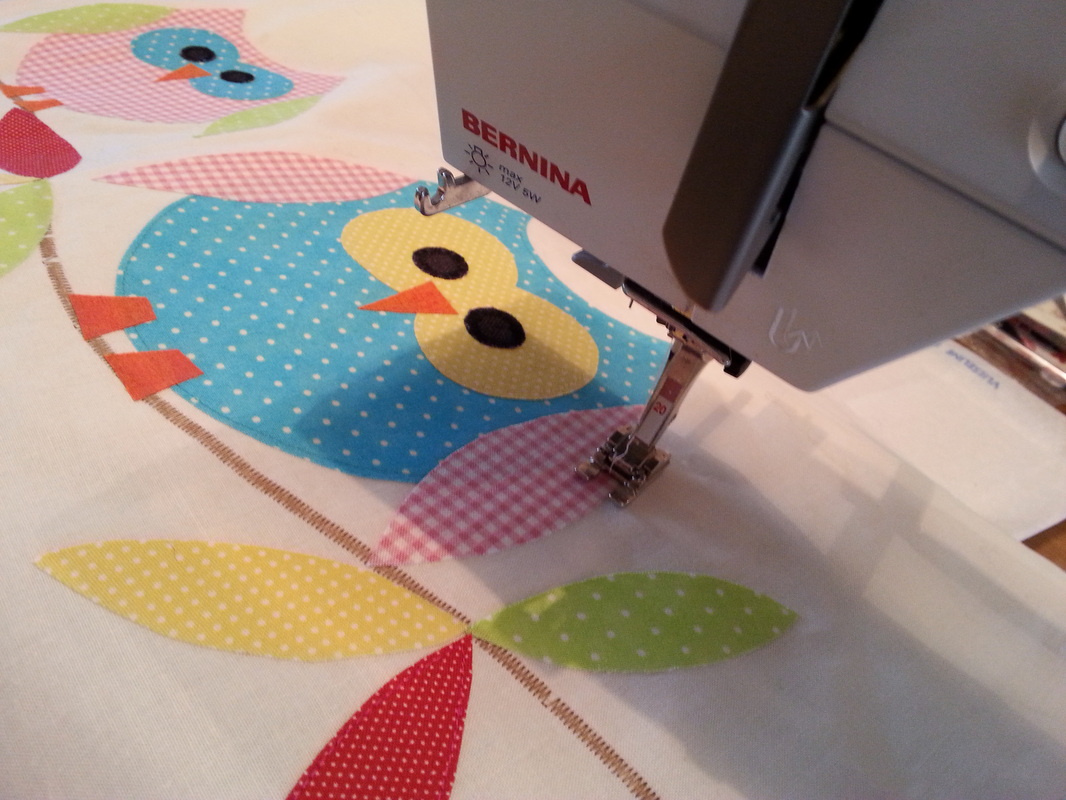
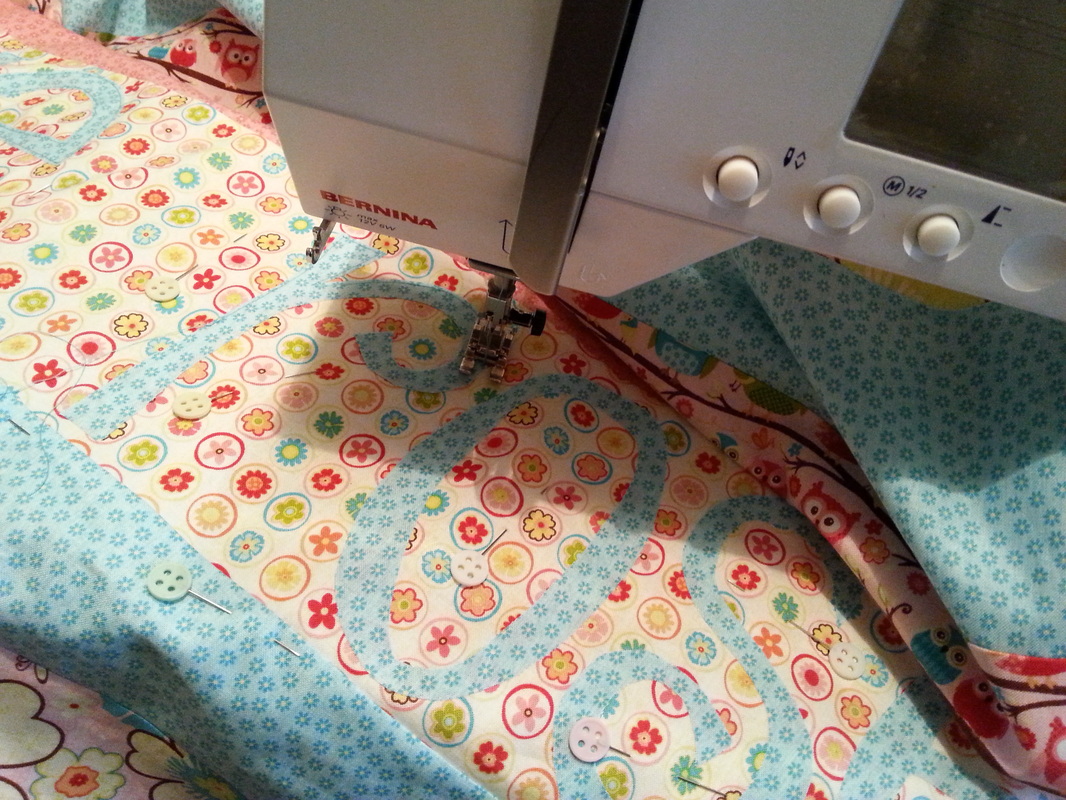
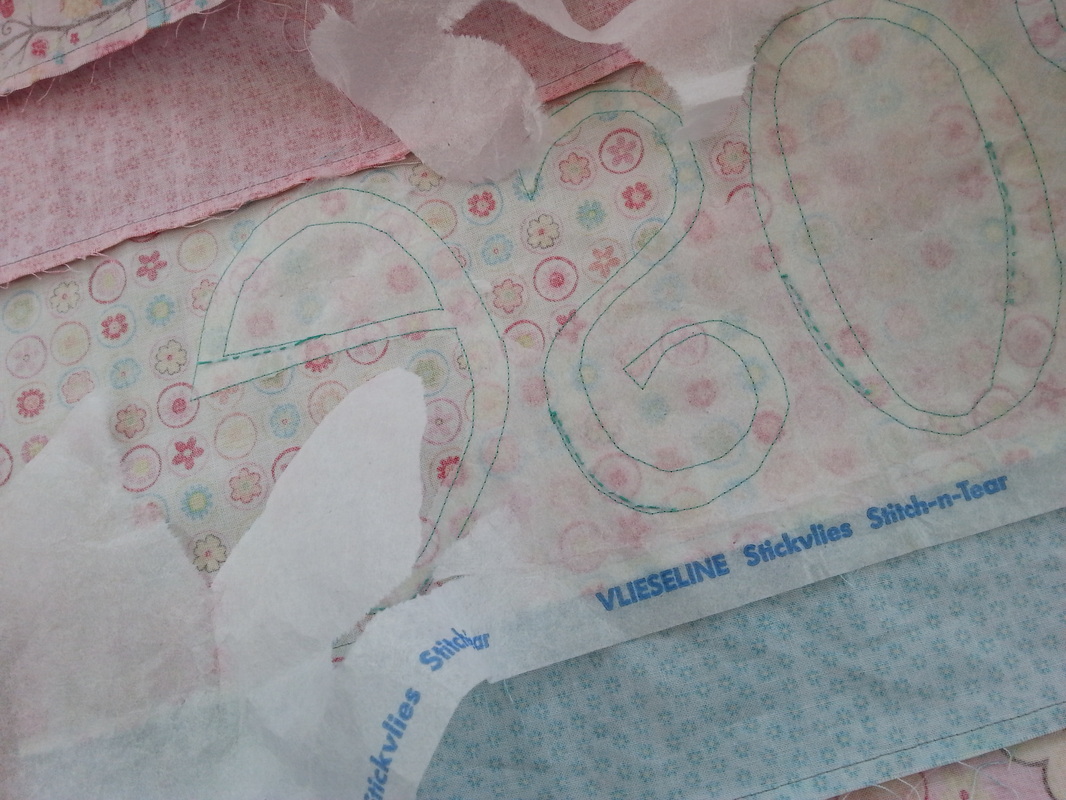
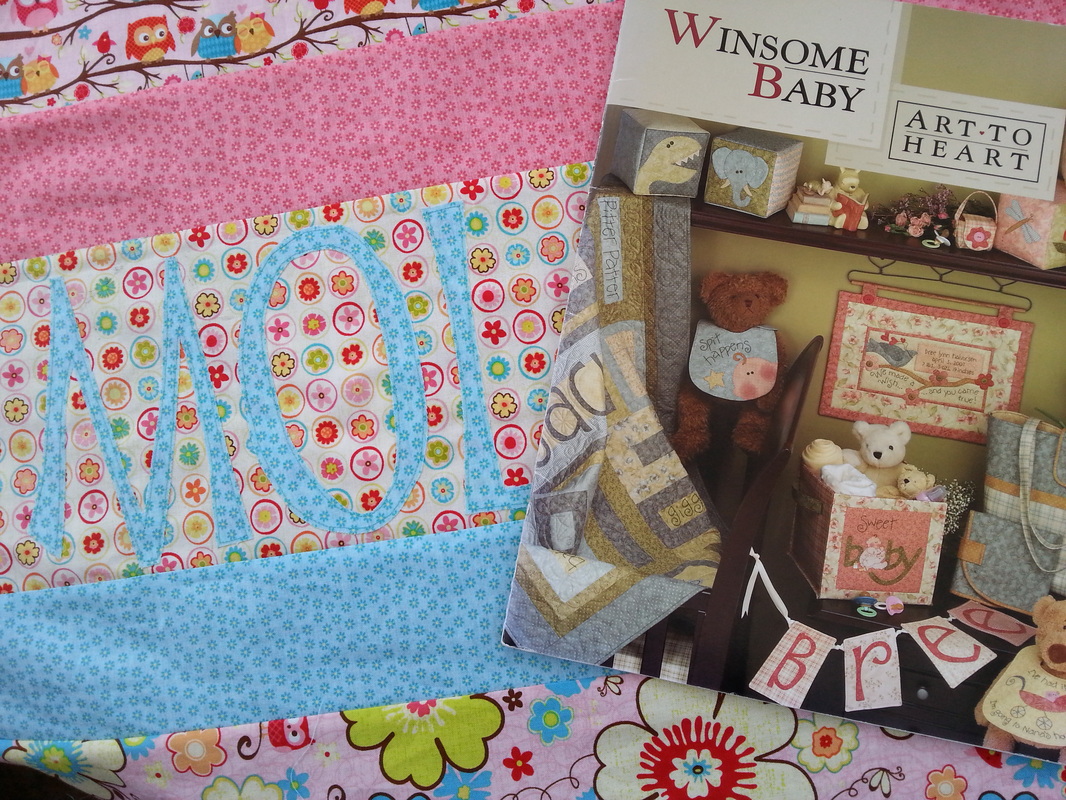
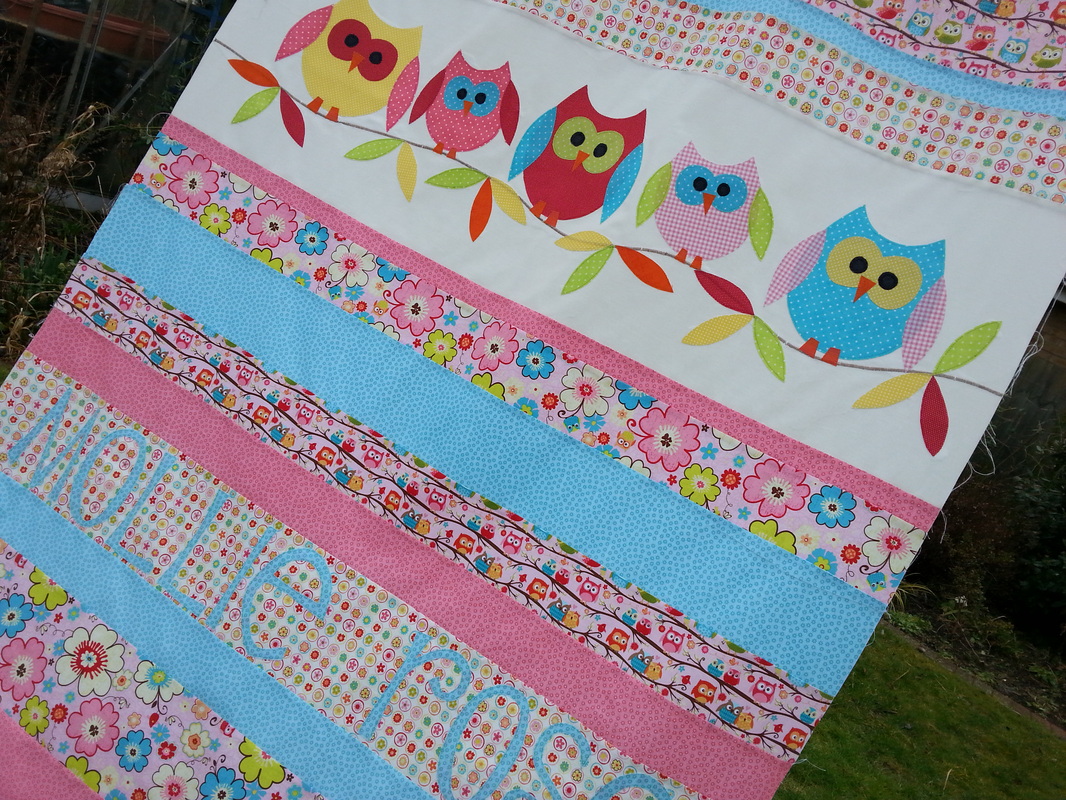
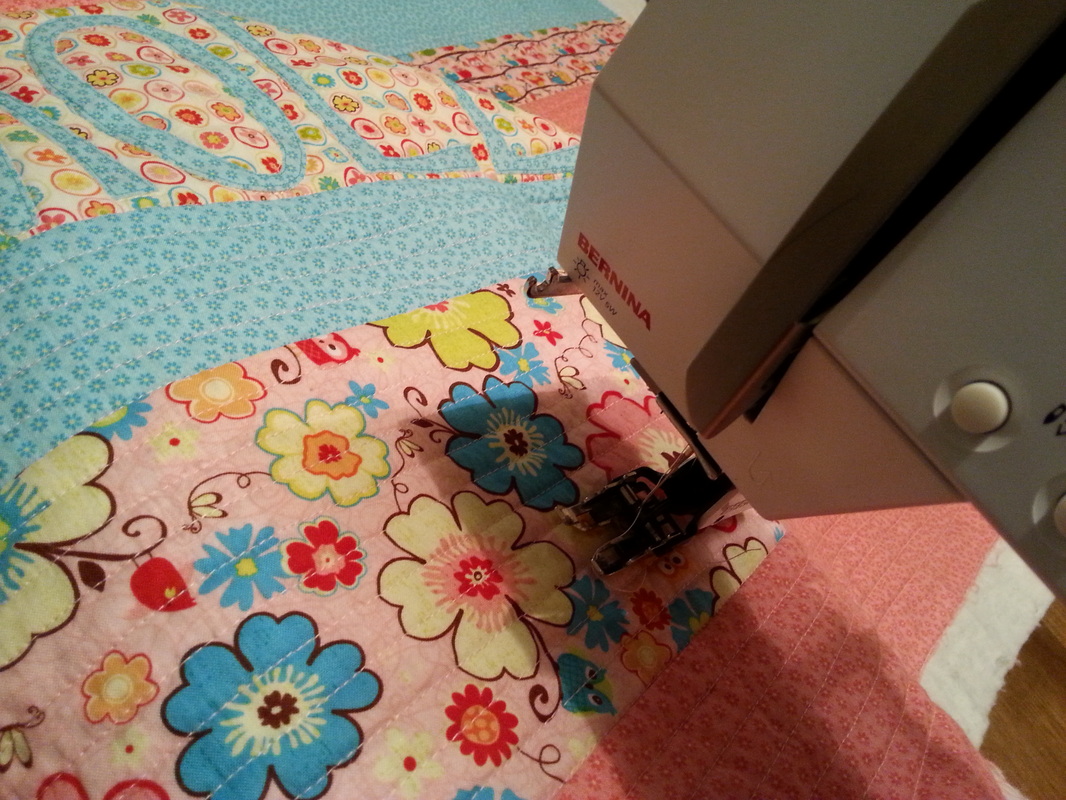
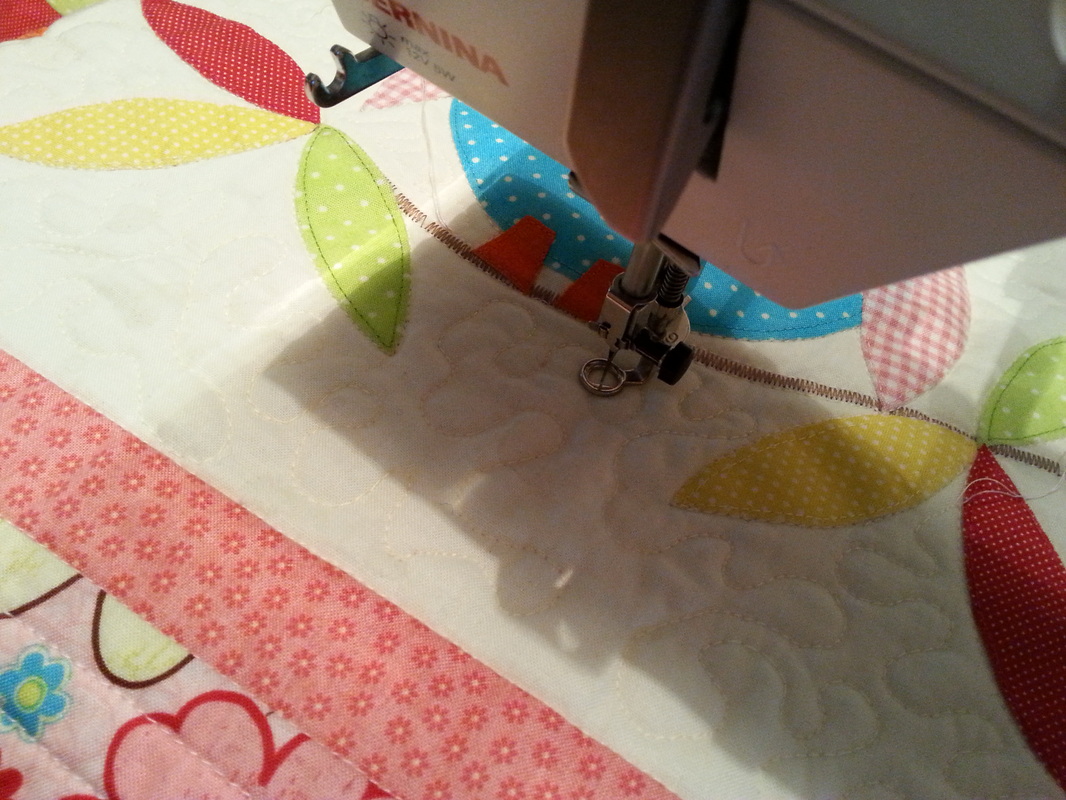
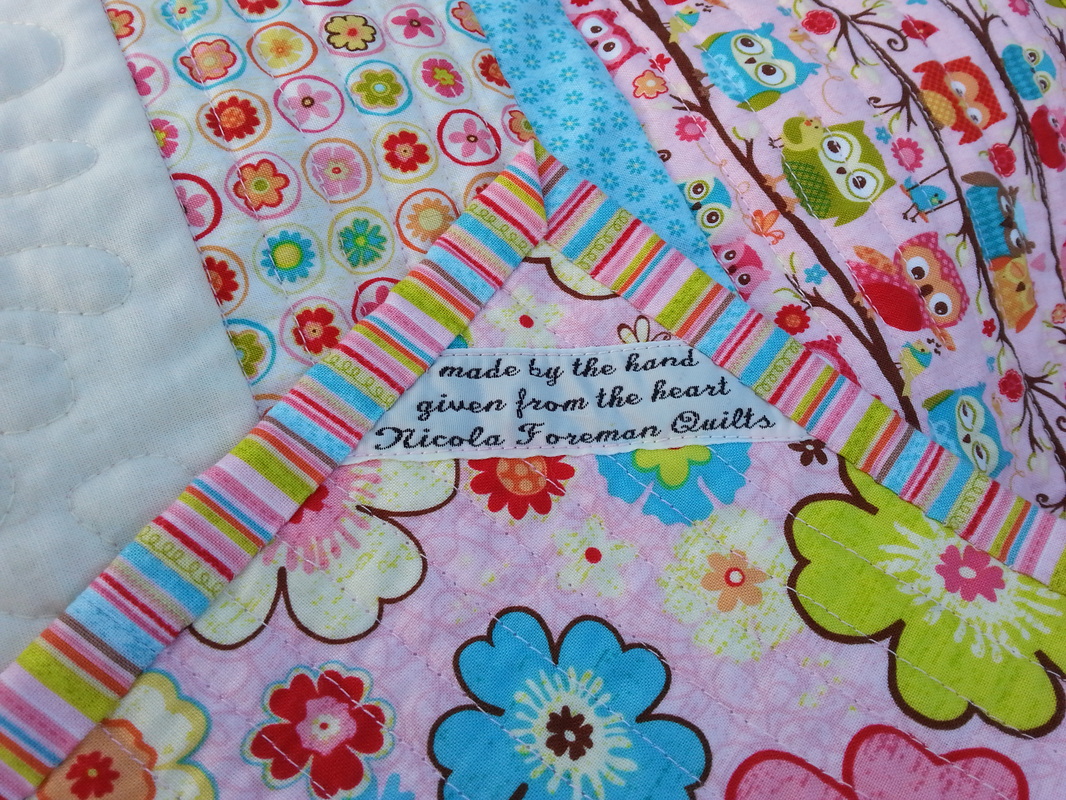
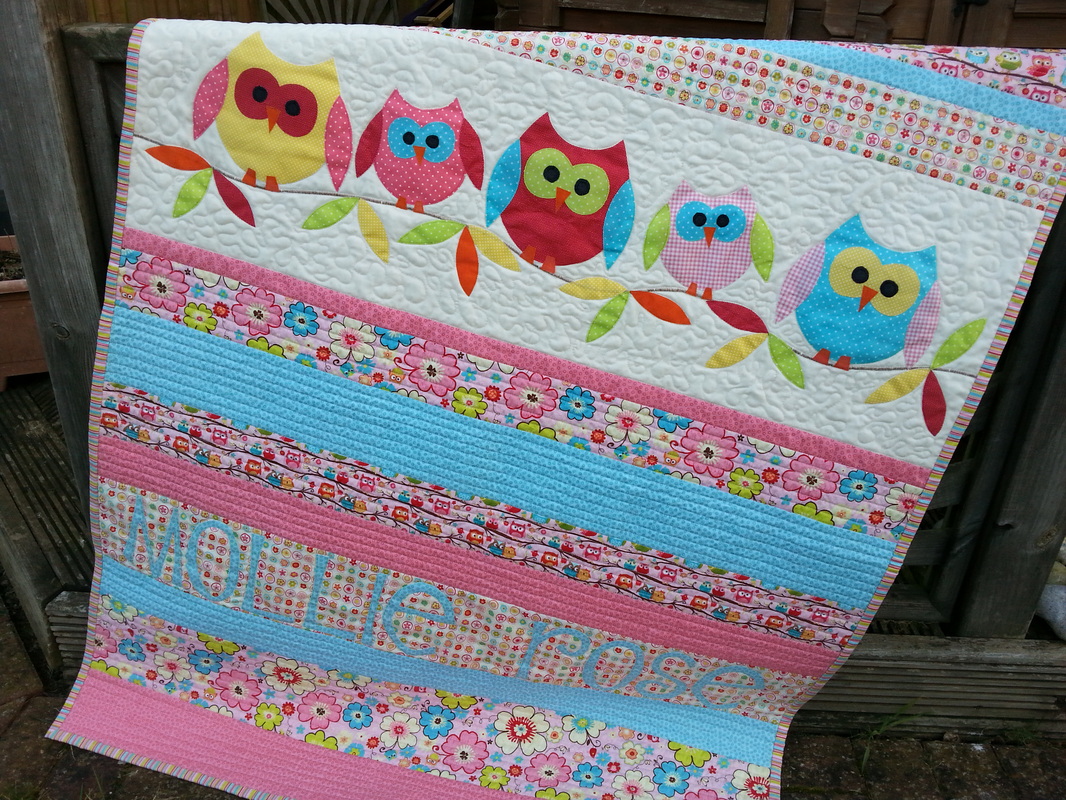
A few weeks ago I was asked to make a quilt for a colleague, for her grand-daughter's first birthday. We found the perfect kit online from The Bramblepatch, called Happy Flappers, which uses fabric from the range "Happy Flappers" by Riley Blake Designs. The kit included all the fabric to piece the top, fabric for the applique owls and leaves, fabric for the binding, and even included the fusible webbing for the applique too. The main part of the quilt is pieced together very simply in rows... ...the applique panel is completed separately, then inserted between the pieced rows. The pattern included traceable templates for the owls and the leaves. Once these were traced, fused and cut out, they were fused onto the background fabric and machine appliqued into place. I used a selection of Mettler fine embroidery threads in complimentary colours, a slightly smaller than usual stitch length, and a Schmetz Microtex needle size 60 for the machine applique. I used stitch-and-tear stabiliser on the back to give the fabric some support whilst the applique was being sewn into place... ...my friend wanted her grand-daughter's name "Mollie Rose" appliqued onto the quilt too, and I used some extra fabric in a co-ordinating print from the same fabric range for the letters. These were traced onto fusible webbing which was then fused to the back of the fabric. The letters were cut out exactly on the traced lines, the backing paper was removed and the letters were then fused to the quilt top, and machined into place. Again, stitch and tear stabiliser was placed under the fabric that the letters were stitched onto. Once the applique was completed, the loose ends of the threads were secured, and the stitch-and tear was easily removed... ...the letters I used were from the book "Winsome Baby" by Nancy Halvorsen. The letter templates in the book are already reversed, which makes tracing them onto fusible webbing so much easier! You really don't need anything fancy for this part of the construction - I simply used a retractable HB pencil for tracing these templates that I bought from my local supermarket. I managed to get a quick photograph of the quilt top before it was layered with the wadding and backing fabric... ...I decided to quilt this very simply, starting by stitch in the ditch, then quilting some straight rows across the width of the quilt with a pink King Tut quilting thread. I quilted around the outside of the letters too, then free motion quilting around the owls and leaves was done with a cream King Tut quilting thread... ...this stripey fabric for the binding was included in the kit. There was enough fabric to cut the binding strips 3.5" wide. I used the double fold binding method for this quilt, and mitred the corners. I really like using a wider binding on quilts. I added one of my labels to the back of the quilt and then folded the binding over to the back of the quilt and stitched it into place by hand... ...and here it is, on the final photoshoot, before it was wrapped up and delivered to Mollie Rose, ready for her first birthday.
1 Comment
|
About me...Hi - welcome to my quilting blog! My passions are my family, my dog, my friends and sewing, not necessarily in that order! Archives
July 2023
Blogs I followUK shopsThese are the UK shops that I use to purchase my quilting supplies - fabrics and threads etc.
Australian linksScandinavian links |


 RSS Feed

