|
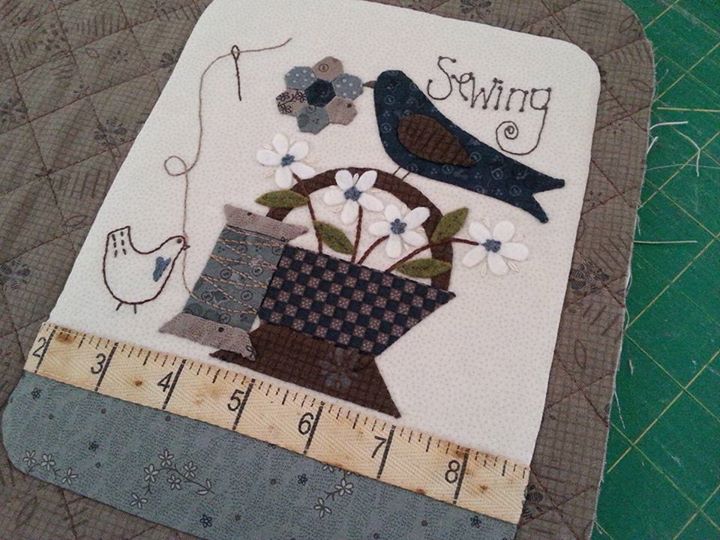
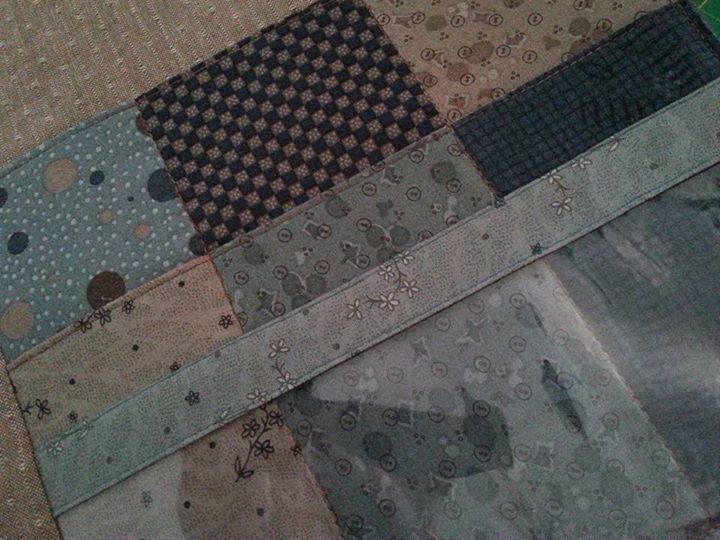
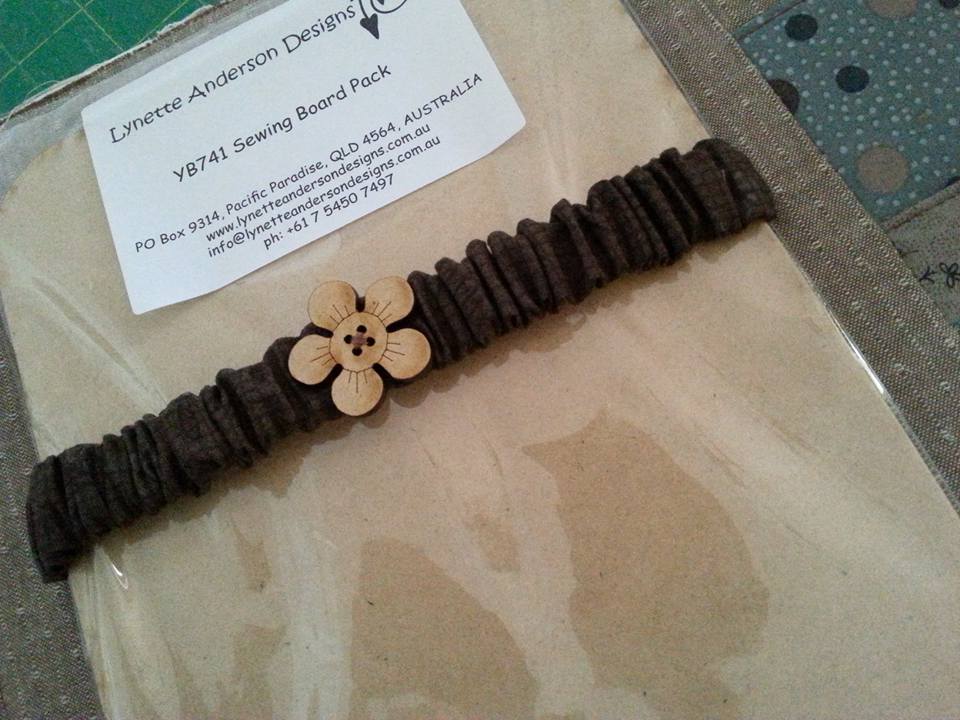
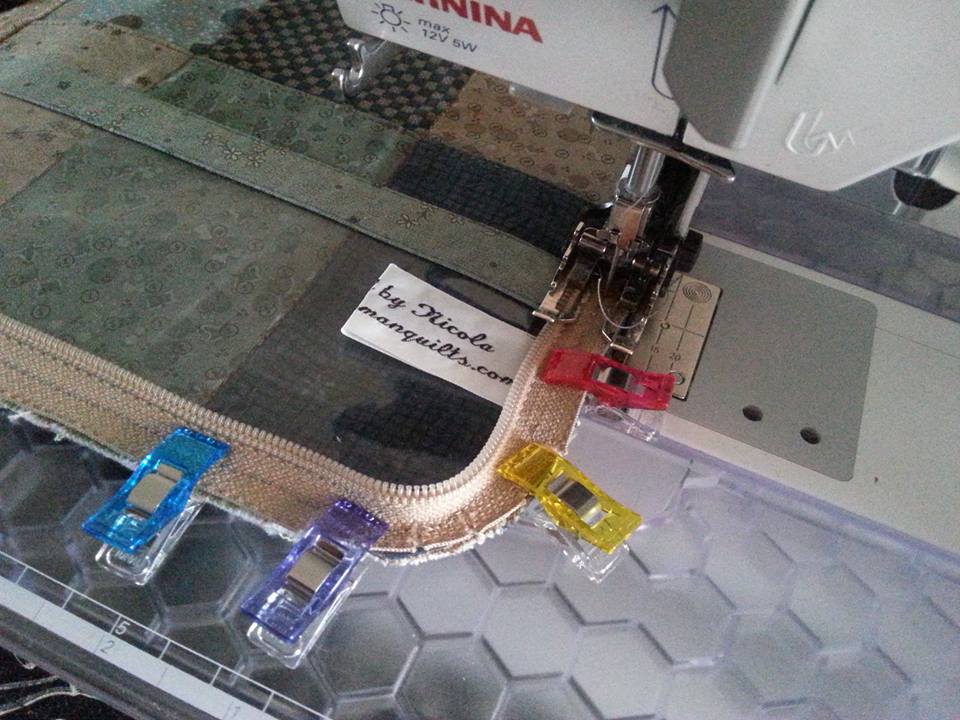
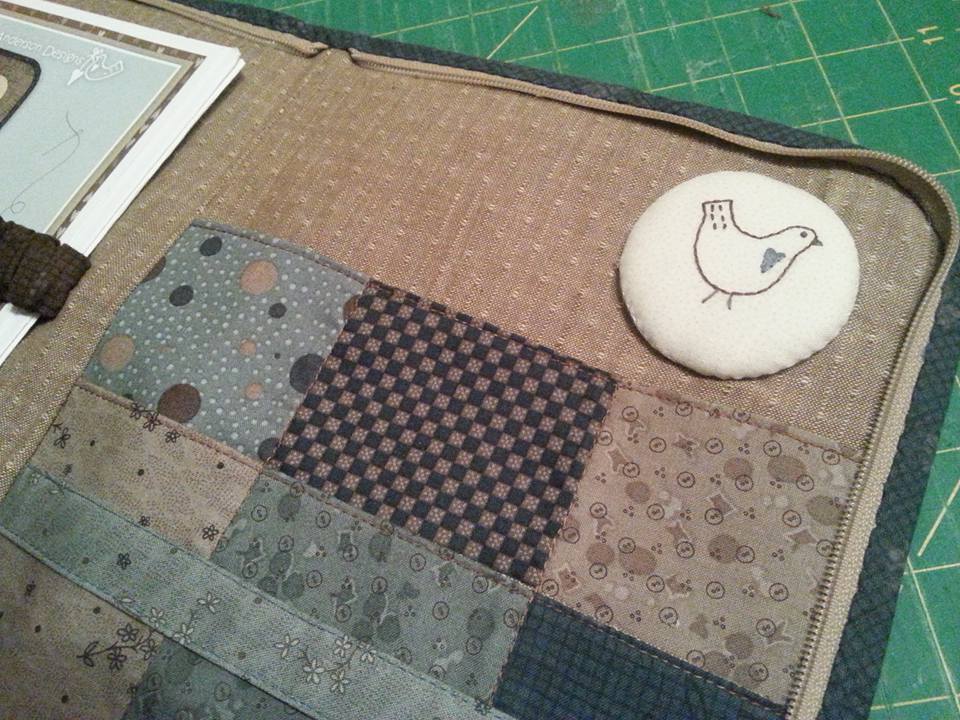
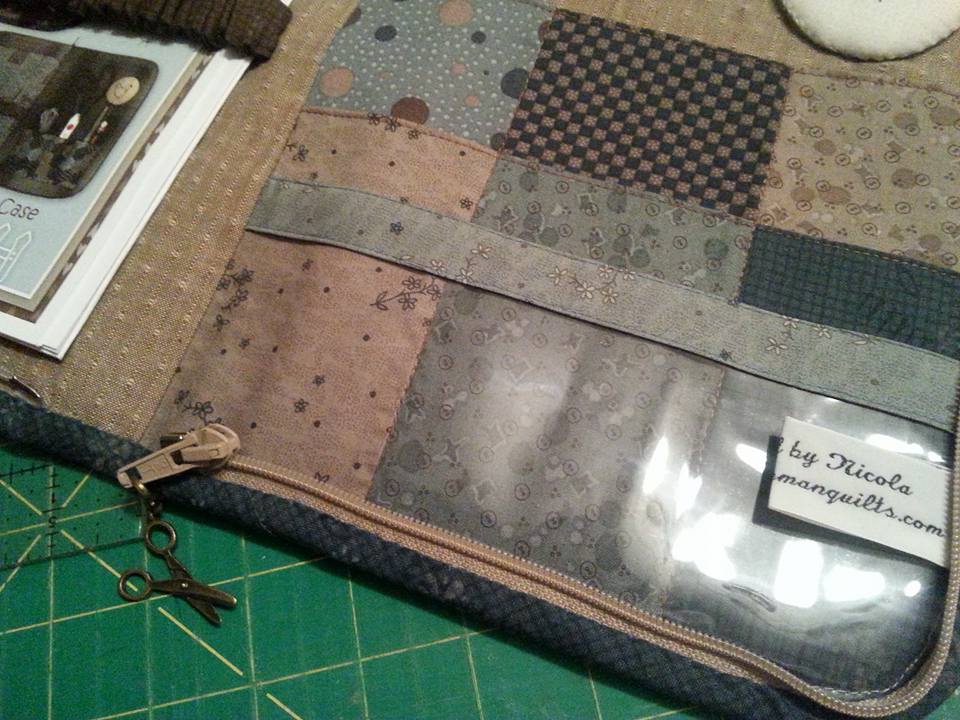
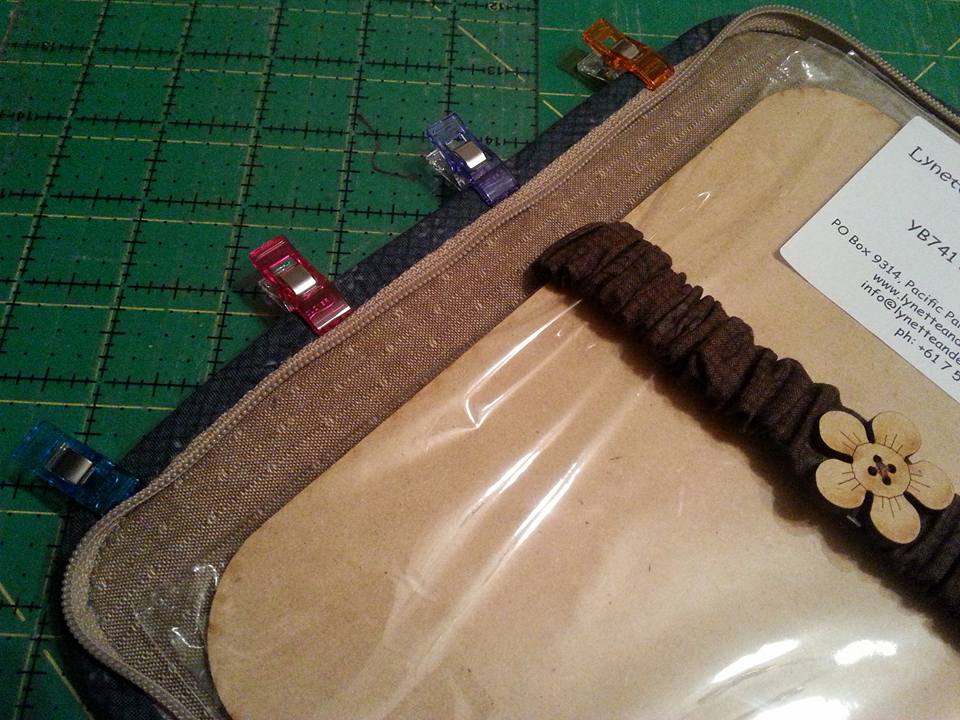
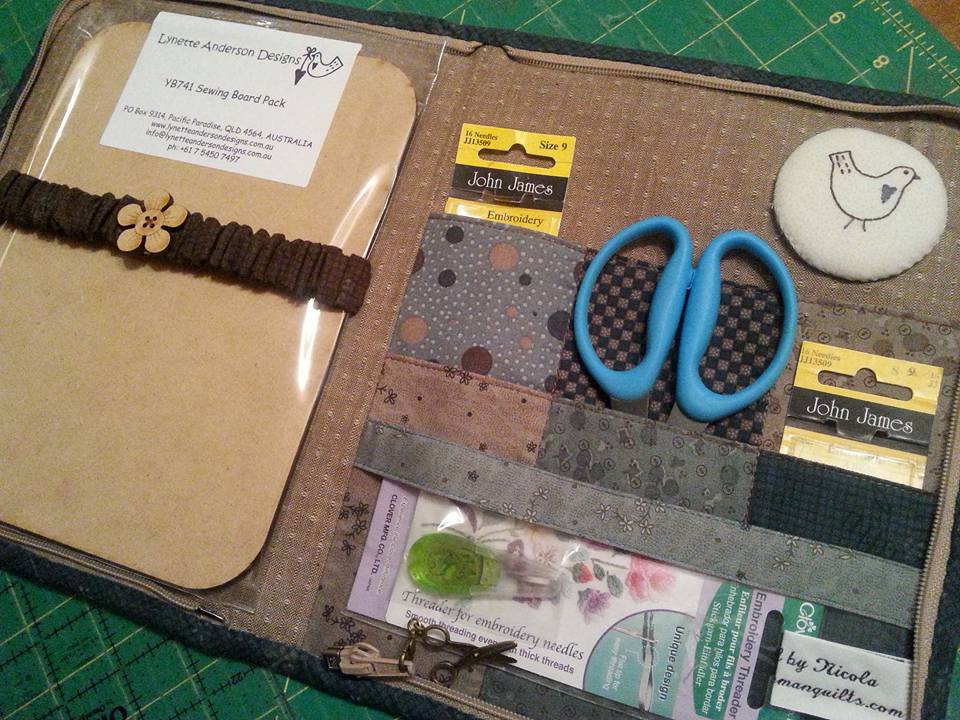
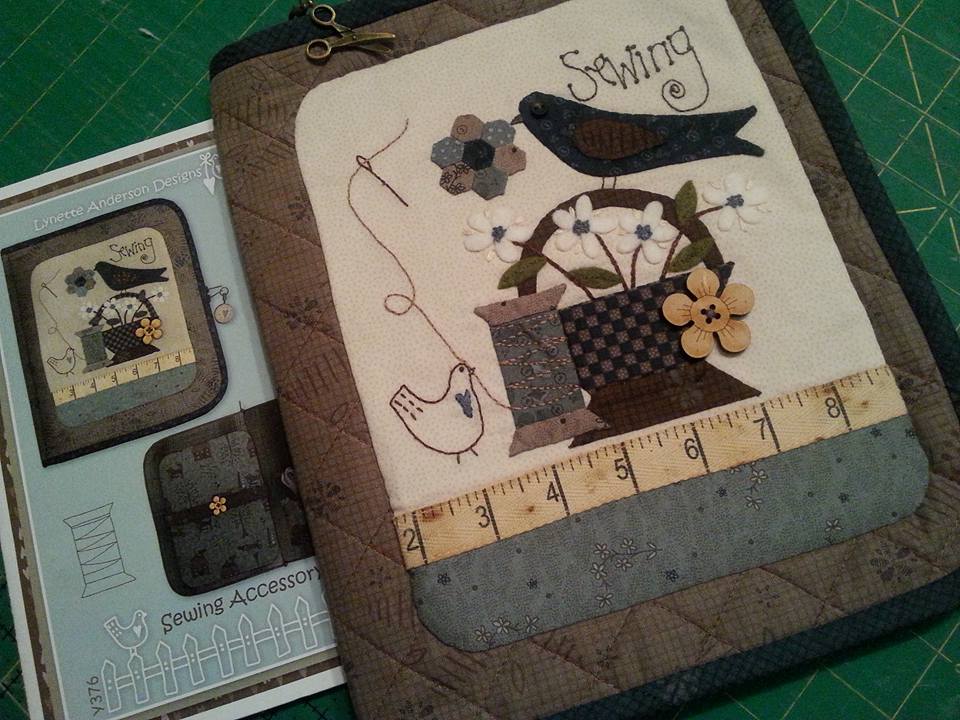
Last week I started another project, this beautiful Sewing Accessory Case - the pattern and fabrics are by Lynette Anderson Designs, and was bought a few weeks ago as a kit from Patchwork Chicks. I like adding a twist to the patterns I use to make them a bit more "me" and rather than making a pocket with hexagons as per the pattern directions, I've added 6 pockets made with the fabrics that were included in the kit, and a clear plastic pocket trimmed with a narrow binding to neaten the top edge of the pocket. ... ...the sewing board still needs to be covered with fabric and sandpaper, but that will be on my list of jobs for next weekend! The elastic to hold it in place has been threaded through a fabric casing, stitched into place and embellished with a raw wood button. I've also got a tricky zipper to sew in place, and the binding to cover all the raw edges. I've detoured from Lynette's original instructions, as I didn't think my fingers or my nerves could cope with hand sewing the lining the binding and the zipper! Have you tried Clover Wonder Clips? They are absolutely brilliant! There's nothing worse than trying to stick pins into thick layers, and plastic. These little darlings make life so much easier, and you don't get stabbed with those pesky pins either. This has to be the TRICKIEST zipper I've ever sewn!! Thank goodness for Clover Wonder Clips, and a Schmetz Topstitch needle. My Bernina stitched through all these layers with no problems at all...... ...once the birdie design is traced onto some fabric with a Micron Pigma pen, this cute pin cushion is hand embroidered, and stuffed with some wool wadding. It's slip stitched into place in the sewing case. The pattern includes instructions on how to make a charm to attach to the zipper pull, but this cute scissor charm has been in my jewellery box for simply ages and was perfect to clip onto the end of the zipper. I added one of my labels to the inside of the folder and stitched it into place when I was stitching that tricky zipper. I changed the zipper for an open ended one, and the zipper was probably the trickiest part of this project!... ...Those Clover Wonder Clips were perfect for holding the binding in place when it was folded over the edge of the zipper. No more getting stabbed by pins when I was stitching the binding in place by hand! This shows the inside of the Sewing Accessory Case. I still need to cover the board with fabric on one side and sandpaper on the other... unfortunately when I raided Mr F's man-drawer he only had some tatty bits so I'm off to the local d-i-y shop on Monday... ...Here's the finished project! The kit included all the fabrics (also designed by Lynette), embroidery threads, wool felt, hexagon papers, zipper (although I added my own zipper as I made this case slightly larger), fusible pellon, peltex, elastic and even the sewing board. Thank you so much Lynette for another fabulous design! I really have enjoyed making this so much. My sewing bag is getting filled with gorgeous sewing accessories!!
1 Comment
Eva
26/7/2015 02:57:11 pm
Very beautiful.
Reply
Leave a Reply. |
About me...Hi - welcome to my quilting blog! My passions are my family, my dog, my friends and sewing, not necessarily in that order! Archives
July 2023
Blogs I followUK shopsThese are the UK shops that I use to purchase my quilting supplies - fabrics and threads etc.
Australian linksScandinavian links |


 RSS Feed

