|
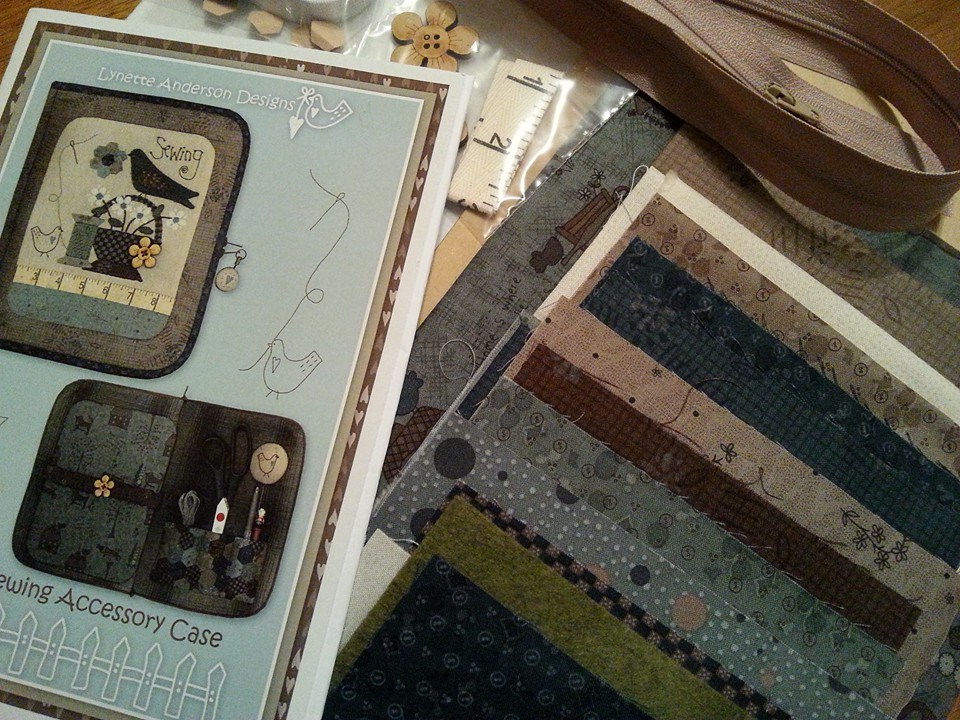
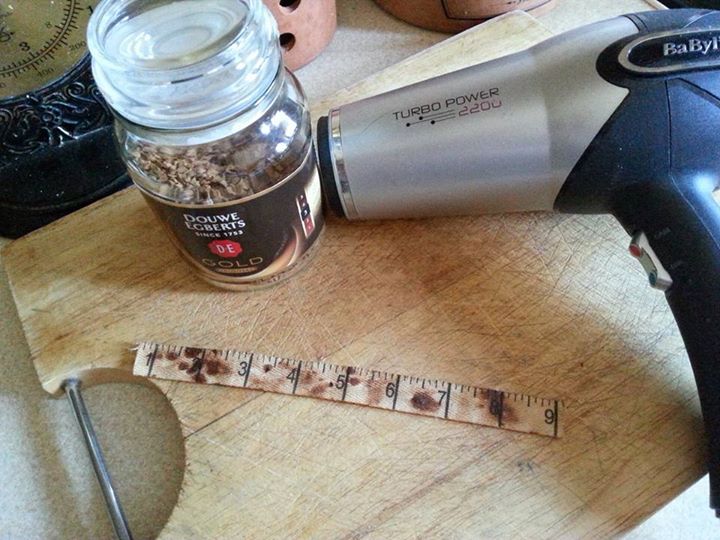
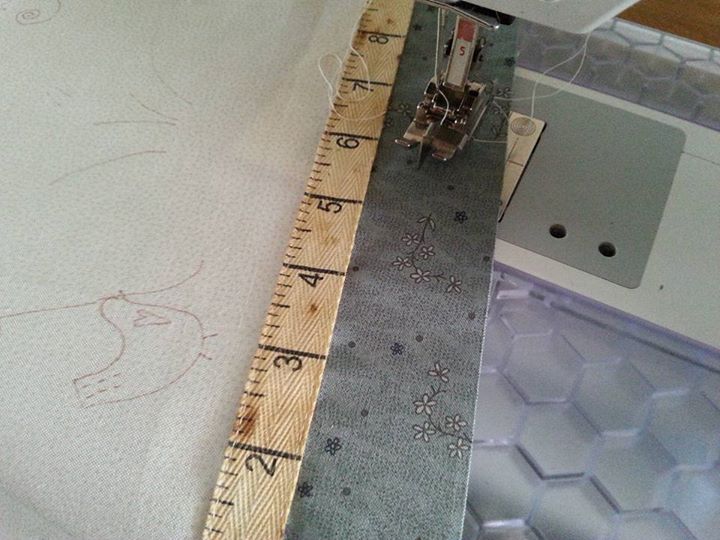
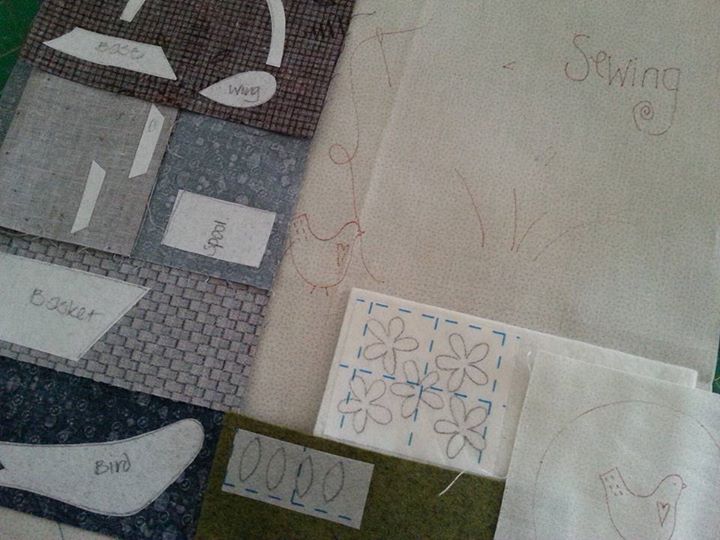
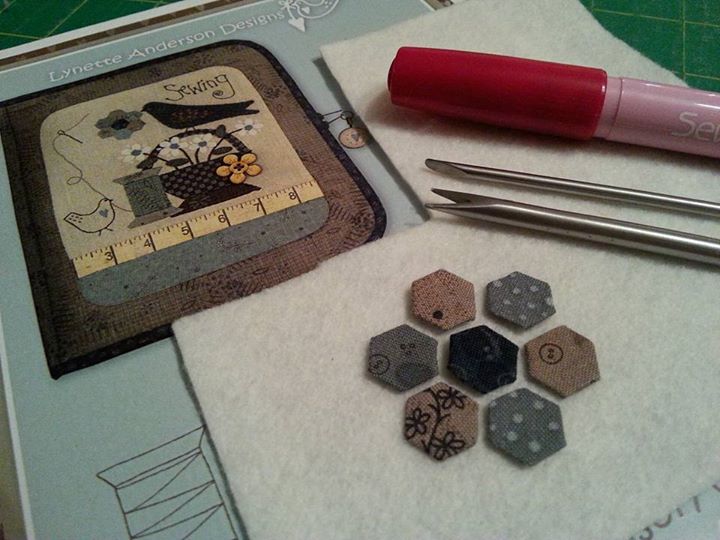
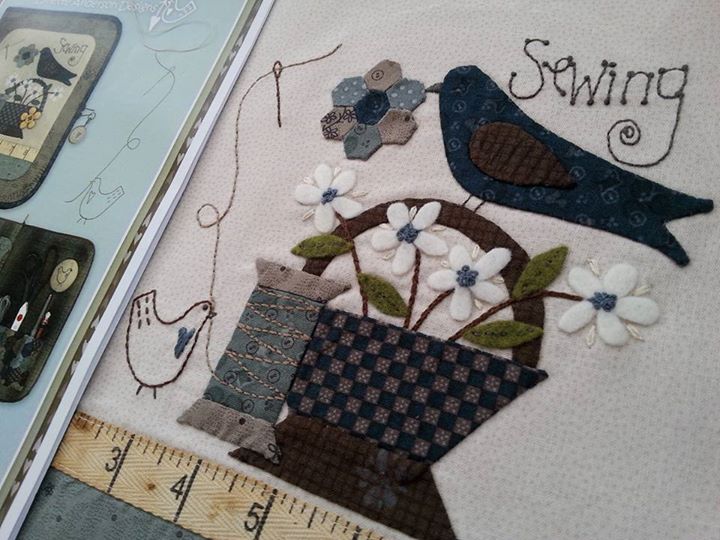
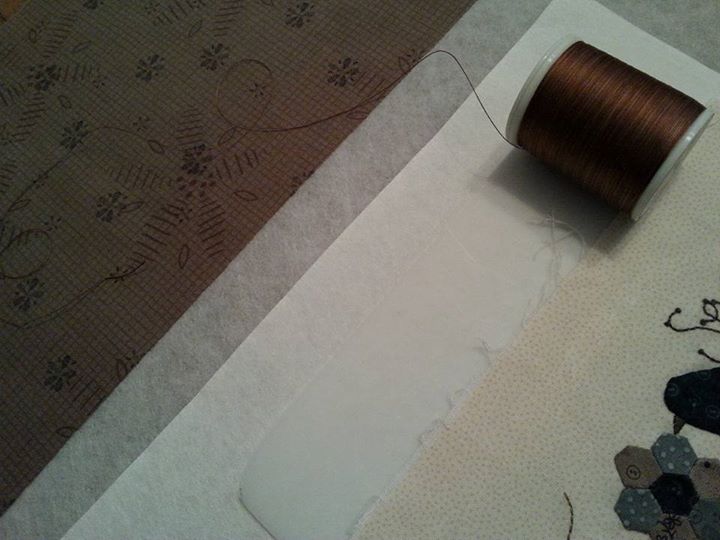
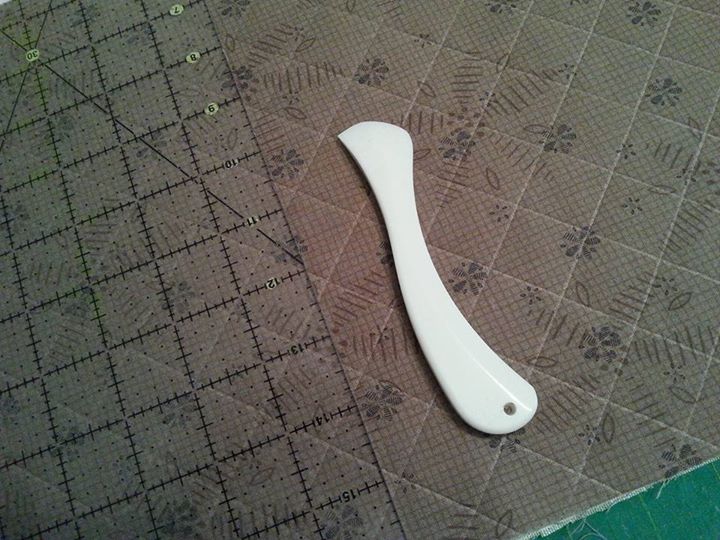
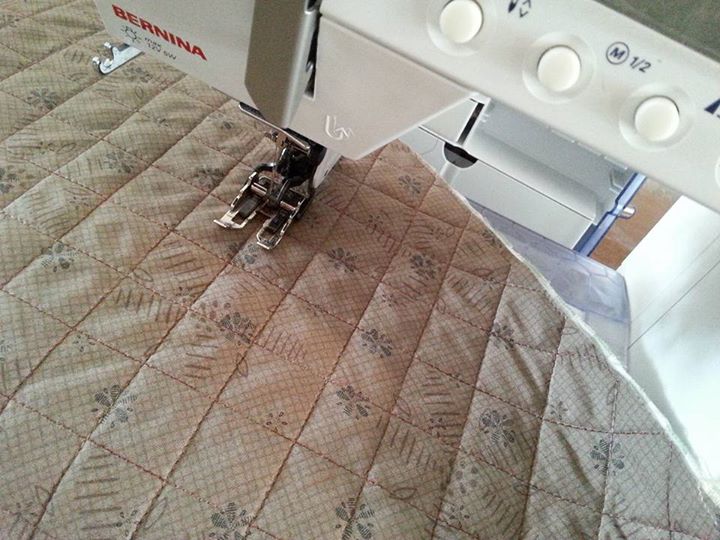
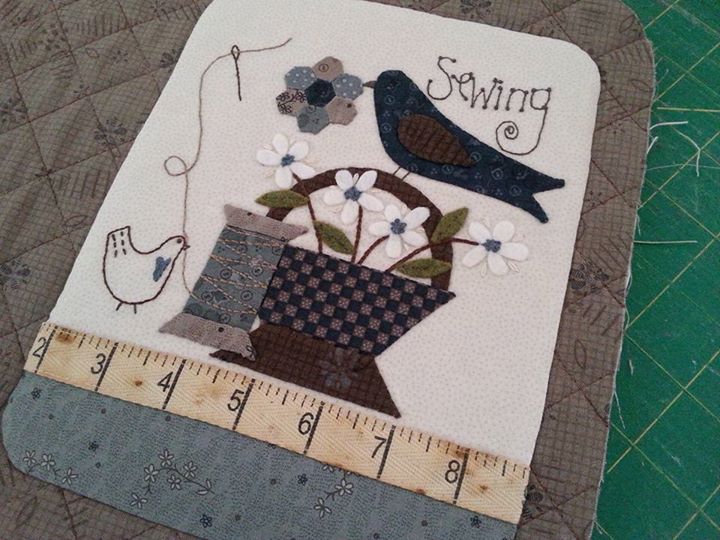
A few weeks ago I ordered this kit from Patchwork Chicks. It's called "Sewing Accessory Case" and is designed by Lynette Anderson Designs. The kit includes all these beautiful fabrics and embellishments needed to make this really useful sewing case. This sewing project started in the kitchen, coffee staining some tape-measure tape. I was so impatient to start stitching that I gave it a quick blast with the hairdryer... ...the background fabric was embellished with the coffee stained tape-measure tape (it looked a bit too dark, so turned the tape over and it looked perfect!). The tape was glued into place (used my Sewline glue stick for this instead of using pins) and stitched it with a matching coloured thread. The Bernina foot number 5 is perfect for attaching embellishments like this. The stitchery designs were traced onto the background fabric, appliqué shapes traced onto appliqué paper and fused into place all ready for some work with my apliquick rods and glue stick. The flowers and leaves have been traced onto steam-a-seam lite and fused onto wool felt, all ready for hand sewing into place... ...eeeekkkk!!! Quarter inch hexagons... I never imagined I'd be able to make something so tiny, but thankfully my apliquick rods and glue stick made them super simple! This kit has absolutely everything you need to make this (apart from a piece of sandpaper and I'll pinch that from Mr F's man-cupboard when he's not looking). The techniques used so far: machine piecing, edge stitching, hand appliqué using the apliquick rods and glue stick method, and hand embroidery... ...once the applique was finished, I made a start on the front of the sewing case. I picked out a variegated brown King Tut quilting thread to complement the brown fabric. The fabric for the front of the case was layered onto the fusible pellon that was included in the kit and I marked a quilting grid with a Clover Hera marker... ...I used a slightly longer stitch length (approx 3mm) for the quilting and used a Schmetz Topstitch needle size 70. The quilted piece was then trimmed to size (I made a template for this using the outline that was included in the pattern). The stitchery design was then appliquéd onto the front of the quilted area. I fused some appliqué paper to the back of the stitchery design, and used the apliquick rods and glue stick method for turning the raw edges over. This was then held in place with a few drops of Roxanne's basting glue and then was stitched with a neutral coloured YLI silk thread and a Clover Black Gold appliqué needle. The next step was the inside of the sewing case. I'll add those pictures in a few days once I've got that part completed!
1 Comment
Ann Genaske
19/7/2015 11:34:23 pm
Beautiful! Just enough different procedures to not have a chance to get bored. Keep up the good work!
Reply
Leave a Reply. |
About me...Hi - welcome to my quilting blog! My passions are my family, my dog, my friends and sewing, not necessarily in that order! Archives
July 2023
Blogs I followUK shopsThese are the UK shops that I use to purchase my quilting supplies - fabrics and threads etc.
Australian linksScandinavian links |


 RSS Feed

