This pattern is available from Lynette's shop, Little Quilt Store, (Lynette has these gorgeous wooden spools too) and if you're here in the UK the patterns are also available with some wooden spools from Julia at Cross Patch.
|
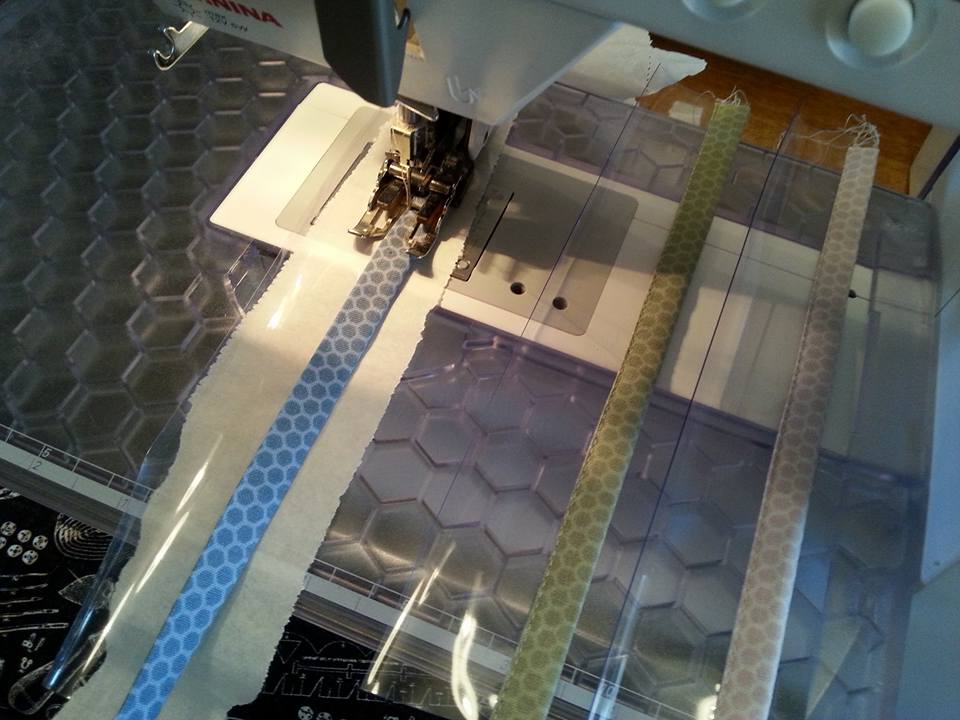
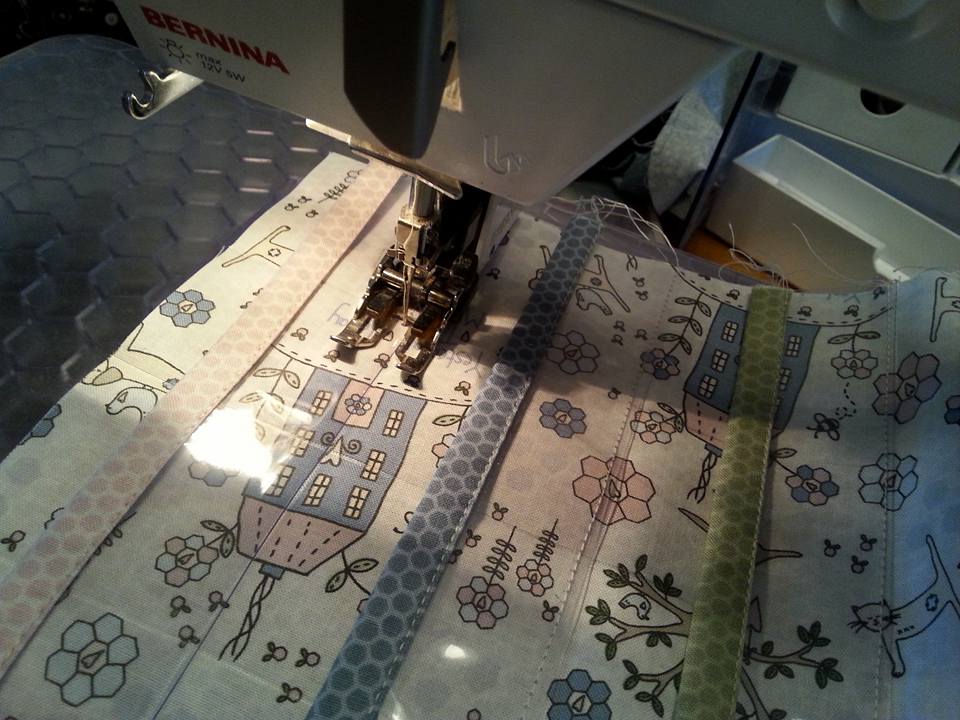
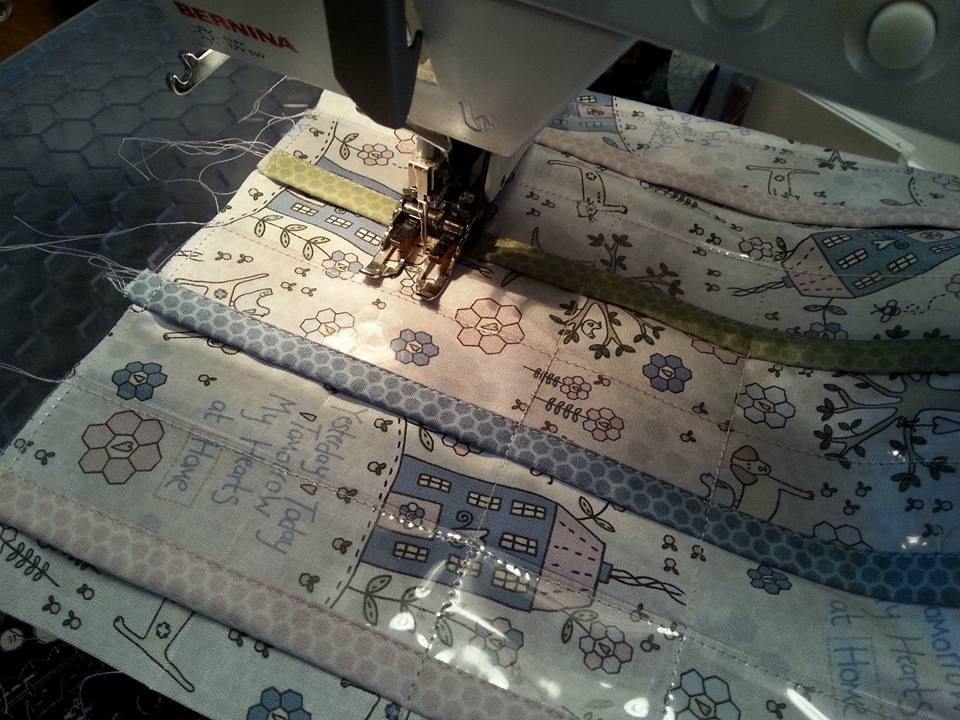
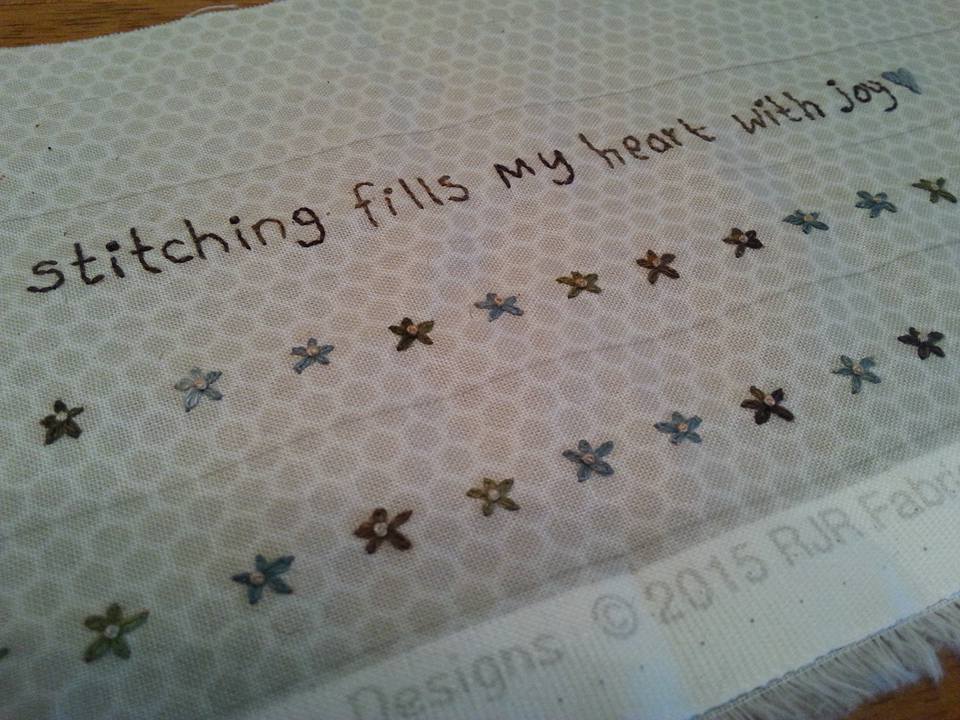
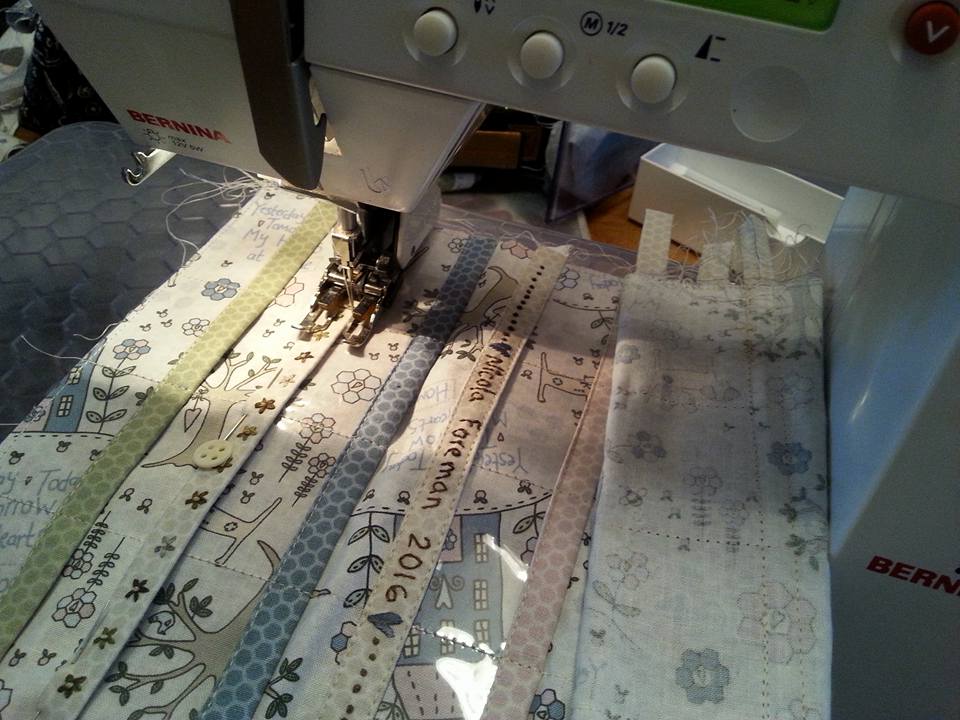
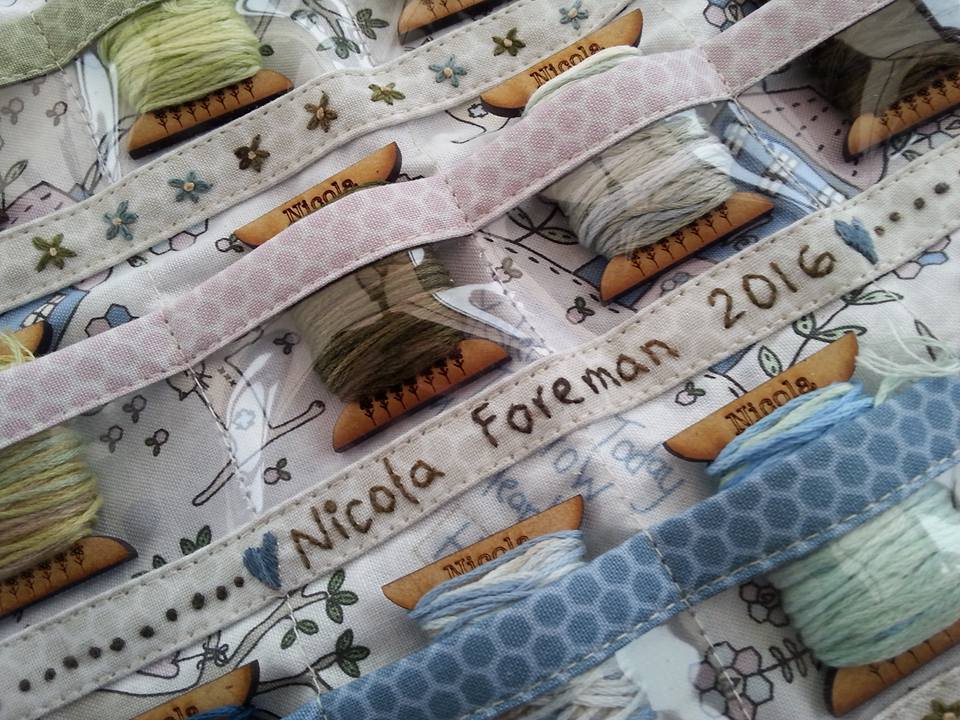
I've recently been making the latest pattern by Lynette Anderson Designs, called My Floss Organiser. The inner part of the organiser has 24 small plastic pockets, to keep spools of thread in. (I'd already got some plastic in my craft box that I'd bought a few years ago from Norway, but if you're here in the UK I'd suggest you try Amazon UK for clear vinyl - I recently bought some more from there, and it was about £2.50 for a metre... it comes folded, and you just need to warm it up with a hairdryer to get the creases out!). Firstly, the plastic strips are cut to size, and the top edge is covered with a strip of binding. This is done the same way as binding on a quilt, but I have machined the folded edge into place. My top tip for sewing the binding strips to the top edge of the plastic pockets is to use very thin paper underneath the plastic, to stop it sticking to the stitch plate, feed dogs and extension table. This paper was wrapped around the plastic when I bought it, and it's perfect for this. I've used fabrics from Lynette's My Hearts at Home collection for this project. My other top tips are to use a very fine, sharp needle (my favourite is a Schmetz Microtex size 60) and a walking foot. I used a Clover Hera Marker to mark the placement lines for the pockets. Then I machined along the lower edges of the plastic pockets to secure them into place, using a walking foot and a slightly longer than usual stitch... ...then I machined down the centre of the fabric and plastic, through all layers, and then again 2" from the centre line on each side, to make the small pockets ready for the wooden spools. I used a walking foot, and it didn't stick to the plastic at all. The next step is to make some embroidered ribbon strips to cover the lower edge of the plastic pockets. I prepped the background fabric by ruling a line with a pencil, as it would be easier putting a larger piece of fabric in an embroidery hoop for the stitchery rather than stitching on narrow pieces of fabric. I traced the stitchery design using a Micron Pigma pen and a light box, then I carefully fused a narrow strip of weaveline half an inch wide along the back of each ruled area, and completed the embroidery by hand, using Valdani hand-dyed threads... ...the edges of the embroidered ribbon strips were folded over, pressed, and placed over the bottom edges of the plastic pockets, and machined along both sides - I used the walking foot for this, and moved the needle position over to stitch just along the edge of the strip. I love the embroidered ribbon strips, they look so pretty. This project has been made with fabrics from Lynette's "My Hearts At Home" collection, and the fabrics really are very pretty - these were leftover from the gorgeous kit that Lynette sent me to make the "Stitched By Me" quilt, that I made a few weeks ago.
This pattern is available from Lynette's shop, Little Quilt Store, (Lynette has these gorgeous wooden spools too) and if you're here in the UK the patterns are also available with some wooden spools from Julia at Cross Patch.
0 Comments
Leave a Reply. |
About me...Hi - welcome to my quilting blog! My passions are my family, my dog, my friends and sewing, not necessarily in that order! Archives
July 2023
Blogs I followUK shopsThese are the UK shops that I use to purchase my quilting supplies - fabrics and threads etc.
Australian linksScandinavian links |


 RSS Feed

