|
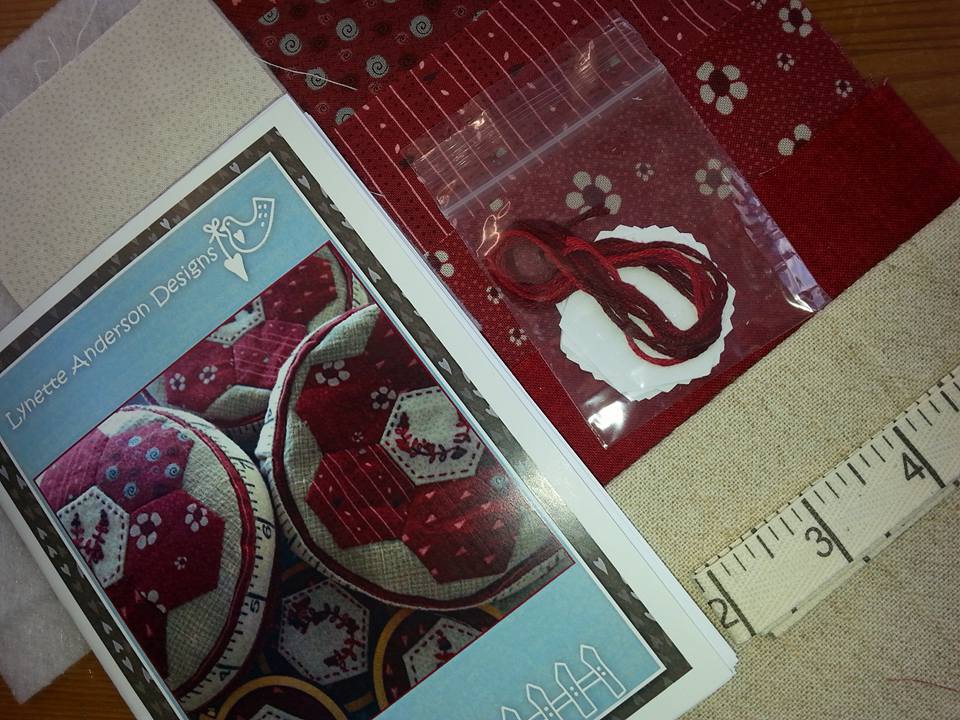
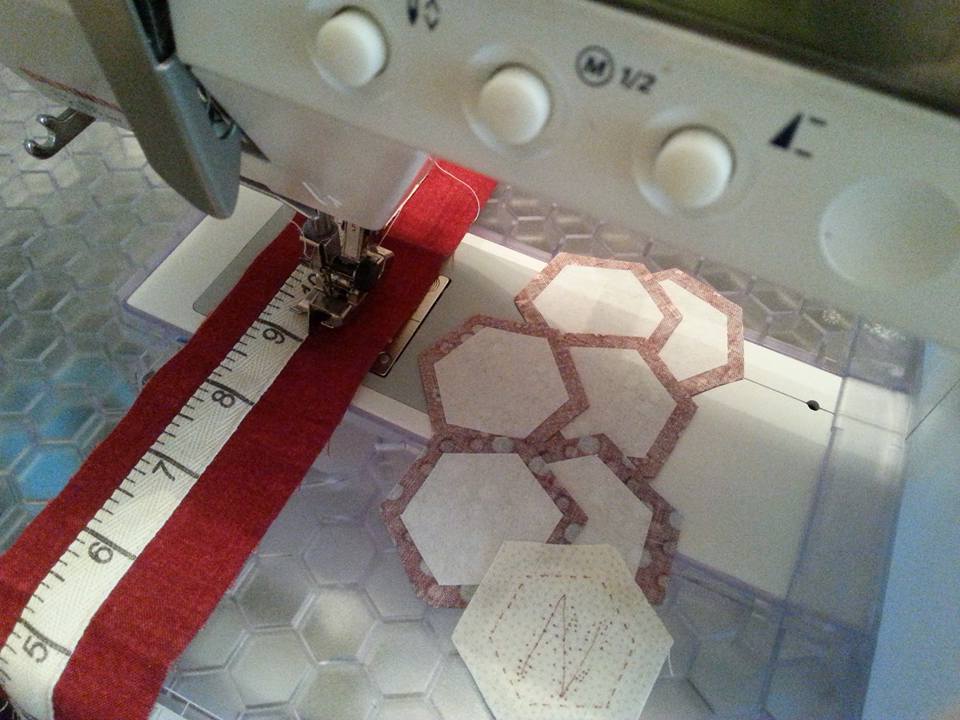
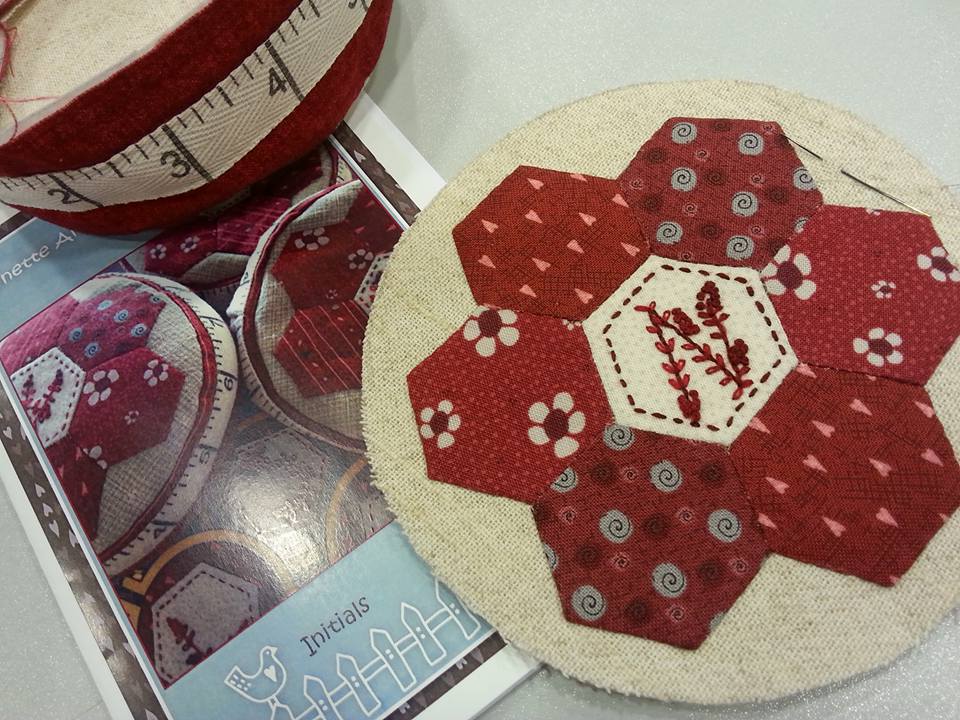
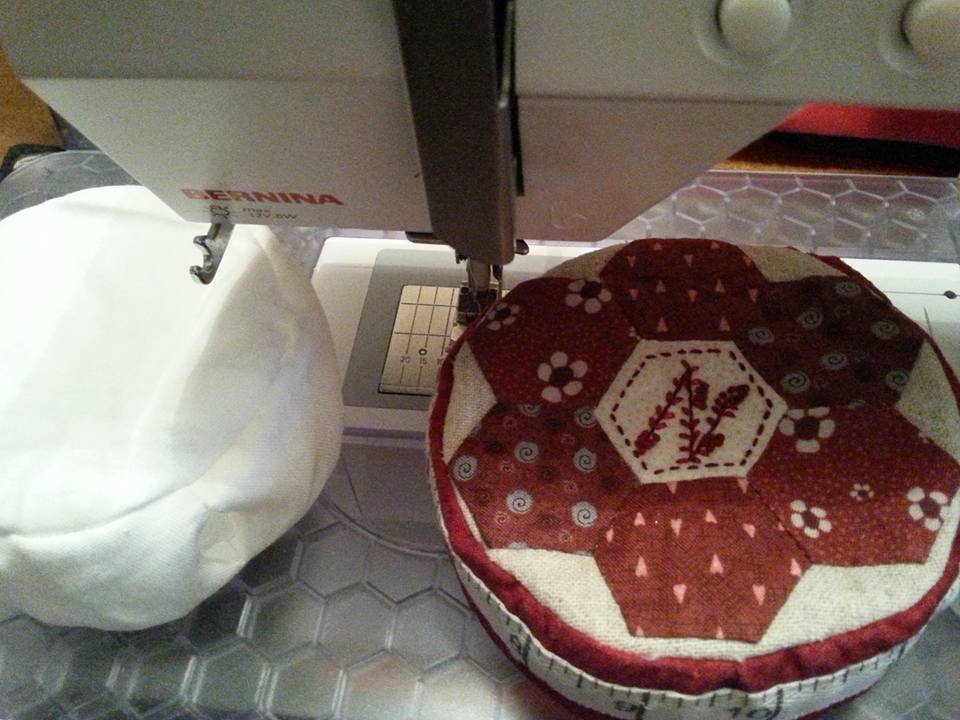
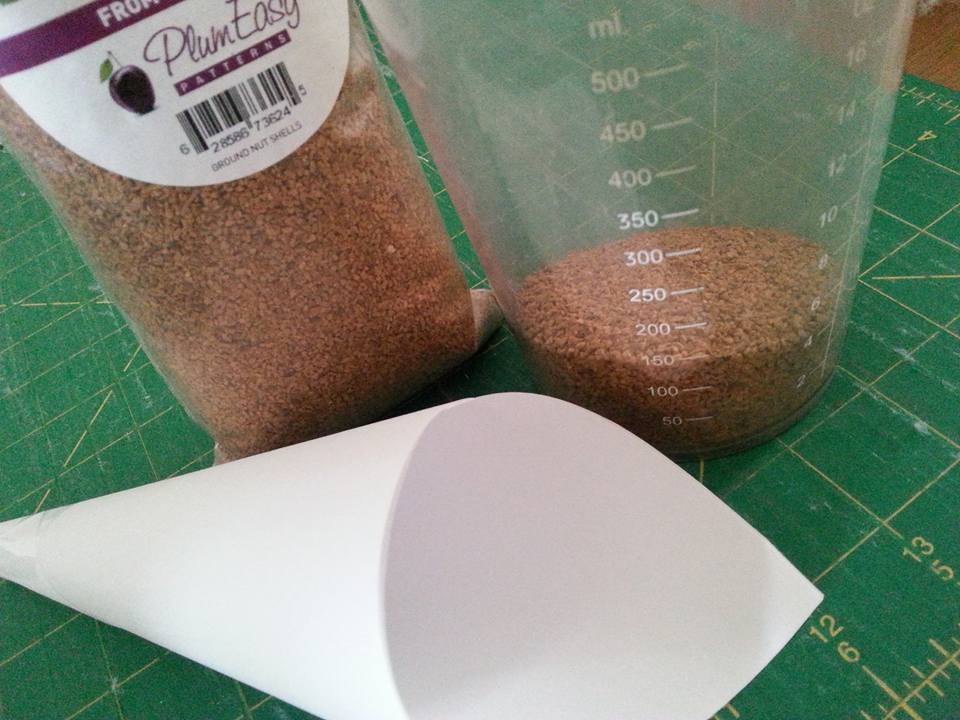
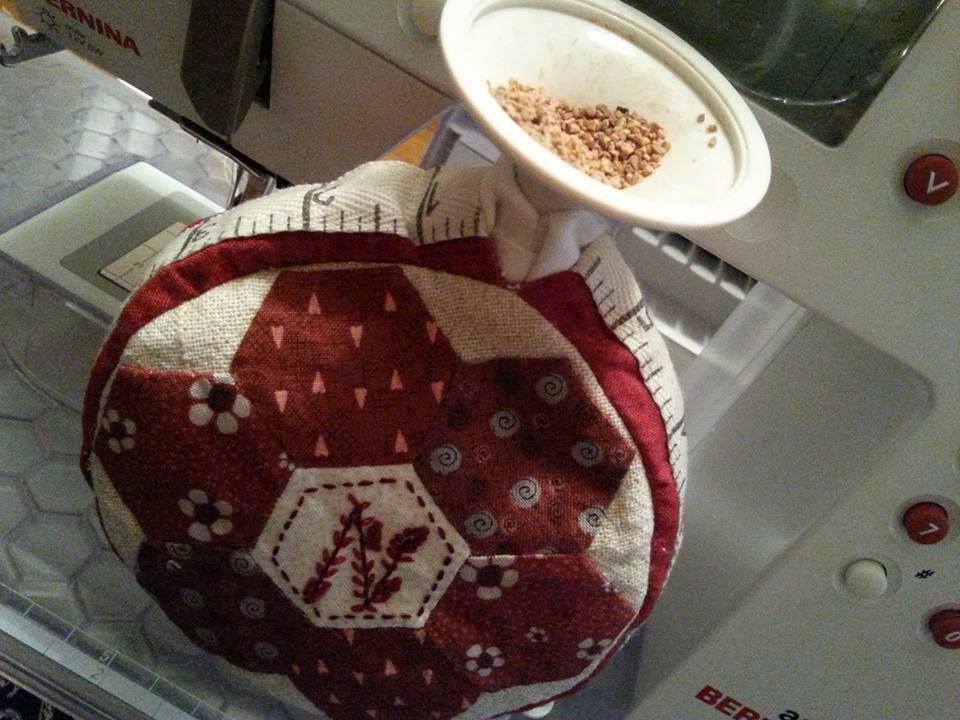
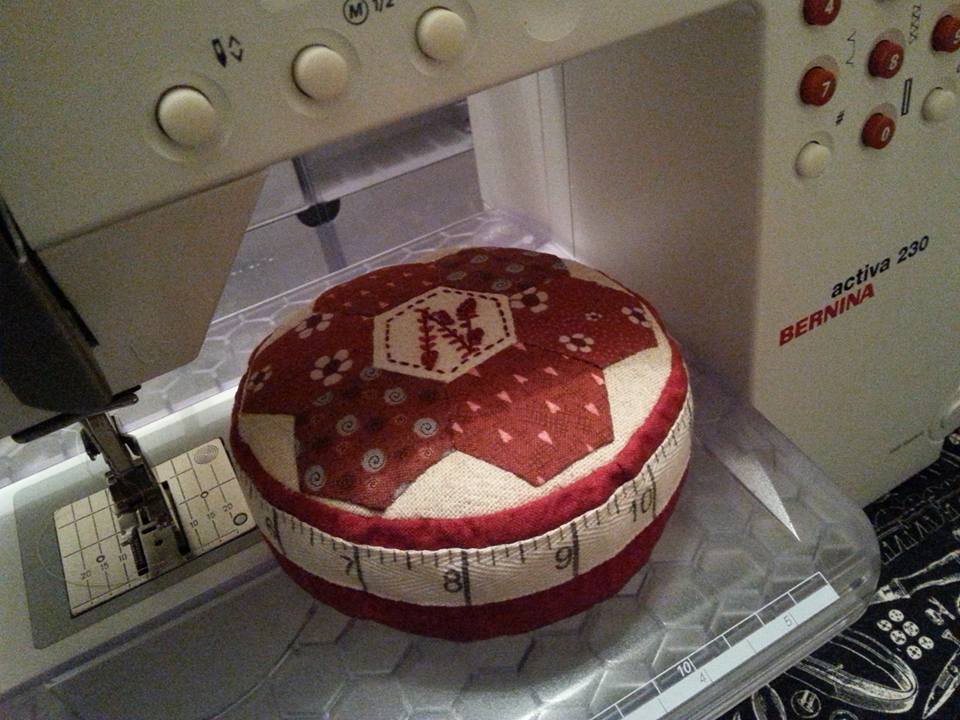
After making some pincushions to use as gifts for sewing friends, I decided that I really needed a new pincushion for me - this is what I was saving my crushed walnut shells for!! This is the Initials Pincushion kit that I bought online from Patchwork Chicks. It's by Lynette Anderson Designs, and has a combination of stitchery, applique and piecing. This kit includes the pattern, fabric to make 1 pincushion, pellon, hexagon papers, tape measure tape and embroidery threads. Managed a bit of preparation ready to take the hand sewing part to sewing Group with me on Monday evening. I traced around a hexagon template onto appliqué paper which was then fused onto the WS of the fabric ready for the glue stick method. I traced the letter N onto one of the hexagons using a Micron Pigma pen, and the tape measure tape was machined into place using a matching coloured thread and a slightly longer stitch to prevent puckering... ...I was very productive when I went to Sewing Group, as I managed to get all the hexagons stitched together and appliquéd into place on the top of the pincushion. A piece of fusible wadding has been secured into place on the WS of the top of the pincushion. Next stage is to make a calico lining for the crushed walnut shells. I used the same pattern for the pincushion, and used a smaller stitch, leaving an opening in the side seam. Once the lining was turned the right way through, I poked it into the pincushion itself, ready for filling... ...I'd bought these crushed walnut shells ages ago as they'd been recommended to me to use as pincushion filling. They're very finely ground, and I'd made a paper cone to help guide the shells into place. Making a liner for the crushed walnut shells proved to be the easy part, as stuffing it proved to be trickier than I expected it to be. Eventually I resorted to using this nozzle from my icing set as it was the perfect tool for getting the crushed walnut shells into the lining... ...and a drum roll please - it's completed! I really am absolutely thrilled with this one. Thanks Lynette for another great design! It's my absolute favourite, and has pride of place in my sewing corner. Despite it being a bit tricky to fill, the finished result is great - it's firm and holds it's shape well, and is a bit "weighty" so when I pull out a pin, the pincushion stays put - and the crushed walnut shells inside keep my pins clean and sharp. Now I need to get started on another one of Lynette's designs that I've had for a while - my sewing corner is filling up with lots of pretty things to use while I'm being creative!
0 Comments
Leave a Reply. |
About me...Hi - welcome to my quilting blog! My passions are my family, my dog, my friends and sewing, not necessarily in that order! Archives
July 2023
Blogs I followUK shopsThese are the UK shops that I use to purchase my quilting supplies - fabrics and threads etc.
Australian linksScandinavian links |


 RSS Feed

