|
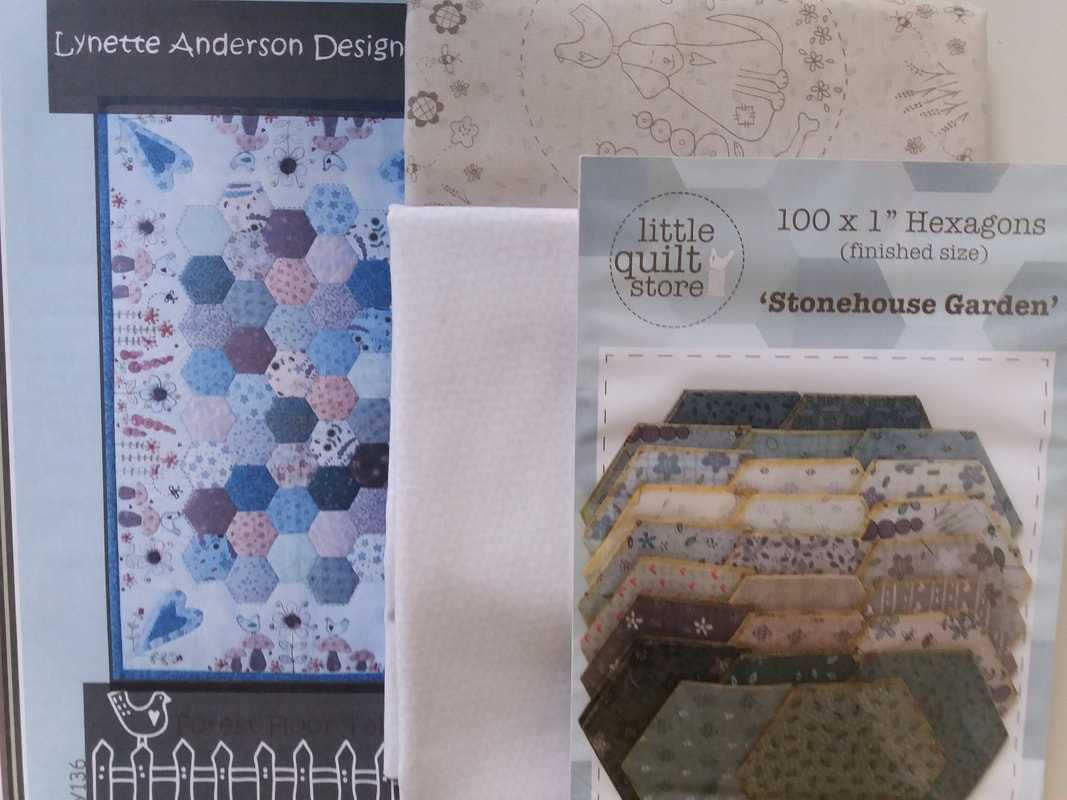
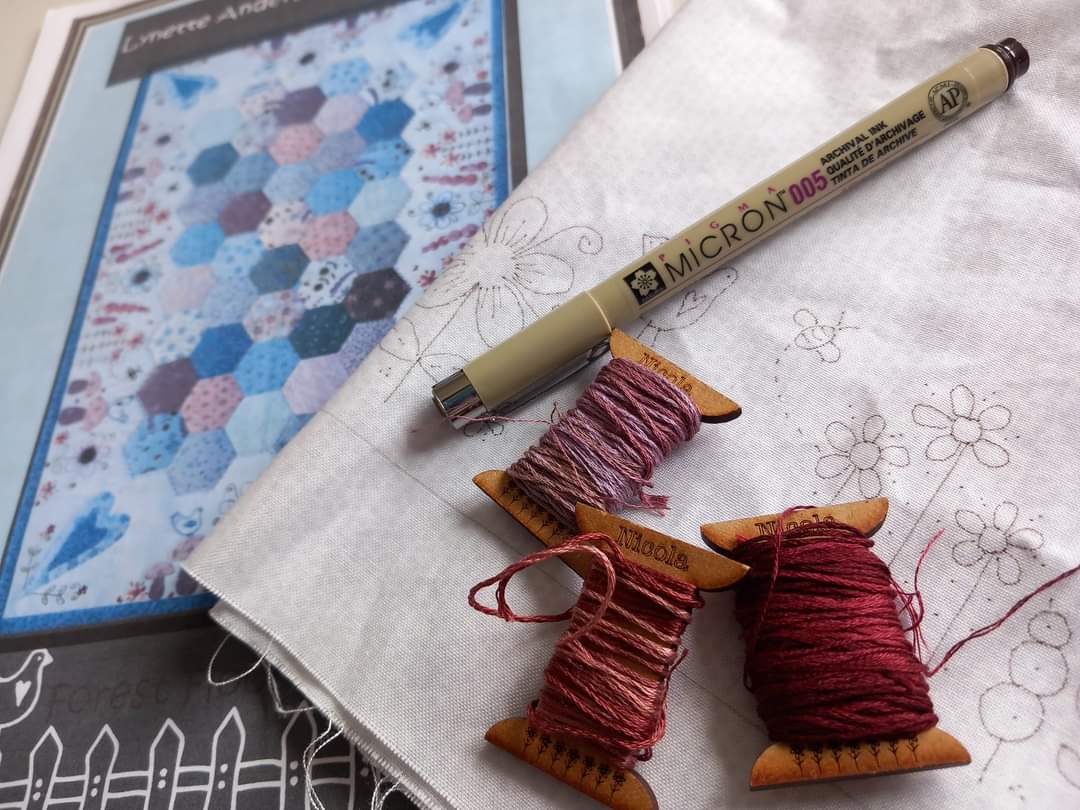
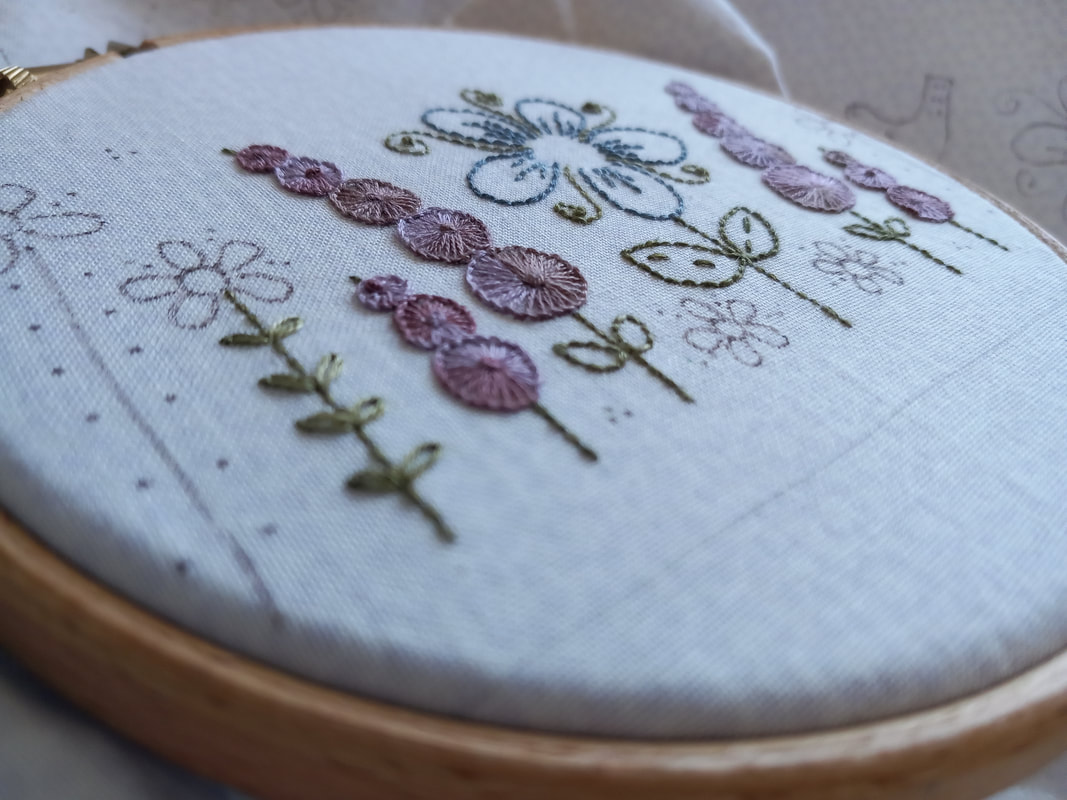
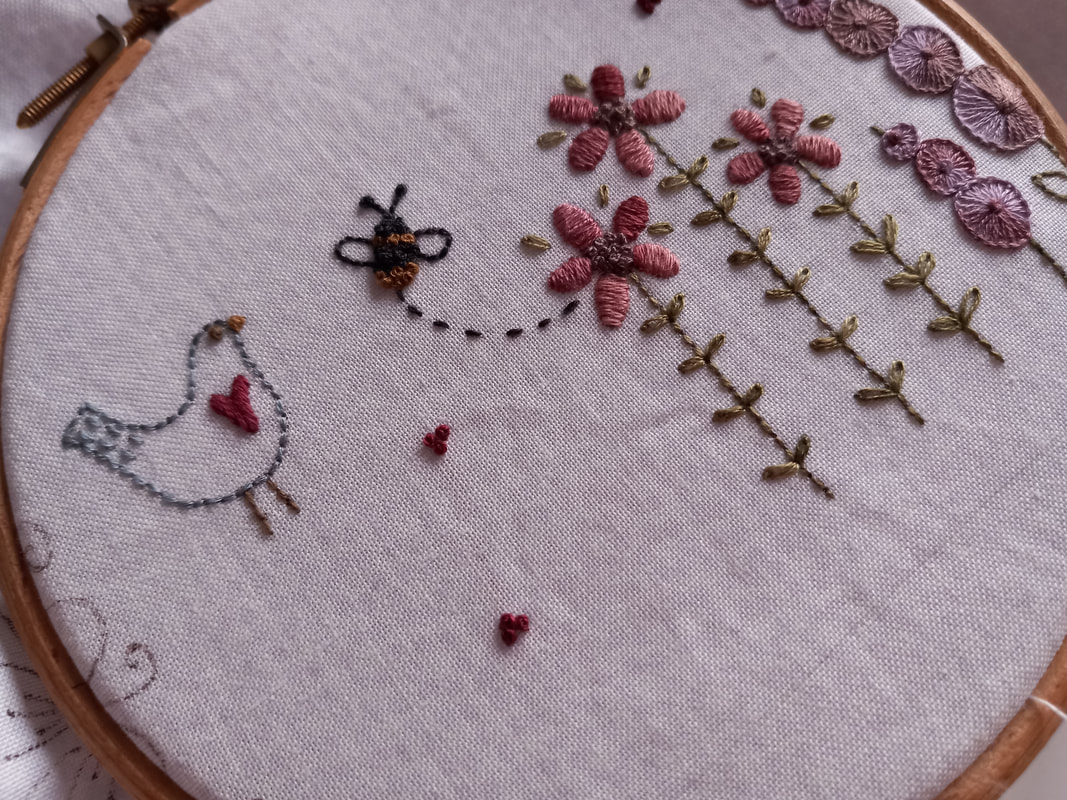
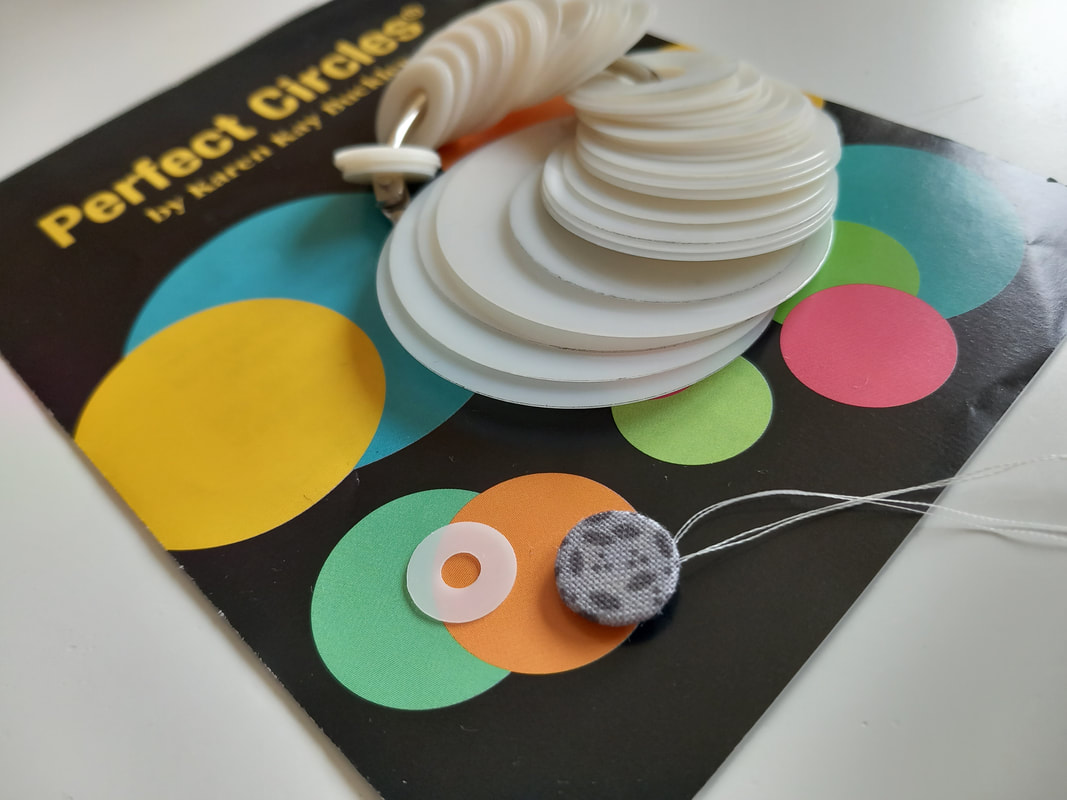
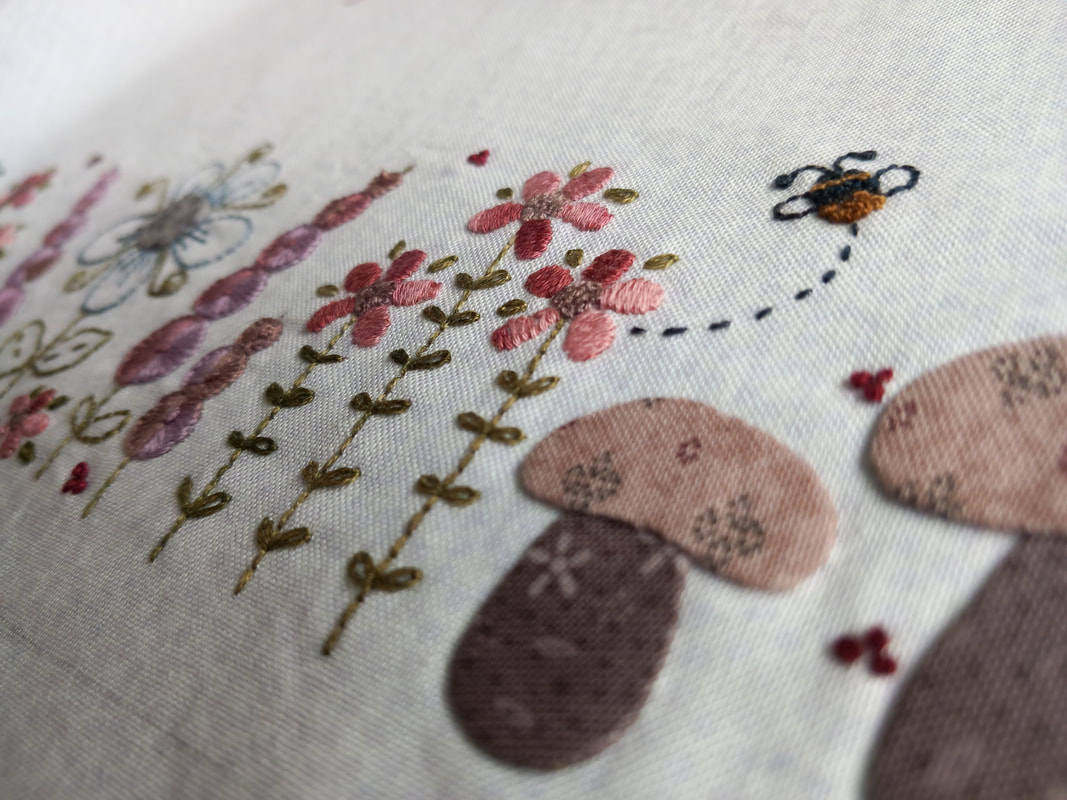
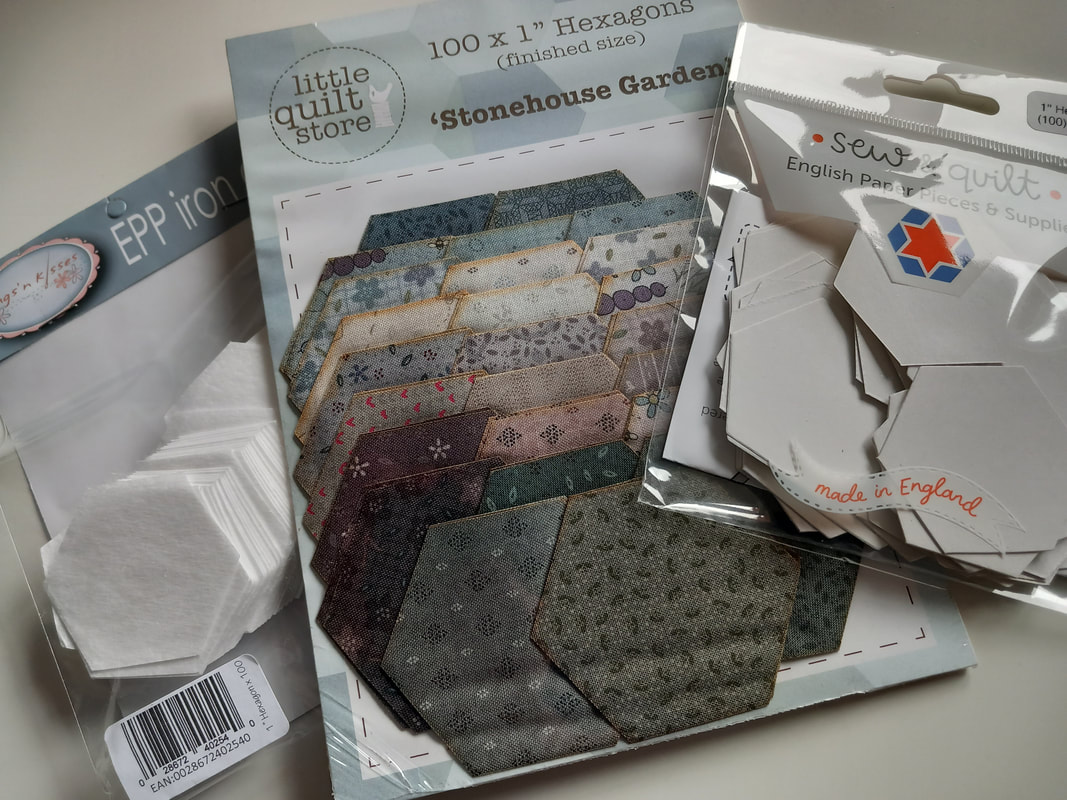
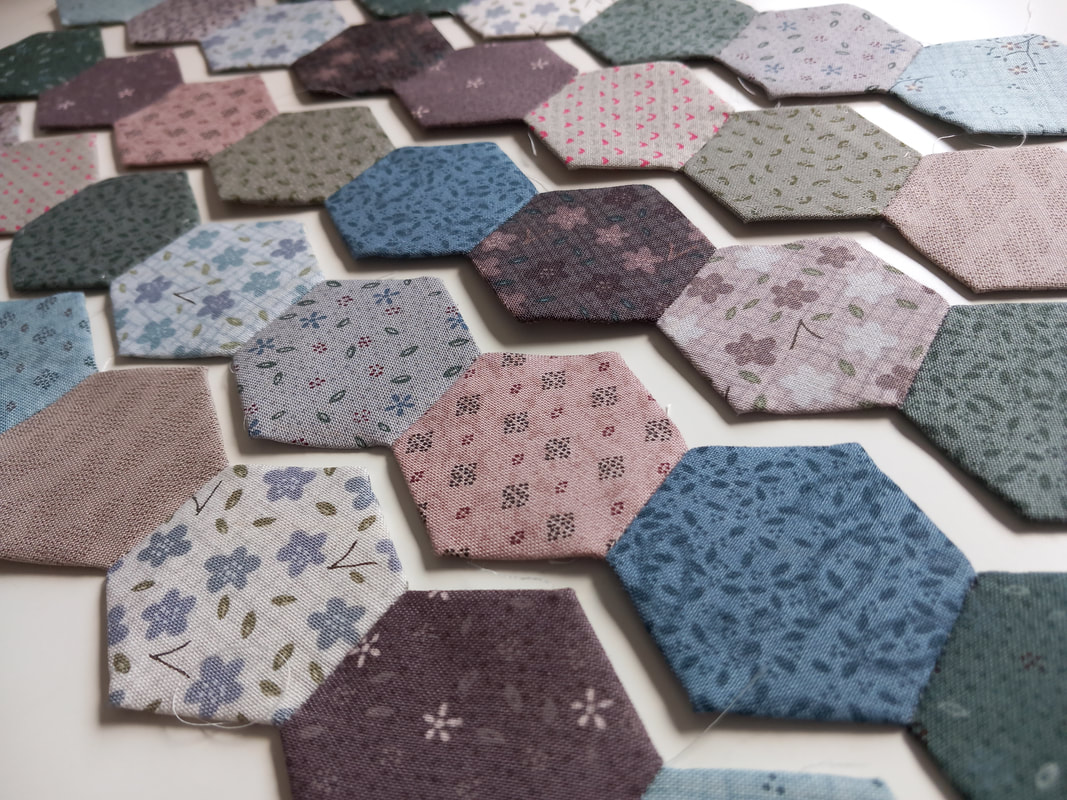
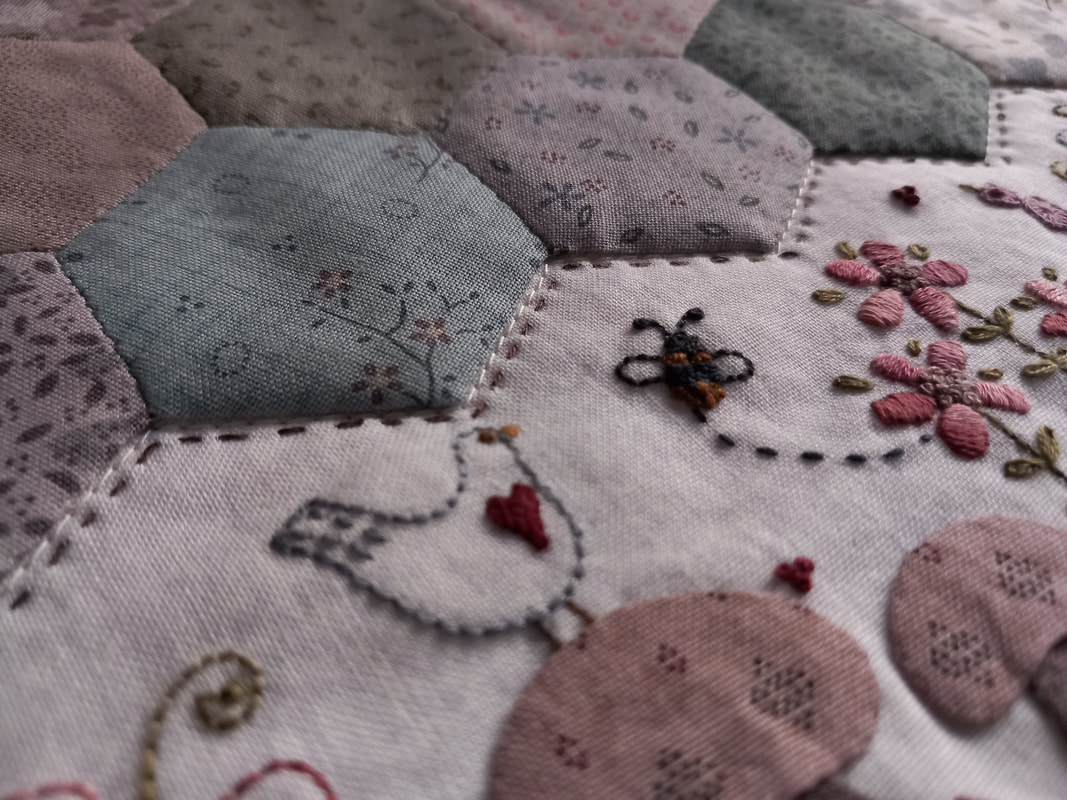
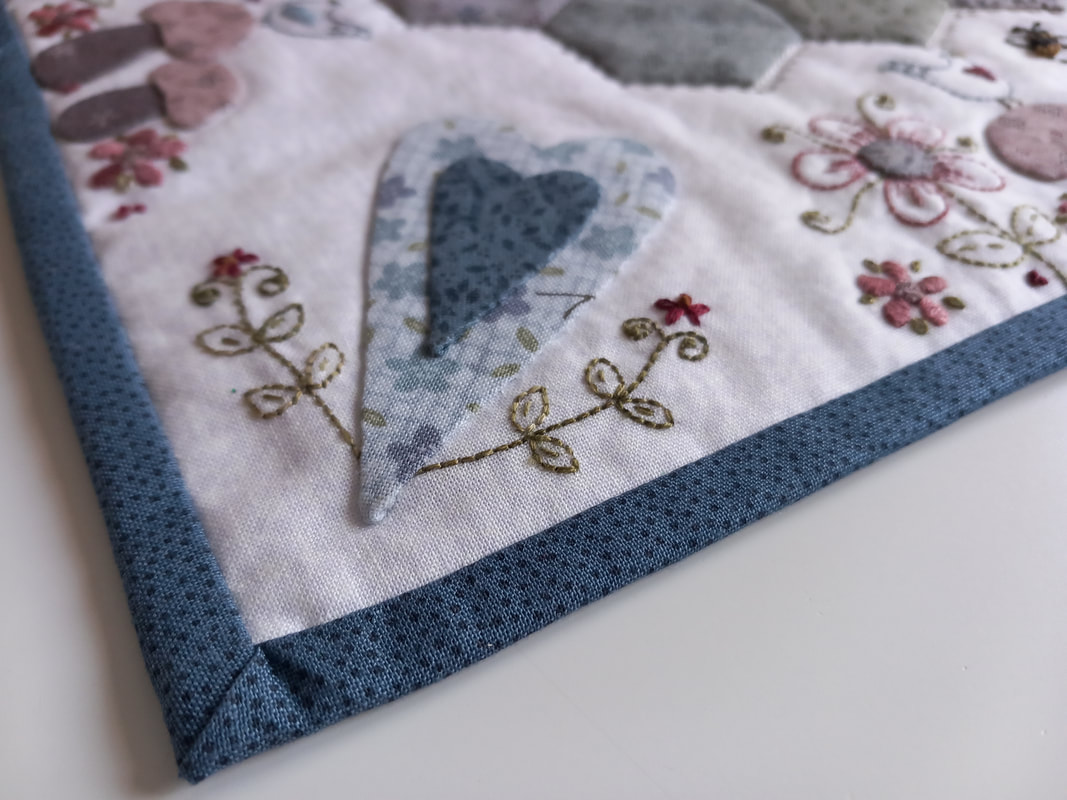
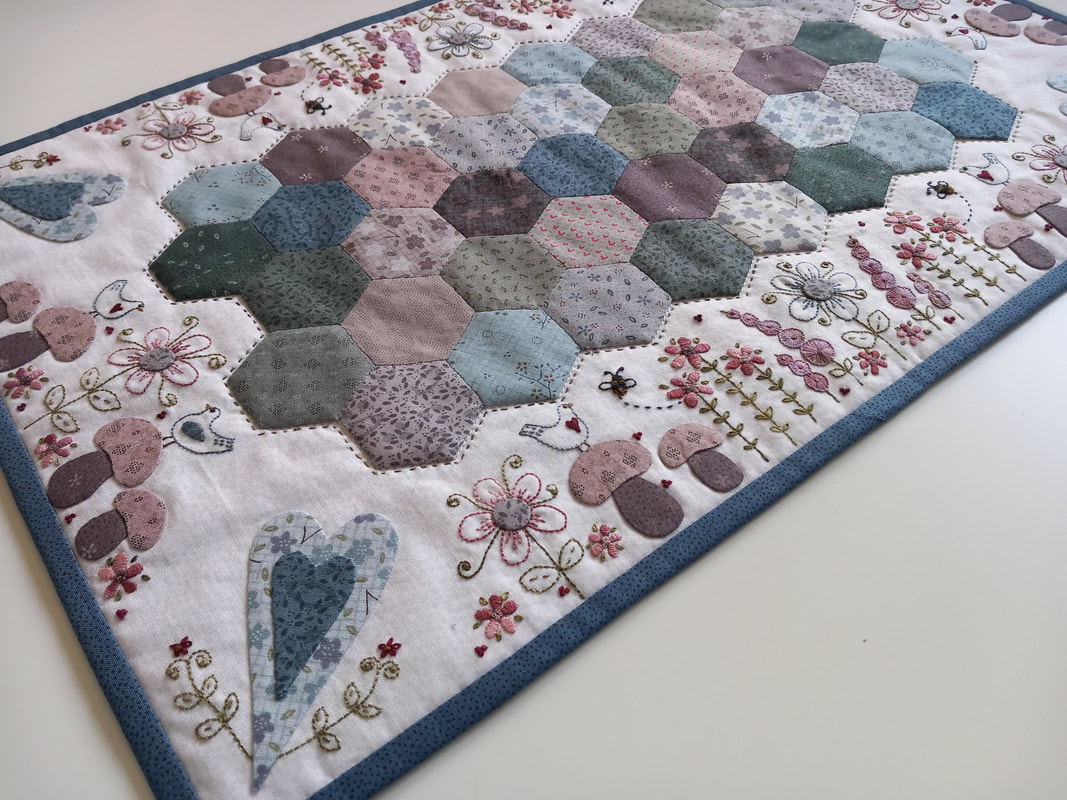
Back in 2017, I purchased this kit to make a pretty tablerunner - Forest Floor, designed by the Australian designer Lynette Anderson. The kit contained the stitchery background fabric, backing fabric, and fabrics for the applique shapes. I also purchased a pack of laser cut hexagons which will be used for the centre panel. The kit was packed away in a box with several others, and this year I'm trying to get a few of them made! So a couple of weeks a go I finally pulled this one out of the box of "Lynette" kits. I traced the stitchery design by hand, using a lightpad and a fine Micron Pigma pen, then selected a few variegated Valdani stranded embroidery threads. The back of the pattern lists which colours Lynette used, along with a list of DMC colours you can use instead... ...these Valdani embroidery threads are lovely to work with, the variegated colours work well with the colour palette of Lynette's beautiful fabrics. I decided to complete all of the embroidery before I added the appliquue shapes. The pattern lists which embroidery stitches should be used, however rather than use satin stitch for the bees, I decided to give them fuzzy little coats, as I used Colonial knots instead. For this project, I stitched all of the hand embroidery first, leaving gaps for where the applique would be placed... ...next it was time for the applique shapes. I used the Apliquick method of papplique for the toadstools and hearts, then chose to make the flower centres with Karen Kay Buckley's Perfect Circles. These were a little bit fiddly as they were the smallest size, but I was really pleased with the finished result. All of the applique shapes were stitched in place with 60wt polyester threads in matching colours... ...once the embroidered and appliqued border was stiched, it was time to make the hexagons. I'd bought both iron-on fusible hexagon papers by Hugs n' Kisses, along with a set of traditional paper templates. After much deliberation, I decided to go with the traditional paper templates by Sew & Quilt - they have a great website, along with a huge selection of EPP templates in a variety of shapes and sizes. The fabric hexagons were wrapped around the paper templates, thread basted, then hand stitched together using a fine 60wt thread. The hexagons were initially stitched in rows, then the rows stitched together... ...once the centre panel was pressed, it was held in place with a few spots of roxanne basting glue, ready to be hand stitched to the top of the tablerunner. Using a fine thread for this means the hand stitches are almost invisible. A small running stitch is sewn neatly around the hexagon panel, about an eighth of an inch away from the hexagons. The tablerunner was then pressed, and layered up with backing fabric and a piece of Pellon H30 wadding purchased from Cross Patch - this is a thin felted polyester wadding which I particularly like for my tablerunners. Once the layers were basted together, I machine quilted around the centre panel using a cream coloured thread. A narrow single fold binding finished it off nicely - this was machine stitched to the front of the tablerunner, folded over and then hand stitched to the back of the tablerunner... ...and heres the finished tablerunner - it really does look very pretty! Measuring 21.5" x 13.5" this is just a small runner, but it will be perfect to use on my sideboard. I really can't believe I'd had this kit for so long - especially as I've enjoyed making it so much!
0 Comments
Leave a Reply. |
About me...Hi - welcome to my quilting blog! My passions are my family, my dog, my friends and sewing, not necessarily in that order! Archives
July 2023
Blogs I followUK shopsThese are the UK shops that I use to purchase my quilting supplies - fabrics and threads etc.
Australian linksScandinavian links |


 RSS Feed

