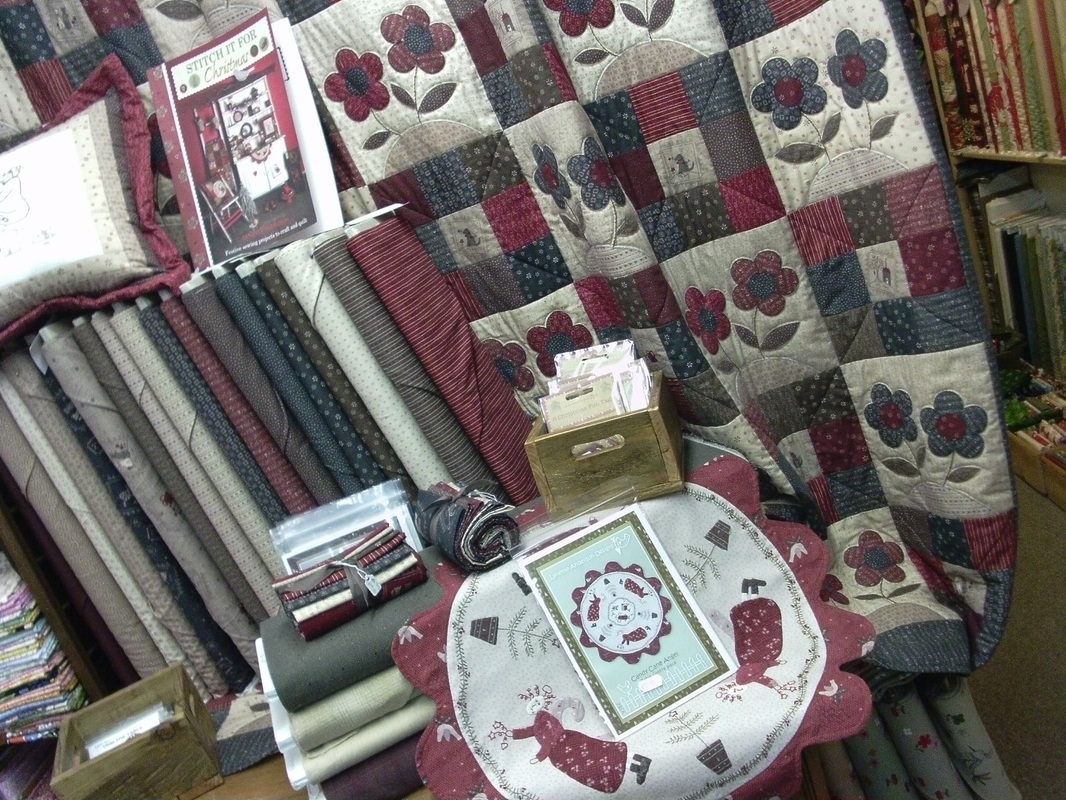
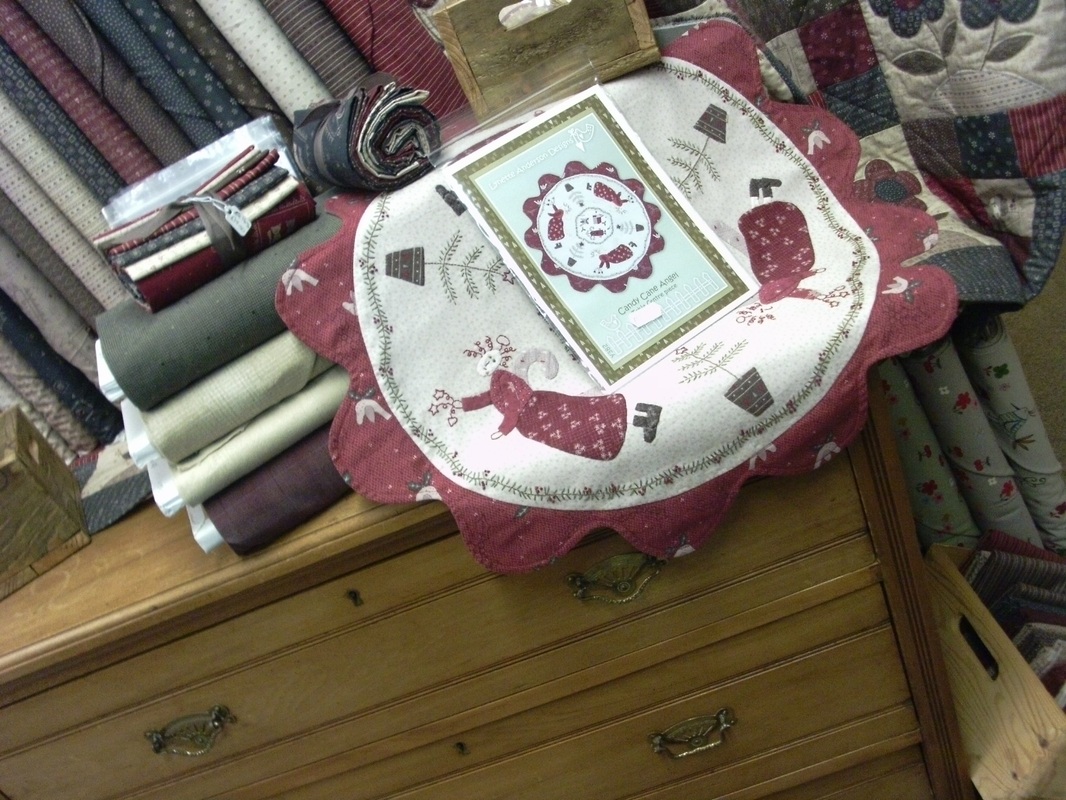
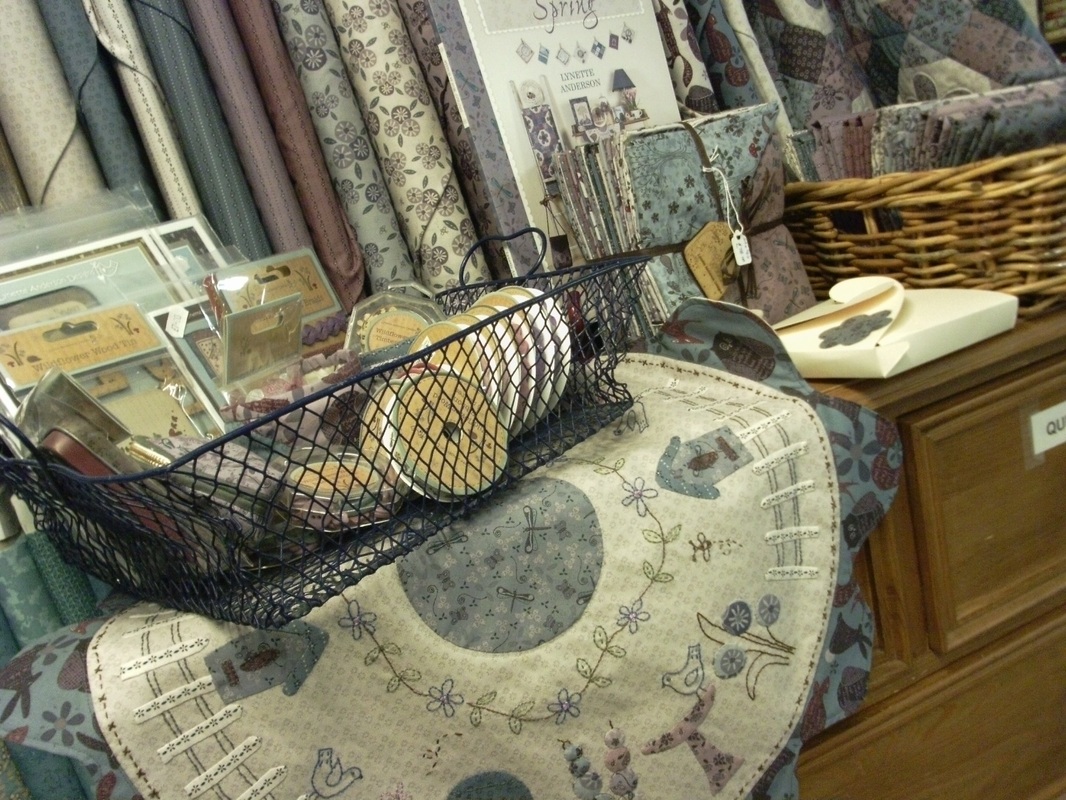
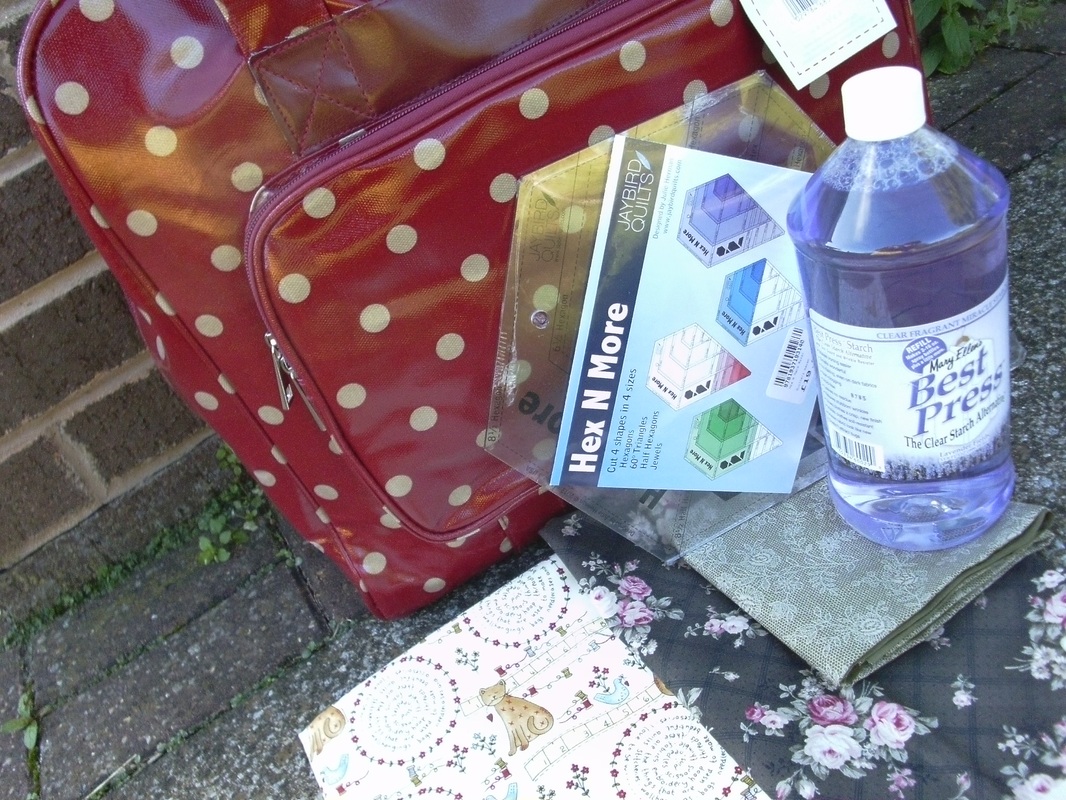
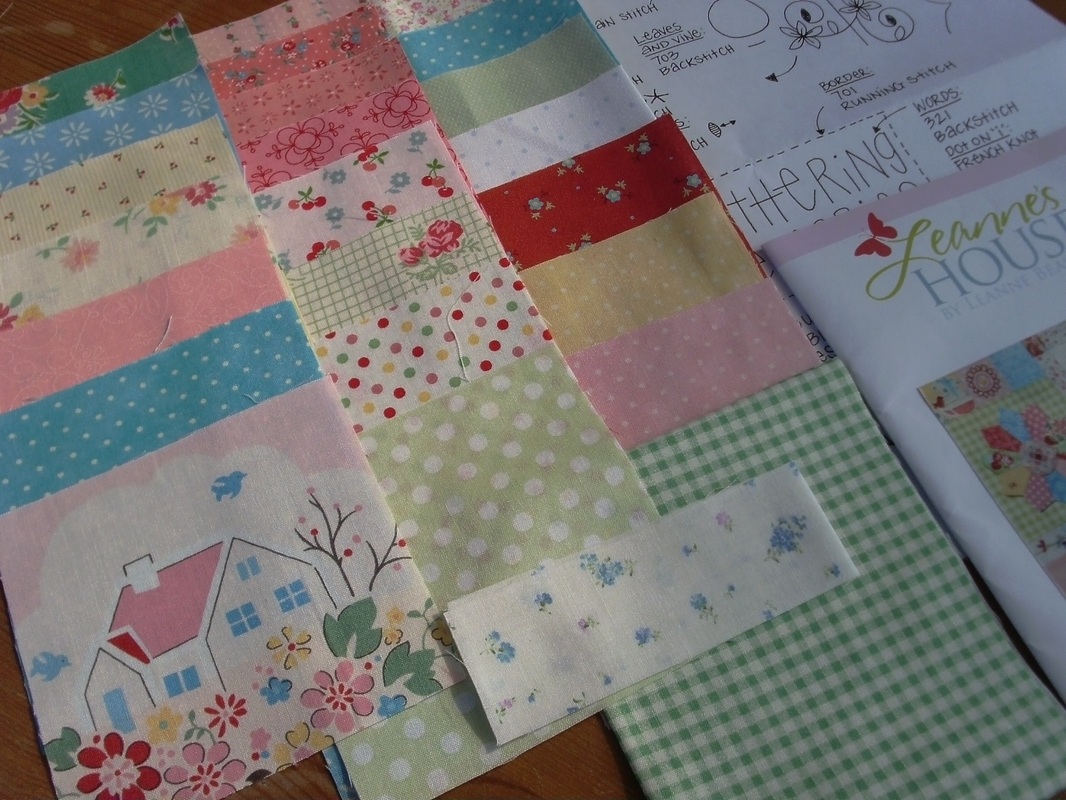
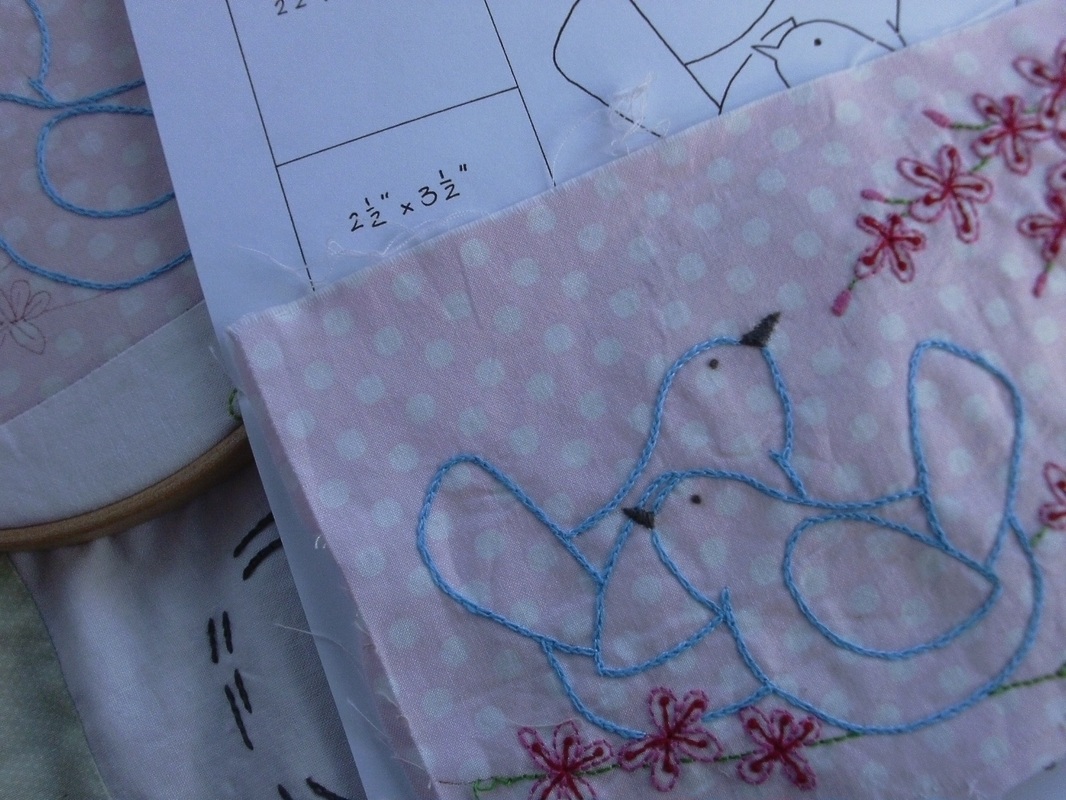
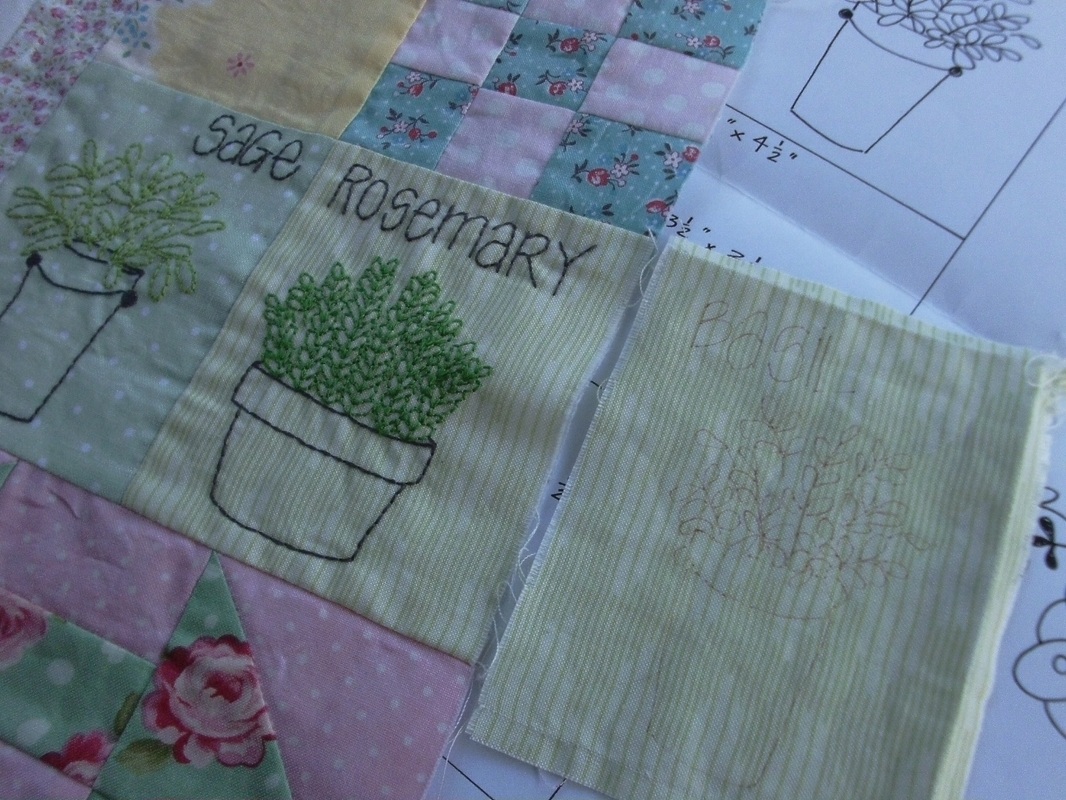
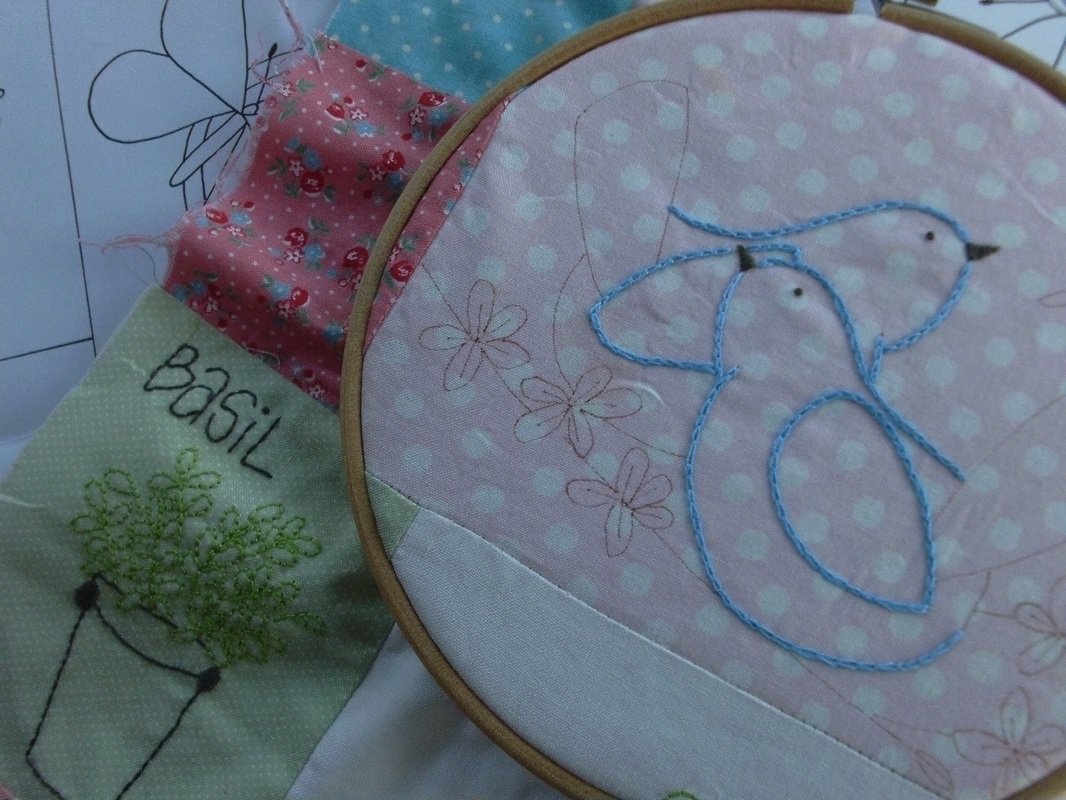
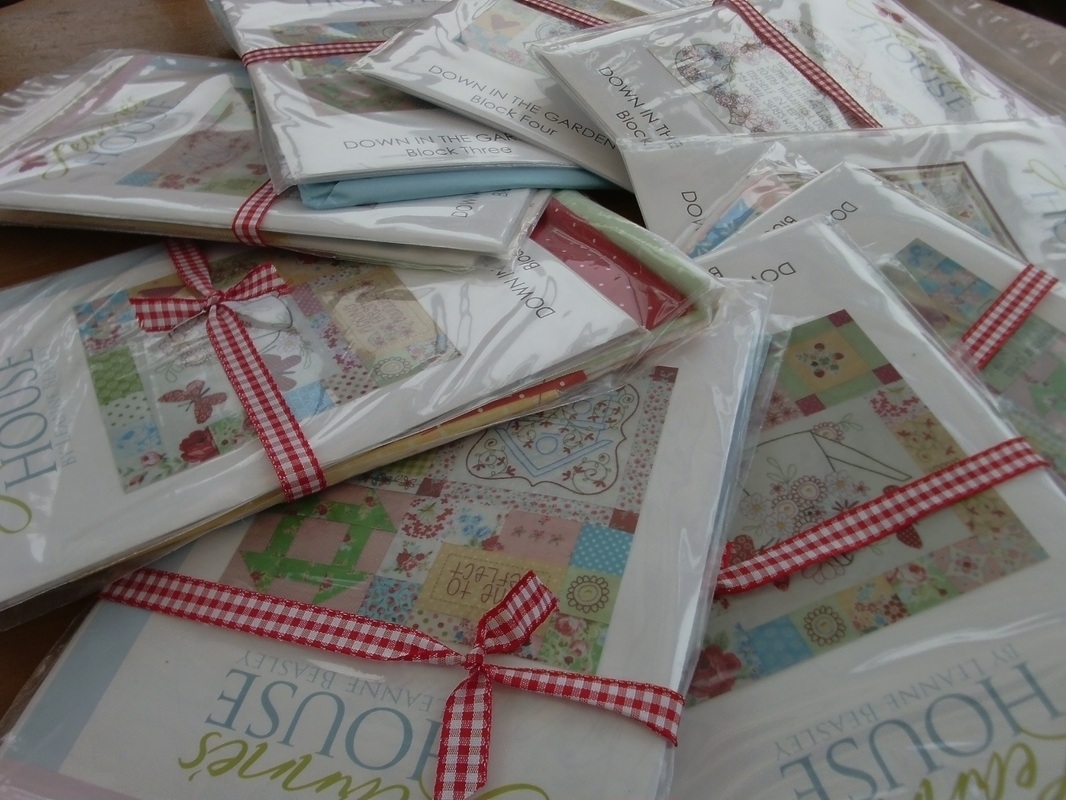
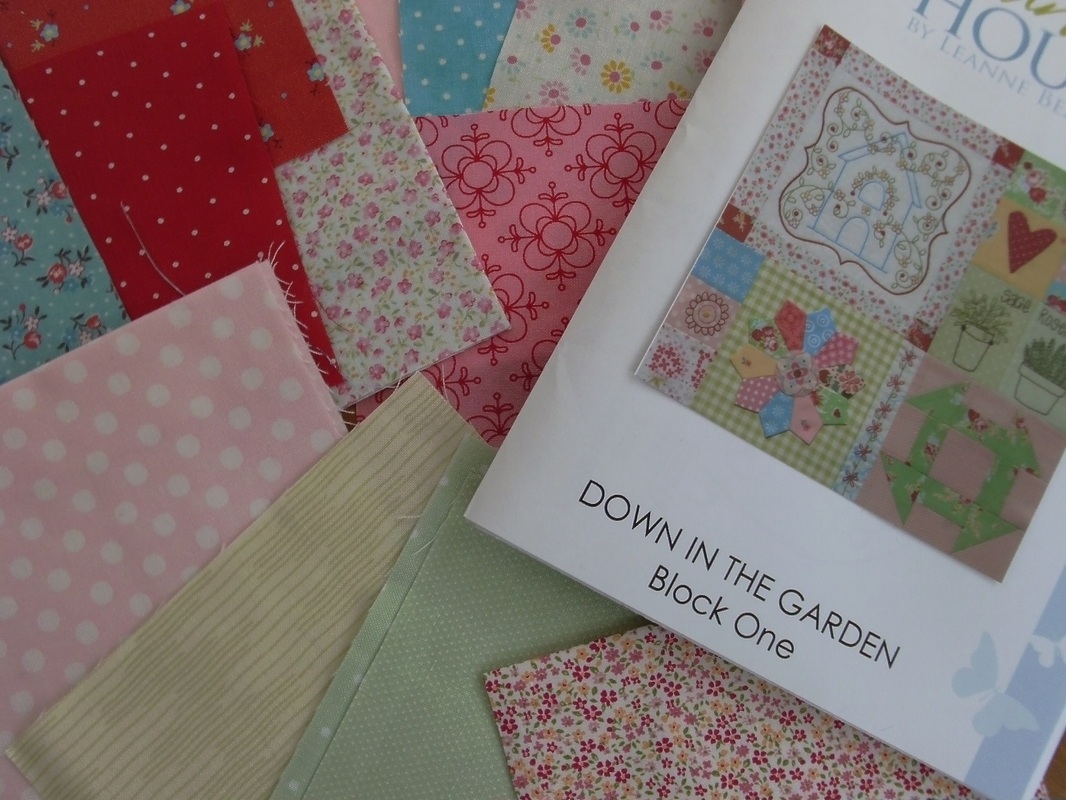
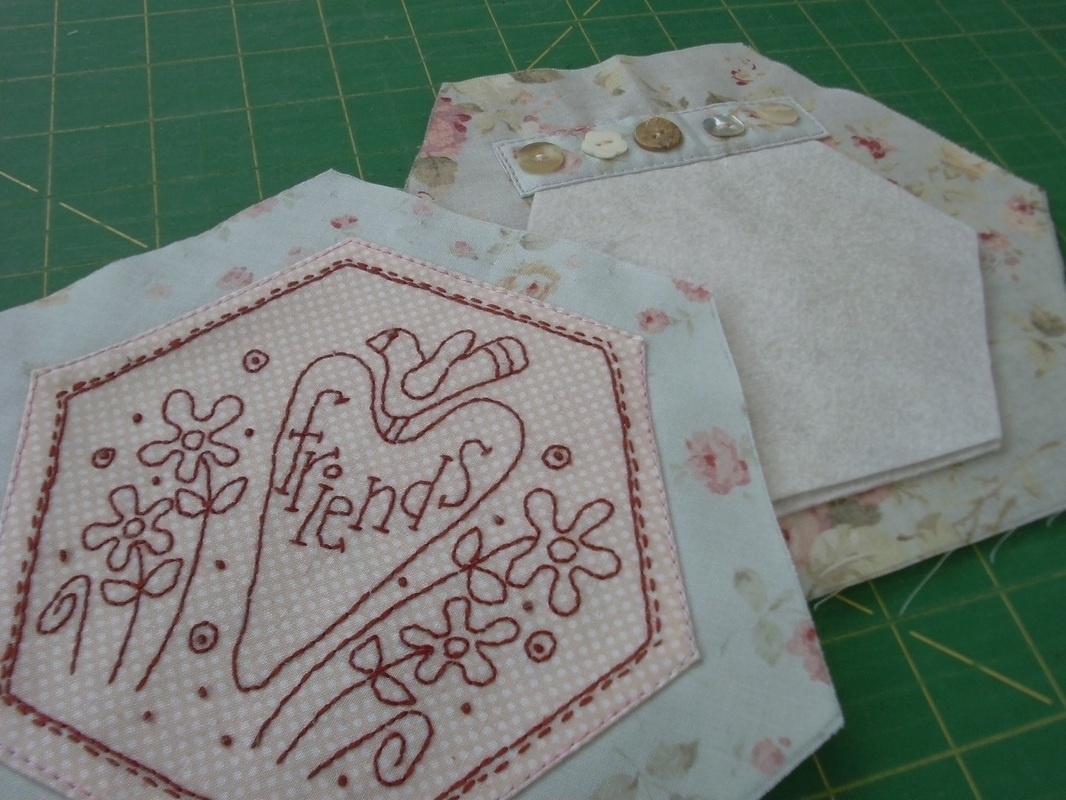
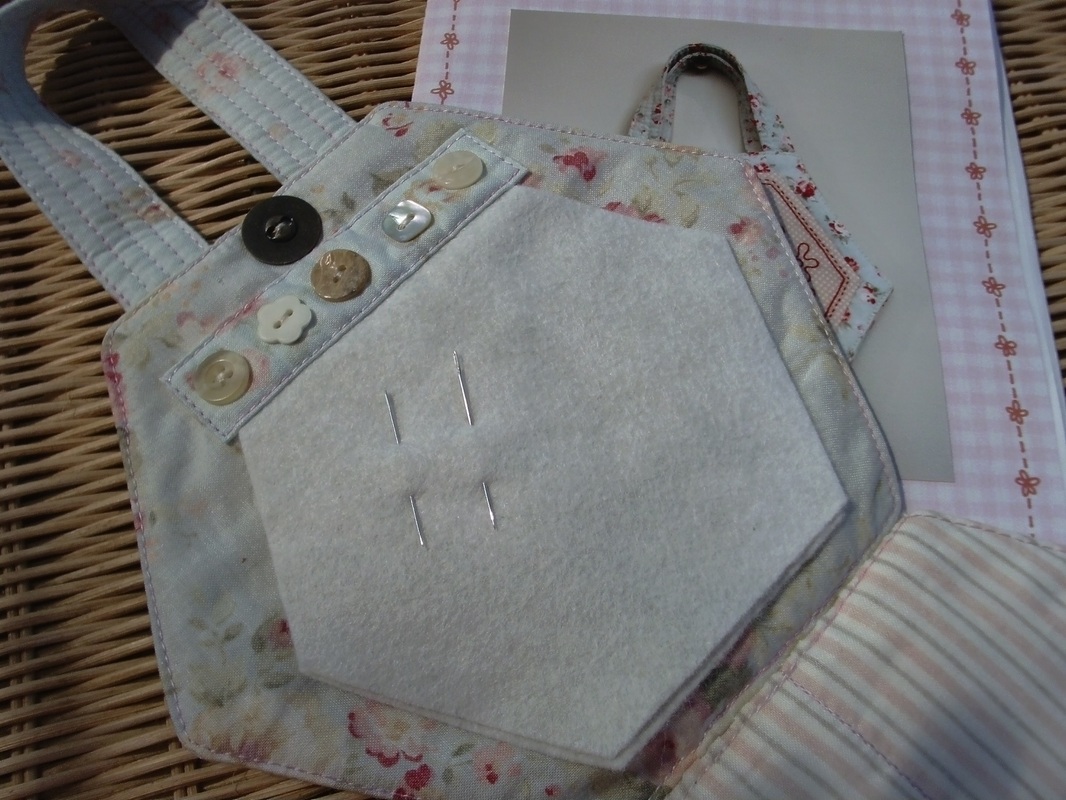
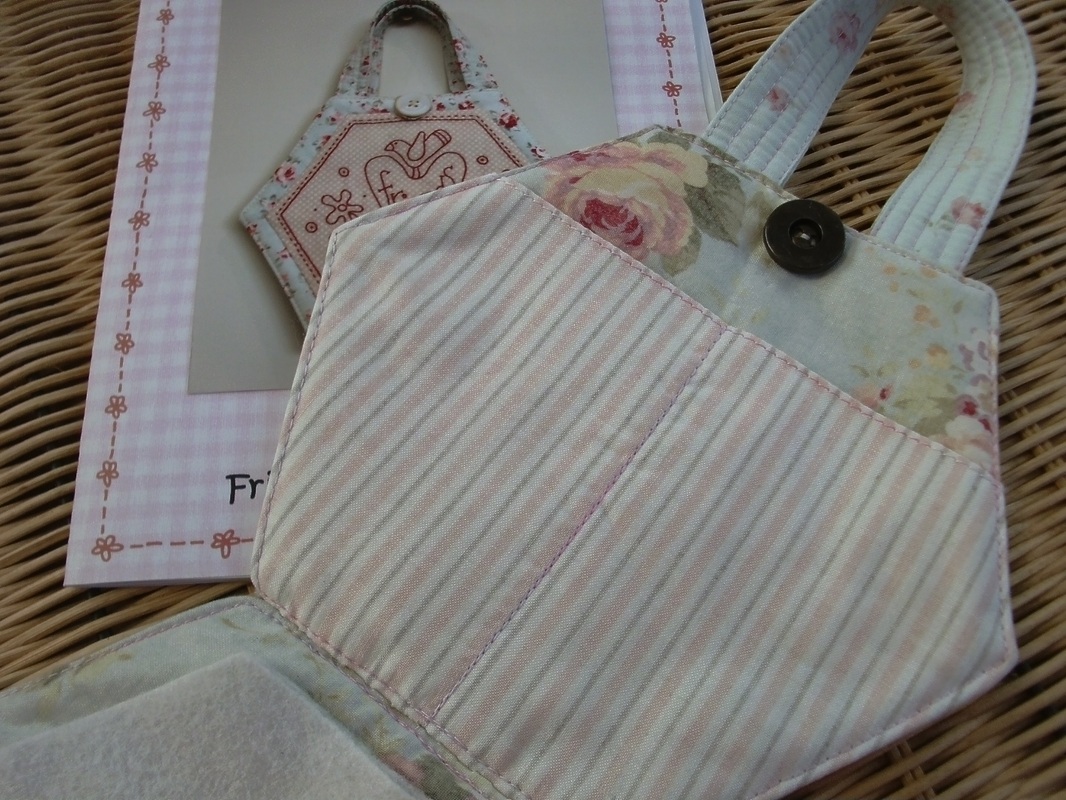
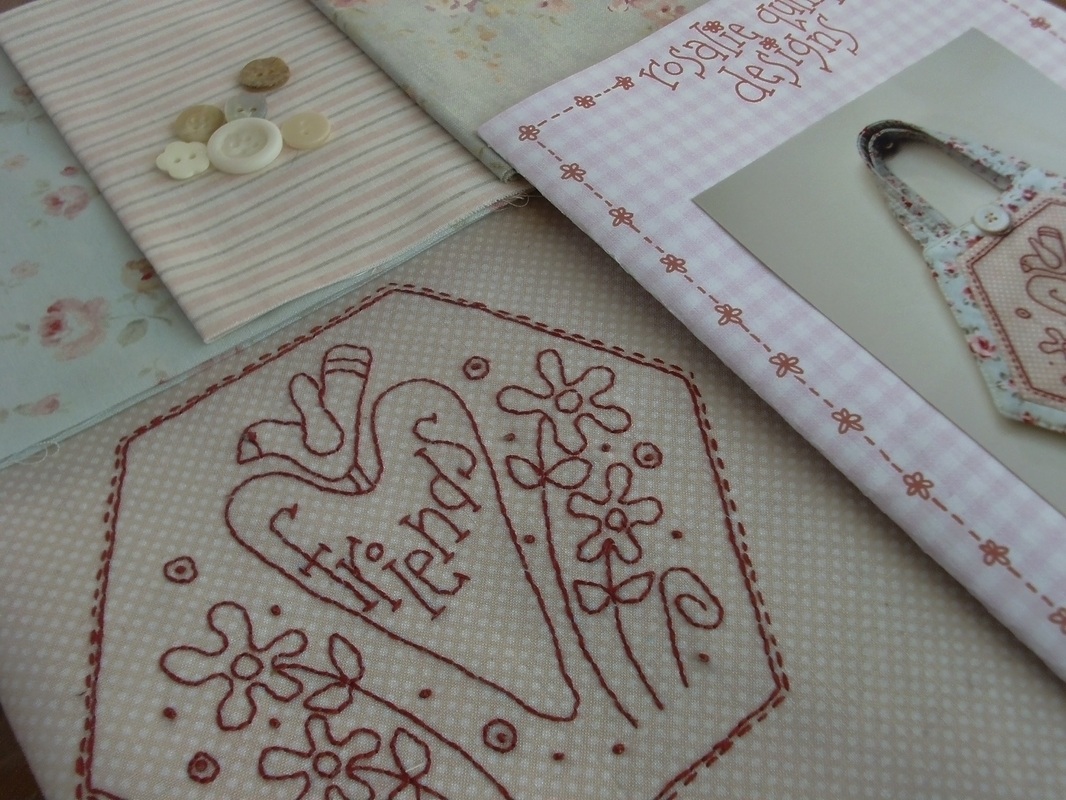
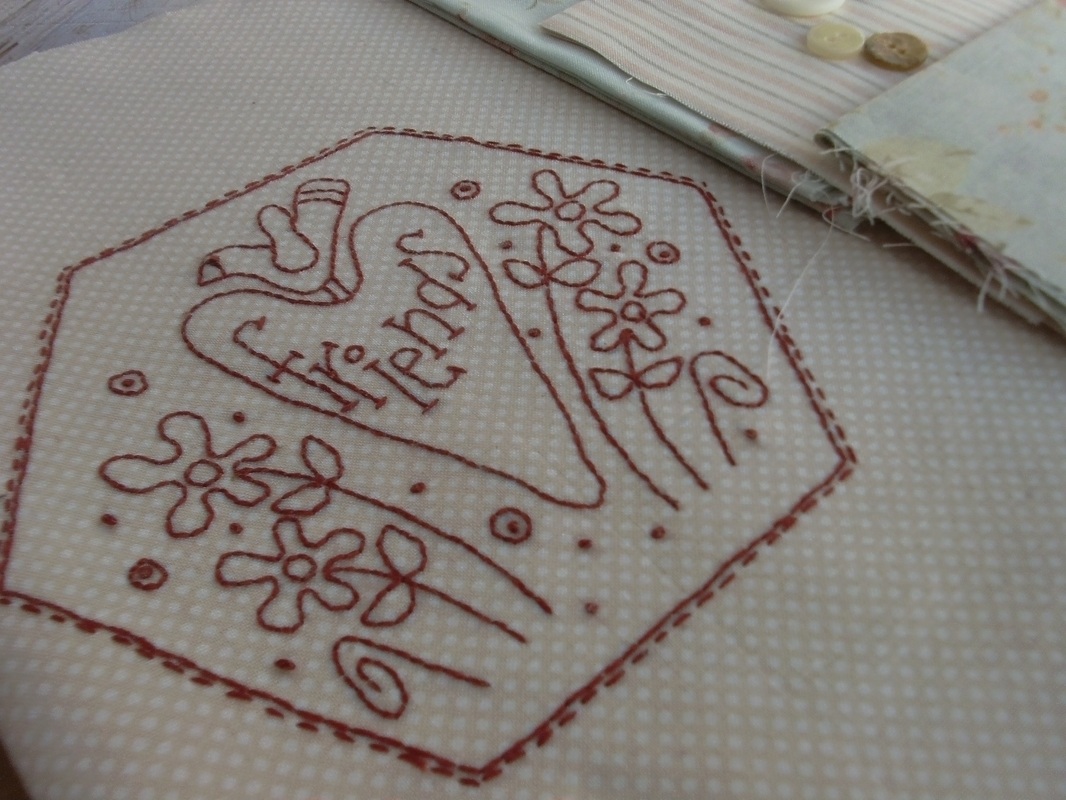
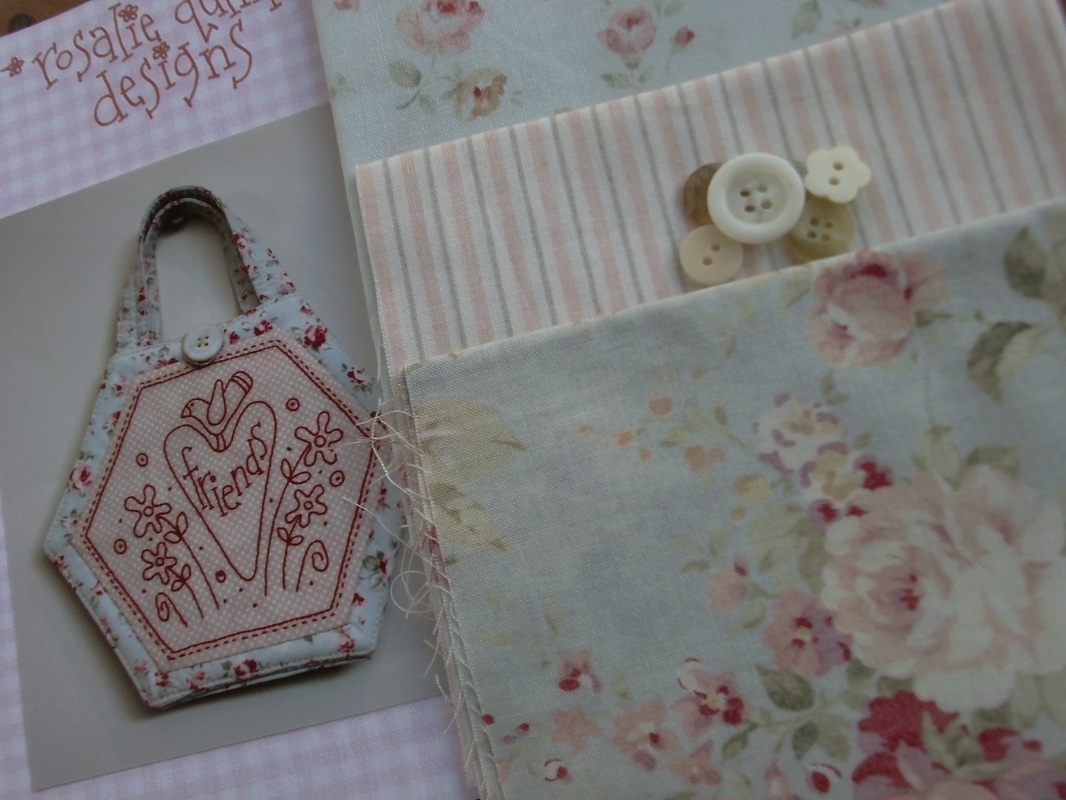
Yesterday my friend Helen came over and we had planned to go on a little road trip. We started off in Wickham Market, and we called into Quilters Haven where I bought some fabric for a sewing project (this will go with a bundle of fabric that Lynette gave me when I went to the FoQ last month), a "hex and more"ruler (I've wanted one of these for ages) and another bottle of stay press (this is just wonderful at getting creases out of fabric - I even caught Mr F using it when he was ironing his shirts!!) then we drove over to Bungay. First stop there was Sew and So's, where they had a wonderful display of Lynette Anderson's range of Christmas fabric, "Candy Cane Angels"and a lovely display of her "Wildflower Wood" collection too.... 
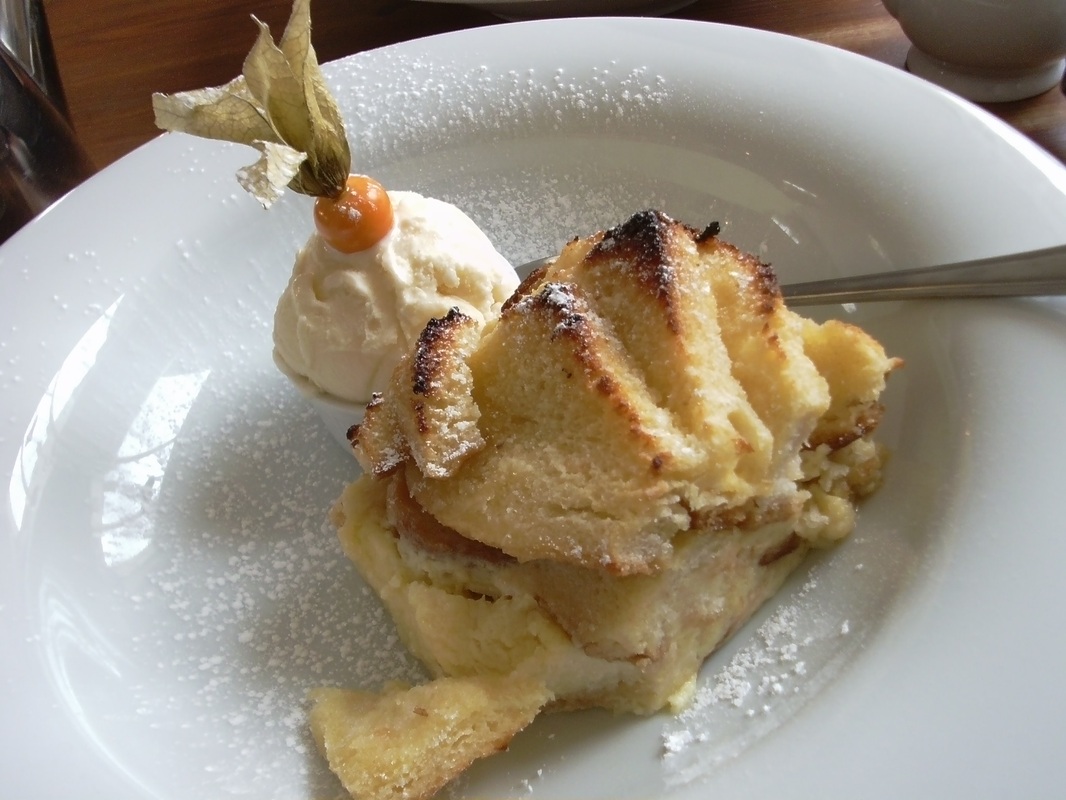
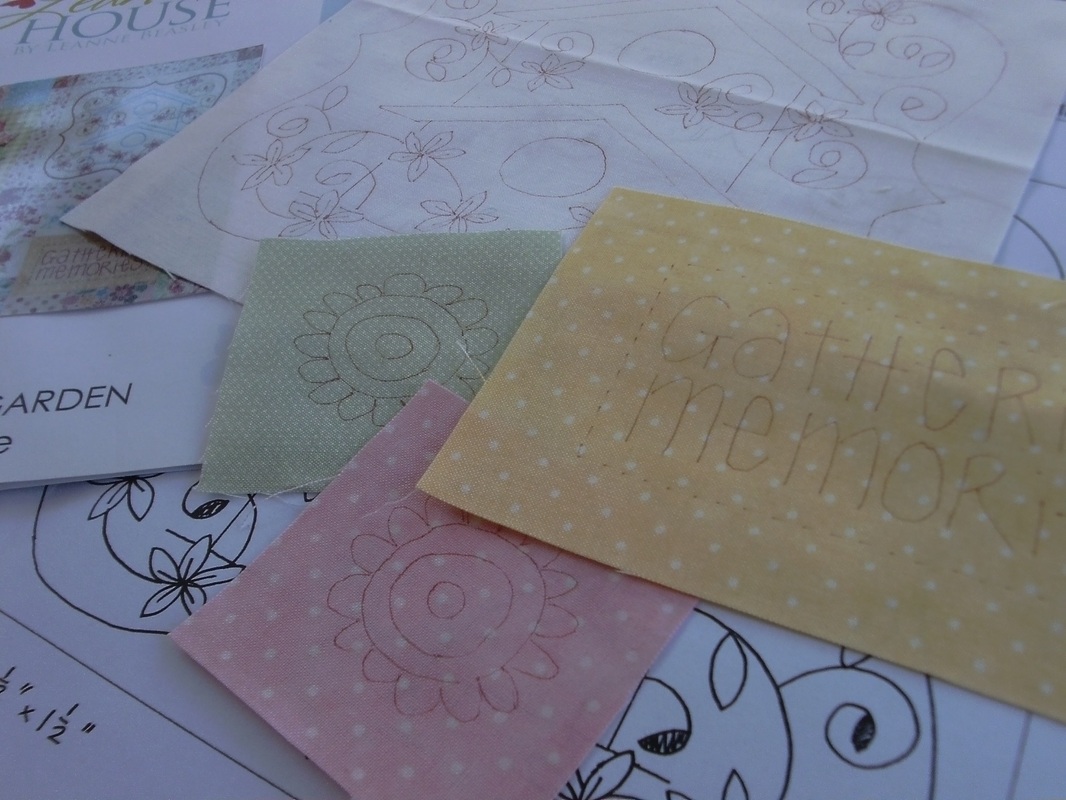
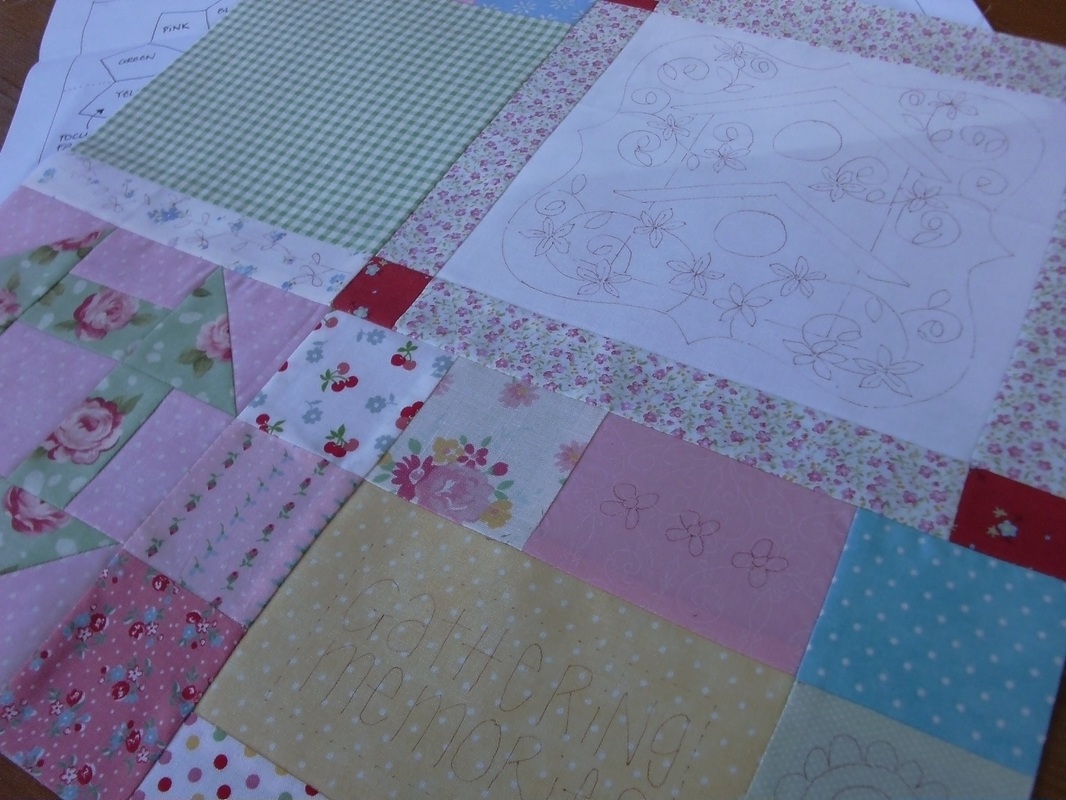
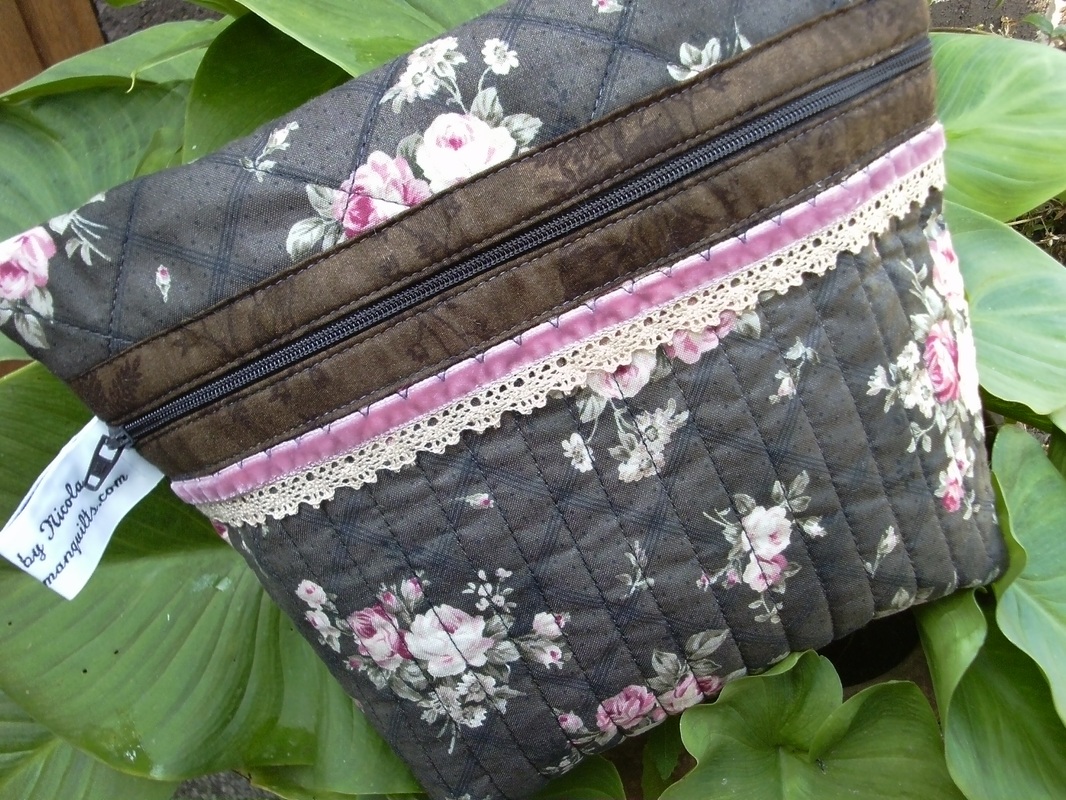
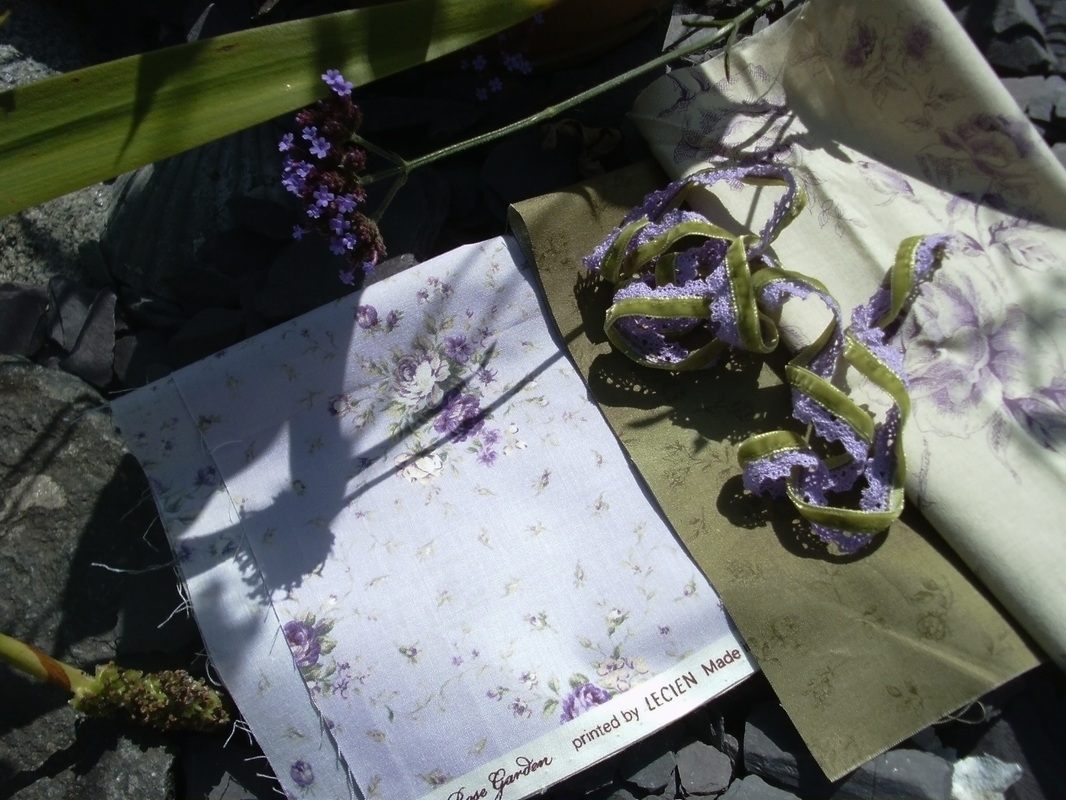
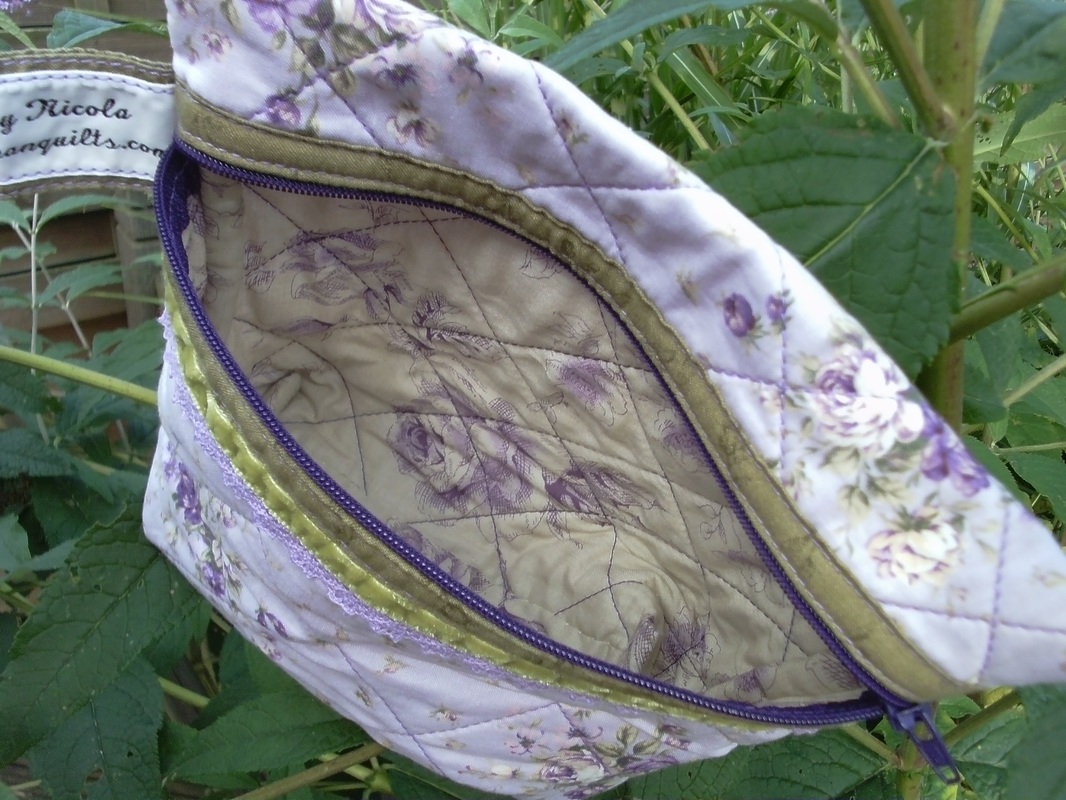
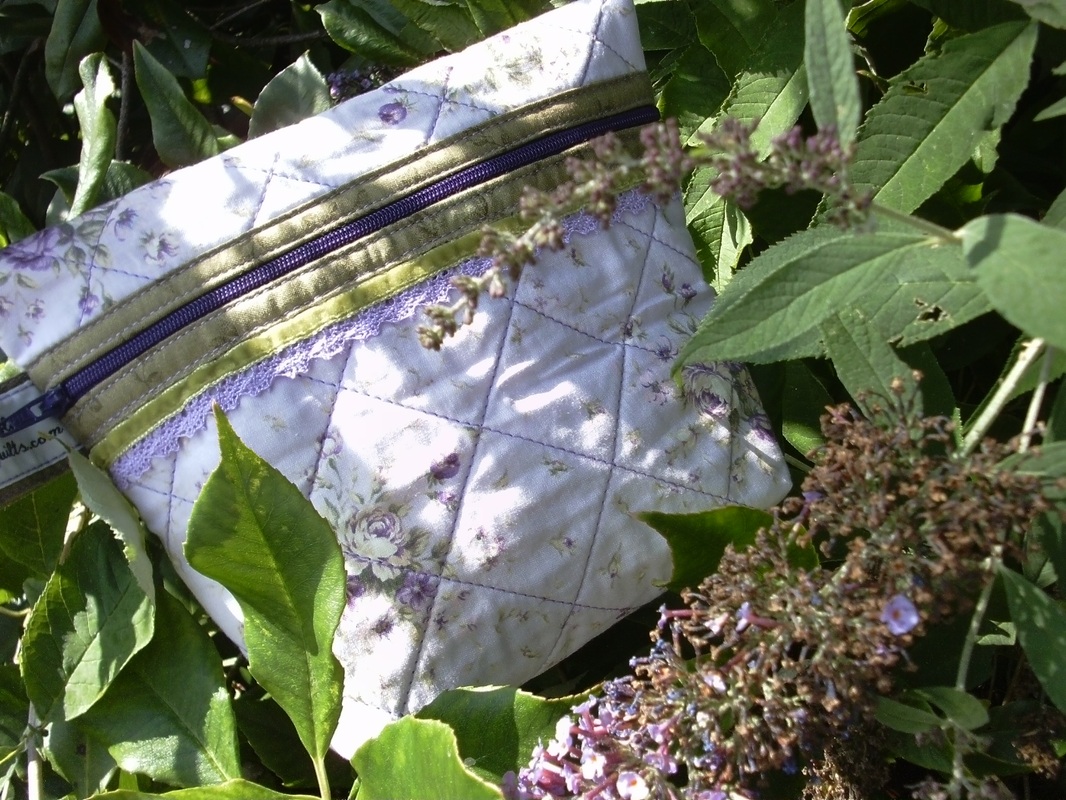
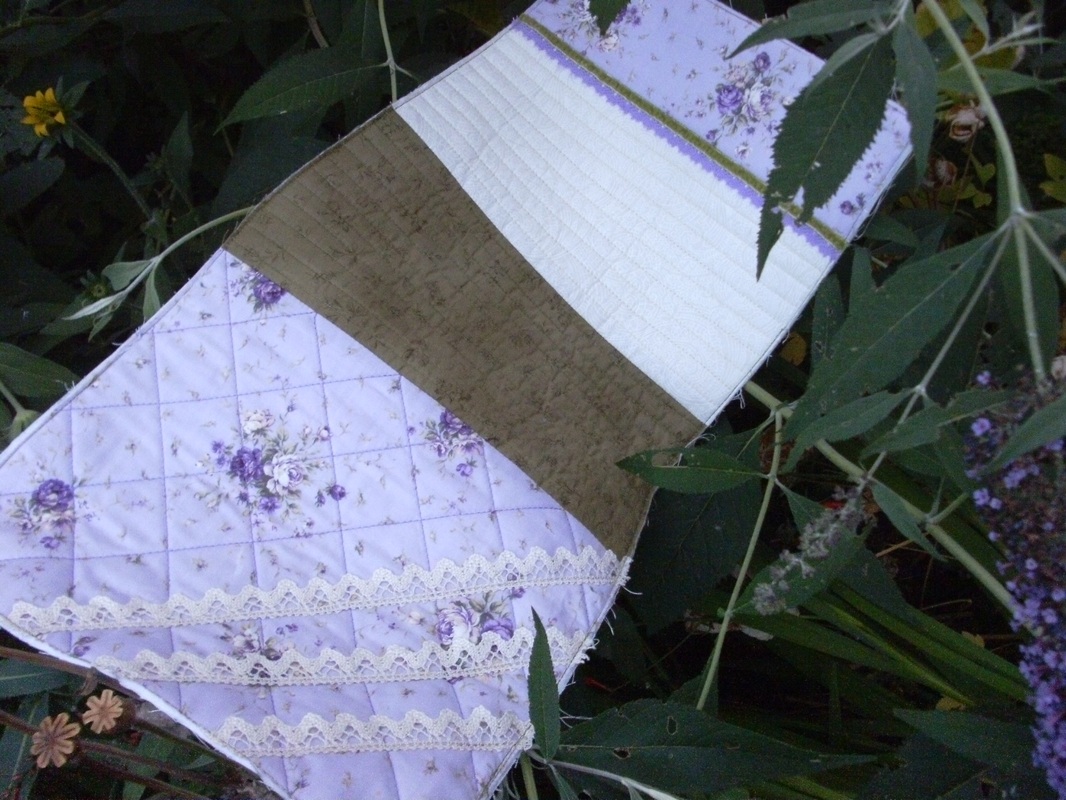
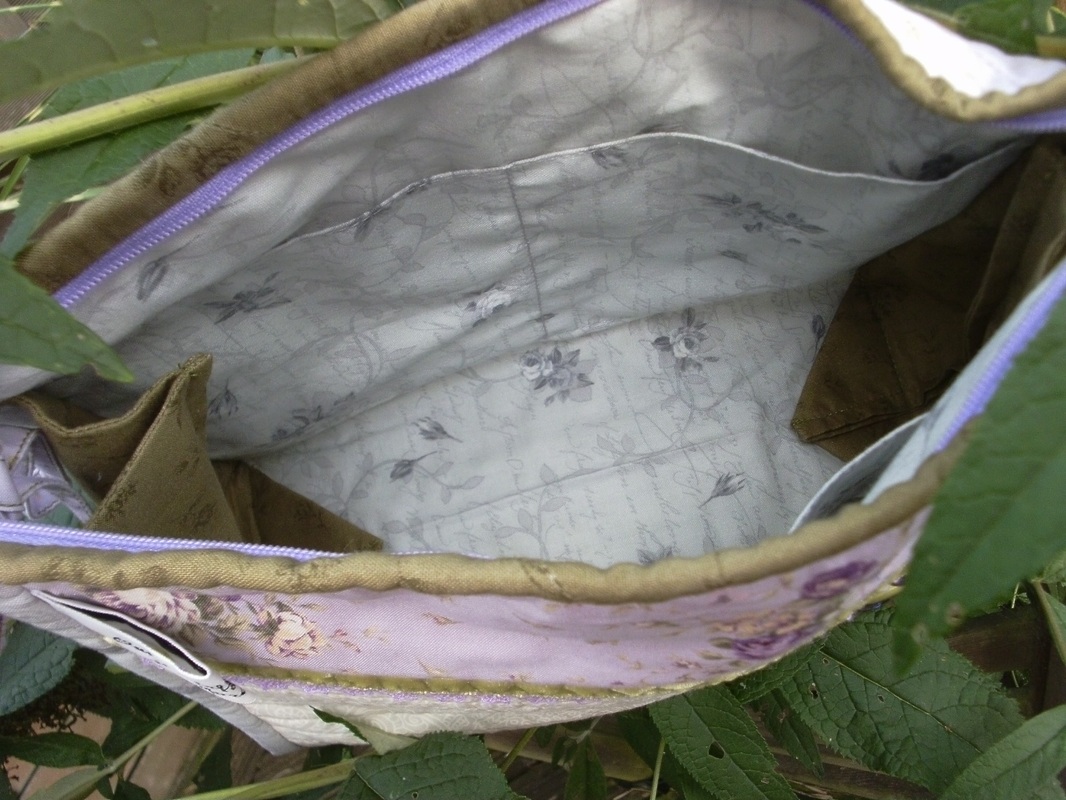
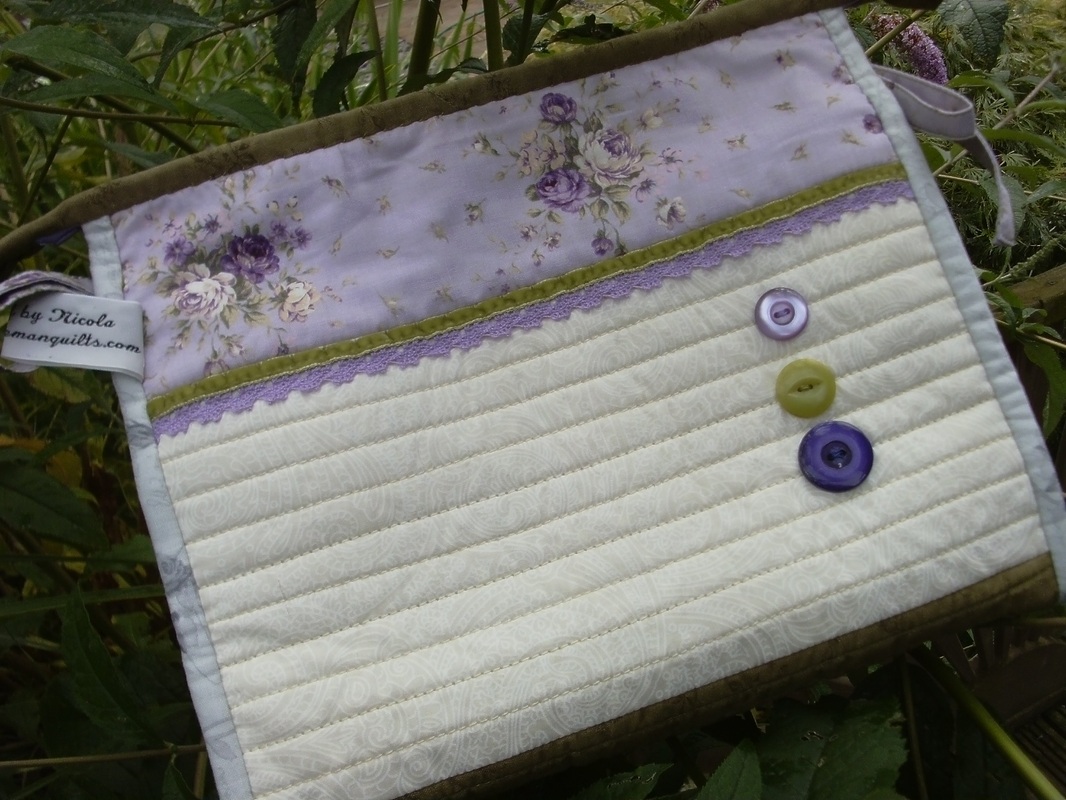
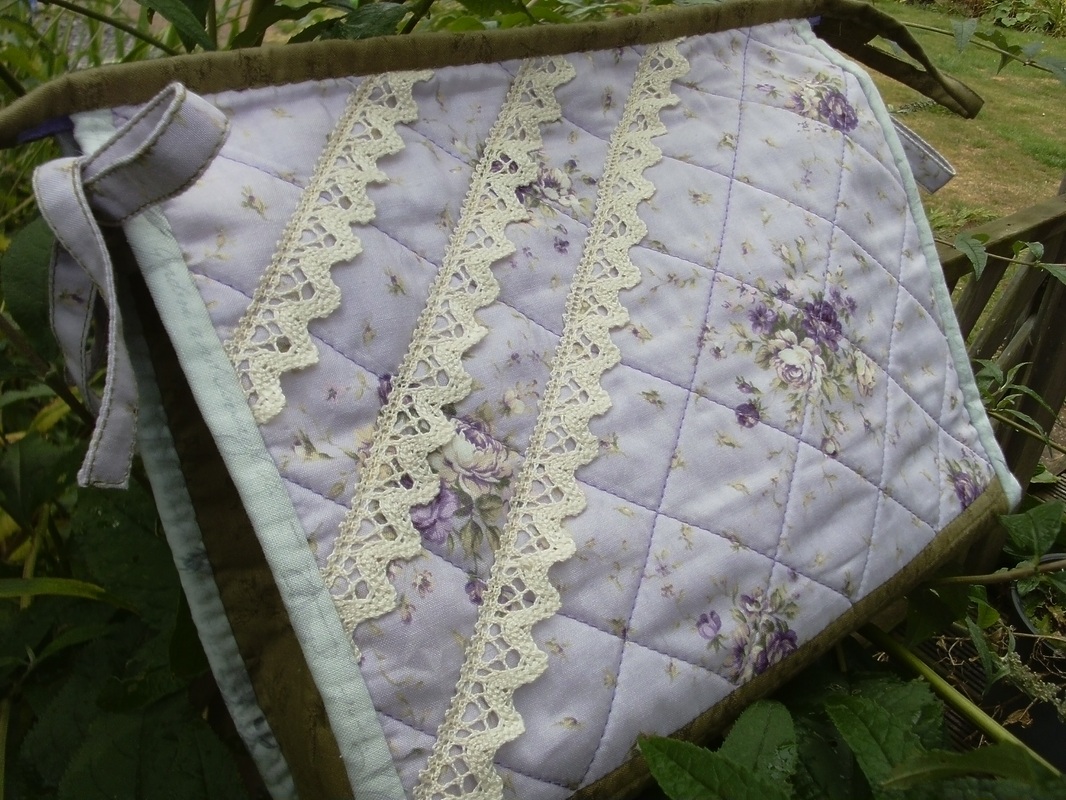
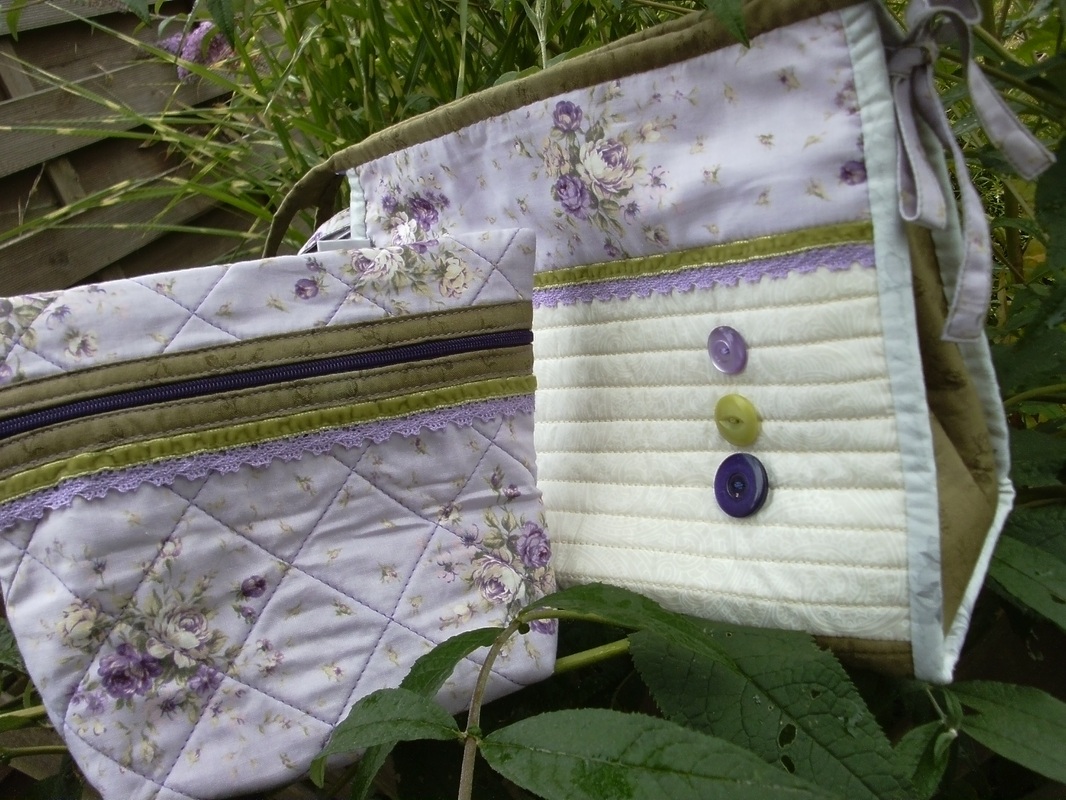
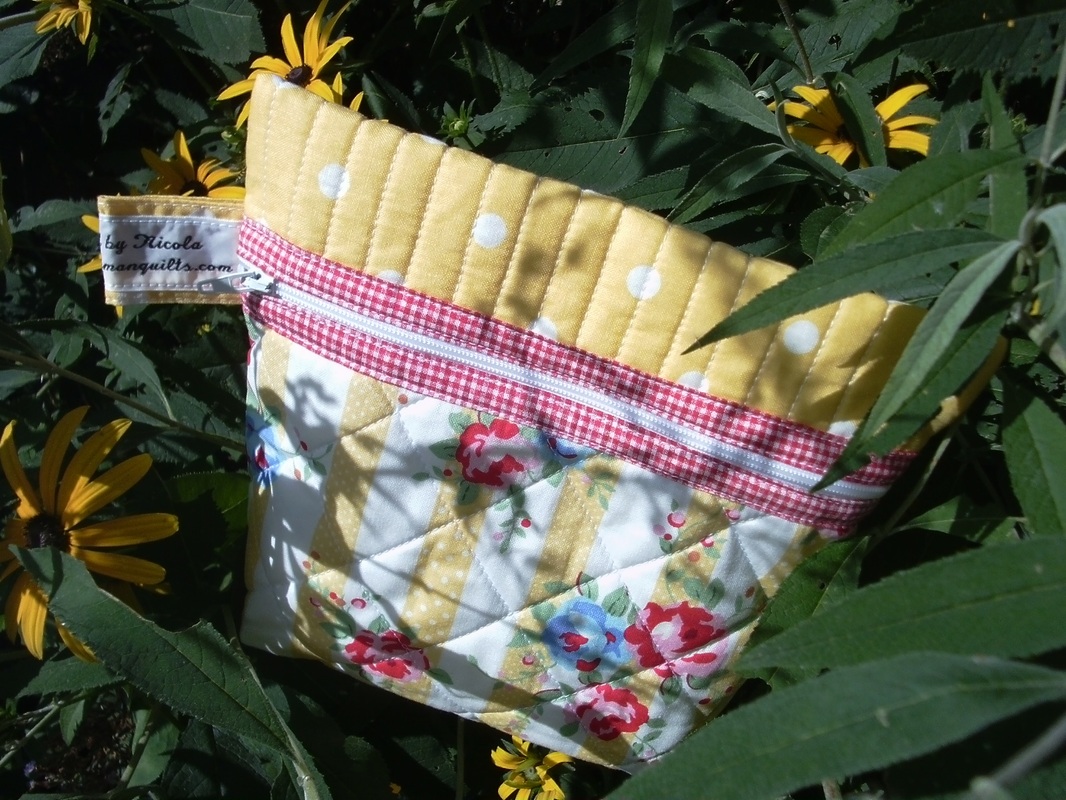
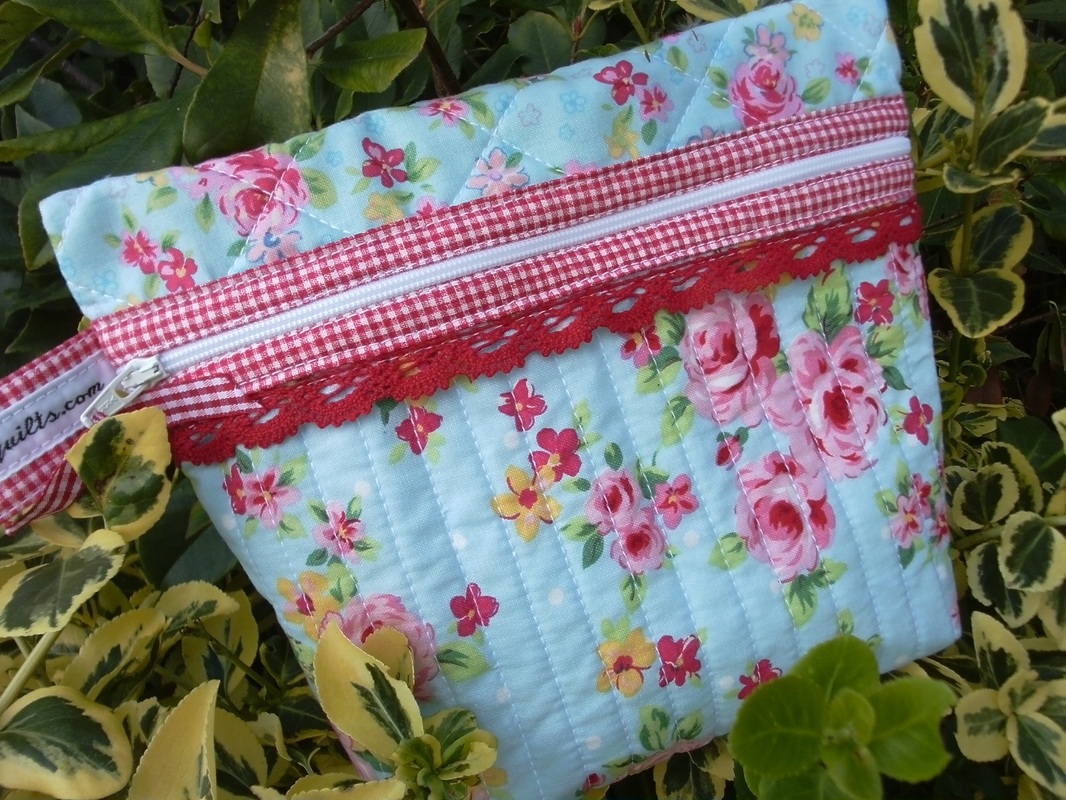
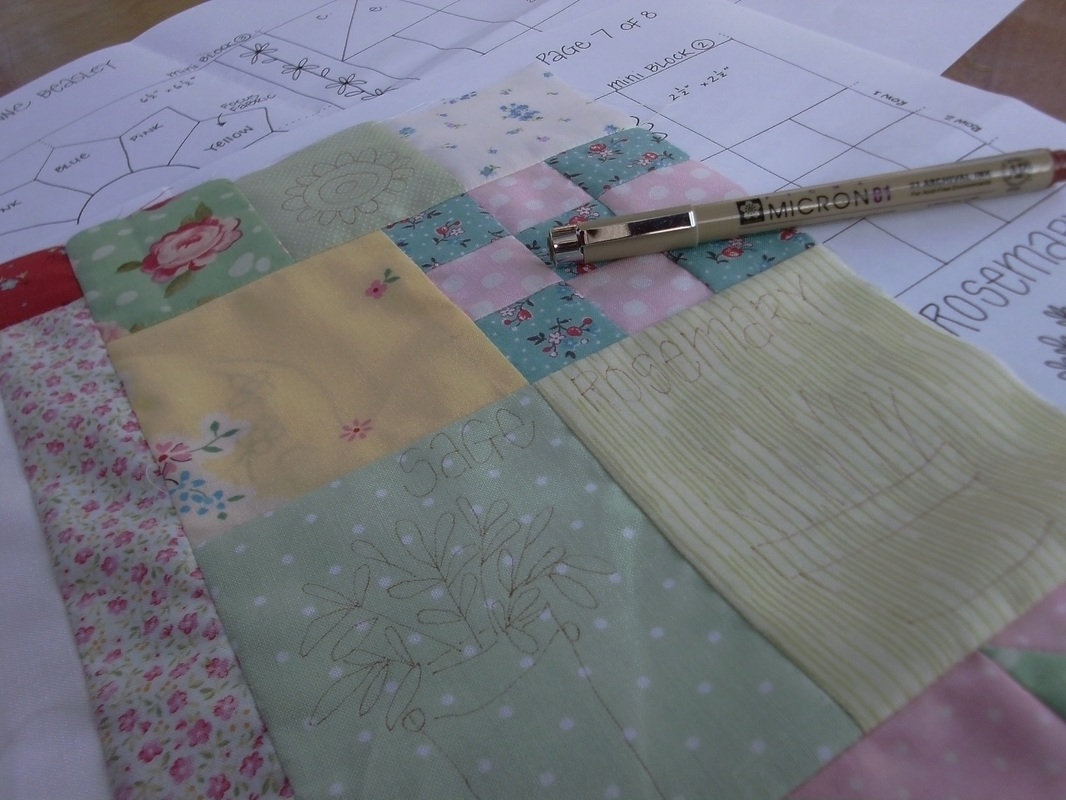
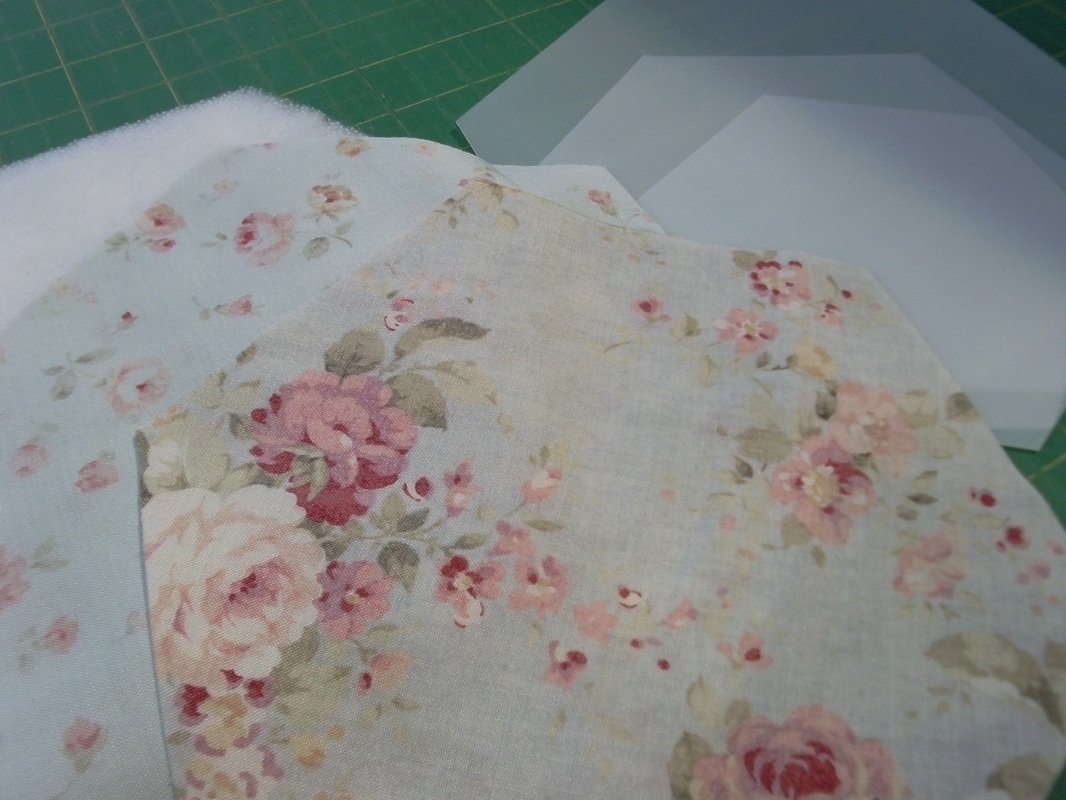
.....I needed some fabric to team with a couple of Lecien prints that I already had, and this sage green print goes perfectly with both fabrics - this will be used for binding and lining for cosmetic bags. I was nearly tempted to get some of the new "Flower Sugar" Lecien collection and some of the new Tilda prints too but I decided to wait until my next trip for that. Oooh and yes did you notice this lovely red bag in the background? It looked so lonely siting in the window at Sew and So's and it will be perfect for my Bernina sewing machine to live in!! I just couldn't resist it! After our little shopping spree, we went for lunch at Earsham Street Cafe, where we both had courgette and sun-blushed tomato tart with lentils and salad, followed by the MOST delicious lemon bread and butter pudding. What a super day out! Now please excuse me while I go and play with my new fabric!!
2 Comments
Well I really couldn't resist opening the packet of Block 3 of "Down in the Garden", designed by Leanne Beasley. I'd bought this BOM a few years ago and finally made a start on it a few weeks ago. I've already completed the stitchery on Block 1 and Block 2 but haven't yet done the applique (hearts and mini-dresden plates and butterflies). After sorting out the fabrics, I traced the stitchery blocks with a Pigma pen size 01 (this is a permanent pen so you do need a very steady hand). Then the mini blocks were pieced together with a churn dash block that had already been prepared (4 of these were made at the beginning, with Block 1) and finally a piece of stabiliser was ironed to the back of the block. It's now ready for the stitchery and I'm using DMC threads for this.
Well stitching Block 1 was a dream - the mini blocks pieced together easily, I'm really pleased with the stitchery and I've just got the applique left to do. I decided that as there a few hearts and mini-dresden plates and butterflies to applique onto this quilt, I'd make them up en-masse, and hope to do that very soon. Meanwhile, I was really enjoying the stitchery, so made a start on Block 2 and it all started off so well. I was stitching the 2 small bluebirds, and had problems with satin stitching one of the beaks. I just didn't seem right, and so I very carefully unpicked it. The second time it was even worse! So again, I tried to unpick it very carefully - except that I wasn't careful enough and ended up with a hole in my fabric!! Disaster!! I thought I could make it better, so I poked the frayed threads through to the back of the block, and fused another small piece of interfacing to the back of the stitchery, and redrew a larger beak and started stitching - but the threads frayed even more and it looked worse than ever! Even BIGGER disaster!! Honestly, I was getting a bit niggly. So there was nothing for it - the mini block itself had to be unpicked and I cut a new piece of fabric, traced the design on it and VERY CAREFULLY stitched those beaks. (I bet Leanne Beasley doesn't have these problems!) However, things still weren't going to plan. When I laid Block 1 and Block 2 next to each other I realized that I'd used the same fabric for two pots of herbs - one in Block 1 and one in Block 2 - that would be next to each other!! I can tell you by now I was REALLY niggly!! Well I decided that I would always notice it (even though my friends said it looked ok!!) and unpicked THAT mini block too. Phew!! Anyway, the stitchery is nearly complete, and then I can make a start on block 3. After I've made some applique pieces of course!!
One of my friends has been very generous to me over the past week, and I thought she deserved a little treat. This beautiful Lecien print (part of the "Vintage Floral" collection, bought from Sew and So's of Bungay) looked perfect teamed with some velvet ribbon trimmed lace that I'd bought from Little A Designs. Once again I used the pattern "Anna's Sminkepung" by the Norwegian designer AnnAKa. This was quilted very simply - a cross hatch design on the back of the bag (I didn't even need to mark the quilting lines for this, I just followed the grid design that is part of the pattern on the fabric!) and quilted in simple straight rows on the front part of the bag. I used a variegated king Tut thread shade 979 for the quilting, and a Schmetz top stitch needle size 80. This will be delivered to my friend tomorrow, I just hope she likes it!!
One of my friends, Sue, asked me if I could do a commission for her. Sue's daughter is getting married today, and Sue wanted a matching toiletry bag and cosmetic bag to give to her daughter to take away on her honeymoon. I can remember Lizzie when she was a little girl, running around when her dad used to play cricket against Mr F's team, many many years ago before I had my own girls (gosh that seems like another life!!) Sue said the wedding colours were purple and cream, with a little bit of green. Well, of course it just HAS to be Lecien fabrics, and of course it HAS to be an AnnAKa pattern! The cosmetic bag is based on the pattern "Anna's Sminkepung", and is available from Lappedilla and Lapp-Elisa. I had some gorgeous velvet ribbon trimmed lace, in green and purple, that went perfectly with these fabrics. (This lace is from Little A Designs)..... .....once the cosmetic bag was completed, it was time to get started on the toiletry bag. "Toalettveske" designed by Elin R Roland was my choice for this - I used the same fabrics that I'd used for the cosmetic bag, (I really do love these Leciens!) and added a strip of cream swirl fabric too. There are pockets inside the bag, to keep smaller bits and bobs in, and the long zipper ensures the toiletry bag can be opened fully..... .....and I embellished the cream strip of fabric with some vintage buttons, these colours matched the fabric perfectly! The toiletry bag was decorated with different lace trimmings so that both the front and the back will look slightly different. The ties keep everything neat and tidy at the sides, and finally one of my labels is stitched into the side seam..... .....I delivered this to Lizzie's mum a few days ago, and she thought Lizzie would love it! Well she's getting married later today, at 1pm, so does that means this will be packed in her case ready for her honeymoon? - I do hope so!
I've been a huge fan of Lecien fabrics for quite awhile now, and was thrilled to see that I still had some fat eighths from the Flower Sugar collection, that were just waiting for the perfect project!! Well of course I knew they would look perfect as cosmetic bags, so using the pattern "Anna's Sminkepung" by the Norwegian designer AnnAKa, (her patterns are available form quilt shops in Scandinavia - try the links for quilt shops on the side of my blog). I used some red cotton lace by Sass and belle to trim one of the bags, and love how this looks. I've also got a piece of this fabric in the pink stripe too, so maybe that will also get turned into a bag over the weekend!
Block 2 of "Down In The Garden" is all prepped and ready to go! I struggled a bit with block 1 when I was tracing the stitchery design, then I remembered that when I did "Butterfly Garden" a few years ago, I traced the stitchery on the small blocks before I joined them together - so that's what I did this time, and found it so much easier! Then I pieced all the mini-blocks together, ironed the fusible interfacing onto the back of the whole block, and I was ready to start stitching! .
Well just look what I've got here to play with!! A few years ago (2010) I ordered this beautiful BOM from an online quilt shop called Buttonberry - they have sadly closed down, but they did stock the most amazing patterns by those wonderful Australian designers that I am so fond of! This one is called "Down In The Garden" and is by Leanne Beasley. Each month a parcel arrived wrapped in tissue paper with a lovely letter from Emma and Lisa (I do miss those Buttonberry girls! Emma and Lisa also included a little treat with the letter too - I really used to look forward to these parcels arriving every month!) and inside, tied up with pretty red ribbon was the pattern and fabric and stitchery stabilizer - everything you needed to complete each block..... .....as well as the patterns and fabric, I had been sent the fabric for the borders and the binding and even all the skeins of DMC embroidery thread. So there was nothing to stop me from making a start! Unfortunately at the time I was really busy stitching my other Leanne Beasley quilt, "Butterfly Garden" so DITG was put away each month. And that was 3 years ago. Well I've been catching up with all my unfinished projects with the "Tour de Fibre" group, and it was about time I started something new. I love stitchery, so this seemed the perfect "new" project!..... .....some of the fabric in this kit is "Grandmother's Flower Garden" by Rosalie Quinlan for Lecien and you know how much I like Lecien fabrics!! I pieced the main part of the block together, and then traced the stitchery design over the top. I use a Pigma permanent pen for this, and usually use a pale brown colour. 2 strands of embroidery thread will cover this, but you do need a steady hand. Once the stitchery design was traced, I then ironed a soft lightweight fusible stabilizer to the back of the block (this was all included in the kit too!) and then I sorted out the embroidery threads into a small portable case, as I'm going to take this with me to Birmingham. I'm hoping to do a little bit of stitchery in the evenings while I'm in the hotel to pass away the time. I'll show you how much progress was made when I get back!
I know, I don't normally blog TWICE in one day, but here is the completed "Friends Needle Case" - pattern designed by Rosalie Quinlan. I'd bought this as a kit from The Fat Quarters back in 2008, made a start on it (well - I'd completed the stitchery) and put it one side - and as I'm still taking part in the FB group "Tour de Fibre" I decided to tackle this as my next project. Hanne who organises the group challenged herself to complete 5 unfinished projects before starting a new one, and I also took up the challenge! This is my fourth project that I've completed so I'm doing quite well! And here it is - it really is very pretty - and just like shoes and handbags, a girl can never have too many needle cases..... .....first of all I traced and cut out some hexagon templates, using some template plastic. I've stored these away in my sewing box incase I ever need these again! Then it was time to cut out the main fabric, the lining, the pocket, the wadding and the woollen felt for the needles - all hexagon shaped of course!..... .....I constructed this a bit different to Rosalie's instructions. Firstly I decided to machine applique the stitchery onto the front of the needle case, and used a pale pink King Kut thread for this, stitching quite close to the edge of the applique, and stitching it into postion before attaching the lining. I used the same colour thread when I made the handles, and to top stitch around both pieces of the needle case too..... .....I love the vintage style buttons that decorate the inside of this needle case. They are SO pretty! Oh and another slight change in the construction - I used a button magnet to keep the case closed (really this was because I forgot to attach the tab to loop over the button, but don't tell anyone!! and also I sewed through the pocket making 2 smaller ones as I thought it would be easier for storing a couple of packets of hand sewing needles, reels of thread, etc. This was a super kit, as it had EVERYTHING I needed to complete the project without having to search for other supplies. Now - where's my next unfinished project?!
Well I've found yet ANOTHER unfinished stitchery project! This one is called "Friends Needle Case" and is by the Australian designer Rosalie Quinlan. I bought this kit absolutely YEARS ago (?2008!!) from The Fat Quarters, and they still have this pattern in stock if you're interested in making one too!! The kit had just about everything I needed to complete it - the fabrics (Lecien - my favourites!! - part of the Dunham Quilt collection), the pellon, the stitchery stabilizer, the embroidery thread, even the cute buttons for embellishment. AND it is a hexagon shape - too cute! I had initially completed the stitchery and then packed it away - and goodness only knows why as it's SO pretty - or should that be SEW pretty?!! I had traced the pattern with a fine Pigma pen, and stitched the design using 2 strands of DMC embroidery thread. As everything was included in this kit, I was ready to go - however, life got in the way - and it didn't get finished, like so many of my other projects! So today I am having a super sewing Sunday and hoping to get this one finished! What are you busy doing today?
|
About me...Hi - welcome to my quilting blog! My passions are my family, my dog, my friends and sewing, not necessarily in that order! Archives
July 2023
Blogs I followUK shopsThese are the UK shops that I use to purchase my quilting supplies - fabrics and threads etc.
Australian linksScandinavian links |