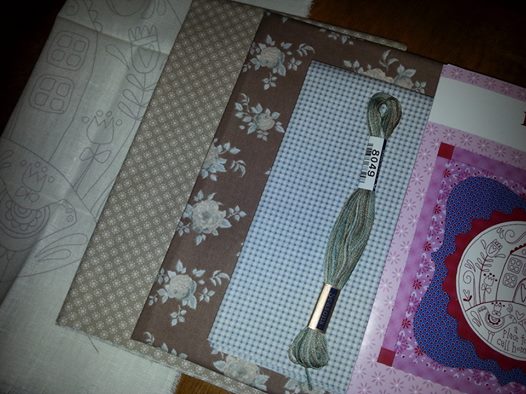
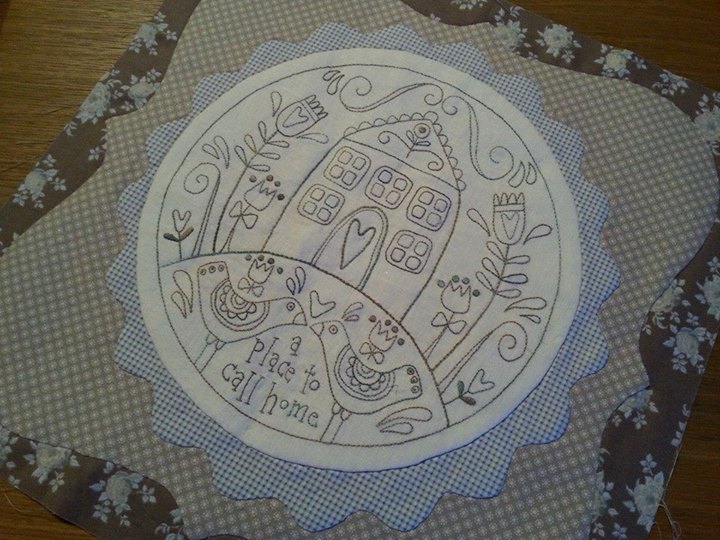
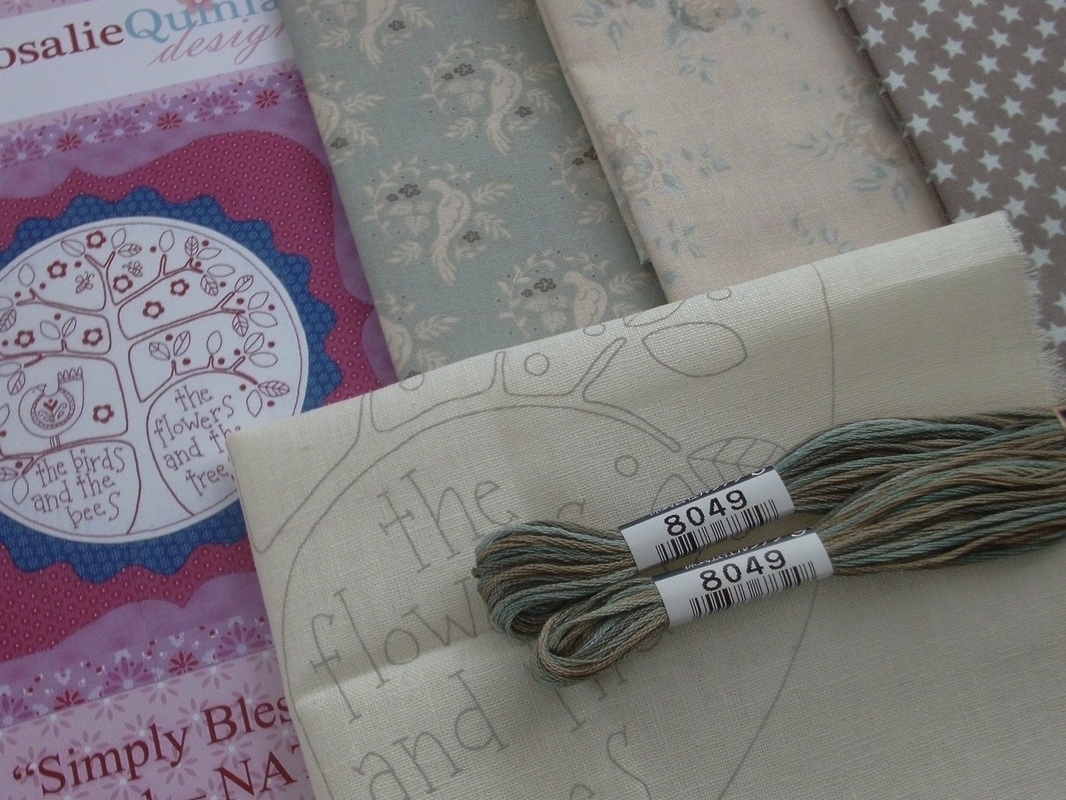
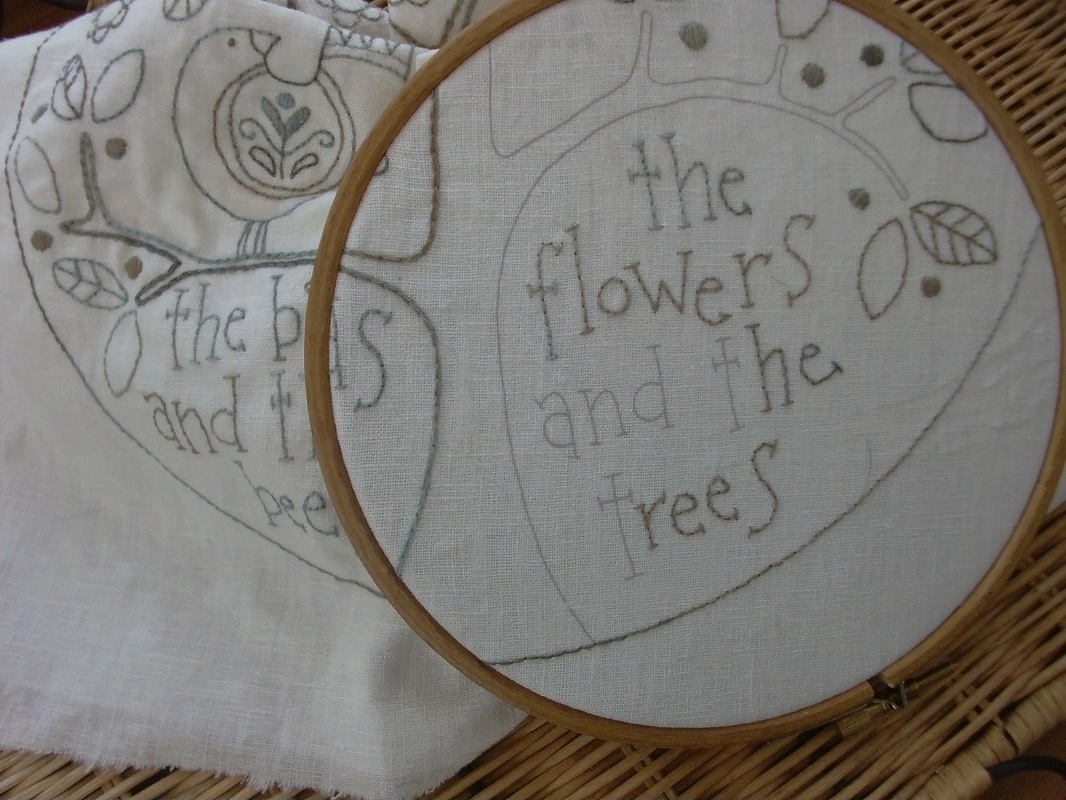
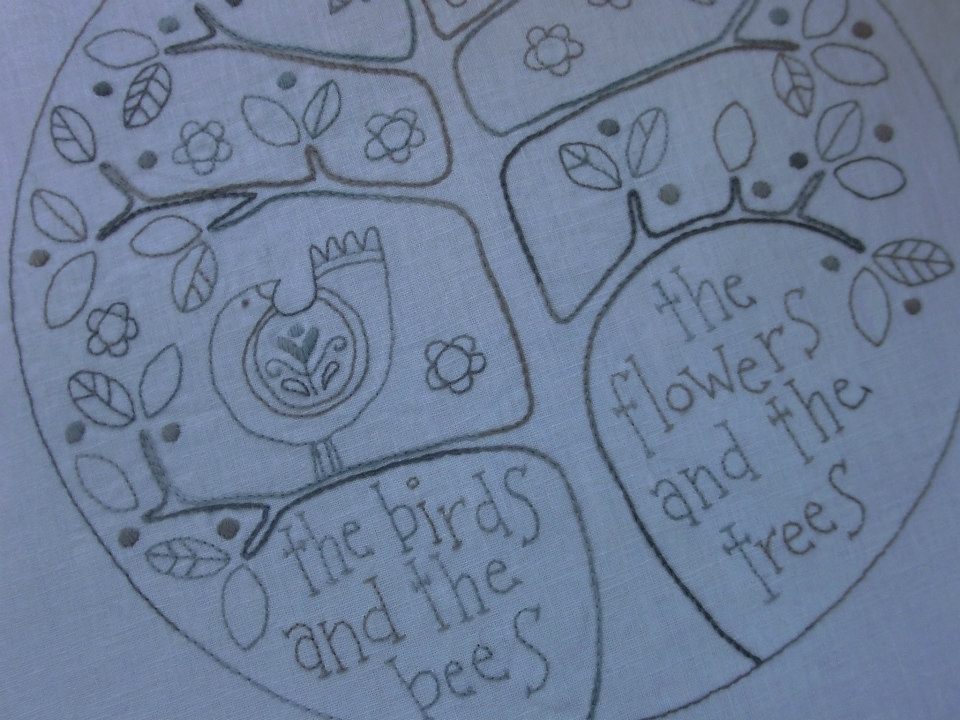
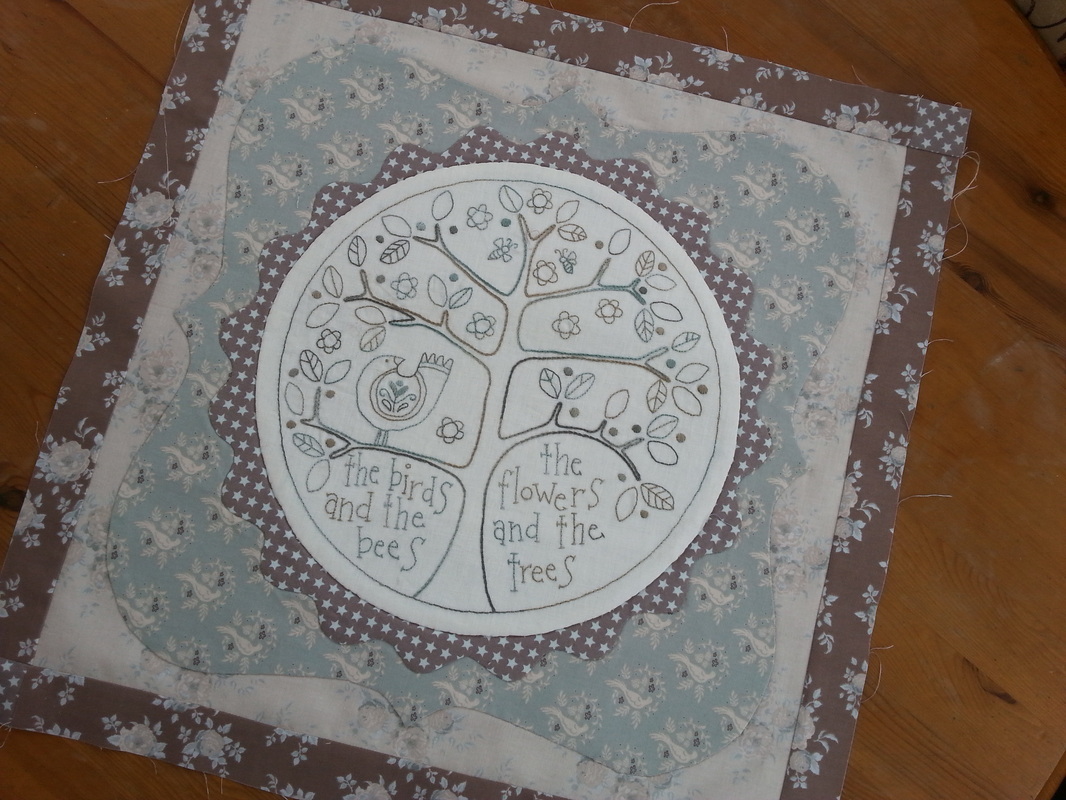
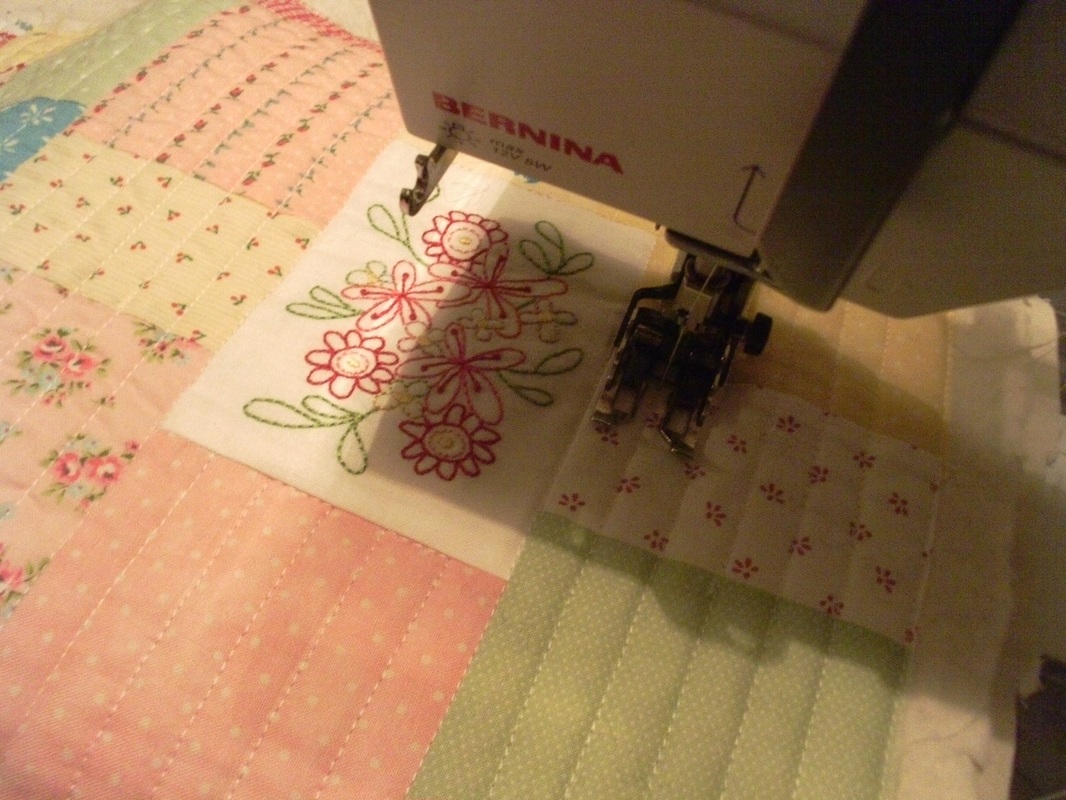
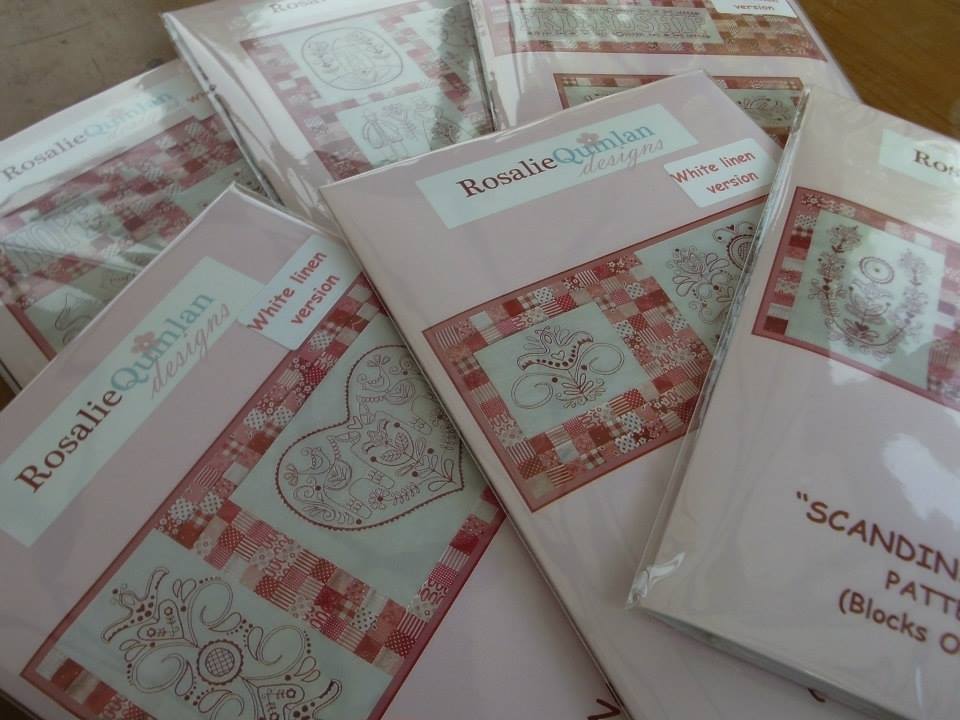
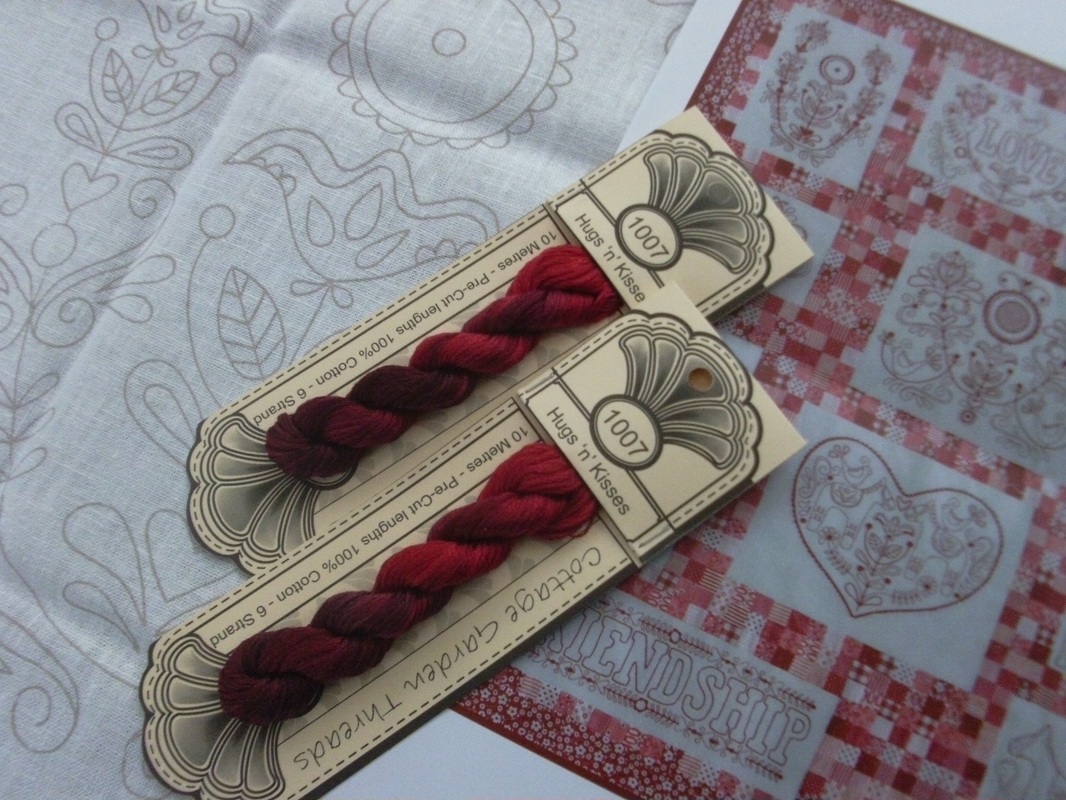
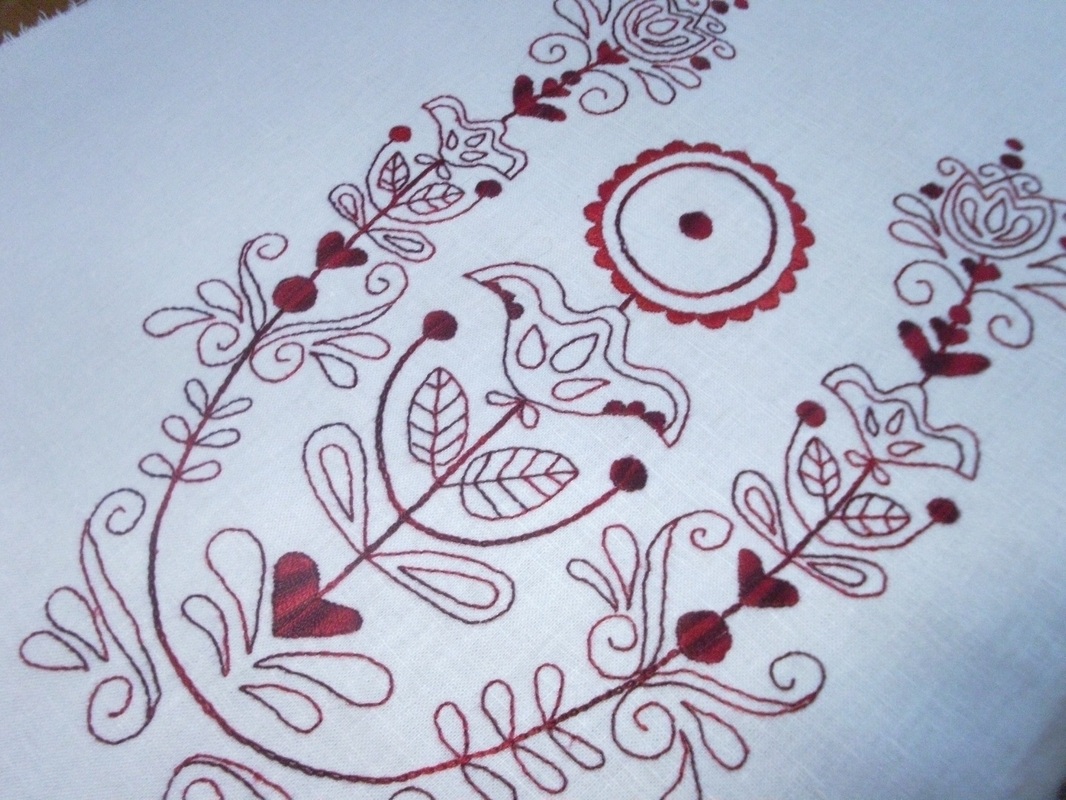
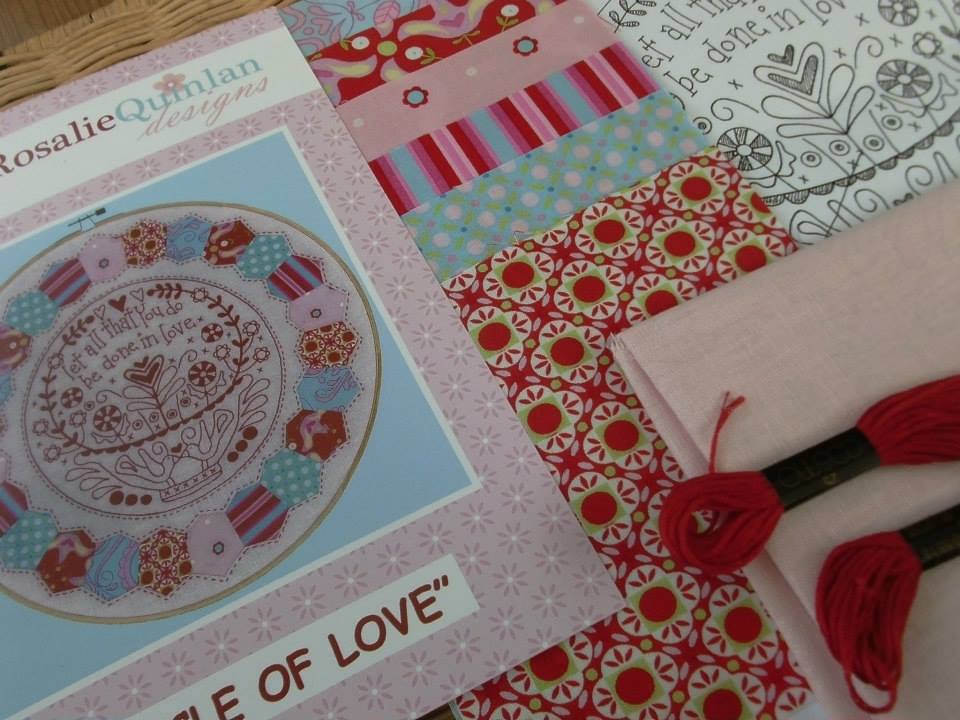
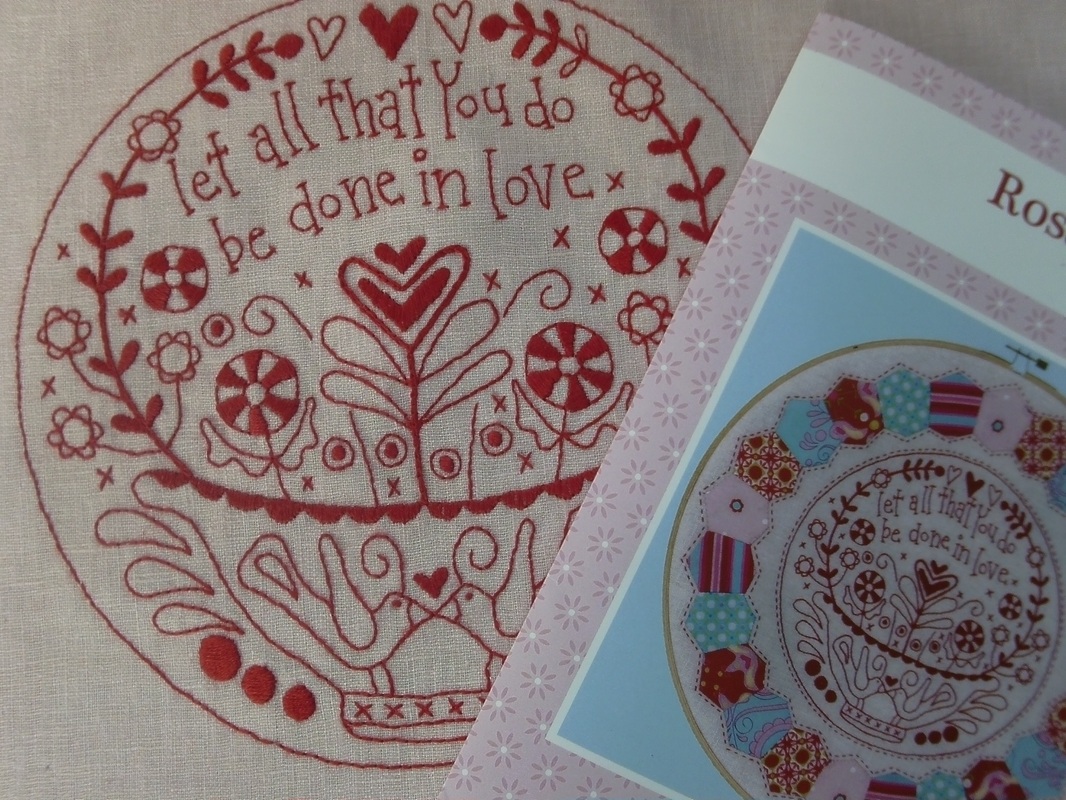
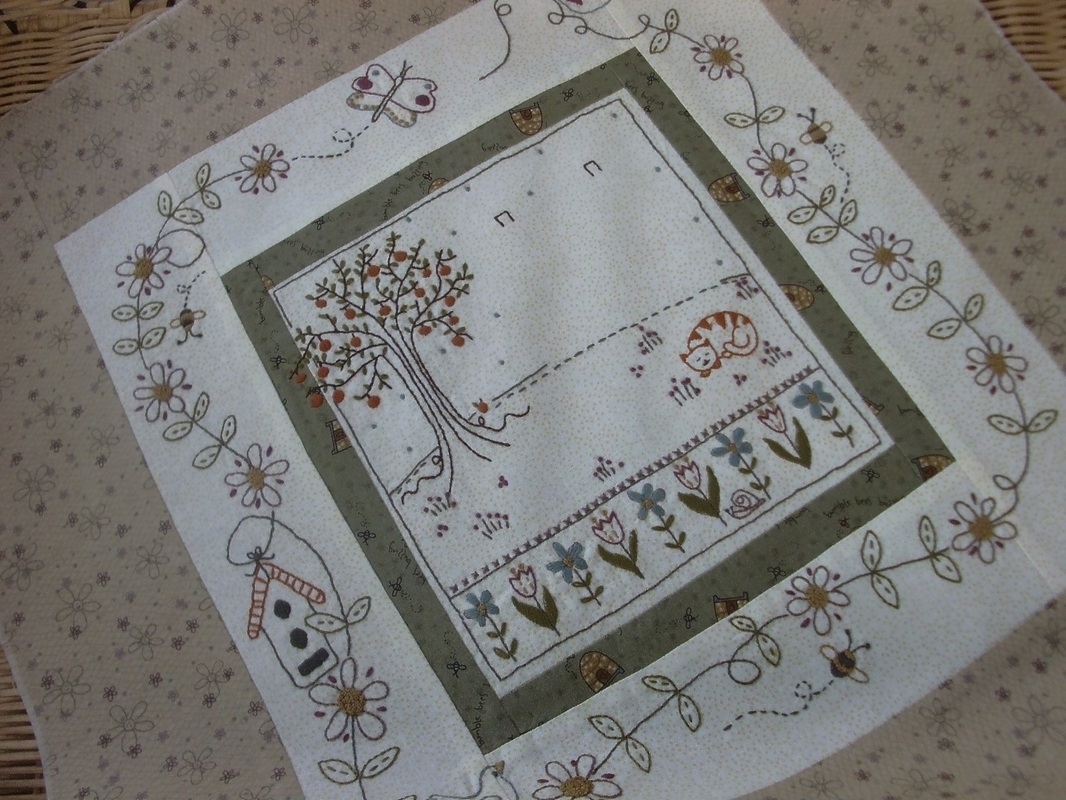
A few weeks ago the second block of Simply Blessed arrived in the post from Australia (I'd ordered this online from Under The Mulberry Tree after seeing this version made with Tilda fabrics and I simply couldn't resist it!) and I quickly set to work with the hand embroidery. This BOM includes all the Tilda fabrics needed to make each block, and includes the pre-printed linen, and the variegated Cosmo thread too. This embroidery thread (from the Cosmo seasons range) is absolutely beautiful to stitch with... 
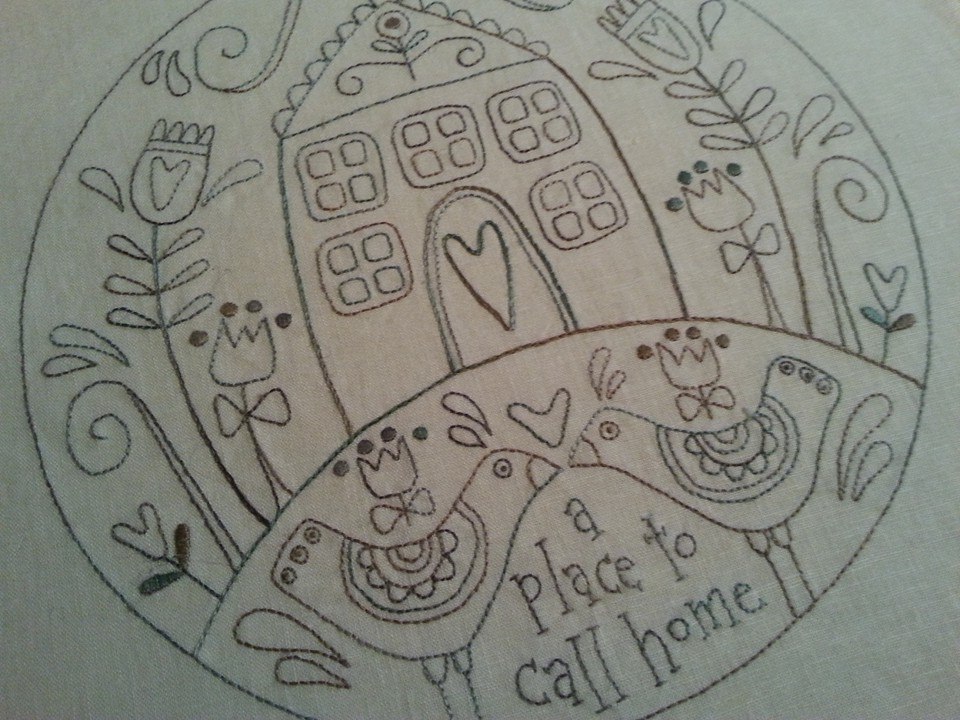
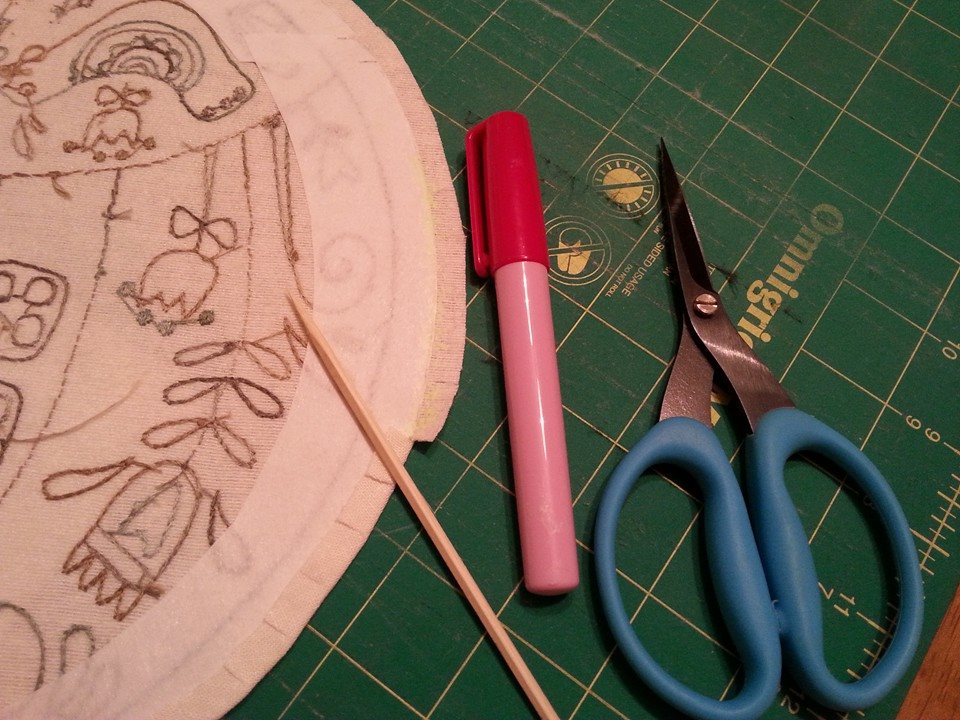
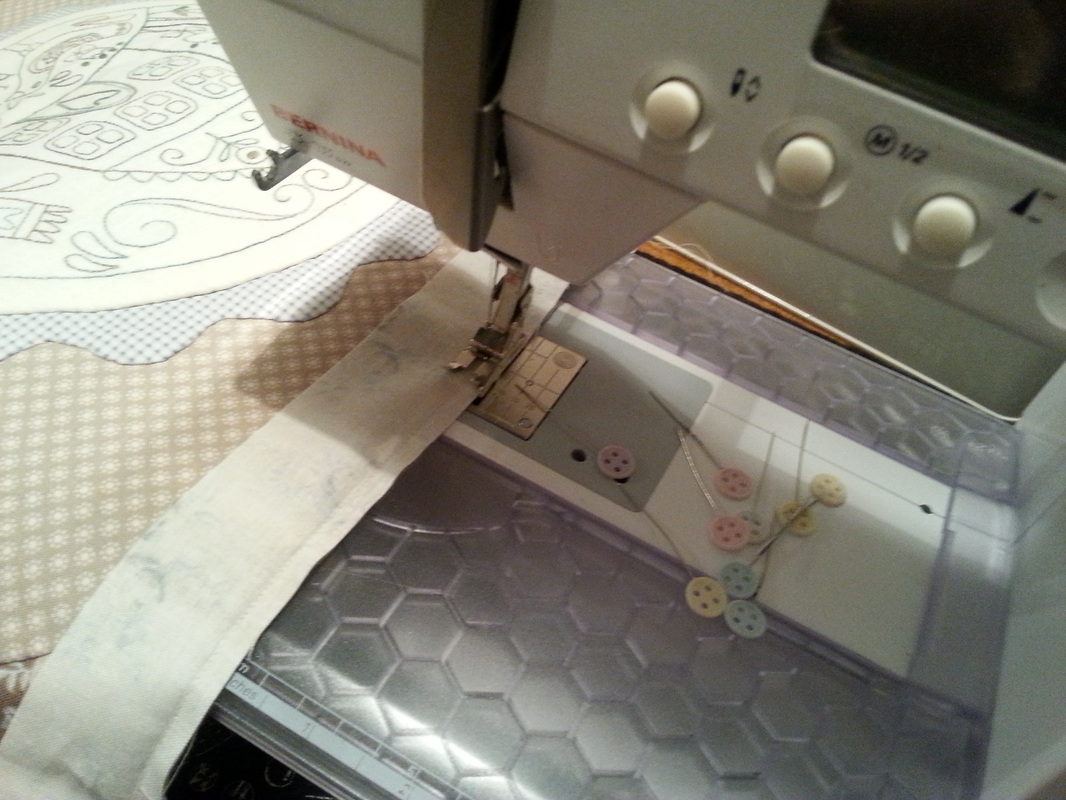
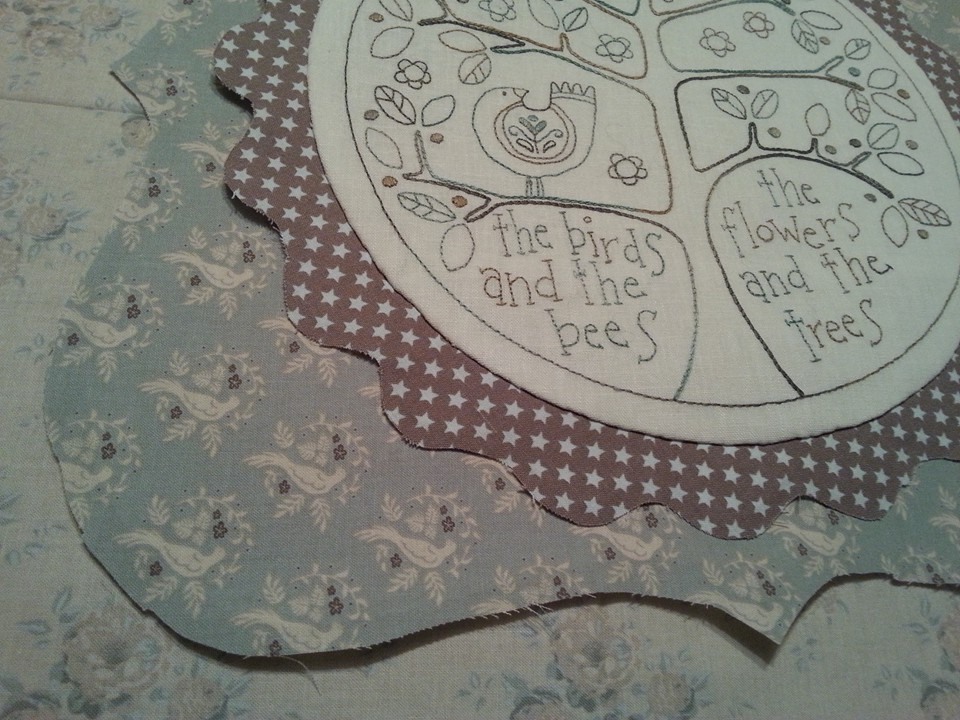
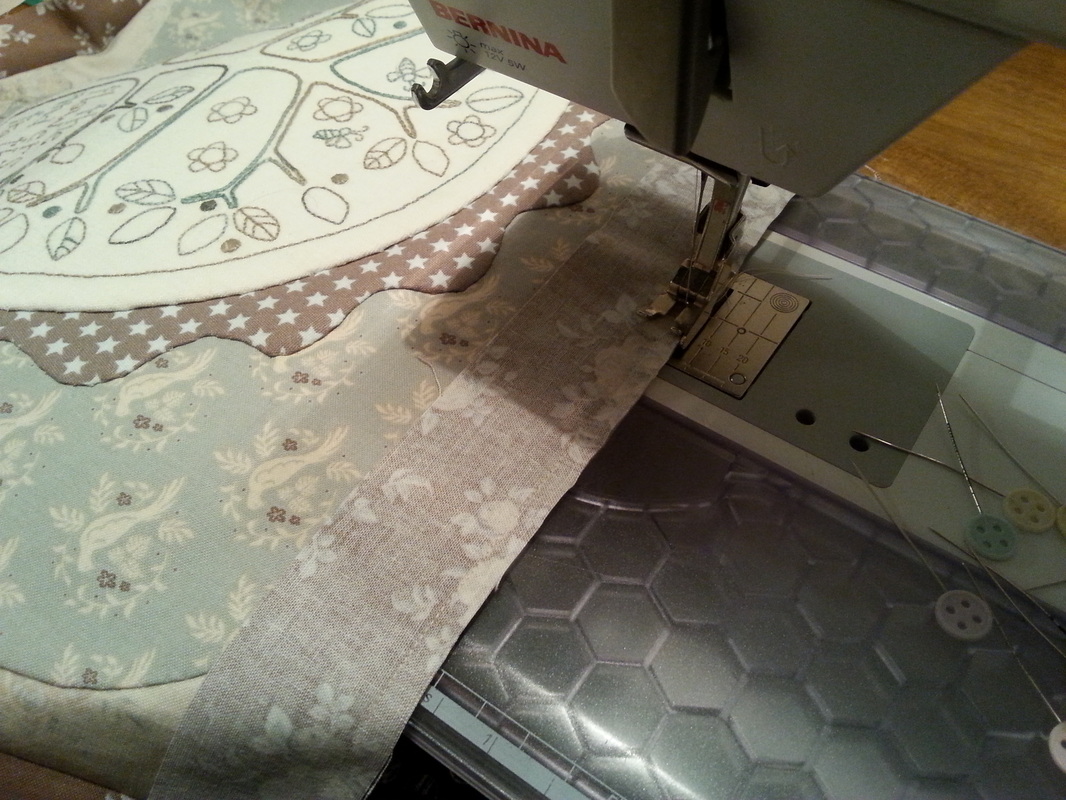
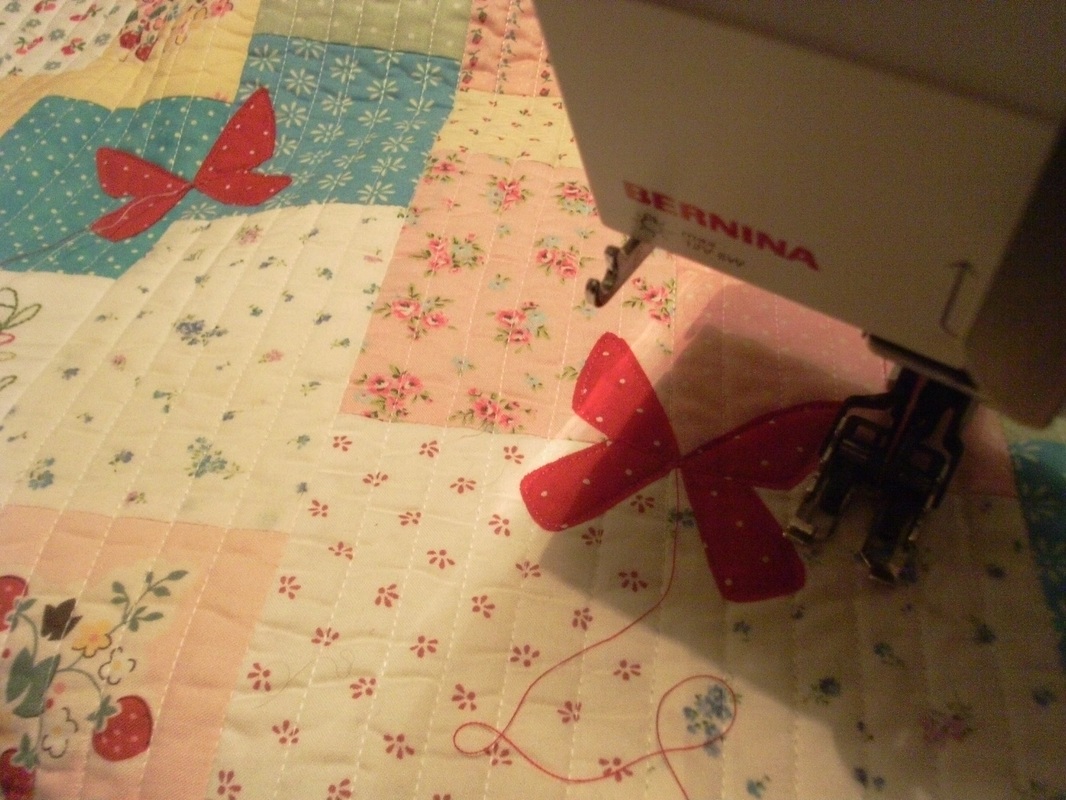
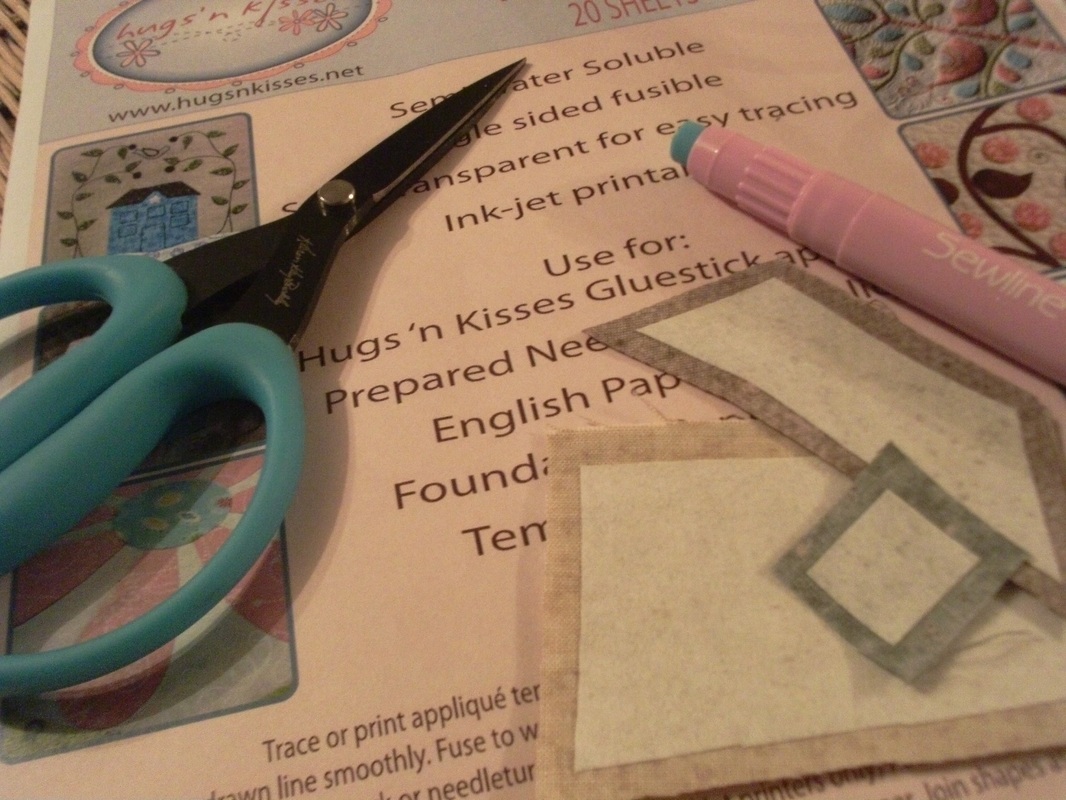
...I traced the outline of the template onto fusible appliqué paper, cut out the middle and fused the paper on to the back of the stitchery that I'd already completed a few days ago. Using a pair of "Perfect" scissors, (these are fantastic scissors, by Karen Kay Buckley) I then cut approx 1/4"inch away from the paper. Carefully clipping the curves, taking care not to clip into the paper, I then used a fabric glue stick to draw a line of glue around the outline and carefully folded the edges of the fabric over the edge of the paper. I've used a wooden skewer for this so I don't get glue on my fingers. I've used a neutral coloured YLI silk thread for the appliqué to secure the first layer into place... 
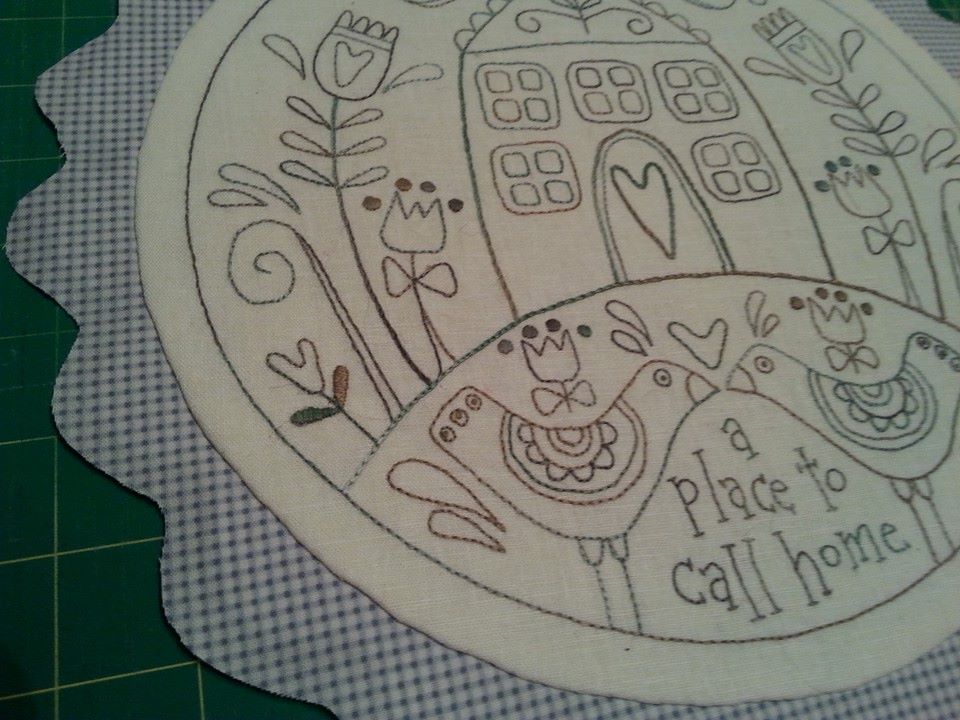
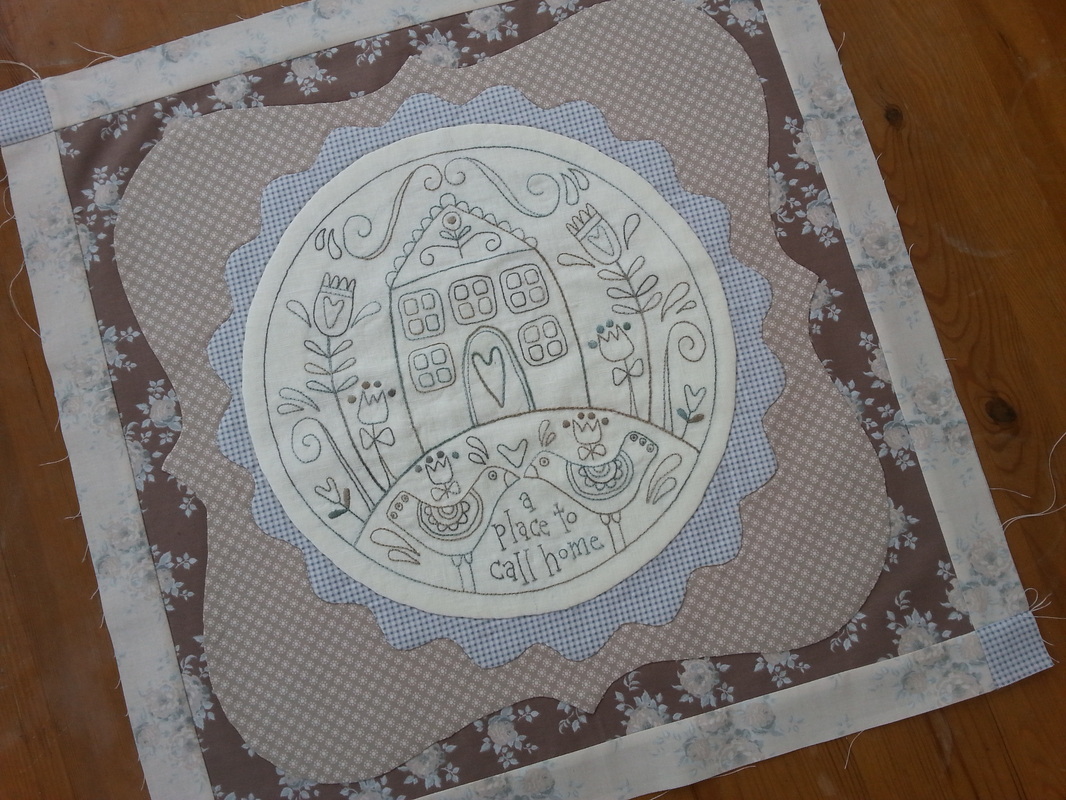
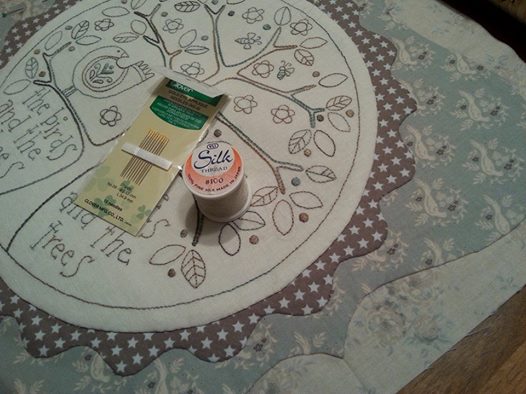
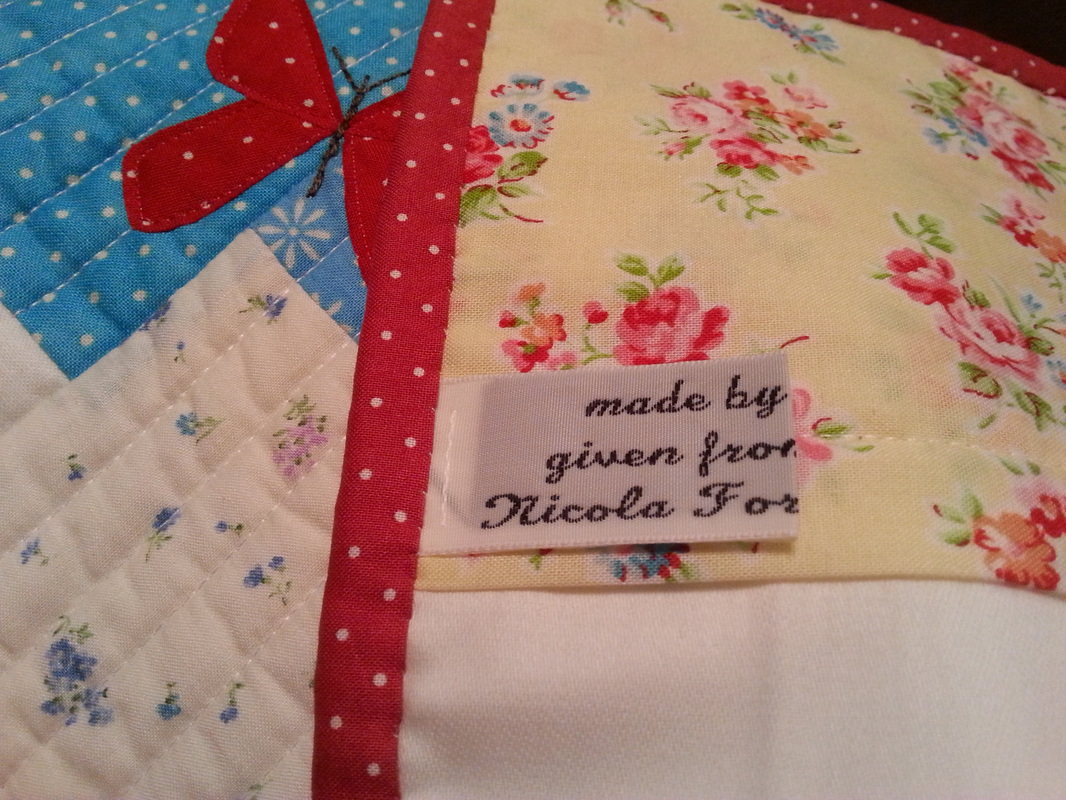
...once all the layers of applique were completed, I added the borders that were cut from fabric that I received with Block 1 a few weeks ago, and added the corner stones.I used a Mettler fine embroidery thread for piecing the borders and corner stones... 
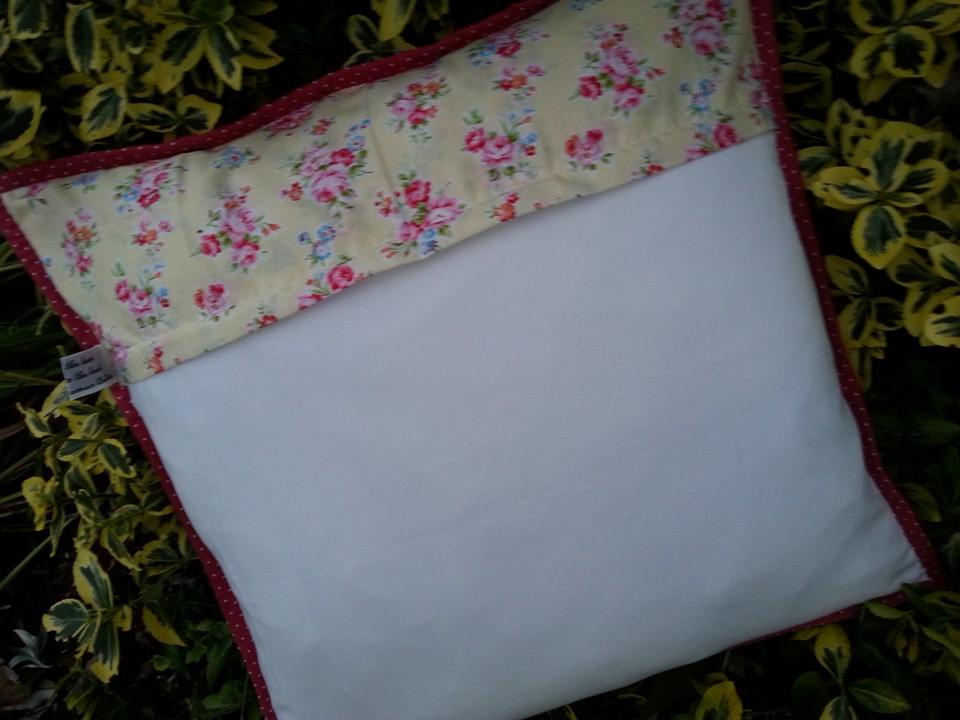
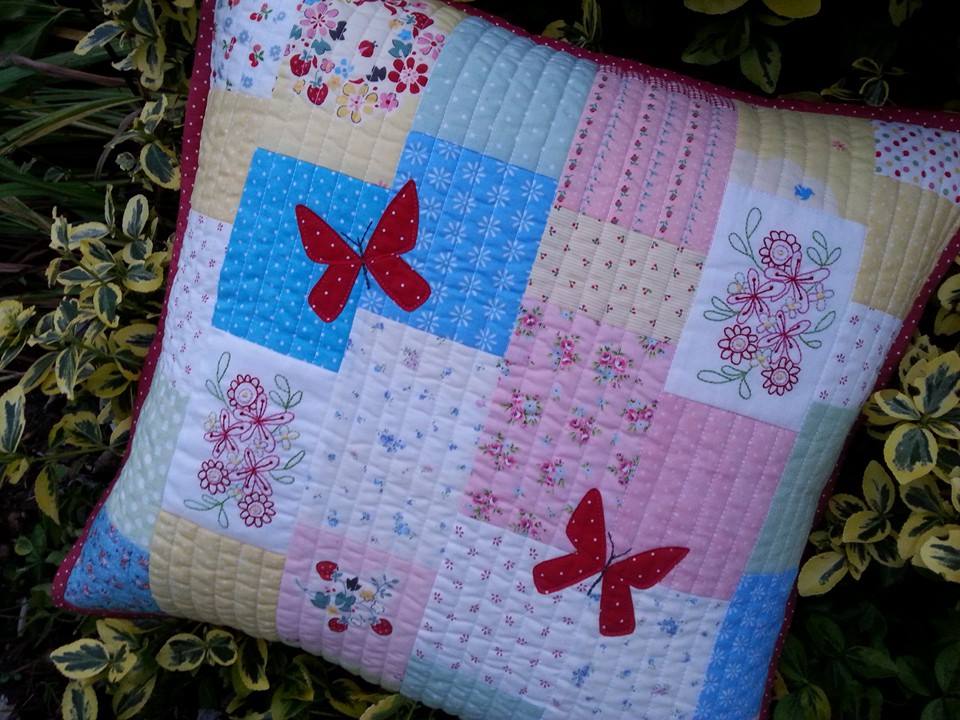
...this is beginning to look really pretty. My youngest daughter has taken a fancy to this, as it really is "her colours" so maybe this one will end up in her bedroom when it's completed!
4 Comments
I recently did some online shopping from Under The Mulberry Tree, and while I was browsing their website, I saw this. I just couldn't resist this BOM by Rosalie Quinlan - I'd seen it on her FB page a few weeks ago, and decided to go for it - so I've signed up to get it in this version, made with Tilda fabrics. The kit included these beautiful varigated "Seasons" Cosmo threads, shade 8049, and the handkerchief linen is pre-printed... ...this variegated Cosmo thread is beautiful and is really lovely to stitch with. Once the stitchery was complete, it was time to do the applique, and there's lots of hand applique on this block. I used fusible applique paper, and a Sewline glue stick, which certainly made this part a lot easier... ...I used a neutral coloured YLI silk thread and Clover gold eye appliqué needles for this project. The next step is a narrow border, and corner stones sewn into place... ...and here is Block 1 of "Simply Blessed" completed. This is going to be super when it's finished!
I was clearing out sewing corner, and found a few scraps of fabric left from a quilt that I'd made earlier in the summer (it was called "Down In The Garden" by Leanne Beasley). I'd already made a cushion for my sister with some of these scraps, and had just enough fabric left to make another one. I traced a stitchery design (also from the same quilt pattern) onto a couple of plain pieces of fabric, and then it all together randomly. The stitchery design was then completed by hand... ...the cushion top was layered with a muslin backing and a piece of Quilters Cotton Dream wadding (select weight) in between. This was quilted very simply with straight rows 1/2" apart, using my walking foot as a guide. I've used my favourite quilting thread for this - Aurifil 40 wt - and a Schmetz top stitch needle size 70. I really like the ribbed effect of the quilting, and the Aurifil thread is just wonderful to sew with. Once the quilting was completed, I added some machine-appliqued butterflies... ...the bodies and antennae were then added (this was done very simply with back stitch). A spotty binding finishes this off, hand stitched to the back of the cushion, and one of my labels is added to the back too. i really loved this pretty yellow Lecien fabric that I used for the top half of the cushion back... ...and here it is - another scrappy cushion completed!
Last year I bought a complete BOM from The Fat Quarters, called Scandinavian Rose, which is designed by Rosalie Quinlan. I had so many other projects to sew, this was put away, and then this summer at the Festival Of Quilts I bought several skeins of Cottage Garden Threads in a variegated red (this shade is called Hugs and Kisses) that I thought would be perfect for this project, so decided to get it started at long last!... ...the design was already printed onto handkerchief linen, so once a stabilizer was fused to the back, I was ready to start stitching. This design uses 3 embroidery stitches - back stitch, chain stitch and satin stitch. Plain red Cosmo embroidery thread shade 346 was used in the block too. I've completed the stitchery for block 1, and the next part of the project will be to collect together an assortment of red/white fabrics for the small squares (these will be strip-pieced together). Then I can make a start on the stitchery for block 2!
I bought this kit "Circle Of Love" (designed by Rosalie Quinlan) a few weeks ago from the Festival Of Quilts in Birmingham, from the Cross Patch stall. The kit included pink pre-printed handkerchief linen, 2 skeins of Cosmo thread for the embroidery, dresden templates and all the fabrics too. I added some soft light-weight fusible interfacing to the back of the stitchery design before I made a start with the embroidery... ...the dresden templates were traced onto a sheet of applique paper (this is semi water soluble, single sided fusible and semi transparent so ideal for this project) and fused onto the wrong side of the fabric - 4 dresdens were needed from each fabric. I then cut these out adding a quarter inch all the way round. A small strip of glue is drawn all around the sides, slightly overlapping the applique paper, and the fabric edge is then folded over and finger-pressed into place. My favourite glue for this method is a "Sewline" glue pen... ... once the small dresdens had been hand stitched together to form a ring, I glued the ring onto the linen background with Roxanne's basting glue, and hand stitched the ring into place with a neutral coloured silk thread. Finally there was some more stitchery added around the dresden ring... ...once all the stitchery had been completed, this is the finished project. I really enjoyed stitching this, and rather than making it into a wall hanging (the original pattern uses a wooden embroidery hoop as a frame) I think I'll use this as the centre panel for a cushion. Hopefully I'll find the perfect fabric for this idea next weekend when I'm off to the Knitting and Stitching Show in London.
A few weeks ago, when I was at the Festival Of Quilts, I bought this pattern "Garden Pincushions" by Lynette Anderson Designs, along with a small bundle of fabrics also designed by Lynette, "Hollyhock Cottage", for Lecien. The pattern included 2 large raw wood buttons to decorate the completed pincushions, and 2 stitchery designs. I traced the design onto the textured fabric, fused a small piece of stabiliser onto the back, and was ready to start stitching... ...once the stitchery was completed and the borders attached, the front and back were stitched together using a very small machine stitch, leaving an opening for turning through to the right side. I'd made an inner lining with calico too for the filling. This was stuffed with crushed walnut shells that I'd bought online from Creative Grids UK, and the opening was closed using ladder stitch. Finally buttons were added as decoration. I used one from my button tin for the back... ...and the raw wood button that came with the pattern was used to decorate the front. I used some very strong thread to sew these buttons into position. Now I have a pretty new pincushion to use when I'm sewing. And what will I do with the other button that is spare? Well I might just make another one so I've got a spare pin cushion ;)
Before I packed away the applique paper that I'd recently ordered from Patchwork Chicks, I thought I'd do some more applique before I got out my sewing machine for a bigger project! This is another kit designed by Lynette Anderson - "Christmas Night" - and again, the kit contained everything I needed - background fabric, ribbon, embroidery thread, scraps of fabric for the applique, and even the hand painted buttons that are used to embellish this picture once the stitchery and applique are completed. Once the design had been traced onto the background fabric I was ready to start. The frame was also bought from Lynette... ...once again, some wadding is added between the stitchery and the backing board, which ensures a snug fit and pads it out a little bit too. Buying the frame at the same time as the kit was a brilliant idea, as it meant I could get the whole project completed without it going in my "to-finish-later" box. This one will be used to decorate my lounge at a more seasonal time. It did seem a bit strange sewing Christmas project in the summer!
This kit was one of my many purchases from the Festival Of Quilts this year. I like smaller stitchery projects, as they are portable and easy to stitch in the evenings when I'm watching TV with Mr F. "Beehive" was designed by Lynette Anderson, and this kit contained everything I needed - the stitchery design, background fabric, fusible stabiliizer and a selection of embroidery threads. I traced the design using a brown Pigma Micron pen, fused the stabilizer on the back of the fabric, and was ready to start stitching. This design was stitched with 2 strands of embroidery thread, and I used a size 9 John James embroidery needle... ...I'd also bought a round wooden frame for this kit - so as soon as the stitchery was finished, I was able to frame it straight away. Once the stitchery was completed, I added a layer of wadding between the stitchery and the backing board, to give it a "3-D" effect. I'd trimmed the background fabric, and used a running stitch to gather up the the fabric, so it fitted around the back of the frame without any puckers. And now it's finished and ready to hang on the wall. This seemed to be a good place to take a picture as there were lots of bees busily buzzing around the sweet peas, but none of them stayed put when I got my camera out! Lynette has these kits and other designs too from her shop, the Little Quilt Store, and you can order them online.
Last year at the Festival Of Quilts in Birmingham I bought a gorgeous kit to make a cushion, The Orange Tree, designed by Lynette Anderson. The kit included all the fabrics needed (Secret Garden, also designed by Lynette, for Lecien) and a hand painted button to embellish the cushion. The front of the cushion was soon pieced together, and then I traced the design using a brown coloured Pigma Micron pen... ...I made a start on the stitchery while I was staying in Birmingham for this year's FOQ (I needed something to keep me occupied in the hotel in the evenings!) and it wasn't long before the stitchery part of the cushion front was completed. DMC embroidery threads were used for this project... ...next was the applique - I'm really not a fan of needle-turned applique, but I'd watched Lynette and Teresa using this applique paper at FOQ and thought I'd give it a try. I ordered this from Patchwork Chicks after I'd returned home from FOQ - the shapes were traced, cut out, and fused to the wrong side of the fabric. I used a glue stick along the edges of the fabric, then turned the fabric over very carefully. Lynette uses apliquick rods for this method of applique. A couple of dabs of glue held the shapes into place whilst I slip stitched them into place with a neutral coloured silk thread and finally embroidered the lintel over the door and the windows... ...the cushion front was quilted very simply (stitch-in-the-ditch was perfect for this) and the hand painted button was sewn on as a final flourish. I made the back of the cushion using the fat quarter that was included in the kit added with some fabric from my stash, as I prefer an opening with a zipper. Single-fold binding covered all the raw edges (I hope Lynette approves of my changes to her gorgeous design)... ...and here is the completed "Orange Tree" cushion - as you can see, it has pride of place in my sewing corner in the garden. I really have enjoyed stitching this, and can't believe how much I've enjoyed this method of applique too!
My daughter Alice is working for Lynette Anderson at the Festival Of Quilts again this year. The show is held at the NEC in Birmingham, and is on from Thursday 7th Aug through to Sunday 10th Aug. We're travelling to Birmingham on Wednesday, and I needed to prepare some hand sewing to take with me. Last year at the show I'd bought a lovely kit from Lynette Anderson Designs, called The Orange Tree, and as it was still waiting to be opened, it seemed like the perfect project to take with me this year! The kit contained the pattern and all the beautiful fabrics ( "Secret Garden" which was also designed by Lynette, for Lecien) to make the cushion, and a hand painted button too. Firstly the fabrics were cut and pieced together, then using my new light-box I traced the design using a fine Micron Pigma pen, then ironed a piece of fusible interfacing onto the back of the fabric. I just needed to add a few more sewing supplies to my sewing kit, some embroidery threads from my thread box, and it was ready to pack in my travelling bag. It's always useful to have some hand sewing to take on long journeys, and maybe when I'm having a rest from ohhhing and ahhhing at all the quilts, and shopping, and stopping off for tea and cakes with friends at the show, I'll sit and do a bit more stitching. If you see me you must stop and say hello ;
|
About me...Hi - welcome to my quilting blog! My passions are my family, my dog, my friends and sewing, not necessarily in that order! Archives
July 2023
Blogs I followUK shopsThese are the UK shops that I use to purchase my quilting supplies - fabrics and threads etc.
Australian linksScandinavian links |