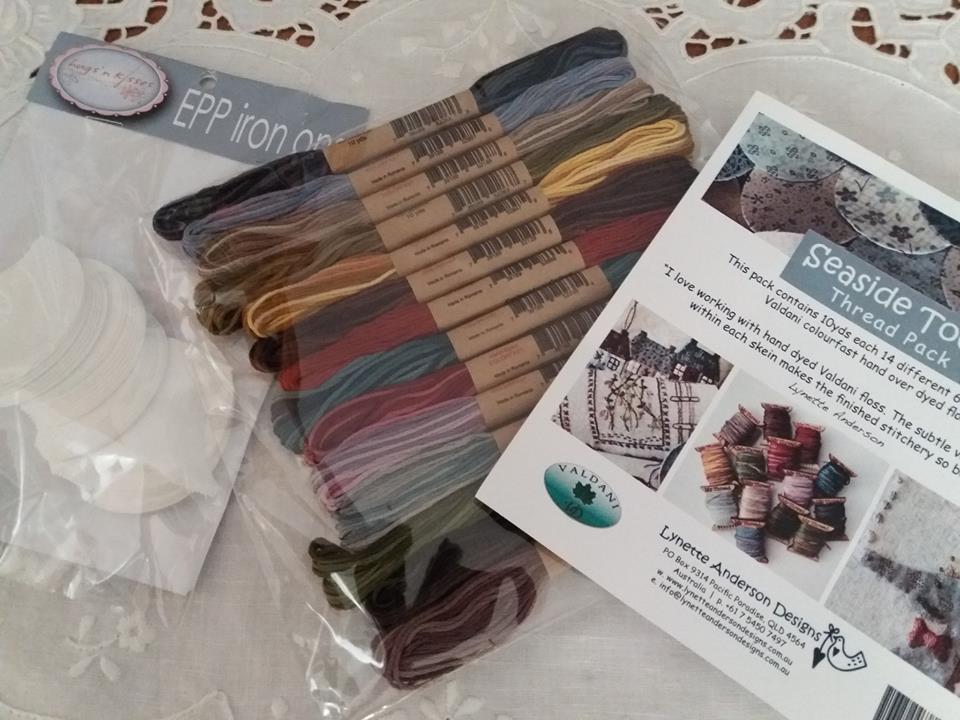
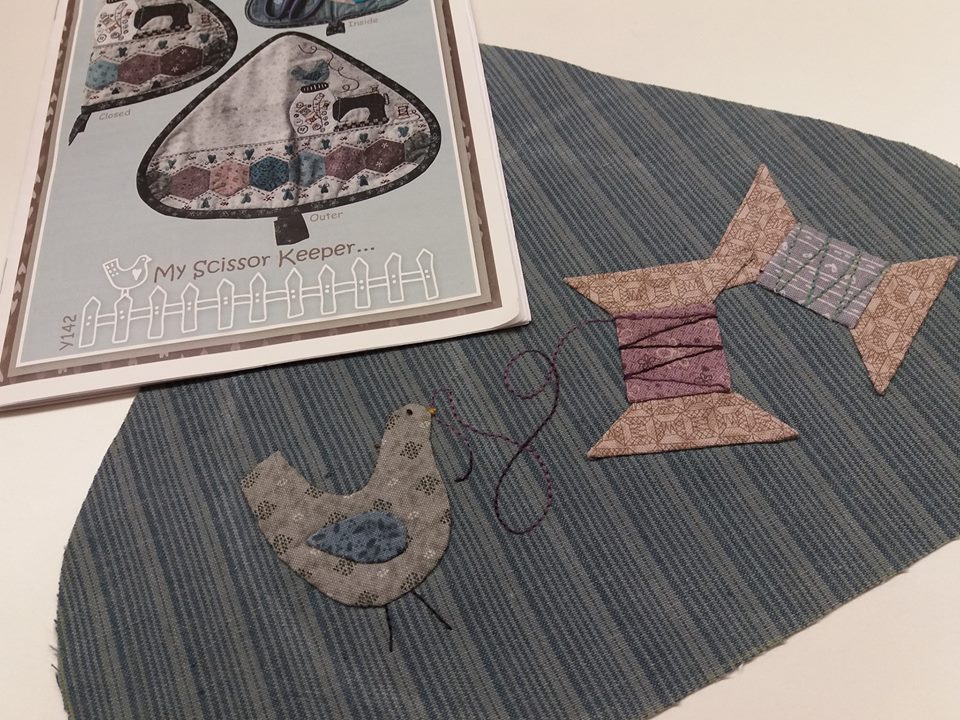
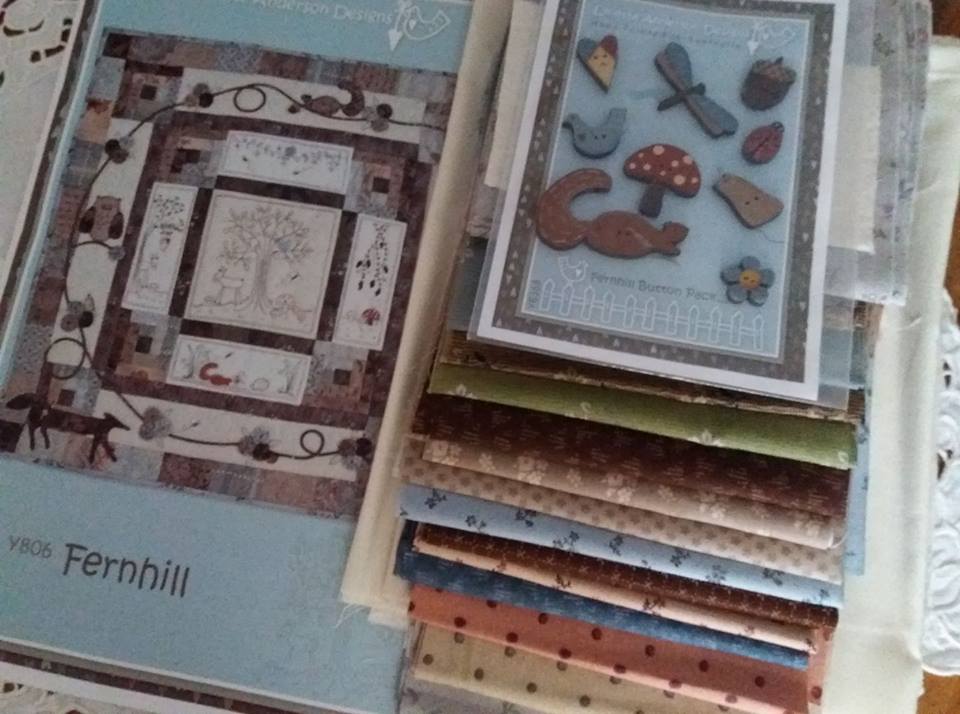
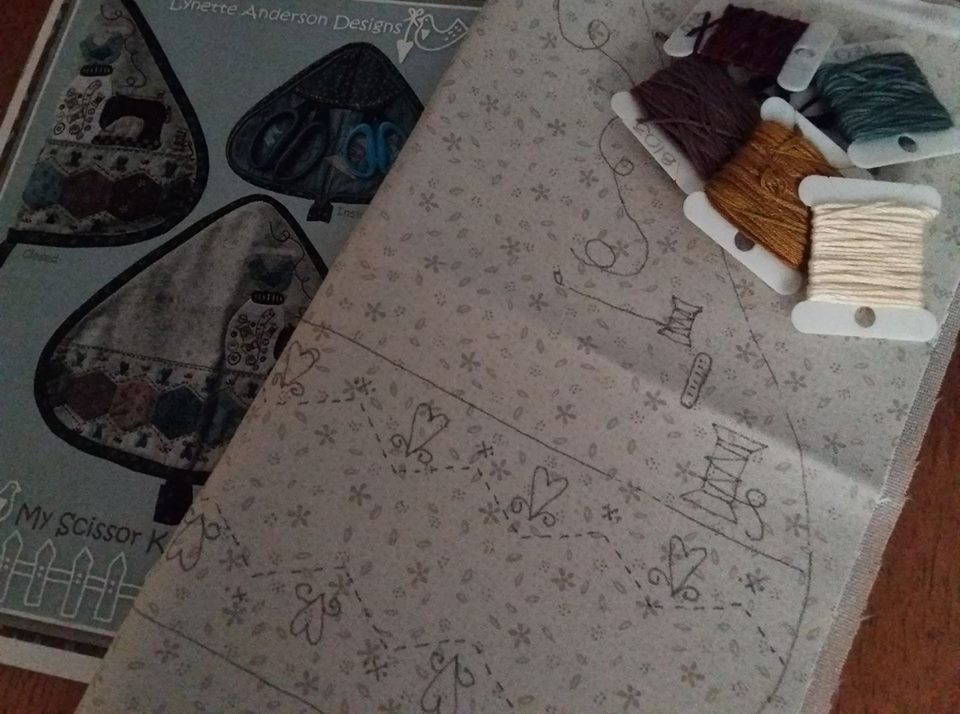
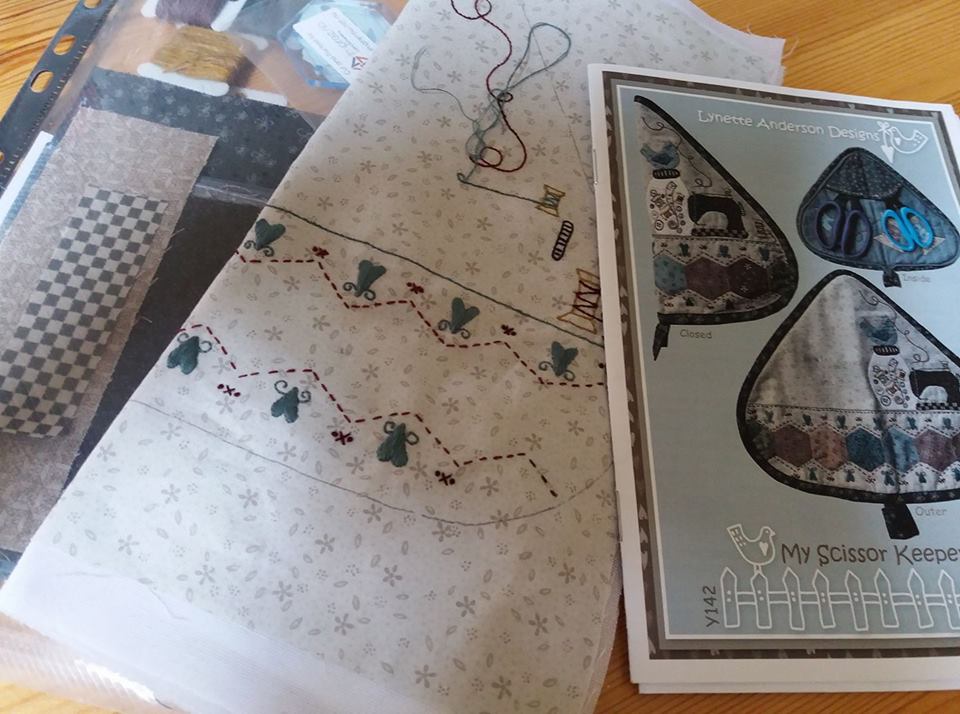
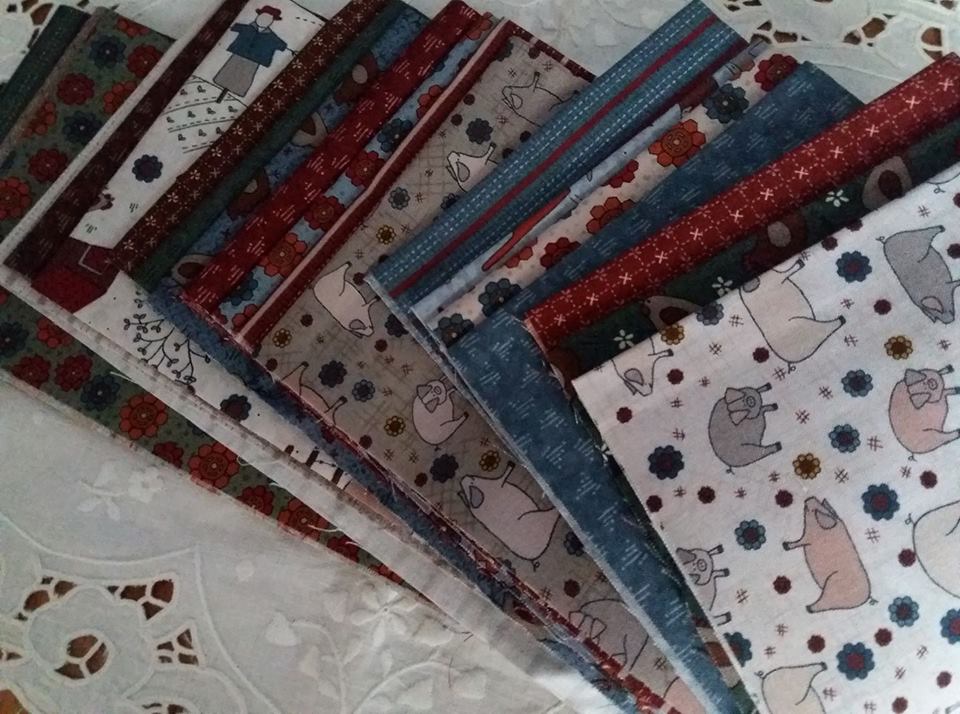
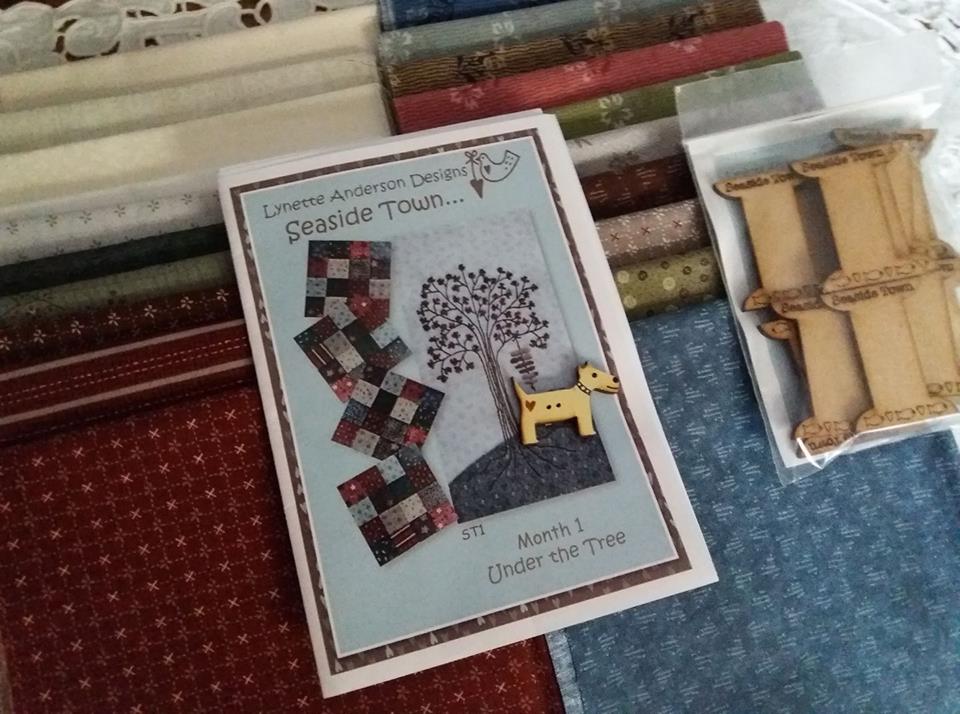
Well I couldn't resist taking part in the 2017 mystery button club "Seaside Town" by Lynette Anderson Designs! This gorgeous starter pack of fabrics arrived from Cross Patch in Wales, along with the pattern for month 1, "Under the Tree" and a cute hand painted wooden button. Oh and those wonderful wooden spools which are used for storing thread, and they really are so useful! I'd ordered the Valdani thread pack and a packet of applique paper templates online from Lynette's shop Little Quilt Store in Australia, so with all my supplies I was ready to start... 
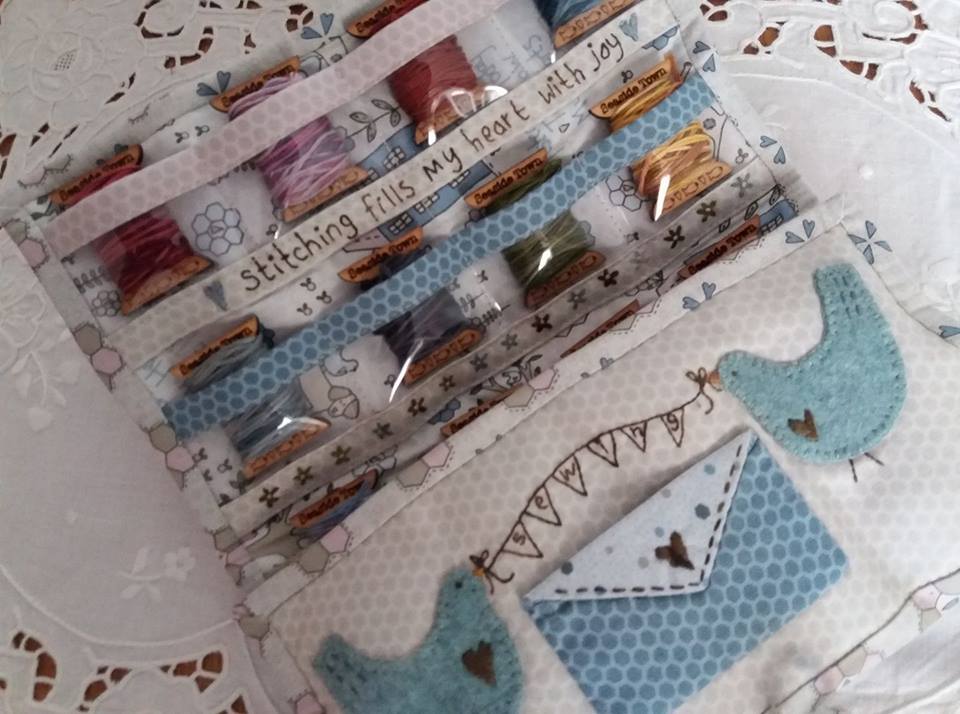
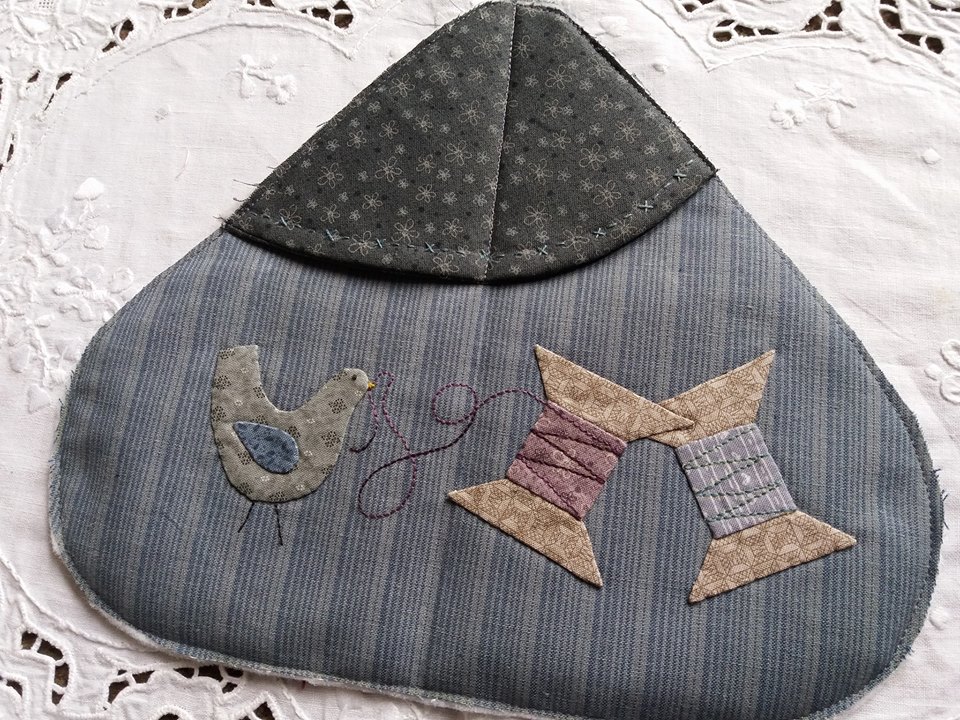
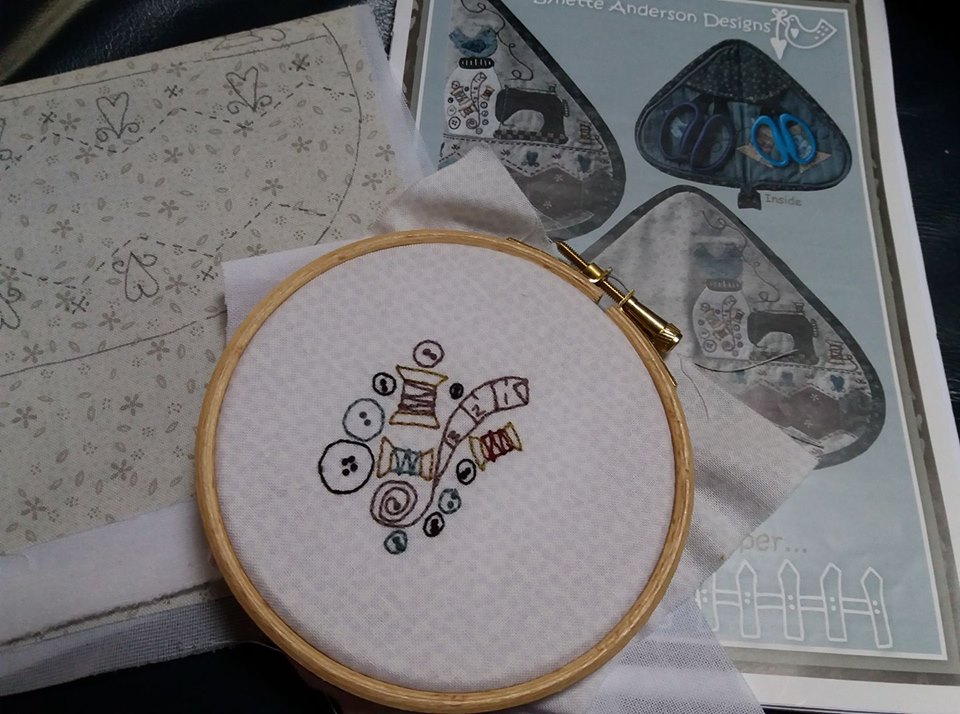
...all the skeins of Valdani threads were wound onto those cute wooden spools and I'm using my floss organiser that I made last year to keep them in while I'm stitching this project. I'll share pictures each month as I complete the individual blocks. Now please excuse me while I make a start on the first block :)
0 Comments
As you can see, I had a productive evening at Busybee Stitching sewing group on Tuesday evening and managed to get the applique and embroidery completed for the scissor keeper lining. The pocket has a layer of thin wadding between the front and the lining, and has been hand embroidered. The front and the lining were then layered up, again with some thin wadding between the layers, and was machine stitched around the outer edge through all layers... ...the zipper was held in place with Clover Wonder Clips, as they are much easier for keeping layers together. The zipper was clipped along the curves to allow the zipper to lay flat. A double fold binding was machine stitched to the front of the scissor keeper, then folded over to the inside and hand stitched to the inside. These Perfect Scissors by Karen Kay Buckley have now got a very posh home!
Over the Easter weekend I managed to get the applique prepared for "My Scissor Keeper" and my technique for those pesky hexies is definitely improving! I've used the applique paper and glue stick technique along with those apliquick tools, and the row of hexagons was hand stitched together using the same Aurifil 80wt thread that I use for appliqueing the shapes onto the background fabric... ...this shows the front of the scissor keeper with it's cute button jar and sewing machine. Next step is to applique and embroider the lining, which I've already prepared ready for meeting up at Busybee Stitching sewing group later this evening.
Fernhill is by Lynette Anderson Designs (this one of Lynette's older designs, from 2012) and one that I've admired for a long time. After much dithering about I finally bit the bullet and decided that I just had to have it, and luckily there it was on the Cross Patch website - not just the pattern, but as a kit, and also those gorgeous hand painted wooden buttons! Again, this is a smaller quilt (28" x 28" when finished) so it's suitable for hanging on a wall. This one will definitely be on display in my dining room once it's completed. Lynette used Weeks embroidery threads for her original quilt, and I found a UK supplier online - Peakside Needleworks - so I've ordered a few skeins from them to try out. Now I just need to catch up with all my chores so I can get the first block prepared ready for some stitchery in the evenings after work!
This gorgeous kit had arrived in time for me to prepare some sewing to take away on holiday with me, incase there was a spare hour or two while I was away! The kit included some fusible interfacing that I ironed to the back of the background fabric, then traced the design using a light box and a frixion pen (my favourite Mircron Pigma pens were hiding up!) and I sorted out some Valdanii threads for the stitchery. The stitchery for the button jar didn't take very long to stitch at all... ...I managed to stitch most of the embroidery for the front of the scissor keeper while I was away, and hope to get the applique completed over the next few evenings. Hexies and me haven't got on in the past but I'm persevering wit them as I have a rather lovely project to do soon that has rather a lot of them, so I really need to improve my technique!
When I arrived home from my holiday, there was a collection of parcels piled up waiting for me from Cross Patch in Wales - Mr F just sighed, and gave me "one of those looks" and decided it was better to keep out of the way and unpack his suitcase while I unpacked my parcels! This collection is High Meadow Farm, by Lynette Anderson Designs, and will be used for lots of projects over the next few weeks!
Arrived home from holiday just a couple of hours ago. I've collected the dog from mother-in-law and had a quick cuppa. I've unpacked the suitcases and loaded up the washing machine. And finally I've started to open my collection of parcels from Julia Roworth at Cross Patch! First of all there was Seaside Town, the latest mystery button club by Lynette Anderson Designs! I really couldn't resist signing up to this gorgeous BOM and look forward to getting an exciting little parcel in the post from Julia every month for a whole year!
A few days ago I shared some pictures of a secret project that I was working on and now it's been delivered I can finally share a picture of the finished project! This is a baby quilt for one of my colleagues who recently had a little girl. The pattern I've used is "Pure Baby Boy" by Teaginny Designs. This is a free download on the Moda Bake Shop website. Don't be deceived by the name of the pattern, it works just as well for a baby girl, depending on the fabrics used! This was made with a charm pack by Brenda Riddle Designs for Moda, and was bought along with the border and binding fabrics from a local quilt shop Kis Quilting Ltd in Ipswich. The gorgeous backing fabric is one of the prints from the Windermere collection and was bought online from Pretty Fabric and Trims. I've used cotton wadding (Quilter's Dream, select weight) so this is fully machine washable. That's essential for baby quilts! I've made a few using this pattern, and it's one of my favourites as it's so simple to piece together and even simpler to quilt!
A few weeks ago I bought a gorgeous charm pack - "Windermere" by Brenda Riddle Designs for Moda, from KIS Quilting Ltd in Ipswich. This collection of fabric is really pretty and was just perfect for the project that I had in mind. I also bought some yardage of one of the prints in this range from Pretty Fabric and Trims (Sarah always pays such attention to detail when she wraps up orders)... ...the charm squares were cut into quarters - these 2.5" squares stitched together really quickly on my new Bernina 570QE. It's an absolute dream sewing machine! The parcel from Pretty Fabric and Trims had the most gorgeous fabric inside that was used for the backing... ...this project was layered up with cotton batting, and quilted very simply in straight rows, using Aurifil 40wt thread and a Superior Titanium Topstitch needle. These rows are all 0.5" apart, the edge of the walking foot was used as a guide both for the spacing and keeping the rows straight. One of my labels was machined into place across a corner, stitched through all layers before the binding was attached. Binding strips were cut at 3.5" then folded in half, machine stitched to the front of the project and then folded over to the back. Clover Wonder Clips are much easier to use than pins, and are especially good if you're sewing through thick layers or plastic... ...I used the same Aurifil 40wt thread that I'd used for the quilting to hand sew the binding in place. Now the project is complete and it's time for a photoshoot - and once it's been delivered I'll share a picture on here and show you what it looks like!
|
About me...Hi - welcome to my quilting blog! My passions are my family, my dog, my friends and sewing, not necessarily in that order! Archives
March 2025
Blogs I followUK shopsThese are the UK shops that I use to purchase my quilting supplies - fabrics and threads etc.
Australian linksScandinavian links |