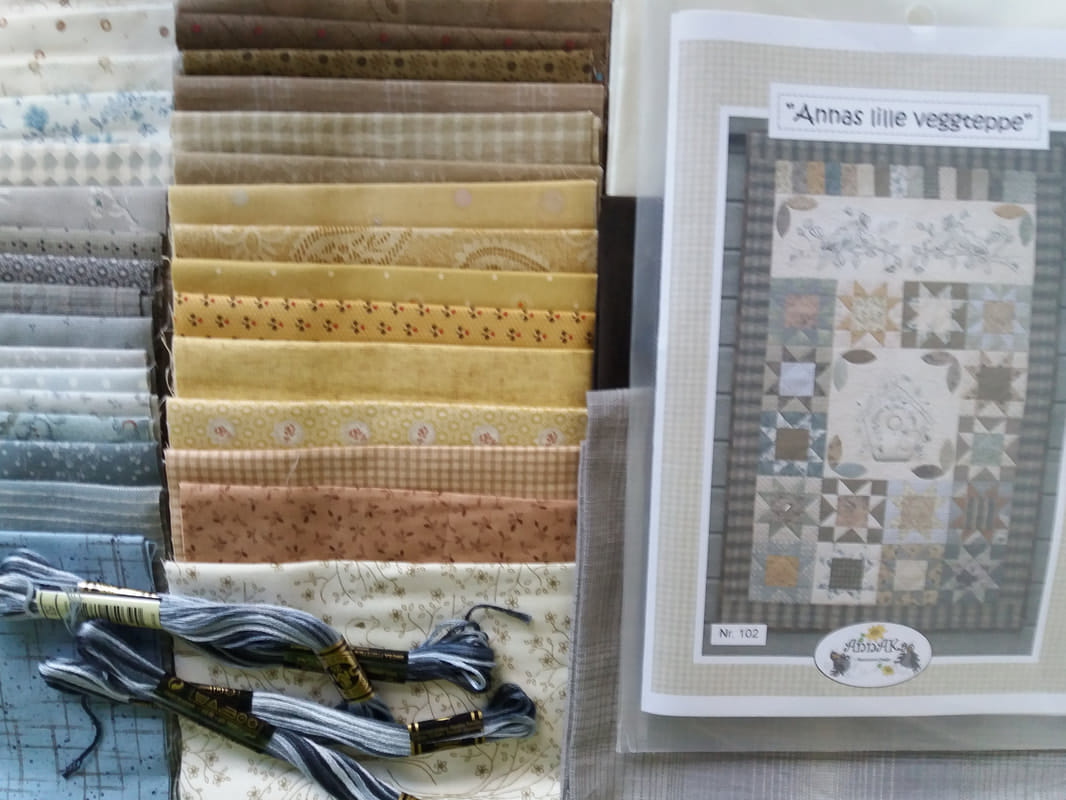
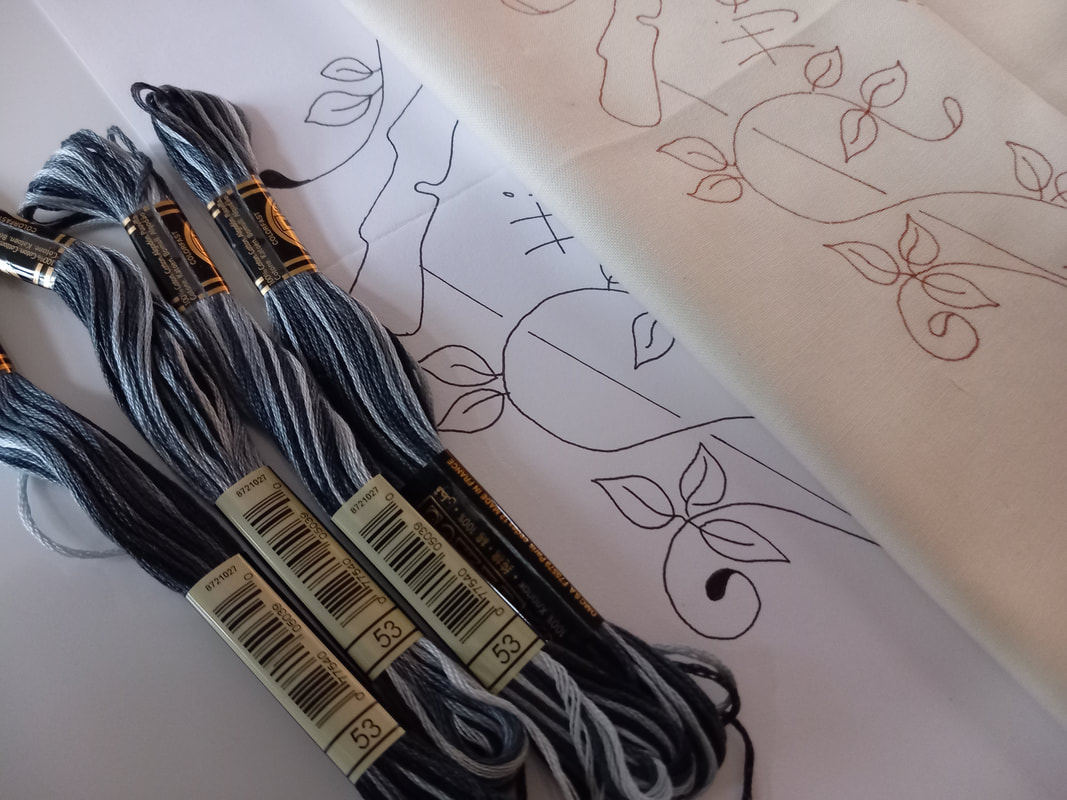
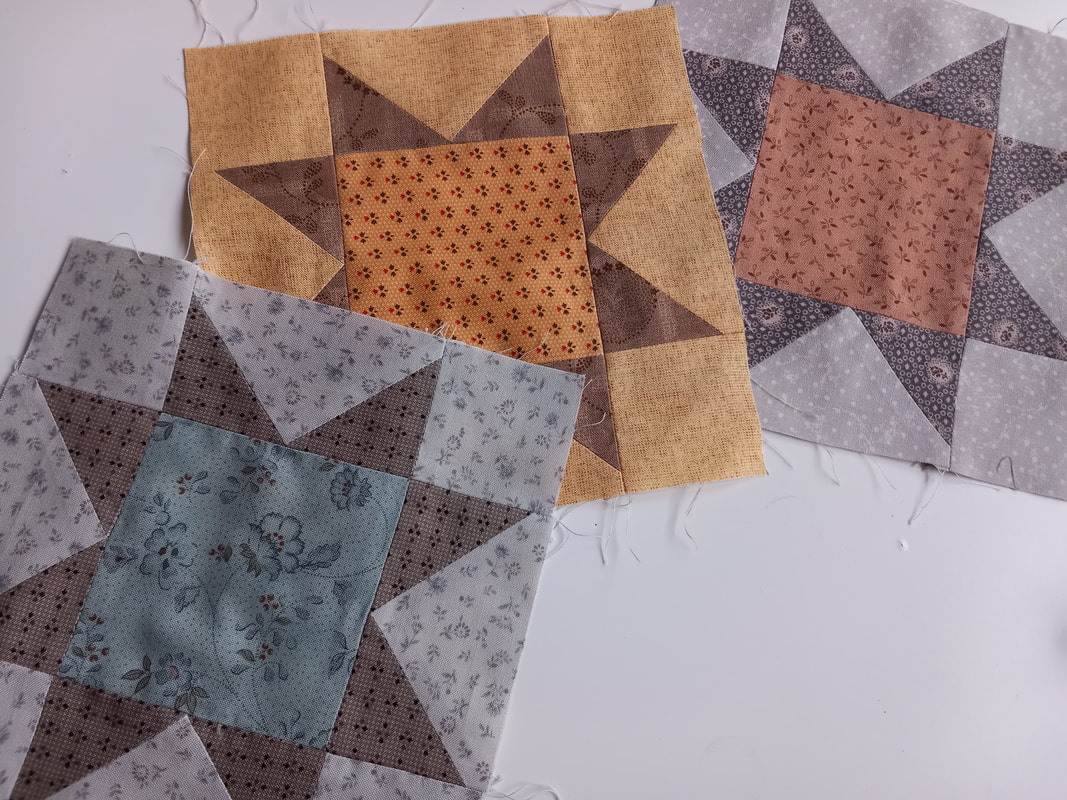
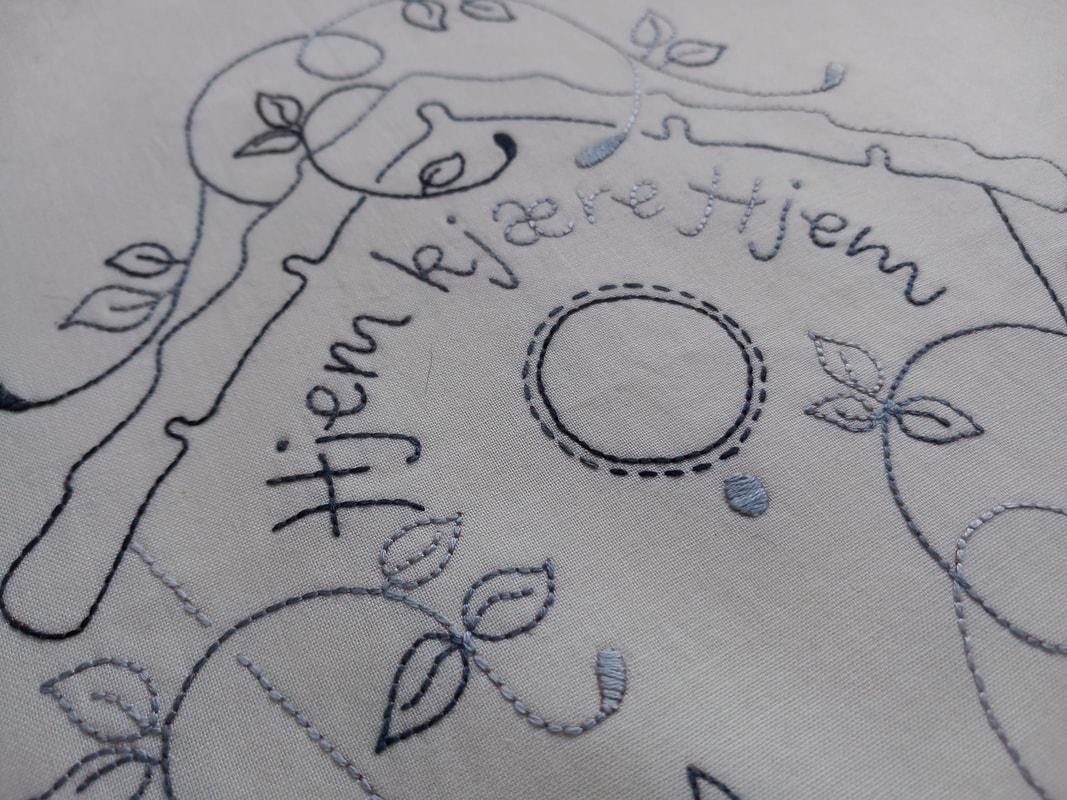
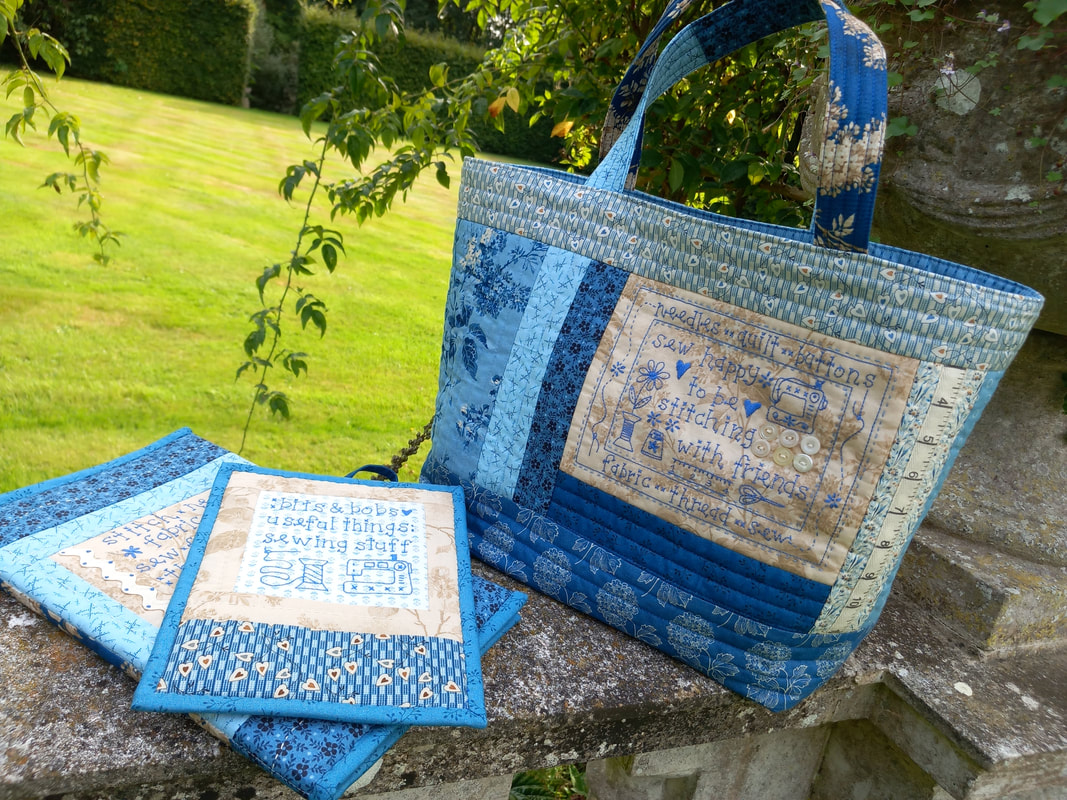
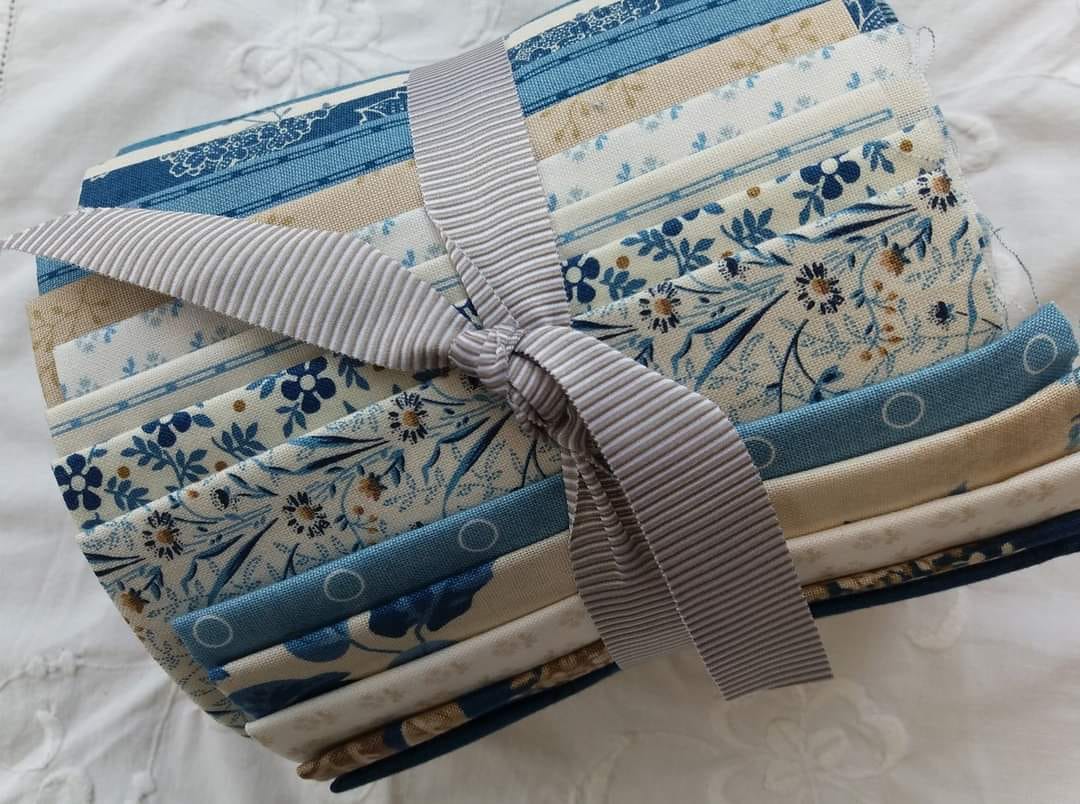
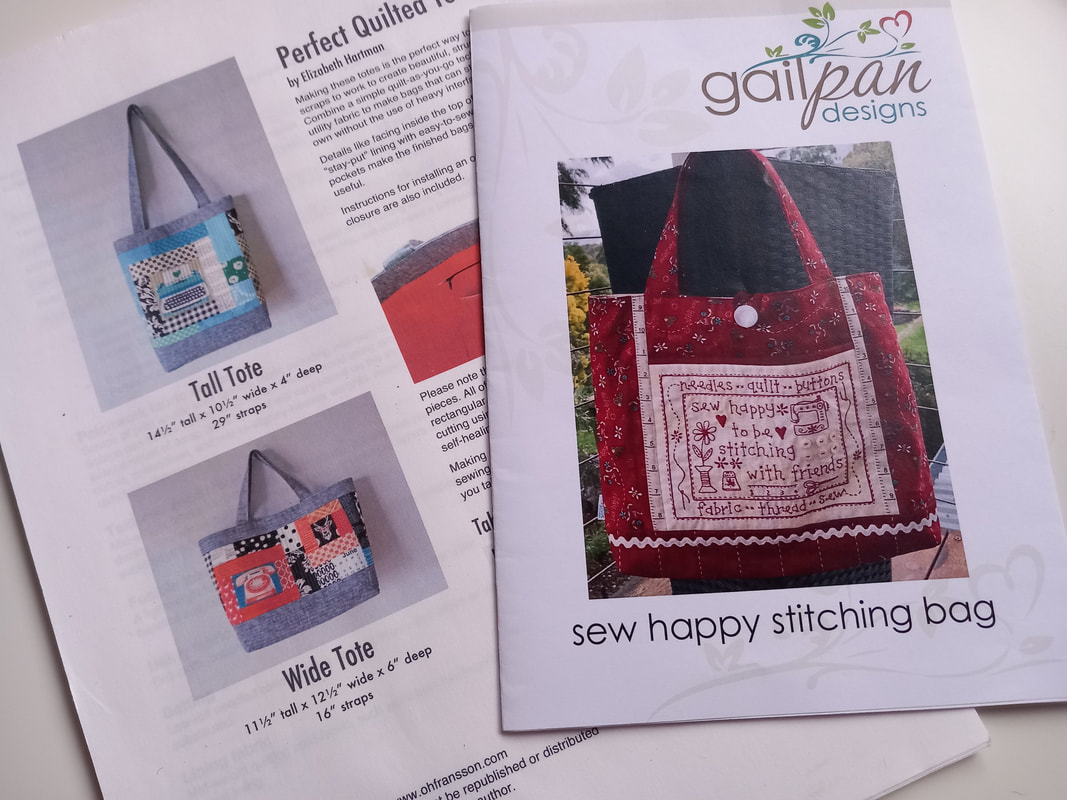
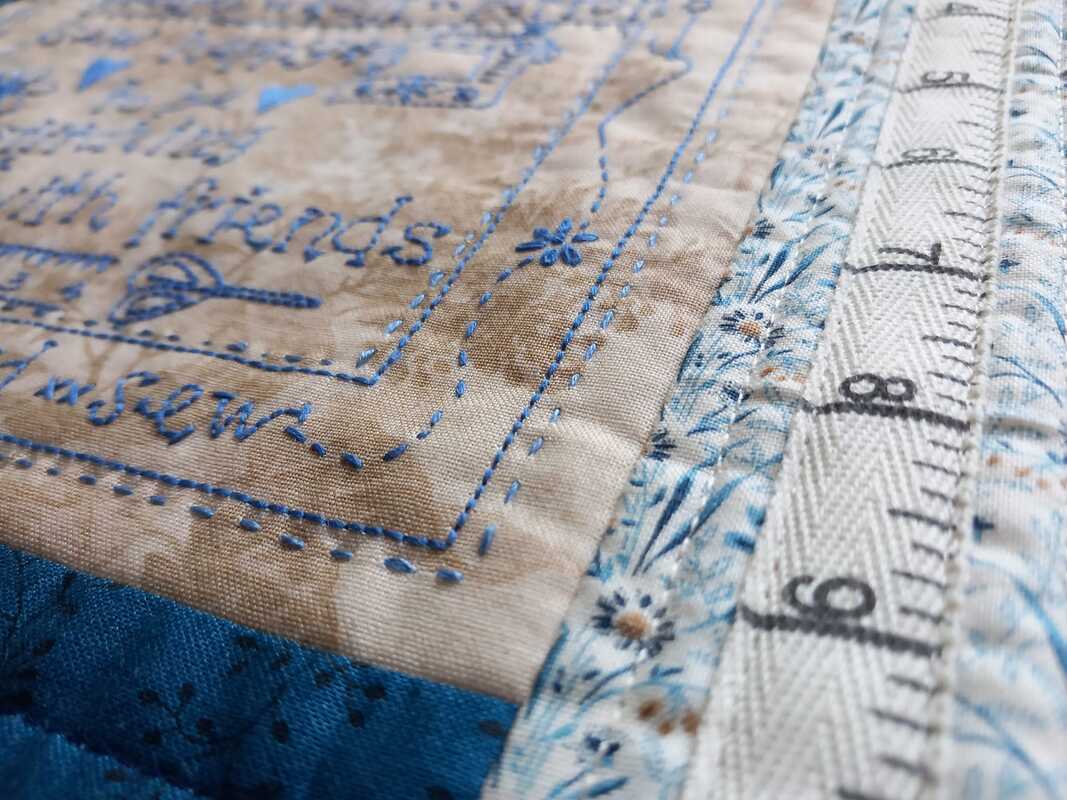
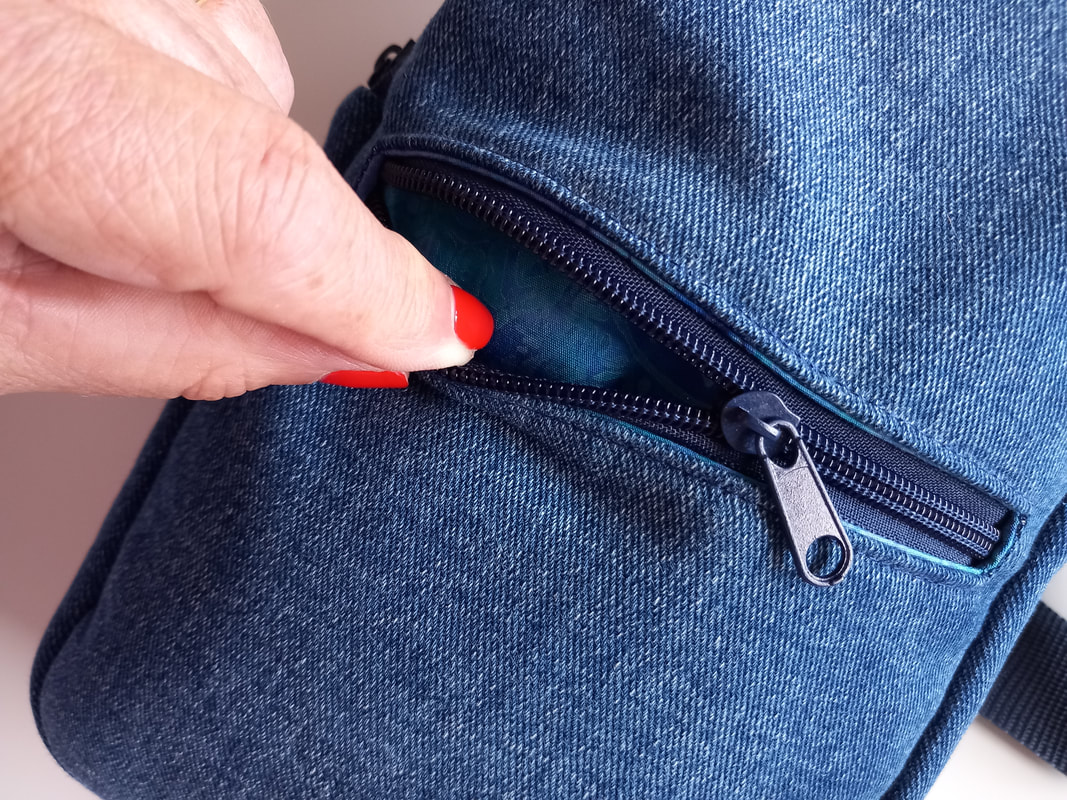
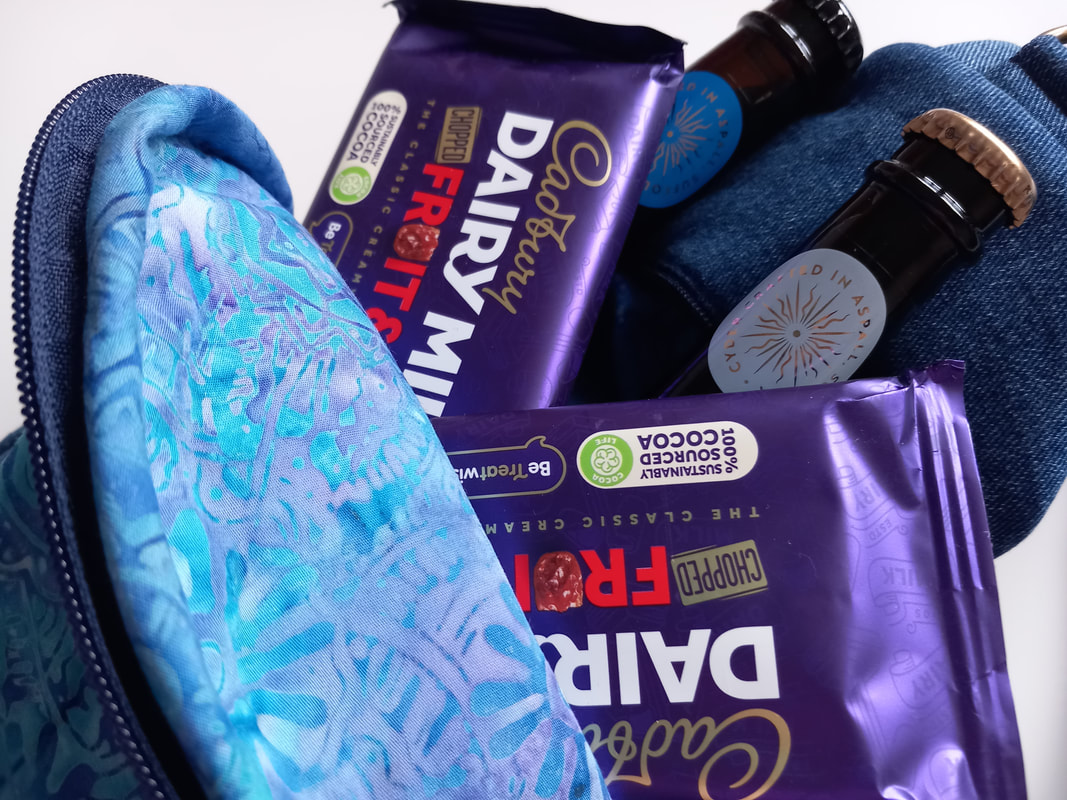
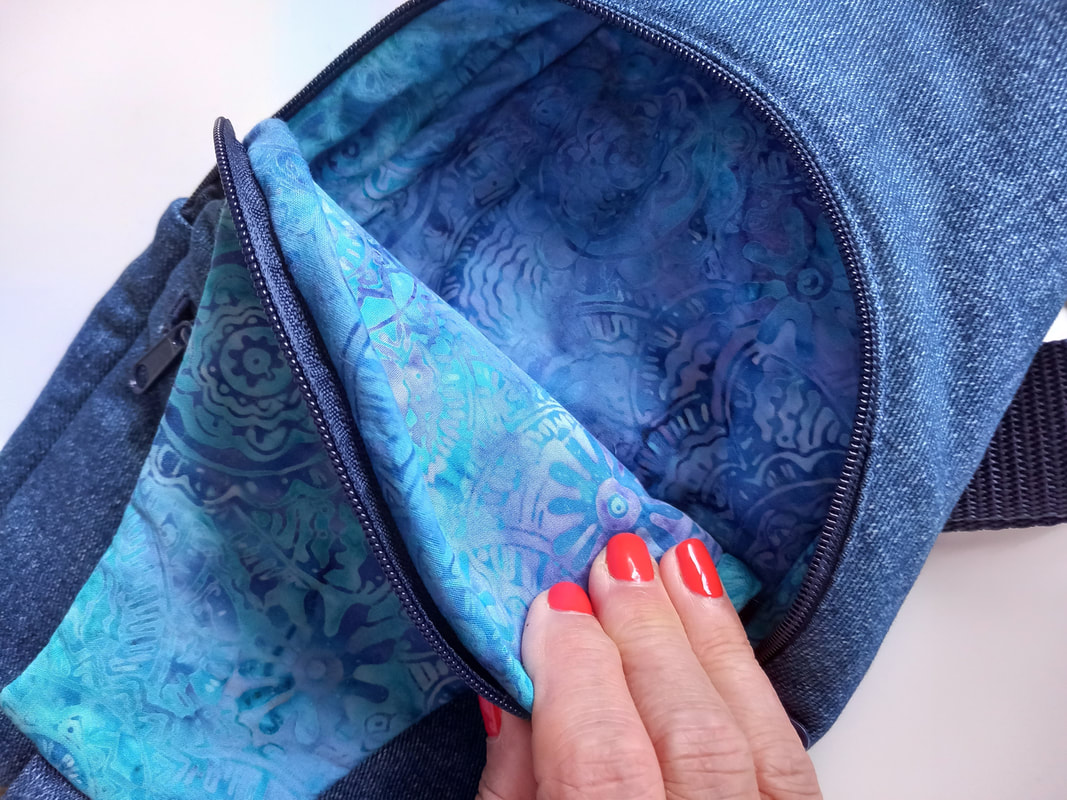
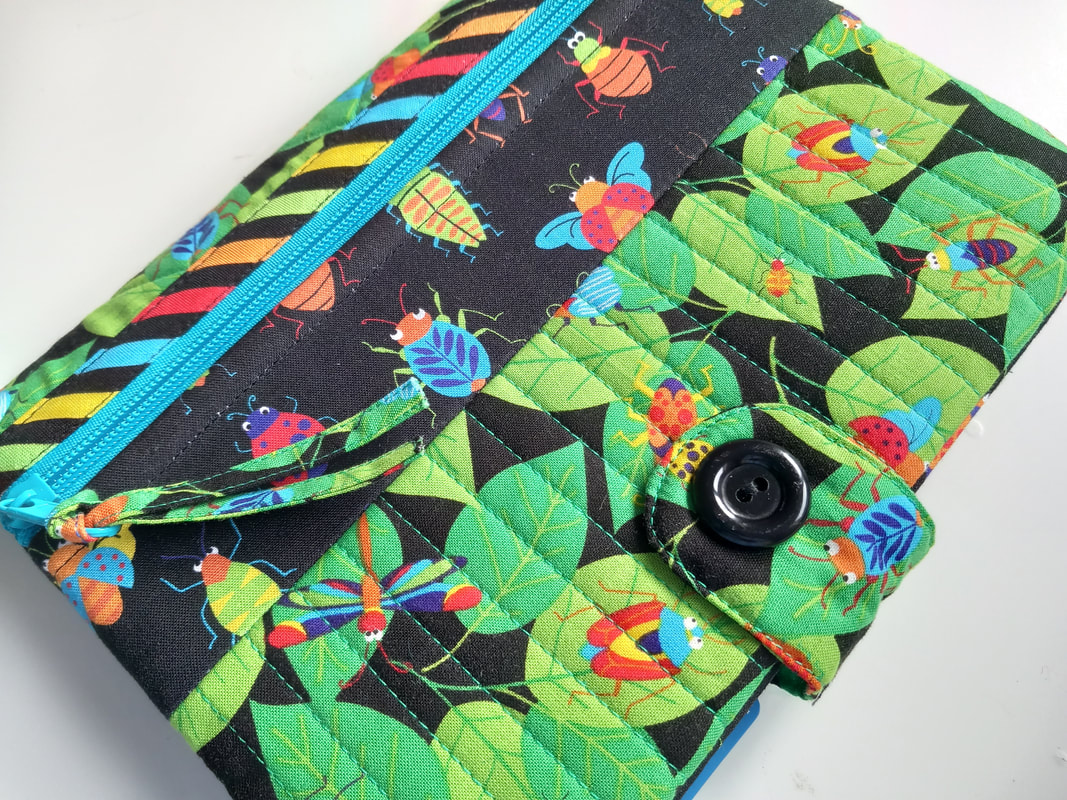
So today this happened - although goodness only knows where the time has gone! I'm spending my birthday celebrating with my family, and we're off for a few days to Norfolk, so I won't have much time for sewing, although I might be able to sneek a small hand sewing project into my suitcase!
0 Comments
While I was away recently on a quilting holiday, I started another one of those kits from my very long list. This one is Annas Lille Veggeteppe by the Norwegian designer AnnAKa and was purchased from Lappedilla in Norway back in 2011. The kit included all the fabrics needed for the quilt top and the binding. There are 2 hand embroidered blocks, and the stitchery fabric, interfacing and skeins of variegated embroidery thread were also included. After taping the pattern and background fabric to my lightpad, the stitchery design was traced using a Micron Pigma pen - I prefer a very fine nib, size 005, in a pale brown colour. The ink is permanent, so you do need a very steady hand! Once the design is traced, the lightweight interfacing is fused to the back... ...the patchwork blocks were all machine pieced using a fine Aurifil 50wt thread, pressed and packed away until I was ready to piece the quilt top together... ...the 2 stitchery blocks were hand embroidered using very simple stitches - mostly back stitch and a few satin stitches. The blockes were pressed when they were completed, and the upper patchwork border added... ...applique shapes were prepared using the Apliquick method, then hand stitched in place to the background fabric. Once I was happy with the layout of the patchwork star blocks, they were joined together and finally the borders were added... ...this gorgeous fabric, also by Lecien, was purchased from Sew and So's and is just perfect for the backing for this beautiful wall hanging. Now I need to get it layered and decide whether to quilt it by hand or machine.
For several years I've been spraying my fabrics with Mary Ellen's Best Press to removre wrinkles and keep my fabrics looking crisp. I've never had a problem with it, and it's also great for pressing my linen trousers too! Anyway, I was recently given another product to try - Flatter fabric smoothing spray by Soap Wash Inc. - available here in the UK from Oh Sew Sweet Ltd - and its absolutely brilliant! It's starch-free, smells wonderful, and gets all the creases out from the fabrics I've had folded in kits for several years. Now, please excuse me while I press a few more fabrics, ready for my next project!
I always buy something edible as a treat for Mr F when I've had a week away in Yorkshire, and I couldn't resist these goodies from Rose Cottage Butchers in Driffield. As you can imagine, Mr F was VERY happy when I returned home with these!
I'd bought this kit back in 2014, and my week away on a quilting trip has given me the perfect opportunity to start it! Blitzen is a gorgeous quilt using fabrics by BasicGrey for Moda. The kit contains all the fabrics need for the quilt top and the binding. The instructions are great, and it's very simple to make using the charm squares supplied. The centrepiece consists of 4 large blocks... ...these 4 blocks are constructed all the same way, then each one is rotated 90 degrees before they're joined together to form the centrepiece. An inner and outer border are finally added - this feature fabric is absolutely gorgeous... ...and here's the quilt top pieced together with the borders - now this just needs a final press, and it will be ready to go to Daisy May Quilting for their special longarm treatment!
I'm off to Yorkshire tomorrow on a quilting trip, so I've been busy writing a list of all the things I need to take with me - sewing machine, threads, needles, and a couple of kits that I've been meaning to make for ages!
I couldn't resist sharing a picture of my latest "makes" all together. This fabric collection - Blue Sky by Laundry Basket Quilts - is really very pretty! Bought as a bundle of fat eighths a few years ago from Cross Patch here in the UK, I'd saved it for something special, and this really was the perfect project. As I'd mentioned in my previous blog post, the bag was made using a combination of patterns - the Perfect Quilted Tote by Elizabeth Hartman, and Sew Happy Sewing Bag by Gail Pan Designs. The smaller folders are from the Bits and Bobs pattern, also by Gail Pan Desiigns. I recently made a couple of sewing accessories using some of these gorgeous fabrics from the Blue Sky collection by Laundry Basket Quilts that I'd bought from Cross Patch a few years ago. I decided that I really needed another sewing bag too, so using a mixture of fabrics from this bundle, combined 2 bag patterns - the Perfect Quilted Tote by Elizabeth Hartman (available to purchase as a PDF download from her website) and Sew Happy Sewing Bag by Gail Pan Designs (pattern available here in the UK from Poppy Patch here in the UK) - I particularly liked the stitchery design from the Sew Happy Bag... ...once the stitchery design had been traced onto a piece of fabric, I used a lightweight fusible interfacing on the back, then hand embroidered the design using a blue DMC stranded embroidery thread in a shade to match the fabrics. The bag front is made using the quilt as you go method, using scraps of fabric. I used a piece of tape measure ribbon for decoration, along with a few vintage buttons... ...both the front and the back of the back were quilted very simply, and I've used a polyester felted wadding - Vlieseline/Pellon H630 - if you wanted to make a more structed bag, you could use a firmer wadding such as Bosal, or ByAnnie's Soft and Stable. I cut out squares from each lower corner of both the front and back, as I prefer this method of making boxed corners. I repeated this for the lining too.. ...inside the bag there's a zippered pocket, and a slip pocket too. As I wanted to use as much of this fabric bundle as I could, the lining is very scrappy too... ...once the handles and lining have been stitched in place, the top edge is topstitched - I've used an Aurifil 40 threads for all of the construction of this bag, including the lining and quilting, in a selection of colours to compliment the fabrics... ...and here's the completed bag, ready to fill with some hand sewing projects.
Whenever we're out and about, Mr F always needs me to put his glasses and phone and wallet in my bag, so I decided to make him a bag of his own. I'd originally made one of these earlier in the year for one of my friends for his birthday too. The pattern is Retro Sling Bag by Kandou Crafts and is available to purchase as a PDF download. As I was using denim for the bag (recycled old jeans) I didn't need the wadding to be too thick, so used Vlieseline H630, which is great for bagmaking, along with some woven fusible interfacing for the lining. The hardware that I used is by Emmaline Bags and was purchased from Sew Hot here in the UK. Rather than using individual zippers, I used continuous zipper and pulls from another UK supplier, Zipper Station - I always keep plenty of this in an assortment of colours in my box of bagmaking supplies... ...there's a zippered pocket on the front flap, and one on the back too... ...and one of my labels from Kyllie and the Machine was neatly sewn inside the back pocket... ...I used a blue batik for the lining. All the seams are neatened bith bias binding which I made from the same batik fabric... ...I used a matching blue Aurifil thread for all the machine stitching, including the top stitching around the zipper insert... ...once the bag was completed, it just needed to be filled with a few of Mr F's favourite goodies and wrapped up ready for his birthday!
A couple of years ago I bought this super Bugs and Critters fabrics by Nutex. I'd used it to make Zip it Up (a ByAnnie pattern) and threlittle boy I'd made it for loved it! Anyway, two years later I've still got some leftover fabric, so now I've made him a journal cover to match! I've used another ByAnnie pattern, The Write Stuff, and I've adapted it to fit a chunky A4 notebook. There's a zipper pocket on the front of the journal cover, which can store pens and pencils. I've used zipper by the metre from Zipper Station, in the same colour that I'd used for the Zip it Case I'd made for him previously.. ... ...there are useful pockets inside, and the notebook slips neatly inside the front and back pockets so it will lay flat when opened. I've used a spiral bound notebook with lots of dividers inside... ...the flap that fastens the journal cover together is held in place with a sew-in magnet, and I used a chnky black button on the front of the flap. This just needs to be wrapped with a few more books about bugs and critters - I hope Charlie likes it!
|
About me...Hi - welcome to my quilting blog! My passions are my family, my dog, my friends and sewing, not necessarily in that order! Archives
July 2023
Blogs I followUK shopsThese are the UK shops that I use to purchase my quilting supplies - fabrics and threads etc.
Australian linksScandinavian links |