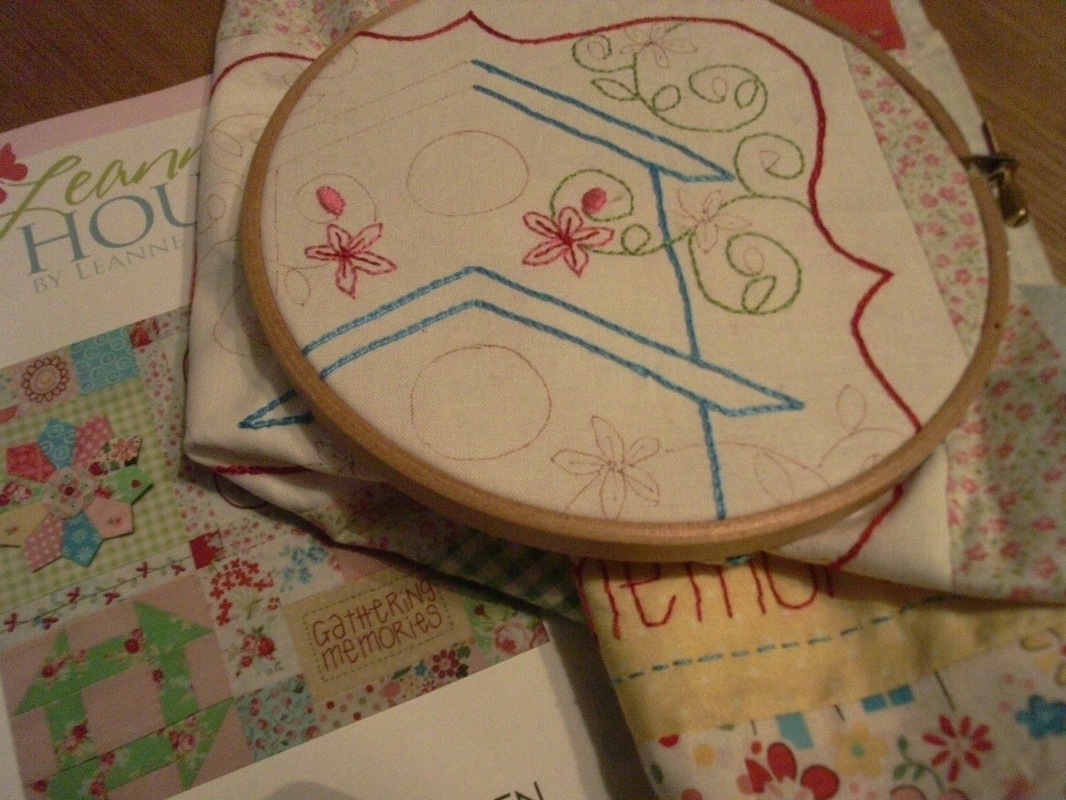
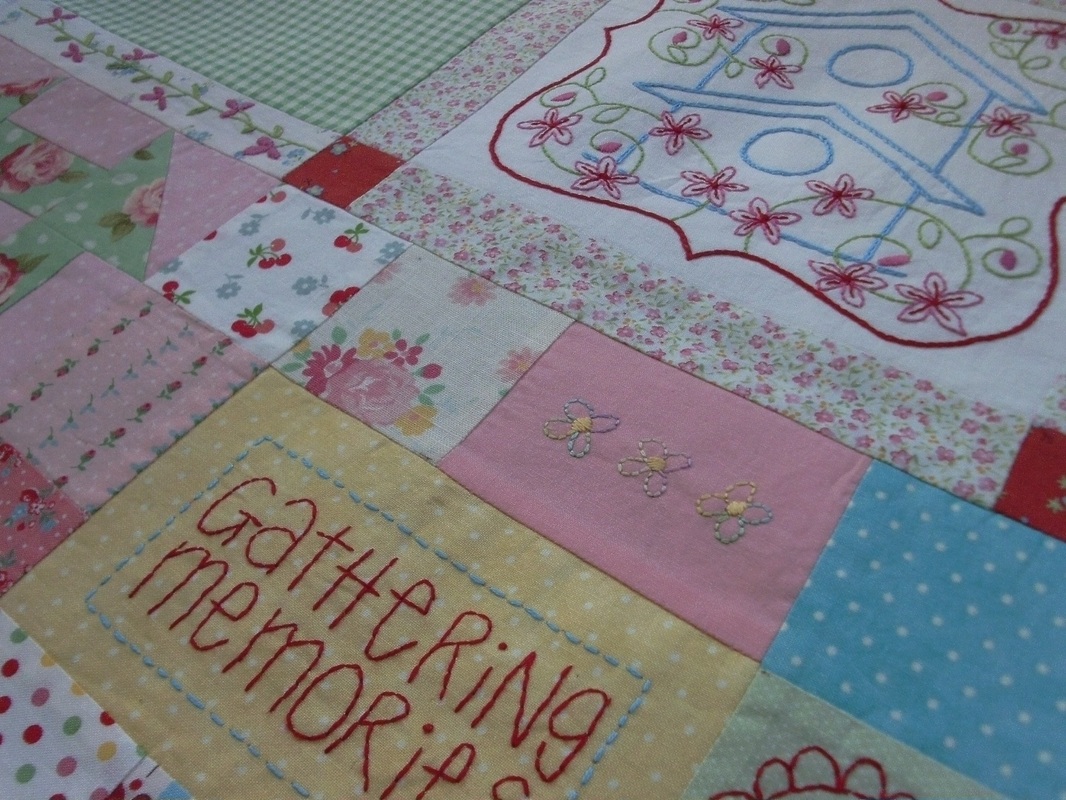
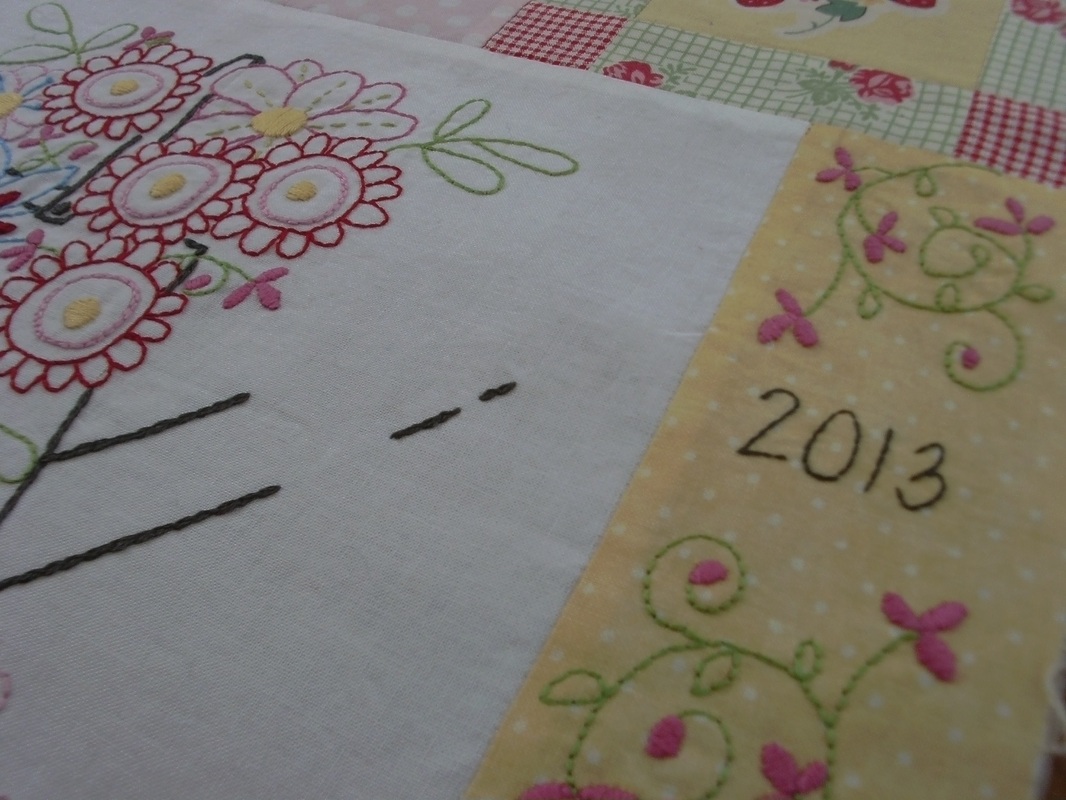
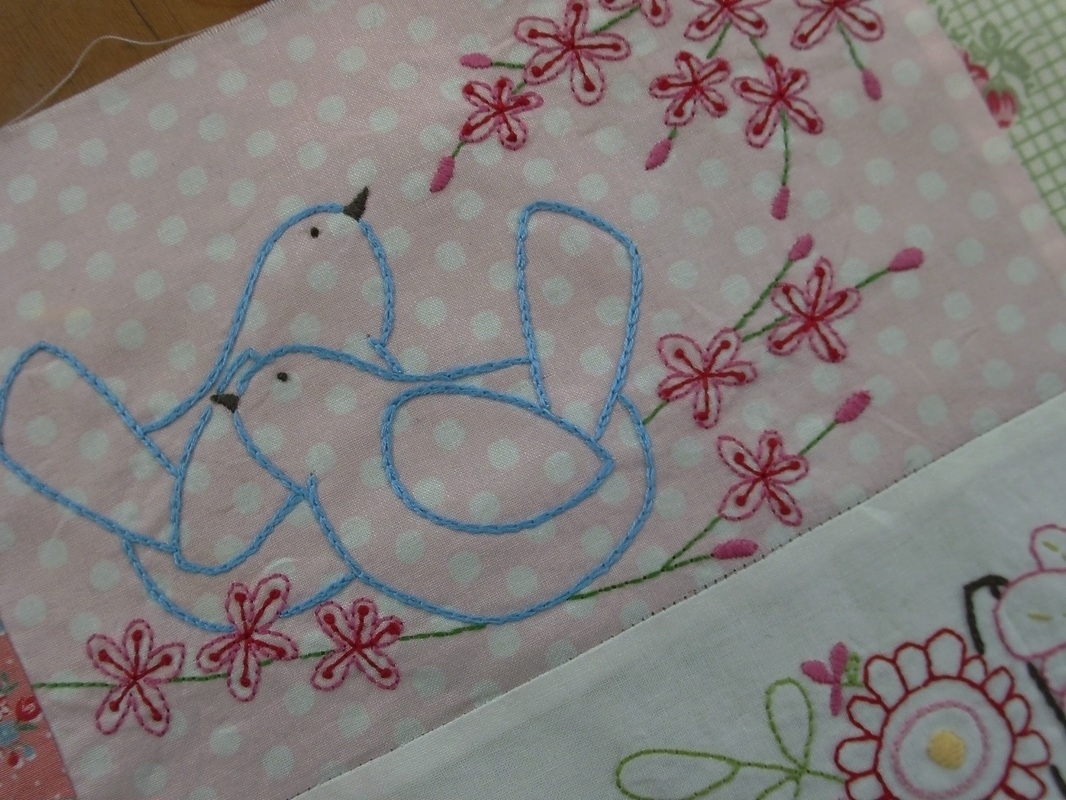
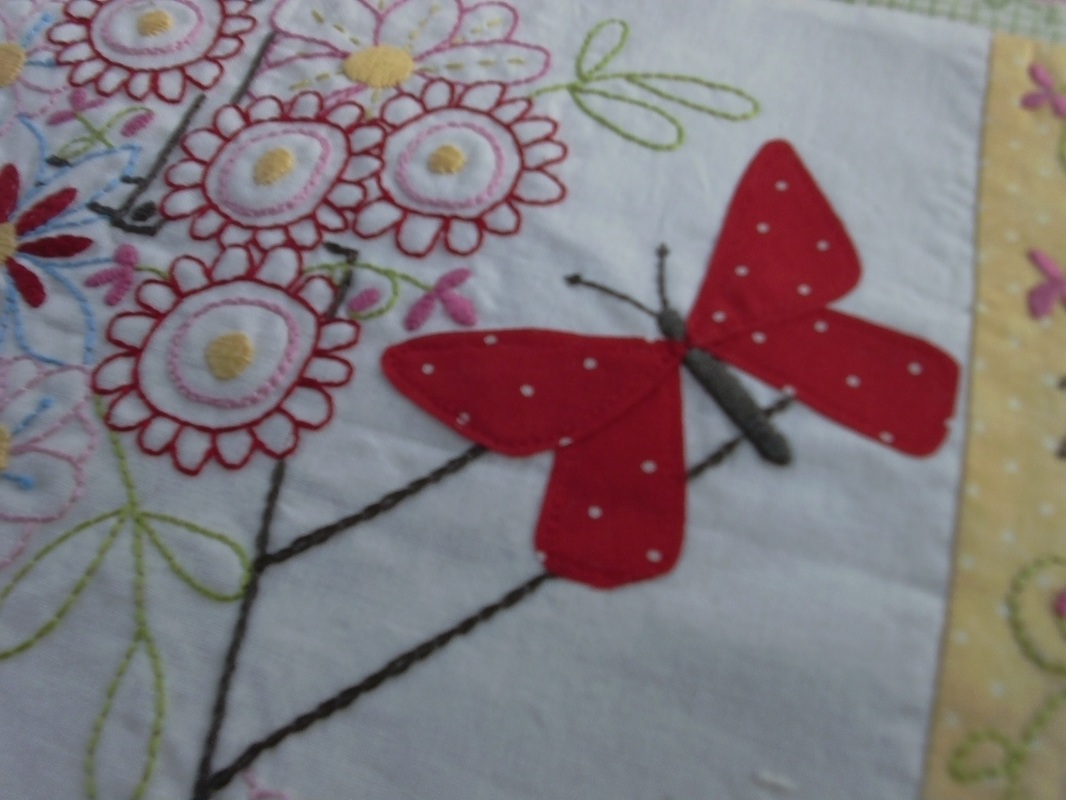
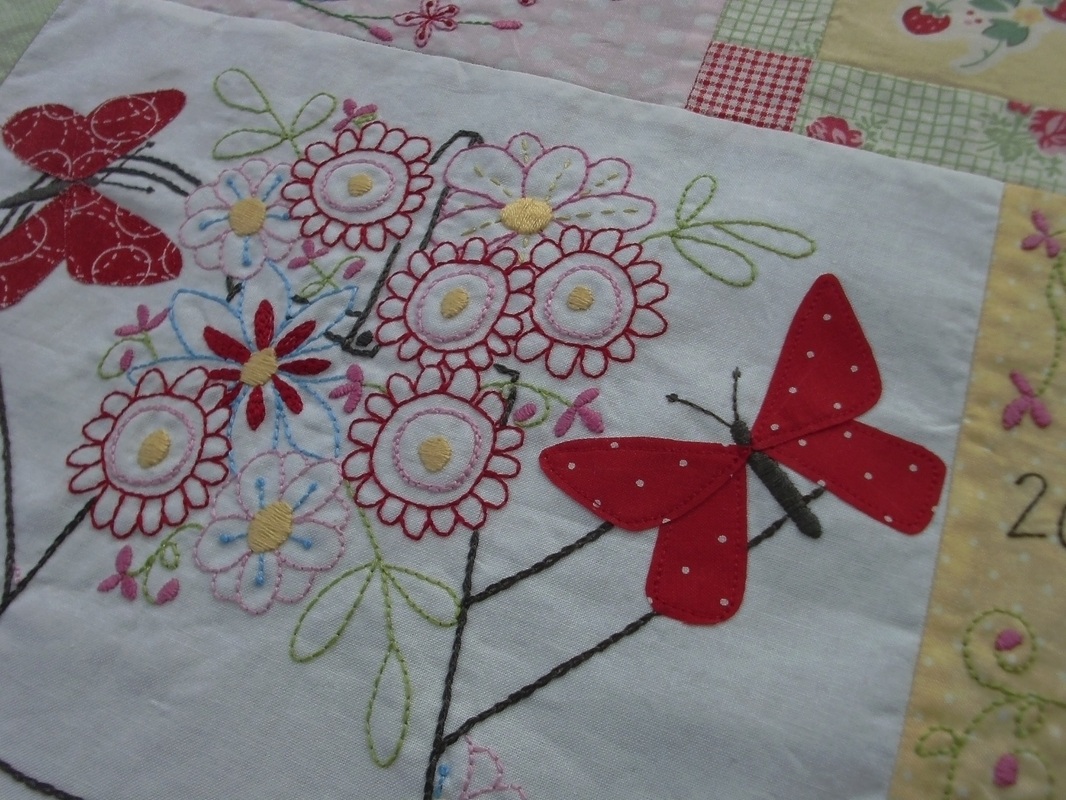
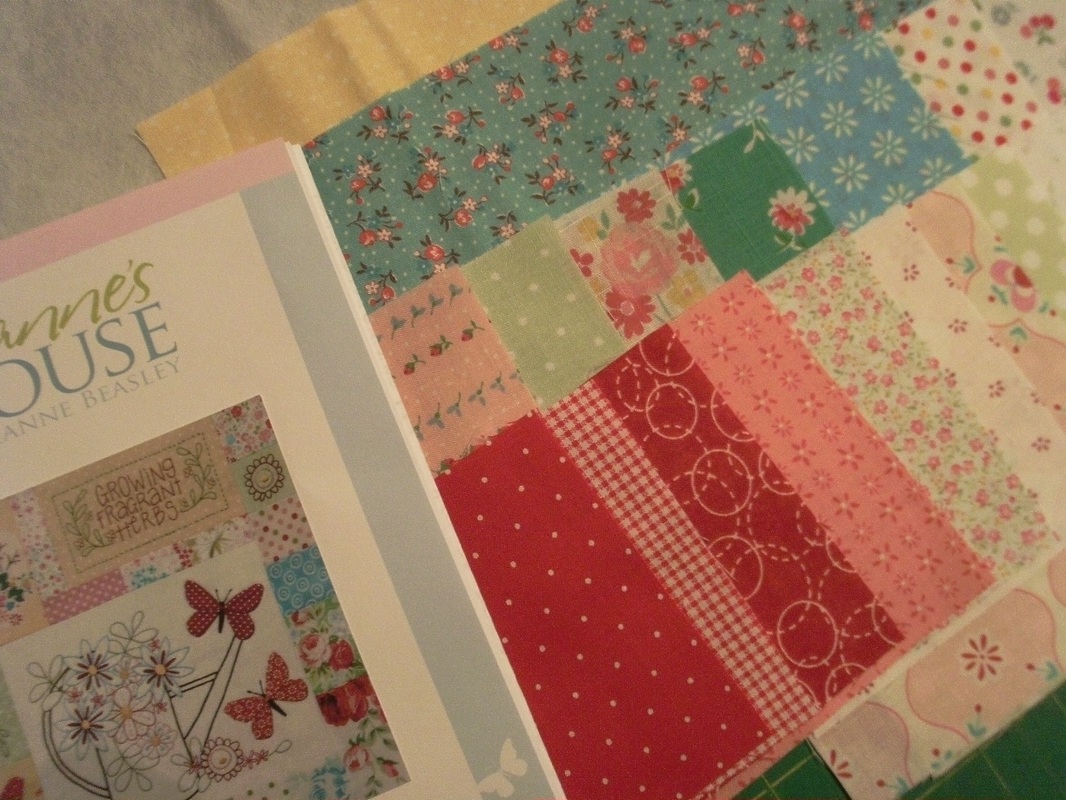
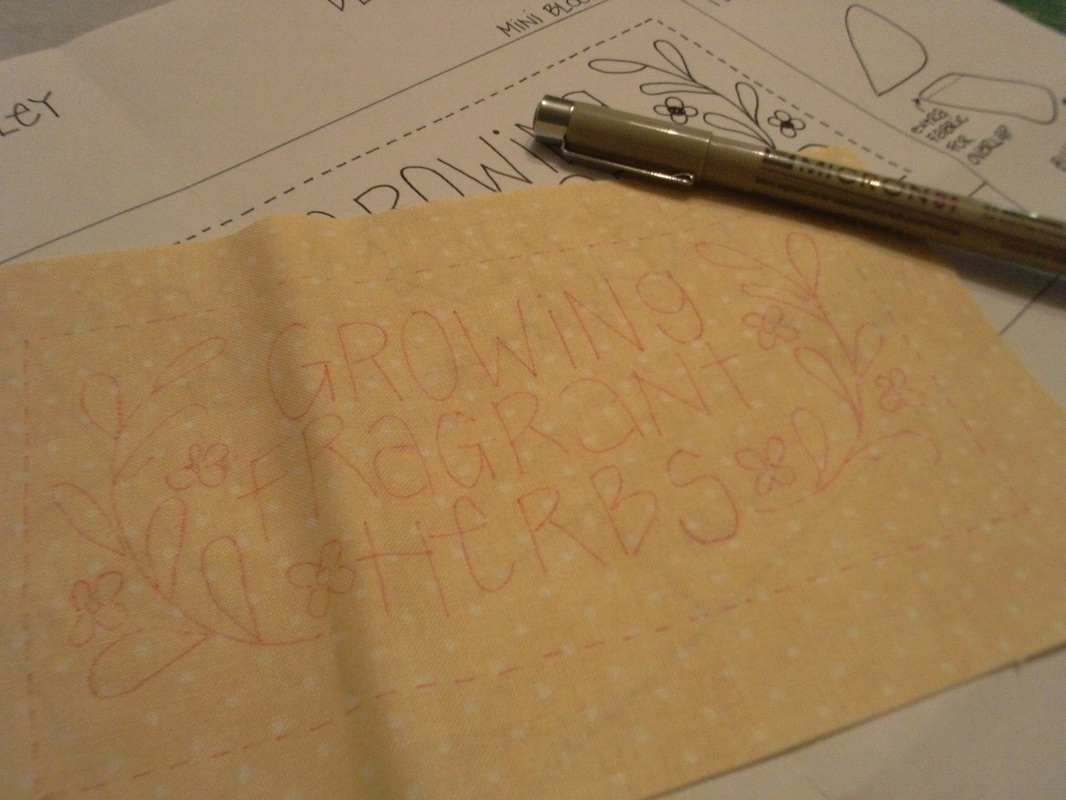
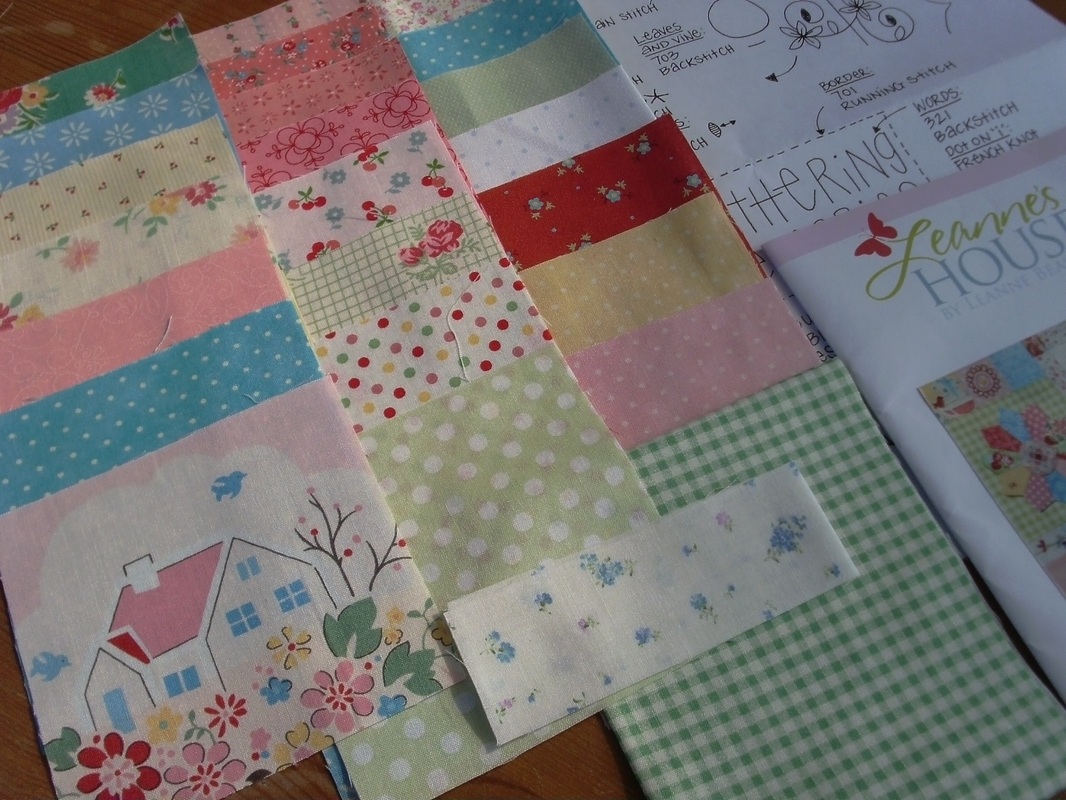
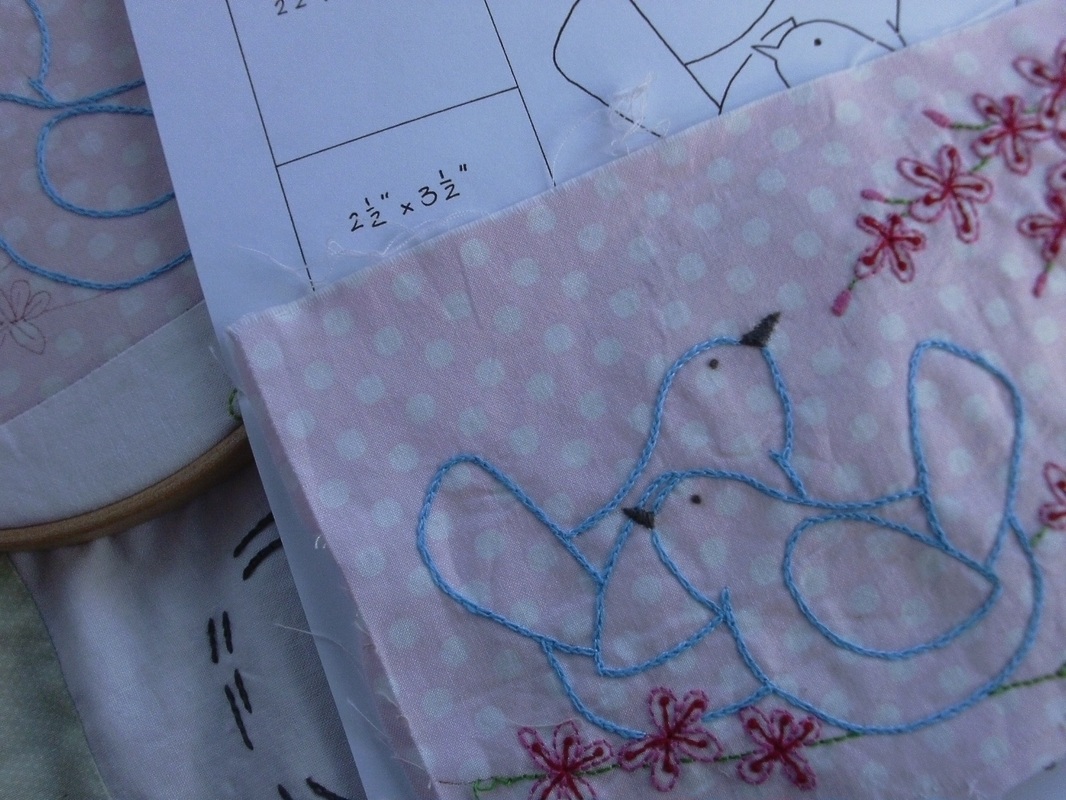
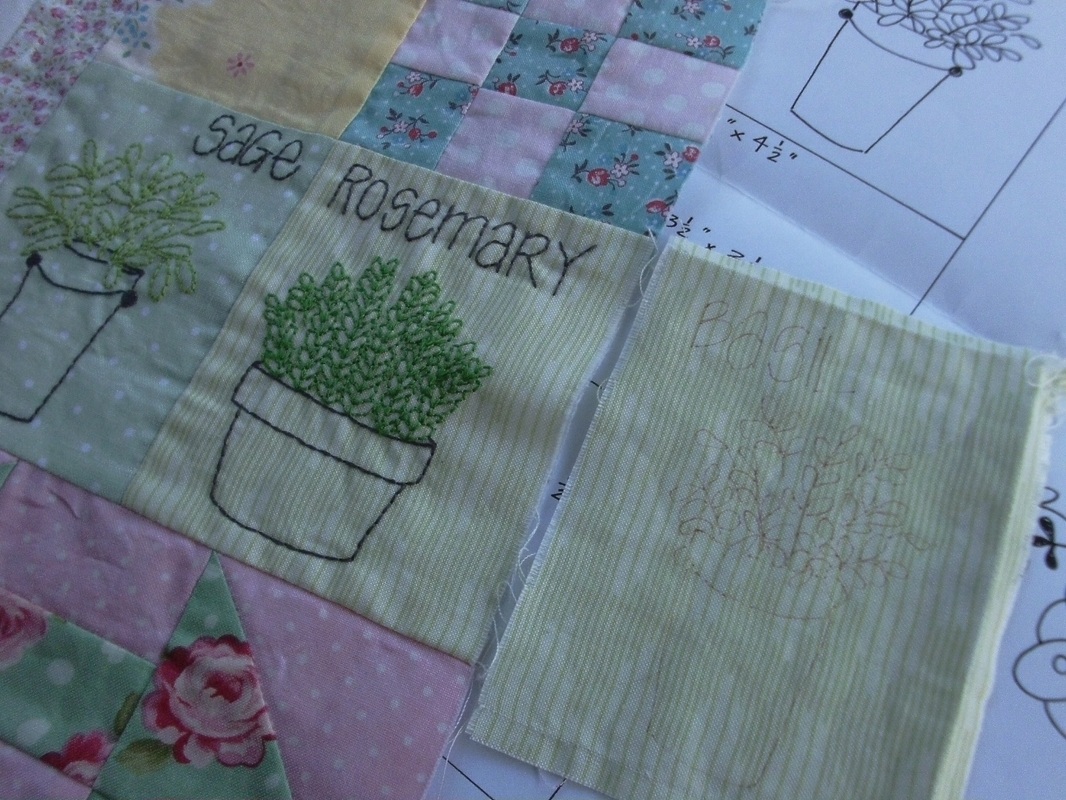
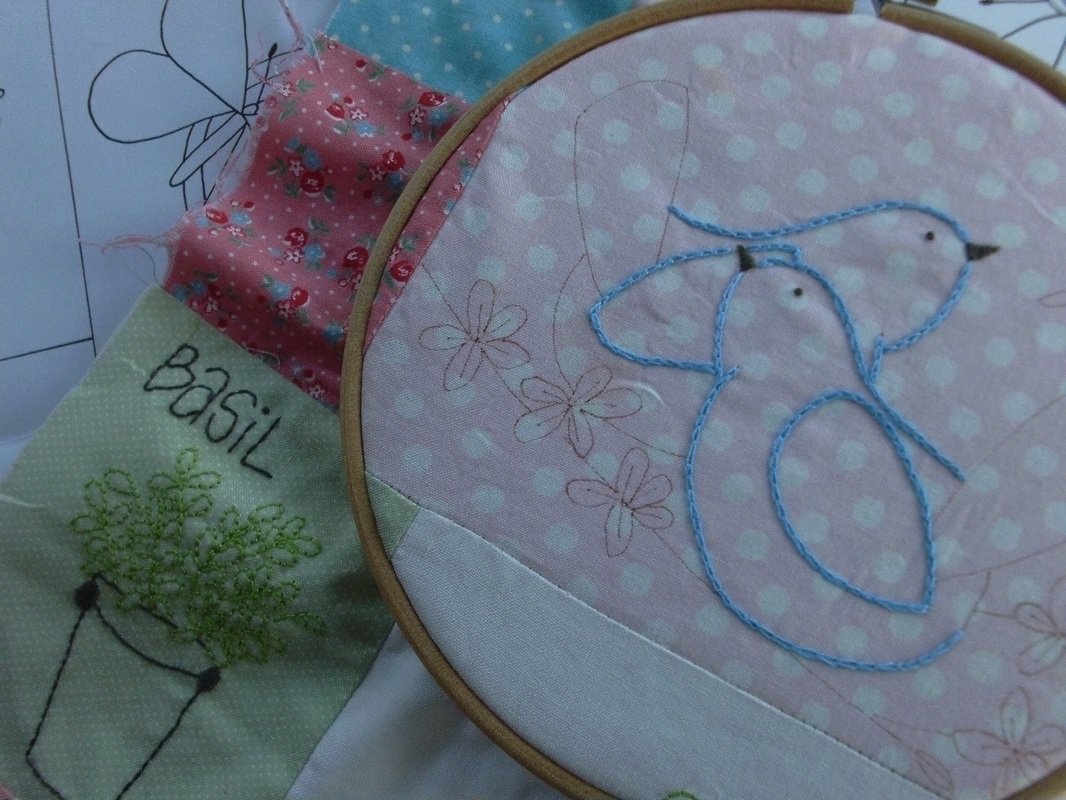
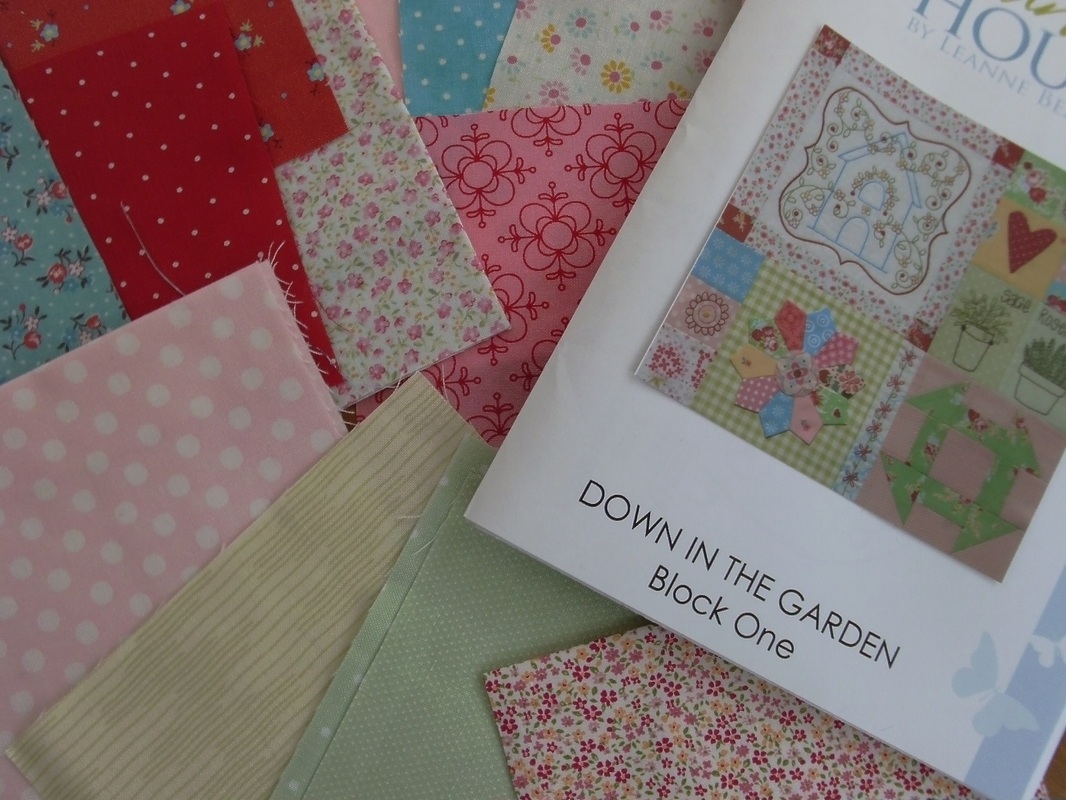
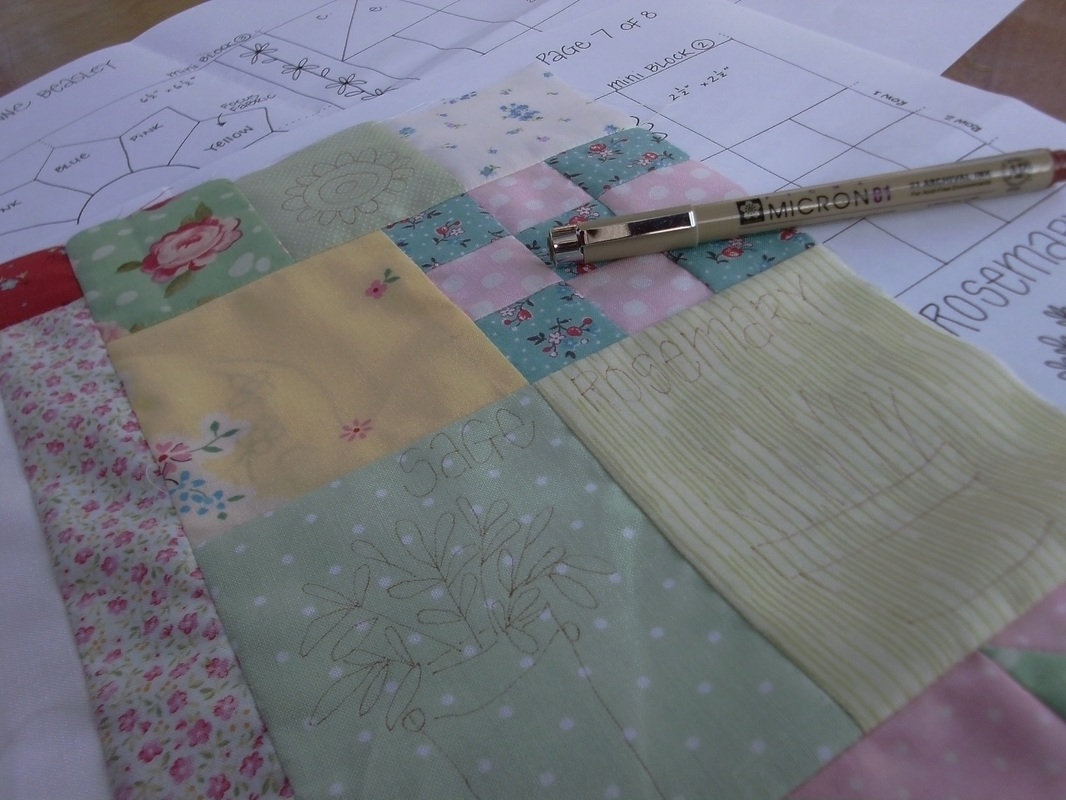
I made a start on stitching this block back in September 2013, then other projects sort of took over, and it was put back in a box until a few weeks ago. Stitching this has been very relaxing, especially early in the morning when everyone is still asleep... 
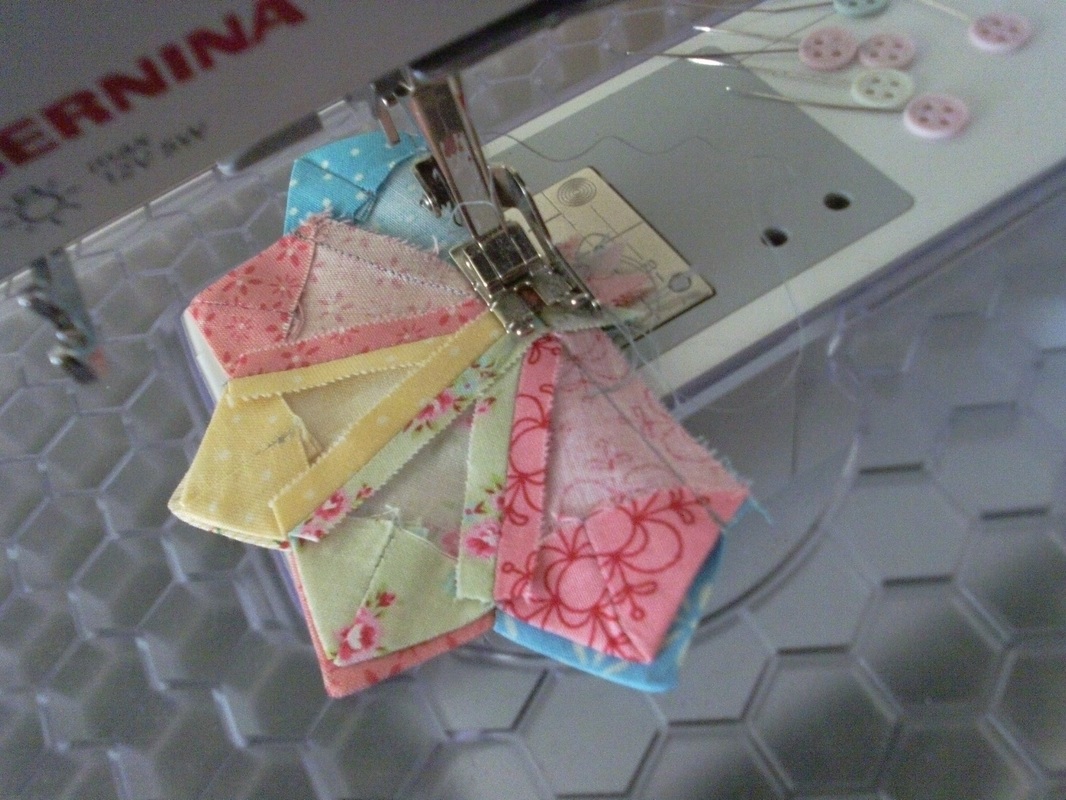
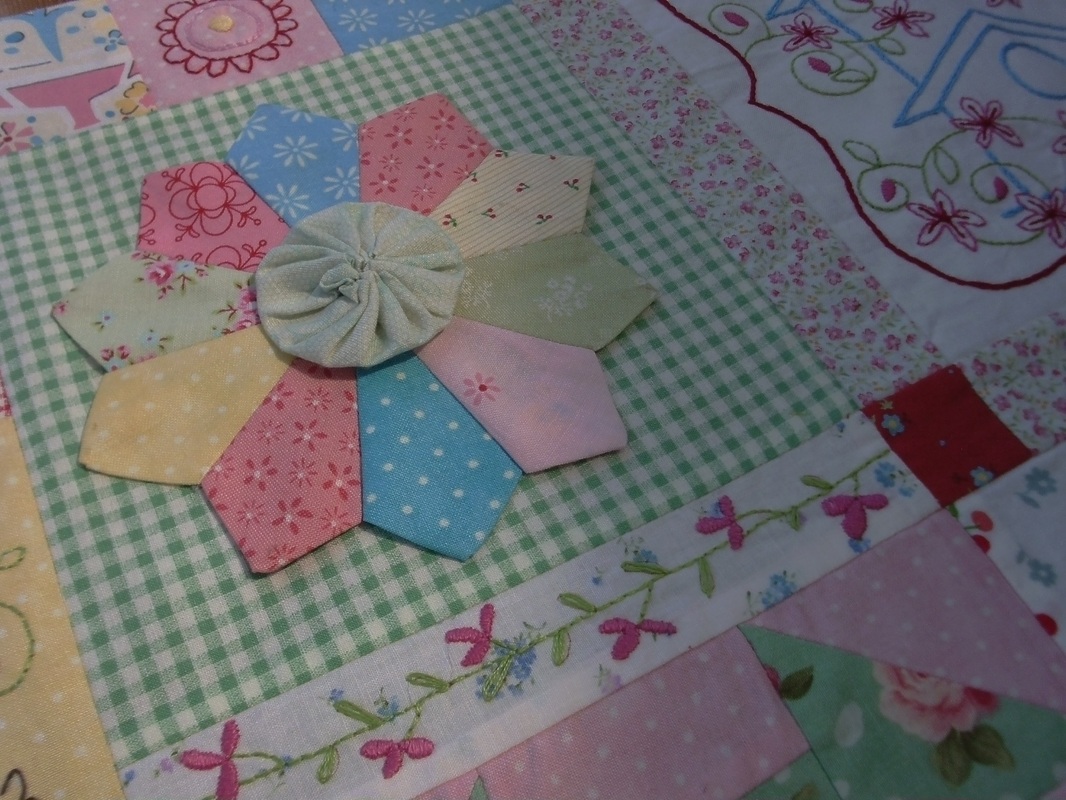
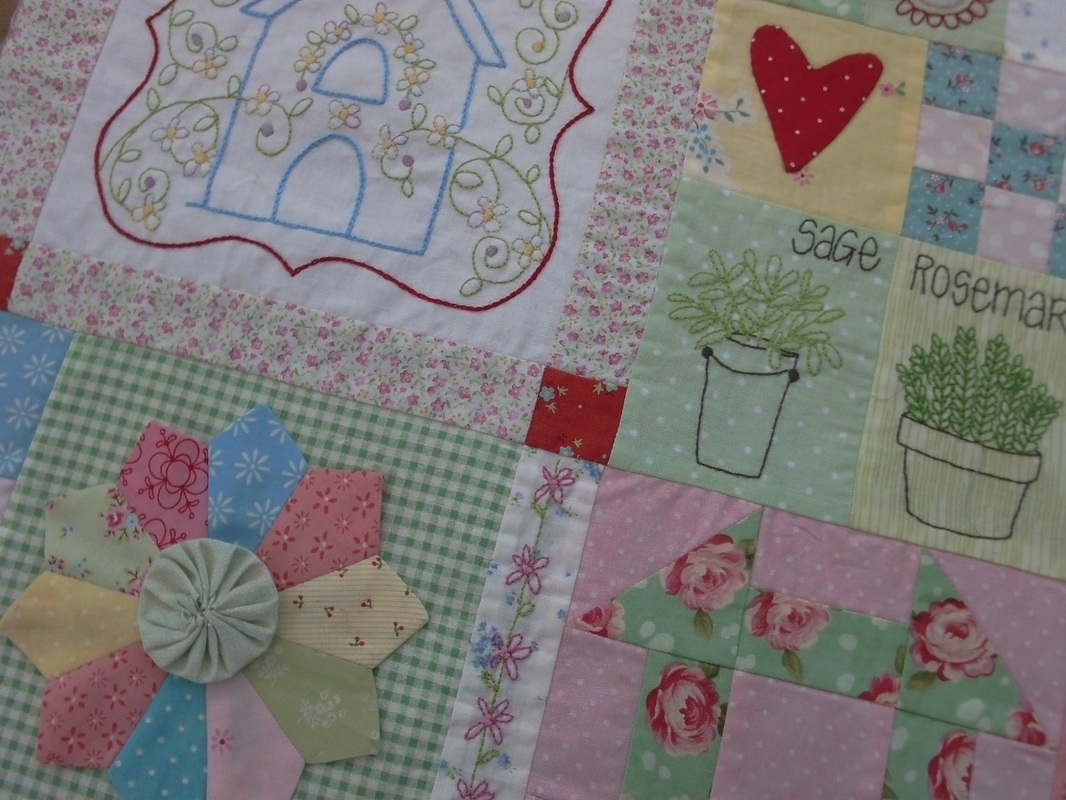
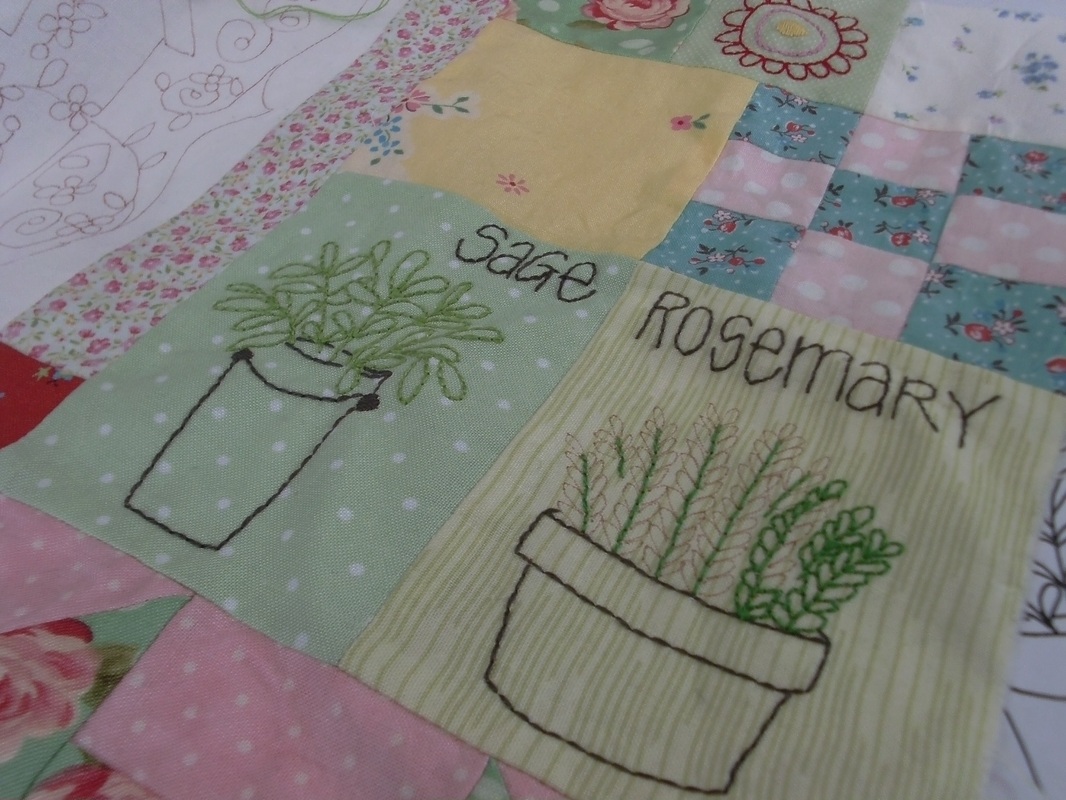
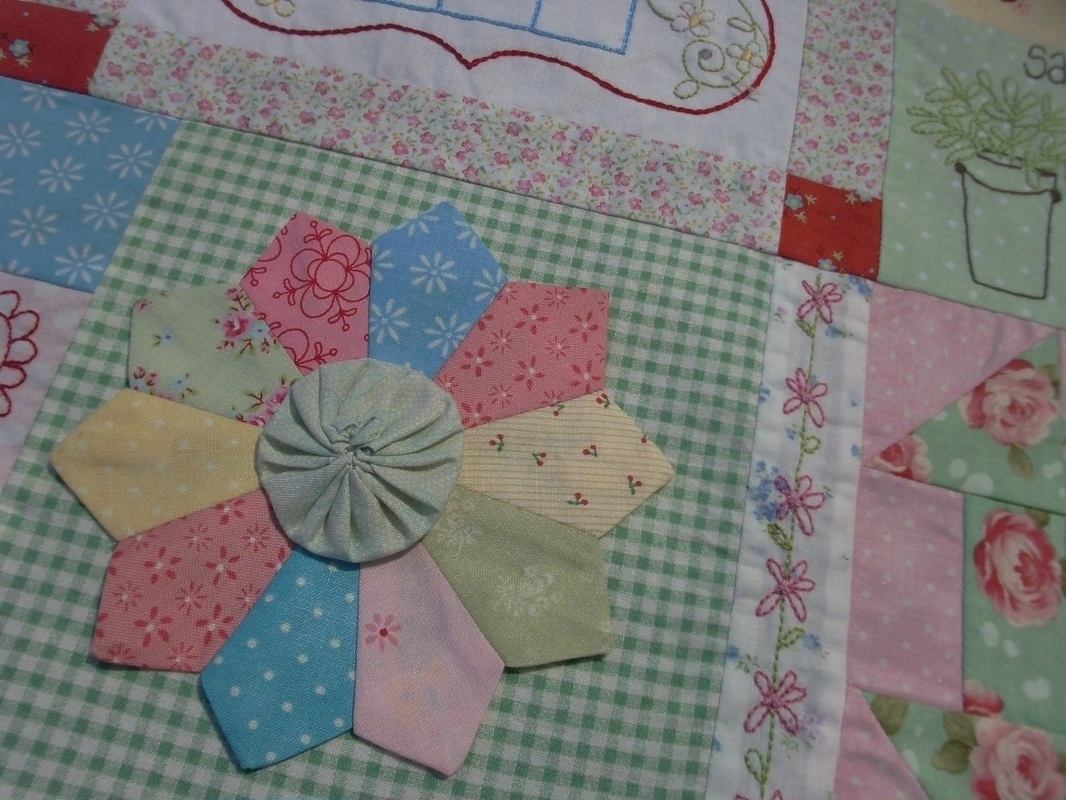
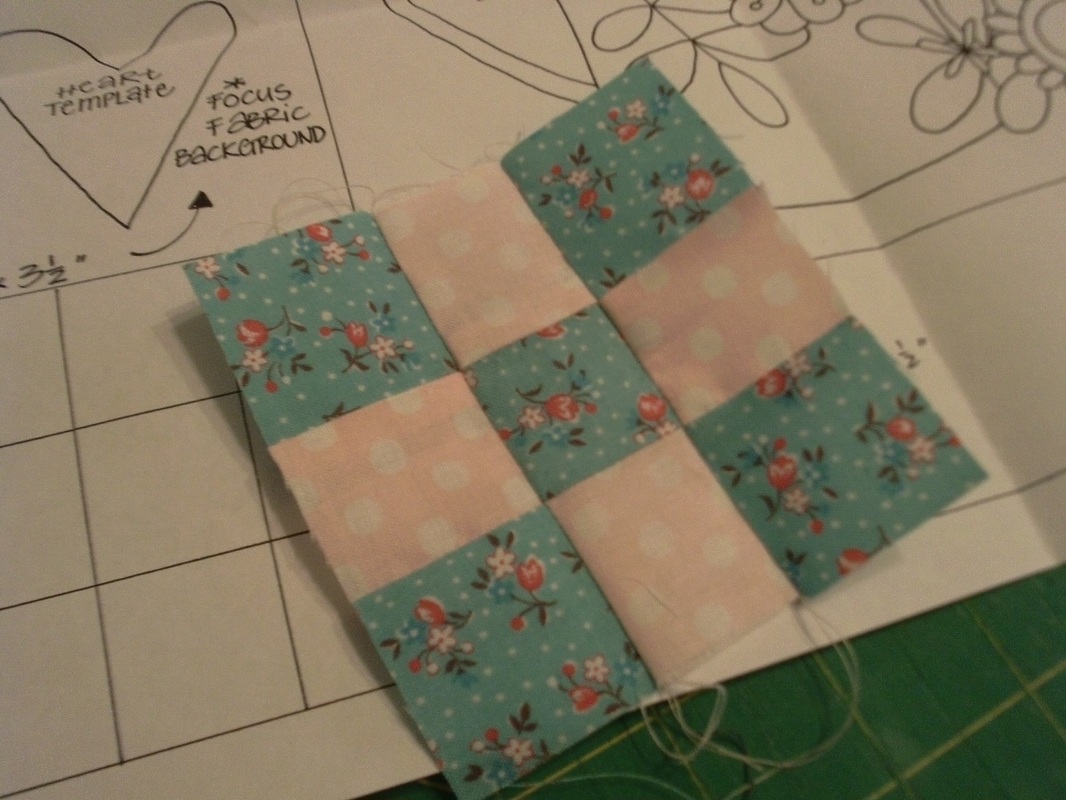
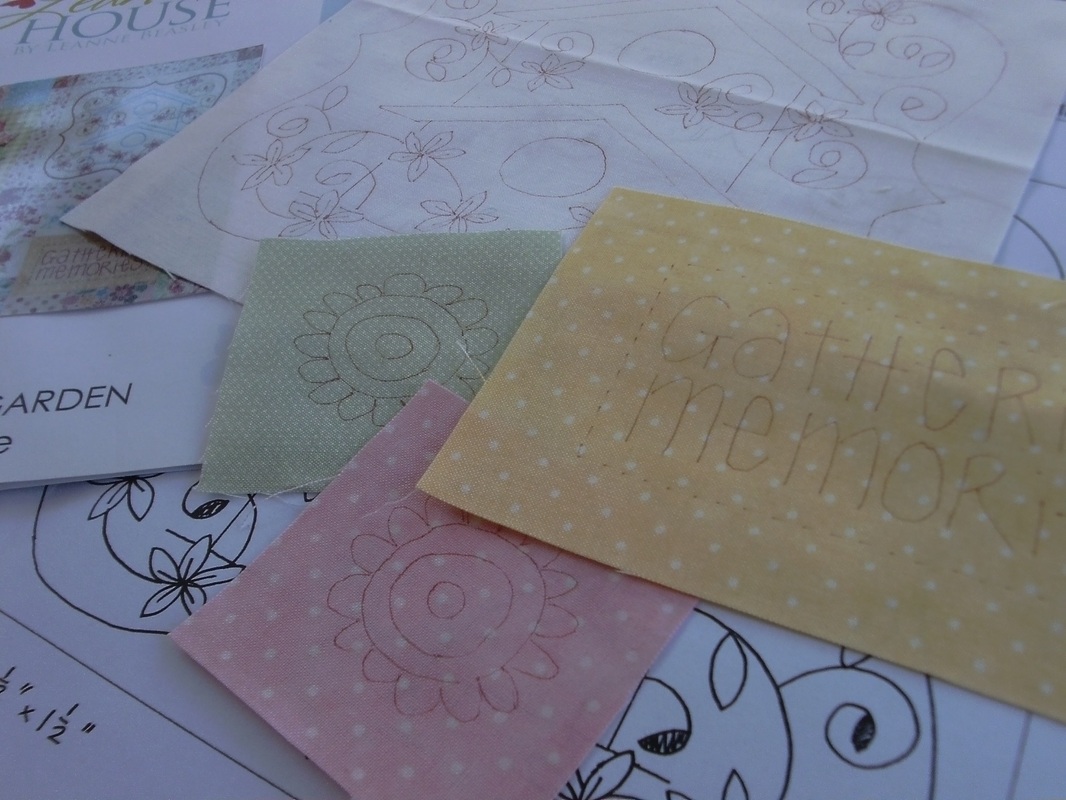
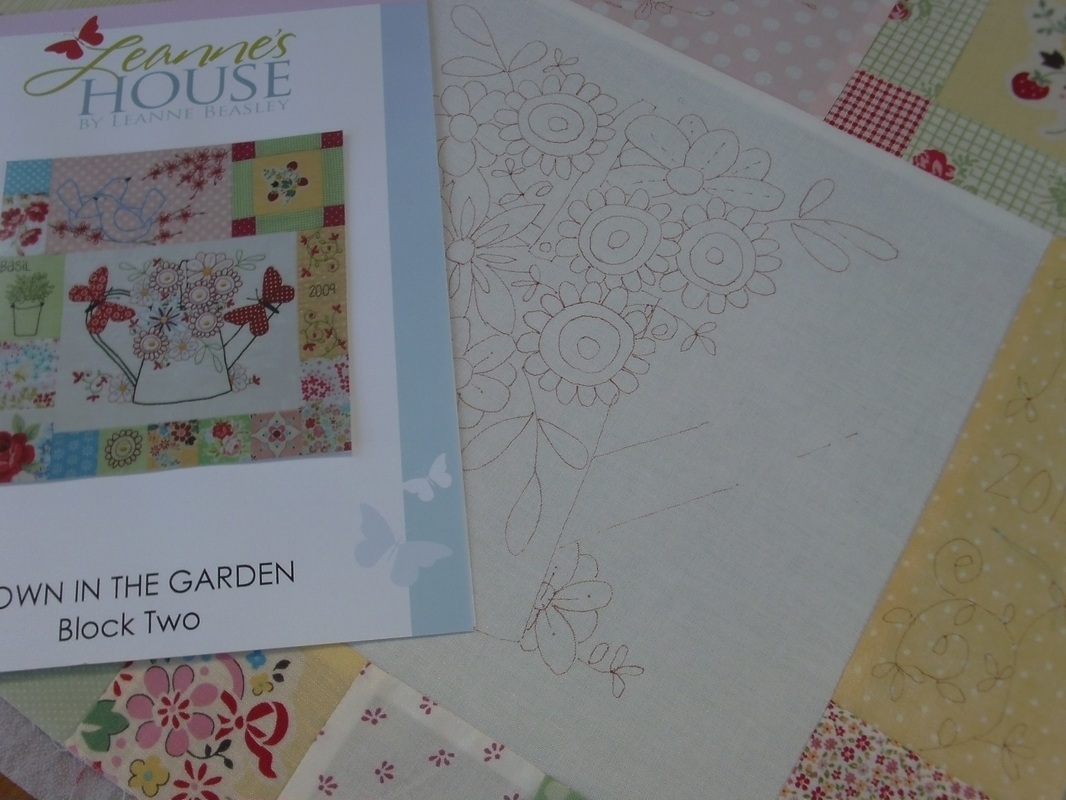
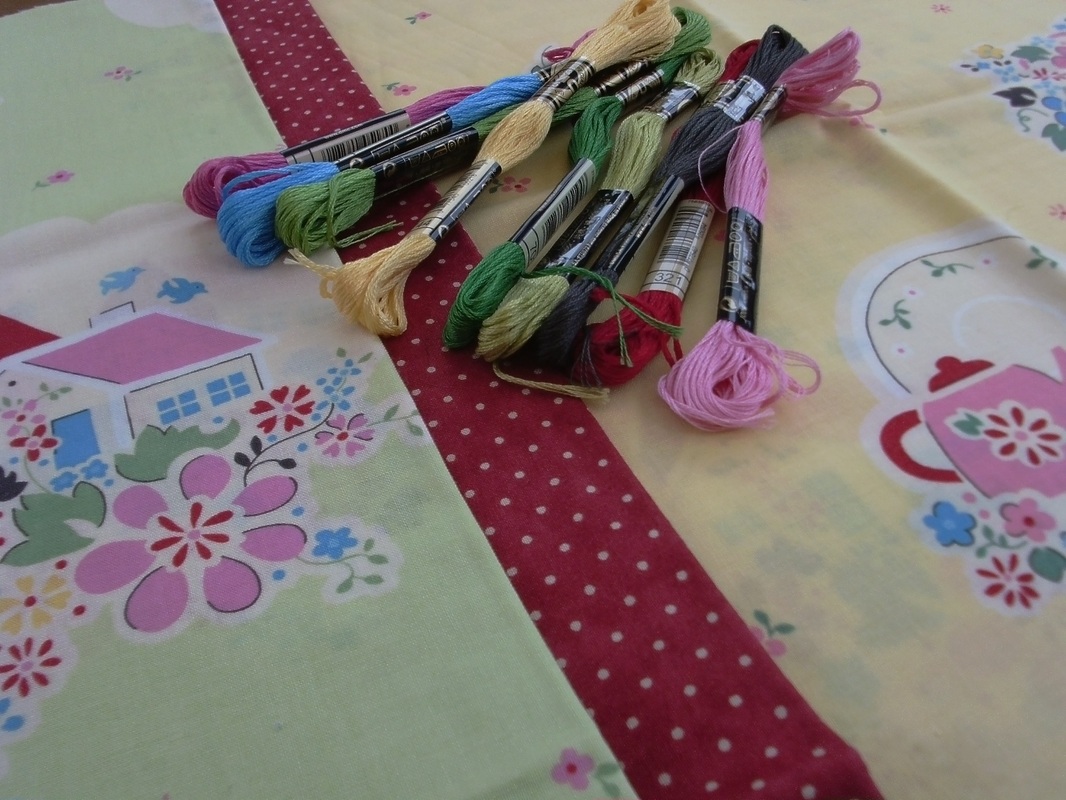
...another mini-dresden plate adorns this block, and I did a short-cut method by piecing these together by machine and then they are appliqued into place using a neutral coloured silk thread, with a Suffolk Puff in the centre. I finally made a batch of these mini-dresden plates this morning, and couldn't believe how quick I made the 2nd, 3rd and 4th one... 
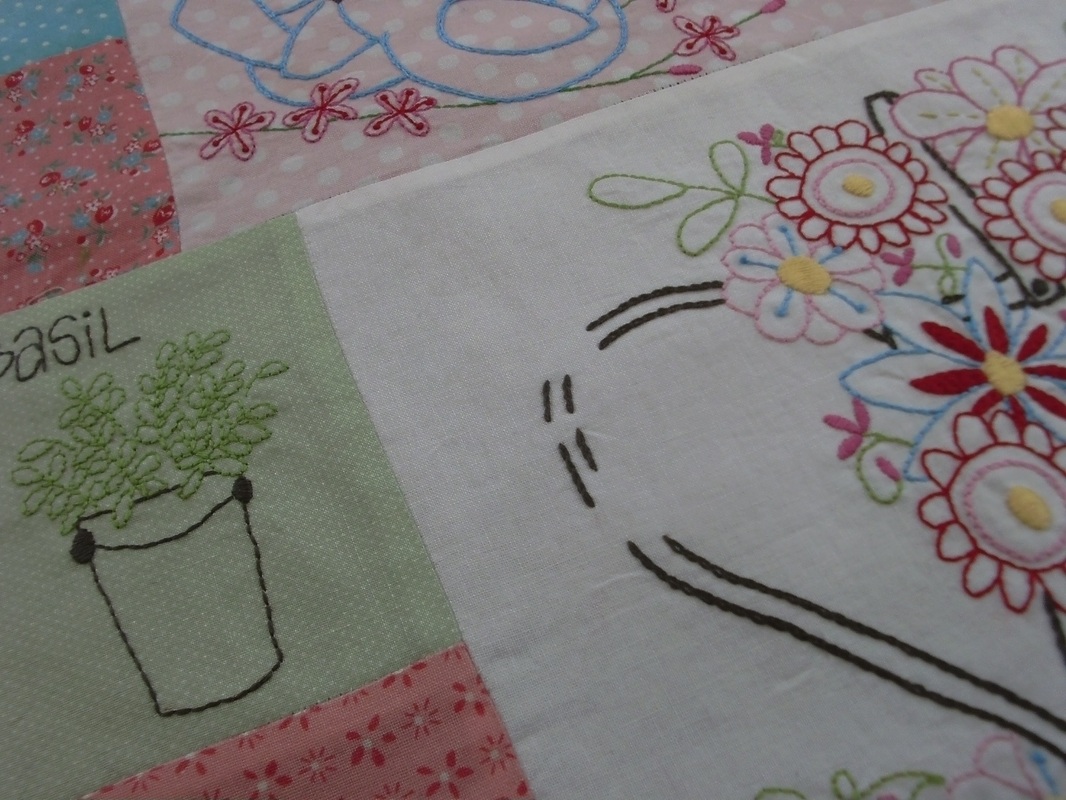
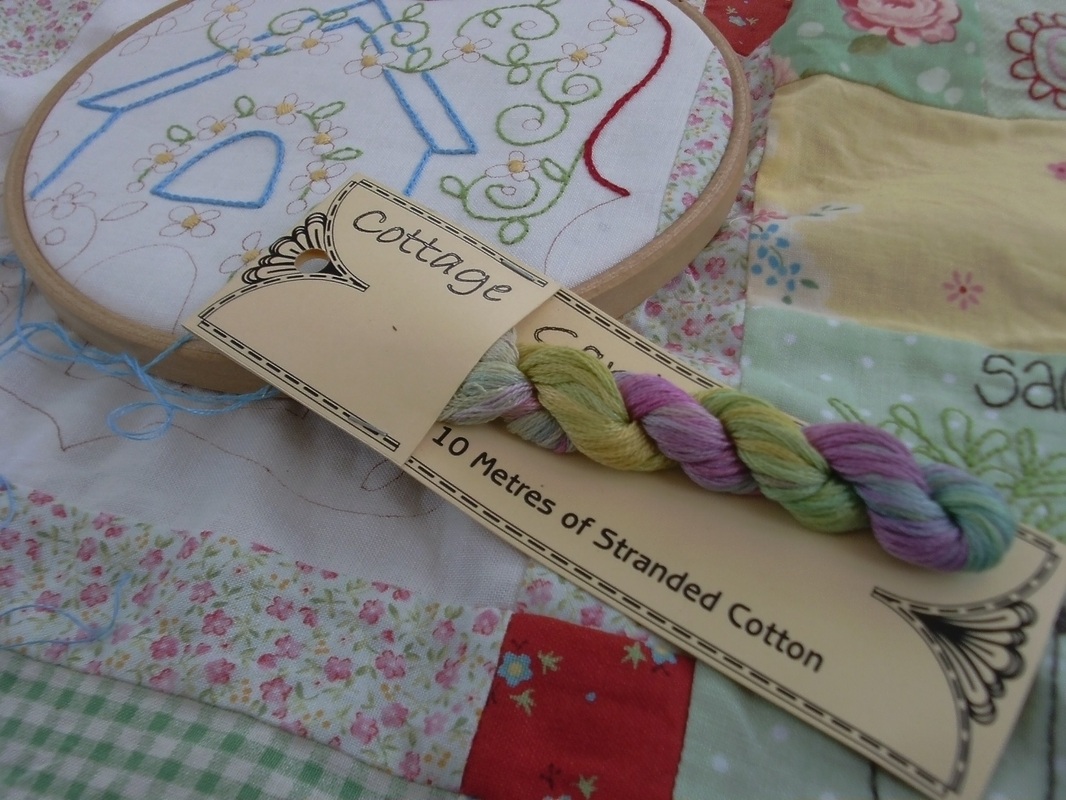
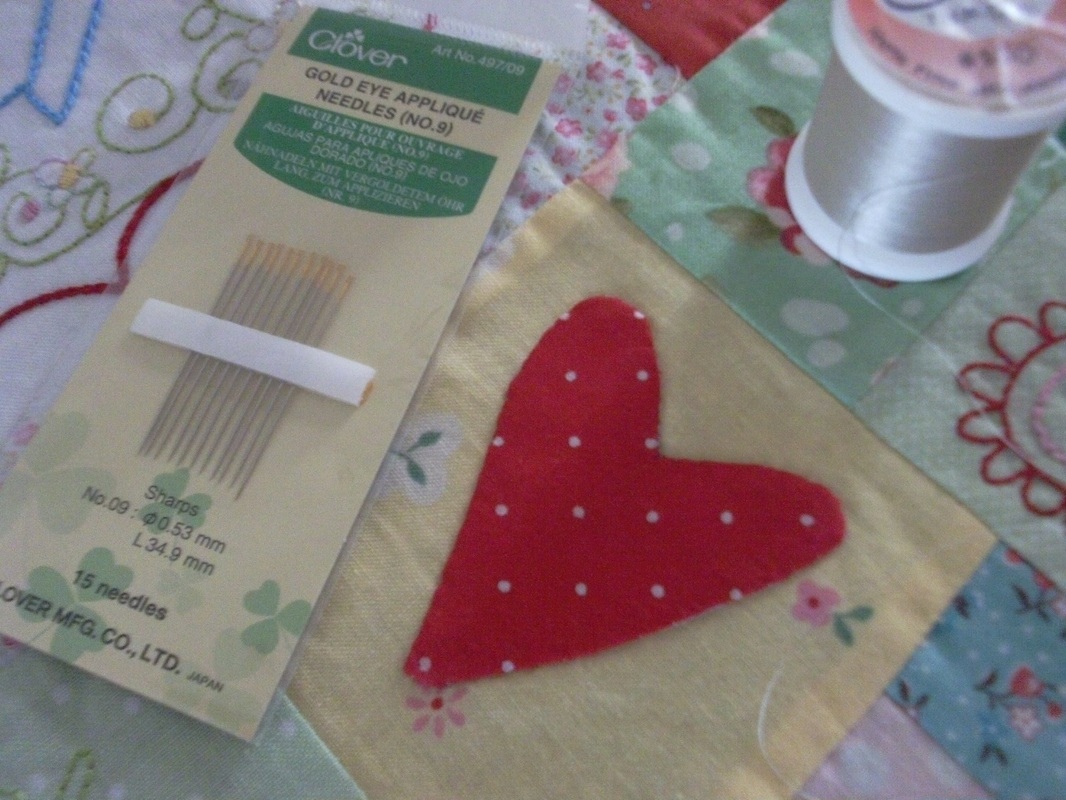
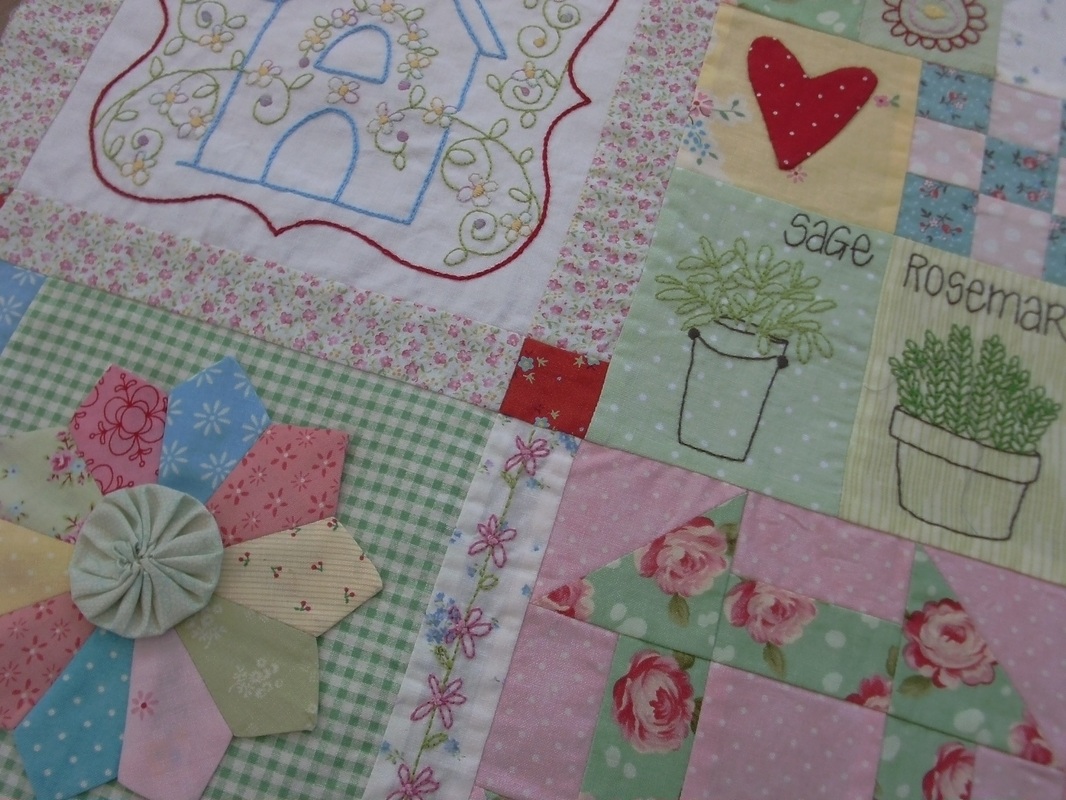
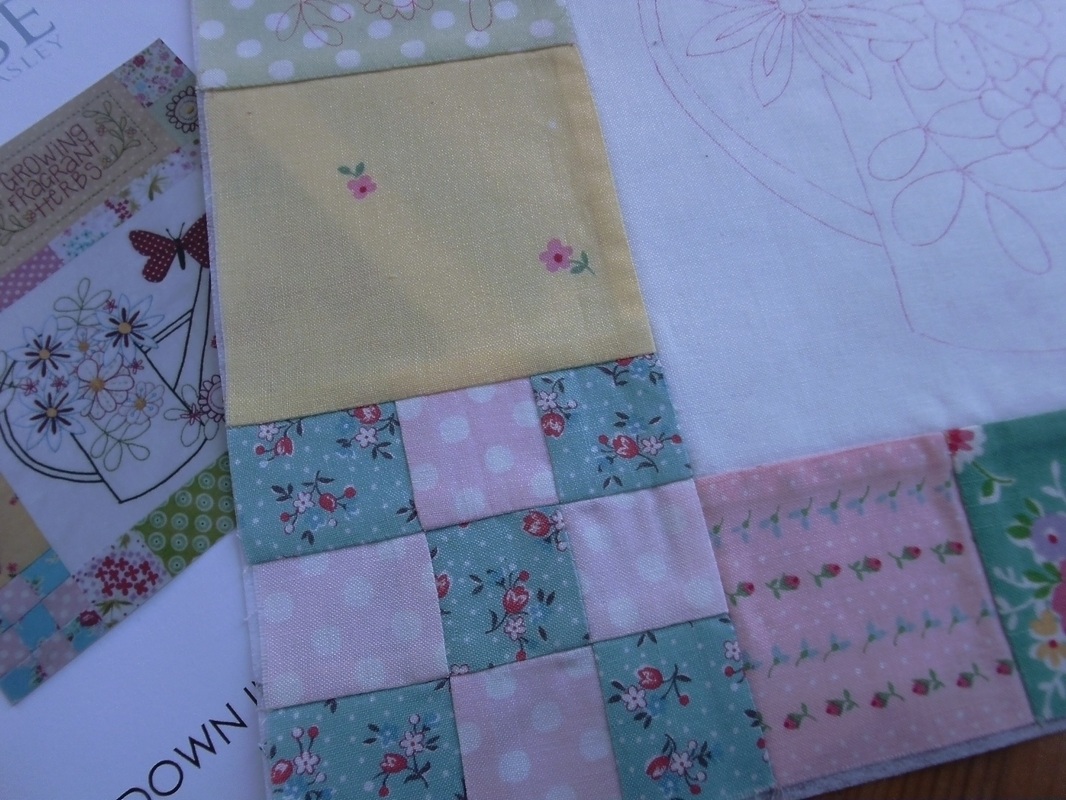
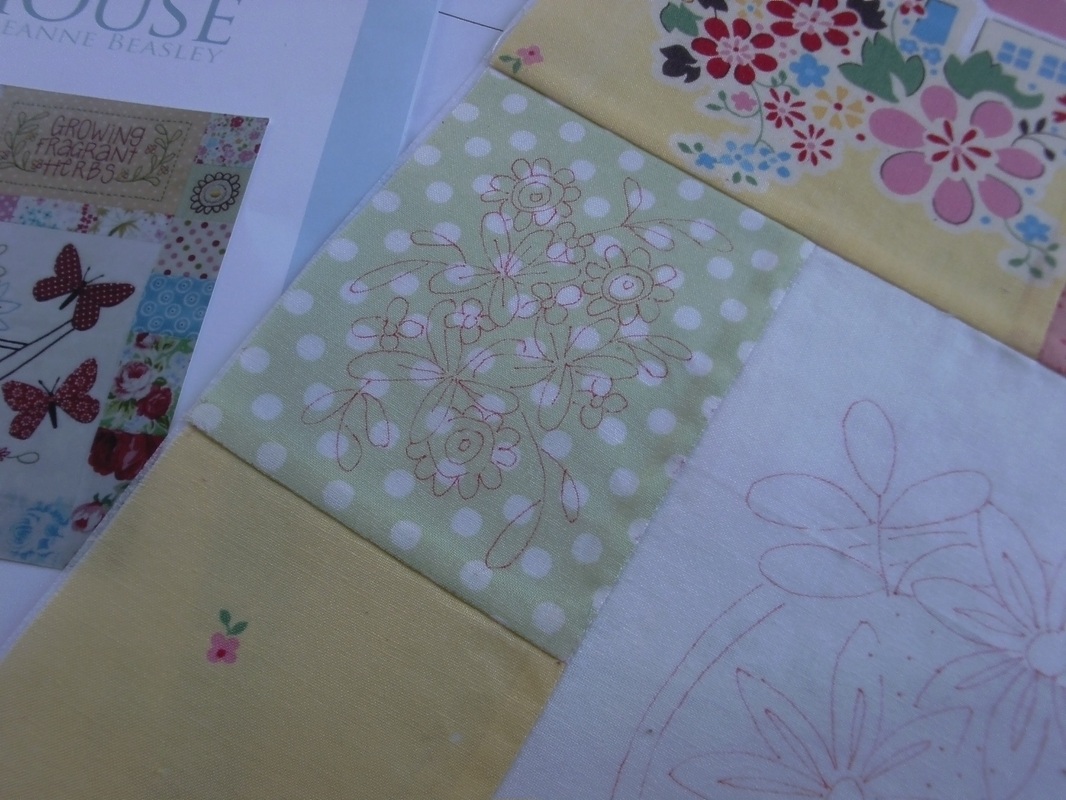
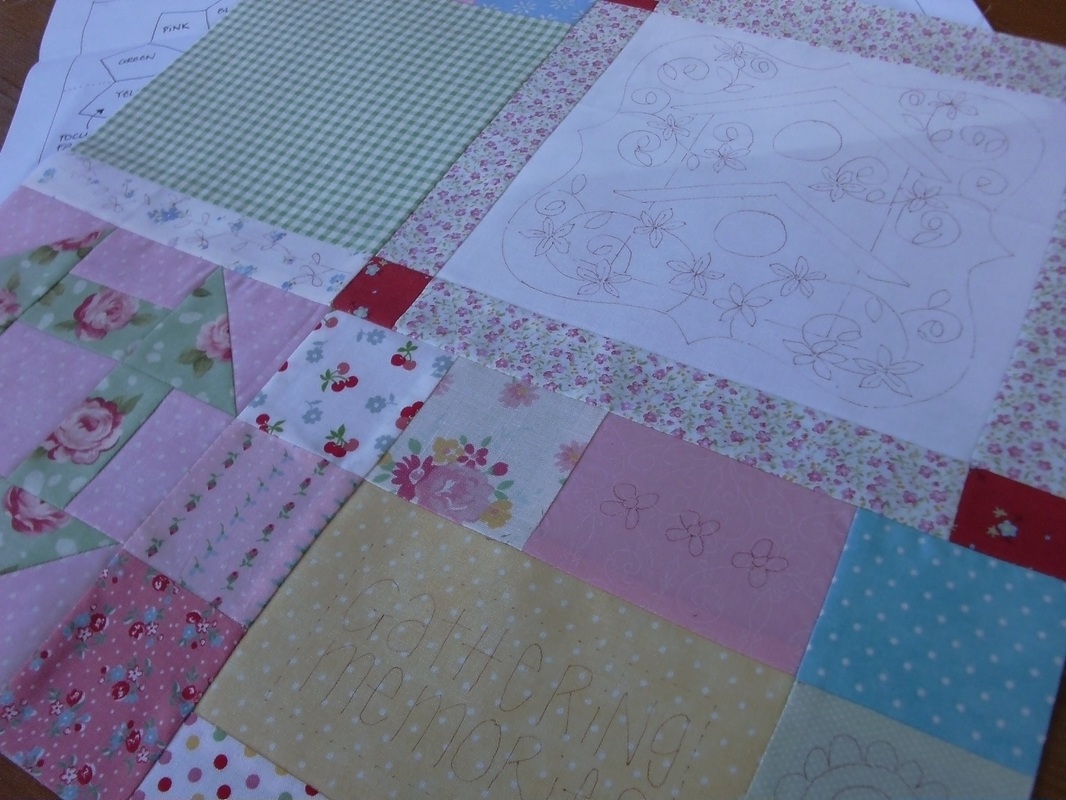
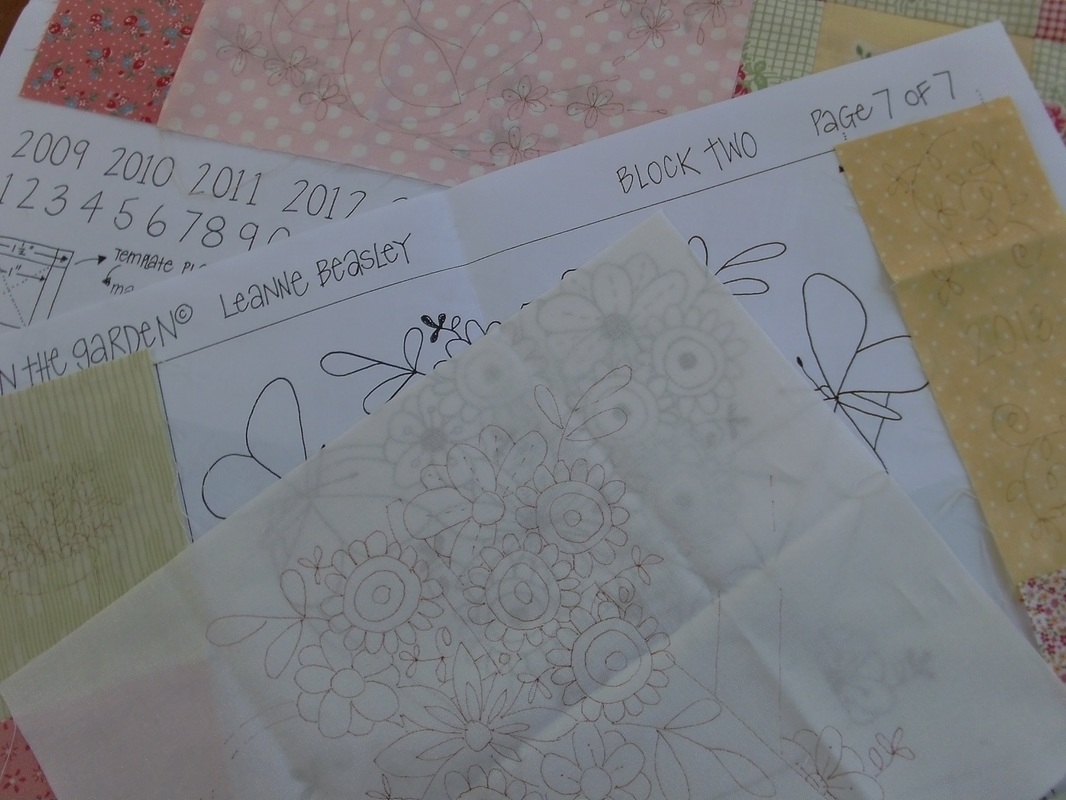
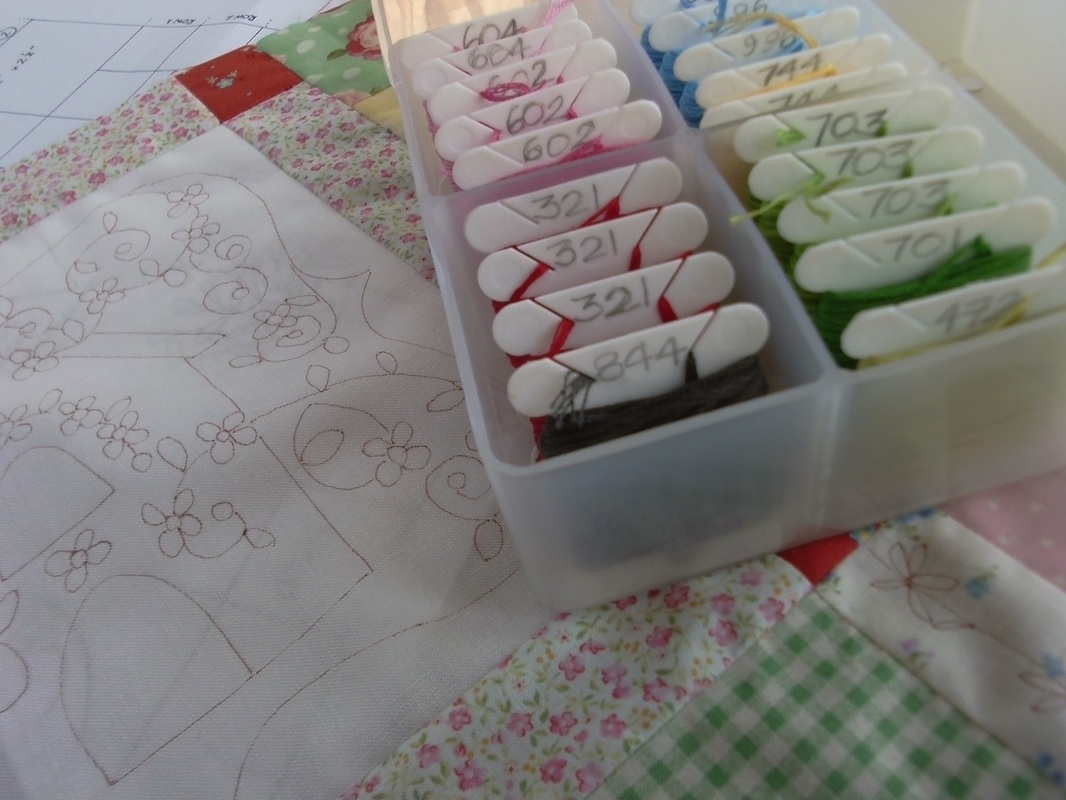
...these 3 blocks form row 1 of "Down In The Garden" (designed by Leanne Beasley). Block 4 beckons, and as I've already completed the stitchery for it, I just need to prepare the applique - more pictures soon!
0 Comments
I actually did the stitchery on this block last year, and finished the applique this morning! Well my satin stitch was CERTAINLY improving by the time I'd moved onto Block 2 of "Down in the Garden" BOM (designed by Leanne Beasley) - well, it really couldn't get much worse after the fiasco of the bird's beaks! I used Leanne's tip of stitching around the outline with back stitch first of all, then sewing the satin stitch, and I must say it certainly looks much neater. This project uses DMC threads, and I've been using a size 9 John James embroidery needle for the hand stitchery... ....these cute blue birds are stitched with tiny chain stitch, (I am SO glad I removed the original mini-block and replaced it - these birds really do look SO much better) and the watering can is stitched the same way. Loving this bouquet of flowers!!..... .....pretty red appliqued butterflies adorn this block, and look so cute fluttering among the flowers. Needle turn applique isn't a technique that I'm particularly good at, so I decided to use raw-edge applique with fusible interfacing to secure them into place... ...time for a final press, and I'm ready to make a start on the applique for Block 3!!
Last year I started this BOM "Down In The Garden" by the Australian designer Leanne Beasley. Lots of techniques were used to complete Block 1 and I am so thrilled with it!! Piecing mini blocks, fussy cutting, more piecing to make the large block, stitchery, stitchery and MORE stitchery, and my first time of using Cottage Garden threads - hand dyed stranded cotton, already cut into lengths and absolutely divine to sew with!... ...well I really enjoyed the stitchery, but put off doing the rest for several months. These mini-dresden plates were a bit tricky (I'd never actually made a dresden plate before, so turned to my very crafty sister for some expert help). I didn't really like the middle discs as per the pattern, so made some Suffolk Puffs instead, and this was secured into place with a dab of Roxanne's basting glue before being stitched down.The applique hearts have been sewn into place with a very small slip stitch using a neutral coloured silk thread...... ...this really does look so pretty - goodness only knows why I didn't prepare these dresden plates and hearts last year. Although the first one took a little while to master, I decided to get the other 3 made while I still had my machine threaded! Now to get the butterflies on Block 2 stitched into place!
Well I woke up at silly-o'clock again this morning, so while everyone else was sleeping, I made a start on Block 4 of "Down In The Garden" (designed by Leanne Beasley) that has been languishing in my sewing box for far too long. I initially bought this BOM 4 years ago, and finally made a start on it last summer. I finished the stitchery last week, and this morning I managed to get it cut, pieced, and all the stitchery traced before I had any other distractions! I used a Pigma pen to trace the stitchery BEFORE I joined the mini blocks together... ...I'd made 4 of these mini 9-patch blocks last year when I made Block 1, and it certainly saved time this morning. The feature fabric is Grandmother's Flower Garden by Rosalie Quinlan and is fussy cut for some of the mini blocks... ...this pieced together quite quickly. I used a Schmetz Microtex needle size 60 and a neutral coloured Mettler fine embroidery thread, and a smaller stitch than usual on my Bernina so the seams don't pull apart while I'm completing the stitchery blocks. A soft fusible interfacing was ironed onto the back of the large block and it's ready! Now I just need some peace and quiet over the weekend to make a start on the stitchery.
Well I really couldn't resist opening the packet of Block 3 of "Down in the Garden", designed by Leanne Beasley. I'd bought this BOM a few years ago and finally made a start on it a few weeks ago. I've already completed the stitchery on Block 1 and Block 2 but haven't yet done the applique (hearts and mini-dresden plates and butterflies). After sorting out the fabrics, I traced the stitchery blocks with a Pigma pen size 01 (this is a permanent pen so you do need a very steady hand). Then the mini blocks were pieced together with a churn dash block that had already been prepared (4 of these were made at the beginning, with Block 1) and finally a piece of stabiliser was ironed to the back of the block. It's now ready for the stitchery and I'm using DMC threads for this.
Well stitching Block 1 was a dream - the mini blocks pieced together easily, I'm really pleased with the stitchery and I've just got the applique left to do. I decided that as there a few hearts and mini-dresden plates and butterflies to applique onto this quilt, I'd make them up en-masse, and hope to do that very soon. Meanwhile, I was really enjoying the stitchery, so made a start on Block 2 and it all started off so well. I was stitching the 2 small bluebirds, and had problems with satin stitching one of the beaks. I just didn't seem right, and so I very carefully unpicked it. The second time it was even worse! So again, I tried to unpick it very carefully - except that I wasn't careful enough and ended up with a hole in my fabric!! Disaster!! I thought I could make it better, so I poked the frayed threads through to the back of the block, and fused another small piece of interfacing to the back of the stitchery, and redrew a larger beak and started stitching - but the threads frayed even more and it looked worse than ever! Even BIGGER disaster!! Honestly, I was getting a bit niggly. So there was nothing for it - the mini block itself had to be unpicked and I cut a new piece of fabric, traced the design on it and VERY CAREFULLY stitched those beaks. (I bet Leanne Beasley doesn't have these problems!) However, things still weren't going to plan. When I laid Block 1 and Block 2 next to each other I realized that I'd used the same fabric for two pots of herbs - one in Block 1 and one in Block 2 - that would be next to each other!! I can tell you by now I was REALLY niggly!! Well I decided that I would always notice it (even though my friends said it looked ok!!) and unpicked THAT mini block too. Phew!! Anyway, the stitchery is nearly complete, and then I can make a start on block 3. After I've made some applique pieces of course!!
Block 2 of "Down In The Garden" is all prepped and ready to go! I struggled a bit with block 1 when I was tracing the stitchery design, then I remembered that when I did "Butterfly Garden" a few years ago, I traced the stitchery on the small blocks before I joined them together - so that's what I did this time, and found it so much easier! Then I pieced all the mini-blocks together, ironed the fusible interfacing onto the back of the whole block, and I was ready to start stitching! .
Well just look what I've got here to play with!! A few years ago (2010) I ordered this beautiful BOM from an online quilt shop called Buttonberry - they have sadly closed down, but they did stock the most amazing patterns by those wonderful Australian designers that I am so fond of! This one is called "Down In The Garden" and is by Leanne Beasley. Each month a parcel arrived wrapped in tissue paper with a lovely letter from Emma and Lisa (I do miss those Buttonberry girls! Emma and Lisa also included a little treat with the letter too - I really used to look forward to these parcels arriving every month!) and inside, tied up with pretty red ribbon was the pattern and fabric and stitchery stabilizer - everything you needed to complete each block..... .....as well as the patterns and fabric, I had been sent the fabric for the borders and the binding and even all the skeins of DMC embroidery thread. So there was nothing to stop me from making a start! Unfortunately at the time I was really busy stitching my other Leanne Beasley quilt, "Butterfly Garden" so DITG was put away each month. And that was 3 years ago. Well I've been catching up with all my unfinished projects with the "Tour de Fibre" group, and it was about time I started something new. I love stitchery, so this seemed the perfect "new" project!..... .....some of the fabric in this kit is "Grandmother's Flower Garden" by Rosalie Quinlan for Lecien and you know how much I like Lecien fabrics!! I pieced the main part of the block together, and then traced the stitchery design over the top. I use a Pigma permanent pen for this, and usually use a pale brown colour. 2 strands of embroidery thread will cover this, but you do need a steady hand. Once the stitchery design was traced, I then ironed a soft lightweight fusible stabilizer to the back of the block (this was all included in the kit too!) and then I sorted out the embroidery threads into a small portable case, as I'm going to take this with me to Birmingham. I'm hoping to do a little bit of stitchery in the evenings while I'm in the hotel to pass away the time. I'll show you how much progress was made when I get back!
|
About me...Hi - welcome to my quilting blog! My passions are my family, my dog, my friends and sewing, not necessarily in that order! Archives
July 2023
Blogs I followUK shopsThese are the UK shops that I use to purchase my quilting supplies - fabrics and threads etc.
Australian linksScandinavian links |