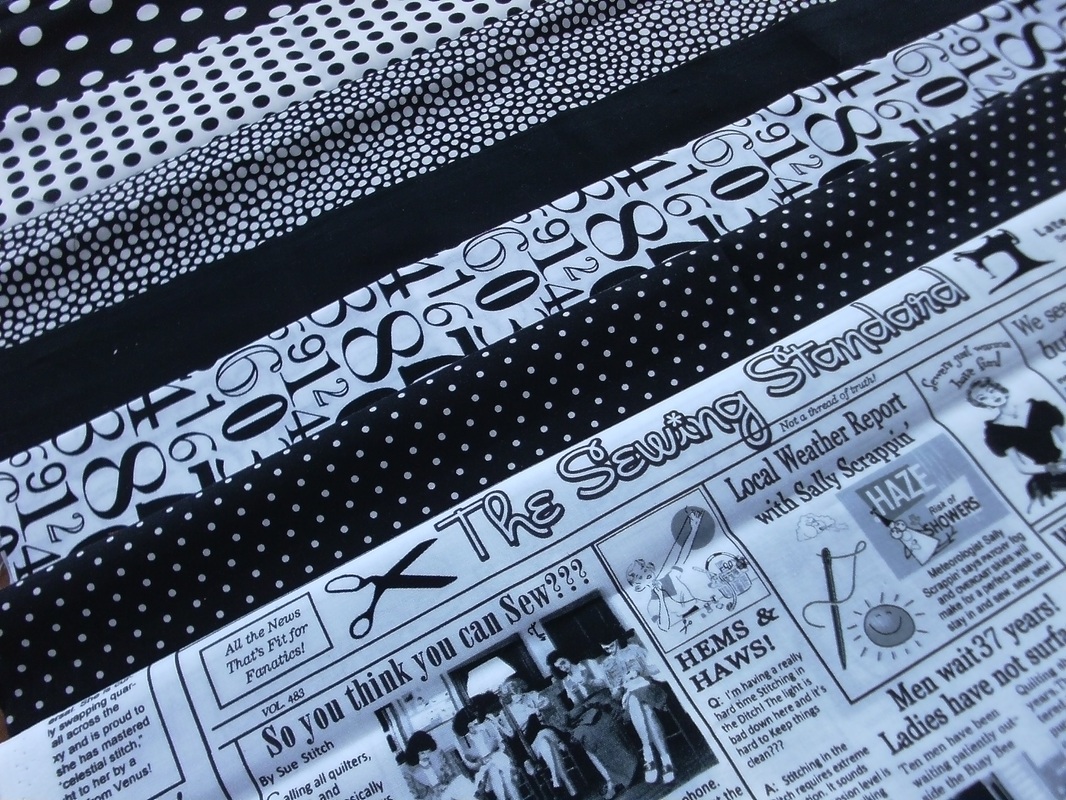
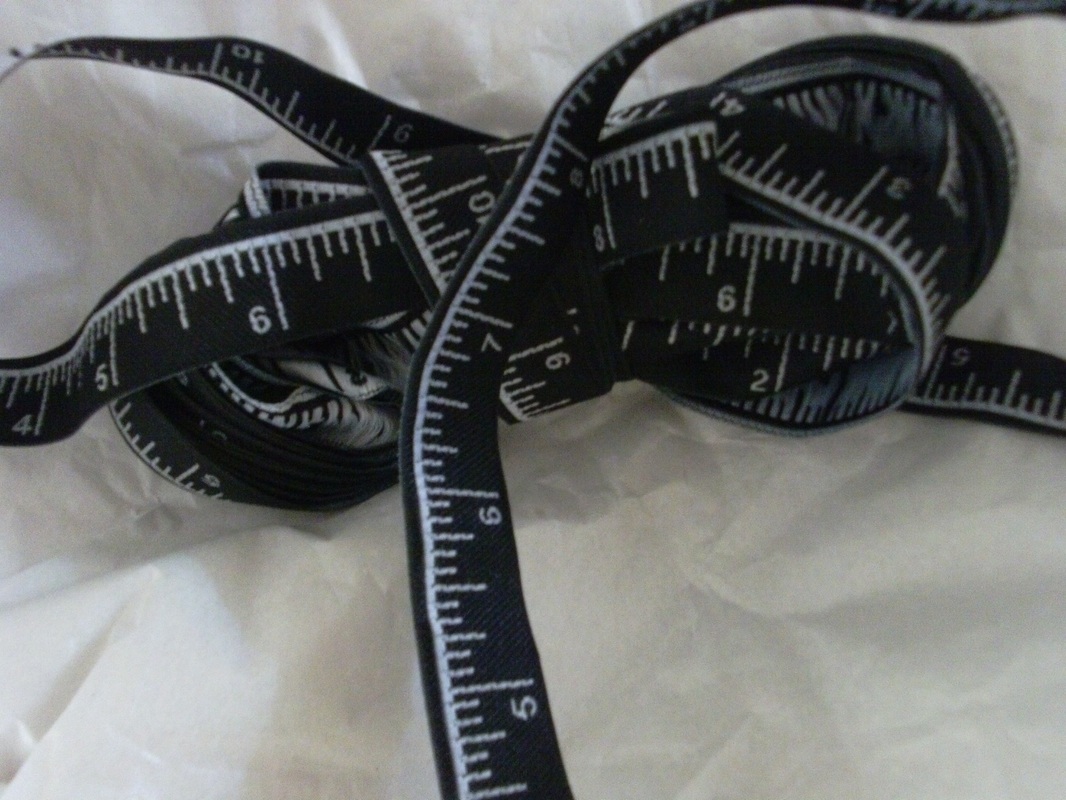
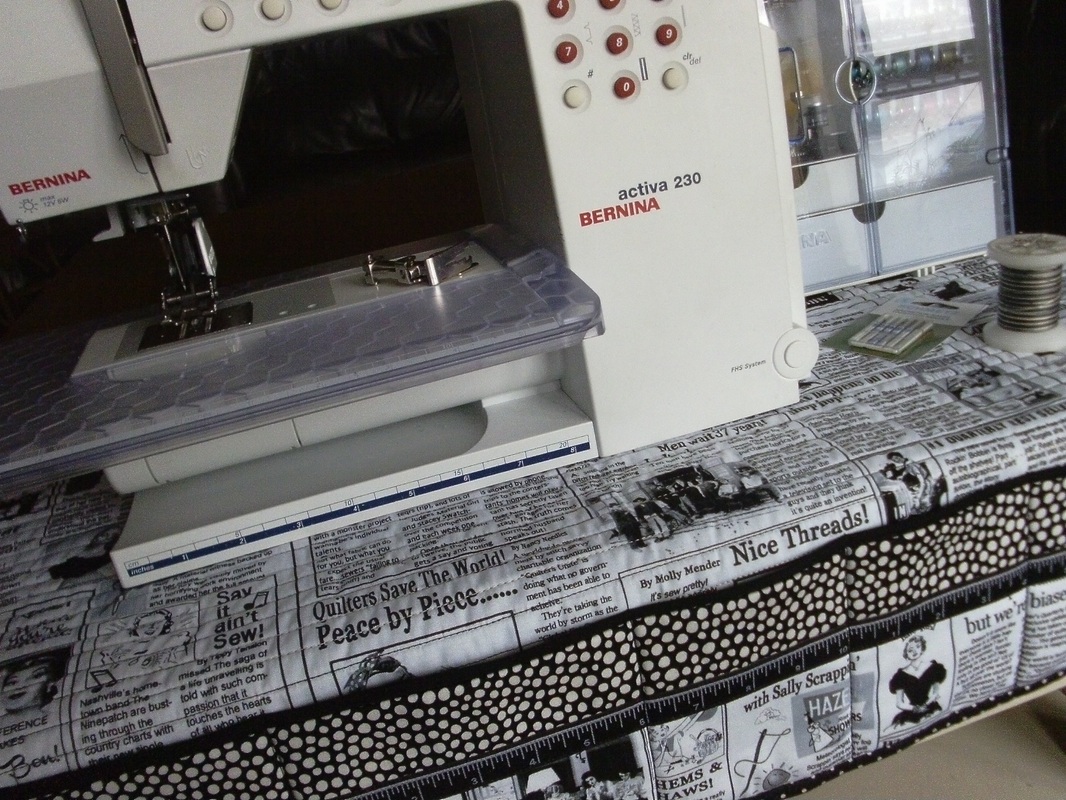
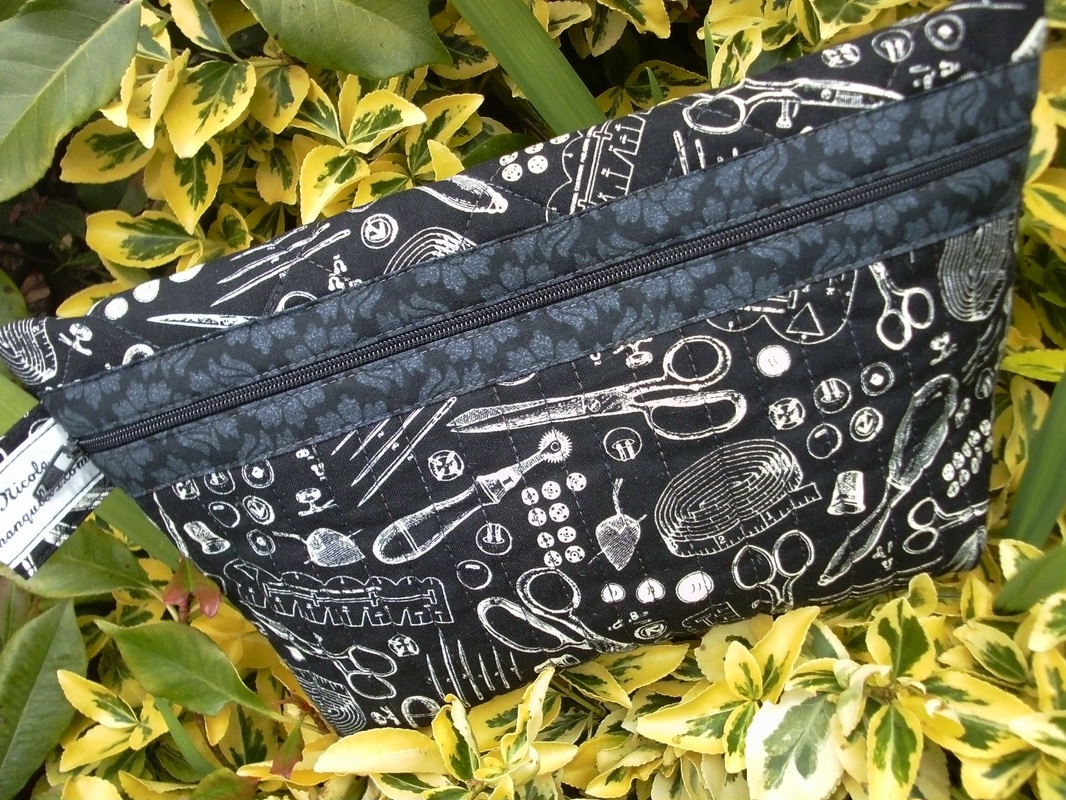
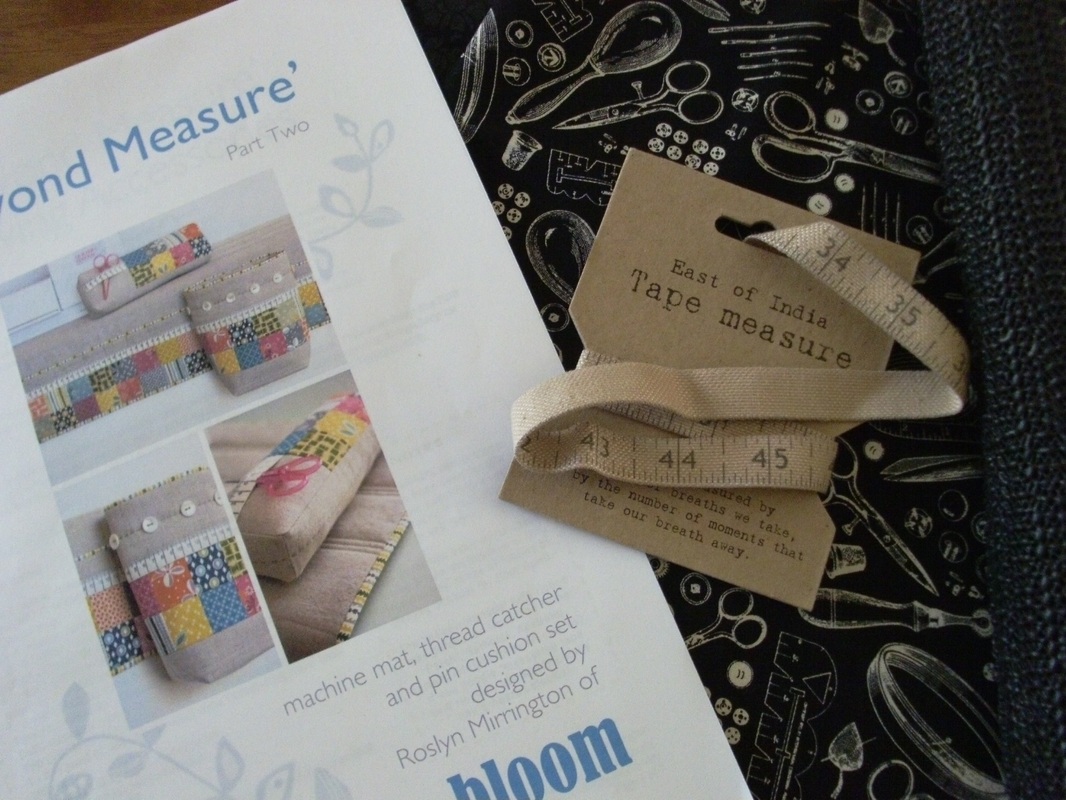
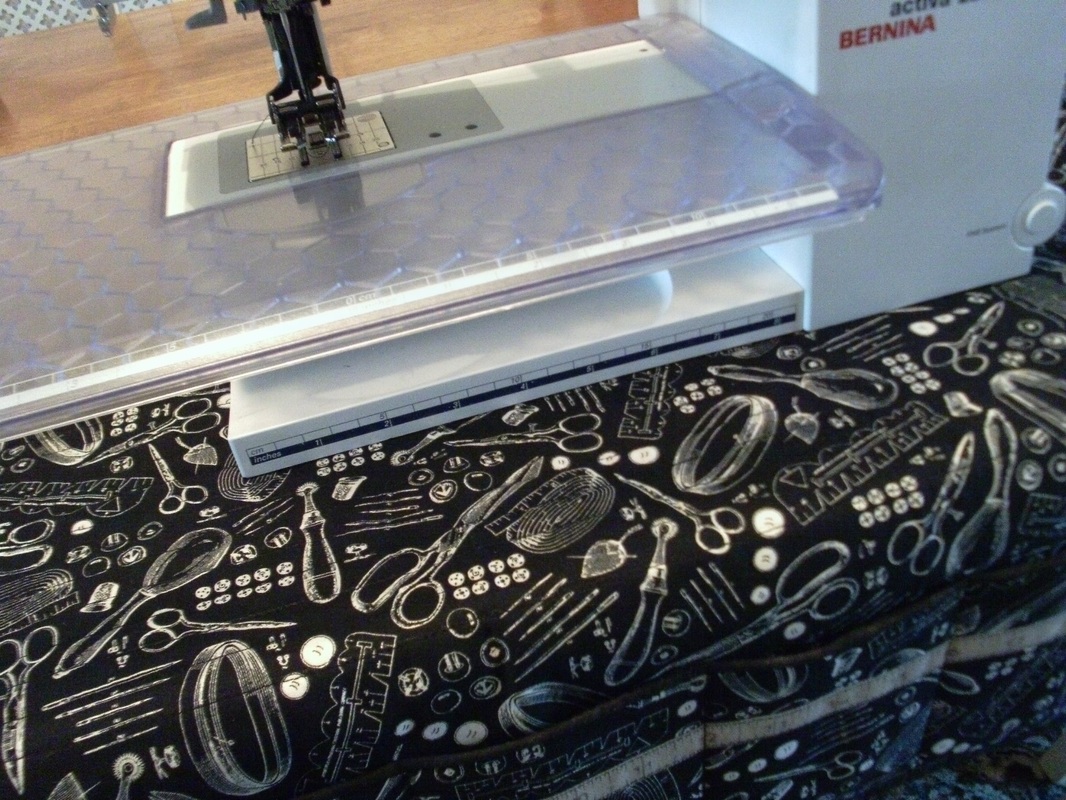
These black and white fabrics were just what I needed for this "sewing-themed" project, and the main fabric was bought a few months ago from Sew and So's at Bungay. I hadn't used any of it as I didn't want to cut it into small pieces, and todays project was was perfect to show case this fun newspaper-styled print, called "The Sewing Standard" . The pattern I used is called "Beyond Measure Part 2" by Roslyn Mirrington, and as it's a download PDF pattern you don't have to wait for the postman to deliver it! However I did have to wait for the postman to deliver this beautiful "Tape Measure" woven tape (ordered online from The Eternal Maker) to embellish my project with... 
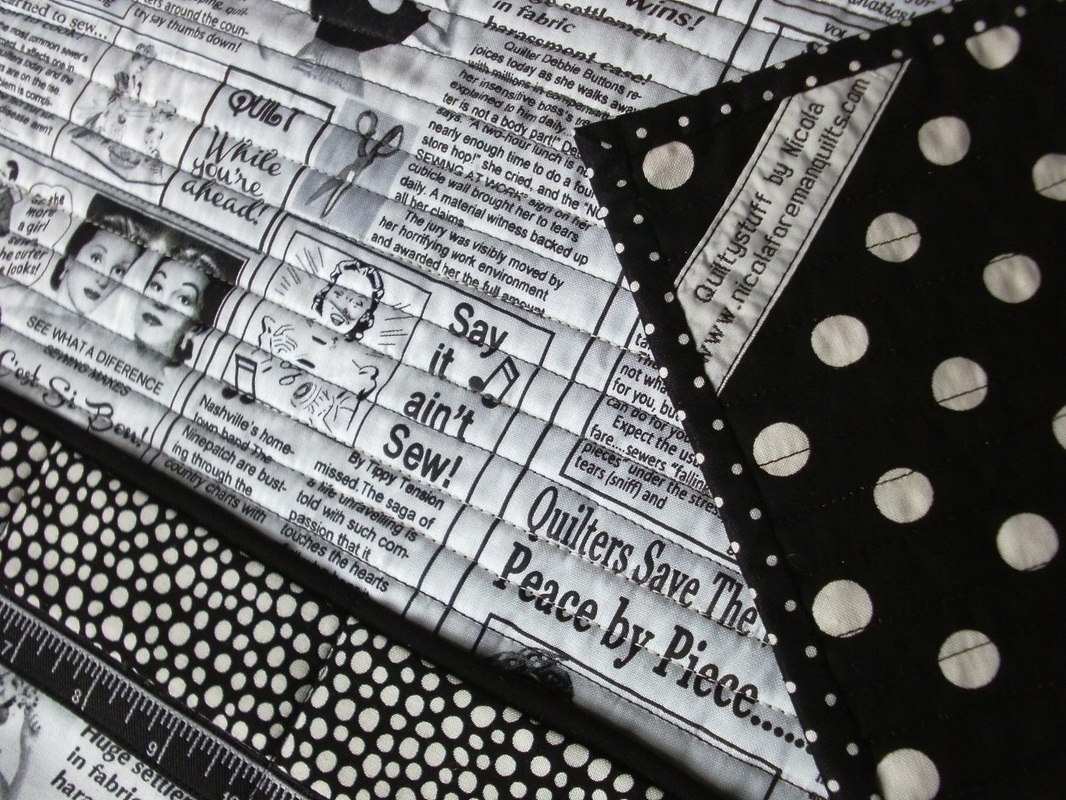
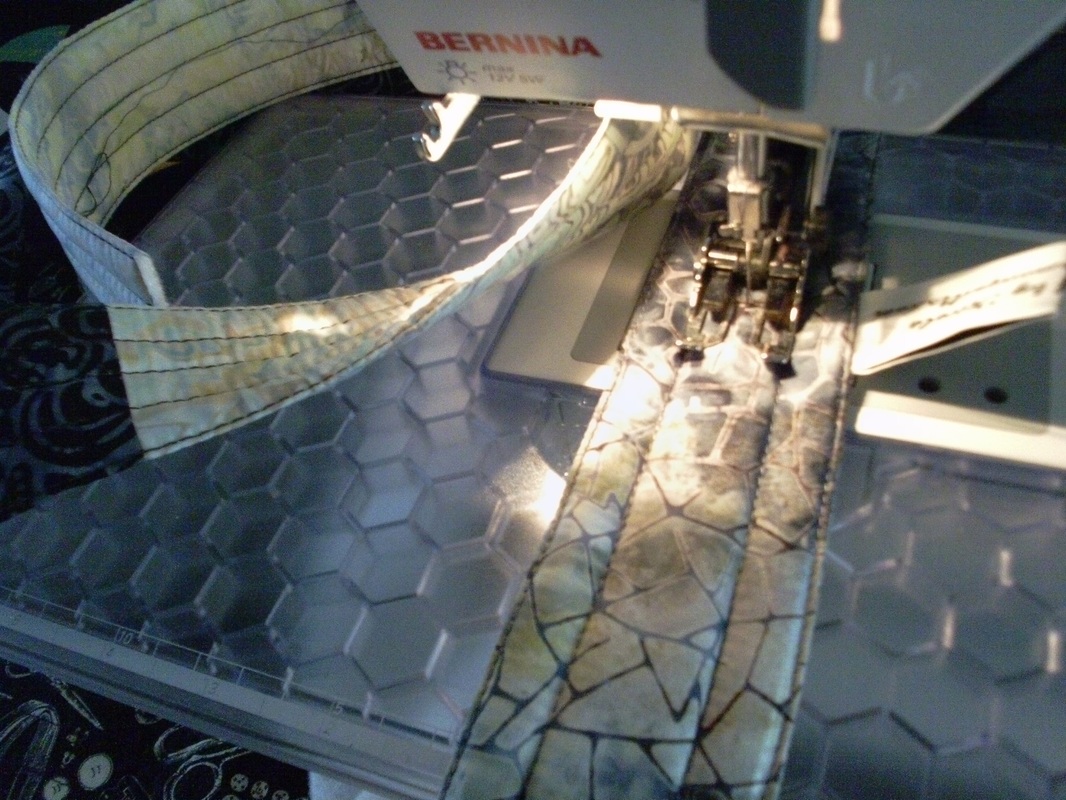
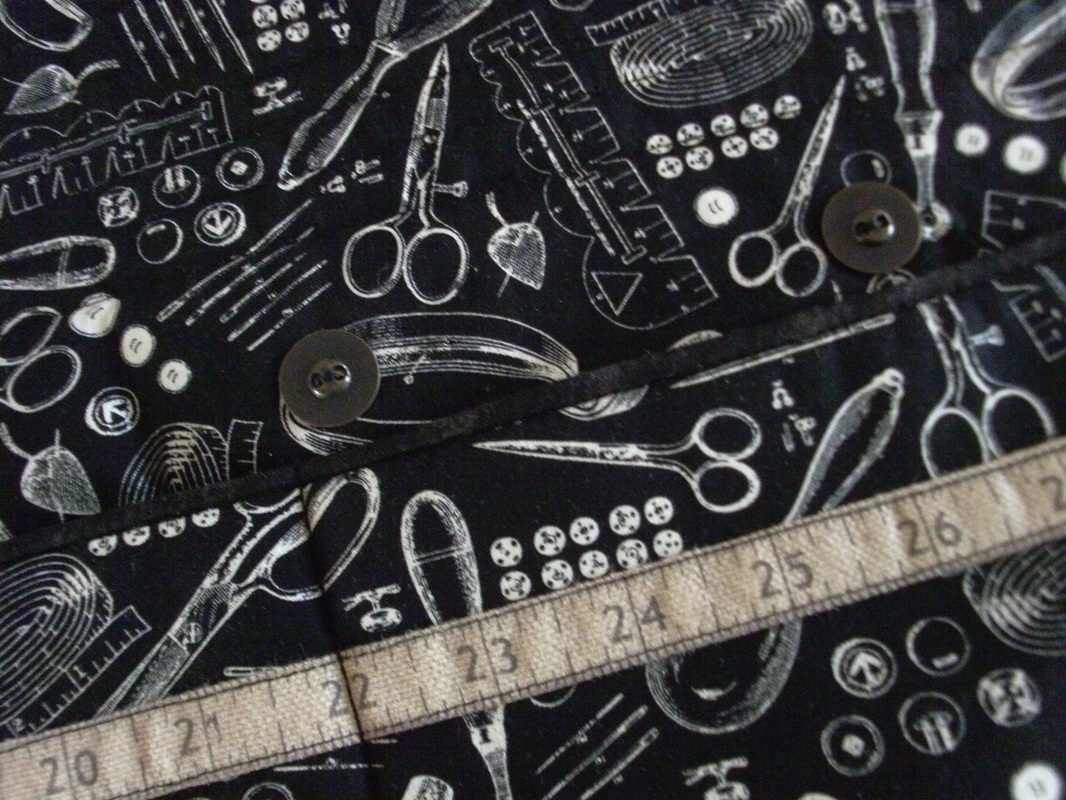
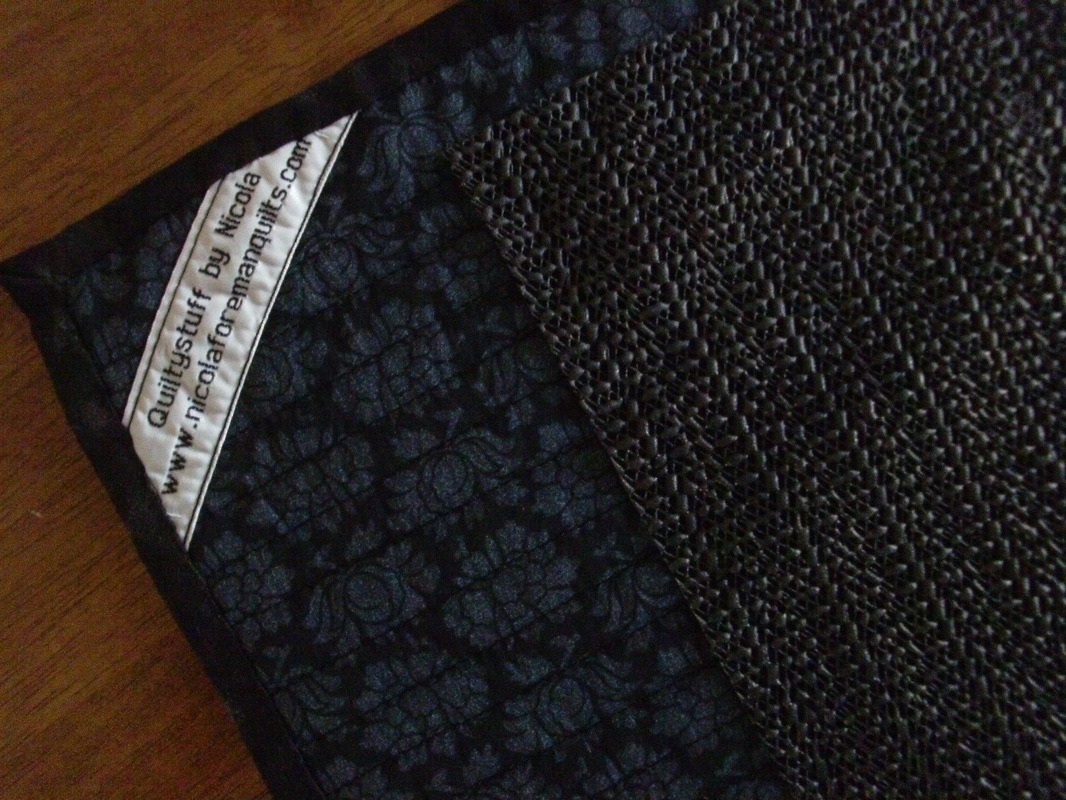
...I'd already made one of the sewing-machine mats last year, and thought it would be a good idea to make another one for when I have friends round for a crafty-day or for when me and my daughter have a sewing-fest. I quilted the mat very simply with straight rows of quilting half an inch apart, using a variegated YLI black and white thread and added some non-slip matting to the back to stop it from sliding off my table. I made some piping too (this piping cord is polyester and was dreadful to sew with, but will be fine for this small project. Note to self - only buy COTTON piping cord in future!)... 
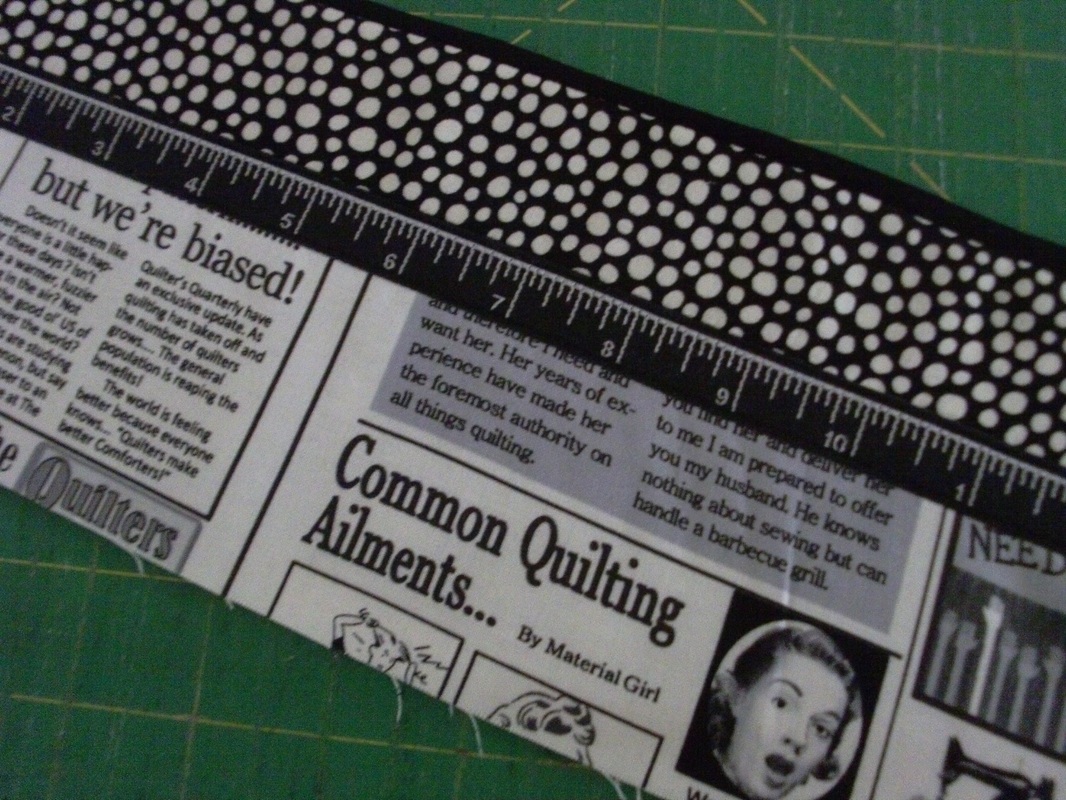
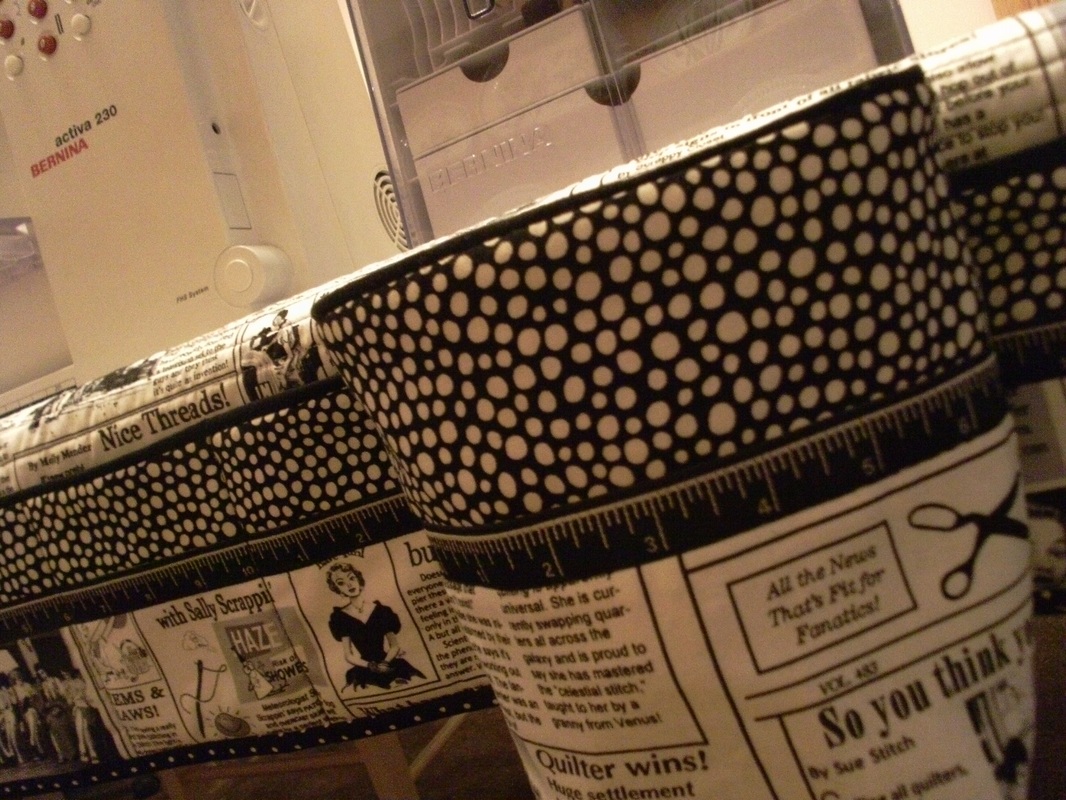
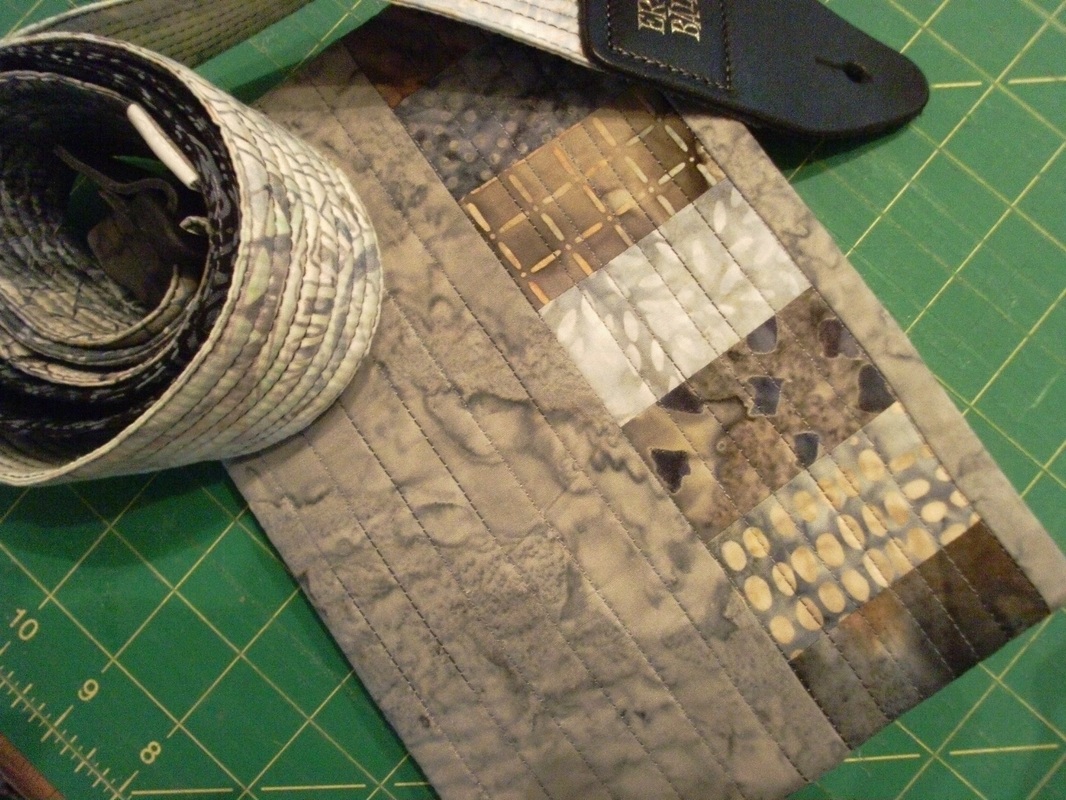
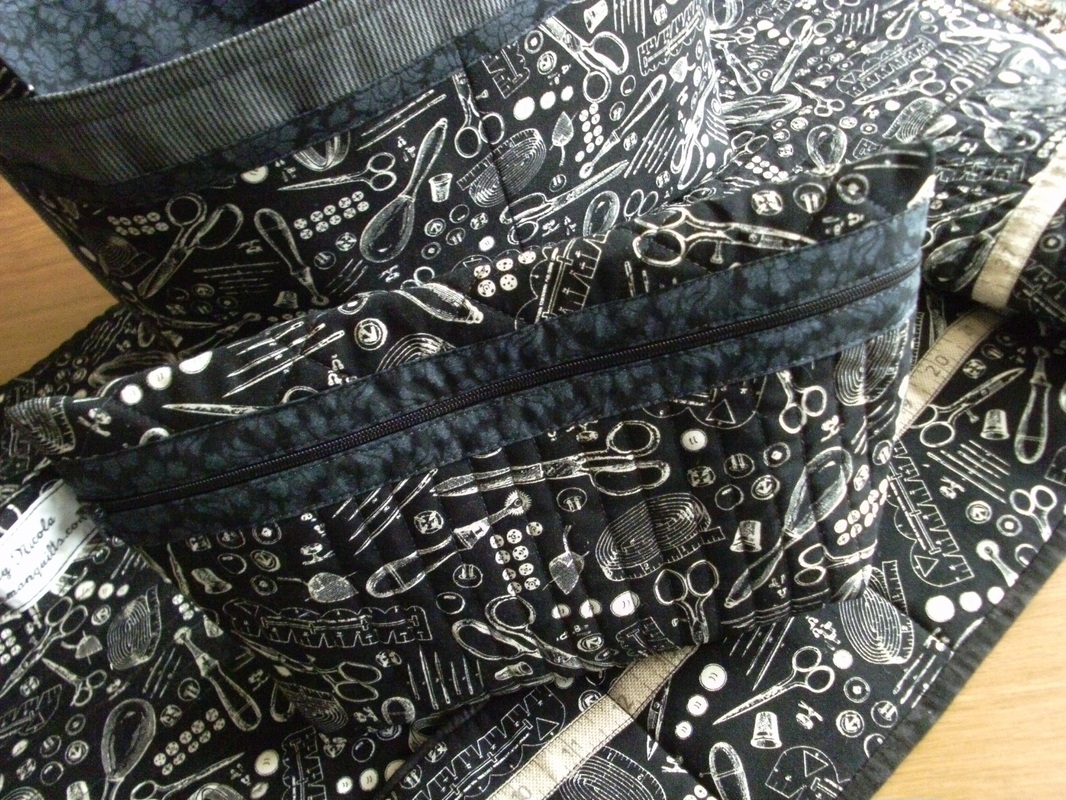
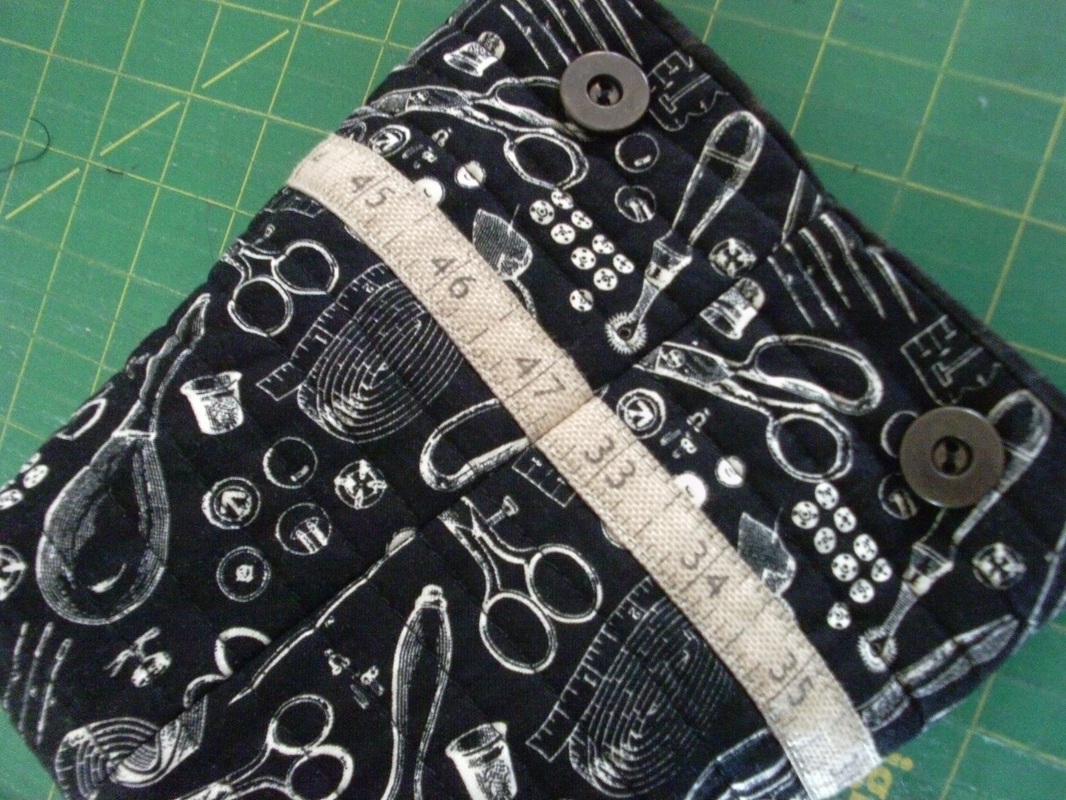
...and here is the finished pocket. I decided I really didn't like the checker-board strip with the newspaper fabric that I'd made a few days ago, it was far too "busy" for this project, so I started all over again, and this is the finished strip - piped and embellished with some woven "Tape Measure" tape. I used a large black#white polka dot fabric for the backing, and a tiny black/white spot for the binding.. 
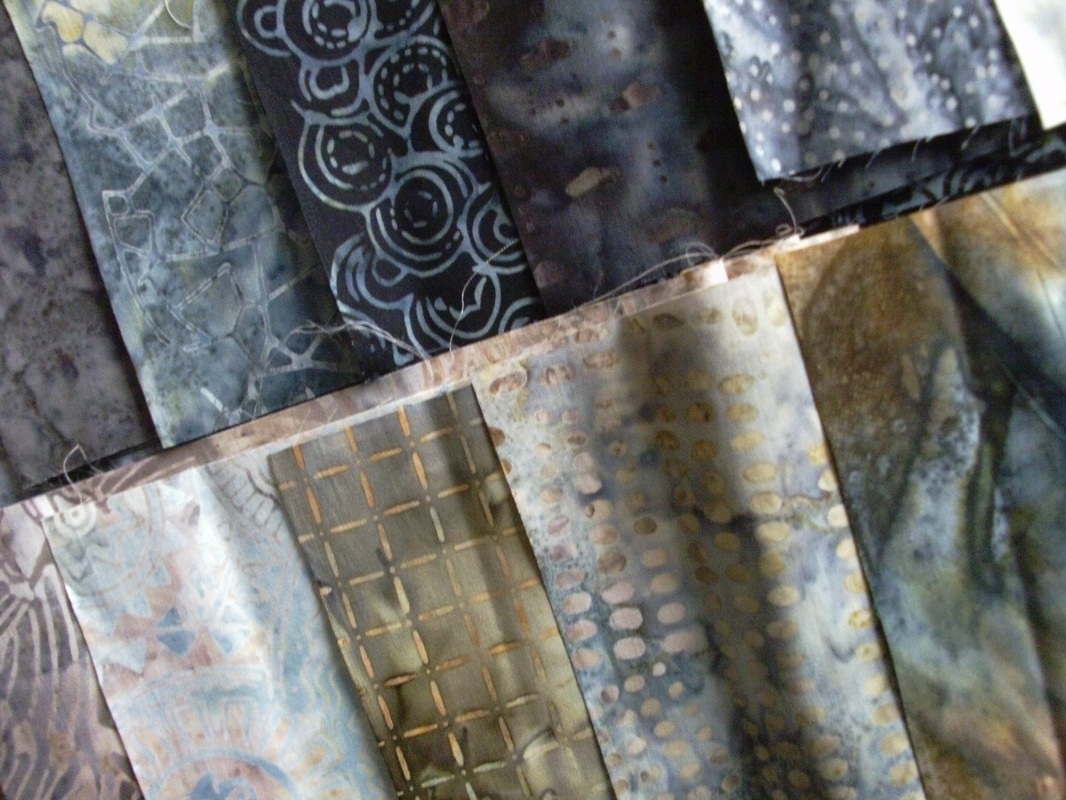
...this is a great project for using left-over bits of fabric. Once the sewing mat was completed, I made a matching thread-catcher, so that the bits of thread and fabric etc that usually end up on my new carpet can be popped inside and disposed of later! This was also trimmed with piping, and it that fixes into place on the sewing mat with a pair of button magnets. These were sewn into place by hand... ...as these are not very strong magnets they won't interfere with the electronic part of my sewing machine. The thread catcher is easily removable so the contents can be emptied... 
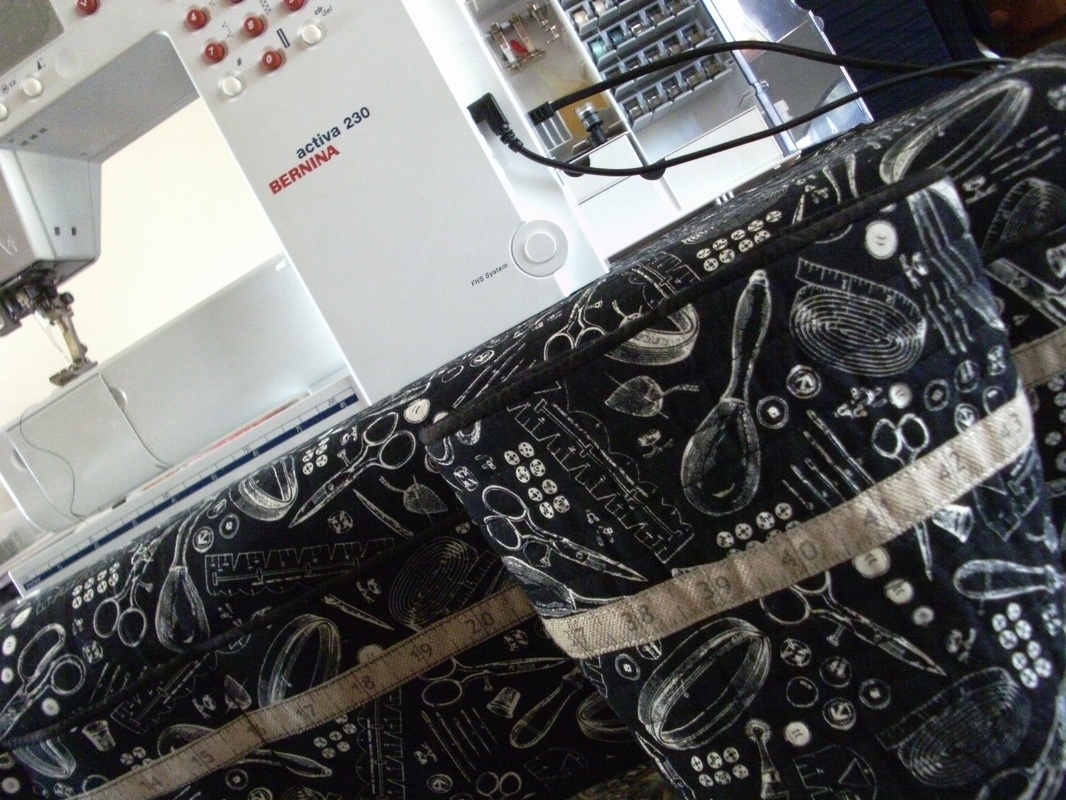
...ta-dah!! Here is another smart sewing machine mat. As I've already got one that I've been using for the past year, I can keep this one ready for when my crafty friends come to visit me for a sewing day!
0 Comments
No, it's got nothing to do with THAT book - I needed to make a special gift for a friend's birthday, and was drawn to these masculine-looking batiks, as I had the perfect project in mind. I had previously used a great tutorial by "One Shabby Chick" and made a guitar strap as a Christmas gift, and decided to make another one for my friend's birthday..... .....I sewed lots of straight-row quilting, 0.25" apart on this strap. The edge of the walking foot makes an excellent guide! I used a variegated King Tut quilting thread, shade 902, which blends beautifully with these grey batiks. I had already bought a plain nylon Ernie Ball guitar strap, so just removed the hard wear and attached it to the batik quilted strip. Finally it was adorned with one of my "Quiltystuff" labels..... .....then the second part of the gift. Using left-over scraps of fabric is ideal for making this journal cover. A selection of grey batik scraps was put to good use, along with an A5 journal from my local supermarket! This was quilted very simply, with lots of straight-row quilting 0.5" apart. I even managed to stitch one of my "Quiltystuff" labels inside the lining. The birthday boy can use this journal to jot down any musical thoughts and ramblings!! Better hurry now and get these wrapped up, ready for the birthday boy.
Do you remember the "Beyond Measure" sewing machine mat (pattern by Bloom) that I made a few weeks ago? Well I used some gorgeous sewing themed fabric, and had enough left-over to make a zippered bag to keep my smaller sewing things in, like my thread snippers and spare needles and a reel of thread etc. I added one of my "Quiltystuff" labels to a piece of fabric, and sewed it to side of the zipper to use as a tab. I used an AnnAKa pattern, called "Anna's Sminkepung" and quickly stitched up this bag last weekend. I like to alter these patterns using whatever size fabric pieces I've already got, so for those of you who like to know the size is important, this one measures 11" long and is 6" in height. AnnAKa patterns are available form quilt shops in Scandinavia, and there are links to some of these shops on the side bar of my blog - sorry, but despite numerous requests, I am unable to supply copies of these patterns!..... .....oh and do you remember the fabric divided basket (pattern by Noodlehead) that I make to keep my sewing things in? Well it really wasn't working for me. So I did a bit of unpicking (NOT my favourite pastime!) and removed the divider. I re-joined the lining, and attached it using a different method to the original Noodlehead pattern, which gave me a much neater edge along the top. (The first time I made this basket, I had a real problem keeping my top stitching neat, and thought Pfffttttt!! this is no good - and used a zig-zag stitch instead. Well, this time I re-did it stitching very slowly, and the 2 rows of top stitching look MUCH better). Oh and I put my label inside the lining this time too!! As you can see, I've got a very smart, co-ordinated set of sewing accessories now! My sewing table will look very suave ;)
It's Tuesday again so it must be "Sew Cute Tuesday" over on the Better Off Thread blog - I've added links to my applique books that I made when I was on hols with Philippa Naylor. There's lots of other great stuff to see too, so why don't you hop over and take a look?
Another project that I completed on the "Drama and Detail" course with Philippa Naylor, was a cover for a ring-binder. I used a mixture of batiks and linen for this project. I prefer to use Schmetz Microtex needles size 60 when sewing batiks, and this project was no exception..... .....I was really pleased with how this cover turned out! The applique on the front was a combination of edge-stitch applique for the petals, satin stitched applique circles and free-motion applique for the top layer of the petals. I quilted the batik part of the cover in straight rows of quilting about 0.5" apart, and used a King Tut variegated quilting thread to match the colour of the batiks. I even managed to thread a Schmetz Microtex needle size 60 with the quilting thread - for some reason my automatic threader isn't very good when it comes to size 60 needles - and I could hardly see the eye of the needle when it was in my machine, so my top tip was to thread the needle THEN put it in the machine!
During the "Drama and Detail" course that I did with Philippa Naylor, we learnt to make some curved bias strips - and some were made so the sides had varying widths. These strips were made with a turquoise batik, and stitched into place on top of some linen to make a notebook cover, lined with more batik..... .....this one was for my daughter Alice. Now I've mastered this technique for covering notebooks, I'll be making several for friends and family as Christmas gifts! And what about making one as a cover for a Wedding Album using a photograph printed onto fabric like the memory cushions? Ohhhh now my creative juices are flowing I can't wait to get stitching at the weekend!!
Another journal cover - this time with 3-D applique and a surprise! Embellished with applique and plastic flowers and button centers. This tutorial is a really easy project to make..... .....I used some denim from an old pair of jeans to make this, and quilted the front with the same flower shape that I had used for the applique, then quilted the back with straight rows..... .....the batik flowers have been appliqued in different ways - satin stitch applique (this was done VERY slowly!!) with a Mettler silk finish cotton thread, and free motion applique with a variegated YLI quilting thread. I added a "foil" flower with the add of some steam-a-seam 2 and some red craft foil. The plastic flowers were great fun to do, (they were Philippa's idea - I thought she was mad!!) and I added a button centre for all the flowers..... .....and the surprise? The 3-D pink flower has been backed with a bright lime green batik!
During my week away with Philippa Naylor, I made lots of small projects embellished with applique - I took a supply of notebooks and bag handles with me, and was inspired by the sample I made of satin stitch appliqued circles to progress further to make a decorative journal cover. I've just enlarged the layout so it will accommodate an A4 notebook - and I've made this one using pink batiks and linen. 3 circles of different batiks were attached to a piece of linen using steam-a-seam-2 and secured with machine satin stitch. I used a Mettler silk-finish thread in fuchsia pink around the purple batik circle, orange Mettler quilting thread around the pink batik circle, and finally I used purple Mettler quilting thread around the orange batik circle. Then I added the panel of linen, which I frayed along the 2 long sides, just off centre on the front of the journal cover. The linen panel was then machine stitched into place with a matching coloured thread..... .....and here is the finished journal cover. I really love using linen, and think it goes beautifully with the fine cotton batik. The joy of having a removable cover is that when the notebook is full, it can be removed and replaced with a new one! Philippa showed us lots of top tips for satin stitch applique - we used stitch and tear stabilizer underneath the background fabric (in this case the linen), and stitched very slowly!! As you can see, this was quilted very simply using lots of straight rows, using a variegated YLI quilting thread in shades of orange and pink to match the pink batik fabric.
Ever since I saw this sewing machine mat on the Bloom blog I've been meaning to make one! I've needed one of these mats for ages to put my sewing machine on so it doesn't mark my dining table. Up until this weekend, I've just used a folded up table cloth - well that's all changed as I spent the day yesterday making this - the pattern is called 'Beyond Measure' Part II and was featured in Homespun magazine in 2010, and is also available to purchase and then download as a PDF file from the Bloom shop. This fabric was from The Dressmaking Collection - Vintage Notions by Amy Barrickman for Red Rooster fabrics, and has been lurking in my stash for simply ages waiting for the perfect project! I think I bought the fabric from Fancy Moon, but it was rather a long time ago! I decided to stray from the pattern again, and quilted this with lots of straight rows 0.5" apart, and used a black Mettler quilting thread. All these pockets are so useful for storing all my quiltystuff essentials, like fabric markers and pins and thread snippers and a chocolate bar or two... ...the top edge of the pocket is piped (thanks to my residential course last year with Philippa Naylor I wasn't fazed at all by piping!!) As you can see, I adapted the pattern to suit this fabric, rather than using all those 2.5" squares. The twill "tape measure" was a purchase a couple of years ago when I went to the Festival of Quilts at Birmingham, and was from Antique Angel. My local quilt shop, Quilters Haven also stocks some similar twill tape, so I'll have to stock up from there, as it looks great as an embellishment on sewing projects! Oh and if you're wondering what those cute little sew-in button magnets are for, then scroll down to the thread catcher. See? This is such a cunning idea! The removable thread catcher clicks into place with a couple of magnets. Roslyn Mirrington is such a great designer, she really does think of everything! Mr F will be so pleased that I won't have all those loose threads on the floor making the place look untidy when I'm having a sewing-fest. I bought these sew-in button magnets from Sew and So's at Bungay, and they were MUCH cheaper than the ones I bought from the Spring Quilt Festival at Duxford last month... ...and it simply clicks into place. See? So no more loose threads and no more trimmed off bits and no more snipped thing-ummy-bobs on the floor. I wish I'd made one of these sets before - my machine looks like such a smarty pants on it's new mat!! Oh and yes, more piping around the top of the thread catcher - Philippa WILL be impressed! I also had a cunning plan for the back of the sewing mat - I used some non-slip matting that I cut to size and slip-stitched into place by hand so that when I'm sewing my Bernina stays put. Note to self - don't try stitching non-slip matting with a sewing machine - it wont move!! Oh and of course it has been embellished with one of my "Quiltystuff" labels too... ....although my sewing machine is a lot smaller than this mat (I have the Bernina Activa 230 PE), I decided not to scale the size down, as if ever I'm lucky enough to own a larger Bernina (bit of a hint to poor Mr F - I've got a very very special birthday coming up in a few months and he might want some suggestions for a very very special present!!), then I won't need to buy more fabric to make another mat! So if you see him, tell him how much money I'm saving him hehe!!
|
About me...Hi - welcome to my quilting blog! My passions are my family, my dog, my friends and sewing, not necessarily in that order! Archives
July 2023
Blogs I followUK shopsThese are the UK shops that I use to purchase my quilting supplies - fabrics and threads etc.
Australian linksScandinavian links |