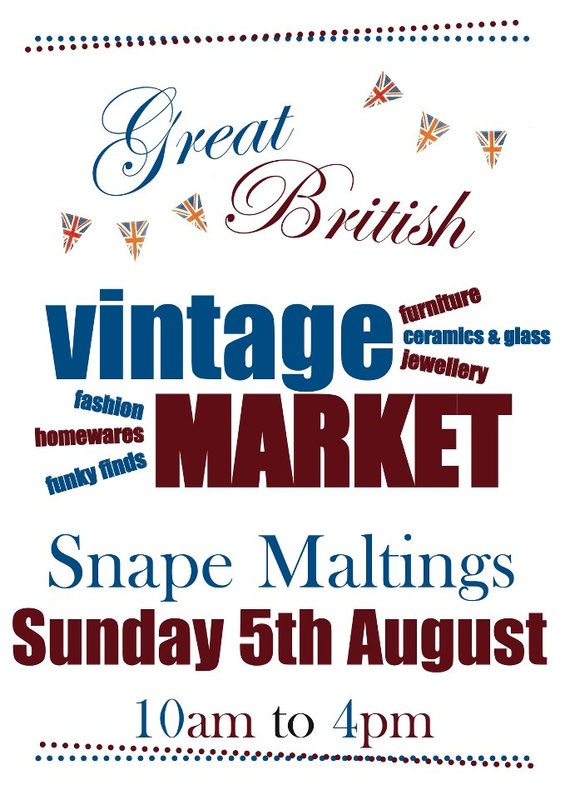
Guess where I'll be on Sunday? At the Great British Vintage Market, which is being held at Snape Maltings - just a short drive from where I live - so maybe I'll do a little bit of browsing at the vintage goodies and maybe a little bit of shopping too. I'm meeting up with two very special friends in a couple of weeks so maybe I'll be able to get some vintage gifts for them too. Might see you there!
1 Comment
Can you guess what my latest project has been? I have gathered a selection of fabrics (Etchings by 3 Sisters for Moda) and trimmings (white ric-rac) and a zipper and one of my new labels (I really like the style of writing on these labels, and the wider ones are so much easier to sew into place!) and not forgetting a rather saucy vintage photograph that I printed onto fabric using EQ pintables fabric sheets..... .....and here it is completed - I'm really pleased with how these cosmetic bags look, especially when I have appliquéd one of the vintage pictures on to embellish it with - Bellisimo!! This is a birthday gift for one of my friends - hope she likes it!! It's my mum's 70th Birthday today - and now I can finally reveal her pressie!! I had blogged about making this cushion a few days ago, and here it is finally completed. My sister helped by sneakily "borrowing" some old photographs from my mum's house, scanning them and emailing them to me. I can remember this photograph being taken, and was so pleased when this was one of the photographs she sent me! Just incase you're wondering, that's me in the middle aged 10yrs old, with my sister Becky sitting on my lap - my sister Rachel on one side and my sister Lisa on the other. You can see I used some vintage lace and buttons to embellish the cushion..... .....then I quilted some of the panels in straight rows, and one panel with free motion quilting. The quality of the fabric used in these printable sheets is excellent and it sews together beautifully. (Last year I bought a cheaper brand from a quilt show, but the pictures distorted when the backing sheet was removed, no matter how careful I was)..... .....I've sewn one of my labels onto the back, along with a zipper to fasten the opening and some more vintage lace trimming. I used a couple of different fabrics for the binding..... .....and I'm really pleased with the finished result, and as you can see my mum is really pleased with it too!! Happy Birthday mum!xx My dear friend Fran has got a VERY special birthday this weekend and it deserved a very special present. I was lucky enough to meet Fran's wonderful mum last summer soon after the arrival of Jasper, and I have super memories of her rolling around my living room floor with him - and she had as much boundless energy as that wretched puppy! Fran's mum passed away a short while ago, and I wanted to make Fran a unique present using a picture of her mum - but didn't want Fran to know anything about it - it was TOP SECRET!! But oh the power of Facebook - I was secretly able to message one of Fran's bestest ever friends (thanks Georgina - we'll be getting signed up to join M15 next!!) to join me in a little bit of espionage - well anyway, Georgina and me hatched a plan - she duely emailed me some piccies, and I chose a black and white photo that I thought would work with the idea I had in mind - and here it is finally revealed - Happy Birthday Fran - hope you have the best birthday ever - ohhhh and looking forward to joining you next weekend for birthday celebrations with the OT girlies at Milsoms.
Next week it's my mum's 70th birthday and I wanted to make something really very special and personal for her. So, with great assistance from my sister Becky, who emailed me some photos that were lurking in my mum's house I set to work. (Thanks Becky - some of those piccies were HILARIOUS!!). Anyway, this photo was taken YEARS ago - that's me sitting in the middle, holding my baby sister Becky, with my sister Rachel and my sister Lisa holding her Teddy. My own two daughters often complain when they see piccies of themselves as little girls in matching outfits, well here is where I got the idea for doing that to them - my mum often dressed my sisters in matching outfits as they are very close in age, just like my own two daughters are. Sorry girls!..... .....ohhhhh no I can't show you what I've made yet - I don't want to spoil the surprise!! Here is just a little glimpse of what I was doing with fabrics and threads and vintage lace and buttons and such-like. The big reveal will happen on my mum's actual birthday, July 3rd. I've been searching for ideas of what to make one of my friends for her birthday. Last year I made her a make up bag, so this year I thought I should try something different..... .....I raided my collection of cream fabrics, printed off a photograph onto fabric, added some vintage lace and a few old buttons from my button jar..... .....and lots and lots of quilting - as well as some regular common-and-garden cross-hatch quilting, I even quilted some very arty free motion angular spirals!..... .....and of course it just wouldn't be complete without one of my very own www.nicolaforemanquilts.com labels to the back (just in case she ever forgets who made it for her)!! I secured this by sewing all around the outer edge by machine - and a little bit of hand sewing to secure the binding to the back and it was finished..... .....and here is the completed pillow. I've filled it with a feather pad. I'm certainly going to make some more of these cushions. (My mum has got a special birthday coming up, and I've got a few ideas of crafting her something with some piccies of her and my dad from their younger days). Anyway, Happy Birthday Claire - hope you like this! And no your cats CAN'T sit on it!!! It's Beth's birthday today, and although I have already bought her a camera for her main present, I wanted to make her a little something else too. As she's off to Edinburgh for a few days with her lovely boyfriend, and needed something to keep all her beauty stuff in, I decided to make her a toilettry bag. I used a Norwegian pattern called "Toalettveske" by Elin R. Roland that I have used a few times before. It's a rather complicated pattern, but I have really enjoyed making it. The fabric in the corner looks shiney because it has a layer of plastic laid over it after it has been quilted - this will become the bottom of the bag, and the plastic prevents the bottom from getting wet and soggy - the other panels are added using a "quilt-as-you-go" method, and have been trimmed with lace that's not-quite-so-vintage as it was leftover from when I made Beth's Christening gown when she was just a few weeks old..... .....I decided to make the bag in tones of cream and white, and used lots of scraps from my stash box for this project. I also printed off a picture onto fabric that I have appliqued to the back of the toilettry bag.... .....I decided to alter the original pattern, and added a pocket inside with an elasticated edge. This looks great, and I'm sure it will be really useful for all Beth's bits and bobs and general stuff. The fabric that I used for the pocket and the lining is a beautiful cream paisley print that was leftover from an earlier project (in fact it was extra wide backing that I had bought from Janette to back one of my quilts with) - it seemed just perfect for this pretty toilettry bag.... .....and here I am stitching the binding along the sides - I thought this was going to be quite tricky as I was sewing through so many layers, but my Bernina didn't seem to have a problem at all!..... .....the trickiest part of this bag is putting in the zipper and this one really did try my patience!! As you can see, I had a very busy weekend trying to get this finished. Anyway, eventually the zipper was in place and I'm really pleased with it. It has some ties at the side, and of course I had to add one of my labels - just incase Beth wonders where it came from - the Yummy Mummy shop of course hehe!!..... ..... and the toilettry bag is just the right height for Beth's favourite "Soap and Glory" toiletries that I have hidden inside for her..... .....also I couldn't resist making her a matching make-up bag to go with the toilettry bag - and trimmed it with the last of the Christening gown lace. I had been hanging on to this for years, so I did have a slight pang of emotion when I was sewing with it, but it's no good hoarding onto beautiful things - they need to be seen and to be used..... .....I am so pleased with this set of bags - this will be perfect for her trip to Edinburgh. Happy Birthday Beth - hope you like your pressie!! I've been busy making toiletry bags as Christmas presents, and this is the latest one. I have used an assortment of cream fabrics for this one, and I have experimented with printing photographs onto fabric (I'd already bought the special fabric in a pack from the quilt show at Chilford a few weeks ago). Anyway, here I am sewing in the zipper - my top tip? Use a walking foot - I find it much easier than the zipper foot..... ..... I quilted the bag first, then I added the picture using machine applique - and no, before you ask, that is NOT me in the vintage photograph wearing just the sort of girdle that my Granny would've worn! I also added some lace and a few buttons for decoration to the front of the bag..... .....and here it is completed - I'm really pleased with this - it's a "Secret Santa" gift so can't reveal who it's for yet, but I hope she'll be pleased. |
About me...Hi - welcome to my quilting blog! My passions are my family, my dog, my friends and sewing, not necessarily in that order! Archives
July 2023
Blogs I followUK shopsThese are the UK shops that I use to purchase my quilting supplies - fabrics and threads etc.
Australian linksScandinavian links |